The Great Pumpkin - '71 Duster
So OK, abut that engine. This thing has been fighting me since day one. I've had so many backwards steps during the process it's laughable. When I was a tech dealing with engines, we'd have them out, rebuilt and back in in a day and half not counting waiting on parts. This engine is taking 8 months!
Here's a list of do-overs and their fixes;
So yeah, there have been a lot of hiccups with this thing and there's probably more I'm trying to suppress from memory. Some of it was due to my own ignorance, some of it just dumb luck. All of it adds up though and it's annoying having to go back and re-do, re-think or change so many things.
When I took the oil pump and main cap back to the machinist, I told him about all the struggles. He laughed but then gave me a nice vote of confidence when he said when that happens, he knows it's gonna run good. Thanks Glen!
It's true, it hasn't all been bad news - everything else has gone fairly well. I will be stoked to have it finished and broken in though.
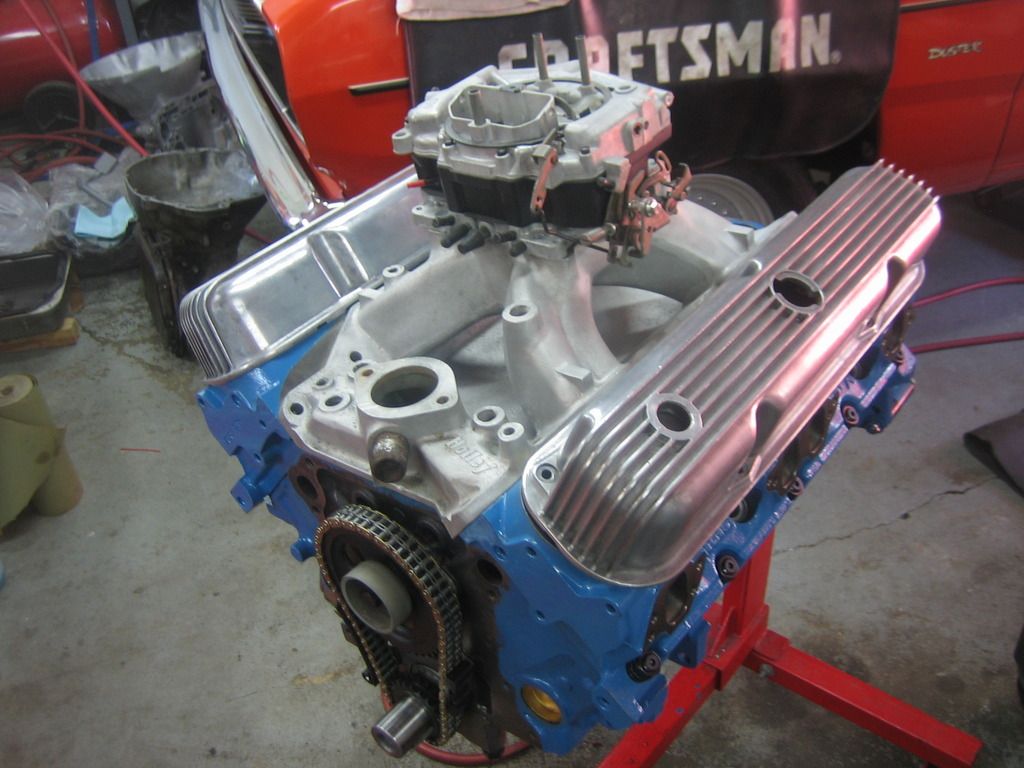
Here's a pic of the top end mocked up. It was actually helpful to do this because it helped me see past all the stupid crap and remember what I was working towards.
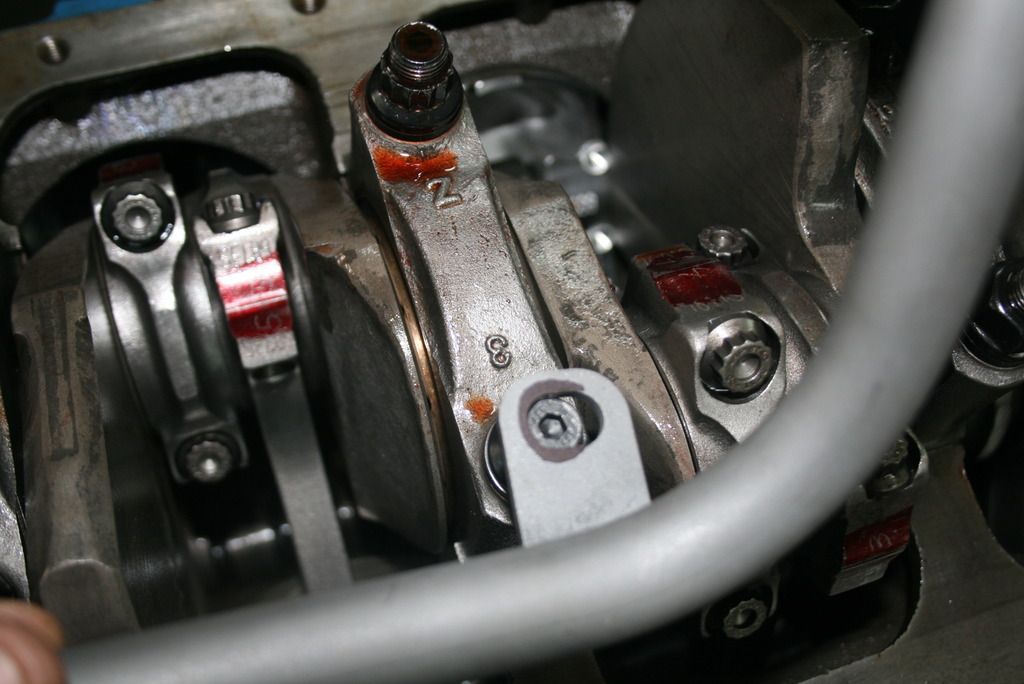
One thing that did go well was the valve geometry which is kind of a big deal. This pic shows the wipe pattern with the checking pushrod and it's dead nuts.
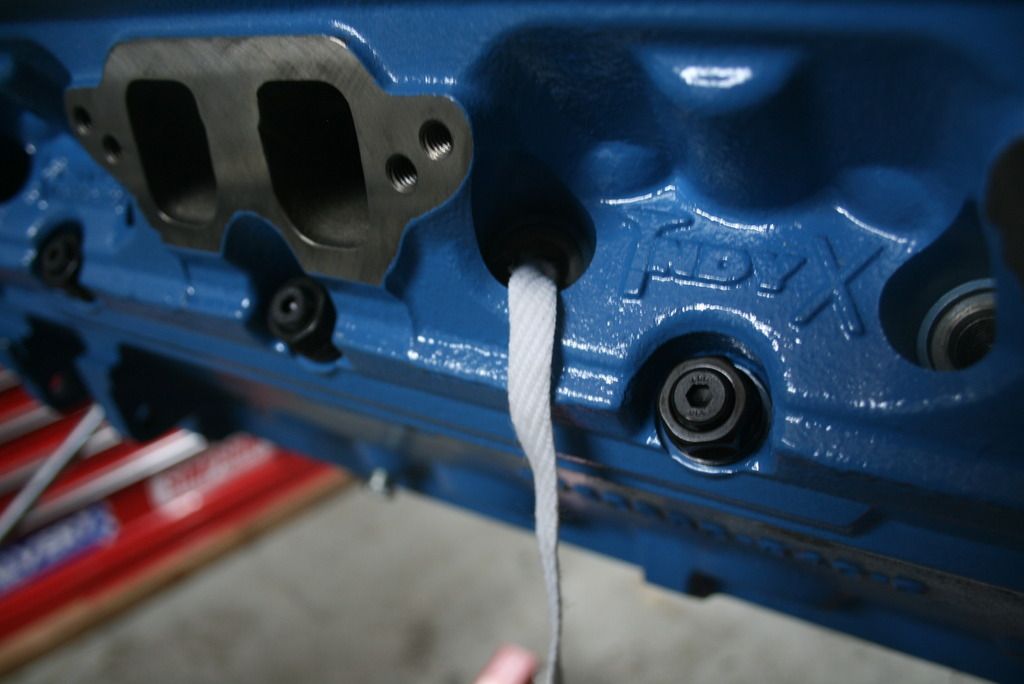
For break in with a flat-tappet cam running any sort of spring pressure, you need to remove the inner springs to prevent wiping the lobes on first fire up. Here are some shots showing how the inner springs were removed. I have an on-head spring compressor which works great but requires holding the valve up so it does not fall into the cylinder with nothing holding it up. I have an air adapter to force air into the cylinder but the heads were not torqued down, nor was the intake or exhaust so the air would have been useless. I used the old rope trick where you feed rope or string into the cylinder to prevent the valve from falling out. You bring the piston up to TDC, feed the string in through the spark plug hole, do your thing with the valve, re-install everything then pull the string out. Worked great. I used an old hockey skate lace which is really long and thick.
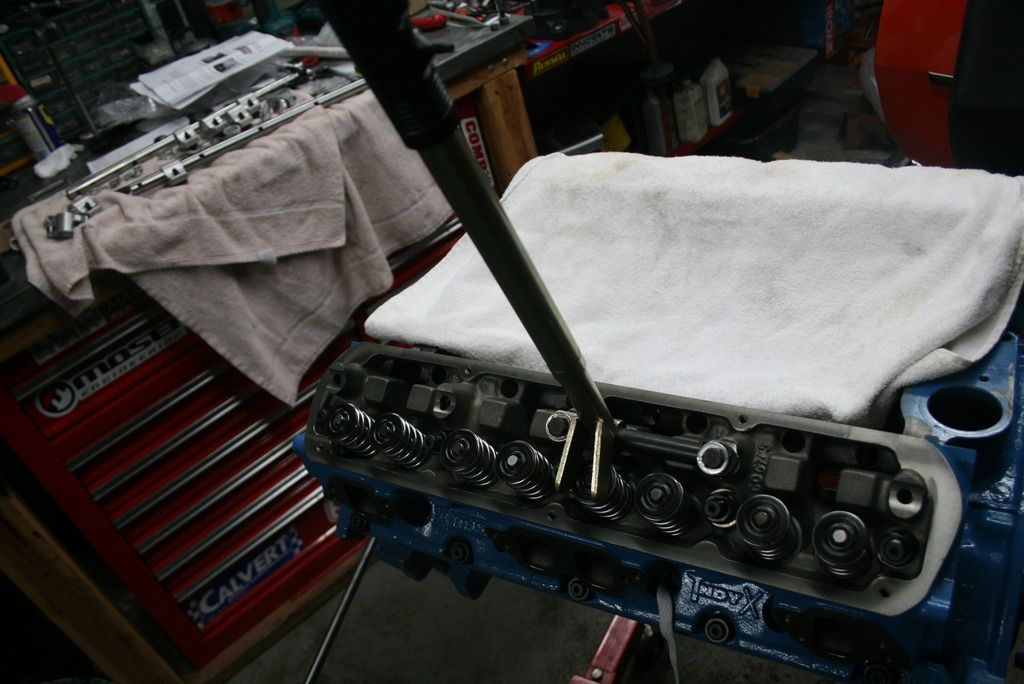
On head valve spring compressor at work.
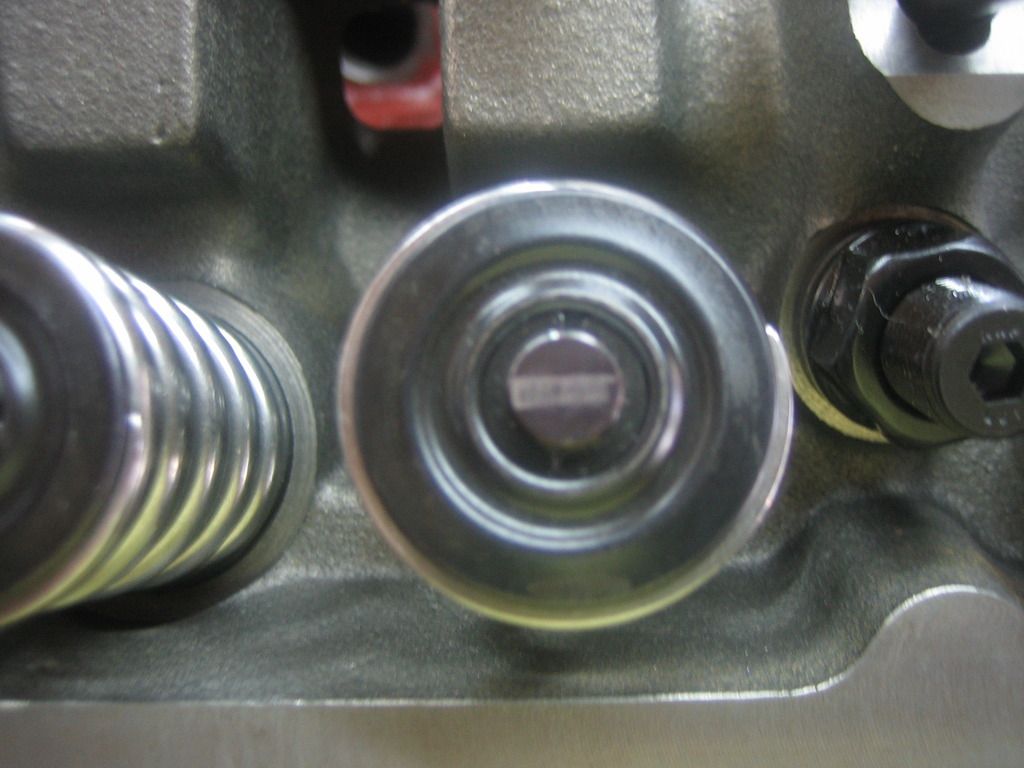
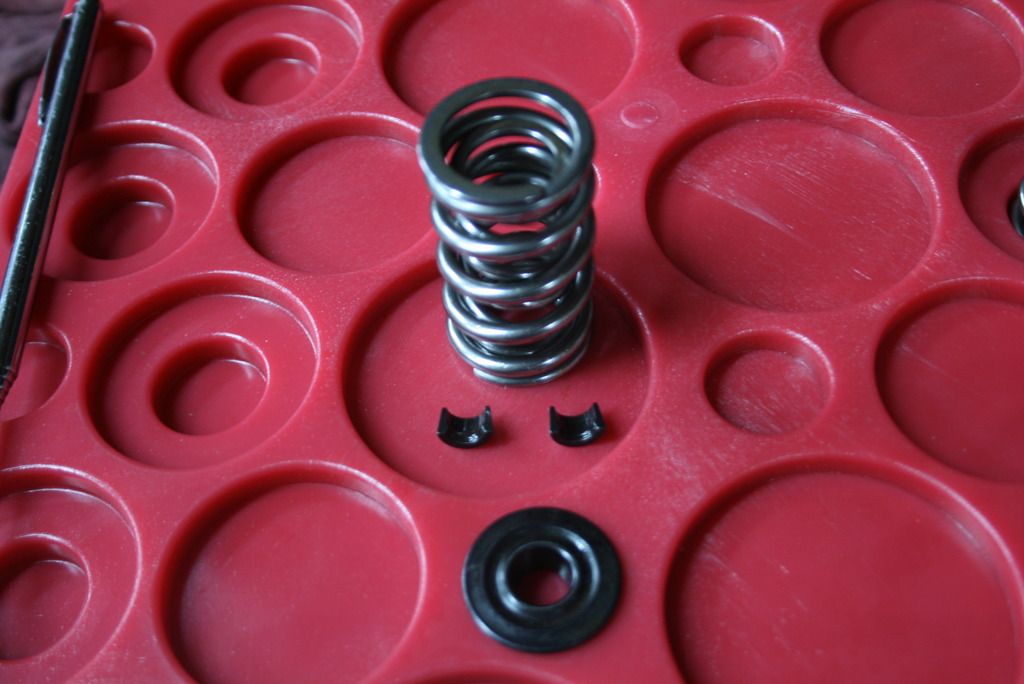
Here's the valve spring, retainer and locks before removing the inner spring.
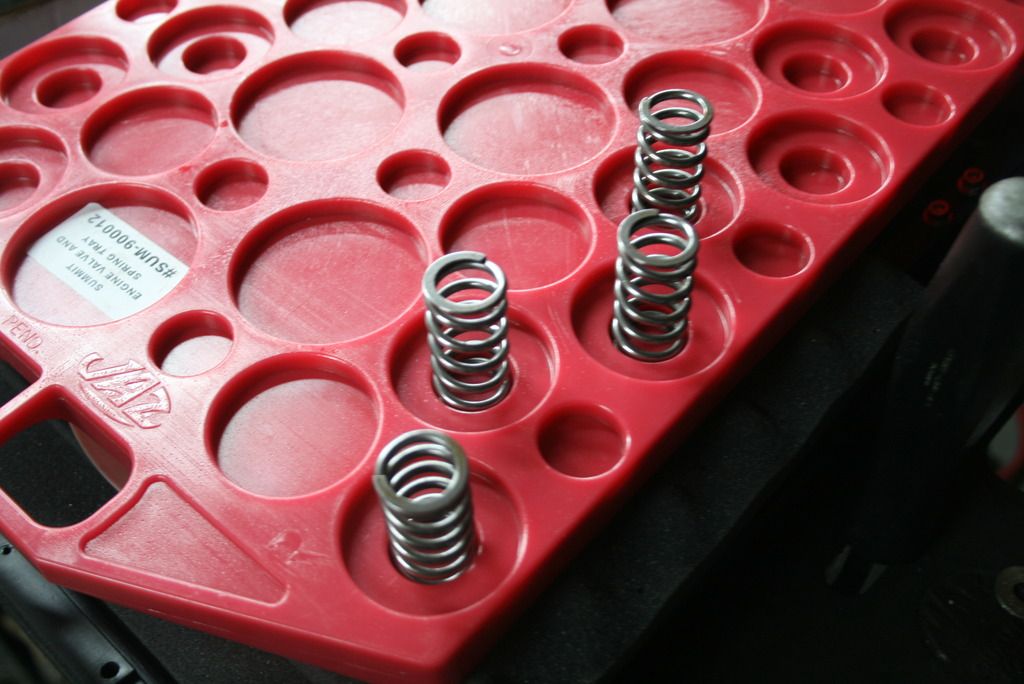
A few of the inner springs that have been removed. I got this plastic tray to keep things organized.
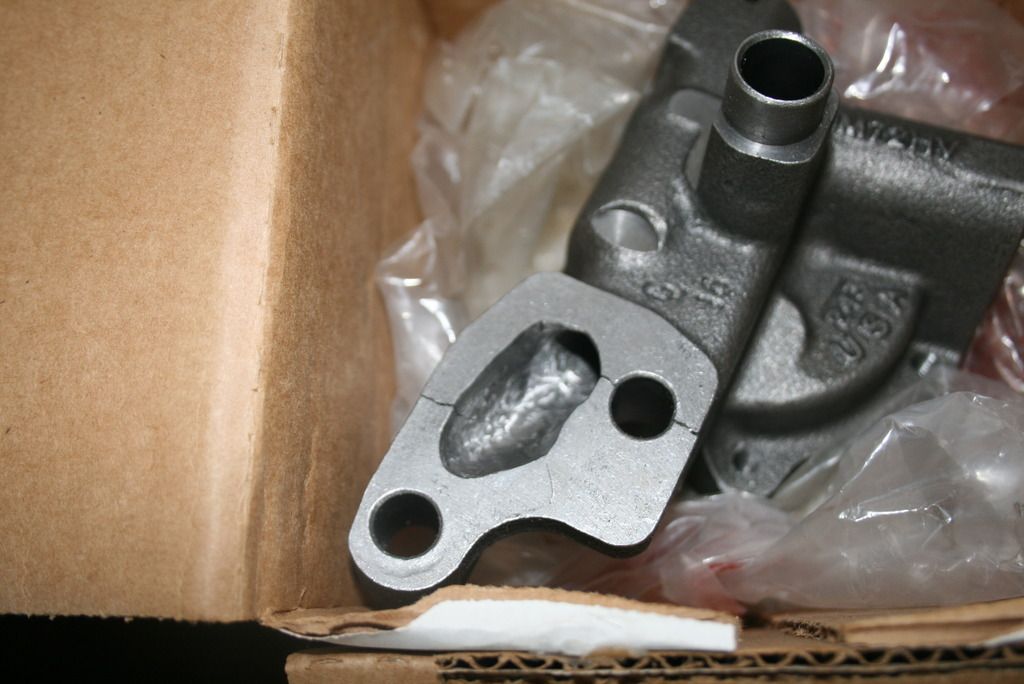
Don't remember showing this pic before but here is the cracked oil pump housing. This was from Precision oil pumps. They smooth the ports and remove the casting flash from the housing, coat the gears and check all clearances. Expensive junk now.
I smoothed out the new pump housing myself and swapped the fancy coated gears from the broken one.
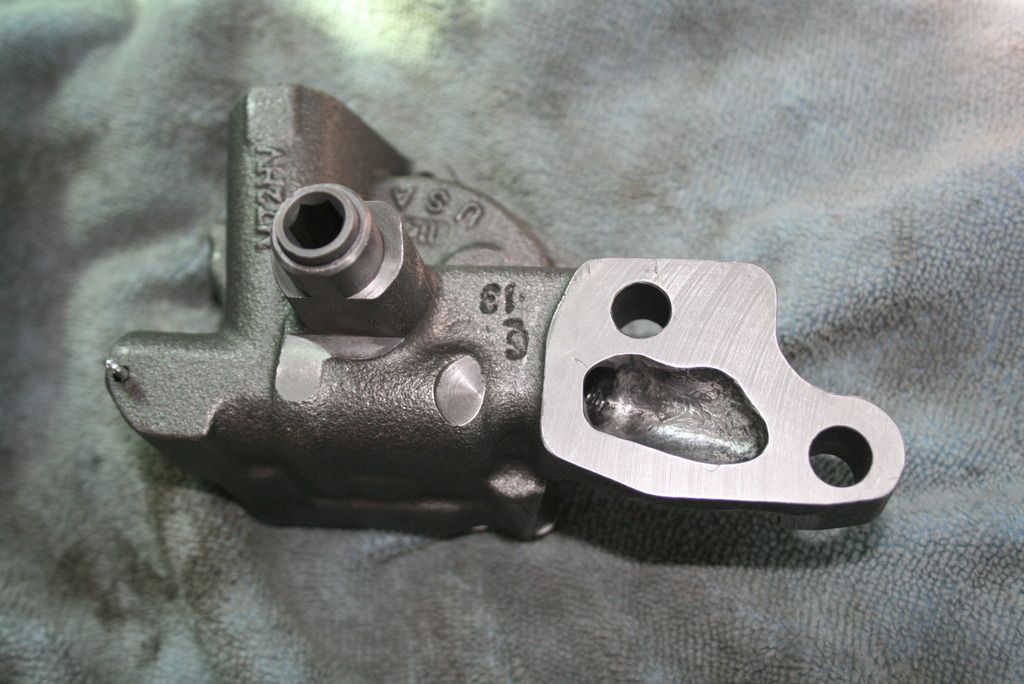
Here's the issue with the Kevko pickup. There is a mounting tab which is supposed to be installed on the #3 main cap bolt. Works with the windage tray bolts but the studs I have do not have the provision for the tray so therefore are too short. The tab on the pickup is now just floating in space. The solution is Kevko M101-1. Wish I had known that when I bought the pan and pickup...
So that's where the engine is right now. I figure once the stud comes then it's basically just assembling the rest of the parts. Won't hold my breath but there really aren't any other stones that have been left unturned. Hope I don't eat my words.
I will detail the transmission stuff in the next post.
More to come.
So OK, abut that engine. This thing has been fighting me since day one. I've had so many backwards steps during the process it's laughable. When I was a tech dealing with engines, we'd have them out, rebuilt and back in in a day and half not counting waiting on parts. This engine is taking 8 months!
Here's a list of do-overs and their fixes;
- wrong rockers (needed 1.6, ordered 1.5)
- wrong head studs (needed Magnum style, not LA)
- took several tries to get crank end play correct
- over torqued rod bolts using rod stretch method (ordered new rod bolts, used regular torque method)
- cracked Precision "blueprinted" oil pump housing (got new pump, swapped coated gears into new housing; thought main cap oil pump mounting surface was crooked causing pump housing to bind; took the cap and pump to the machine shop who said it was OK.
- learned you can not use the washer for the shorter rear main bolt specifically provided in the main stud kit from Hughes)
- dowel holes on cylinder heads did not line up with dowel pins in block (ground the dowel pins down and reamed the pin holes in the heads; still need several whacks with a dead blow hammer to get them seated)
- dropped a head gasket and bent a corner
- destroyed front oil galley plugs because of incorrect installation (drove all over town to several parts stores looking for the correct plugs; found some slightly oversize that had to be ground down to fit.
- found the Hughes rocker shaft hold down studs are too long for the rocker stud holes in the heads and do not allow full engagement of the threads when installed with their hold downs and shafts (have not figured that one out yet)
- timing chain tensioner was a *****
- Kevko oil pump pickup does not work with regular studs (special main stud needed with extra length above the cap bolt; did not know it was available until I wnt to assemble it and it was floating in space with no support; found correct on Kevko's web site. Doh! waiting over a week for the part to arrive)
So yeah, there have been a lot of hiccups with this thing and there's probably more I'm trying to suppress from memory. Some of it was due to my own ignorance, some of it just dumb luck. All of it adds up though and it's annoying having to go back and re-do, re-think or change so many things.
When I took the oil pump and main cap back to the machinist, I told him about all the struggles. He laughed but then gave me a nice vote of confidence when he said when that happens, he knows it's gonna run good. Thanks Glen!
It's true, it hasn't all been bad news - everything else has gone fairly well. I will be stoked to have it finished and broken in though.
Here's a pic of the top end mocked up. It was actually helpful to do this because it helped me see past all the stupid crap and remember what I was working towards.
One thing that did go well was the valve geometry which is kind of a big deal. This pic shows the wipe pattern with the checking pushrod and it's dead nuts.
For break in with a flat-tappet cam running any sort of spring pressure, you need to remove the inner springs to prevent wiping the lobes on first fire up. Here are some shots showing how the inner springs were removed. I have an on-head spring compressor which works great but requires holding the valve up so it does not fall into the cylinder with nothing holding it up. I have an air adapter to force air into the cylinder but the heads were not torqued down, nor was the intake or exhaust so the air would have been useless. I used the old rope trick where you feed rope or string into the cylinder to prevent the valve from falling out. You bring the piston up to TDC, feed the string in through the spark plug hole, do your thing with the valve, re-install everything then pull the string out. Worked great. I used an old hockey skate lace which is really long and thick.
On head valve spring compressor at work.
Here's the valve spring, retainer and locks before removing the inner spring.
A few of the inner springs that have been removed. I got this plastic tray to keep things organized.
Don't remember showing this pic before but here is the cracked oil pump housing. This was from Precision oil pumps. They smooth the ports and remove the casting flash from the housing, coat the gears and check all clearances. Expensive junk now.
I smoothed out the new pump housing myself and swapped the fancy coated gears from the broken one.
Here's the issue with the Kevko pickup. There is a mounting tab which is supposed to be installed on the #3 main cap bolt. Works with the windage tray bolts but the studs I have do not have the provision for the tray so therefore are too short. The tab on the pickup is now just floating in space. The solution is Kevko M101-1. Wish I had known that when I bought the pan and pickup...
So that's where the engine is right now. I figure once the stud comes then it's basically just assembling the rest of the parts. Won't hold my breath but there really aren't any other stones that have been left unturned. Hope I don't eat my words.
I will detail the transmission stuff in the next post.
More to come.