69 Dart GT Conv. 340-6pak

-
Well after finishing some of the home projects for the weekend, I got some time to finish the brake pedal assembly. I had previously glass beaded it and removed the plastic bushings and pin. It's now painted, has brass bushings and new pad and bezel. Ready for install...

IMG_0836.JPG


IMG_1030.JPG
 
All N All this week has been very productive for me. We finished the wiring. All lights work and the radio sounds amazing! Under dash antenna works great. Dual front speakers sound awesome. I won't install the kick panels and speakers until the carpet is in. I installed 2357 bulbs in the tail lights and 2357NA's in the grille, instead of 1157's, and it makes a big difference in brightness. I glass beaded the parking light housings and painted the inside with bumper chrome for extra brightness of the 2357NA's and the outside with silver and they look great. Its amazing what makes a grown man happy, yesterday was the first time in 10 years that I have seen the tail lights burn on this car, awesome.... I installed the grille and headlight bezels also. Todays plan, paint the bumper brackets.

IMG_1049.jpg


IMG_1051.jpg


IMG_1082.JPG


IMG_1073.JPG
 
Well I got around to painting the bumper brackets and the grille center brackets this weekend. Now gotta try to remember the size and length of the bolts that hold them together and the ones that mount the brackets to the car... brain freeze.

IMG_1102.JPG


IMG_1106.JPG
 
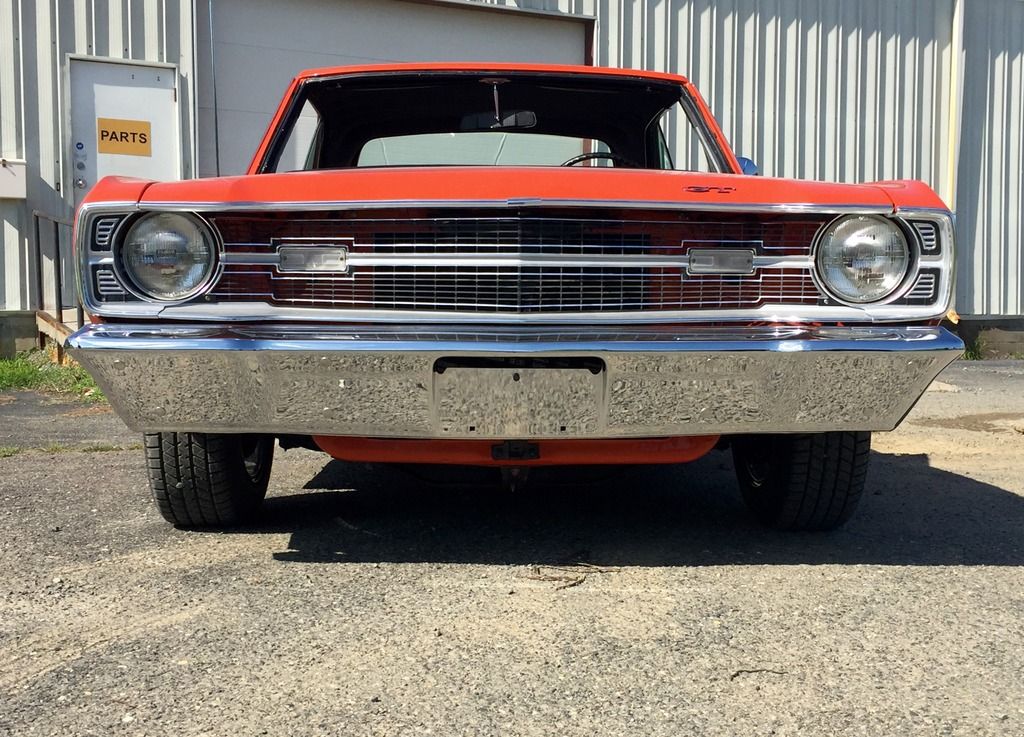
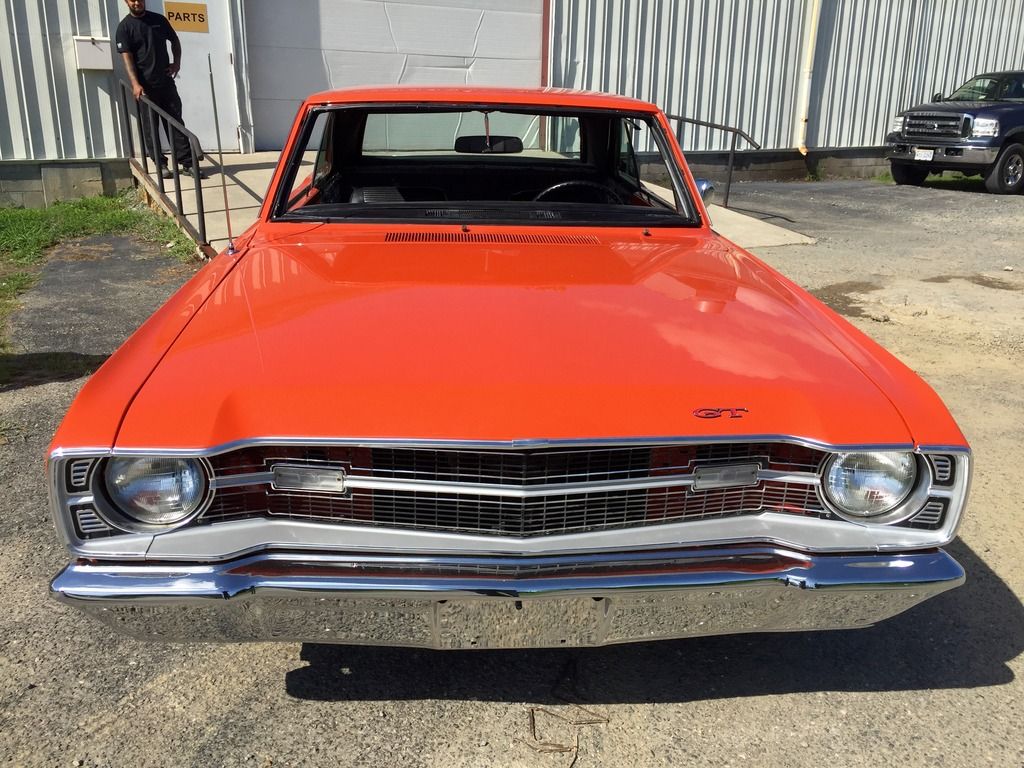
Bumpers and brackets went on pretty much with no issues, heard a lot of horror stories about the repops not fitting, glad I stayed with the oem's. The front end is together, and all fits well. I'm not really sure how much clearance there should be between the bumper and the grille. Any Idea's? Anyway, on to the top frame...

IMG_1120.JPG
 
Bumpers and brackets went on pretty much with no issues, heard a lot of horror stories about the repops not fitting, glad I stayed with the oem's. The front end is together, and all fits well. I'm not really sure how much clearance there should be between the bumper and the grille. Any Idea's? Anyway, on to the top frame...

On my car the gap is 1/2" from the factory.

Bumper gap.jpg
 
Martin,

Here is another front end pic for reference. Mine appears to be just a tad tighter between the bumper and the grille than yours, but yours looks fine to me.


Martin,
Mine appears to be just a tad tighter between the bumper and the grille than yours, but yours looks fine to me.

I DO believe your right! From talking to others as well as yourself, I think the magic number for me is going to be 1/2". I'll move it up this week and take another look at it.
Thanks Va.
 
I could not do this. Excellent job.
Thanks for the adaboy. This is one of the things I love about this site. FABO members encourage and reward efforts of its members. And YES, I think you could do this, if you make yourself a plan and goal, then do your best not to get discouraged (thats where FABO members really help out with encouragement and advice) and take it one step at the time. If you have a project in mind, feel free to drop me a line and I'll help in any way I can.
Martin
 
I sent my horns off to be restored at The Horn Works in Beloit, WI. Got them back yesterday. Haven't tested them yet, but boy do they look good. One piece at at time...

IMG_1153.jpg
 
After a solid week of scraping, sanding and stripping glue, we finally got the top frame clean. Since my car is modified, I was not worried about painting it in the original gloss, I went with semigloss black instead. We painted it this week and it really turned out nice. Going to try to mount it in the car on Monday. Wish me luck...

IMG_1155.JPG


IMG_1156.JPG
 
This week has not been too bad productively. I got the top frame mounted, and the braided trans lines on (waiting on a couple of hose separators from Billet Specialties). I also got the horns mounted and working. The top cylinders and pump came in Friday, hope to get them on this week.

IMG_1169.JPG


IMG_1170.JPG


IMG_1173.jpg
 
Looks really good! I've been wondering how this car was coming. Did you buy new top cylinders or have yours rebuilt?
 
Did you buy new top cylinders or have yours rebuilt?
Hey Darren,
Haven't heard from you in a while,How have you been? How's your vert coming? I purchased a new pump, cylinders, and lines. I got a really good deal from Hydro-E.
Martin
 
The top cylinders and pump are installed and the switch and wiring are connected. All works great. We did make one small change, from the factory the switch would be pushed down to raise the top, and then up to lower. We rotated the wiring to allow pushing up to raise and down to lower the top. I buffed the vent window frame stainless and now all is now ready for the vent windows to be assembled. Stuff to do this week...

IMG_1179.jpg
 
What exactly did you do to polish up those vent window frames? That was the one mistake I made with my build was not properly addressing those parts.
 
I used a buffer on a stand, best money you could spend for a restoration. It came from Harbour Freight, and was only $39 plus $19 for the stand , replaced a couple of pads in the past few years and thats all. Rouge is also reasonable in price. It makes stainless look new... If I can help, just let me know,
Martin
 
-
Back
Top