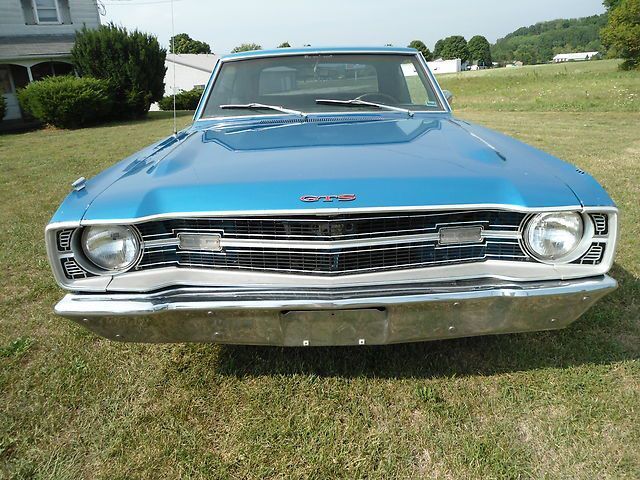
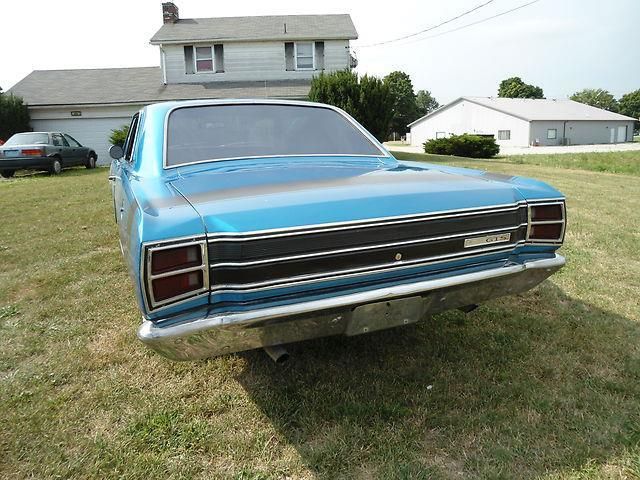
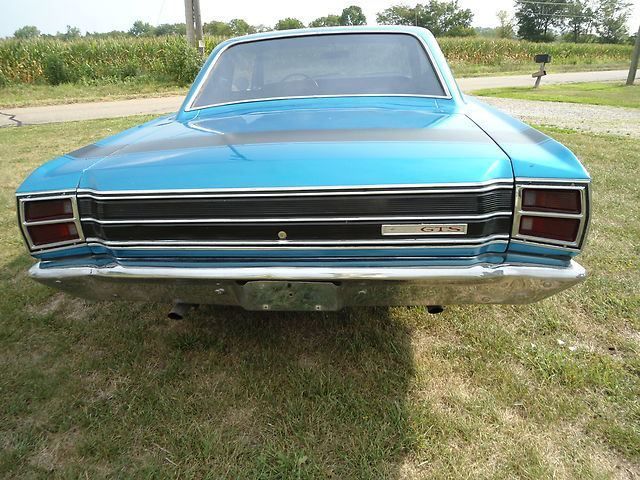
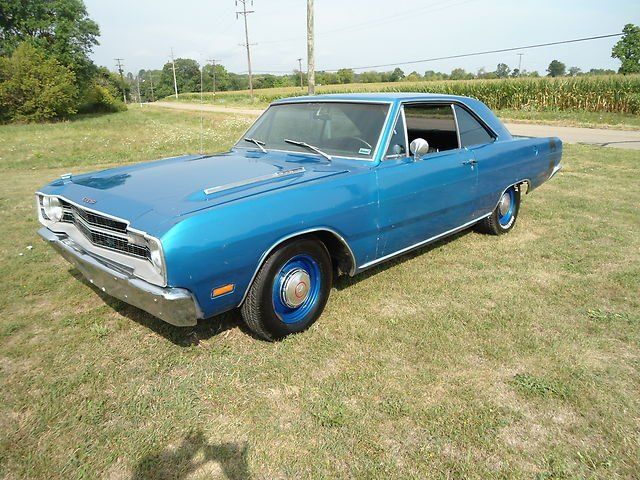
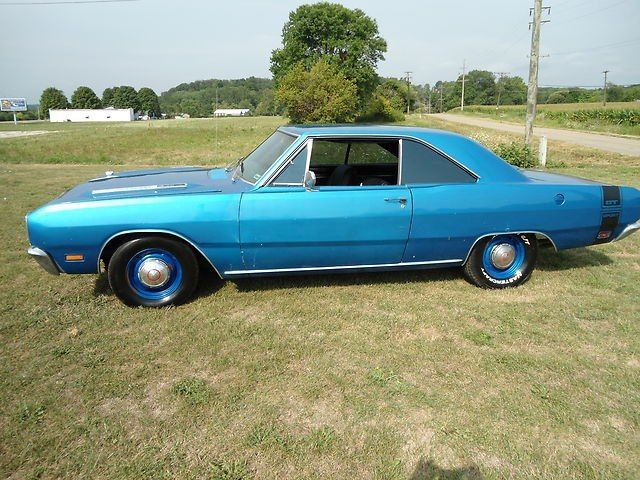
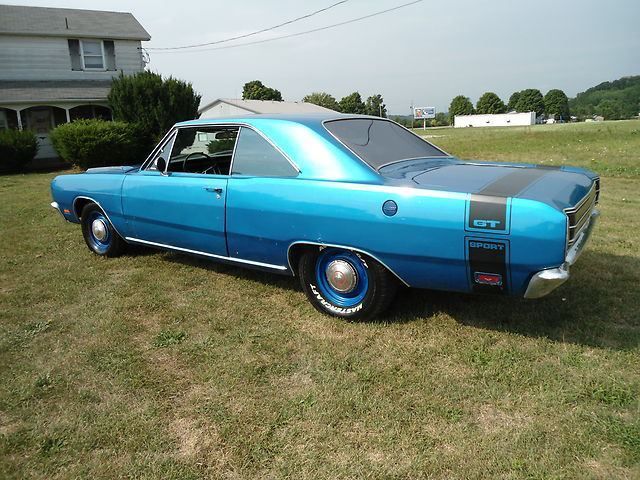
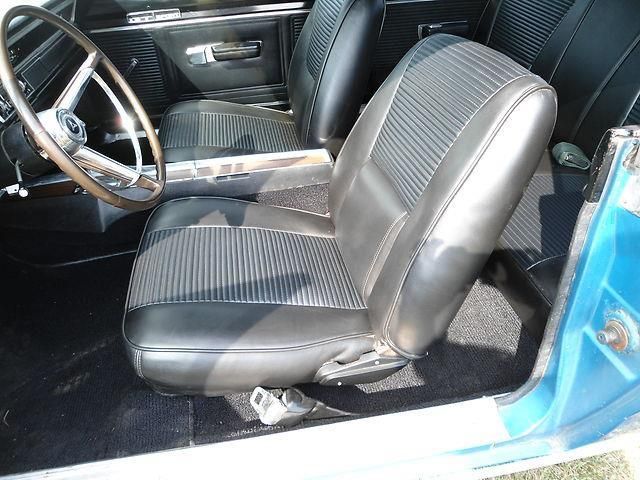
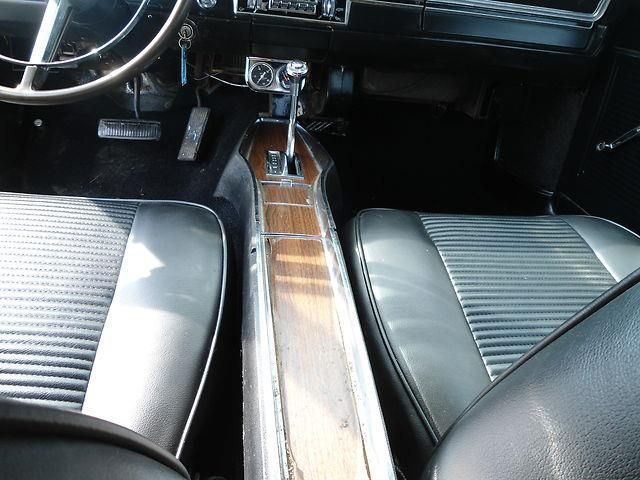
AlV 69 Dodge GTS project

-

AlV

Crabs in a barrel
Joined
Sep 24, 2012
Messages
1,753
Reaction score
350
Location
new jersey
Hi FABO,
I’ve been thinking about starting a thread in this forum to track the progress of my project for a few months. My only apprehension was that I had already started a Facebook page to do just that and thought that it would be redundant and difficult to keep up with. The fact is that I didn’t find my way to ABodiesOnly until after I started my project and created the Facebook page. With that said I’ve decided to move forward with a thread on FABO primarily because I thought who better to share my passion with folks here who share the same passion, and can appreciate it with me the way I do. My Facebook page is open to the public and it’s amazing the number of people who found it, people write in to tell me their personal stories, show their appreciation of the car, ma MOPAR and project.

Background:

As child in the early 70’s, I lived in NYC, my mom was a single parent and did not have a drivers license let alone a car. Back then whenever we didn’t take public transport we were shuttled around by my grandmother. I looked forward to getting rides from grandma because she drove a red 1970 340 Swinger. Too be honest I didn’t know what it was back then, all I knew was that I thought it was the greatest thing on the planet and it was called a Dodge. Over time, Grandma sold the car but it was burned into my childhood memories and it exists today.
Growing up, I really liked street bikes. I’ve owned many cars over the years (nothing noteworthy) but spent as much time as possible on two wheels (I’ve owned at least twice as many bike as cars.. lol). Like many long term riders I’ve had several spills, but two were pretty major. My last big off happened in 2012, I high sided my GSXR 750 at 55 trying to avoid a stray that charged across the two lane road I was on. I got really banged up and broke a bunch of stuff but consider myself blessed because I am fully recovered. That being said, over the years I have had some great bike trips across America and through Europe (which of course comes with lots of tales but that’s not for this thread lol). I still love to ride but have decided that after 28 years I’d take a break, sell my bikes (well except for the 82 GPZ550) and try something new.

This is where my adventure begins…

I don’t consider myself a car guy (well maybe a little now J) so with no real experience I decided to take a leap and direct all the displaced energy of not riding or tinkering with bikes towards a car project. I don’t even think it took a second for me to choose a car because Grandmas 340 immediately came to mind. I shopped around a bit and one day I saw a 69GTS for sale on Ebay, I looked at all the pics on the auction and even had the seller send more pics of the underside and driveline. Never thinking that I would land the car and just wanting to get in the game I placed a bid. AND WON! Whoa! To be honest I don’t really know what kind of deal I made and guess it’s too late to worry about that but I can tell you that I am really happy with it so far… No, it’s not a 70 and it’s not red But it is probably what I would have wanted (beside prying grandmas) if I was driving during the golden age .. lol
I’ve had the car for a year so I will do my best to back the Facebook page into this thread. You’ll notice that for the most part that I am happily stumbling my way through with minimal knowledge and means.

So here we go…

After winning the auction in good faith I sent the seller a down payment and made plans to come out to see the car. I wasn't going to buy it with out having put eyes on it and figured at the worst If I got there and it wasn't as represented or what I thought I could "call it" and maybe loose some money but without loosing my shirt.

The auction was for a running 1969 GTS that had a 1973 318 and A727 from an 88 diplomat. The Auction also included the original numbers 340 engine and Trans. Also part of the deal was an a833 4spd with linkage bell housing and pistol grip shifter and a piece of tunnel sheet metal if I wanted to convert to a 4spd.

This is what it looked like when I arrived at the seller's (Warning Lot's of Pics):
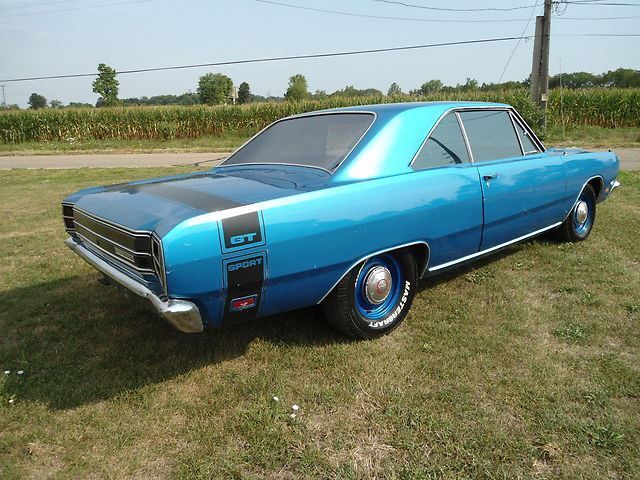
560823_370540163028364_101770291_n_zpsvwhez32k.jpg

553778_370540143028366_1685701194_n_zps4hcyoy8y.jpg

530595_370540253028355_762425503_n_zpsnrrui9nq.jpg

420817_370540169695030_1191200515_n_zpsd6tlzjea.jpg

377441_370540186361695_1555702072_n_zps6ughnuxi.jpg

197281_370540213028359_58716746_n_zpsokgxwo0a.jpg

155517_370540229695024_1229789357_n_zpsiyjgjb7e.jpg

553547_370540289695018_518289873_n_zpsf5nwv6as.jpg

548631_370540329695014_2064152840_n_zpsui42altd.jpg

541293_370540396361674_1668416278_n_zps5mli5hnr.jpg

523509_370540309695016_835590013_n_zpsvqboxtcg.jpg

406949_370540266361687_856395336_n_zpskedq7qwk.jpg

391705_370540406361673_2066430513_n_zpsiiyjna0z.jpg

320332_370540353028345_869806191_n_zpsmfrqczyg.jpg

253079_370540276361686_27375422_n_zps7qmhgiqh.jpg

68405_370540376361676_1487039397_n_zpsz3ivrvzj.jpg

59872_370540416361672_1338400154_n_zpscyy1rdfb.jpg

21479_370540456361668_1914657991_n_zpsqgdj7eeg.jpg

581372_370540443028336_1683406576_n_zpsnrjqbkya.jpg

254271_370540423028338_1663456183_n_zpslfnpmem8.jpg


DSC03584_zpsf546dea8.jpeg

DSC03585_zps0e582872.jpeg

DSC03586_zpsa30d79a5.jpeg

DSC03588_zpse330d67a.jpeg

DSC03590_zps006333e9.jpeg

DSC03591_zpsa8530164.jpeg

DSC03593_zps50e3475c.jpeg

DSC03592_zpsa41a0b14.jpeg

DSC03600_zps22a33f1b.jpeg

DSC03599_zpsd24fbbc5.jpeg

DSC03598_zps69f6faaa.jpeg

DSC03596_zpse793a023.jpeg

DSC03597_zps67d6e8b3.jpeg


So I hooked it up...
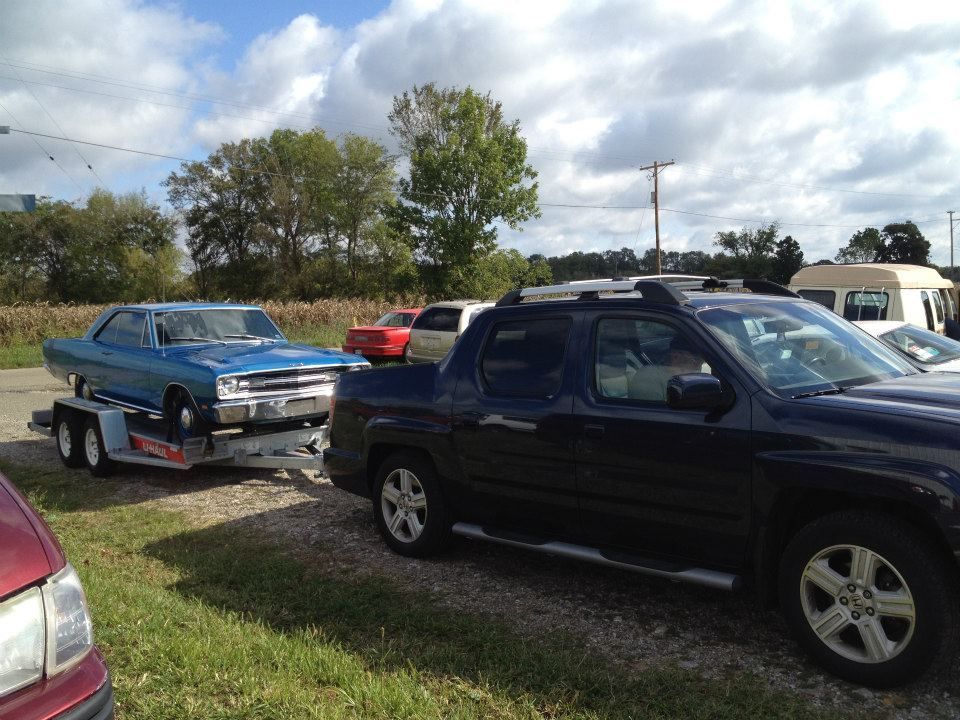
hooked_zpsc2njohyb.jpg
 
I think I would stick a key in it and call it done.

LOL! I hear ya I was really surprised when I got there but as pretty as it looked there was a lot that needed to be sorted.

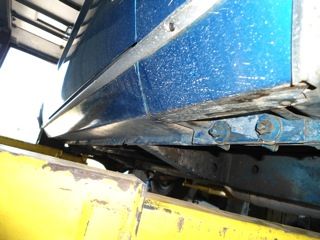
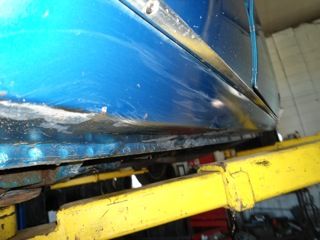
There were quite few things that I noticed needed attention and some that didn't work at all, to point out a few... there was a bad vibration when I took it for a test drive. The steering also felt really loose to me. The transmission didn't kick down at WOT. The AC/Heater control only worked to blow air. And there were some body points that I wanted to look at further. The car looked as though the driver side had been hit and the repair work from the fender to the rear quarter was very wavy. The fiberglass over the cowl seam by the drivers side was cracking/lifting and more. I also wanted to get the original engine and trans sorted out and back into her. I'll do my best to illustrate what I've found and how I attempt to address them.
 
I took the car for a ride when I went to see it and noticed a vibration that pick up with the speed of the car.
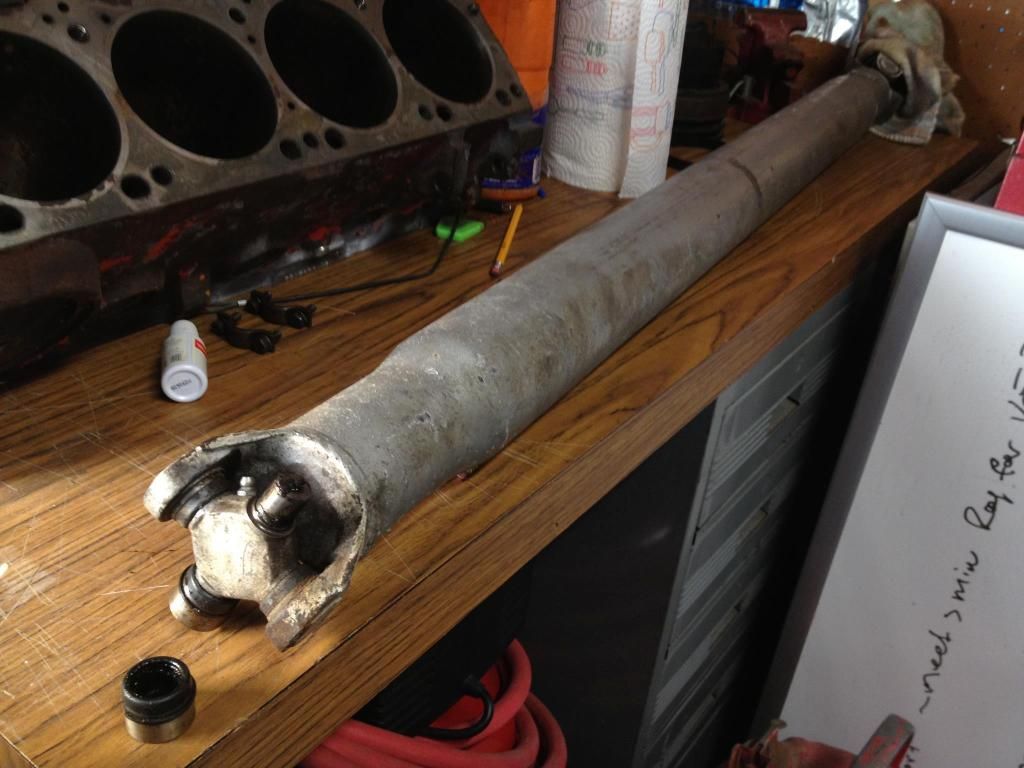
Once I got it home in the garage I took a look at the drive line and I saw that the rear Universal Joint was shot. I also noticed that the tail shaft seal on the transmission was leaky (I'm guessing it was from the drive shaft vibration I was feeling).
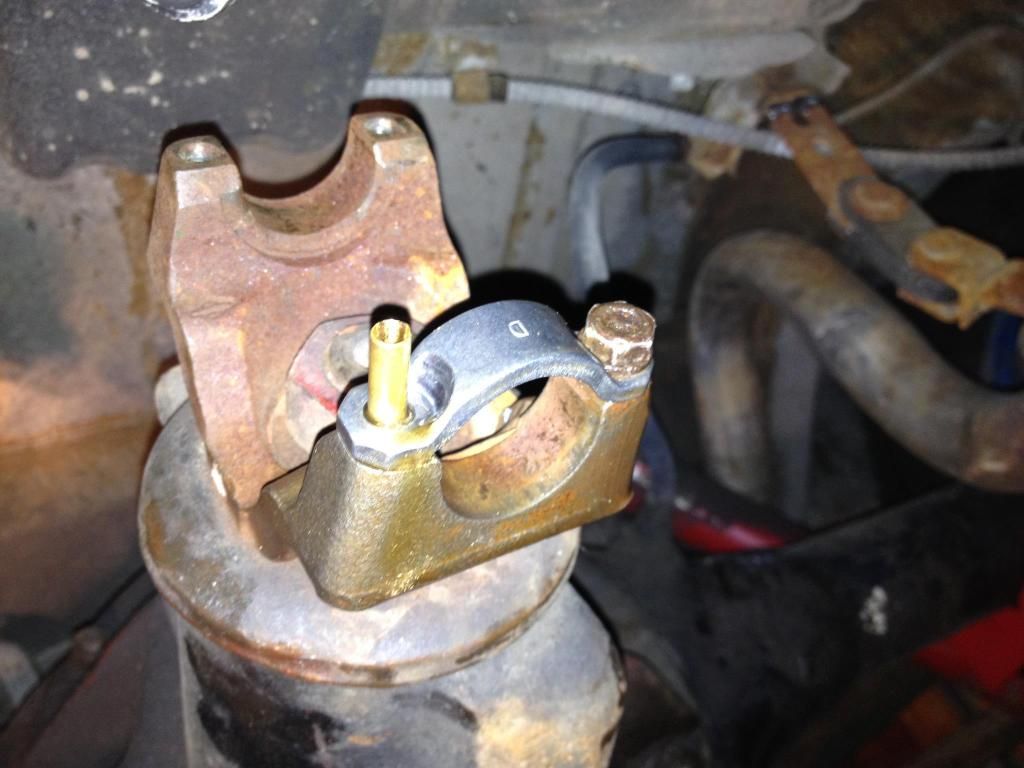
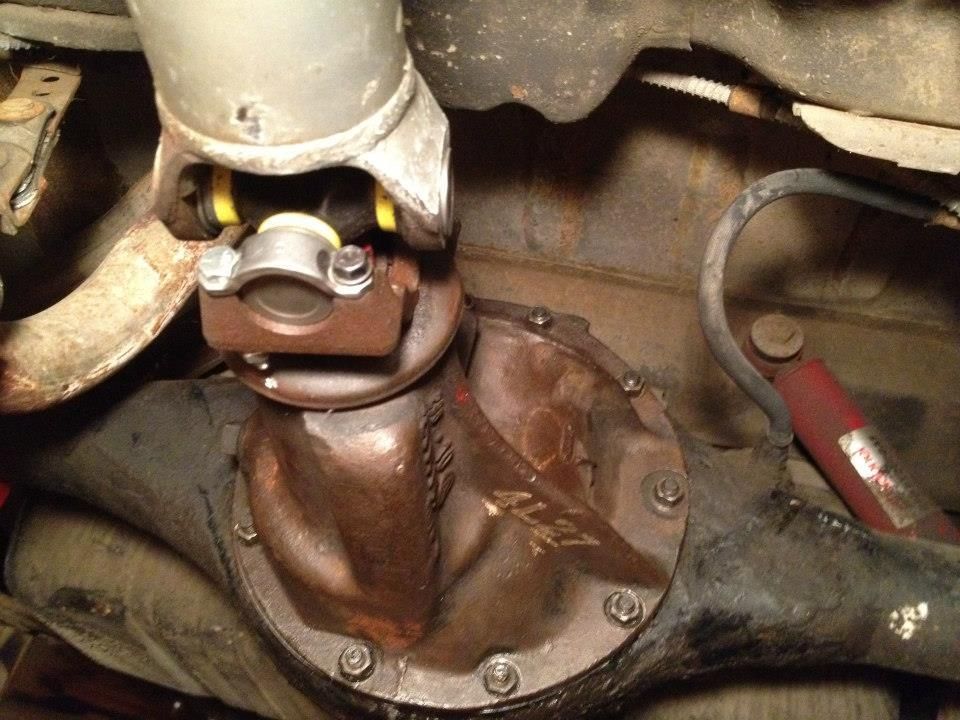
I pulled the Drive shaft and was able to determine that I need to purchase the large size ujoint and which transmission seal to buy. While I was under there I was able to identify that I had the 741 8.75 differential (this will come in handy later). Check out the pic of the ujoint and drive shaft (you'll catch a glimpse of the 340 in this shot).

1933216_371013726314341_8211341_o_zpstmivnbqc.jpg


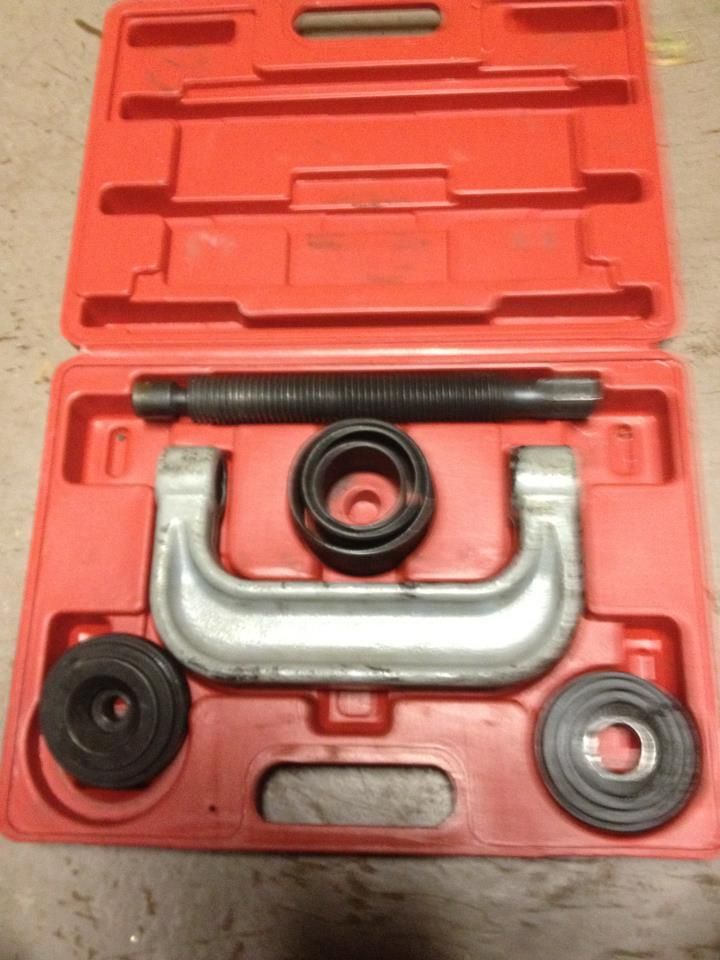
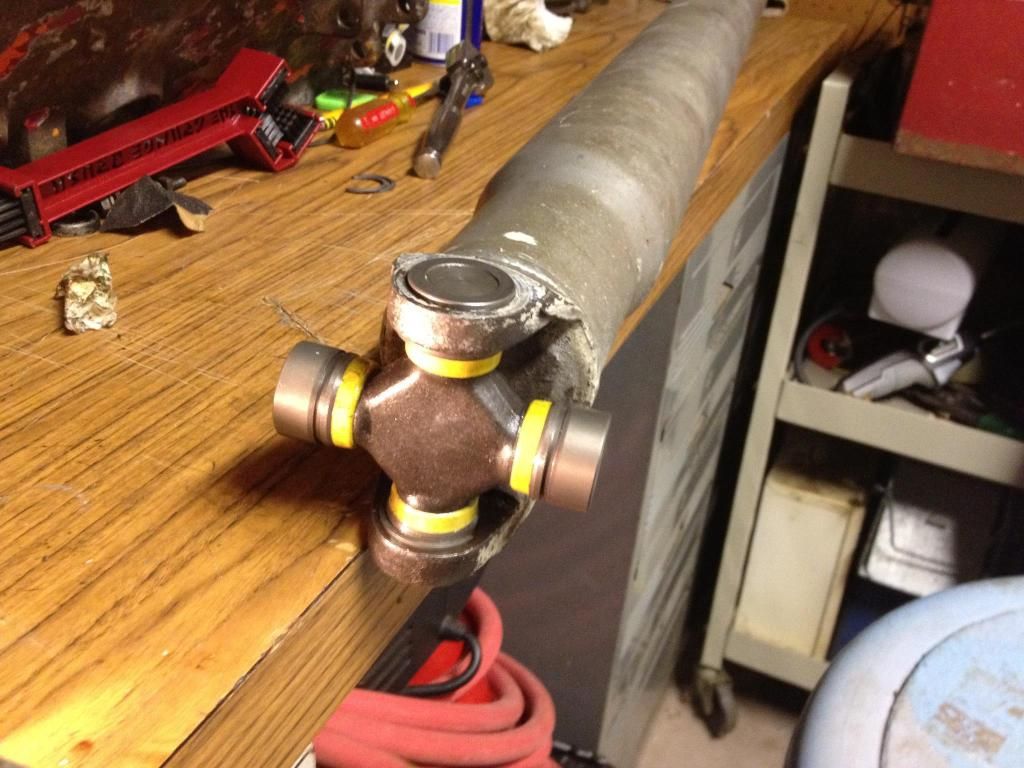
It turns out that the old ujoint was in really bad shape. The caps pressed into the dog bone at the end of the drive shaft were the correct size. While the caps set into the pinion yoke were the smaller size!??? huh? I rented this baby from auto zone to swap out the ujoint.

282236_371178719631175_49107162_n_zpsbhll8ojg.jpg


This seems more like it.

53390_371178936297820_392434908_o_zpsidtxb7ev.jpg


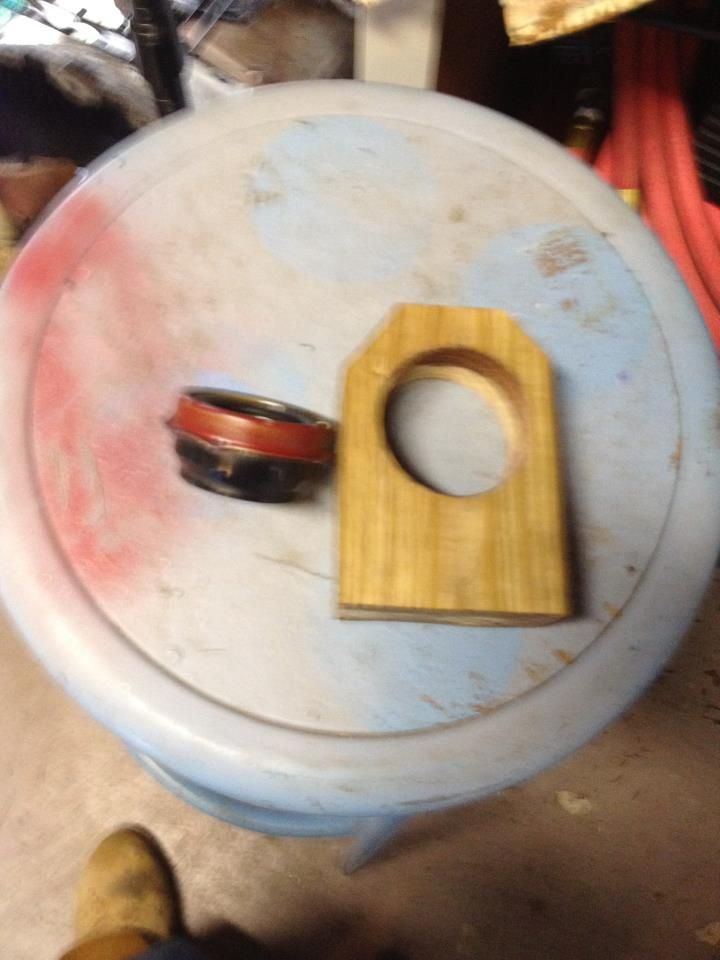
I replace the seal in the trans. The picture captures the old seal and my home made seal installation tool.
602360_371262122956168_1443503718_n_zpstfog6cxy.jpg


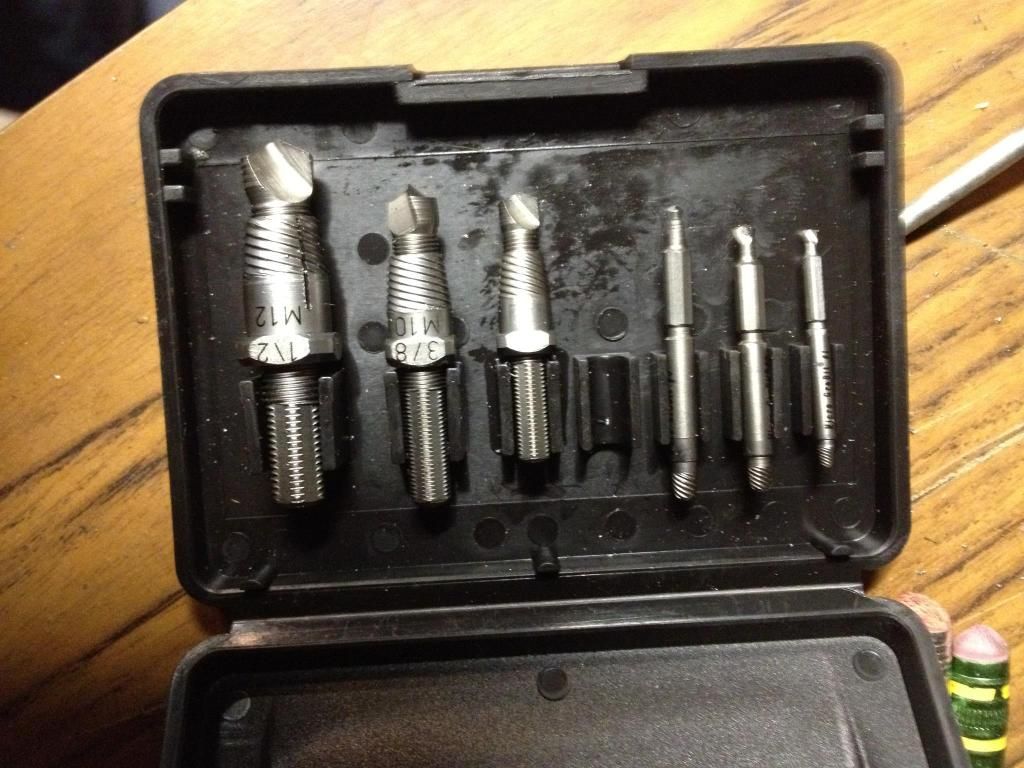
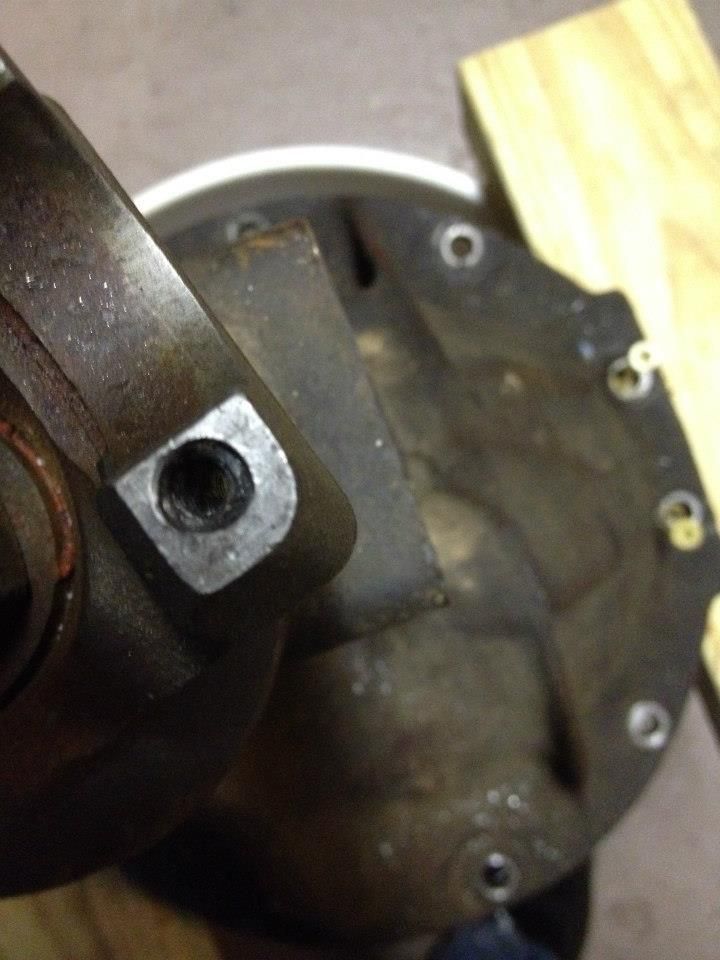
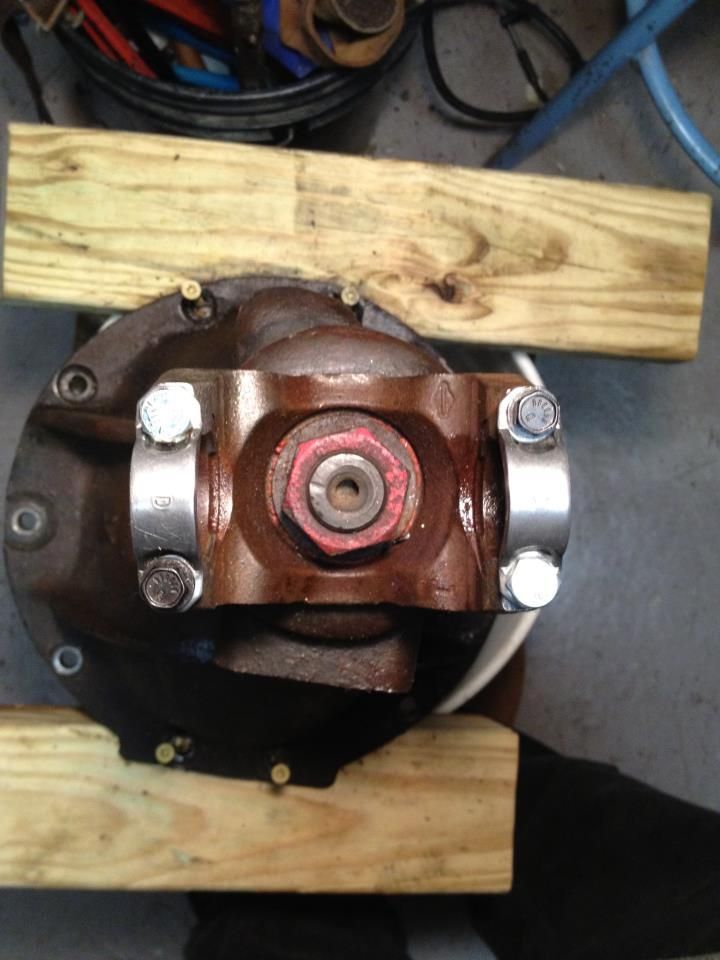
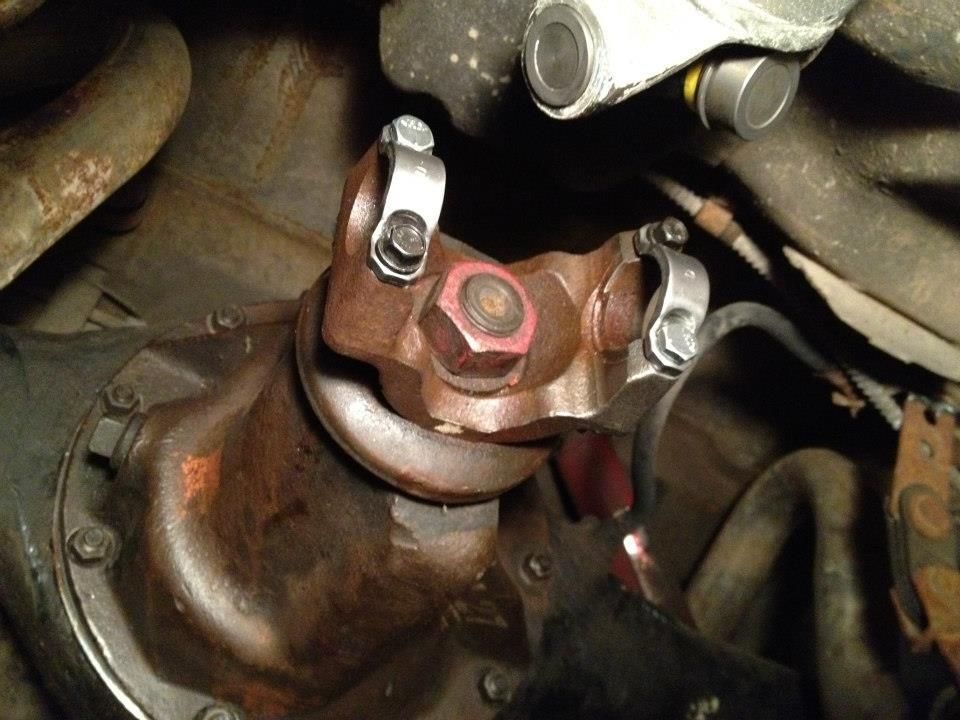
UGH! sheared a bolt on the pinion yoke during reassembly. I ordered The Alden drill out kit and replacement cap and bolts. I used a center punch and still wound up off. Guess that's just me LOL. Time for some left cut carbides and a lot of time under the car on the floor.

22321_371596506256063_1179872767_n_zpsiqi37qm5.jpg


I came up with this idea to make a homemade jig to recenter the hole. I went out and bought two 1/8th inch cobalt bits and cutting oil. After two hours finally got the bits to start a nice cut. I worked the bit in about half way through the stud and inserted the drill out extractor.

53934_372413482841032_1046481597_o_zpscqs3gpvm.jpg


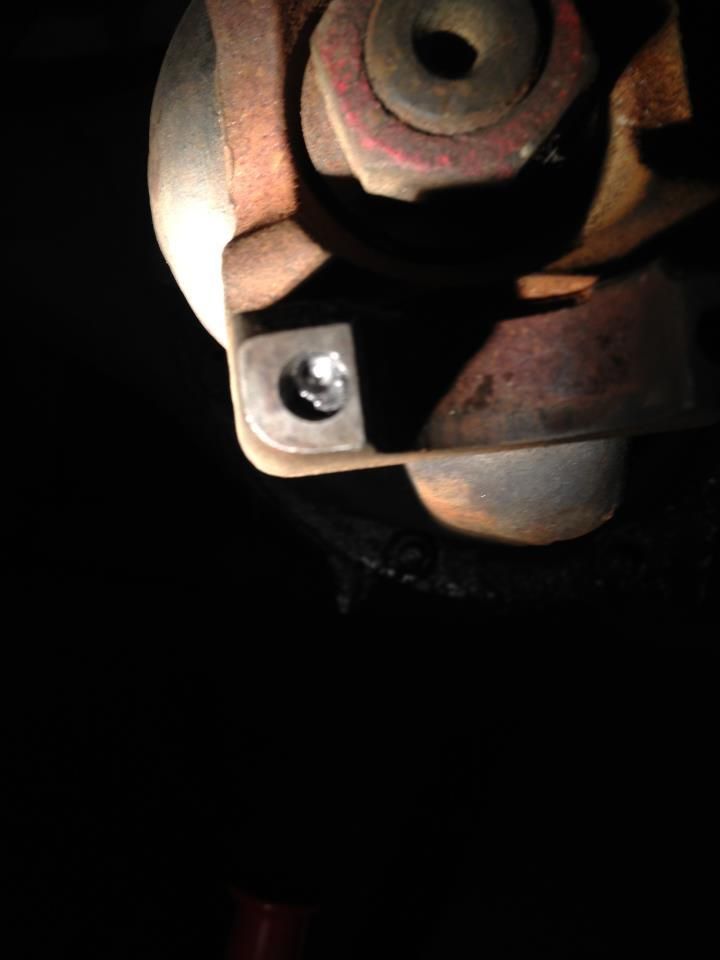
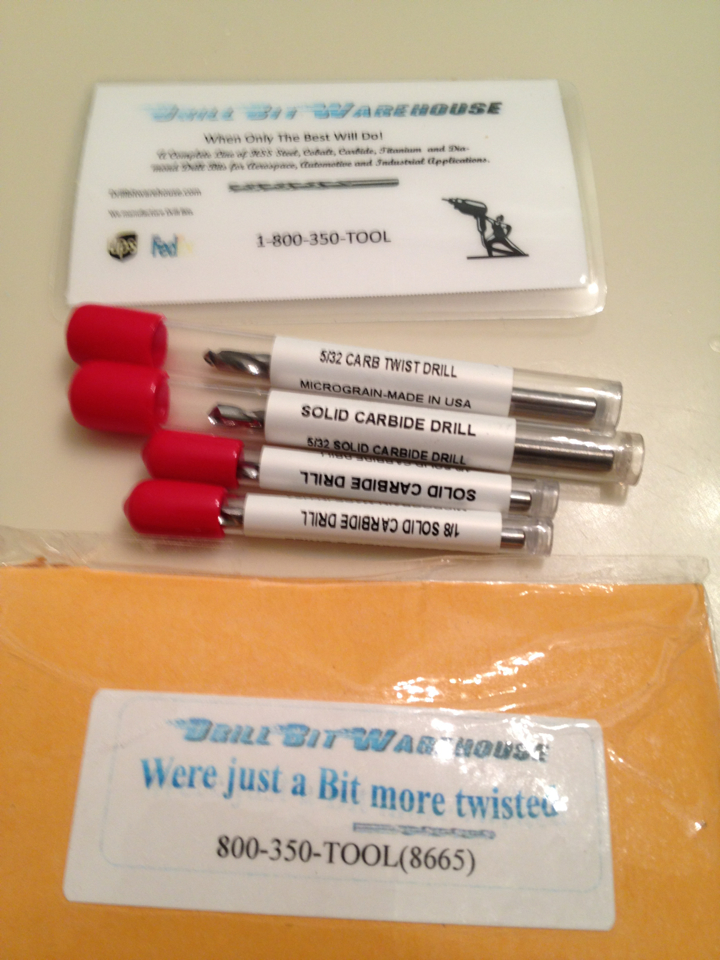
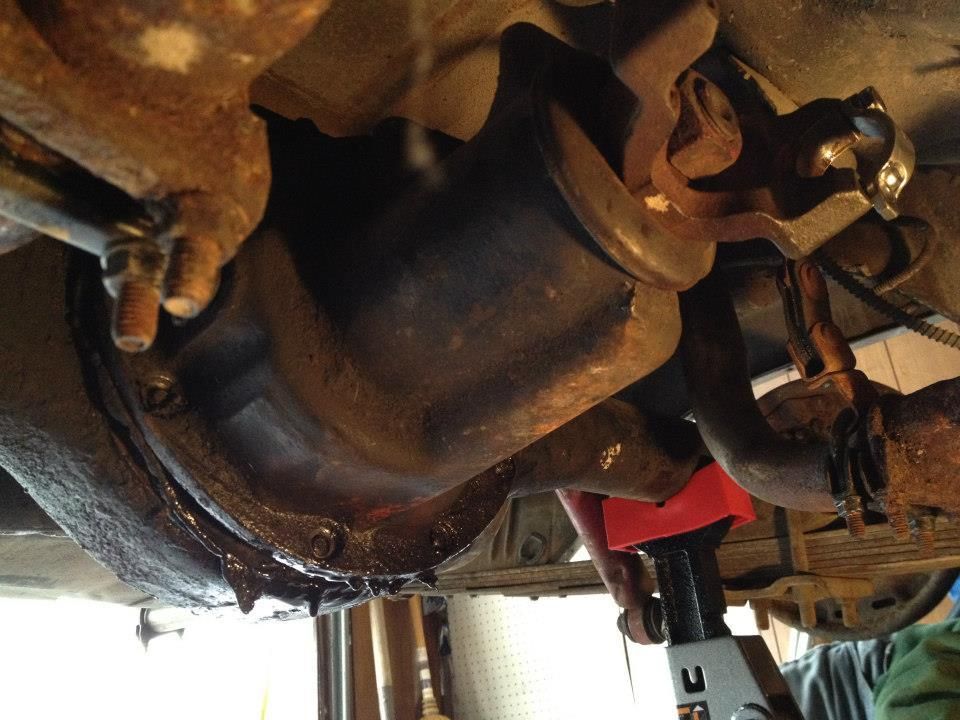
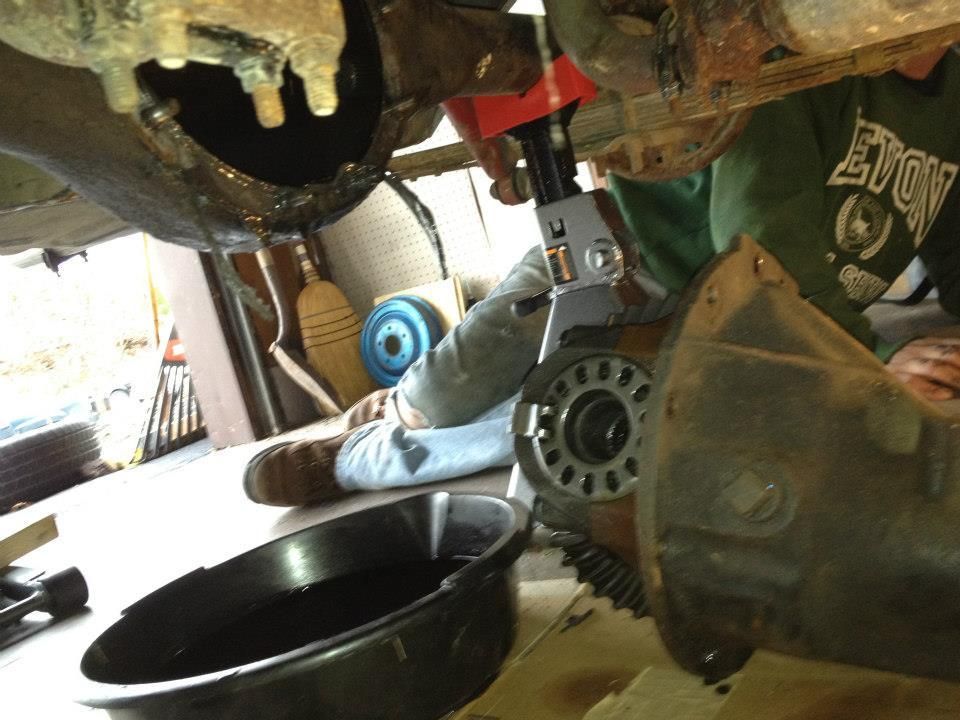
I'd like to tell you that I was successful and I thought I was out of the woods but.... look at the picture, the empty space is where the extractor would go if it didn't break off in the bolt!! Grrr. now I have some solid carbide bits on order and a lot more drilling in my future. Not sure if it will even work. The next series may be me removing the rear to get at this problem (and I'll replace the differential gasket while it's out).

326740_372415026174211_201378015_o_zps4ezeoyr9.jpg


I've decided at this point to order some carbide drills and remove the rear diff to drill it out.

400302_375994419149605_775480880_n_zpskl0eloby.png


59436_377061645709549_285936172_n_zpsrkdlvyvn.jpg


311491_377061669042880_1810311281_n_zpsnqncgt3e.jpg


311180_377061655709548_433420934_n_zpsmwvrv1vf.jpg


643979_377061692376211_1892887367_n_zps6umby8o5.jpg

534650_377061732376207_1753837906_n_zps84browds.jpg

395116_377061745709539_1400682315_n_zpskw5djzia.jpg

68394_380039535411760_1606204049_n_zpsaeeffb5w.jpg

600154_381608851921495_1702188706_n_zps1szkyumw.jpg

261457_384430708305976_1729005293_n_zpsqonb239l.jpg

155421_387506747998372_1677399482_n_zps2dcdbxlb.jpg

543851_387506734665040_1806095614_n_zpsqxviu2ac.jpg


I buttoned it up at this point and took it for a test drive.
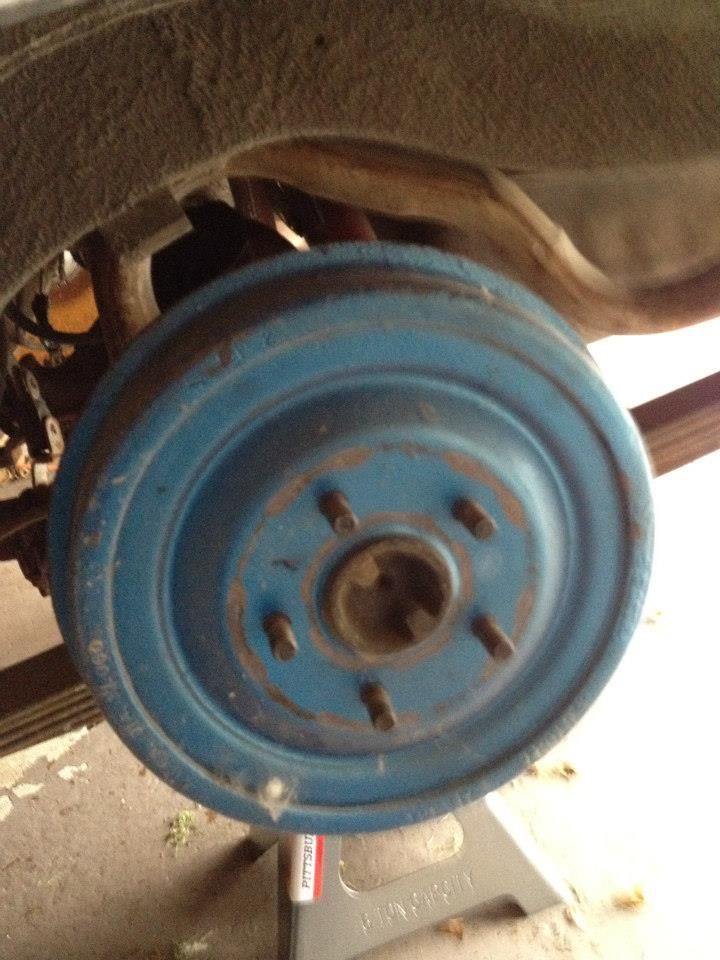
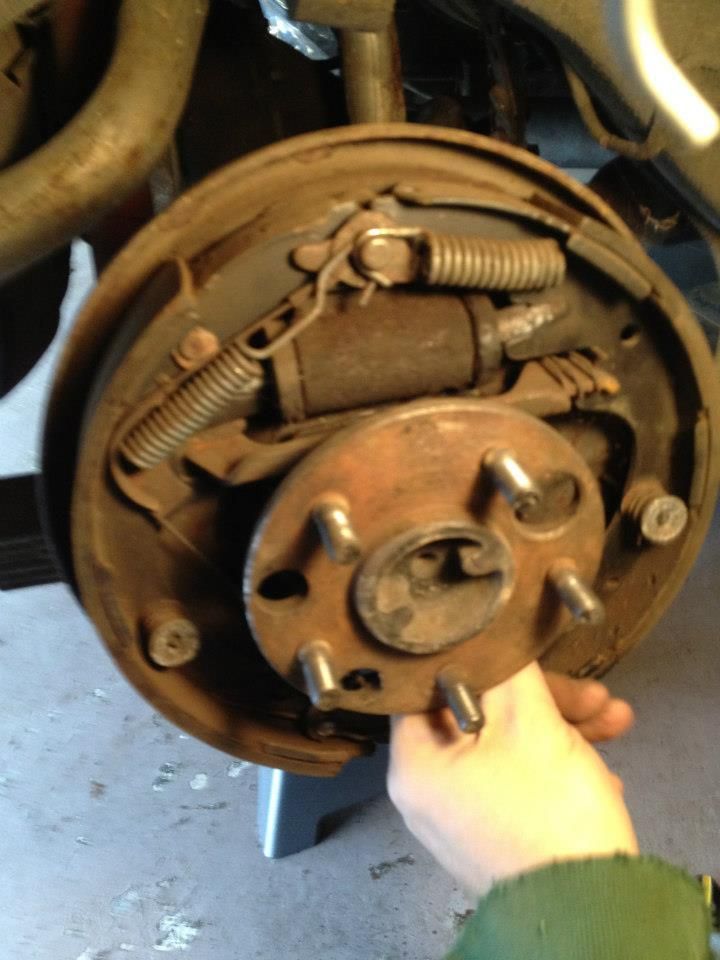
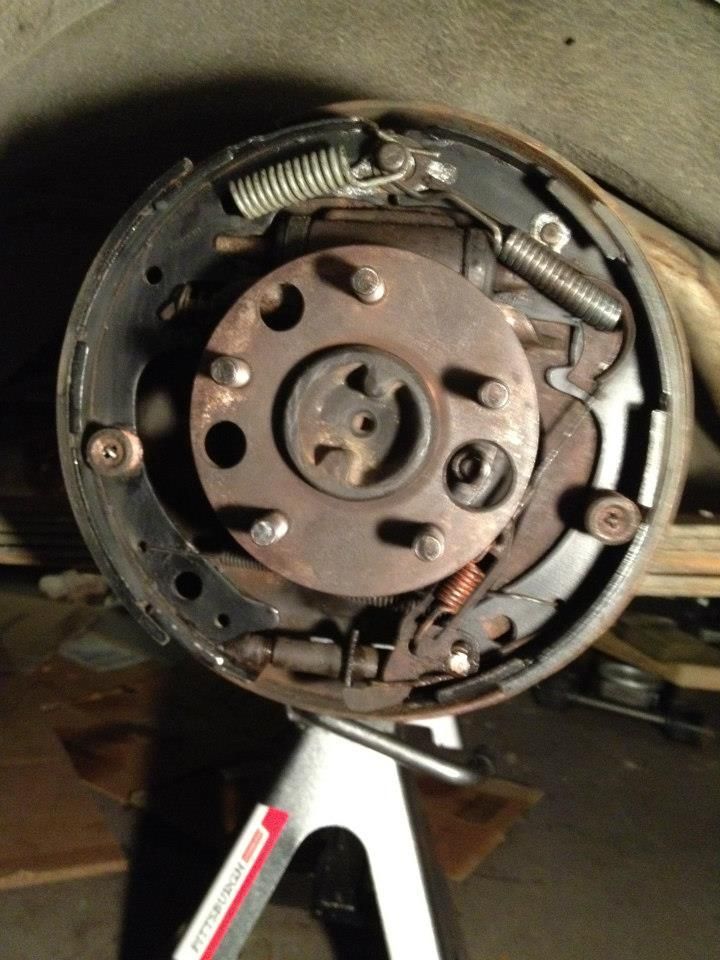
The vibration and shake was gone and I was able to adjust the brakes which worked much better. I ended up drilling through the Yoke and using new grade 8 bolt. The trans was still leaking from the the area behind the torque converter. I'll take a look a the trans in the future but decided to focus on the steering next.
 
Thanks! rymanrph you are correct.

Replacing the yoke was definitely on the table, in fact it was my first thought... I did the research but shy'ed away from it because it was early in the project and I wasn't entirely sure how to set the preload and wasn't ready to rebuild the deferential at the time. In retrospect I probably should have done it but I mainly wanted to get the vibration handled and move on to the next task.

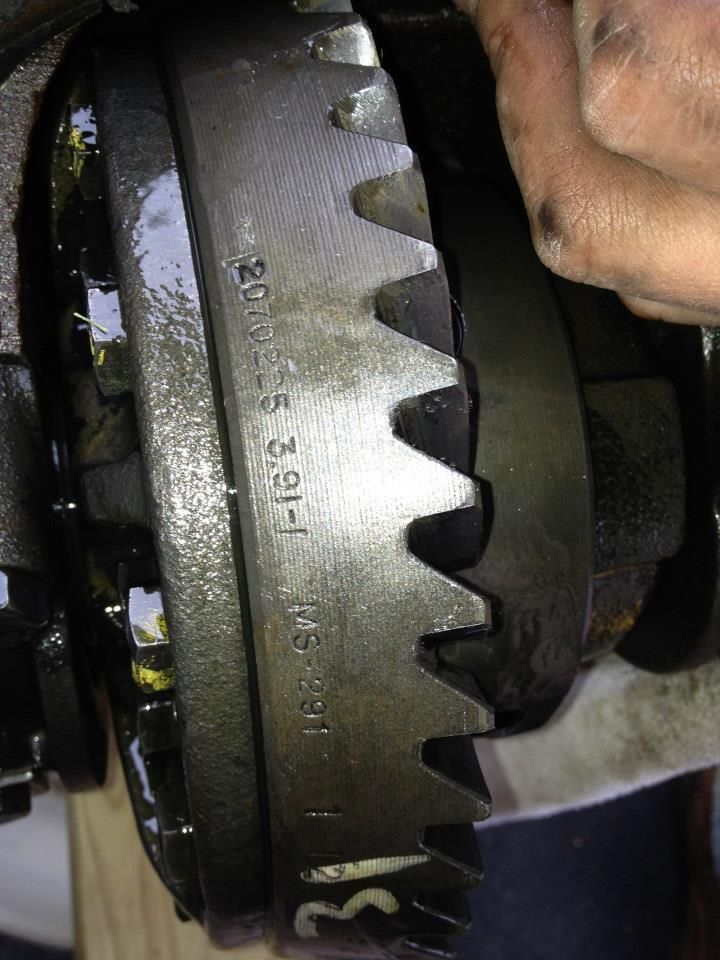
I am definitely coming back to it though... at some point soon I'll rebuild the rear (w/ a new yoke), keeping the 3.91 suregrip setup and I'd like to have another center section set up with either 3.23 or 3.55's on hand to swap out with the 3.91's as needed.

Happily stumbling along... :iconbigg:
 
Some of the things I took away from doing the work on the drive line and brakes..

Diff case cast = 2070741
Diff and pinion yoke U-joint cap size = 1.124
Diff center = 8.75 w/ New MR. Gasket seal.
Diff Gear ratio = 3.91 w/ Sure grip
Slip yoke = 29 spline
Drive shaft = 48" L x 3.25" Dia.
Brakes = Rear are 10" w/1.75 shoe

I spent a little more time poking around and found some interesting things, some scary. Some of which are items that are going to be a bit more involved than I thought. Makes me feel like tearing down the car and doing a ground up overhaul. lol

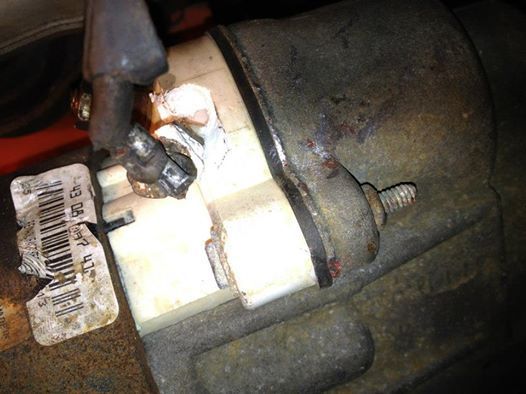
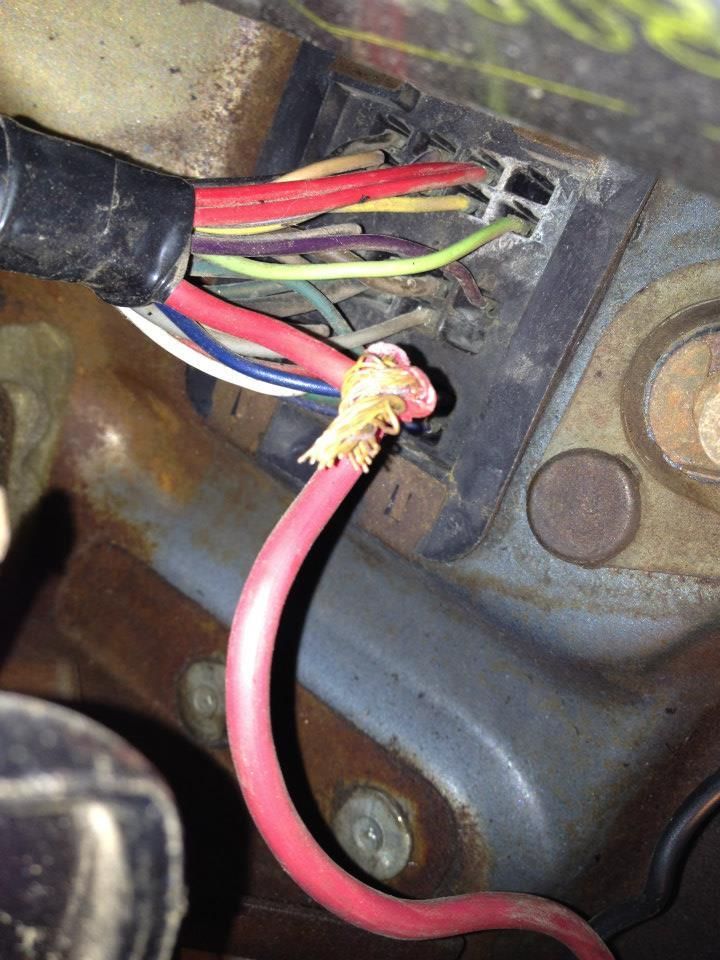
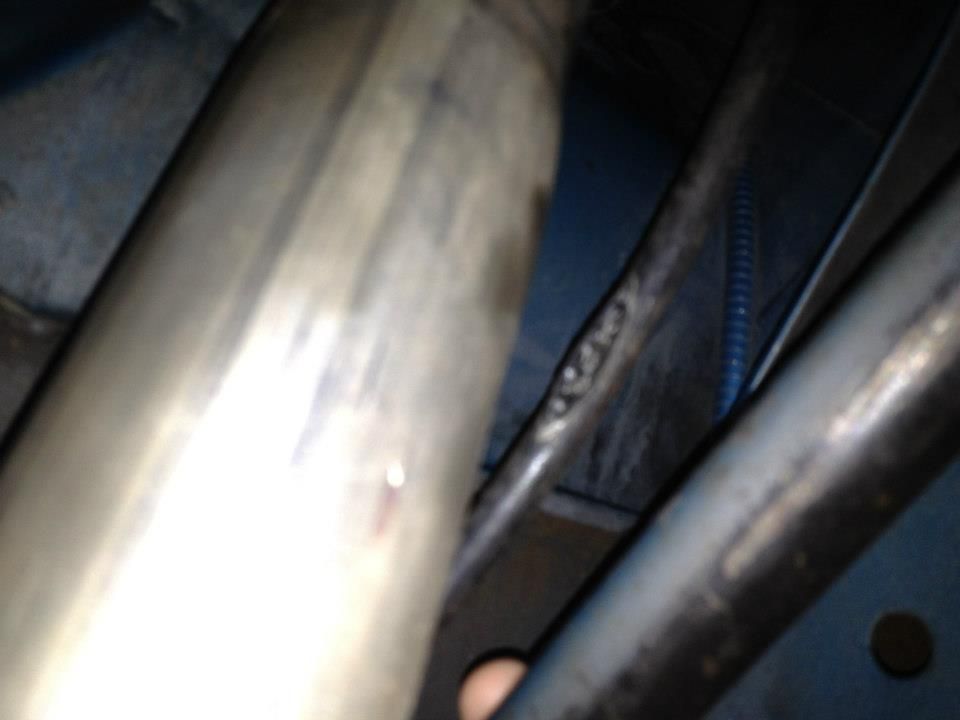
These are photos of the damaged starter motor, under dash bulk head connector and speedometer cable. The start motor terminal insulator is broken but the starter is still functioning. The Bulk head connectors are notorious for over heating and the speedometer cable was poorly routed and was touching the exhaust which burned through the casing (I'm hoping that's why the speedo wasn't working).

Starter damage

522971_395453860536994_1074510452_n_zps2rp9tuez.jpg


Damaged bulk head and 10 Ga.splice under the dash

375209_395453870536993_1243595771_n_zpsfmyfj844.jpg


Damage to speedo cable

564887_395453900536990_329224030_n_zpsatb0vra5.jpg


Next step is to fix the starter, dive deeper into the electrical harness and replace the speedo cable.
 
I was ready to install the starter and I'd like to say that I put it in but I didn't. lol
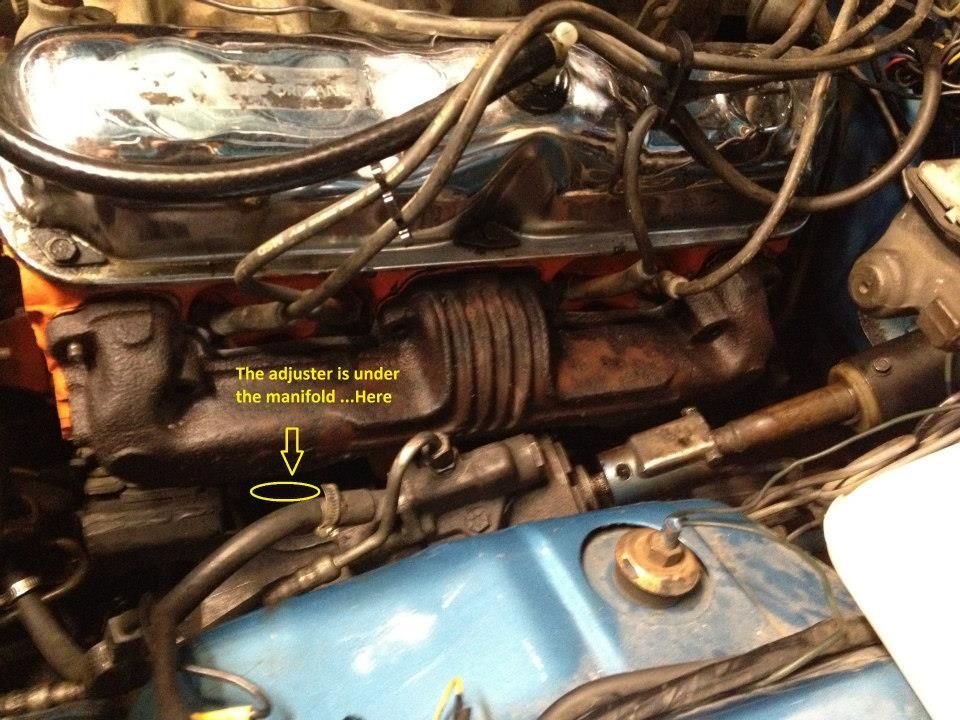
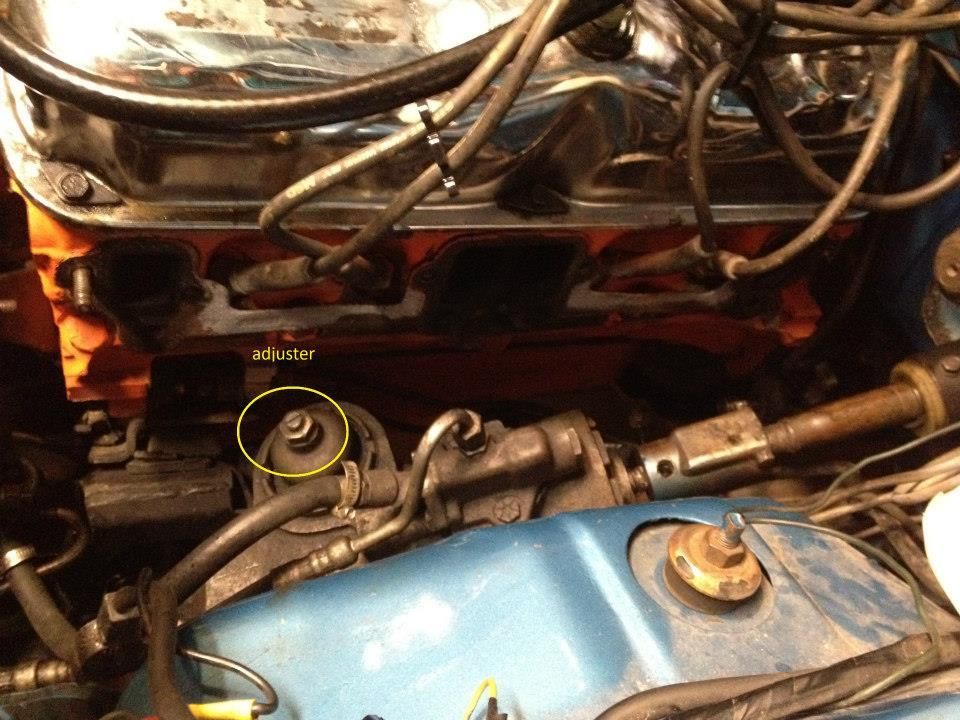
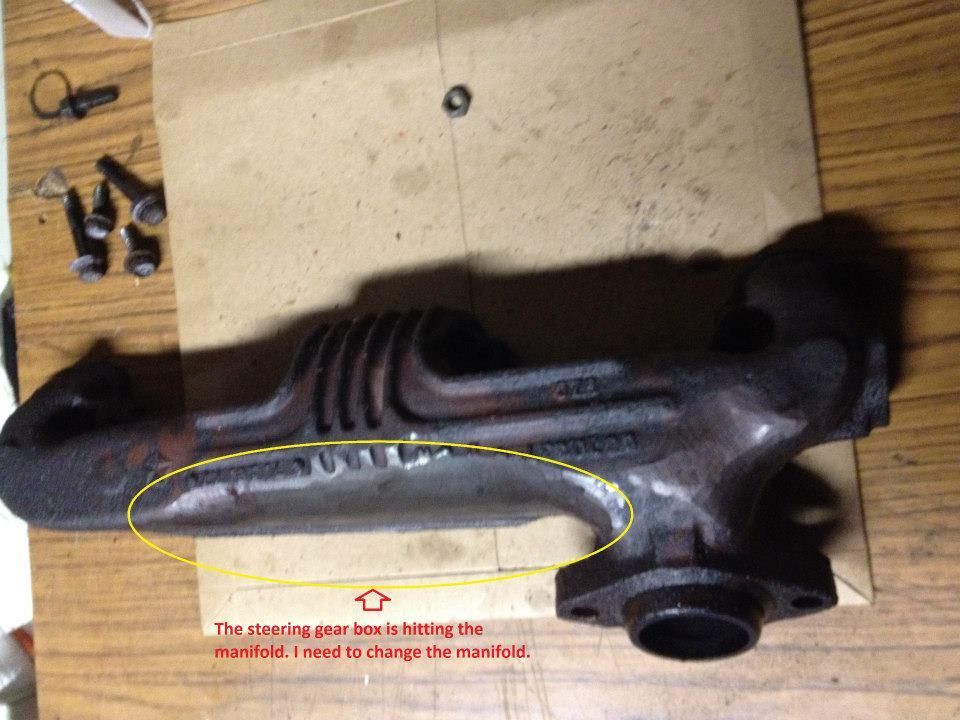
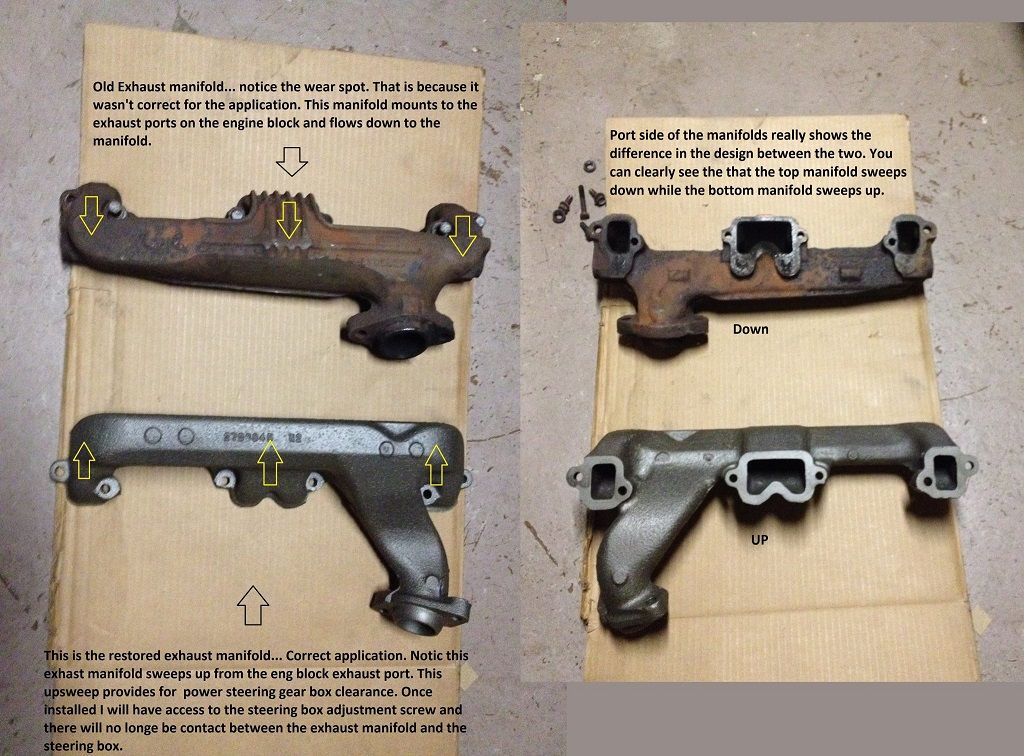
Since I had so much room with the starter out I decided to disconnect the exhaust from the manifold to gain better access to the transmission to sort out the kick down linkage and replace the speedometer cable. But I didn't do that either! Instead I removed the exhaust manifold from the engine to gain access to the steering gearbox adjuster. It turns out that the 318s manifold was not correct for use in this application because of the way the manifold exited from the head and slopes down (rather than up) it was rubbing on the steering gear box. As a result of the contact with the HOT manifold the gear box has developed some leaky seals (I'll take care of that later) but at least I know.

553226_397227940359586_1146980424_n_zpstm0bro11.jpg


405975_397227953692918_1318294439_n_zpsy44iz8tb.jpg


421003_397227927026254_1698791294_n_zpstraloqrg.jpg


I went ahead a picked up a better set of manifolds for this application.

manifold_zps32759486.jpg


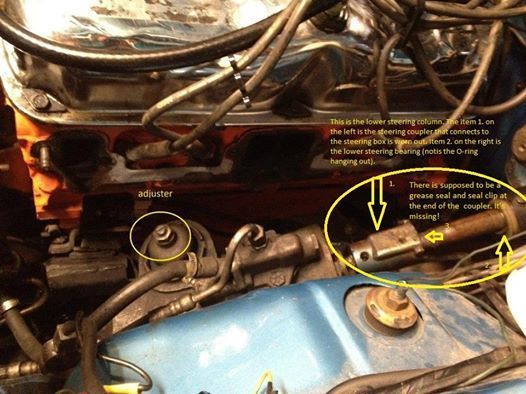
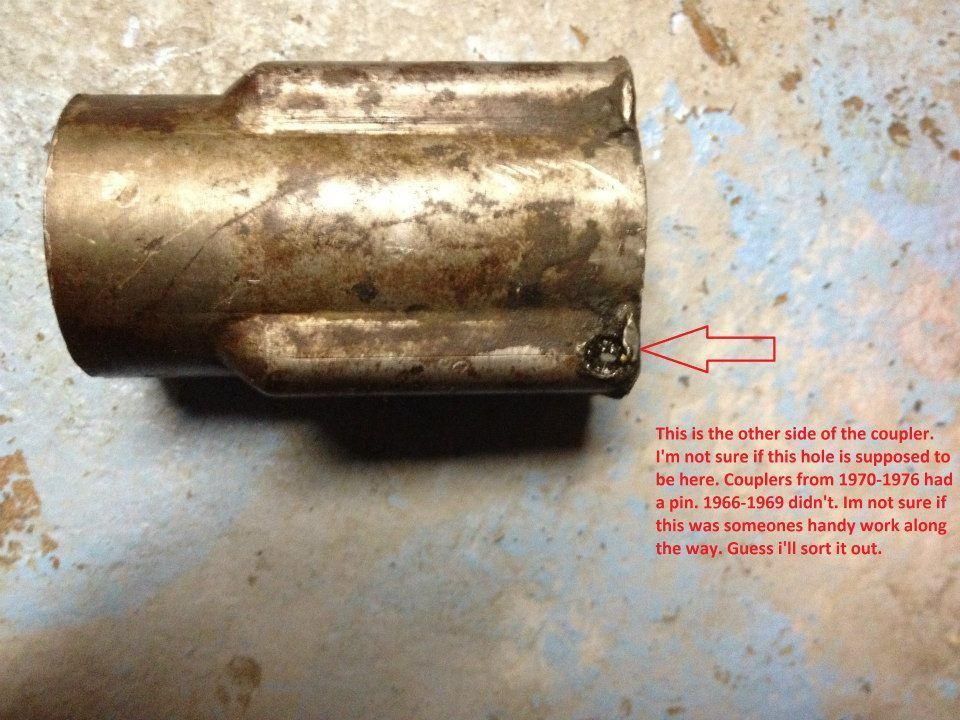
With all of this stuff out of the way I noticed that the steering column looked badly worn and in serious need of repair. One thing I noticed right away was that the coupler was hacked and no longer pinned to the gear box spline. I could just give it a good tug and it would separate. I'm in a bit of a rabbit hole but enjoying it. Since I have the started sorted out and the new speedo cable I decided to move ahead with the steering column. I'll eventually make my way back to the dash wiring.
 
Why not get real 340 Manifolds. They flow pretty good and are meant to fit your car. Look around and you could find a set for 300-400.
 
Why not get real 340 Manifolds. They flow pretty good and are meant to fit your car. Look around and you could find a set for 300-400.
I hear ya 68GTconvert... I first looked around for the 69 340 HP manifolds and they were going for around $500-$900. I decided right away that I wouldn't buy those for the 318, although I would definitely consider them for the 340 once it is ready. I found this pair of 68 Dart 273-318 manifolds pretty cheap and thought for the price they would suit the 318 and my needs in the short term. Keep in mind that at this point I'm still combing through the car and finding tons of things that need my attention.

This far my plan was to make the car safe to drive and get everything to work. Then drive it while I get the original 340 and 727 rebuilt.

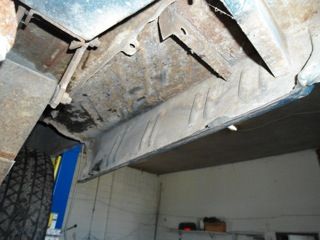
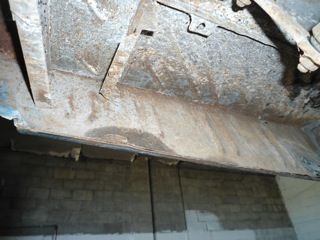
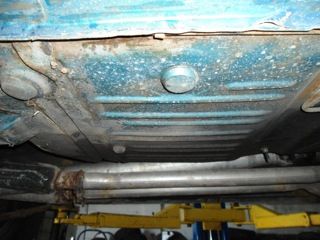
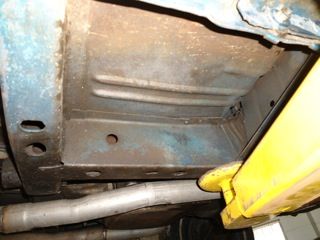
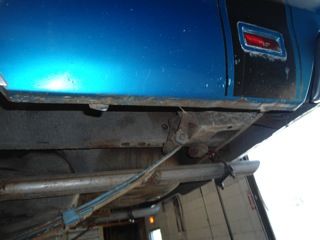
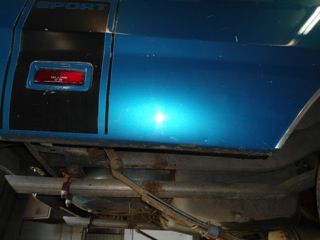
Unfortunately, as nice as the metal looked there was a lot of work to be done under the shell. :coffee2:
 
Looks like the rubber insulator at engine mount is broken in one of your pictures.

Hi Ian, good eye! Thanks for the heads up. I didn't catch that until much later... I was so focused on the growing list that I was compiling that it slipped by me. This is my first car build and I'm not tuned in yet. I like to say that I'm happily stumbling along. :D
 
Feedback it's welcome and appreciated because i look at with inexperienced eyes and could use all the help I can get. Thanks!

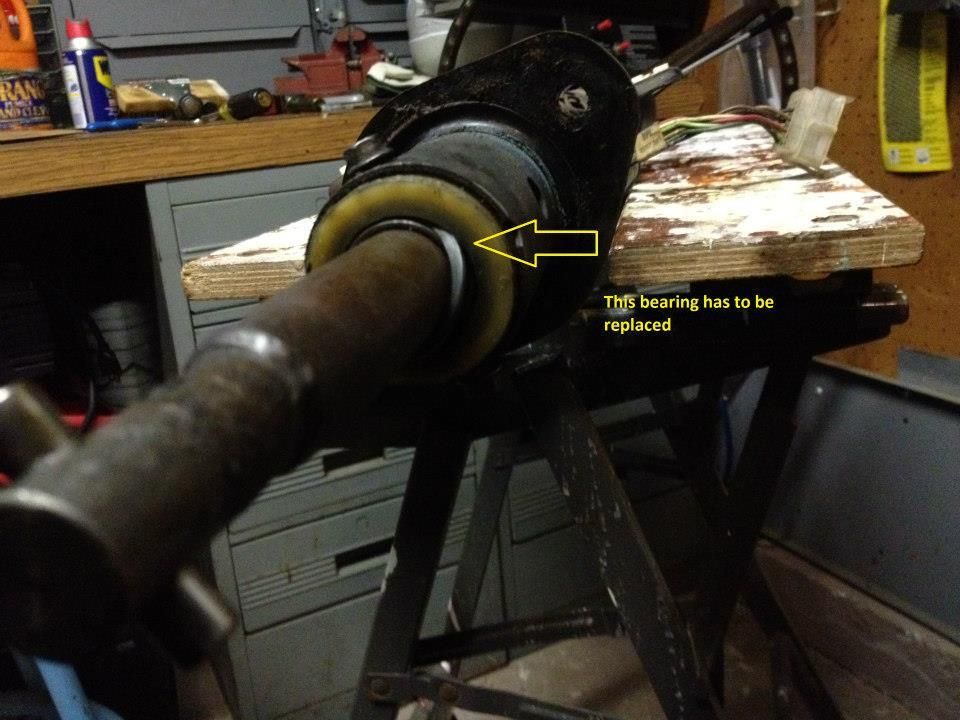
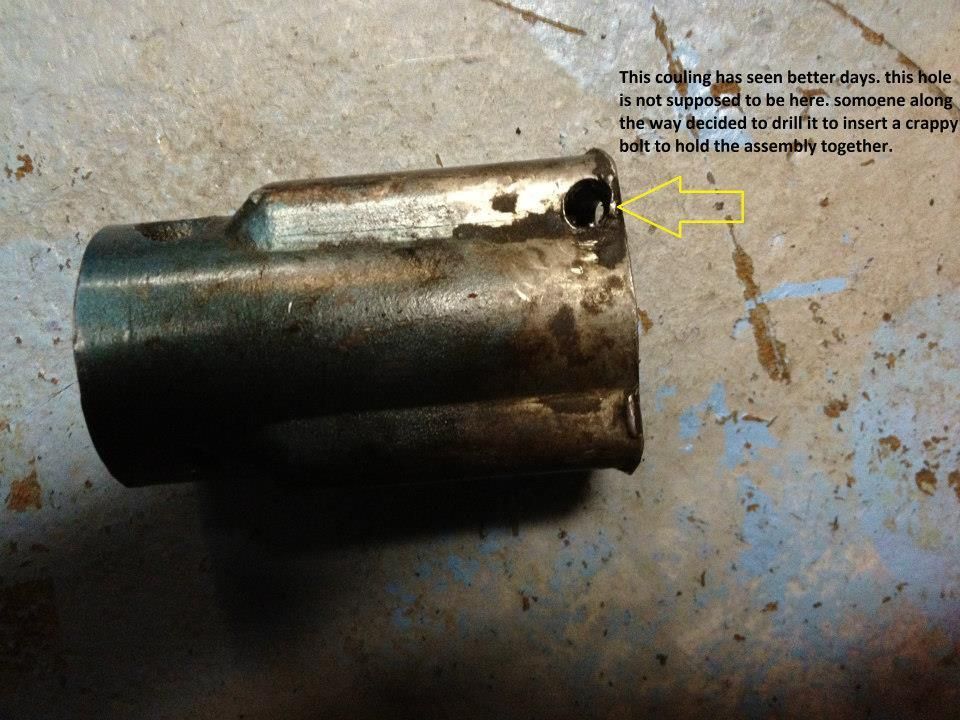
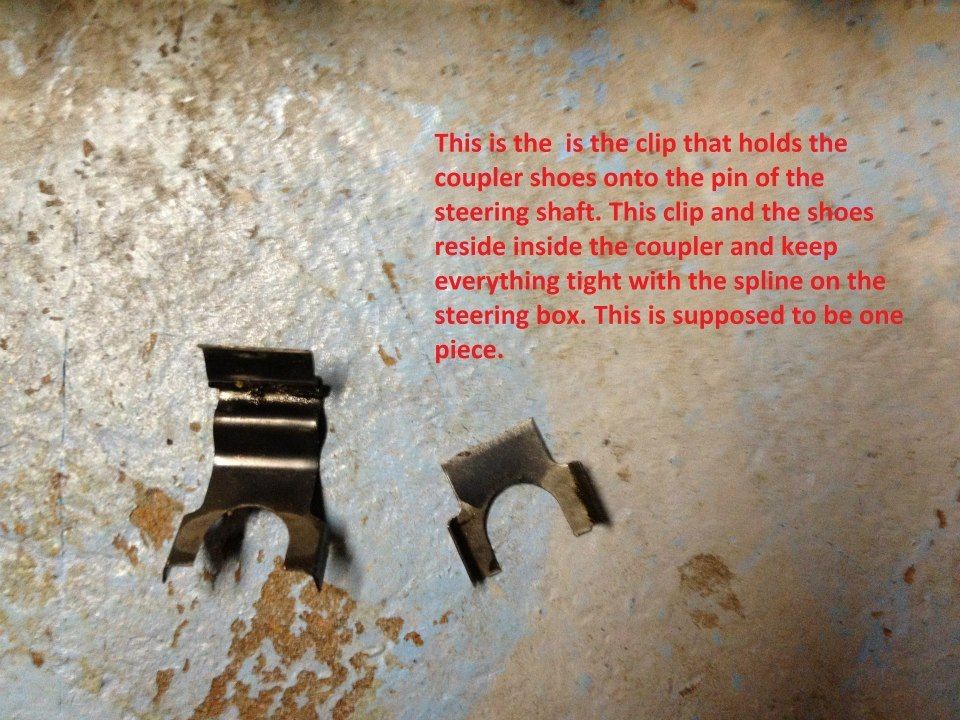
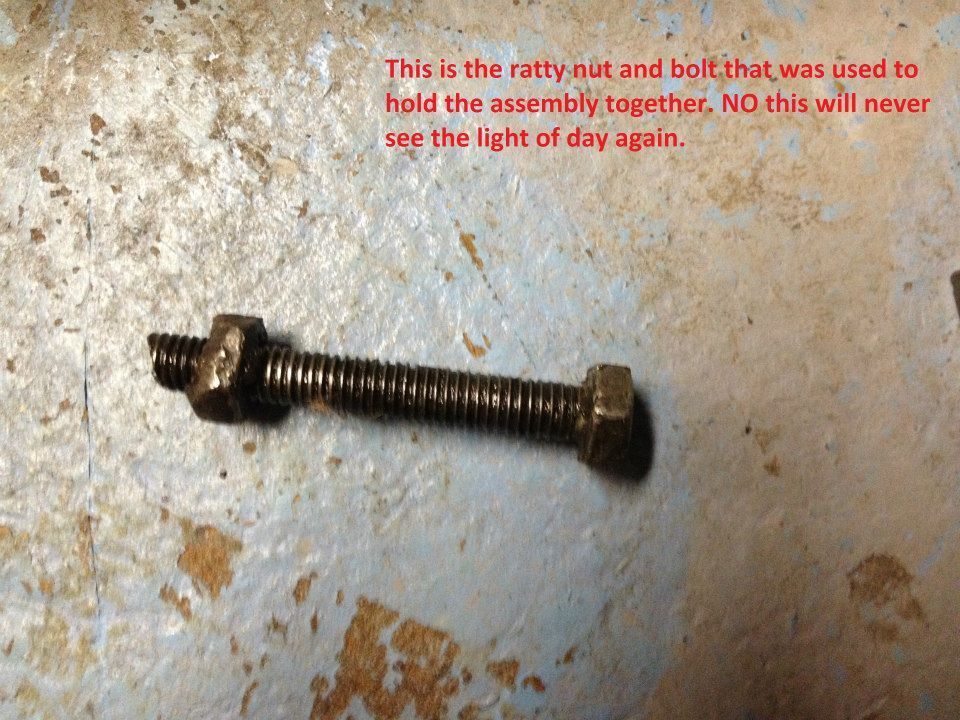
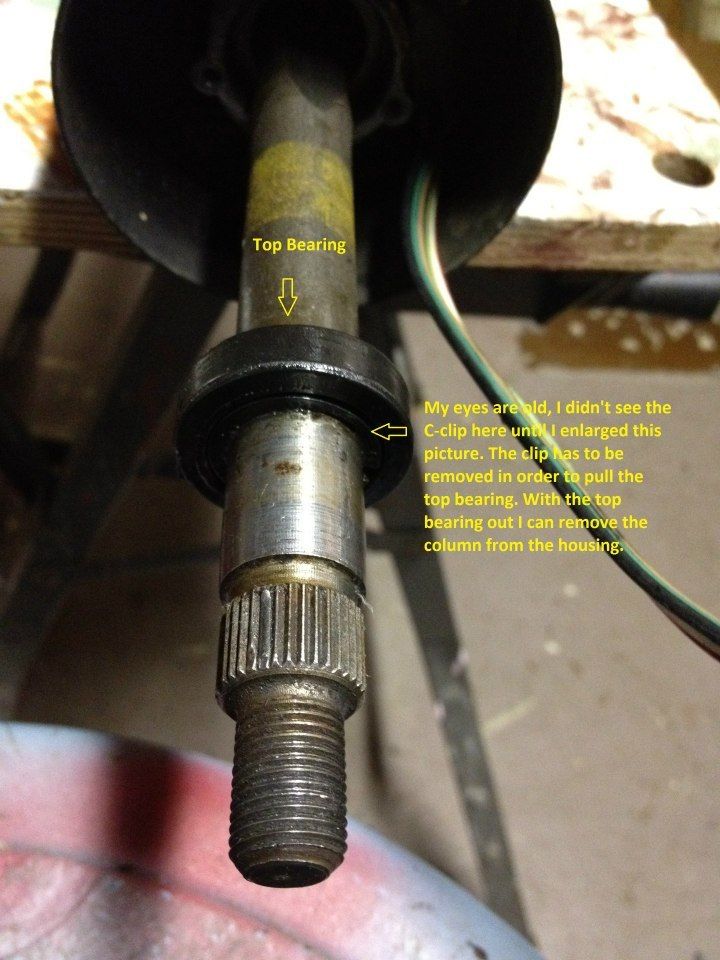
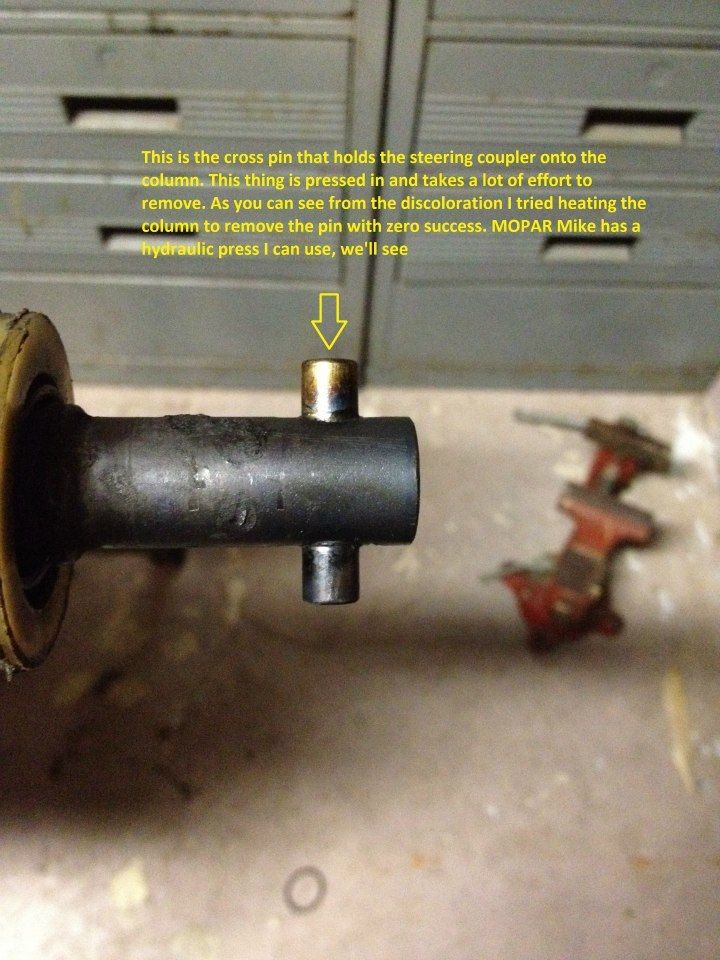
Right, so after looking over the steering box I turned my attention to the steering column. I noticed that the coupler that connects the steering column to the steering box was missing the grease seal and cover. To my surprise (after removing the column) I found that this coupler was a complete mess and that it would take more than a freshen up to make it right. On top of the coupler issues I found that the lower steering bearing was looking pretty worn. With the column out I plan to replace the bearing and repair or replace the coupler. . As a side benefit it'll a lot easier to work on the dash wiring without the steering wheel in the way.

23371_399881413427572_1594036610_n_zpszqnmt7to.jpg


150251_399881420094238_1648458685_n_zpszvj3l0q4.jpg


185712_399881416760905_829665668_n_zpskwnaktqr.jpg


417979_399881450094235_1968729333_n_zpsb5uscvzf.jpg


72232_399881466760900_1057744447_n_zpsemoar64x.jpg


72821_399881490094231_499572770_n_zpsdqlndcsb.jpg


538556_399881533427560_368536775_n_zpsy6ytf204.jpg


19400_401263533289360_852529153_n_zps6wk74hpu.jpg


421113_401263536622693_763757386_n_zpsq8mv5iun.jpg


543266_401263539956026_2101707528_n_zpszyy1ff6s.jpg


207762_401263576622689_905536182_n_zps7ethws6c.jpg


270242_401263579956022_1392990109_n_zpsydzrhatj.jpg


13762_401263583289355_955447358_n_zpsyzf13t0x.jpg


582328_401263603289353_1657265350_n_zpscuhrnfw4.jpg


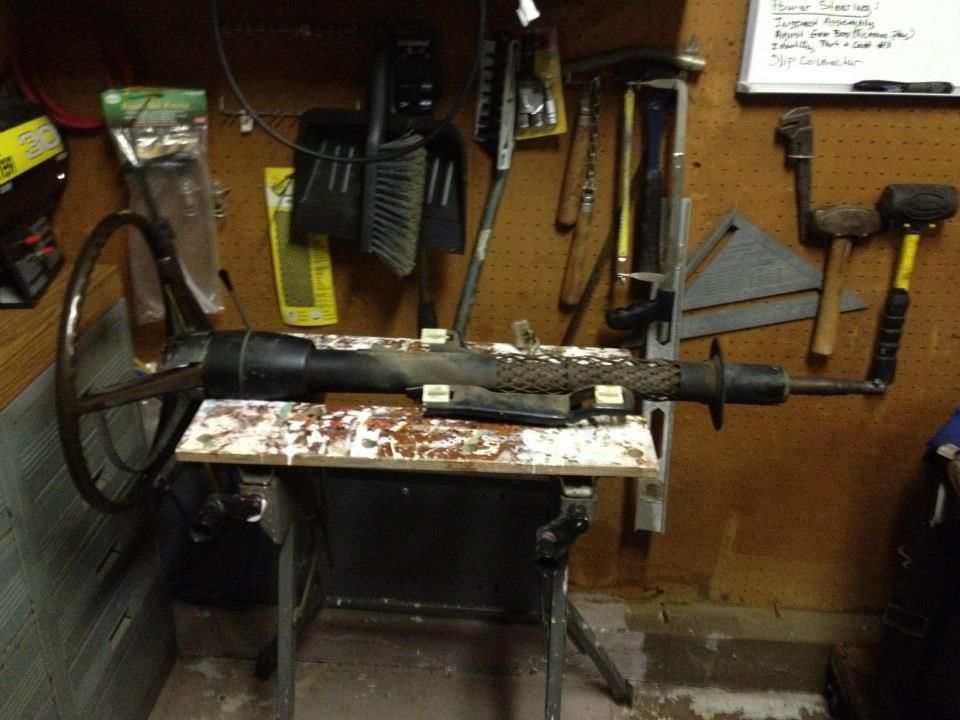
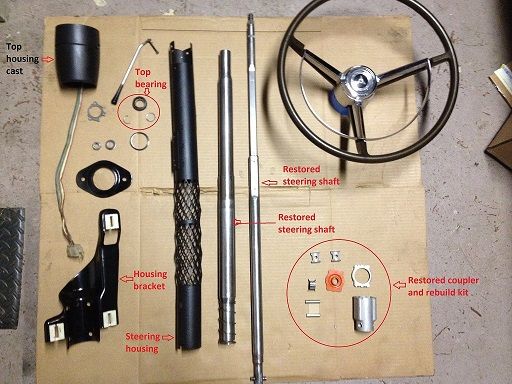
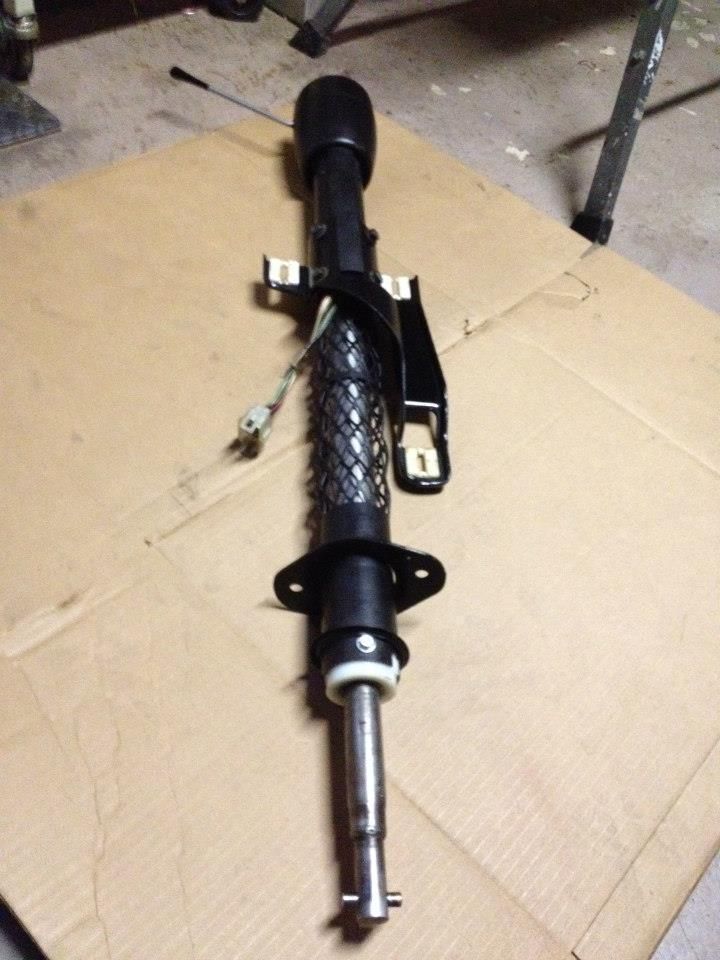
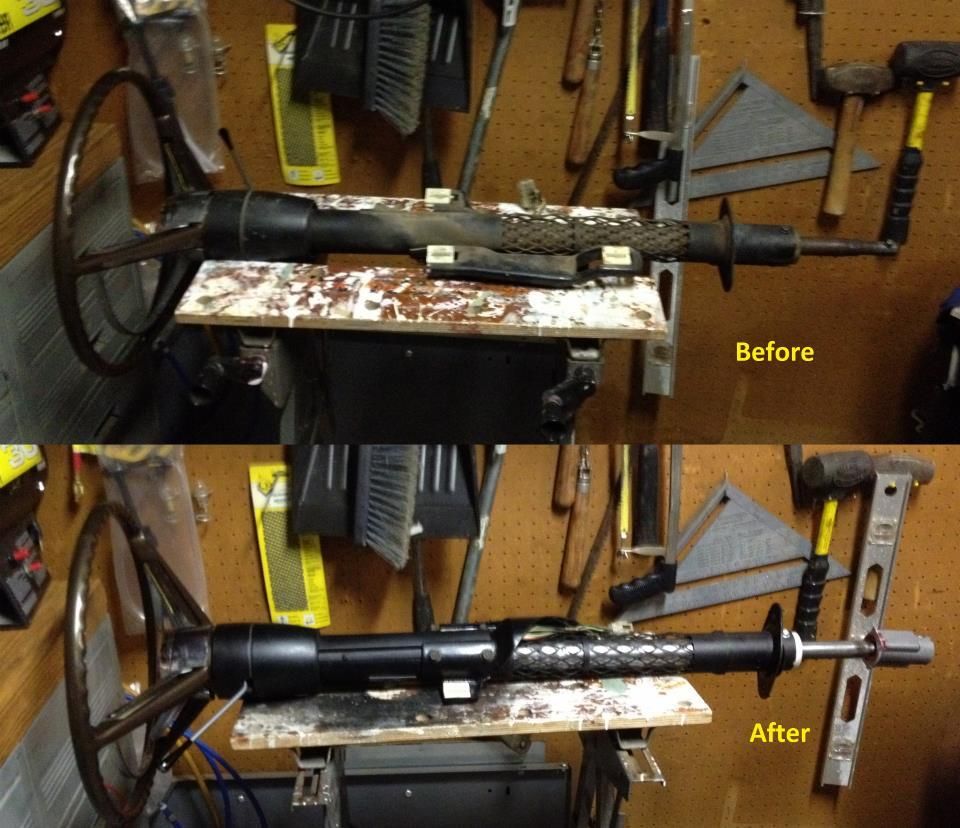
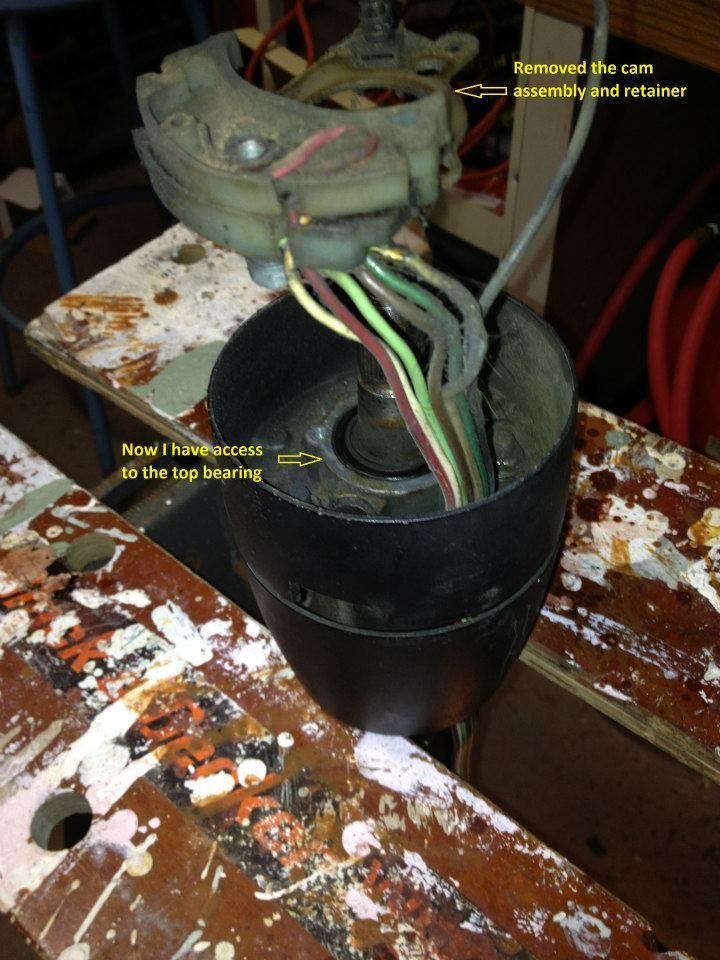
I picked up a new coupler with a rebuild kit, plus bearings and seals. Here's the column broken down, cleaned and ready for reassembly.

column_zps48e72579.jpg


376423_404846472931066_150927202_n_zpsy8jmxmp9.jpg


75009_404846482931065_69724813_n_zpsxdfwpiju.jpg


544042_405441122871601_864058118_n_zps0f4dfubb.jpg


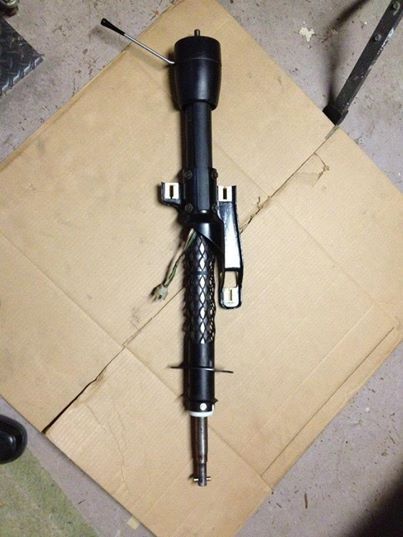
the finished unit is up on the shelf. and I'm on to the next thing.:iconbigg:
 
Hey AIV,
Great start. If I have any advice to share, I'd say take your time. Redo's are painful! I'v been working on my 69 conv. for over 7 years, but it's going together the way I want it to. Document just as your doing now, take lots of pics before and during disassembly just as your doing and take lots of notes. You have a great car to start with, If you need any online help, drop me a line,
Martin
http://www.forabodiesonly.com/mopar/showthread.php?t=244121
Thanks Martin! Wise advice my friend. I will indeed take my time.
I took a look at your thread. Great looking car and great color. WHat you did there with the metal work that is where I start to get gun shy... I definitely will follow up on your project.

AlV
 
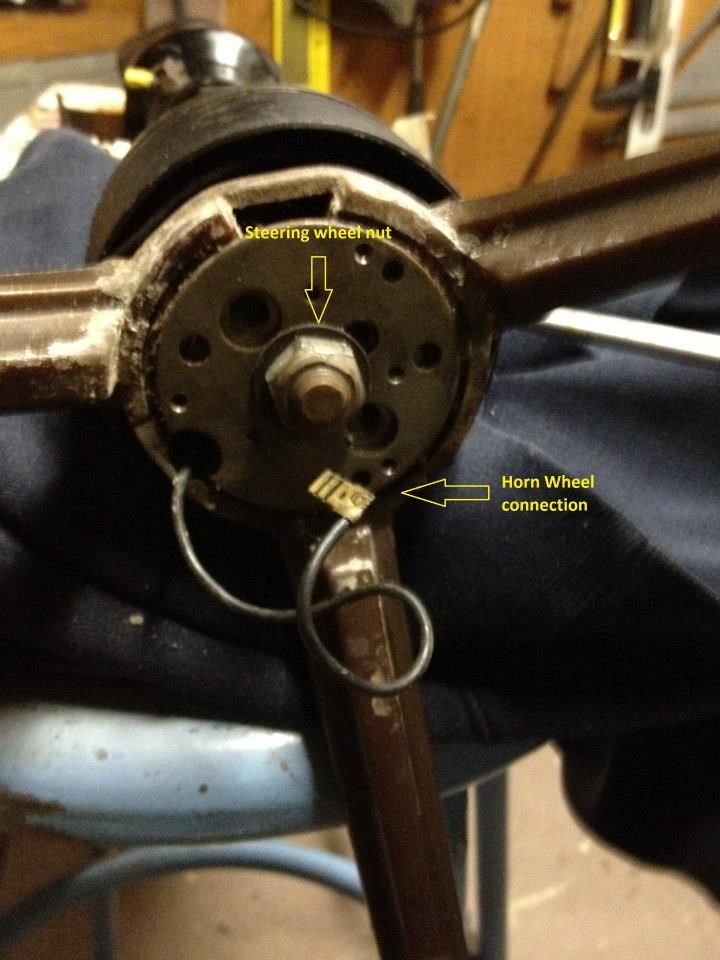
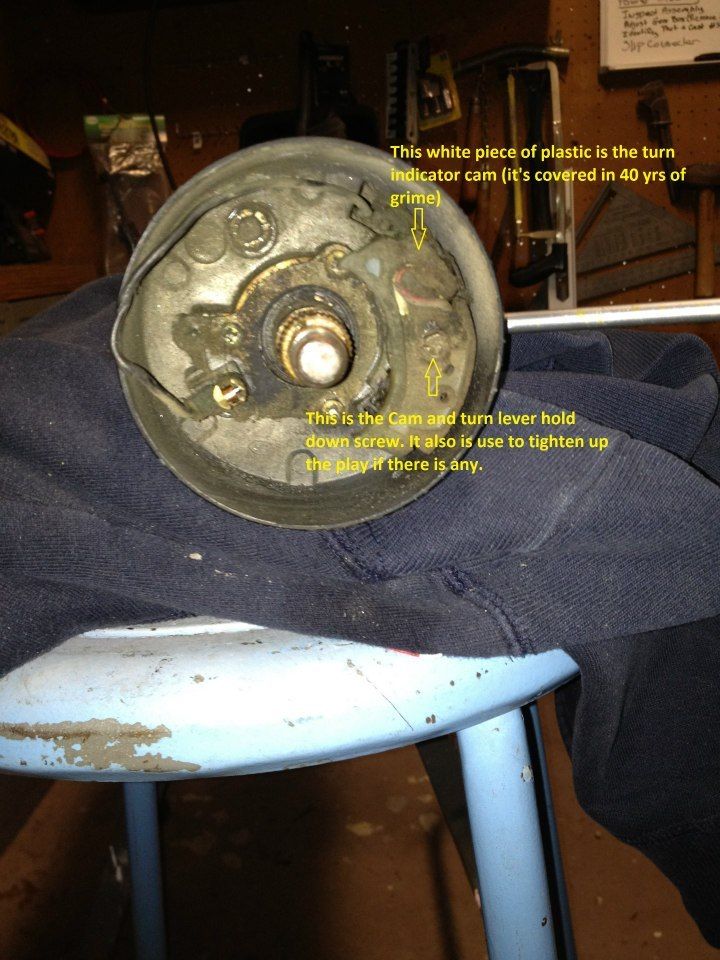
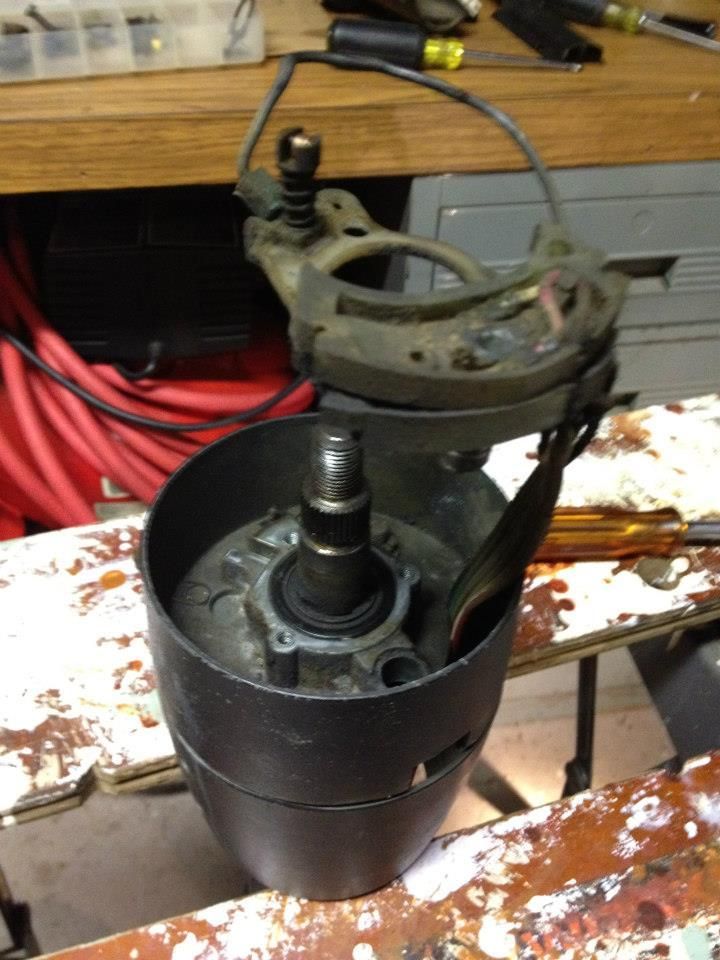
I'm really happy with the way the steering column turned out. Big thanks to Kevin A.k.a 68hemiRT for the solid advice about replacing the cross pin and how to clean the signal indicator CAM switch.

With the steering column out of the car I decided to direct my attention to the dash and some items I had noted need attention. I want to inspect the instrument cluster. The speedo, temp and fuel gauge wasn't working. I'm pretty sure the temp gauge is broken but wasn't a big deal because an auxiliary gauge cluster w/ temp, and oil pressure was installed under the dash. Because of the damage I saw to the bulkhead connector and wiring harness I also want to run through and sort out the dash harness. I'm going to take advantage of having Steering wheel and column out of the car and get to work.

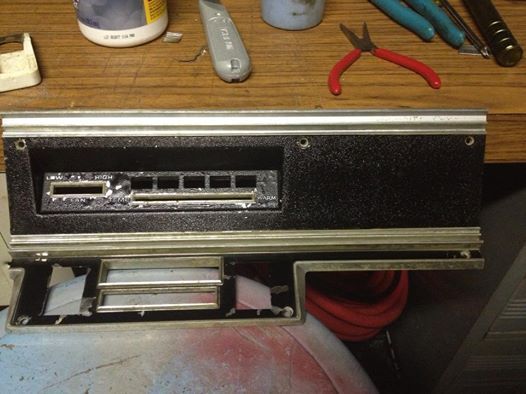
The first thing I did was remove all the dash bezels and set them aside for later. This is the AC/Heat and Radio bezel. It's not bad but could use some TLC. Not sure how to approach it and the others yet. Stay tuned.

8302_437092136373166_69291818_n_zpsdga5xsma.jpg


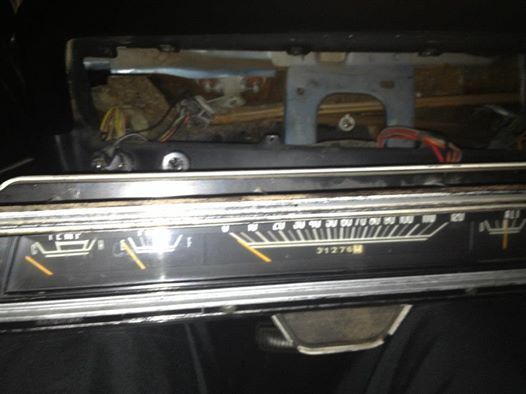
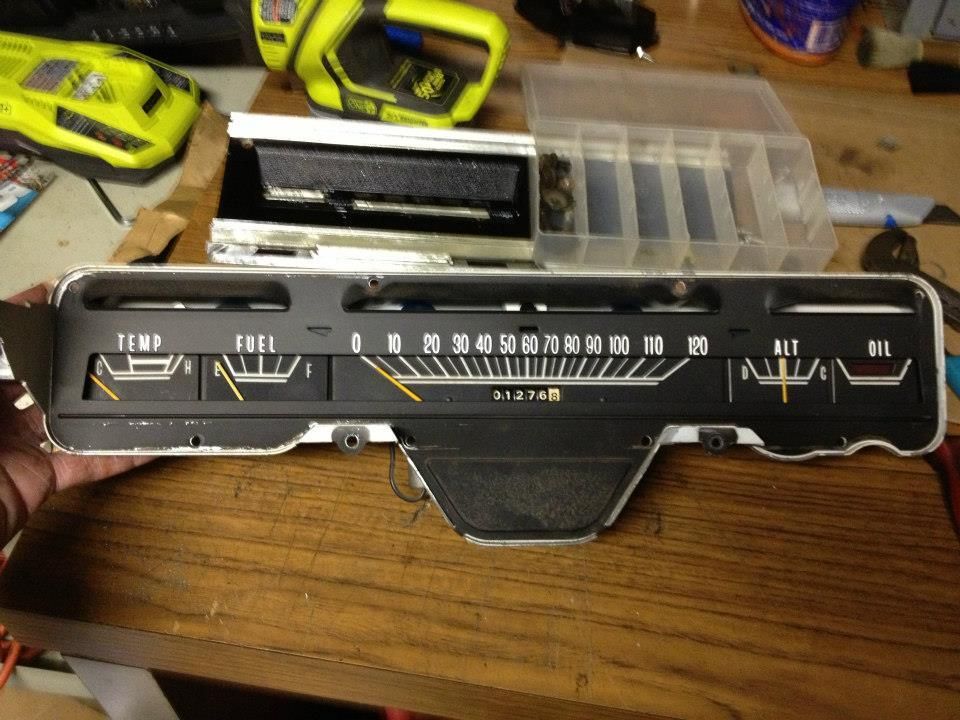
Next I removed the cluster from the dash. It's in pretty good shape but like the other bezels it needs a bit of cleanup. Chrome, paint and detail. I also need to repair or replace the Temp guage.

21024_440405819375131_587441126_n_zpsikjocvdb.jpg


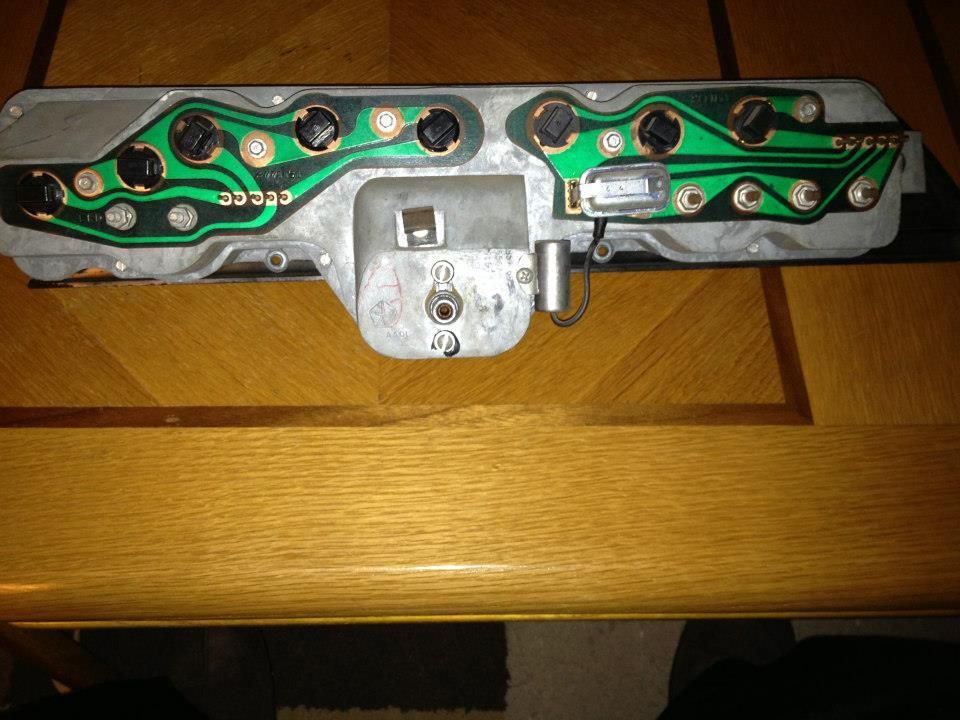
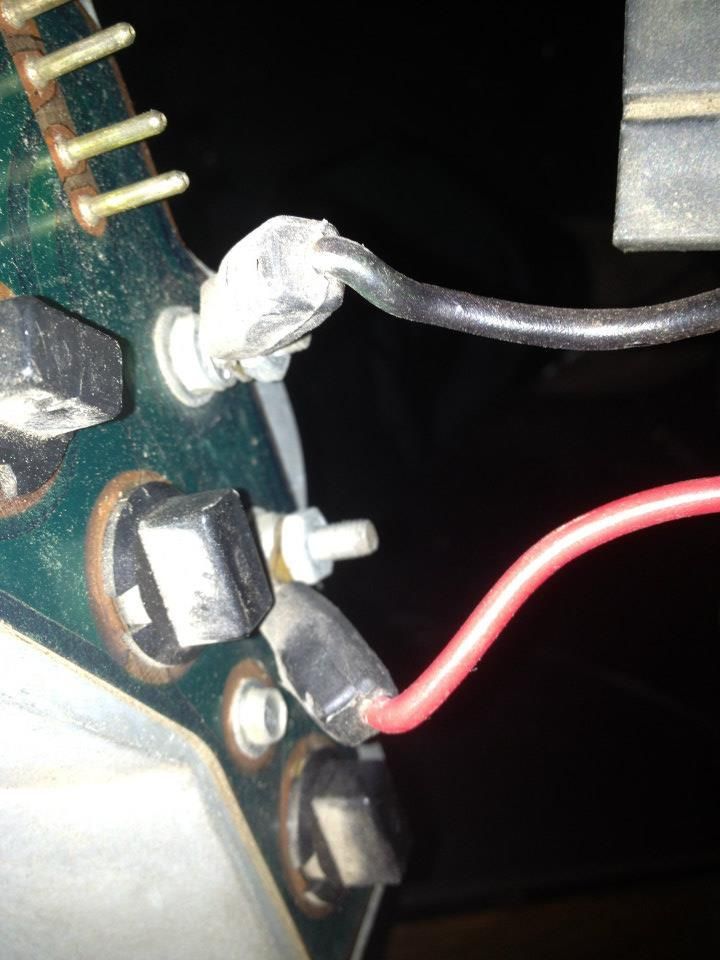
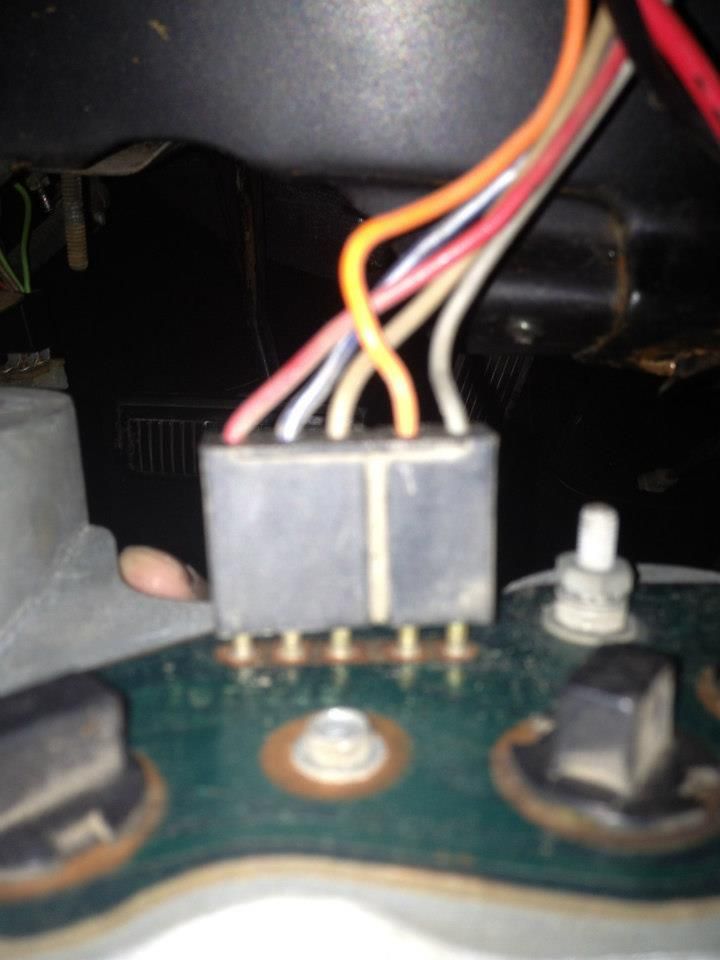
You can see the printed circuit board on the back and how the connectors fit. These are the heavy lugs and leads from the Battery and Alternator. Black is "P" and Red is "J" on the bulkhead

523600_440405909375122_971536507_n_zpsqgkj4nol.jpg


57940_440405842708462_444462098_n_zpsoif7e3uj.jpg


540109_440405846041795_2006736750_n_zpshy2w39e0.jpg


625607_440405886041791_1579290541_n_zpsqlcvg5jx.jpg


528259_440405899375123_270152704_n_zpstpczh8gs.jpg


My next step is to tear down the cluster and clean it up.

488090_440405926041787_713621470_n_zps4hjgejqt.jpg


With the cluster out I confirmed that the temp guage is broken the needl is completely loose and not responsive. I tested the speedo using the old cable and a drill and it worked. I've replaced the gauge and clean up the cluster then set it on the shelf for later.

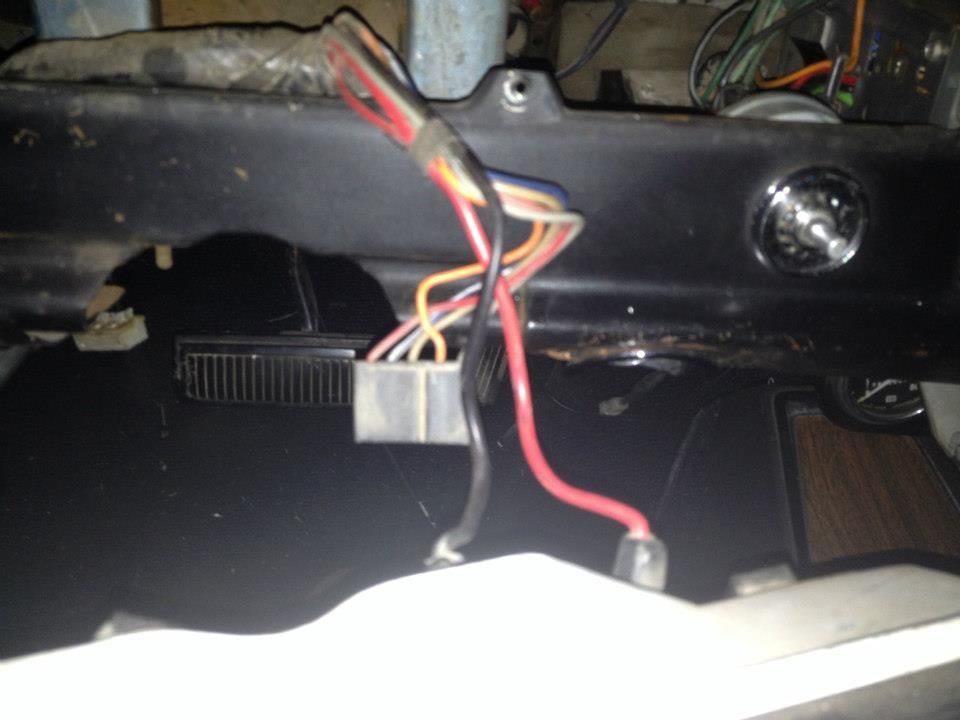
I had a clear path to look over the dash harness and as I meniton earlier the J (alt) port on the bulkhead was burned was burned. As a result the bulk head was by passed by the prevous owner using a short jumper wire cold spliced and taped on each end. To facilitate the connection the body plug on the firewall for the clutch lever was removed and the clutch lever opening was used as the pathway for the jumper (along with the choke cable for the carb and the axillary gauge cluster sending connections). As if that wasn't enough, the wires feeding the ignition plug were all cut. The were also cold spliced with tape and the dash around the ignition switch was beat up..maybe stolen at some point I don't know.

As a result of these discoveries I've decided to reassess my plan and change directions due to the increased scope. I am no longer trying to get the car on the road while I rebuild the engine and trans. Instead I'll go through each system and address them one by one.

Next stop, dash removal for repair and restore. I'll remove and repair or replace all of the dash Harness, switches/controls, and the radio.
 
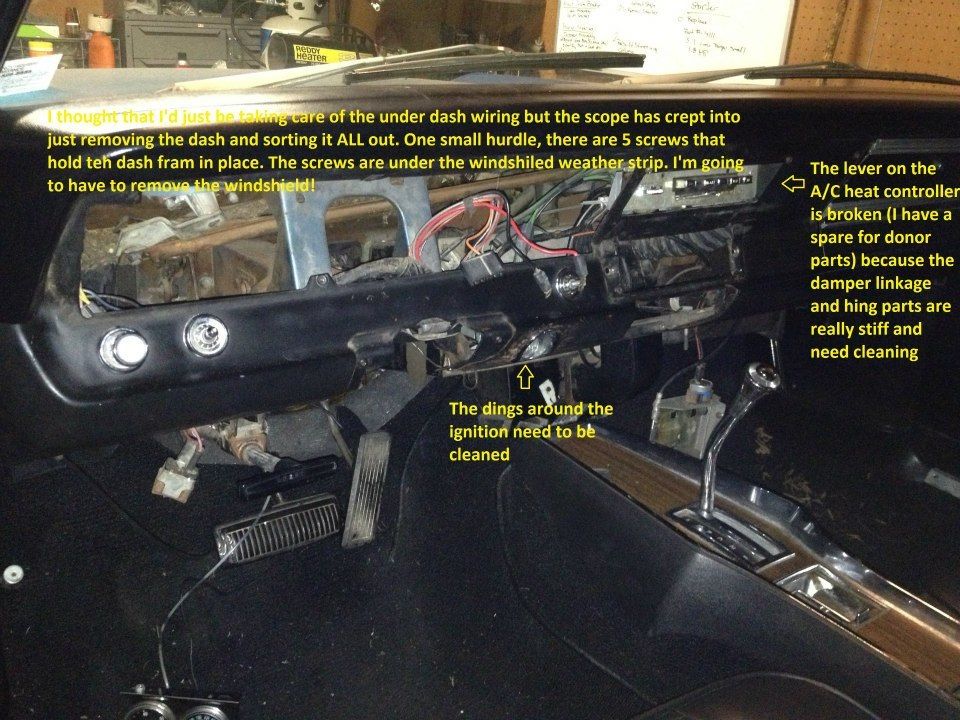
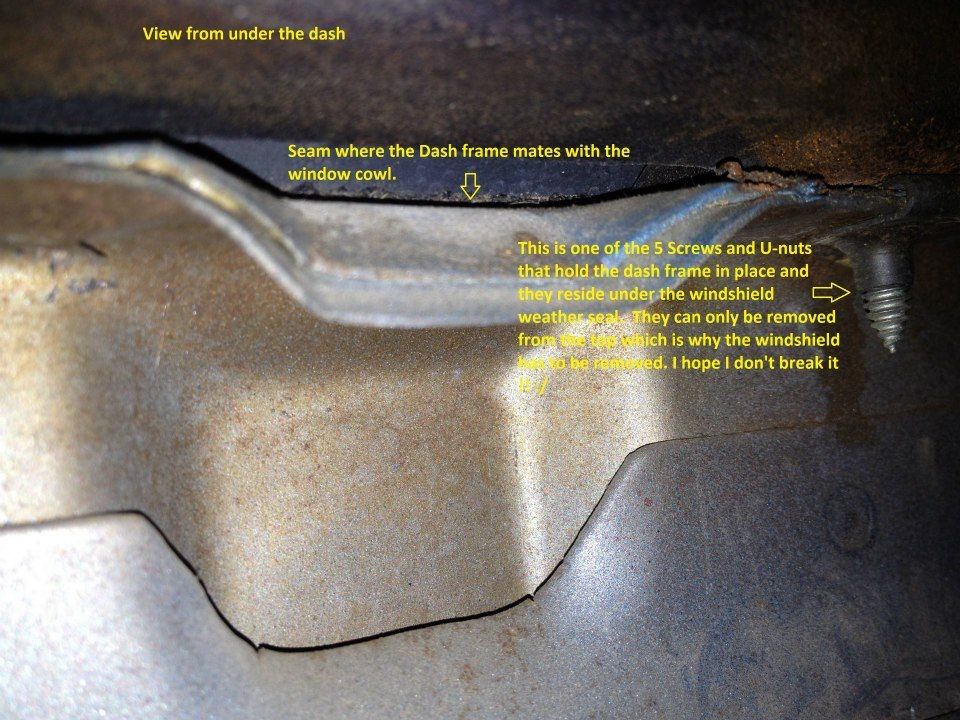
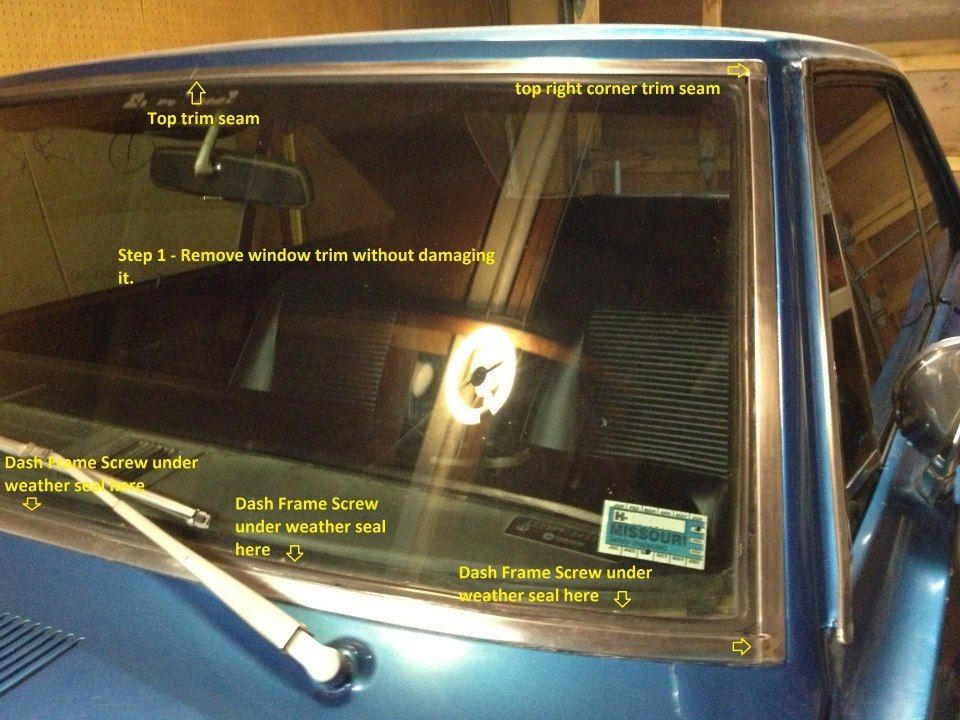
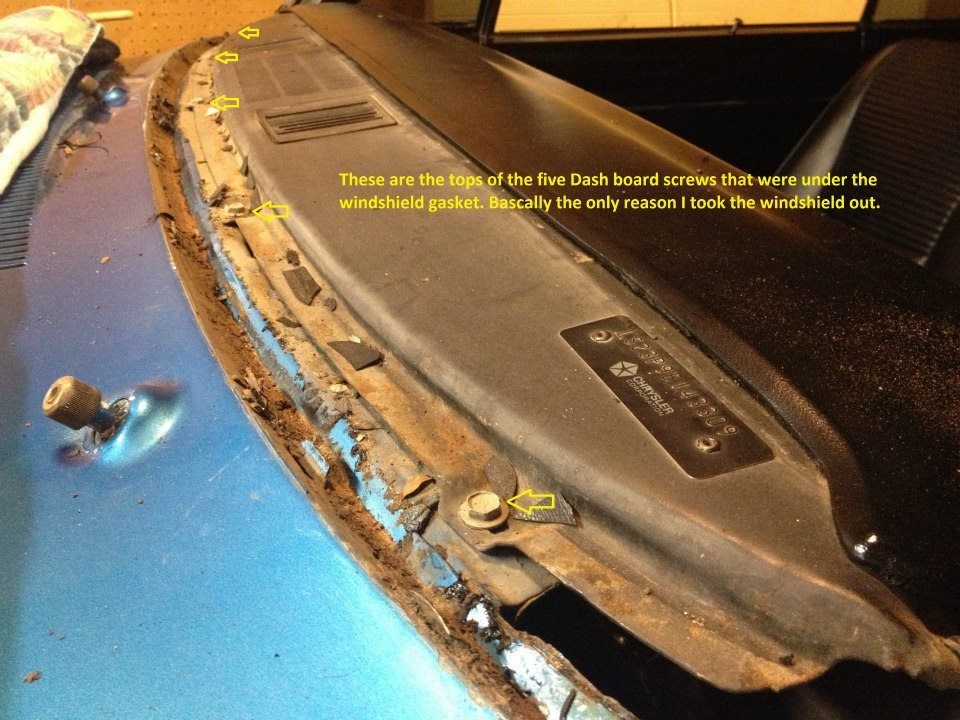
After realizing I'm in for the long haul I figure that the only way to really clean up is to remove the whole dash frame. What I didn't realize is that I would need to remove the windshield to get to 5 screws that hold the dash frame in place!! aye

485297_443977349017978_1414053546_n_zps25htzfvy.jpg


The threads of the screw holding the dash can be seen in these pics.

554223_443977369017976_2121590902_n_zps0hplfhup.jpg


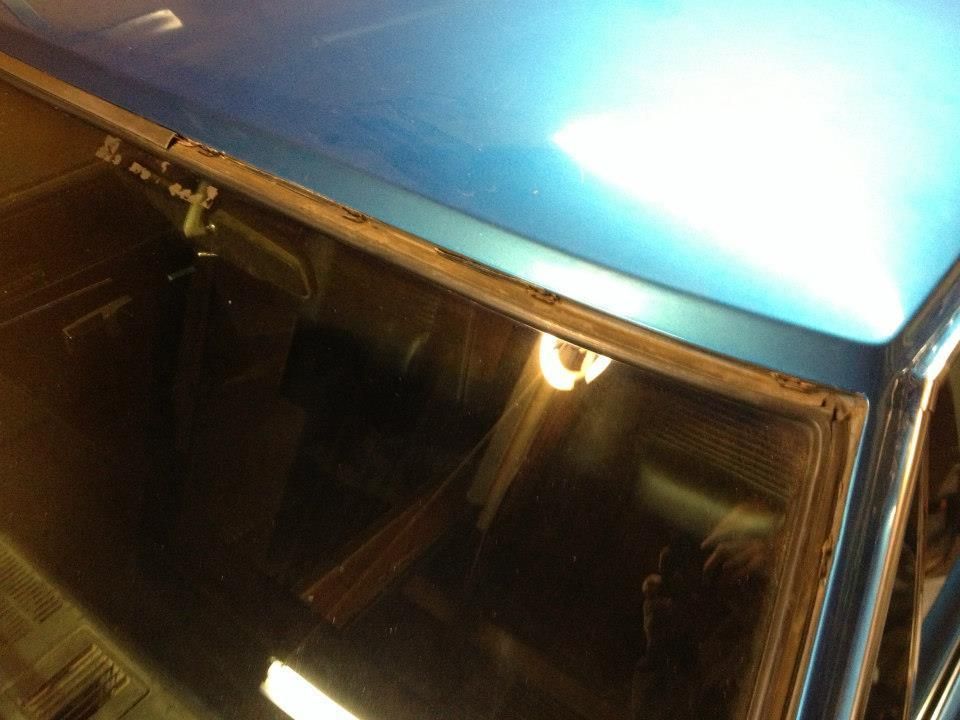
First step is to carefully remove the windshield trim. OH! and you can also see a glimps of that crack/lifting on the drivers cowl I was describing earlier. FYI I once I took the dash out I looked from the bottom and didn't see anything odd. it all looked normal.

547208_443977392351307_1630410892_n_zpsokjhyesm.jpg


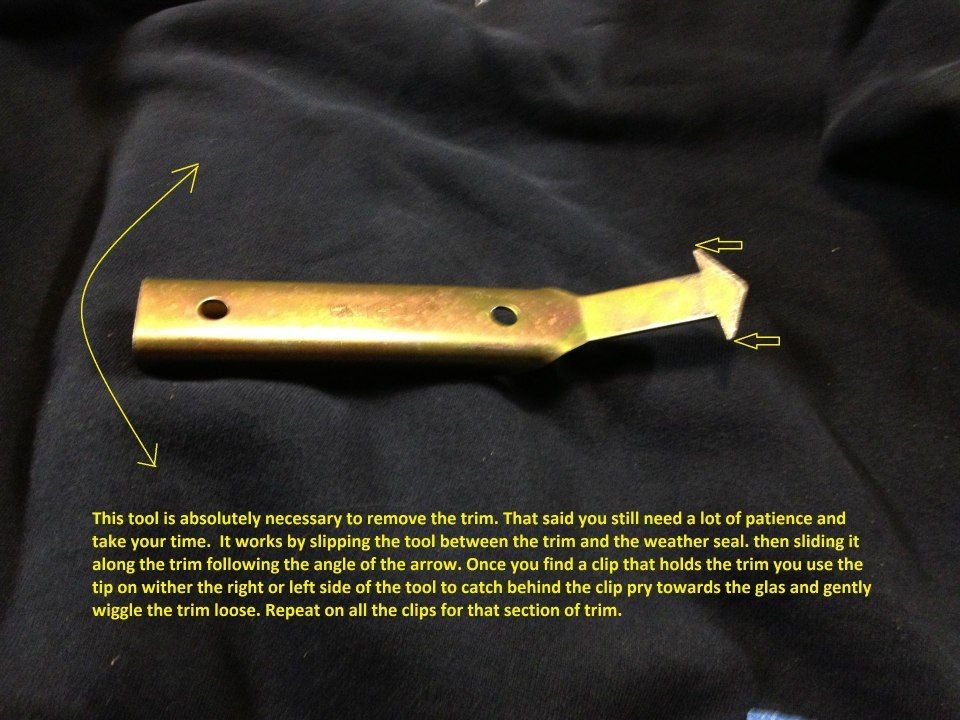
I picked up the trim tool and got started.

733745_443977375684642_1703041845_n_zps3cvfzwak.jpg


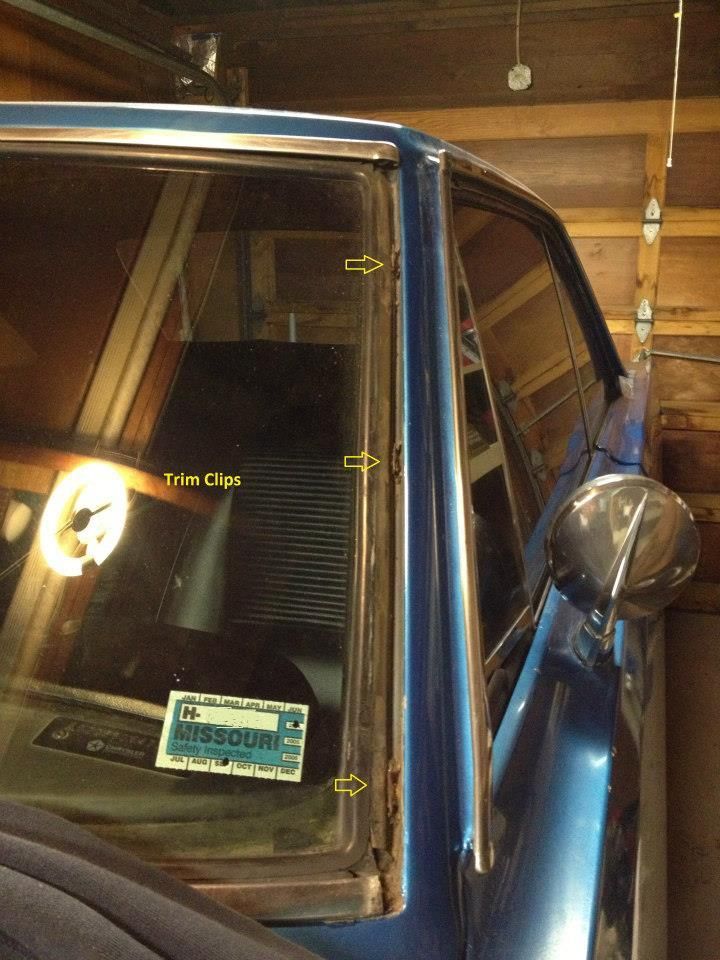
I started on the driver side working the vertical piece out first.

552665_443979452351101_701507478_n_zpsfloy6gy6.jpg


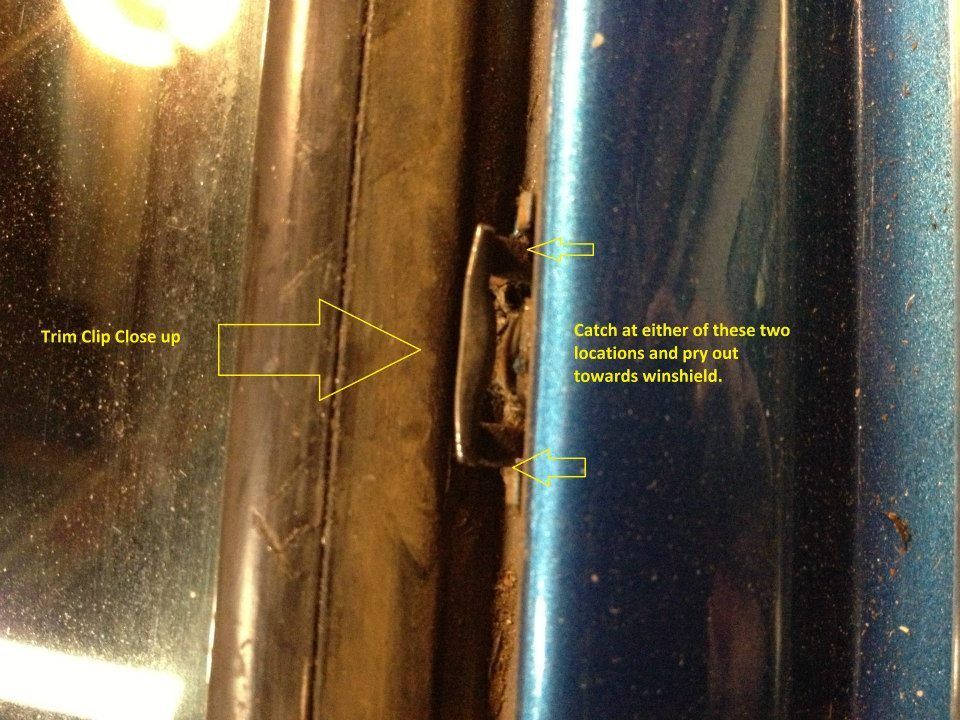
Here is a close up of the trim clip.. I'm learning every day and still happily stumbling along. :D

72804_443979439017769_686467931_n_zpsj5i0mgu7.jpg


Top section up to the joint.

563031_443980325684347_1729840053_n_zpstcayltdf.jpg


All the glass is original with the except for the windshield.

545871_443981222350924_1007396924_n_zpshelv0abc.jpg


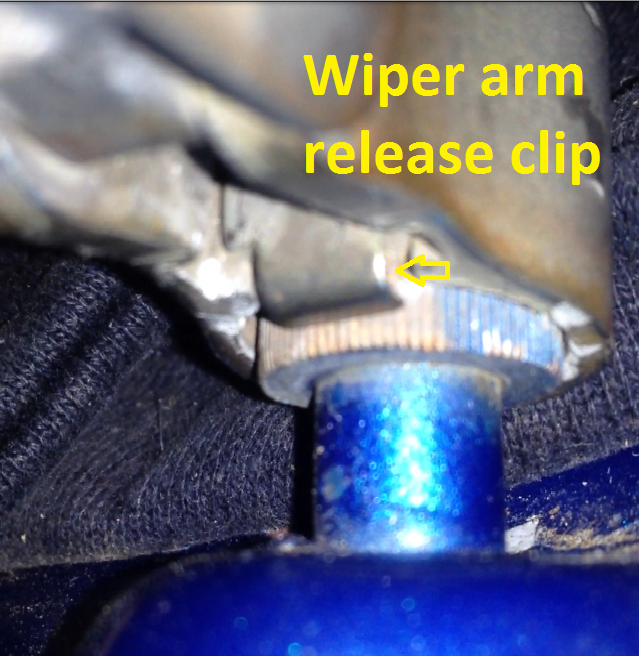
I'll admit it ... It took me a few minutes to figure out how to remove the wiper Arms.

528313_445341448881568_1653284196_n_zpsawusacd8.png


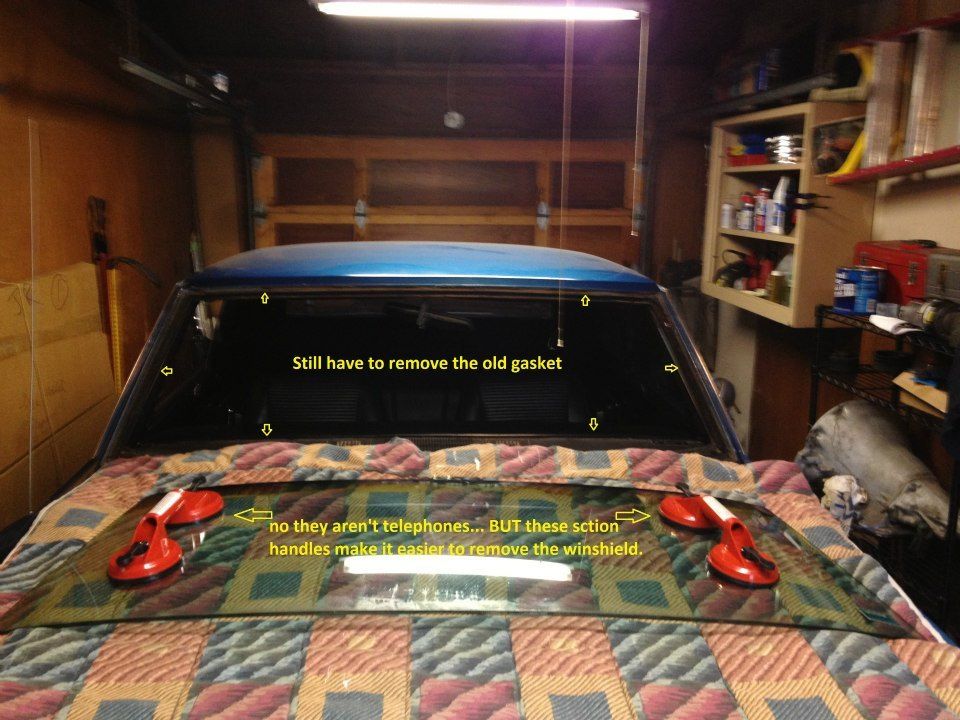
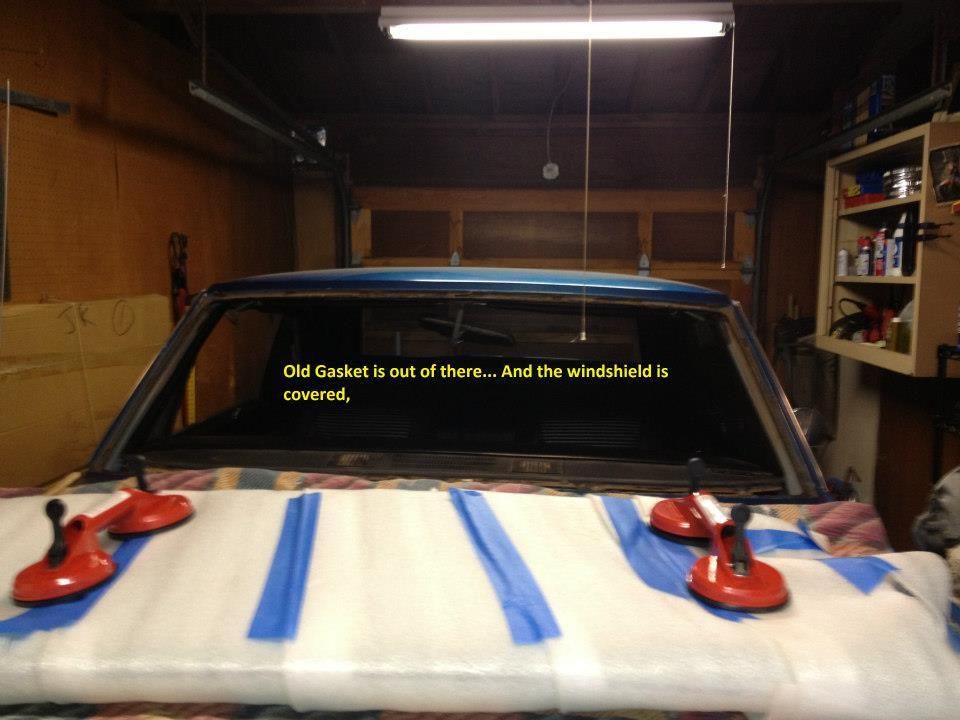
After removing all of the trim and wiper arms I worked the windshield glass out starting rocking it out from the top. I should also mention that I picked up a Window gasket seal cutting tool to work the glass loose from the weather seal before pulling the glass.

563735_445341422214904_1294978297_n_zpswme5cxlb.jpg


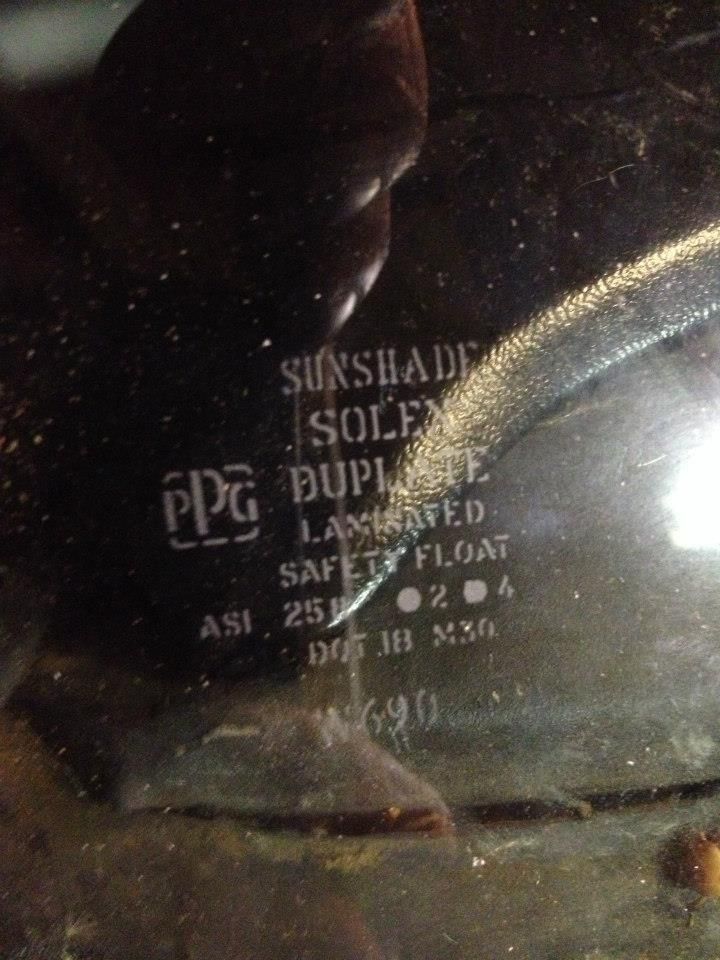
You can see the numbers trans in this picture.. patiently waiting it's turn.

538019_445341408881572_1232040545_n_zpsip87phit.jpg


Now we can see the tops of the dash frame bolts exposed. This is also the first time I can see the whats going on around the windshield. I'm happy with the condition of the metal around the window frame.

541763_445341425548237_892345016_n_zpsik0wguzw.jpg


Dash is in good shape and behind it is decent also.

77105_446709885411391_1716083437_n_zps7cfi1jfr.jpg


I removed all of the switches and controls from the dash and left them attached to the harness for now. It's not looking to bad back there.

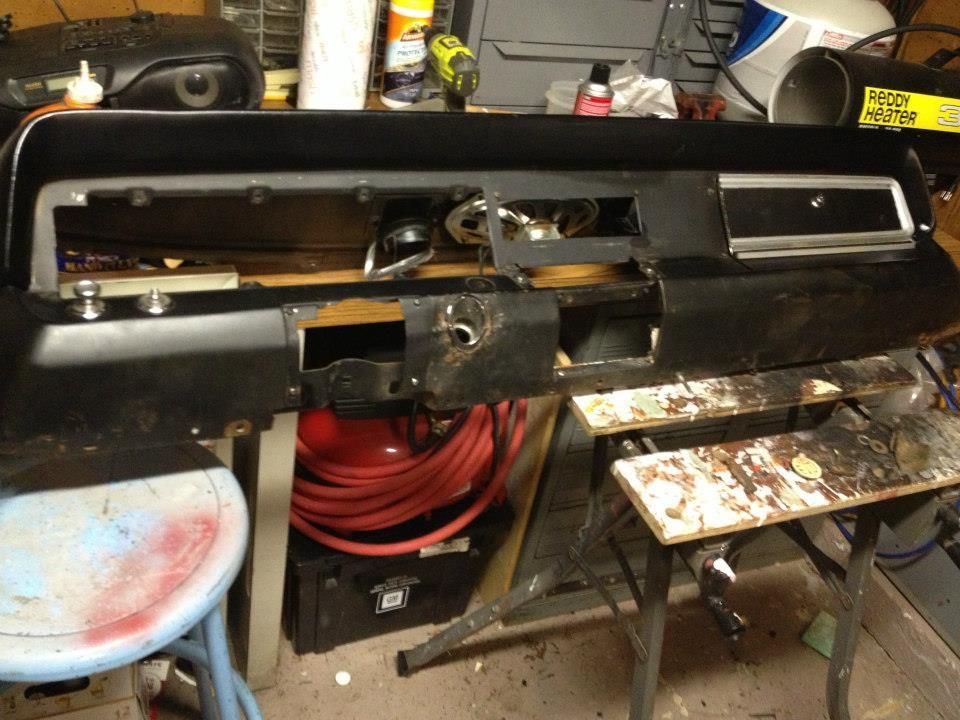
The dash frame is finally at the bench. The flasher switch needs to be replaced. You can also see the damage surrounding the initiation switch. Some take aways so far, need to find a knob for the 3spd wiped selector. and rebuild the ac/heat controller. Also the glove box bezel looks about the same condition as the others. BUT Lot's to be happy about and lots of work. the dash pad looks real nice.

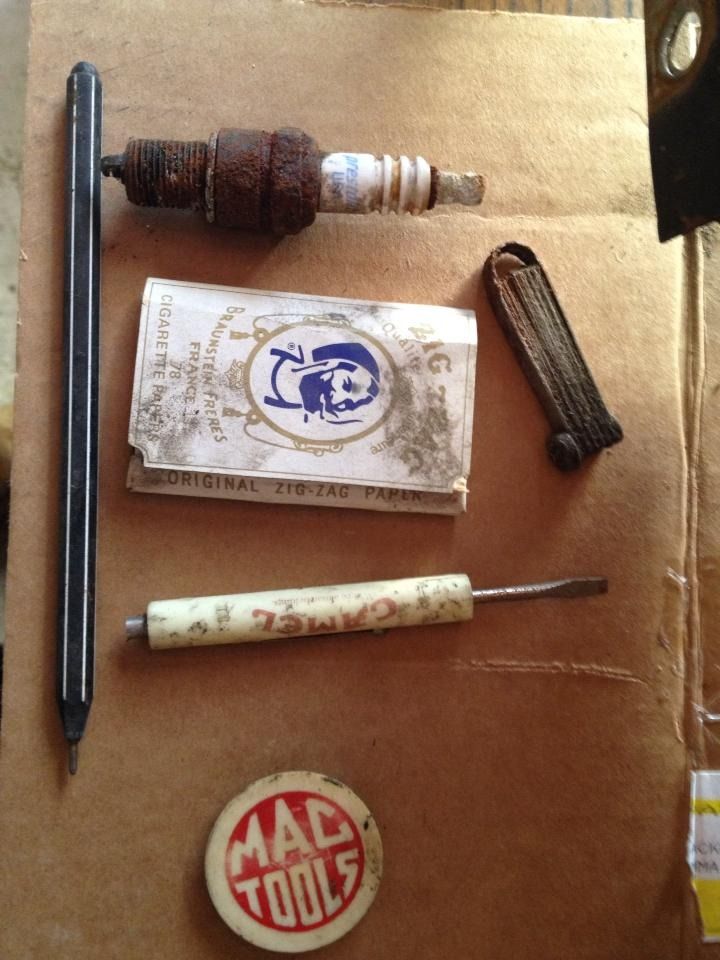
Check out what fell out of the dash... The Dart time capsule.

72826_447026102046436_2126039791_n_zpsbzkh2vdj.jpg


Next up... the Heat/AC controller.
 
-
Back
Top