1969VADart
Well-Known Member
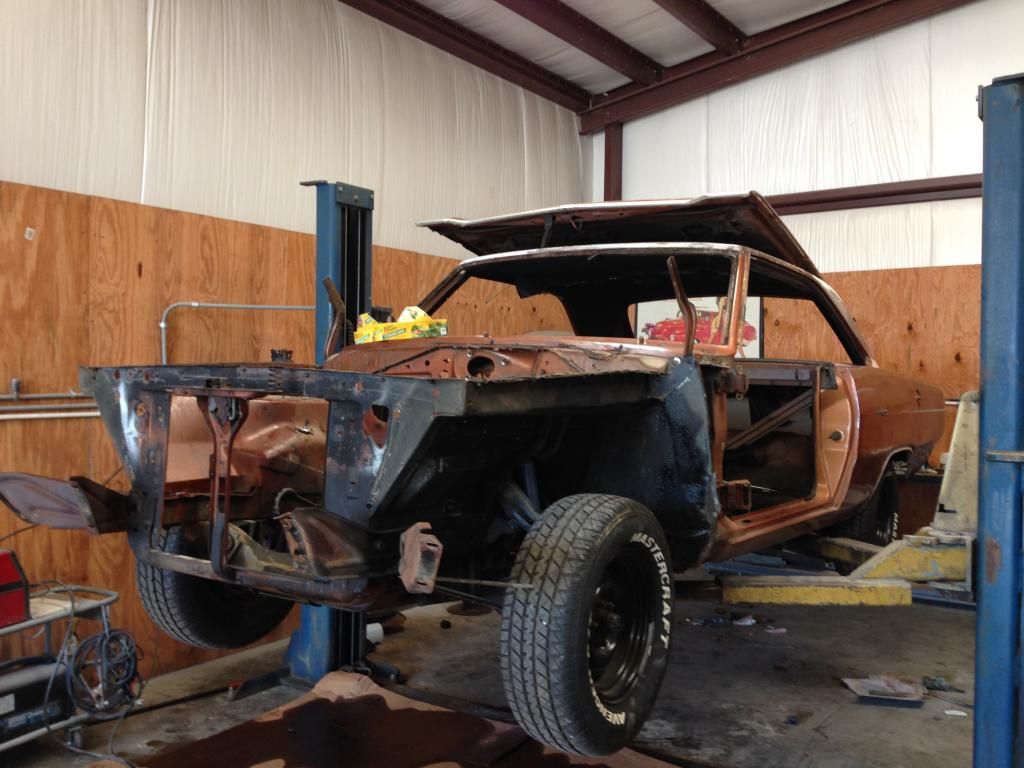
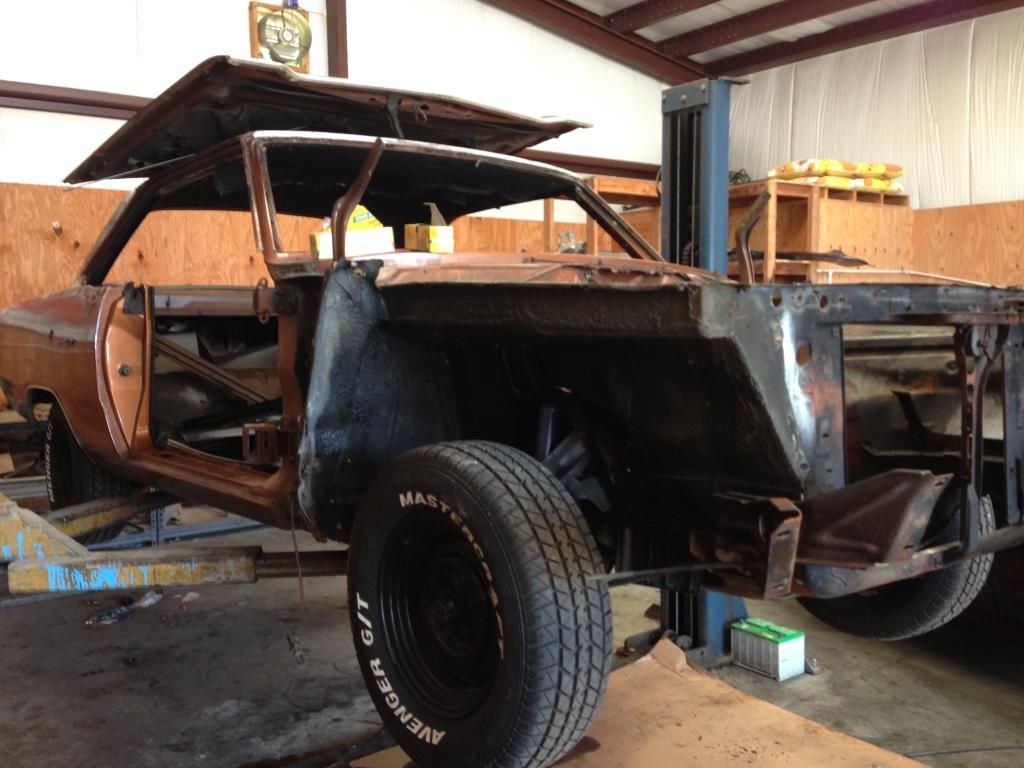
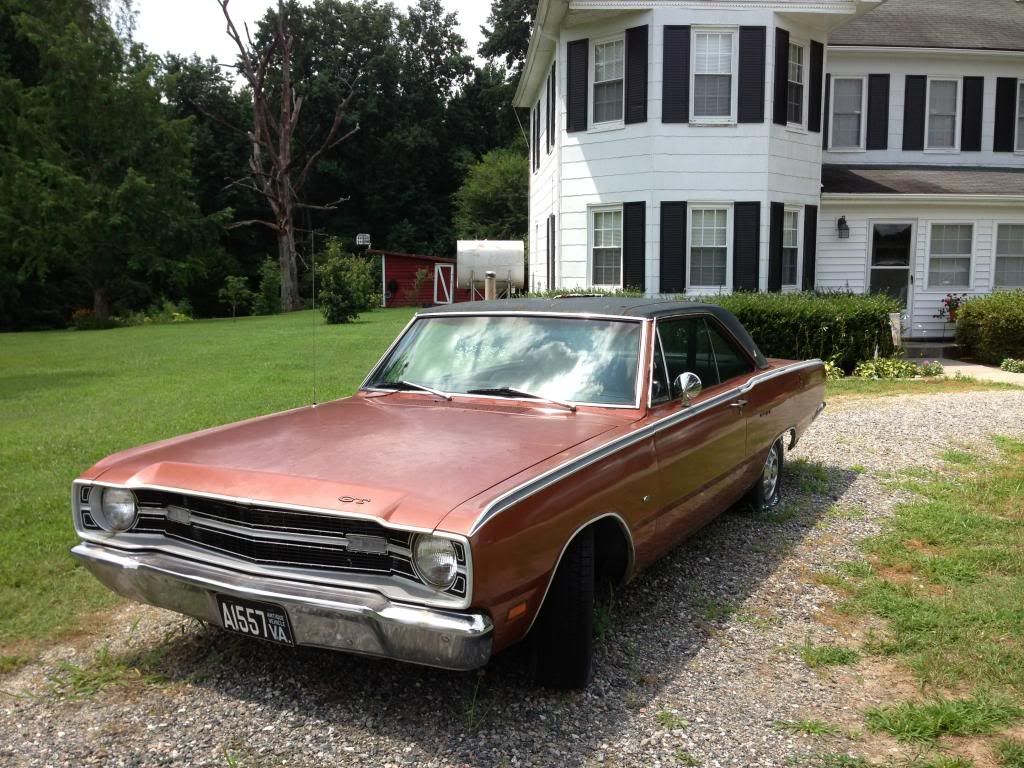
So I finally got some pictures loaded onto my computer so that I could share them with the forum. Going to try to share some basic pics and then show some of the biggest problems I will have to deal with. At least we got the car running, but now I am in the process of replacing everything from the fuel pump back to the fuel tank. The previous owner had let the car sit for far too long. Gas was leaking out of a whole bunch of pin holes in the tank. So I am replacing everything (tank, straps, sending unit, etc.). Then I should be able to get the car on the road. This will probably be a slow process so I am going to make the car at least serviceable to drive in the meantime.

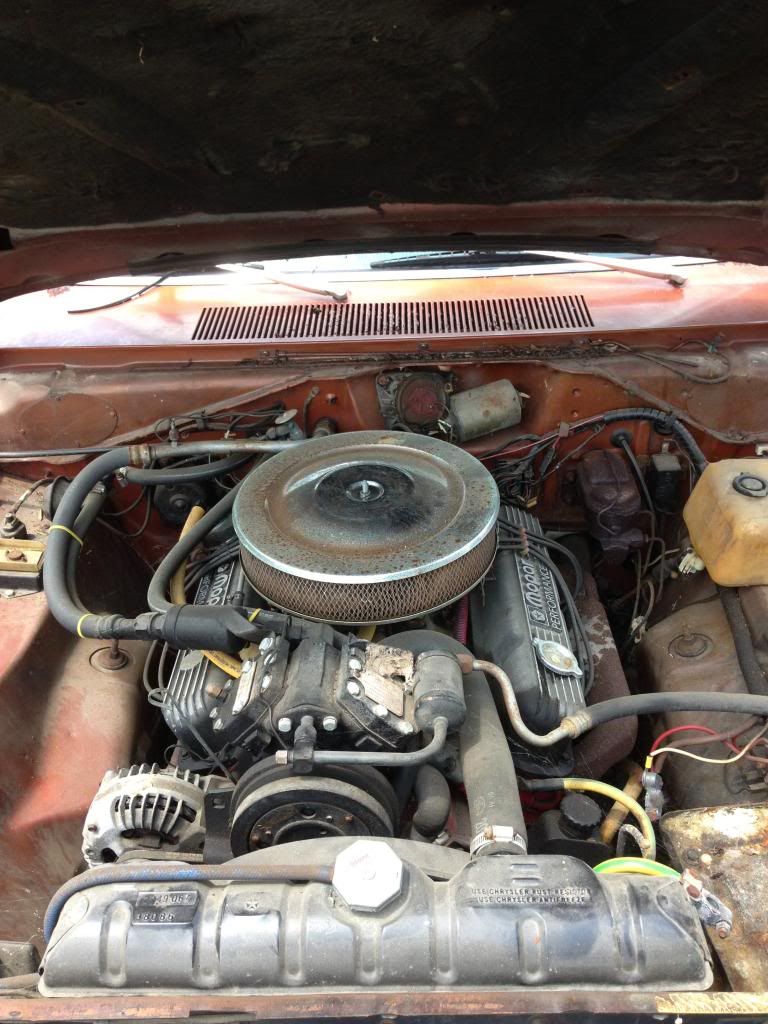
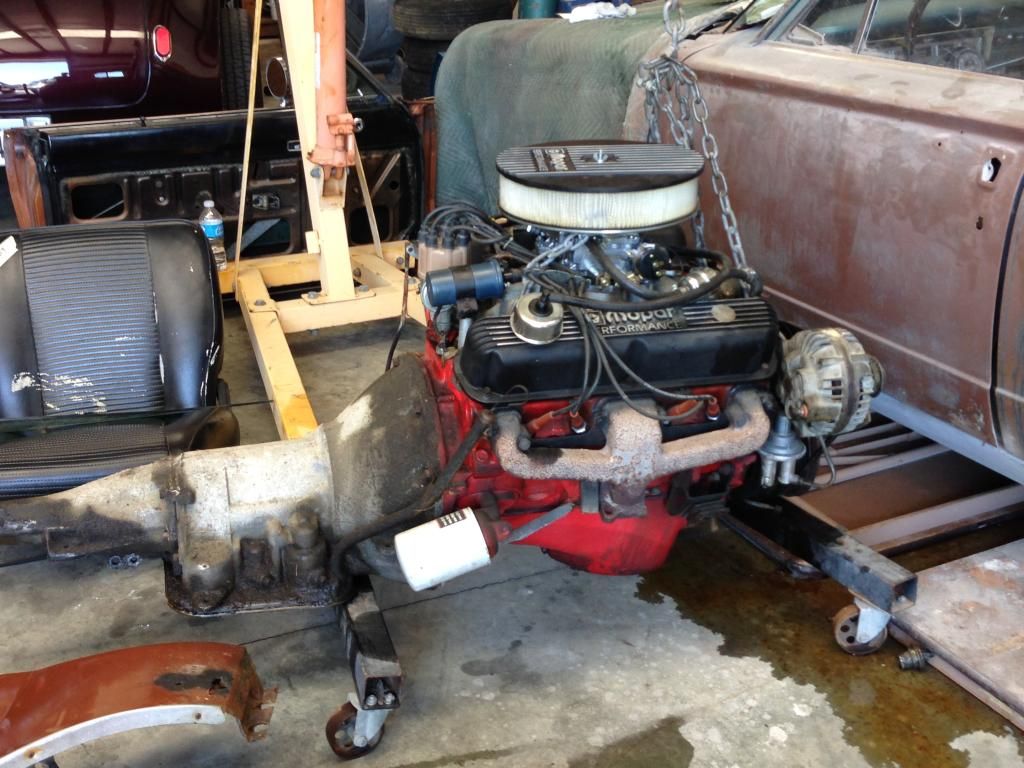
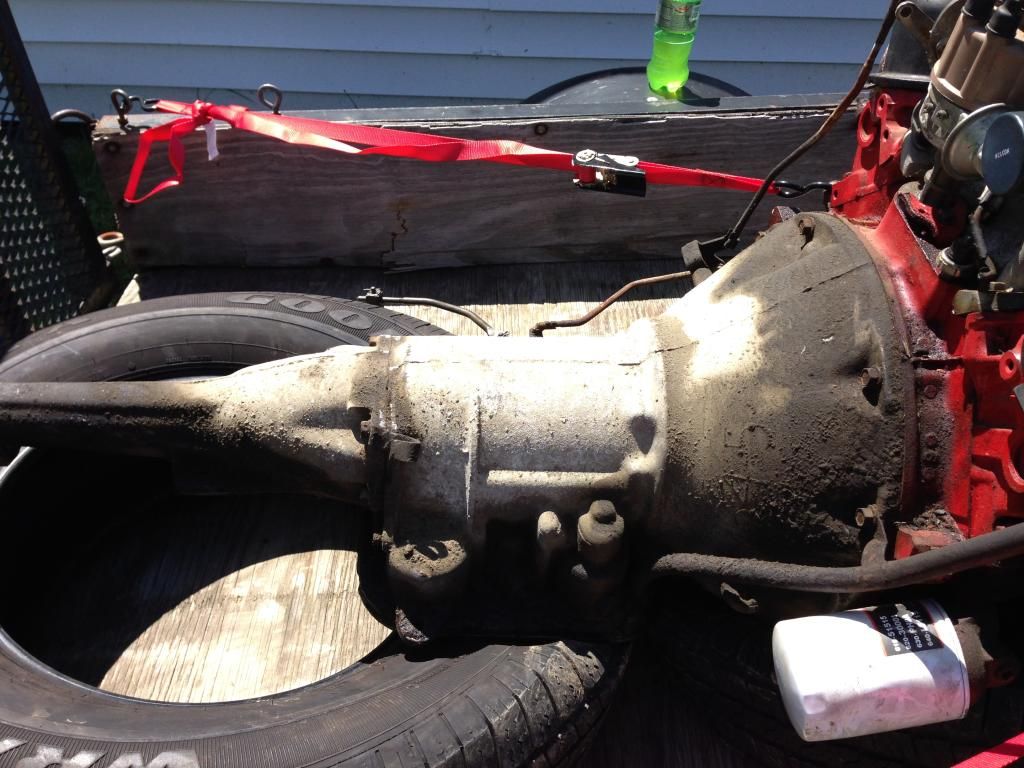
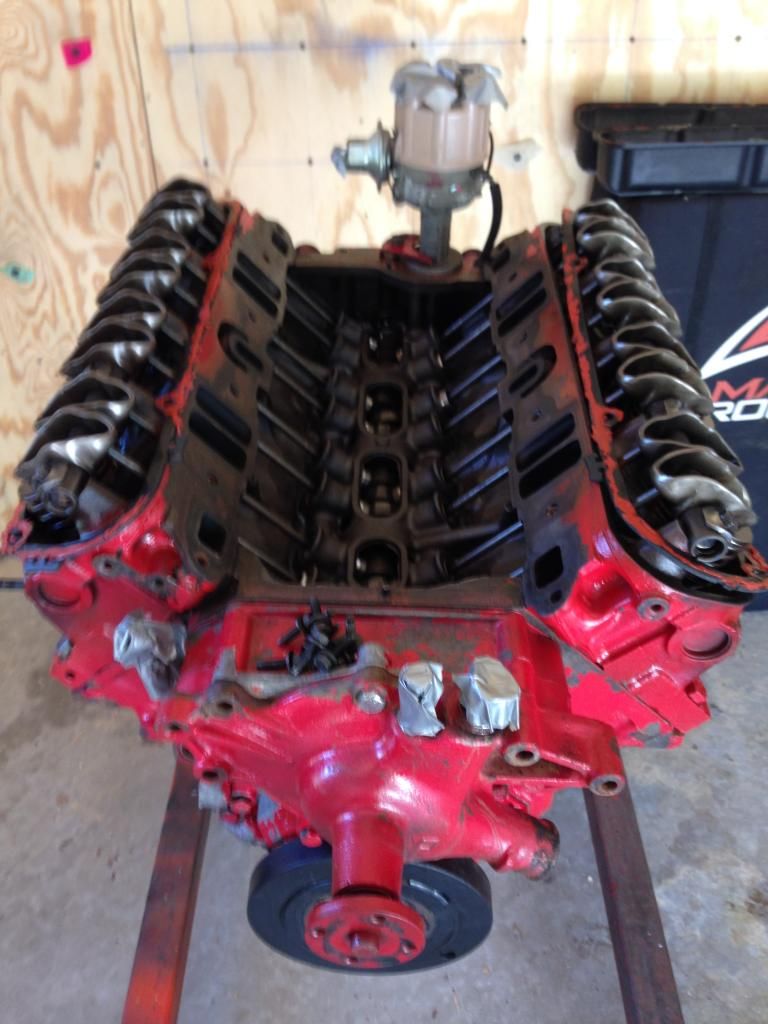
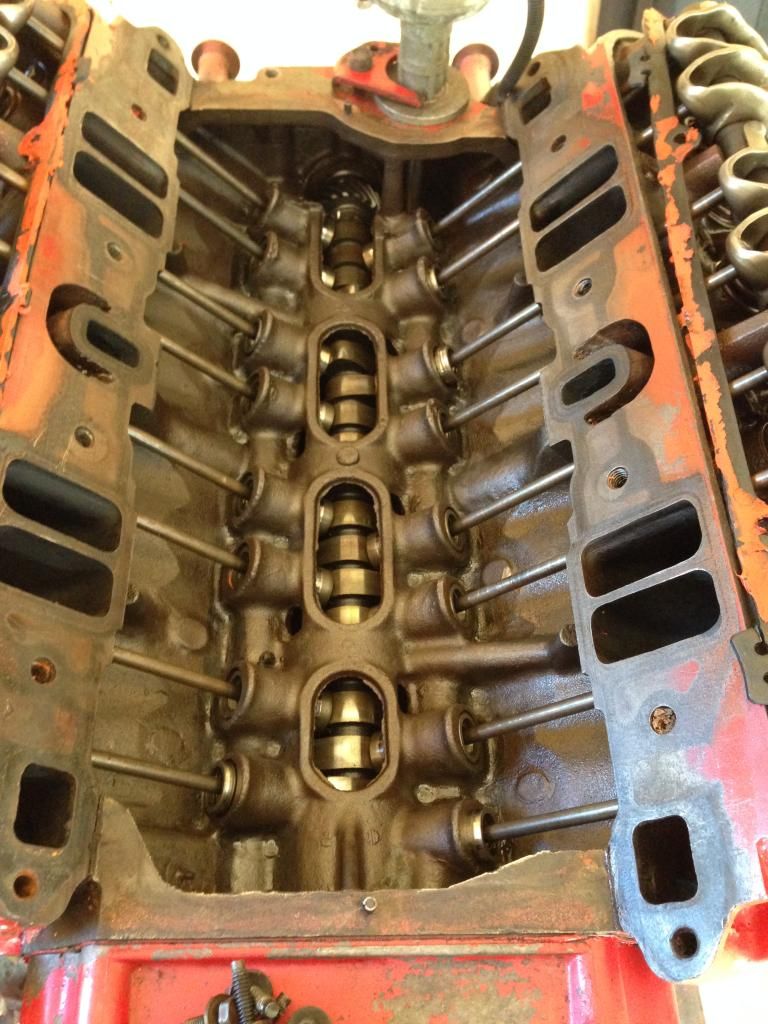
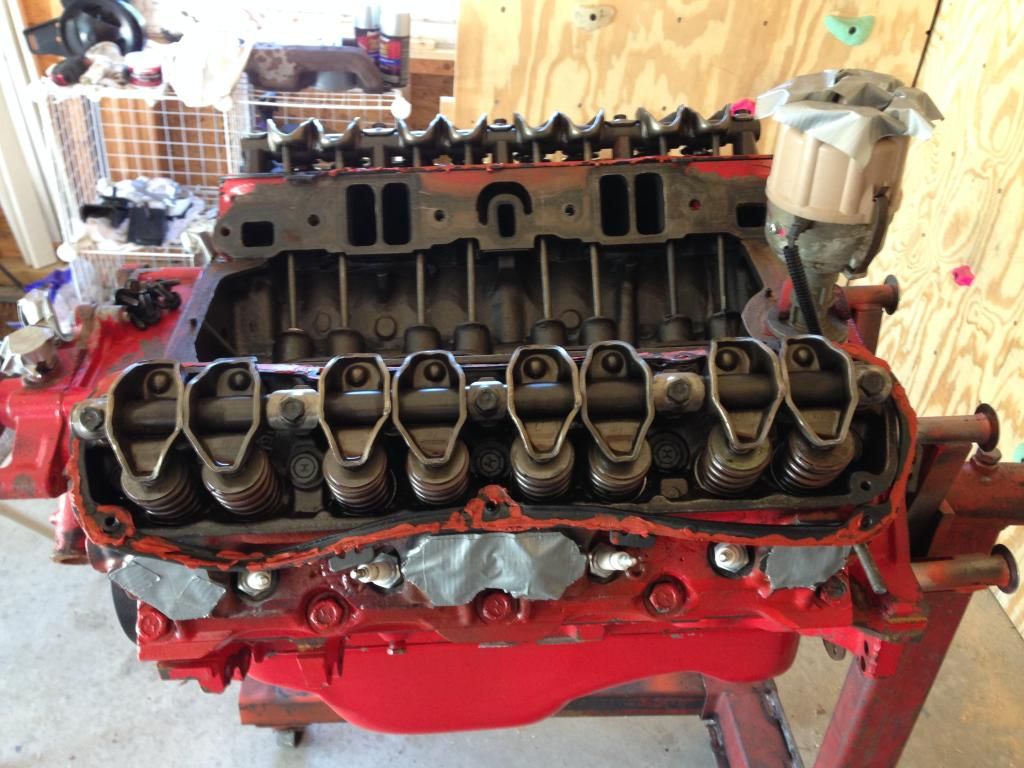
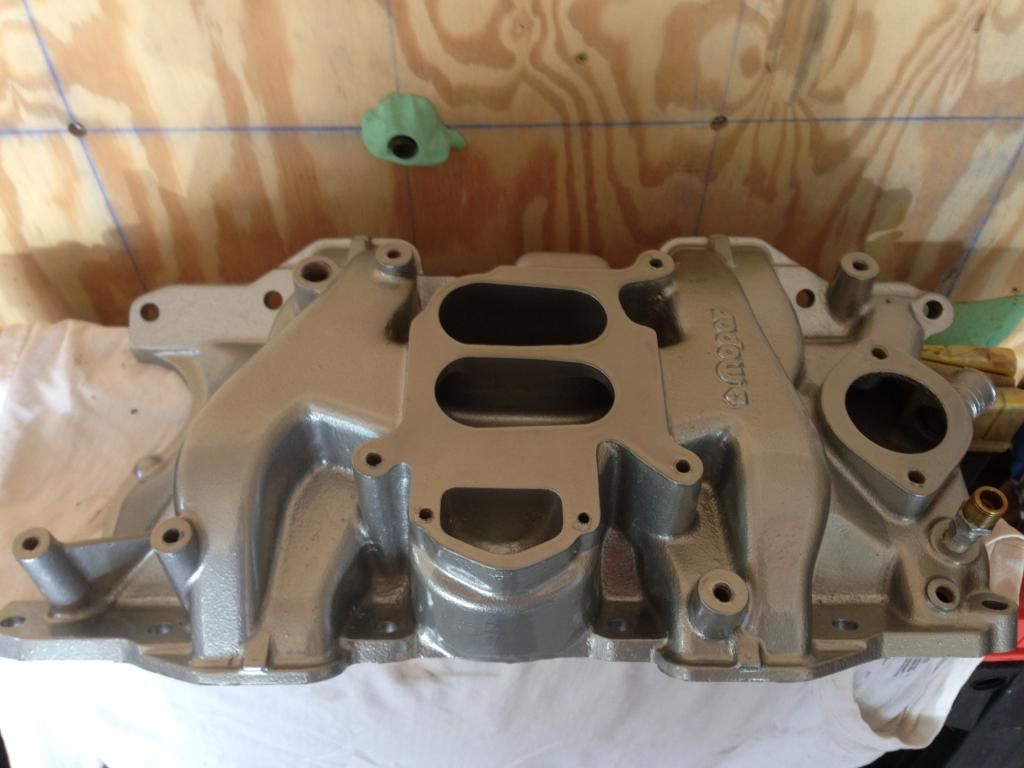
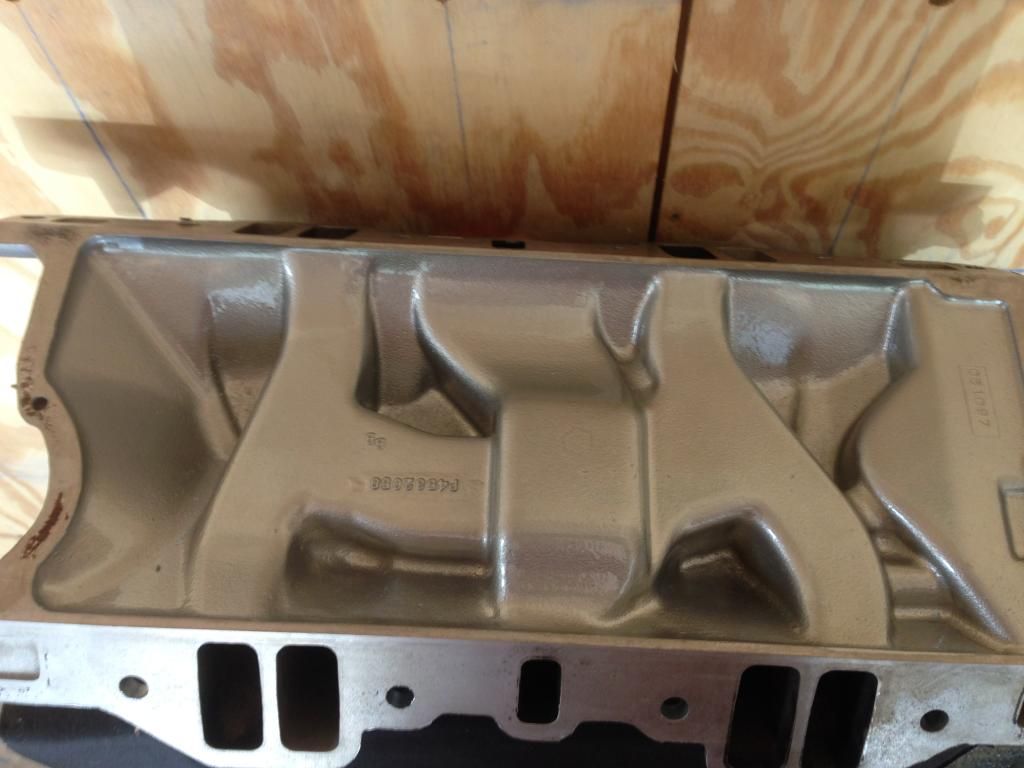
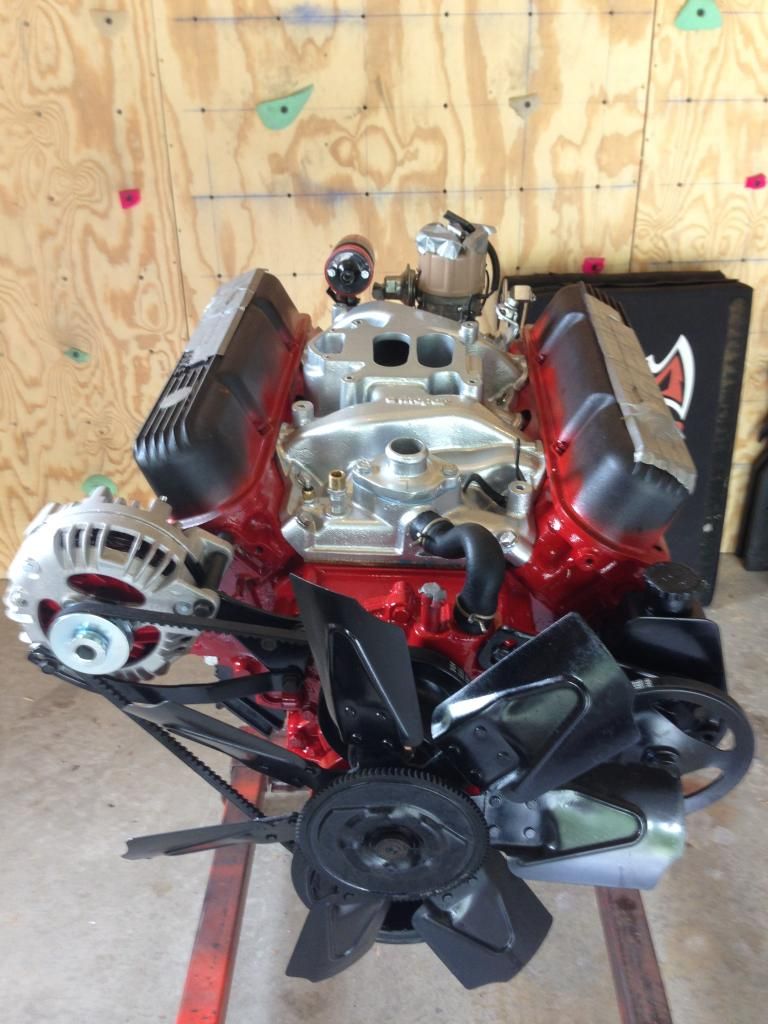
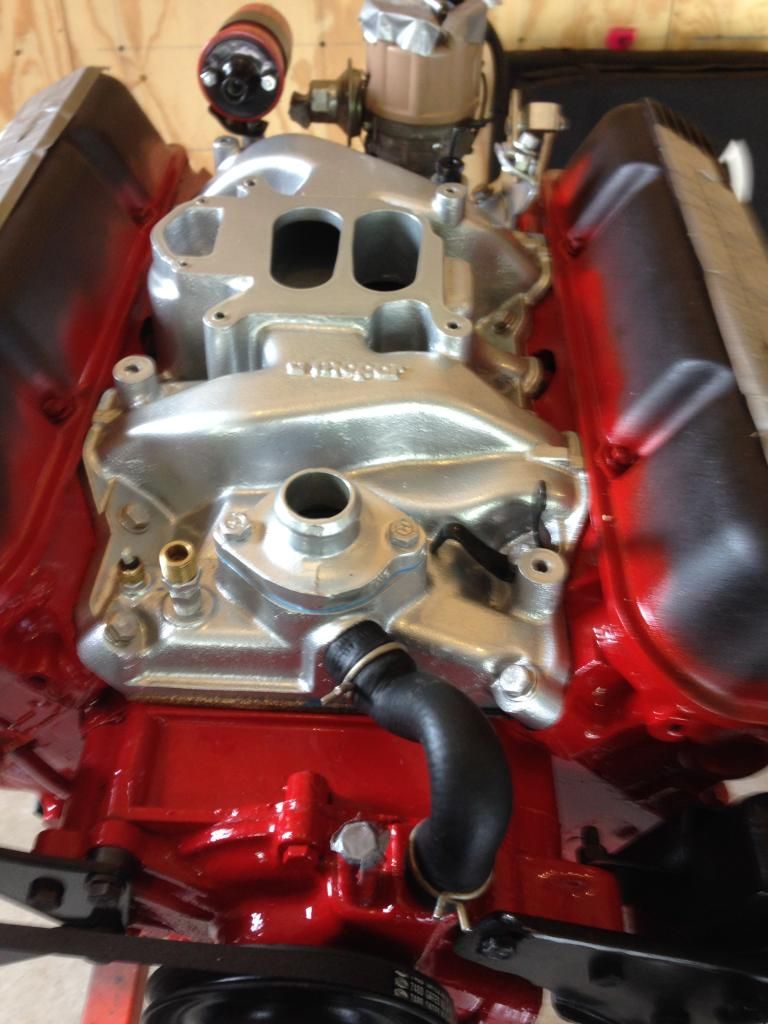
318 with 2.02 heads (from a 360), Mopar Performance aluminum intake, Carter 4-barrel carb, Mopar purple cam (don't know specs), Factory AC and Power Steering
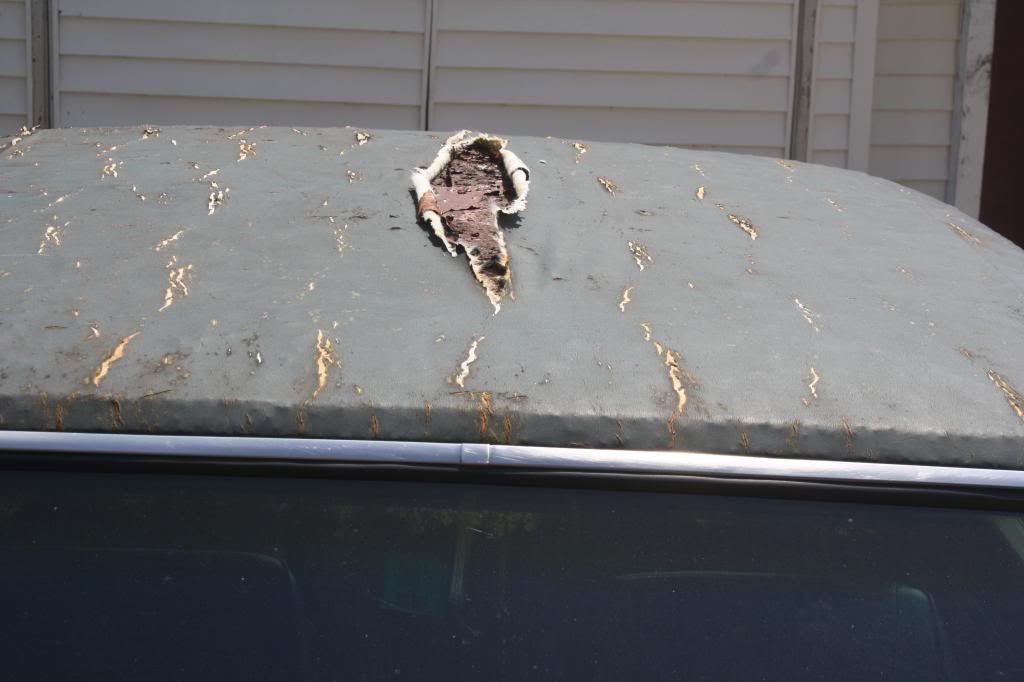
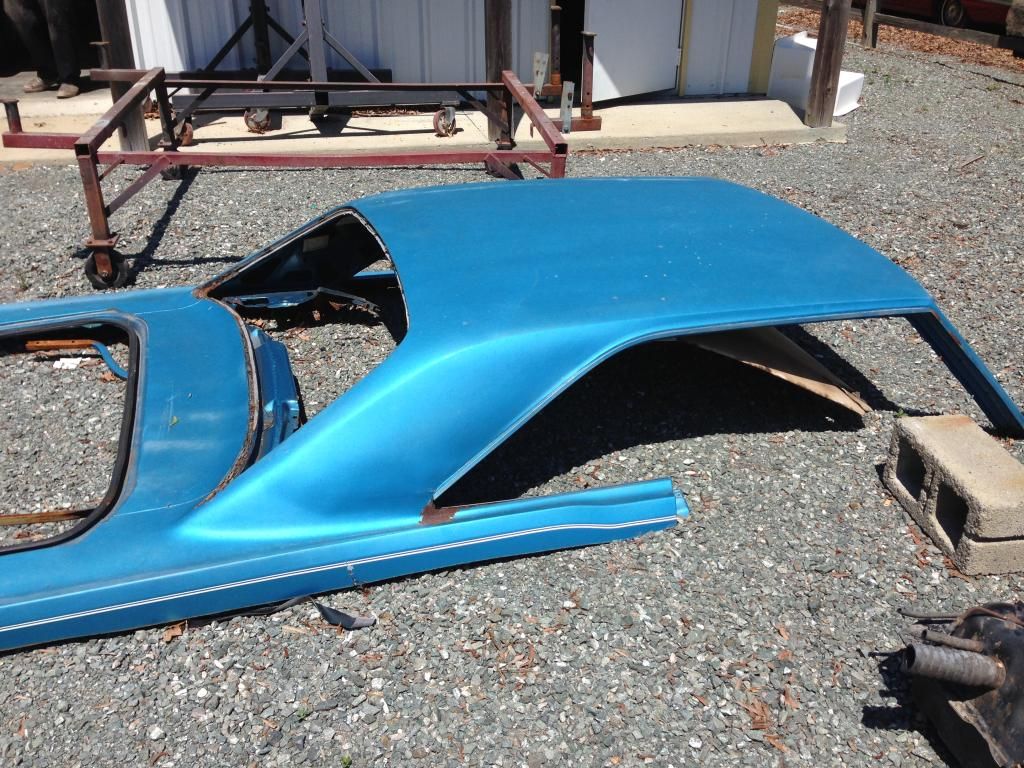
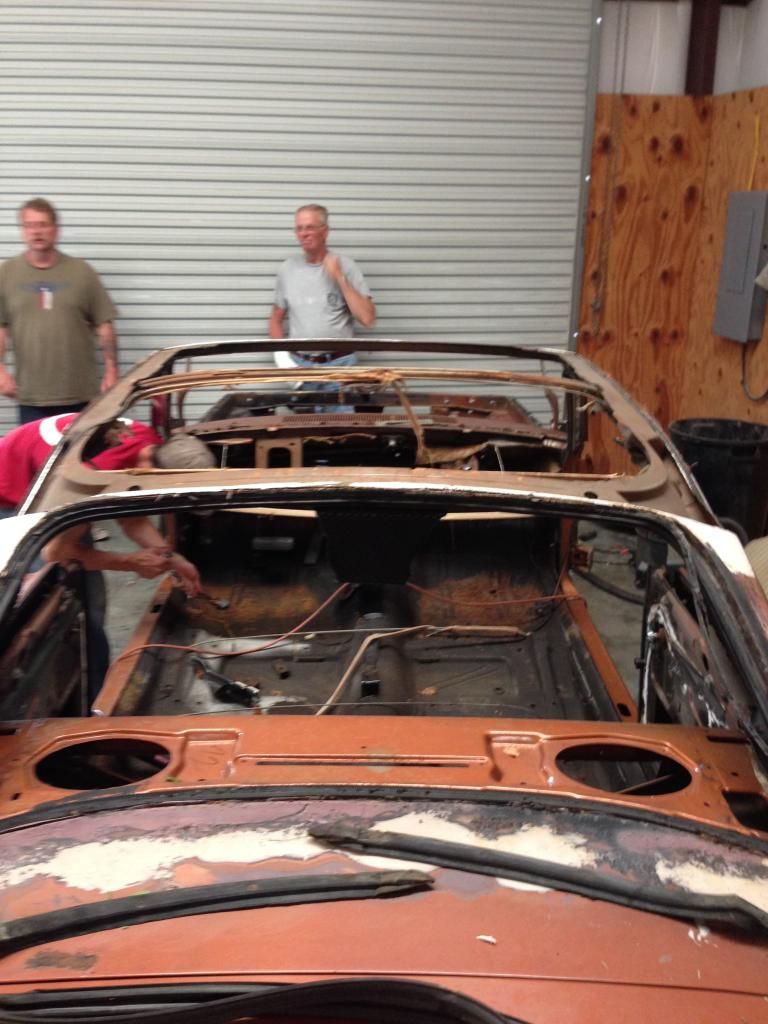
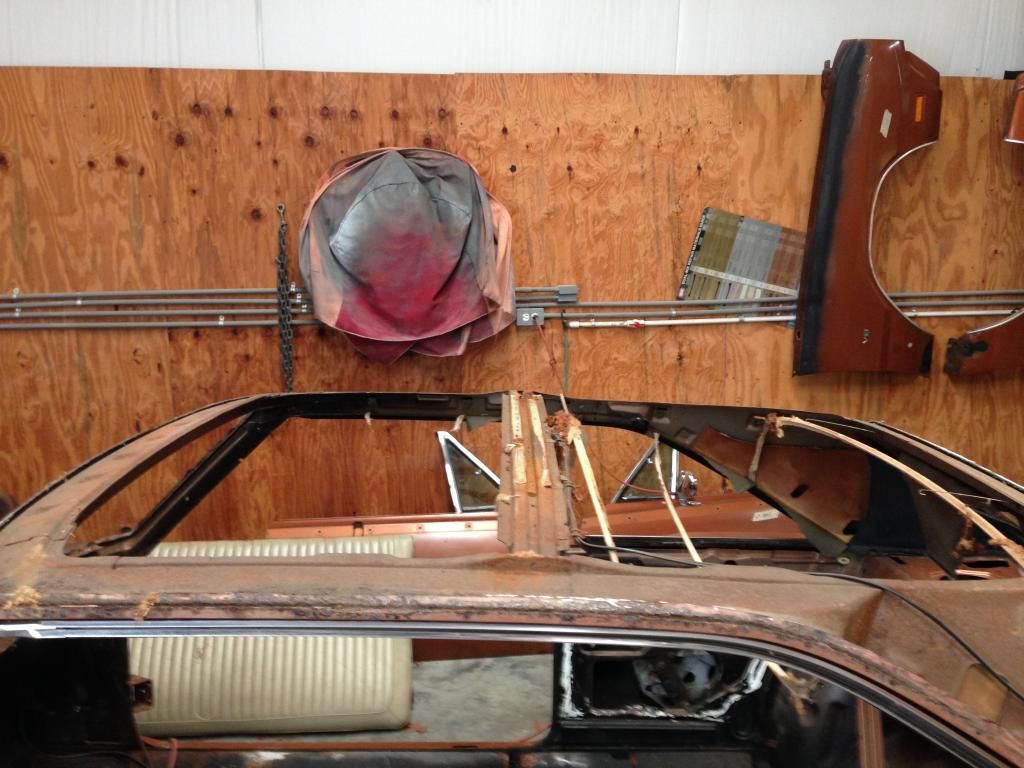
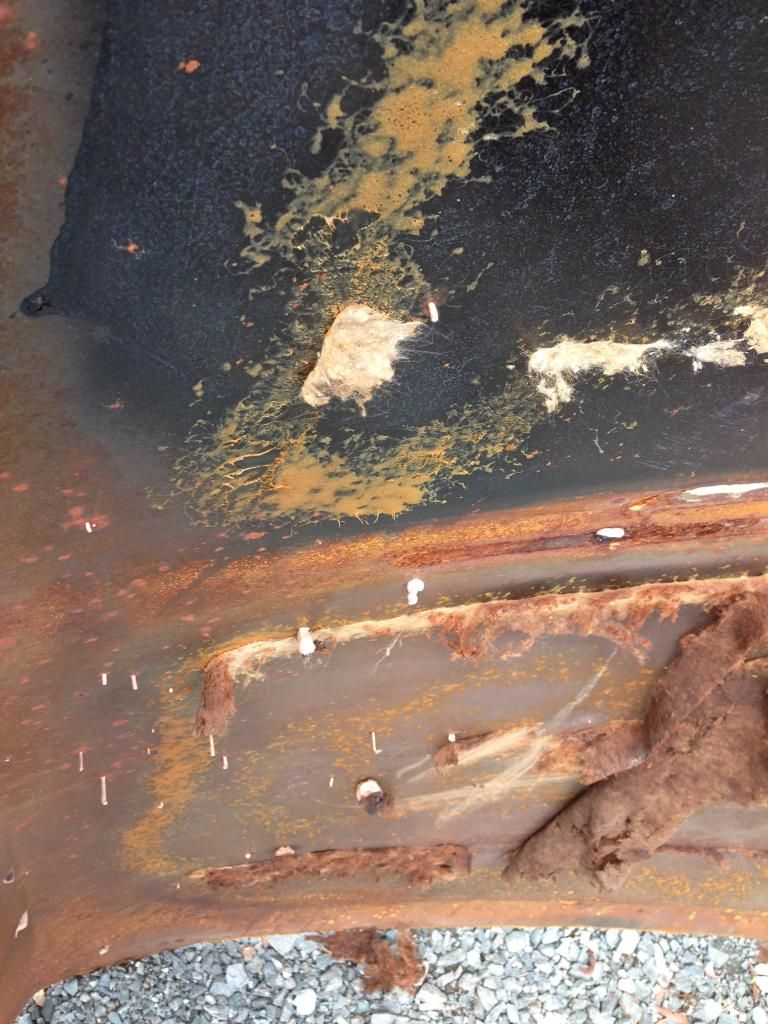
Some bad rust where the vinyl top split. I plan to ditch the vinyl top all together.


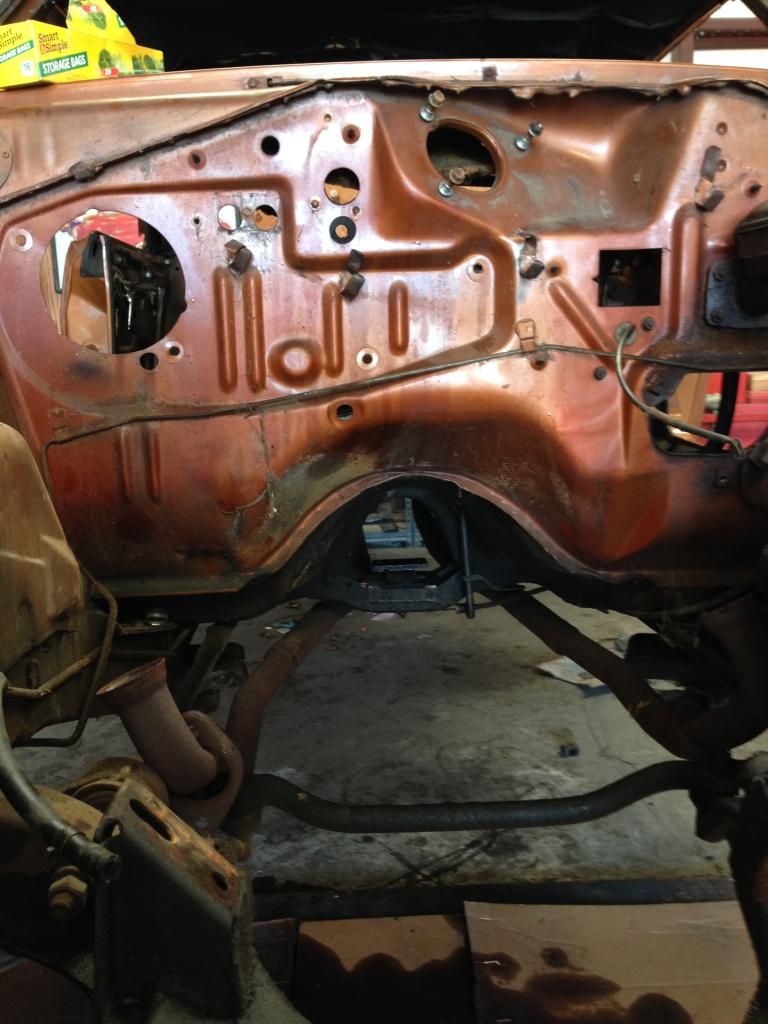
The only really troublesome hole.
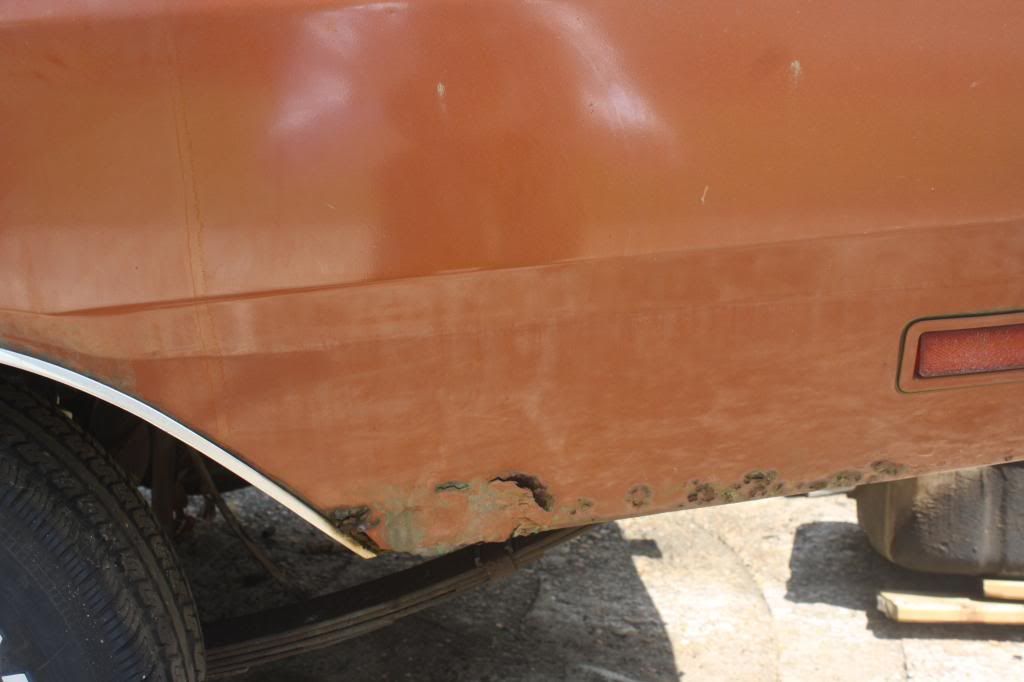
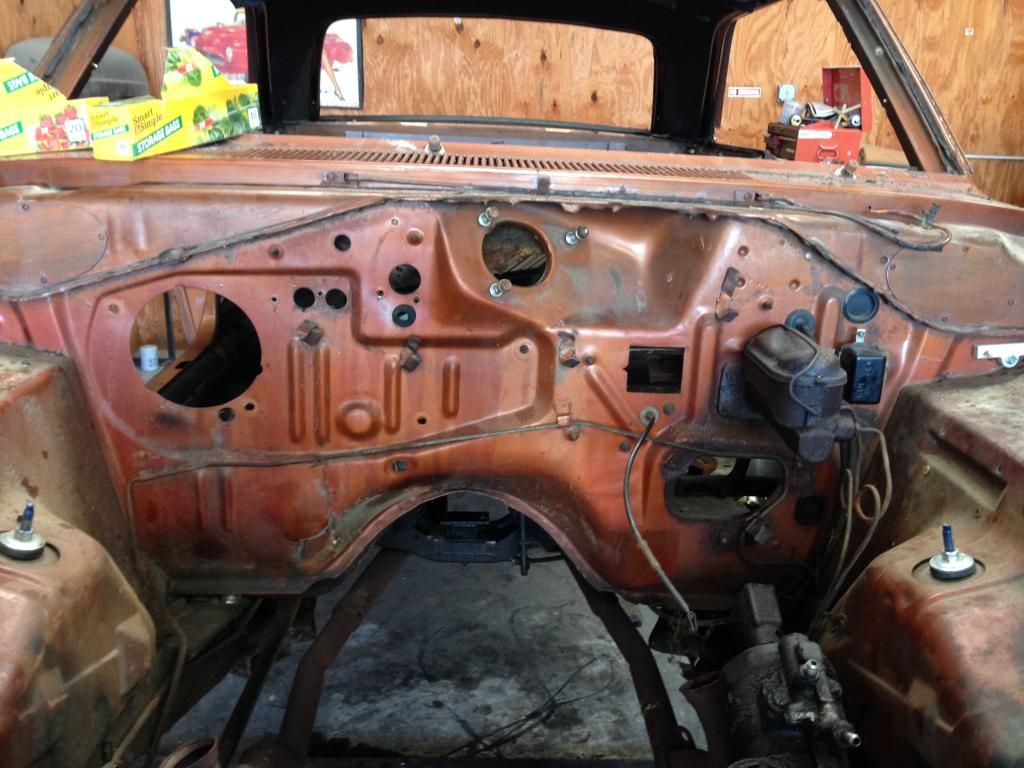
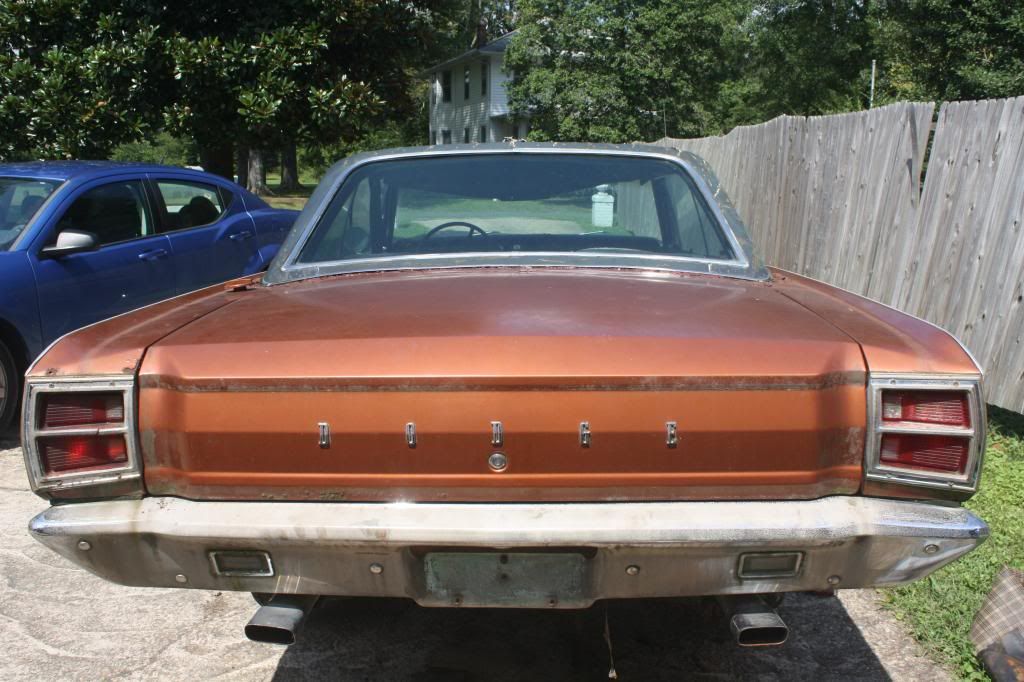
The worst spot of rust on any fender. Other smaller spots at fender corners, but the rocker panels are intact.
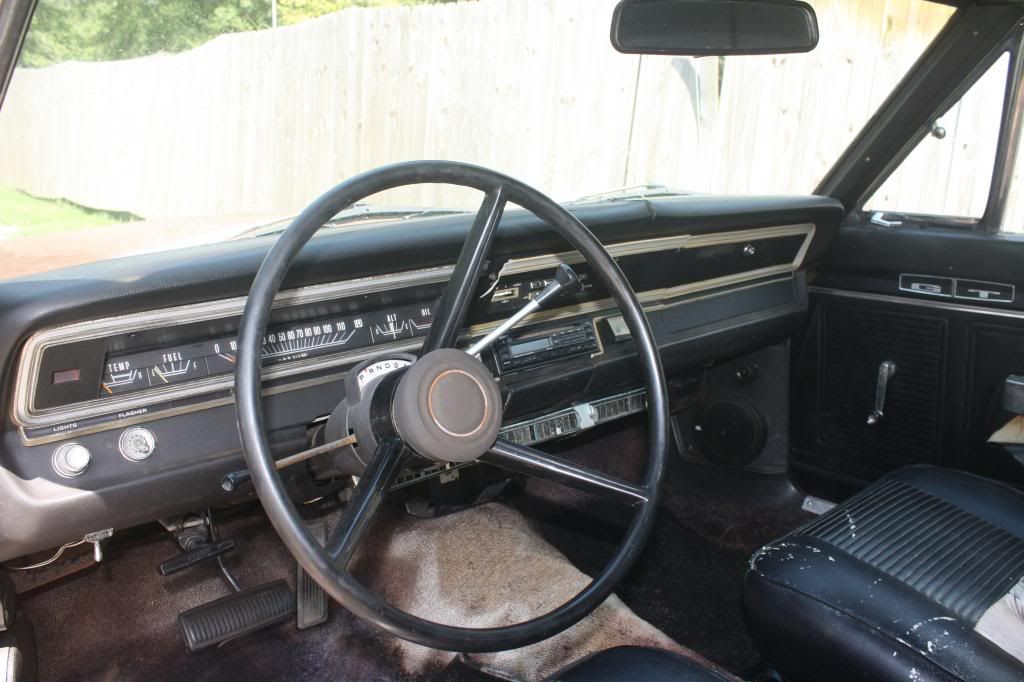
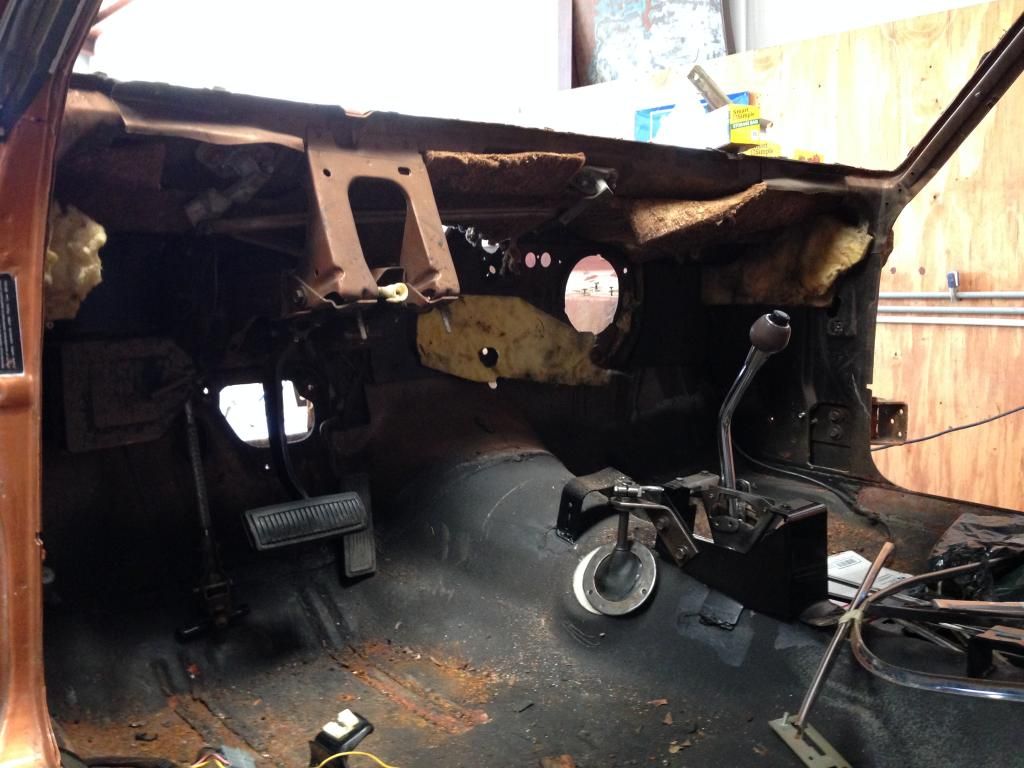
Drivers view.
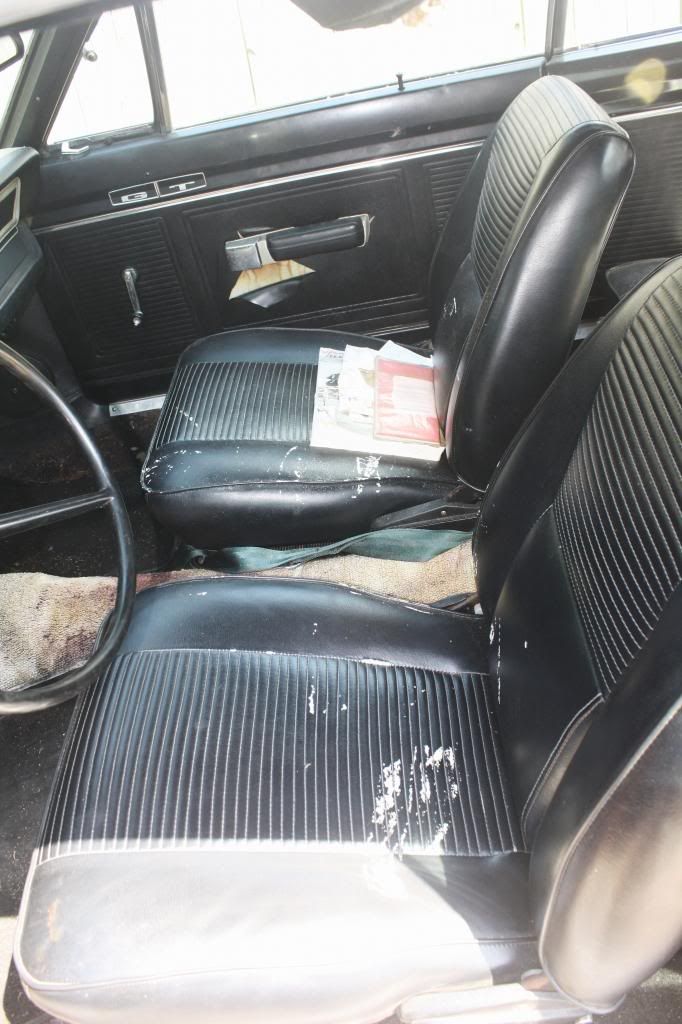
Front seats.

Back seats.
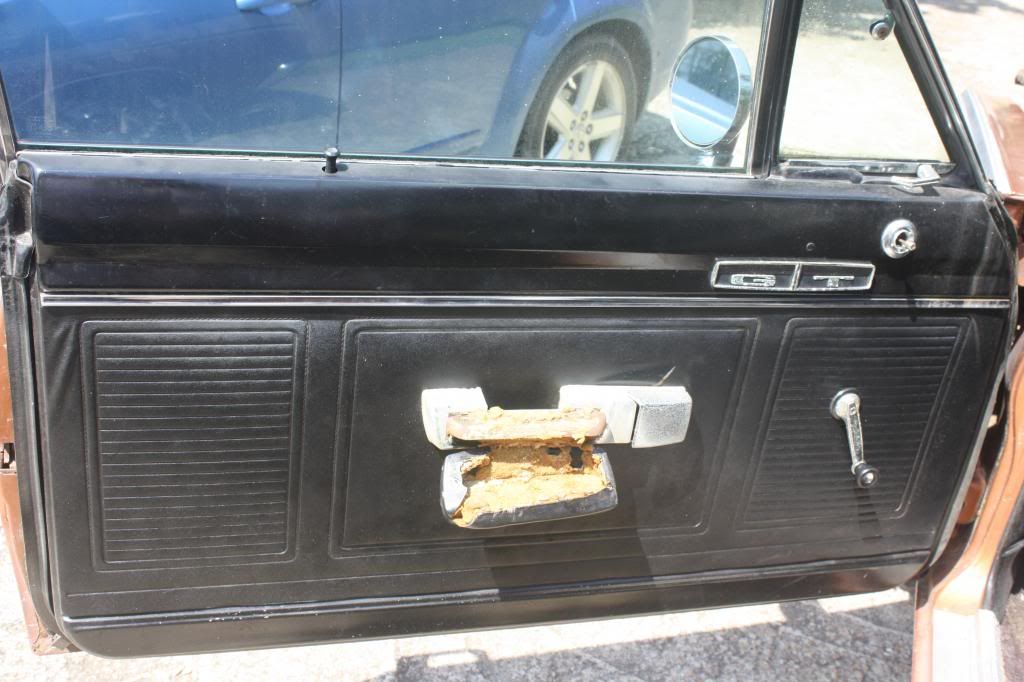
Worst door spot inside.


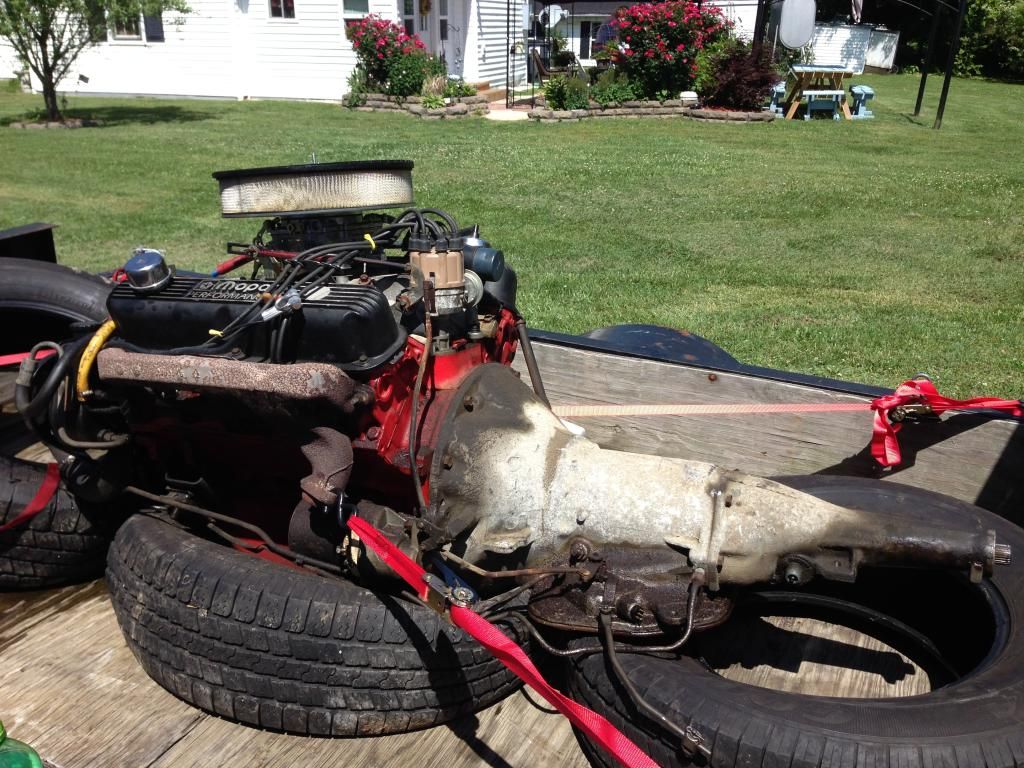
318 with 2.02 heads (from a 360), Mopar Performance aluminum intake, Carter 4-barrel carb, Mopar purple cam (don't know specs), Factory AC and Power Steering

Some bad rust where the vinyl top split. I plan to ditch the vinyl top all together.


The only really troublesome hole.

The worst spot of rust on any fender. Other smaller spots at fender corners, but the rocker panels are intact.

Drivers view.

Front seats.

Back seats.

Worst door spot inside.