You are using an out of date browser. It may not display this or other websites correctly.
You should upgrade or use an alternative browser.
You should upgrade or use an alternative browser.
Finally Some Pictures of my 1969 Dodge Dart GT
- Thread starter 1969VADart
- Start date
-
1969VADart
Well-Known Member
Lucky you. I have not been able to locate one.
I kept watching eBay like a hawk. Unforunately, when they do pop up they tend to be crazy expensive. I negotiated the price down with a guy who couldn't get anyone to bite. The panel is not perfect, but it is nice enough that I am going to just repaint it and then mount it with some of the wear.
1969VADart
Well-Known Member
That sounds like a great price based on what I had been seeing. I have seen them in terrible shape go for more money than that.
I was watching EBAY on and off. Kinda funny, the day I posted about it here one showed up. I just bought it for $175. It has a few dings that I am hoping I can repair.
1969VADart
Well-Known Member
Spent the weekend jumping around on different parts of my project. First, I took the seats apart so I could paint the frames. I did not strip them all the way down because the foam is still in excellent shape. I went ahead and painted them with the old covers on because I am getting ready to install new seat covers.
http://i1364.photobucket.com/albums...1-1D11-4B3E-9B0A-F40DEED9F984_zpsyq6jqrbu.jpg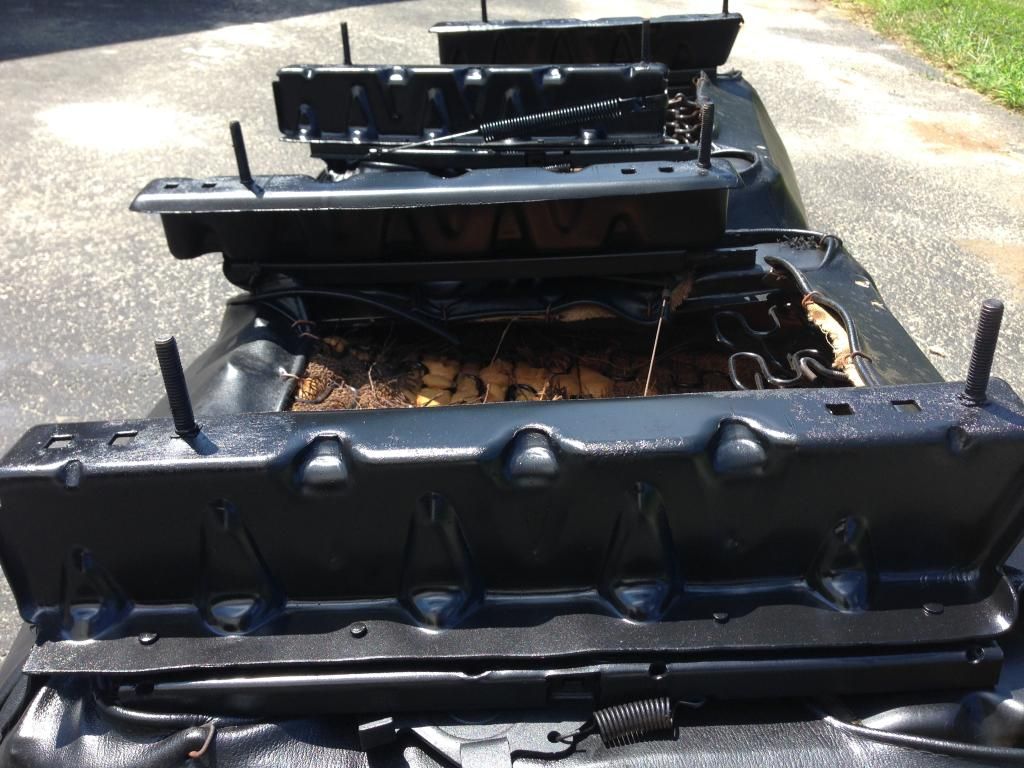
http://i1364.photobucket.com/albums...C-99CF-4D64-AAED-02F78342102A_zpsgqbizkxy.jpg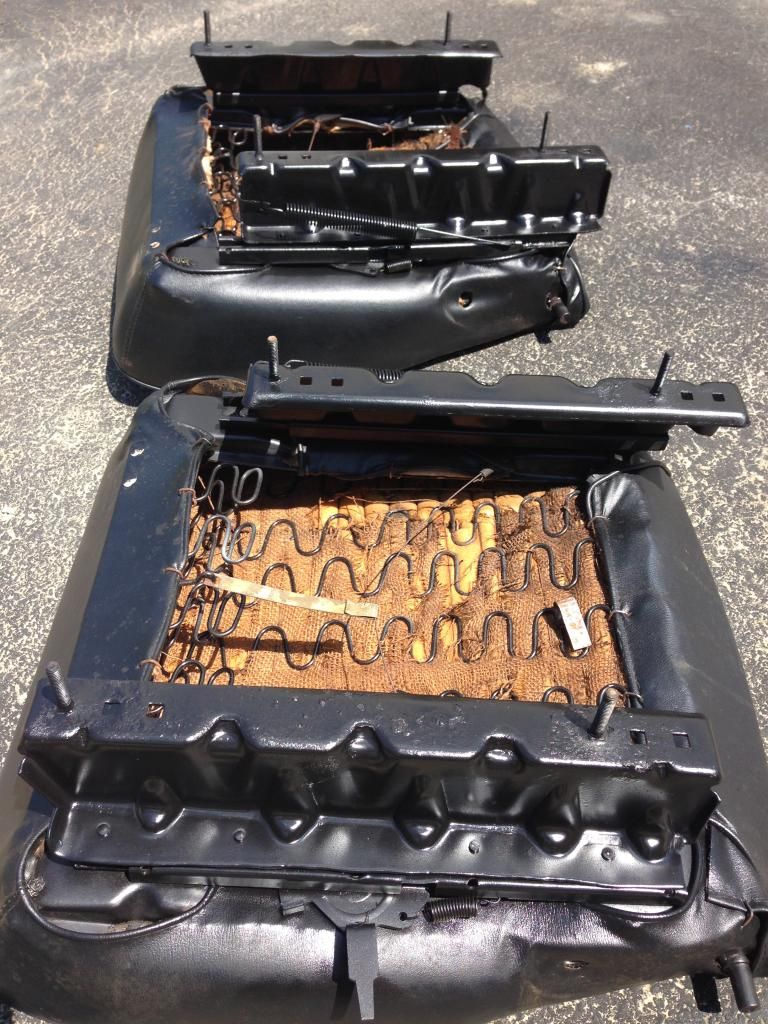
I also found a cool discovery under the rear seat bottom--a build sheet. I left it there because I did not want to risk it shredding up as I pulled it out.
http://i1364.photobucket.com/albums...6-CF57-46CB-B17A-1A15C46A16B5_zpss4qgfqv7.jpg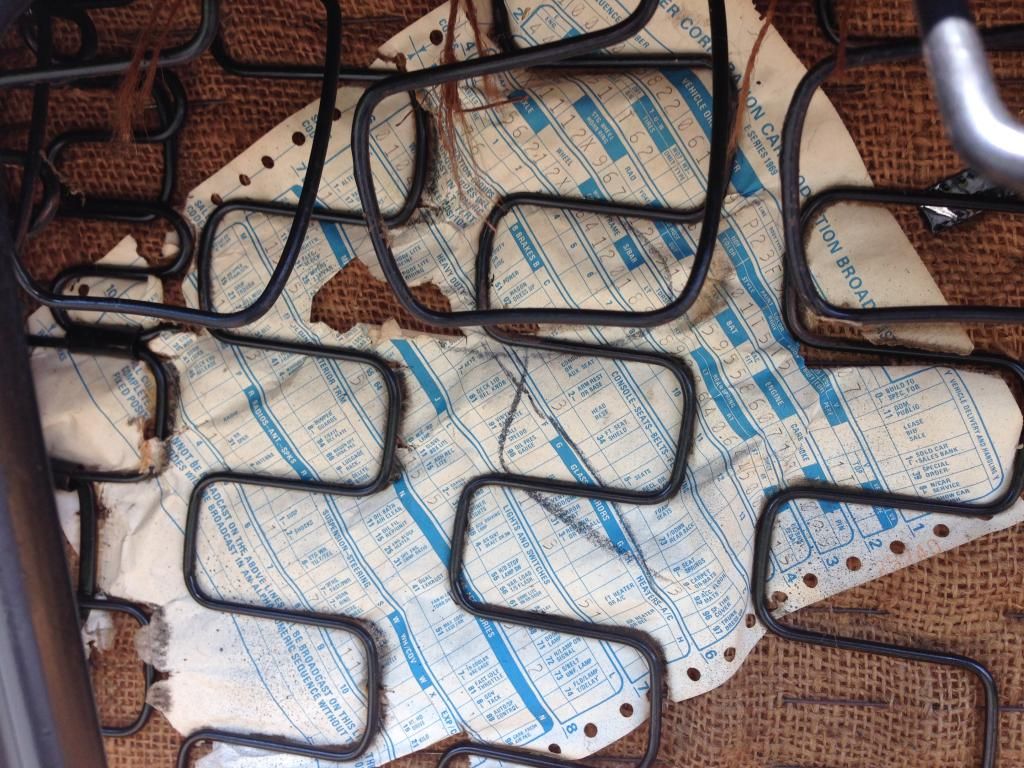
All of the seat parts also had this matching seat tag dated July 23, 1968. Interestingly, the seat belts that came out of the car also had 1968 date codes.
http://s1364.photobucket.com/user/W...F-4F60-940B-23F012B778BB_zps6spjfrvx.jpg.html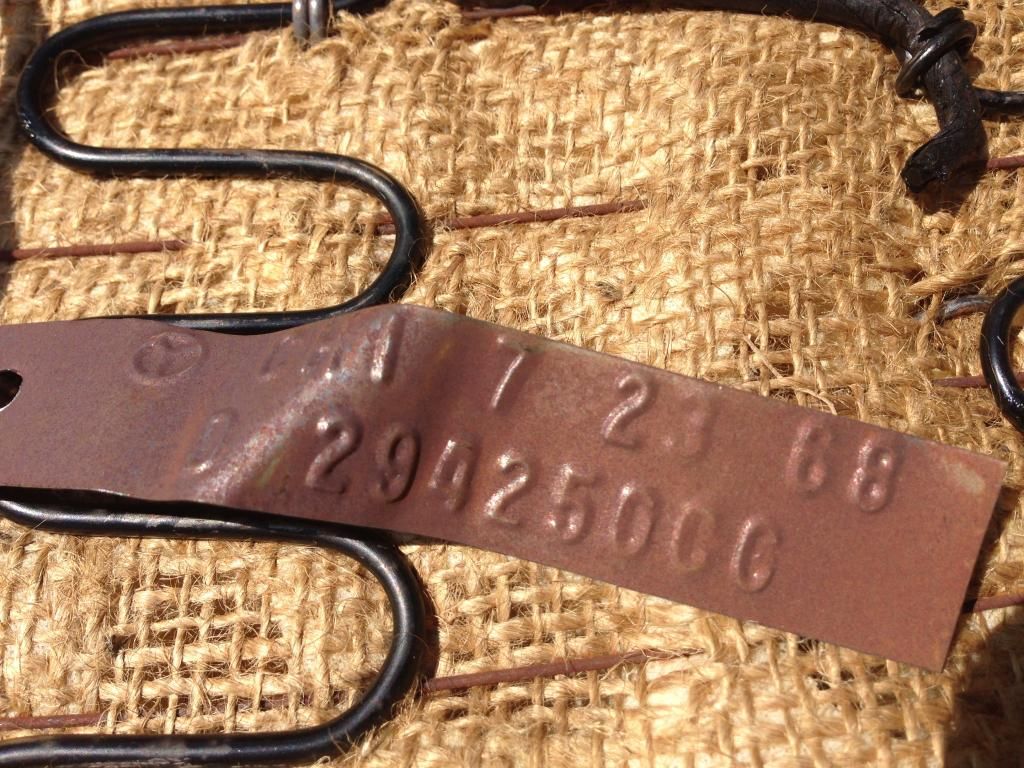
I also decided to do a little work on the underdash harness. The biggest part of the project was swapping out the old bulkhead connector for the brand new one (a necessity given the fact that the main ammeter feed burned out the old one).
http://i1364.photobucket.com/albums...1-3062-4387-B099-45020DE8C602_zpslms35l3x.jpg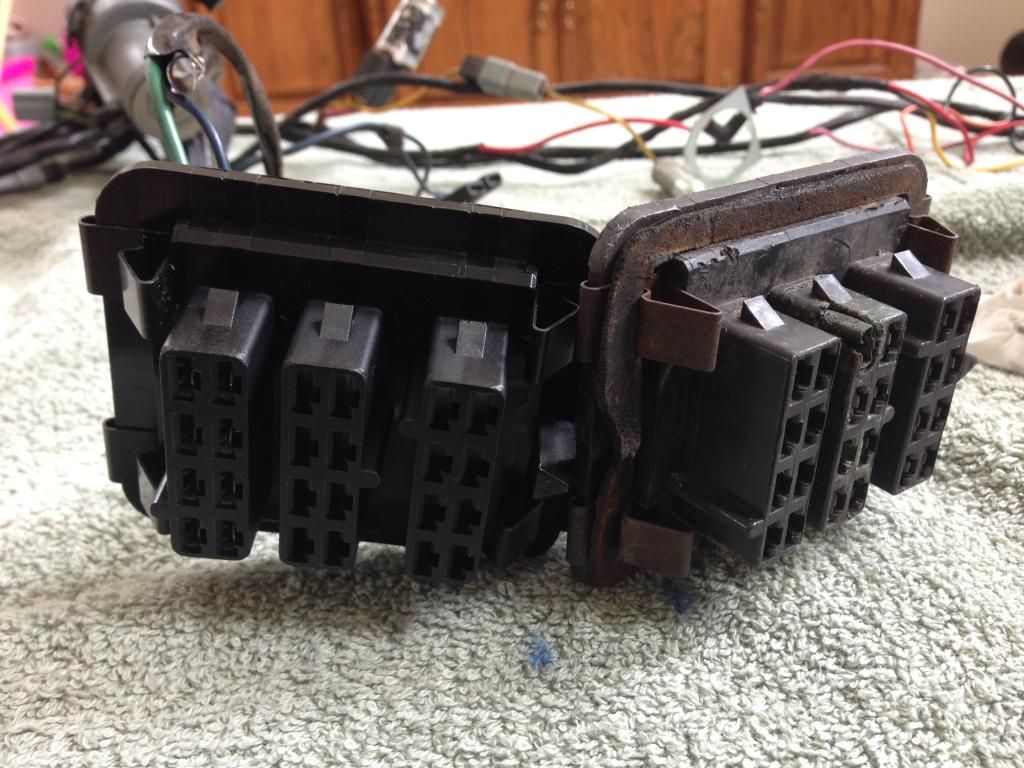
http://i1364.photobucket.com/albums...C-9E8F-4E36-9264-A5F18E2FD774_zpsysoztzm6.jpg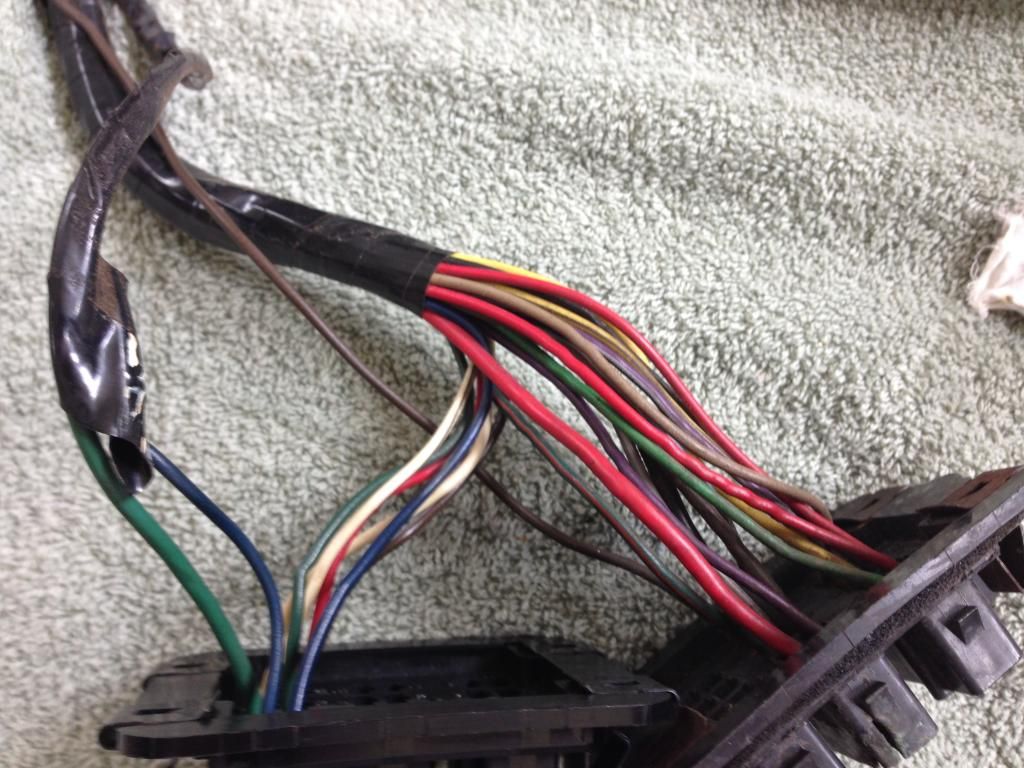
Transfer of all firewall connections is complete. I cleaned every connector with contact cleaner and in some cases sand paper. I also inspected and traced all the wires. Once the bulkhead connector was back together I also prepped all the connections with dielectric grease.
http://i1364.photobucket.com/albums...B-A49A-476F-8B75-B364EB2BCFA7_zps1n2utuw4.jpg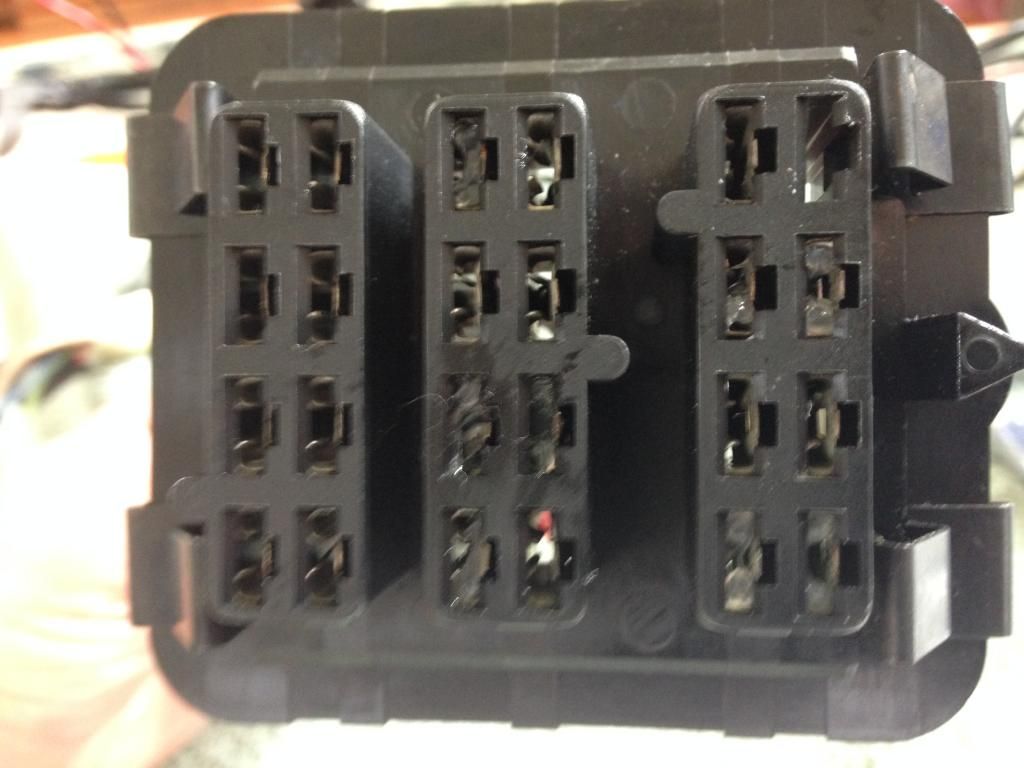
http://i1364.photobucket.com/albums...2-FAD8-48FA-A348-5BE8847DAB02_zps9h0q4gsl.jpg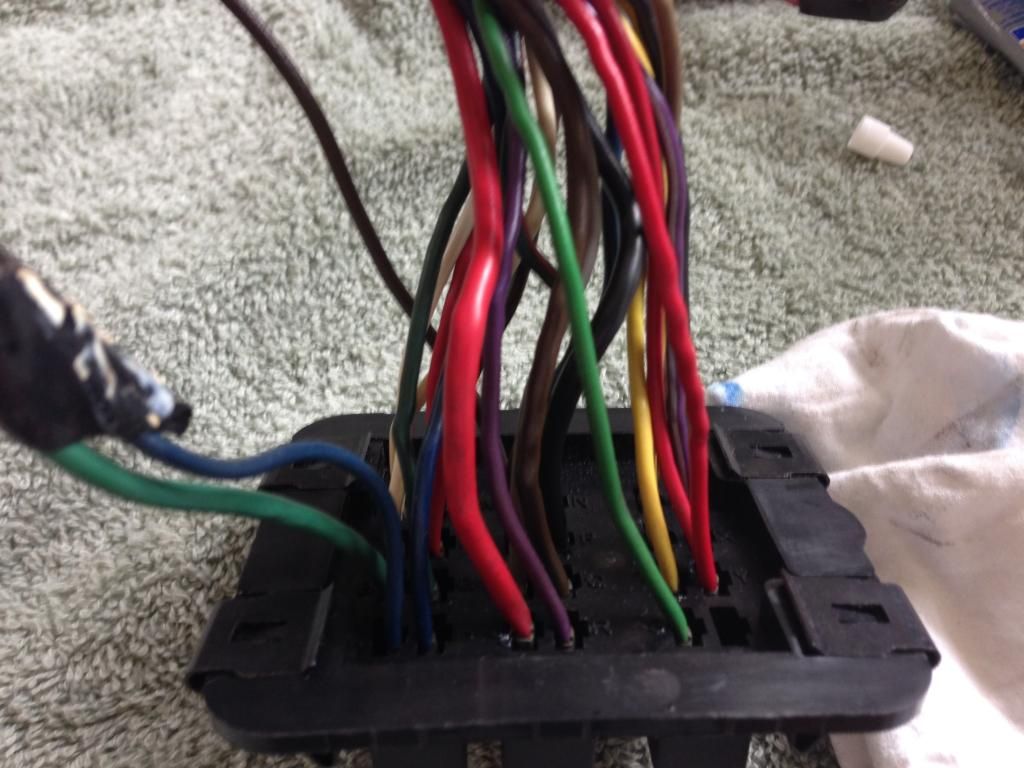
I also swapped out the burned up dimmer switch connector.
http://i1364.photobucket.com/albums...4-77D3-4532-B224-83201FC519FA_zpszkmbpyb6.jpg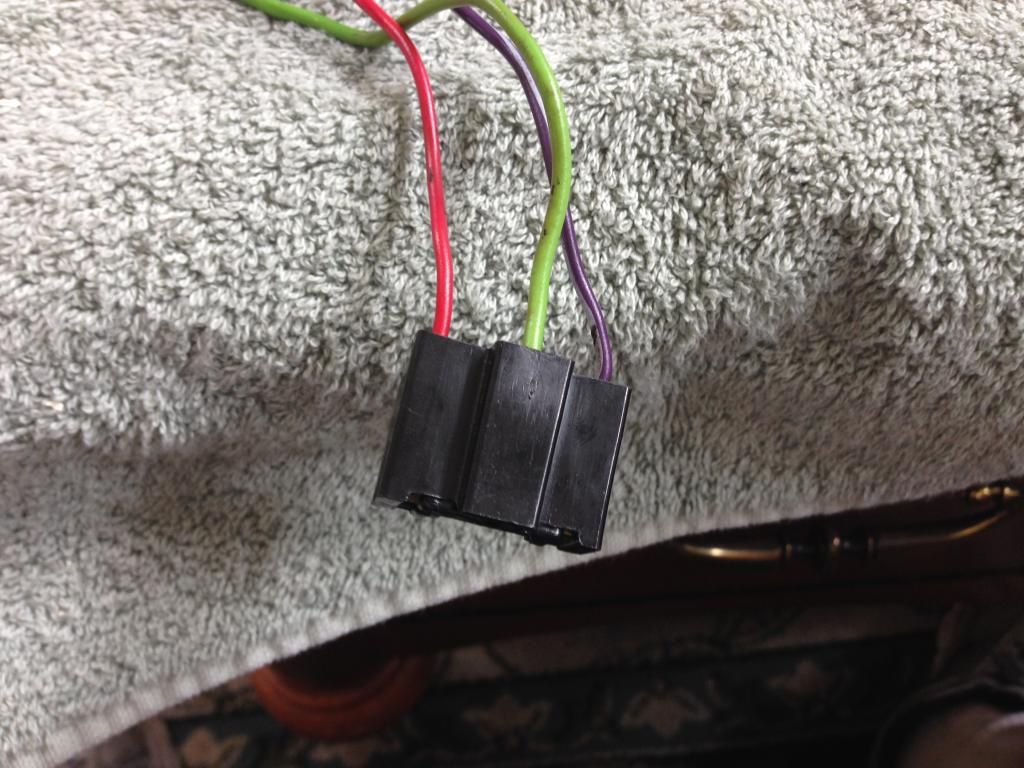
http://i1364.photobucket.com/albums...A-8C6B-4CE8-83D3-335A75EF7BAF_zpsksvob9m2.jpg
Finally, I decided to add a ground connection to the back of my instrument cluster. I would appreciate any thoughts from the experts on whether or not this set up should improve the ground of the cluster.
http://i1364.photobucket.com/albums...2-7ABB-4285-B50A-E656A5CAE5AE_zps9kqzshq6.jpg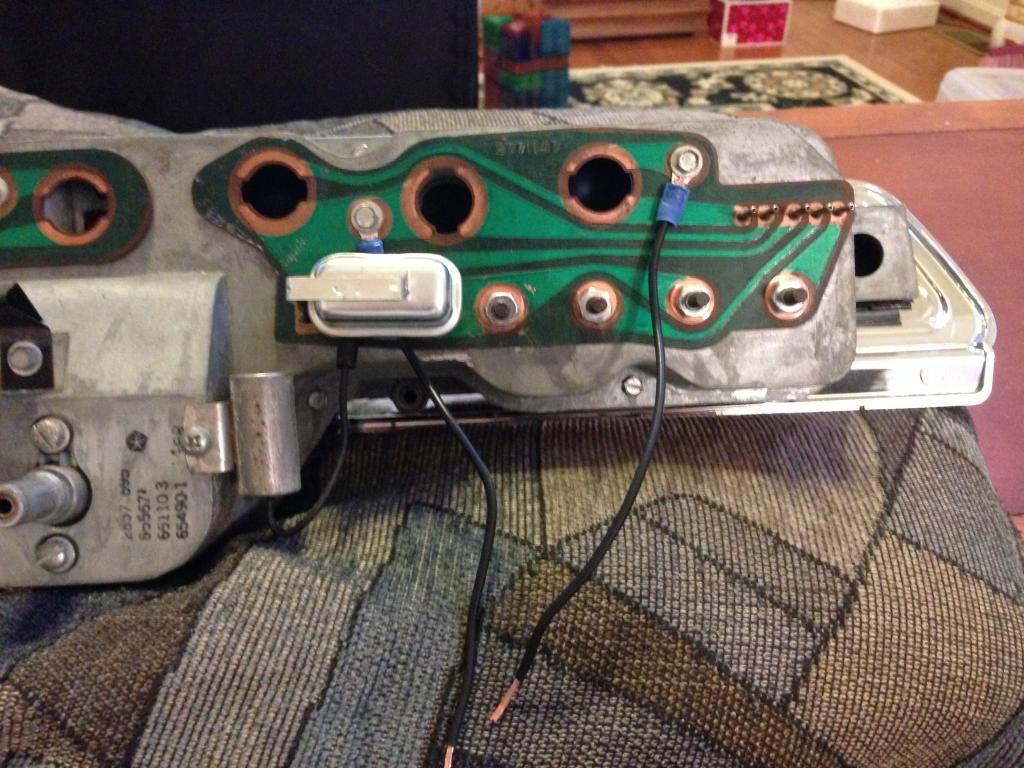
http://i1364.photobucket.com/albums...F-D137-49F2-A5EB-2973283B94AC_zpsvdnx0bft.jpg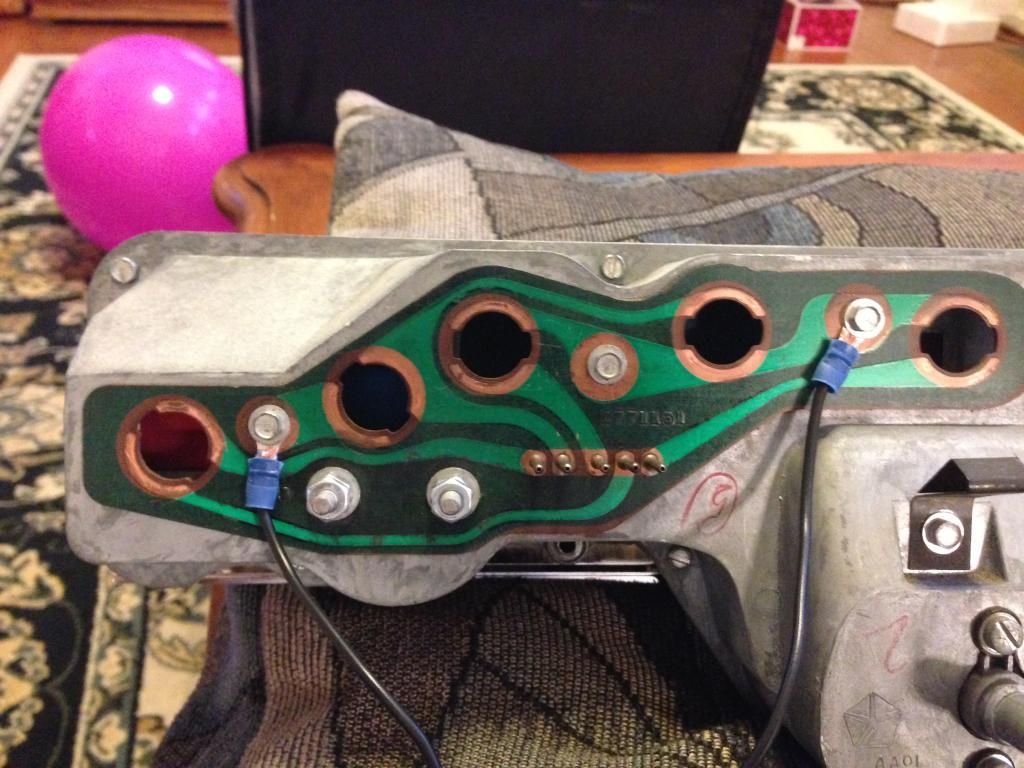
The last connection is a length of wire that should be long enough to reach the firewall or behind the kick panel with ease.
http://i1364.photobucket.com/albums...9-1048-46A7-80EE-8330633514AA_zpsygmpz8lj.jpg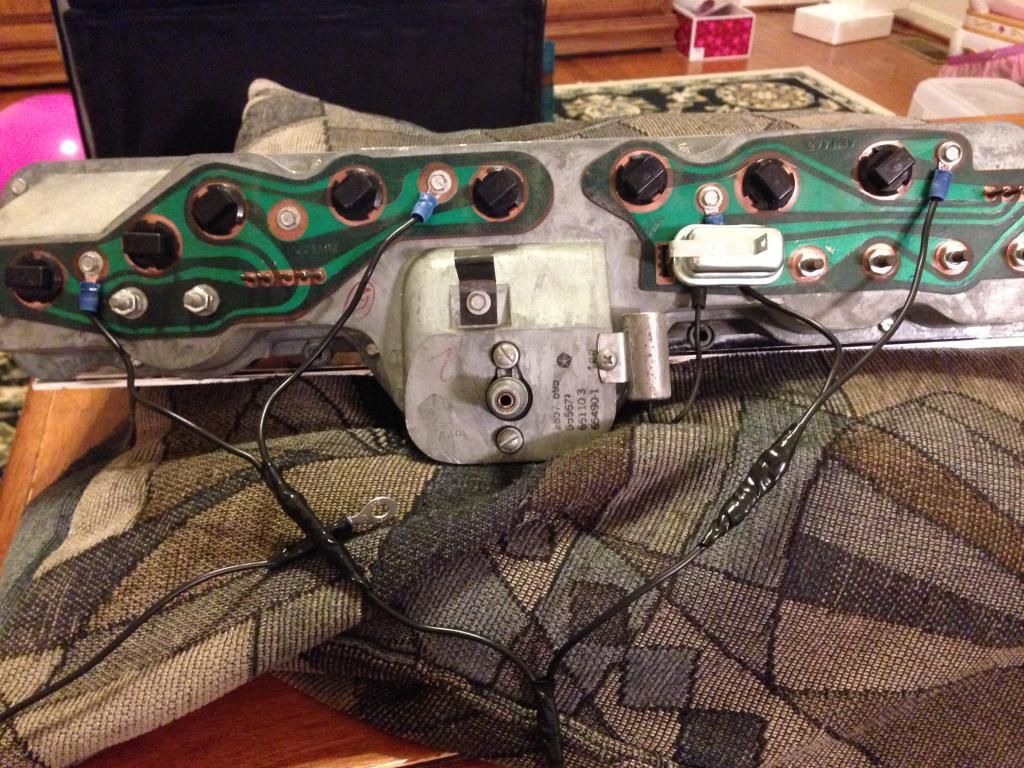
1969VADart
Well-Known Member
This weekend I finished recovering my seats. The fronts did not come out perfect I think mainly because of some minor blemishes in the seat foam (particularly the seat tops). The back seat came out great. This was harder than I thought it would be. Fortunately, I finally got smart and had someone help me. Here are some pictures of the seats stripped.
http://s1364.photobucket.com/user/W...7-430F-94D8-B8BFF1C2D266_zpsnwrkiged.jpg.html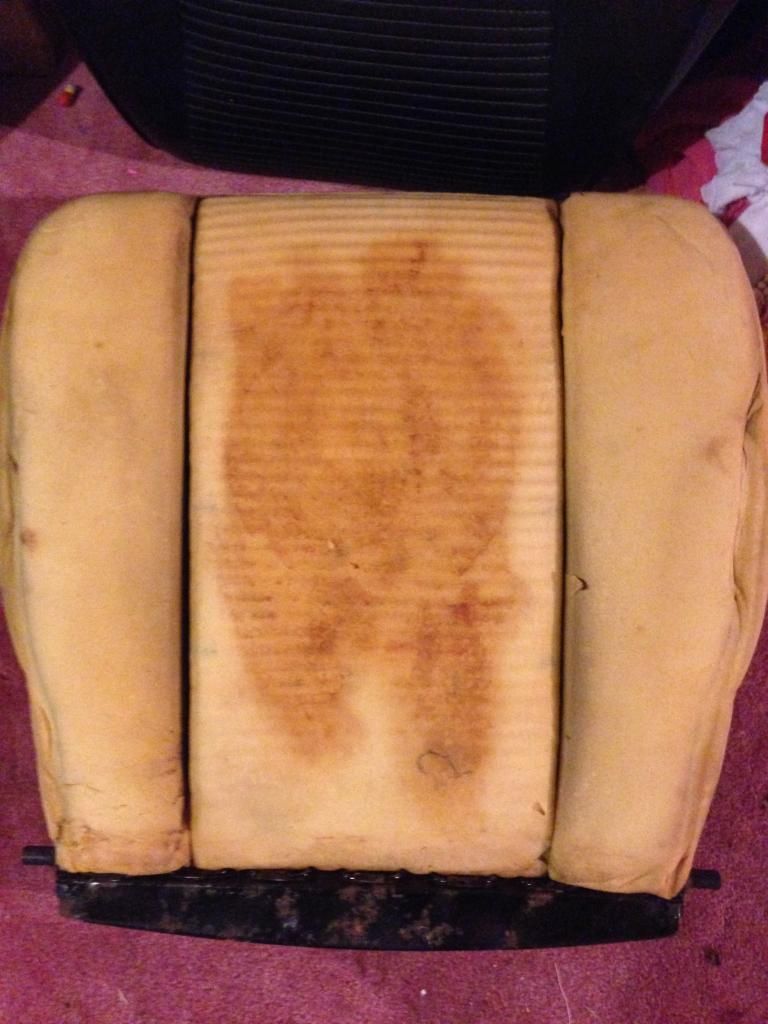
http://s1364.photobucket.com/user/W...0-45A0-9F46-CD4633ACF8E1_zpsantnozow.jpg.html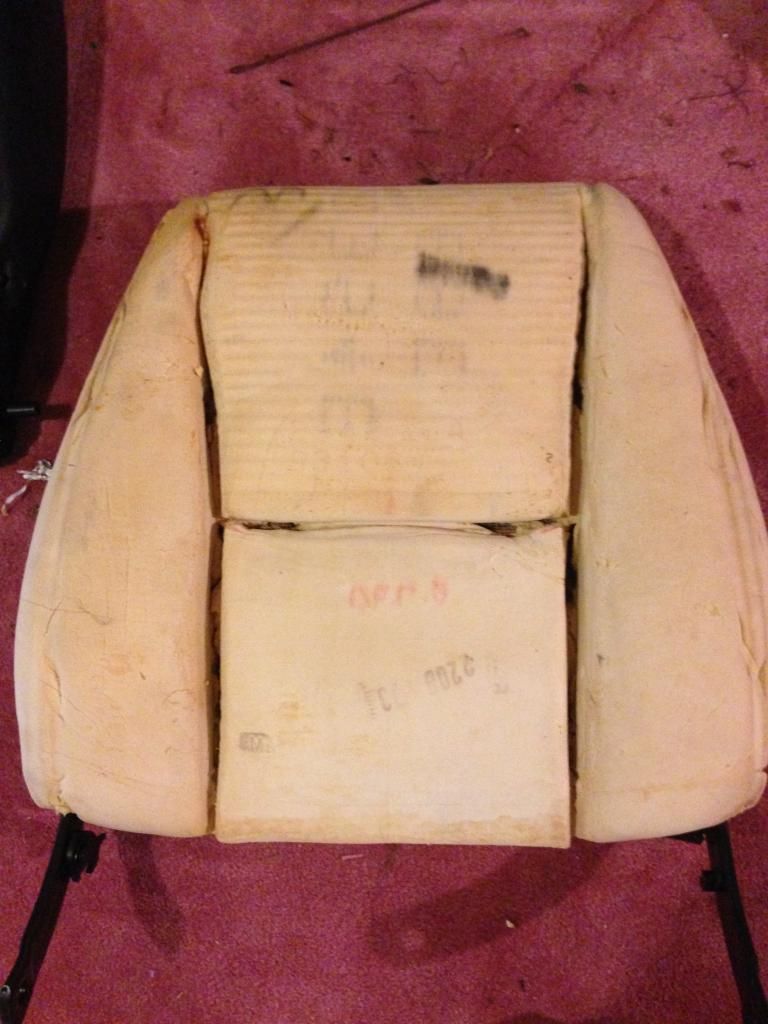
http://s1364.photobucket.com/user/W...2-4EF8-B4A5-899F6F6A3C72_zpsmhxh5ew0.jpg.html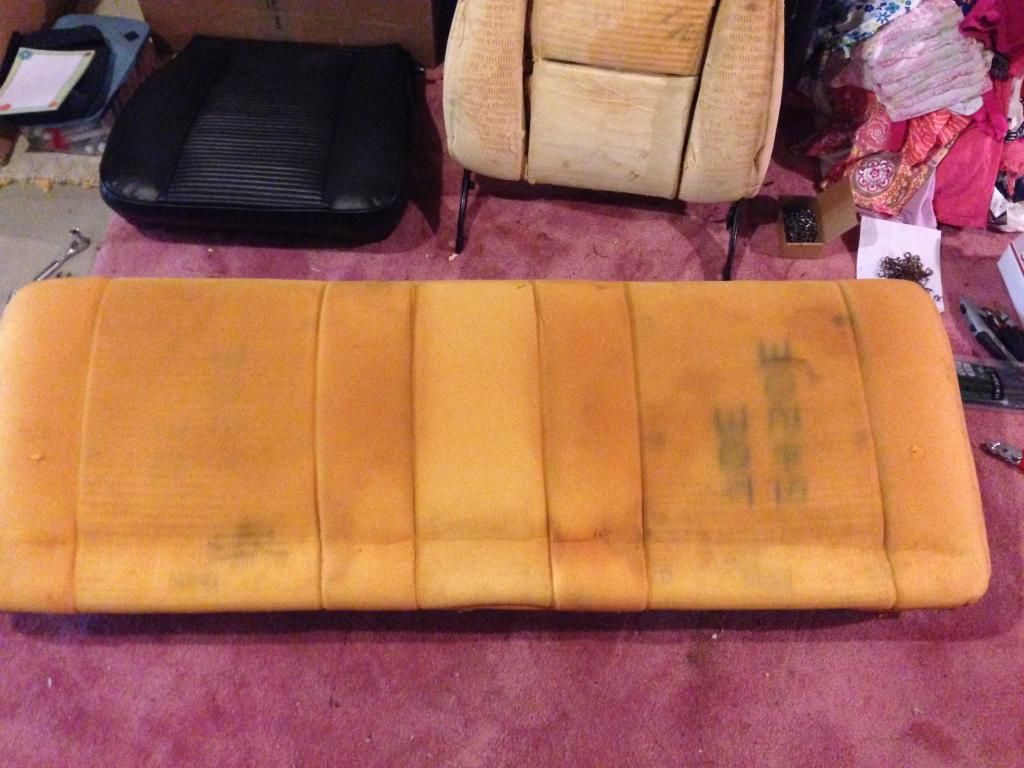
http://s1364.photobucket.com/user/W...7-4604-9A2A-745FF8090830_zpsj61yctra.jpg.html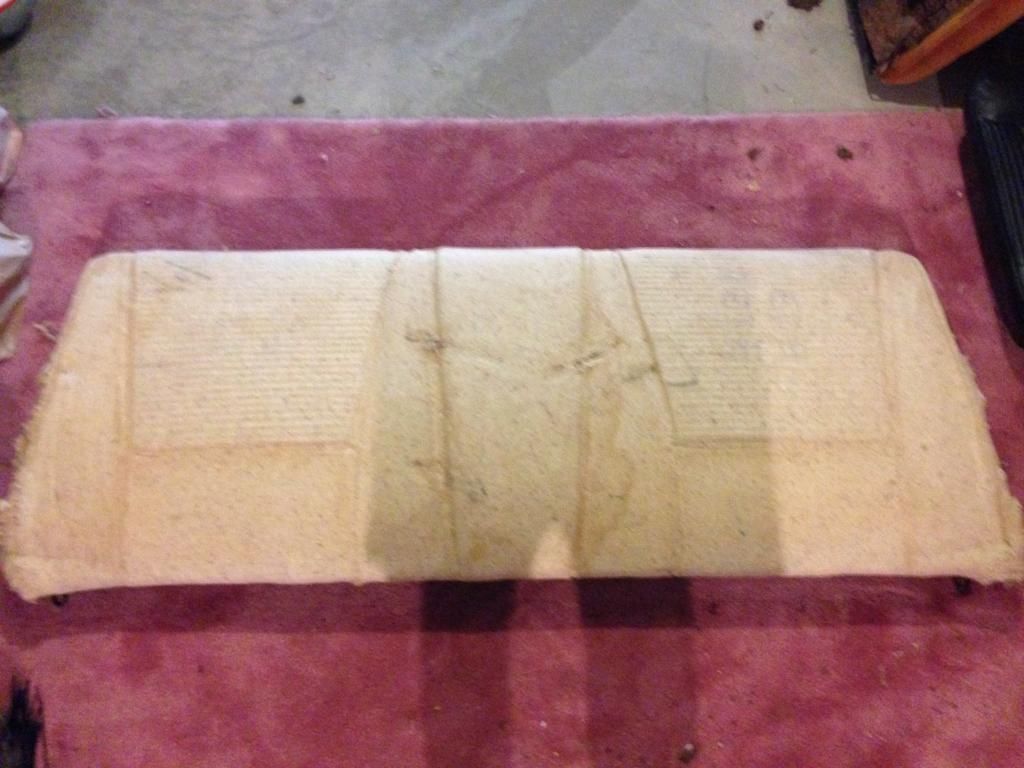
Here are some pictures after I got the seat covers on. The only parts I could not get perfect for the front seat tops, but the pictures make it look worse than they actually are.
http://s1364.photobucket.com/user/W...5-4520-93F9-37B6678ED7B1_zpsckmp1dpr.jpg.html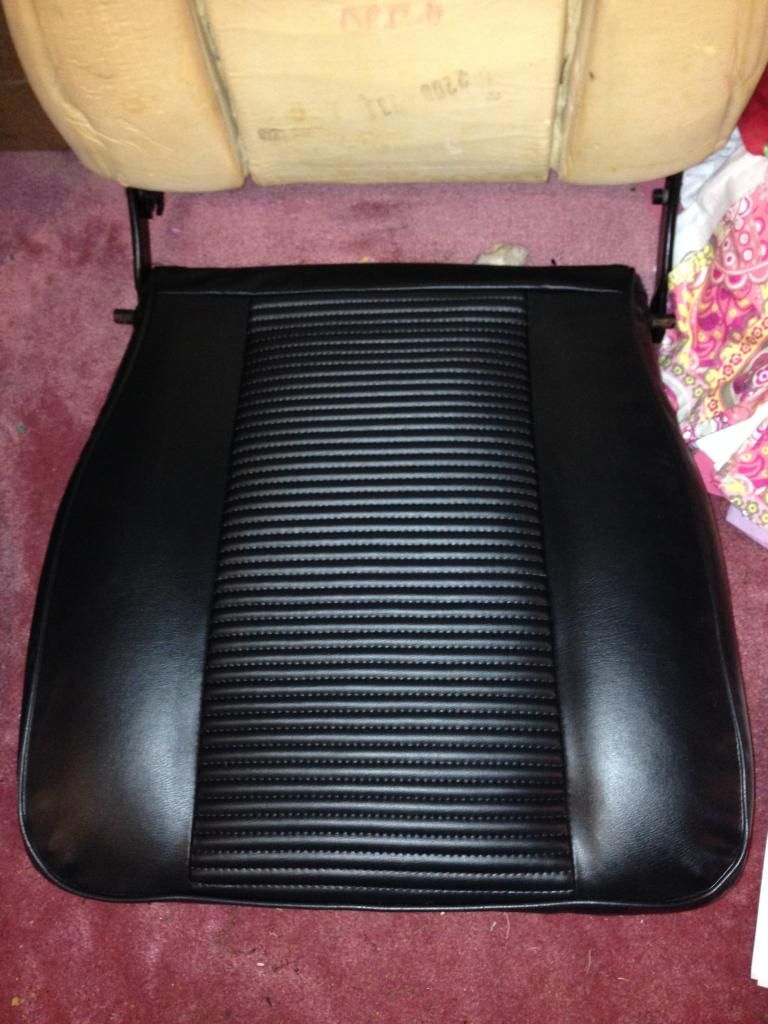
An original seat beside the recovered bottom.
http://s1364.photobucket.com/user/W...8-44D0-8DED-0130C42D1BBF_zpssh0h6bdw.jpg.html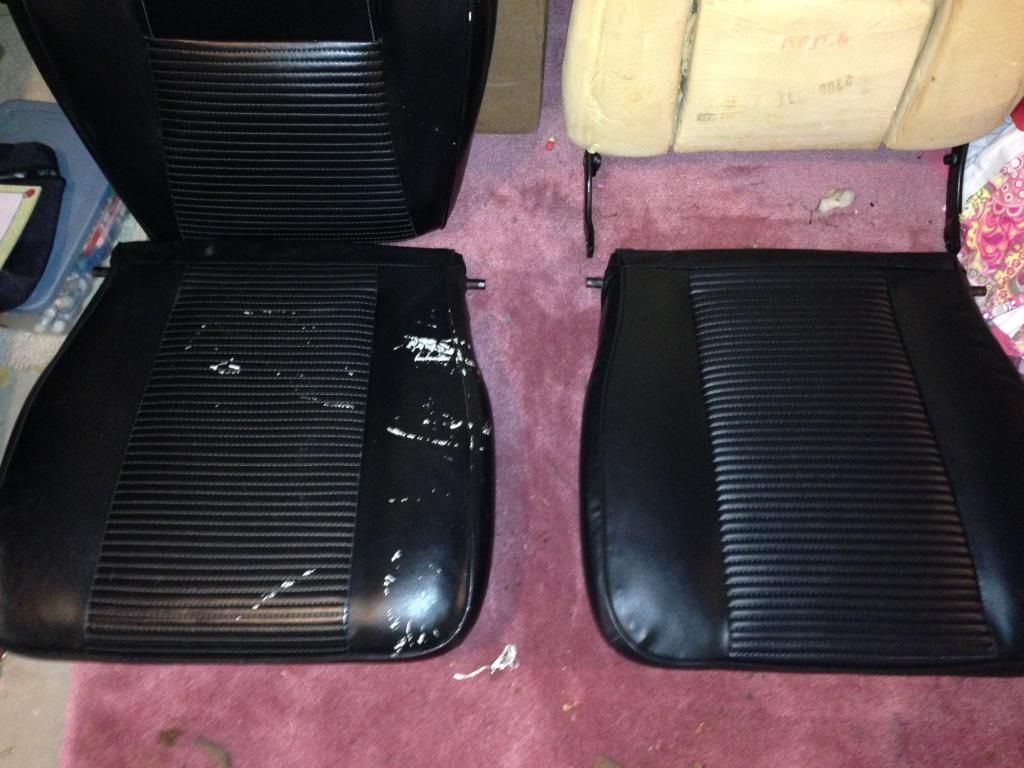
http://s1364.photobucket.com/user/W...4-4EEC-B5E2-00A166455641_zpsbxo1kxpn.jpg.html
The completed backseat.
http://s1364.photobucket.com/user/W...9-4EFD-A5BE-06F39F881226_zps5jm7hpae.jpg.html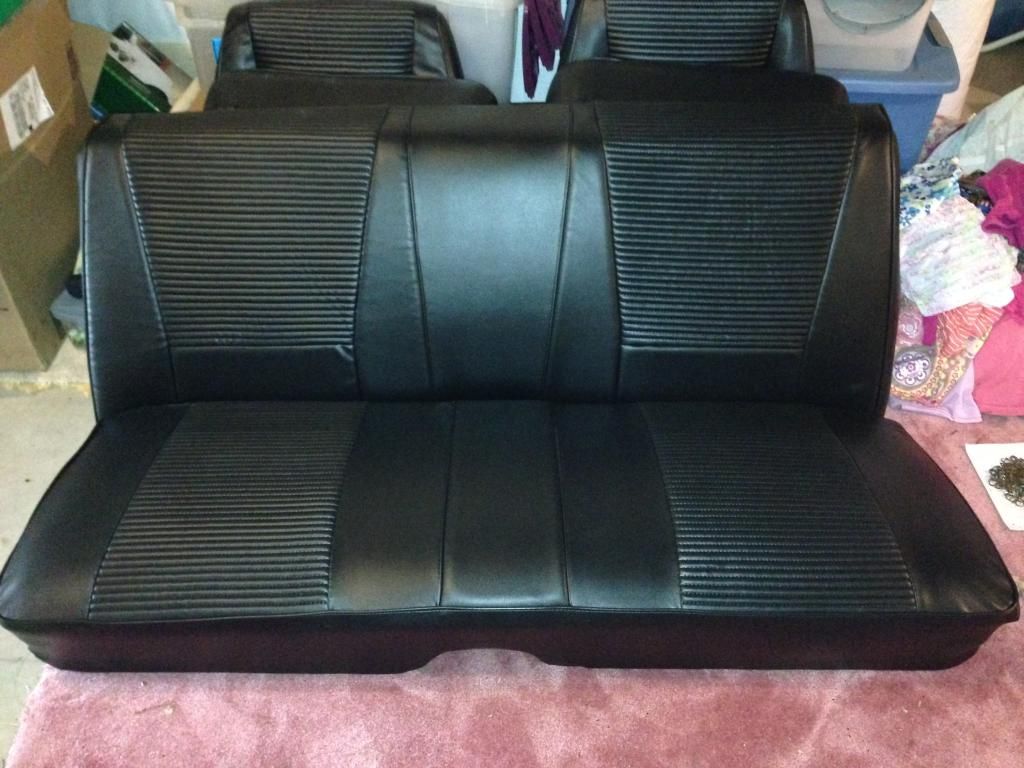
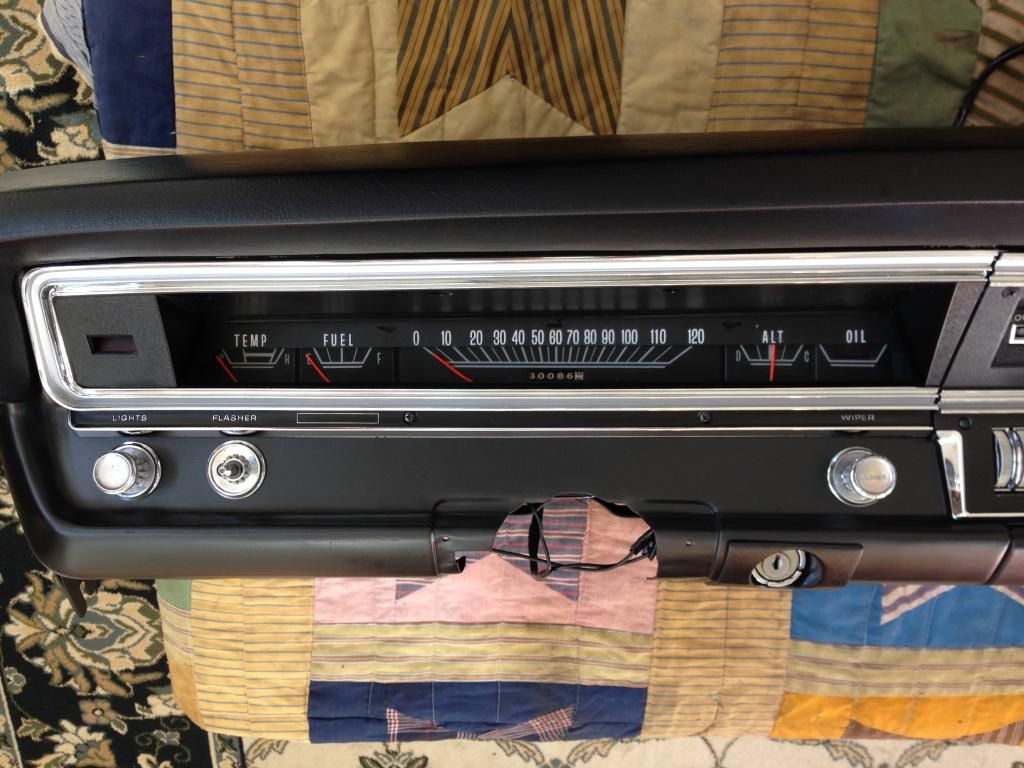
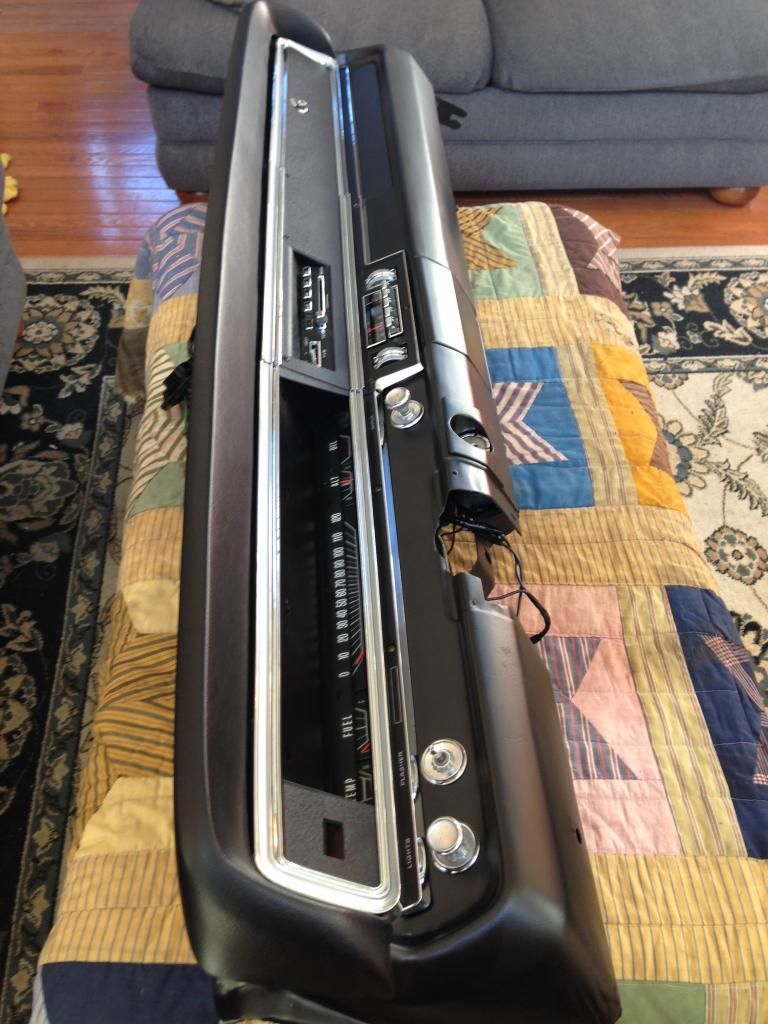
I also started reassembling my dash. I got the switches back in and the instrument cluster. I also installed a new dash pad. Unfortunately, I am now going to have to replace the defrost vents because the little plastic nipples broke off. I also routed most of the dash harness and checked all of the connections.
http://s1364.photobucket.com/user/W...6-4C7A-8C8B-EFCECCDE37FF_zpszecmgs6t.jpg.html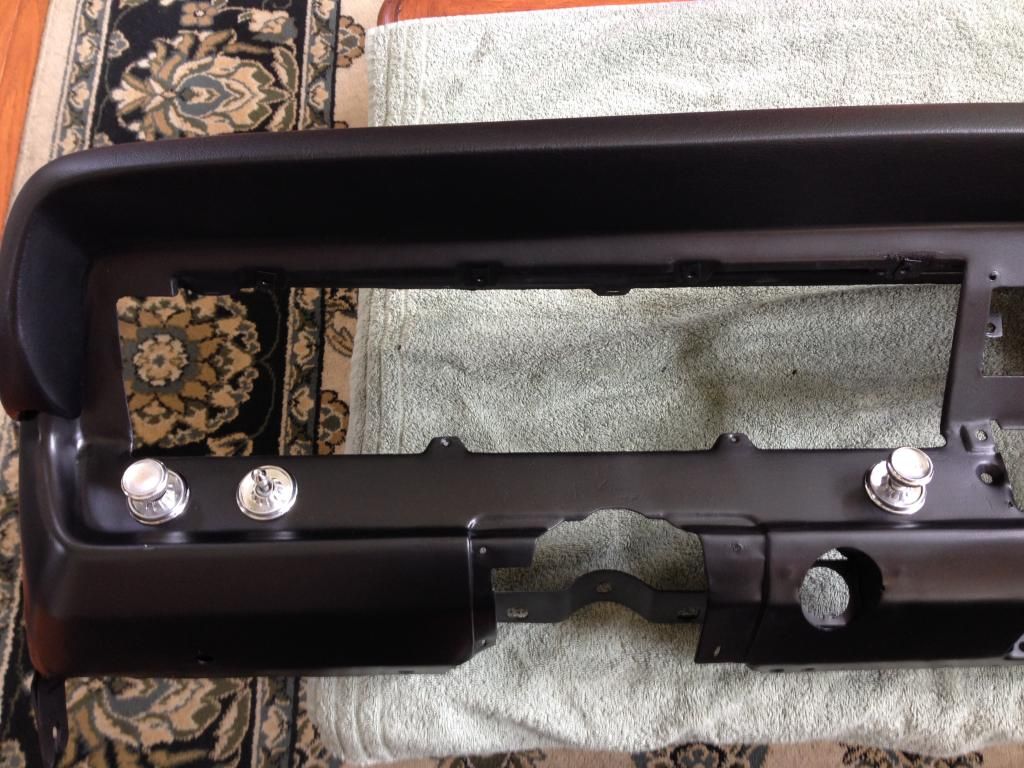
http://s1364.photobucket.com/user/W...F-48DF-90B0-C0B00DDEAA10_zpsk2kwllj6.jpg.html
http://s1364.photobucket.com/user/W...4-4038-BDEF-4ACDF6A64CC0_zpstxiaqzne.jpg.html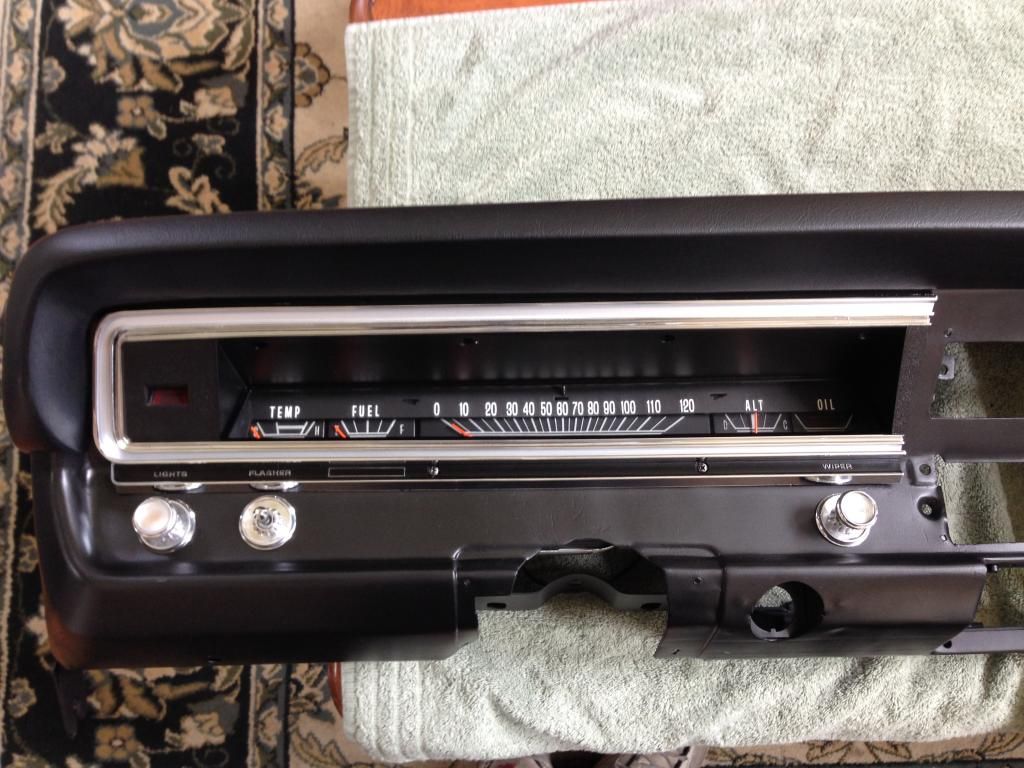
http://s1364.photobucket.com/user/W...F-474D-8B5E-2BD15491826F_zpsnis6qrtl.jpg.html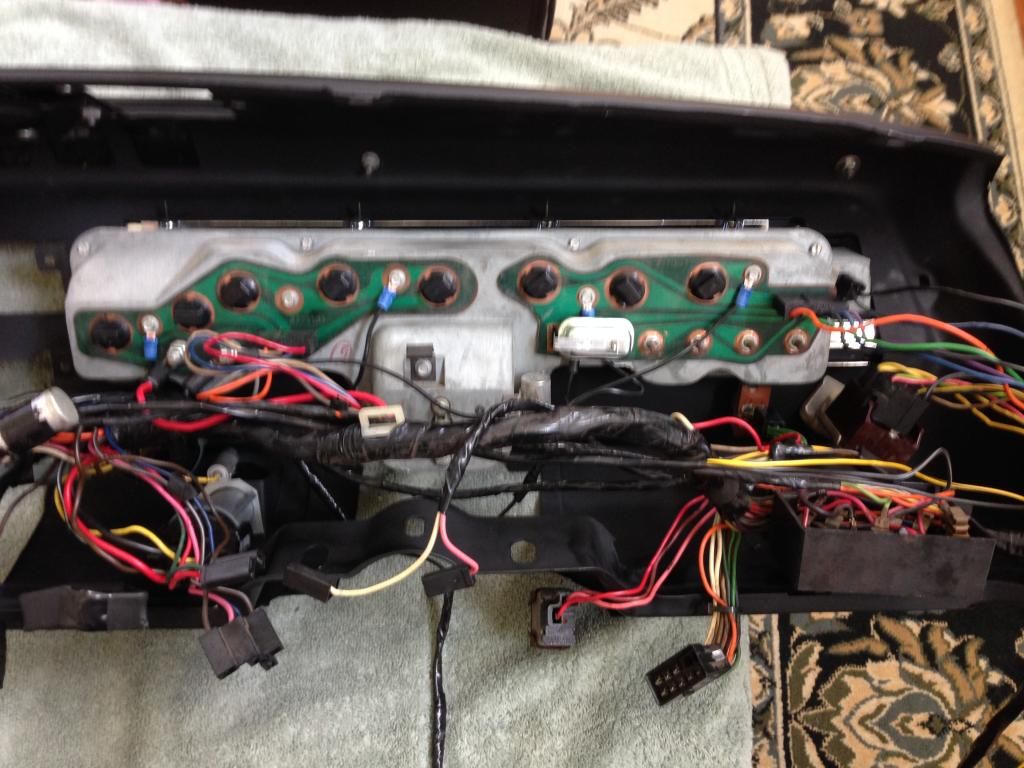
http://s1364.photobucket.com/user/W...7-430F-94D8-B8BFF1C2D266_zpsnwrkiged.jpg.html
http://s1364.photobucket.com/user/W...0-45A0-9F46-CD4633ACF8E1_zpsantnozow.jpg.html
http://s1364.photobucket.com/user/W...2-4EF8-B4A5-899F6F6A3C72_zpsmhxh5ew0.jpg.html
http://s1364.photobucket.com/user/W...7-4604-9A2A-745FF8090830_zpsj61yctra.jpg.html
Here are some pictures after I got the seat covers on. The only parts I could not get perfect for the front seat tops, but the pictures make it look worse than they actually are.
http://s1364.photobucket.com/user/W...5-4520-93F9-37B6678ED7B1_zpsckmp1dpr.jpg.html
An original seat beside the recovered bottom.
http://s1364.photobucket.com/user/W...8-44D0-8DED-0130C42D1BBF_zpssh0h6bdw.jpg.html
http://s1364.photobucket.com/user/W...4-4EEC-B5E2-00A166455641_zpsbxo1kxpn.jpg.html
The completed backseat.
http://s1364.photobucket.com/user/W...9-4EFD-A5BE-06F39F881226_zps5jm7hpae.jpg.html
I also started reassembling my dash. I got the switches back in and the instrument cluster. I also installed a new dash pad. Unfortunately, I am now going to have to replace the defrost vents because the little plastic nipples broke off. I also routed most of the dash harness and checked all of the connections.
http://s1364.photobucket.com/user/W...6-4C7A-8C8B-EFCECCDE37FF_zpszecmgs6t.jpg.html
http://s1364.photobucket.com/user/W...F-48DF-90B0-C0B00DDEAA10_zpsk2kwllj6.jpg.html
http://s1364.photobucket.com/user/W...4-4038-BDEF-4ACDF6A64CC0_zpstxiaqzne.jpg.html
http://s1364.photobucket.com/user/W...F-474D-8B5E-2BD15491826F_zpsnis6qrtl.jpg.html
nothingbutdarts
Well-Known Member
Looks real nice!!!!!!
I believe the grounds are a great idea!
I believe the grounds are a great idea!
Lonewolf3165
Living the Dream!
What color & brand of paint did you use on the dash? Looks like a good match.
70Barcuda
Well-Known Member
Nice job on the dash, looks great.
1969VADart
Well-Known Member
Looks real nice!!!!!!
I believe the grounds are a great idea!
I got the idea for the grounds off of the back of the cluster from one of the posts I saw here on FABO. Seemed like a really good idea, and since ground problems always seem to be an issue with these cars, I figured I would add them in.
What color & brand of paint did you use on the dash? Looks like a good match.
The paint is just rattle can paint. I used Krylon from NAPA. The color is their Semi-Flat black. I used that black on almost everything in this project, including the grille and tail panel. It has just enough sheen to it to have a little bit of a gloss look. The grille still has some minor signs of age if you were to see it up close, but the fresh paint really made it look good. And the new bezels certainly help. I also polished up all of the switch bezels to deburr the pits. They came out pretty good as well.
1969VADart
Well-Known Member
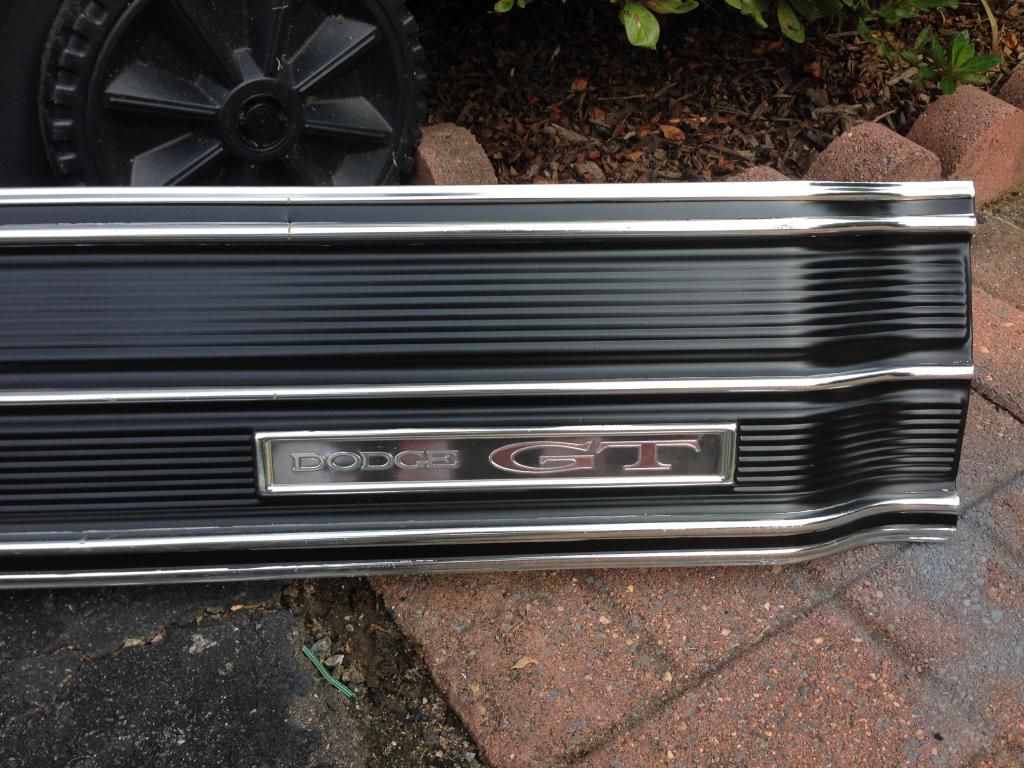
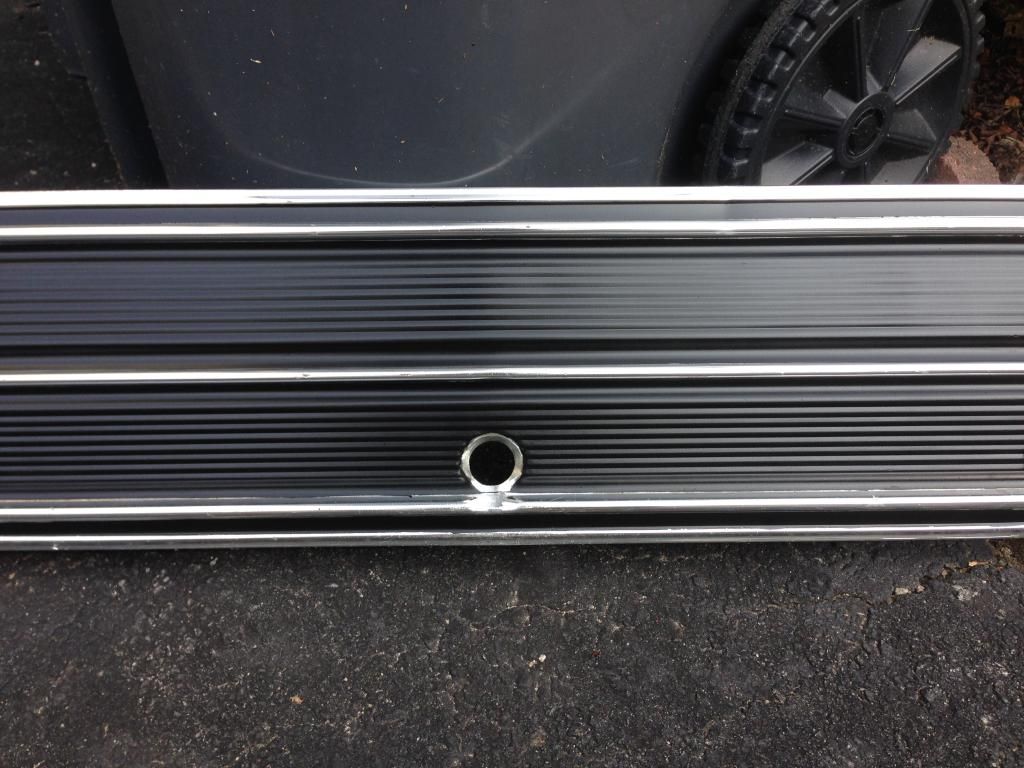
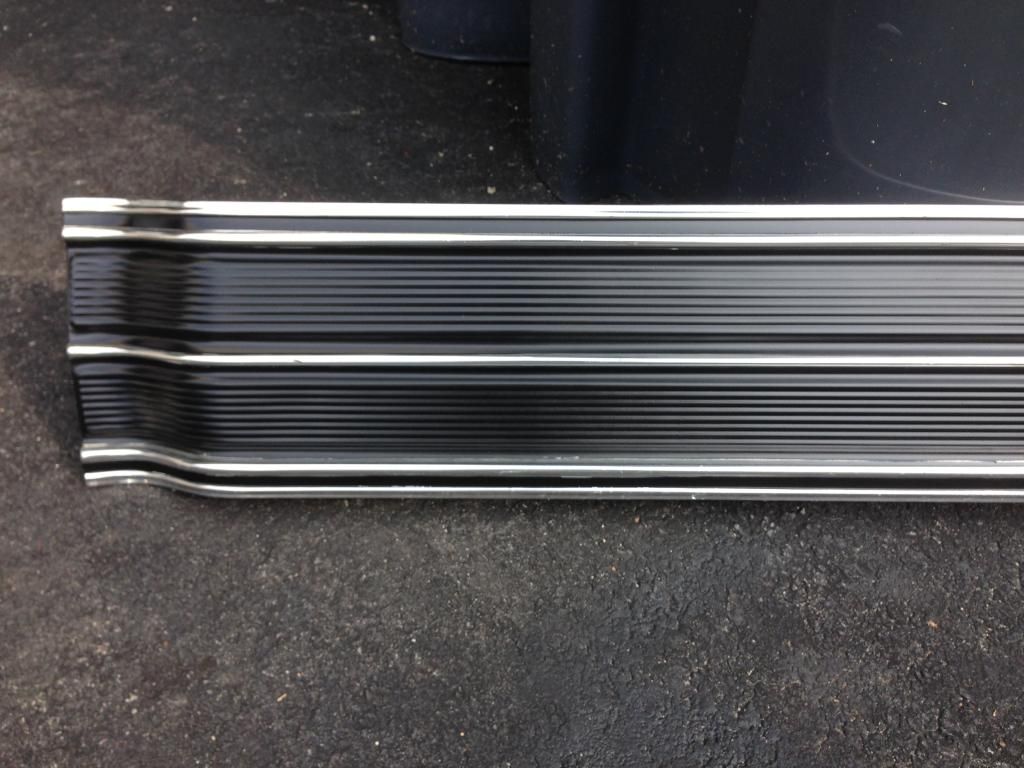
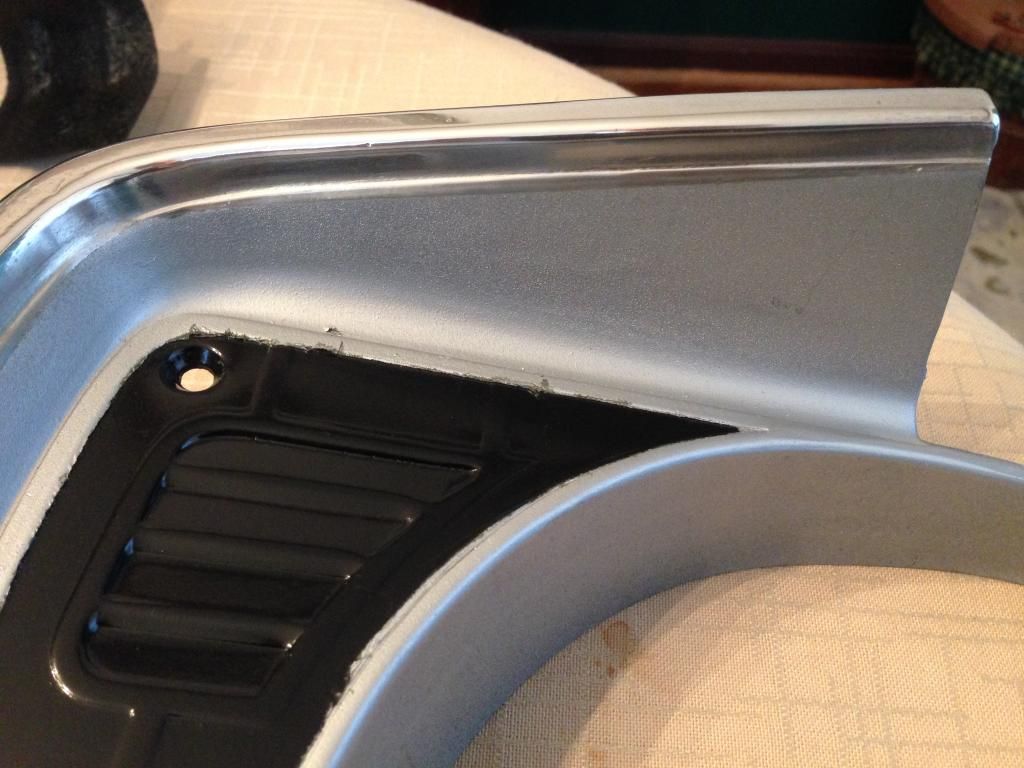
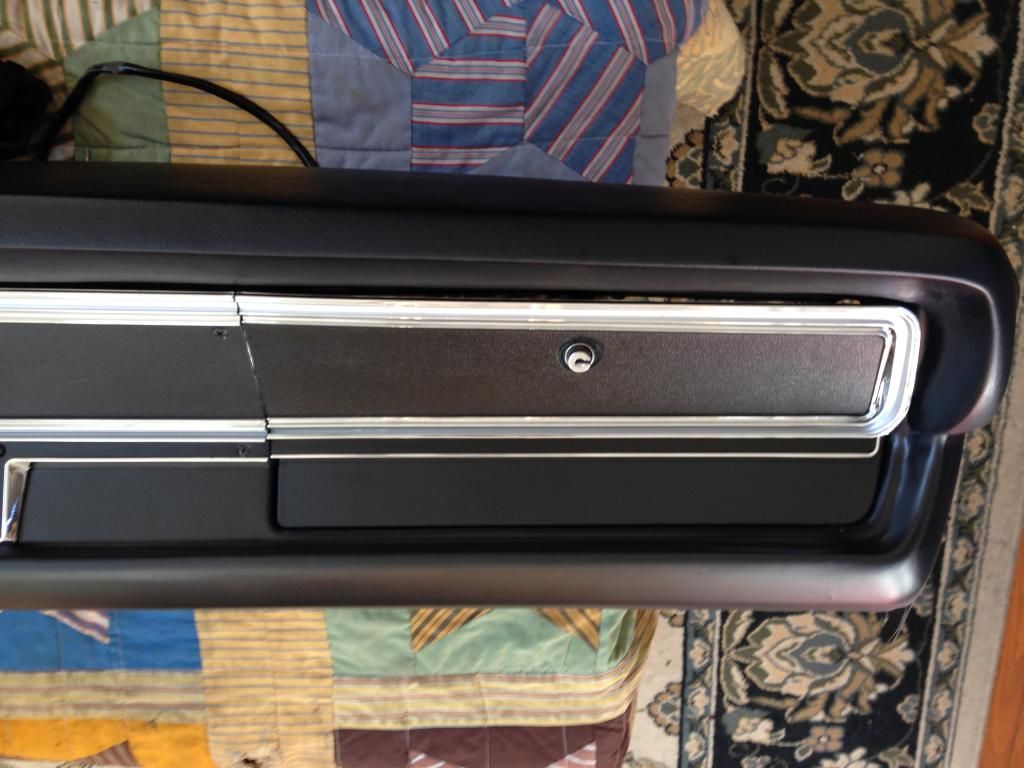
Figured I would update some of my progress even though it has slowed down quite a bit. I went ahead and touched up the tail panel for my car with some fresh paint. Despite the knicks in the chrome the new paint alone really makes the piece look a lot better. 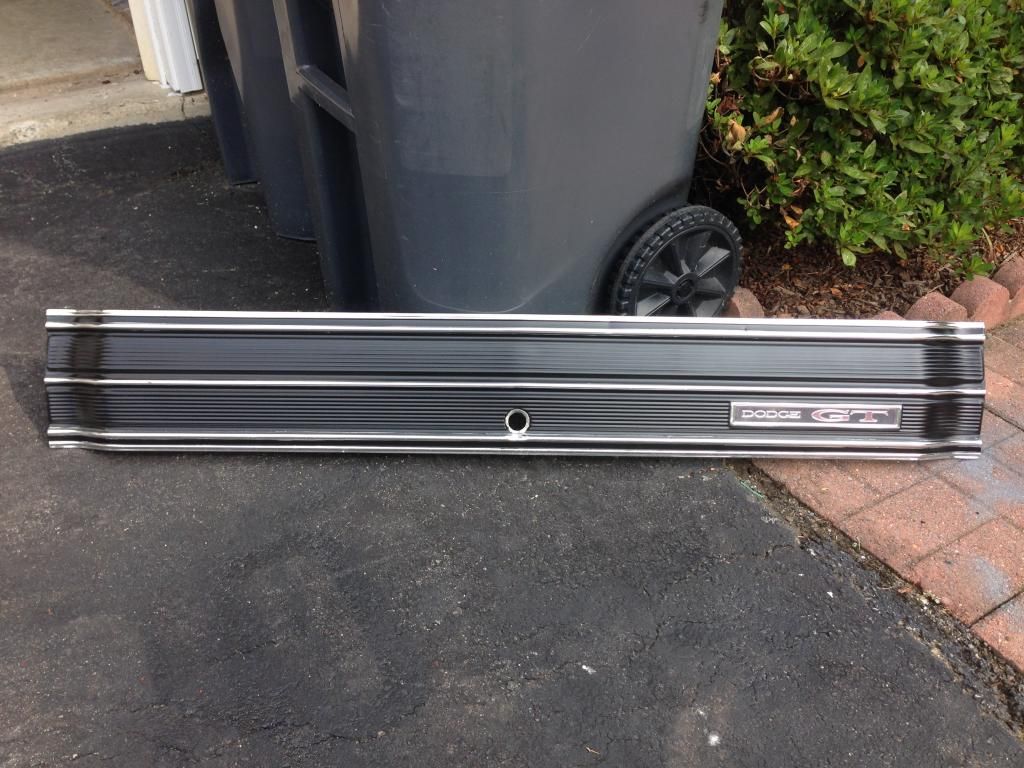
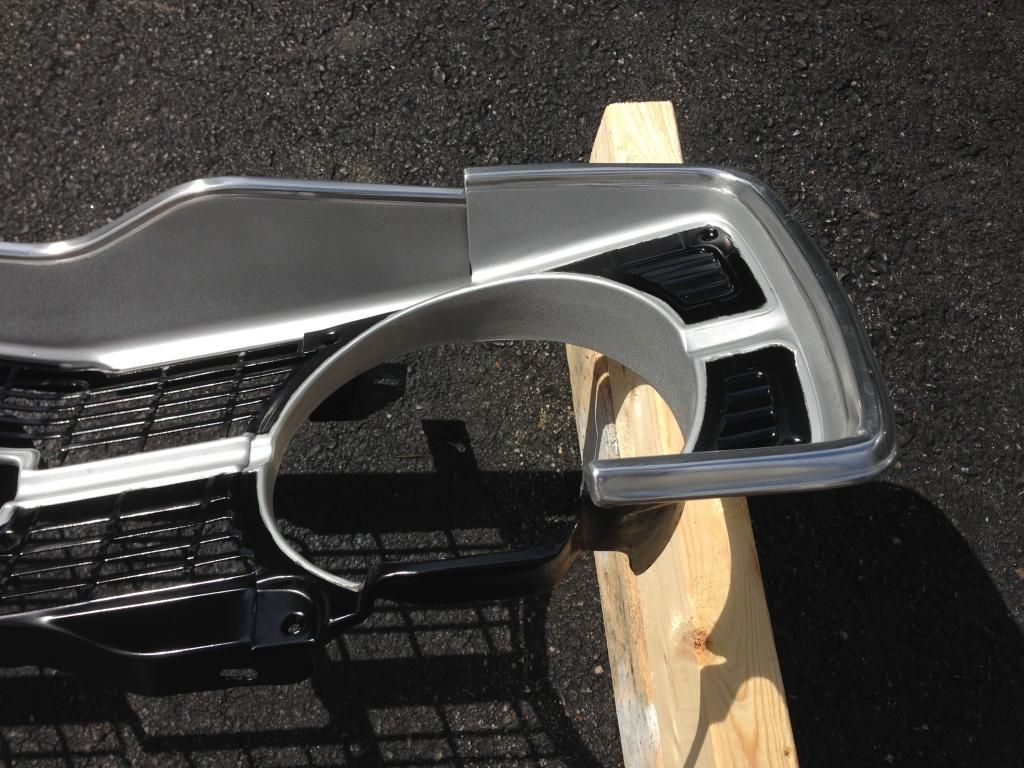
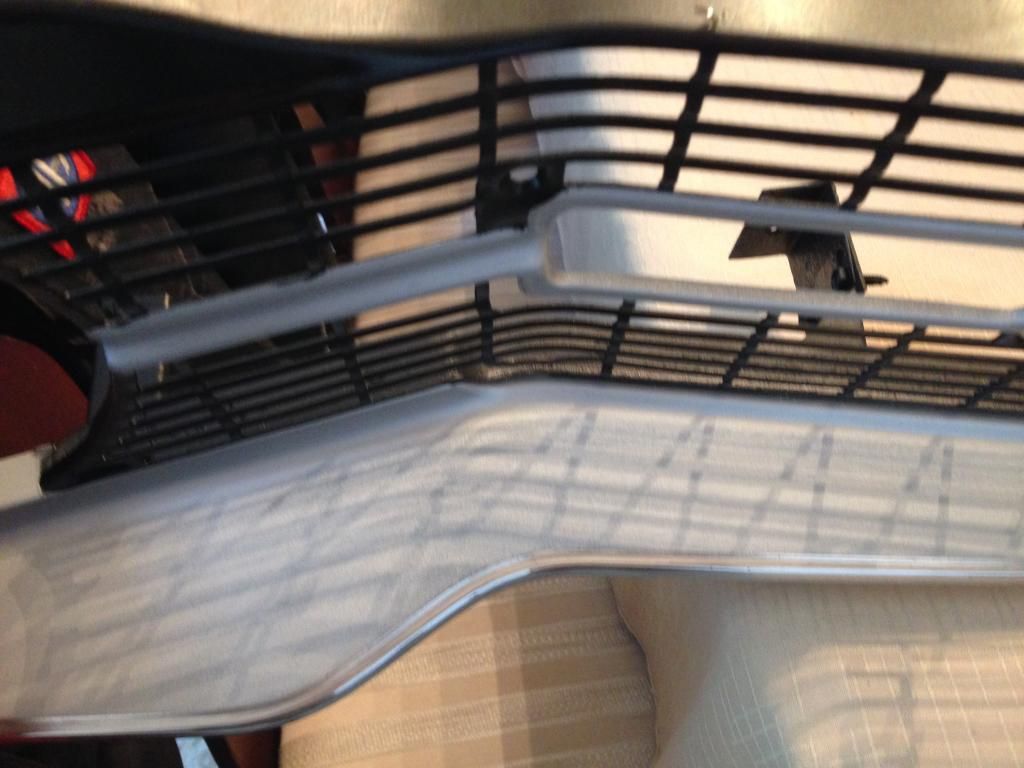
I also decided to start over with my headlight bezels and grille, so I stripped them of all paint. I then went back and ordered the Mopar Argent Silver paint to use. Originally, I tried using something off the shelf from the local auto parts store, but it just didn't have the right look. I also stripped the anodize and sanded down the outer edges of the bezels and grille.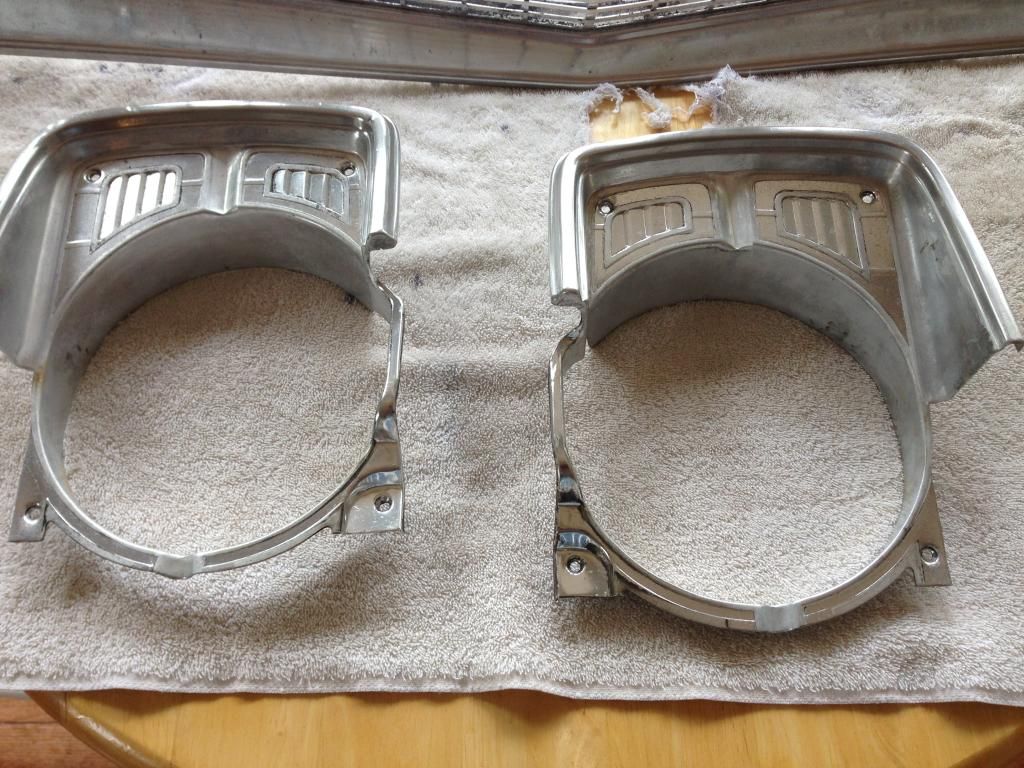
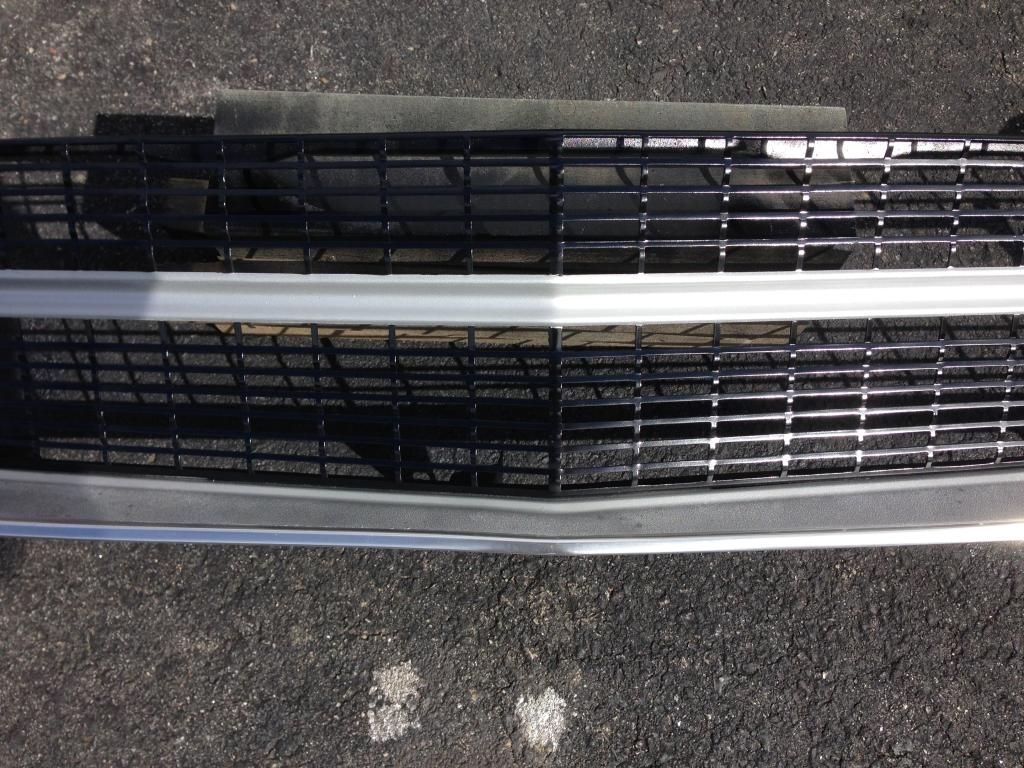
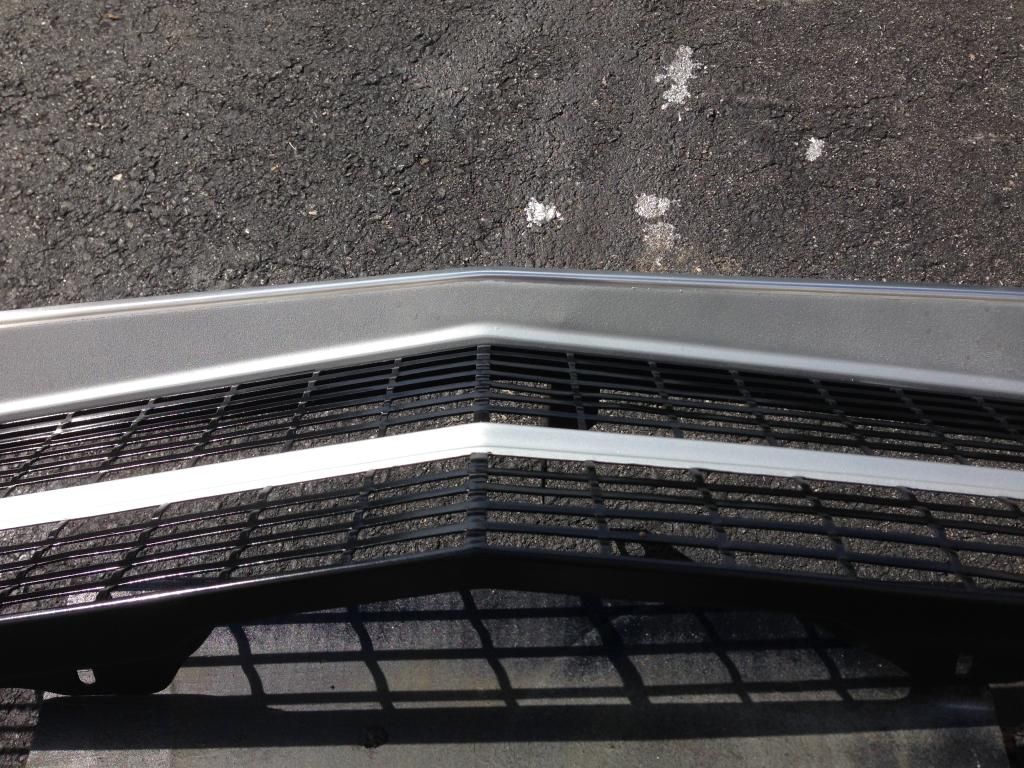
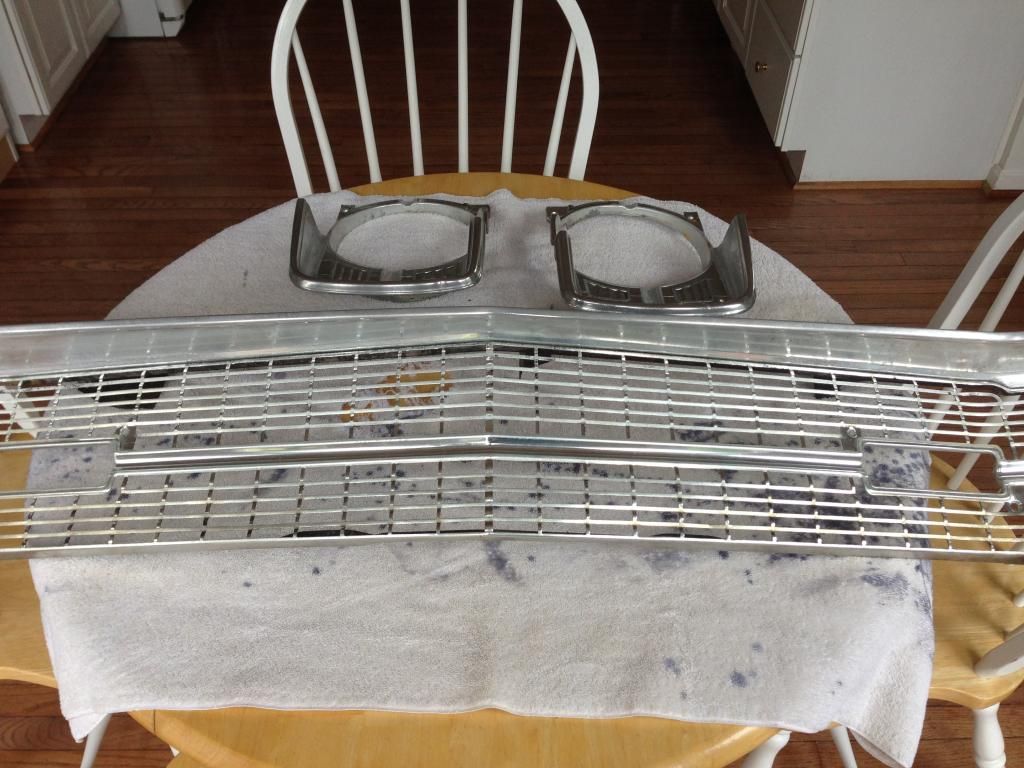 After polishing the edges with a small dremel and a lot of elbow grease, I painted the silver first, and then painted the black. I know that this is not the correct paint scheme for the 69 grille, but I like the blacked out look in the center. I need to go back and touch up the edges on the bezels, but they came out pretty nice. The polished edges really stand out with the correct silver and the black.
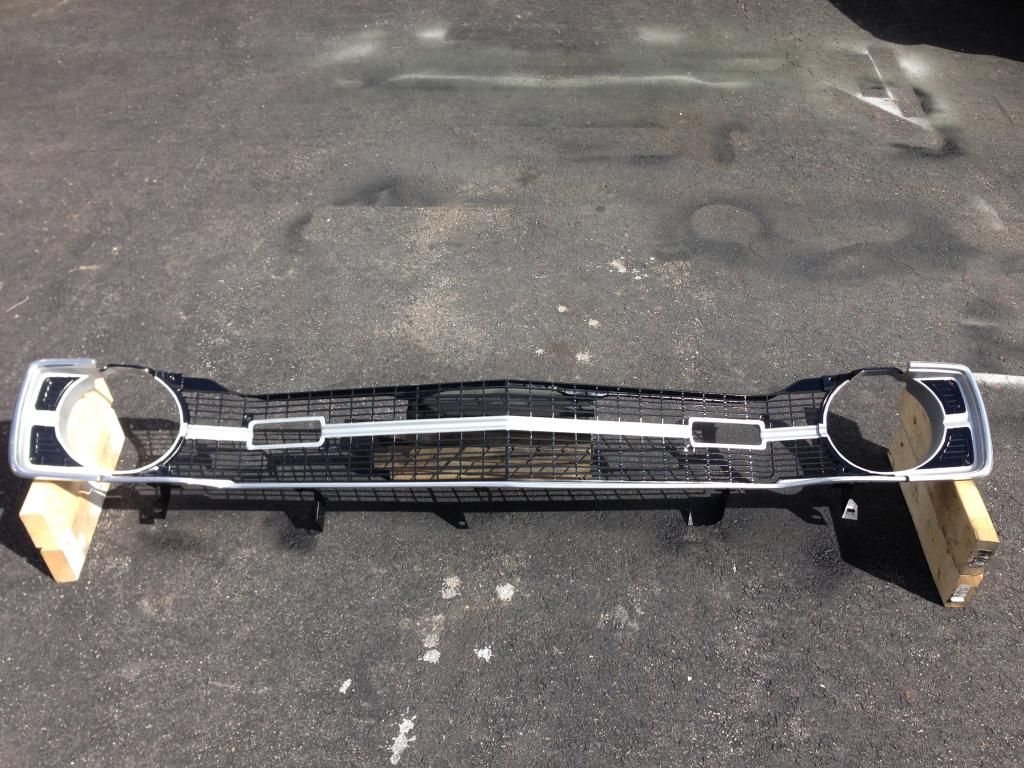


I also decided to start over with my headlight bezels and grille, so I stripped them of all paint. I then went back and ordered the Mopar Argent Silver paint to use. Originally, I tried using something off the shelf from the local auto parts store, but it just didn't have the right look. I also stripped the anodize and sanded down the outer edges of the bezels and grille.

 After polishing the edges with a small dremel and a lot of elbow grease, I painted the silver first, and then painted the black. I know that this is not the correct paint scheme for the 69 grille, but I like the blacked out look in the center. I need to go back and touch up the edges on the bezels, but they came out pretty nice. The polished edges really stand out with the correct silver and the black.


132068Dodge
Well-Known Member
Lots of elbow grease and rust repair. It should look great when it is all done ") . Reminds me of what I started with (check out my restoration page). Just glad my rust wasn't as extensive as yours is. Looks like you chose a competent cosmetic refinisher to take care of the really nasty stuff! How does the under carriage look? I look forward to following your progress and am happy to answer any questions should you have any .
. Reminds me of what I started with (check out my restoration page). Just glad my rust wasn't as extensive as yours is. Looks like you chose a competent cosmetic refinisher to take care of the really nasty stuff! How does the under carriage look? I look forward to following your progress and am happy to answer any questions should you have any .
. Reminds me of what I started with (check out my restoration page). Just glad my rust wasn't as extensive as yours is. Looks like you chose a competent cosmetic refinisher to take care of the really nasty stuff! How does the under carriage look? I look forward to following your progress and am happy to answer any questions should you have any .subscribed..
1969VADart
Well-Known Member
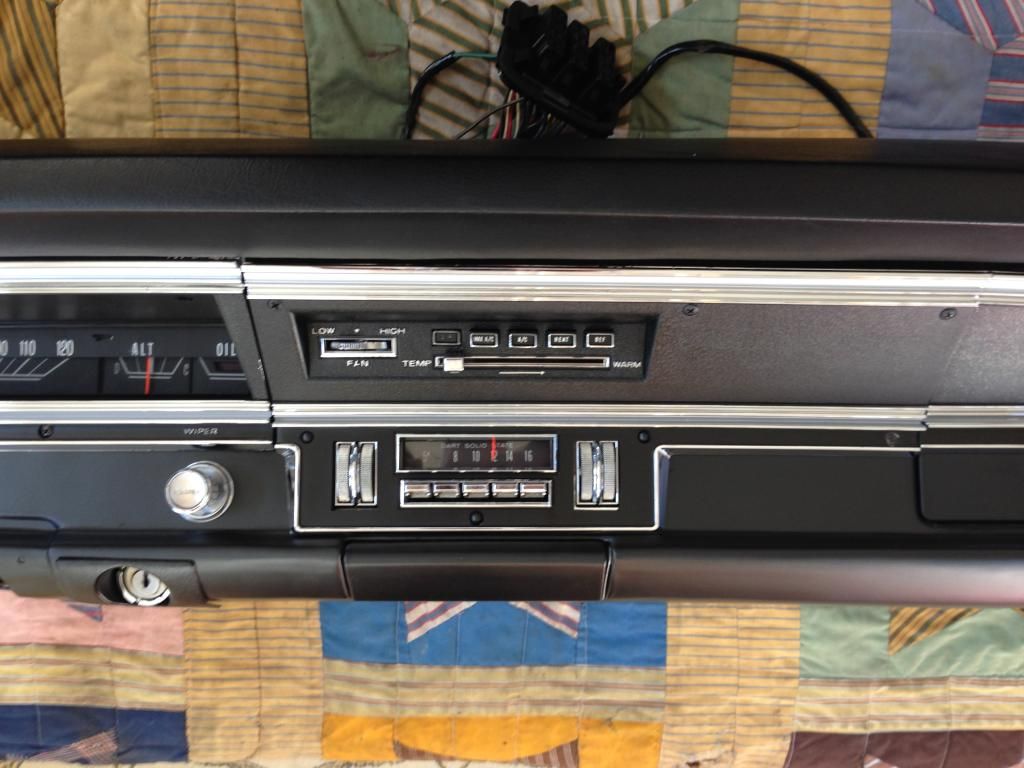
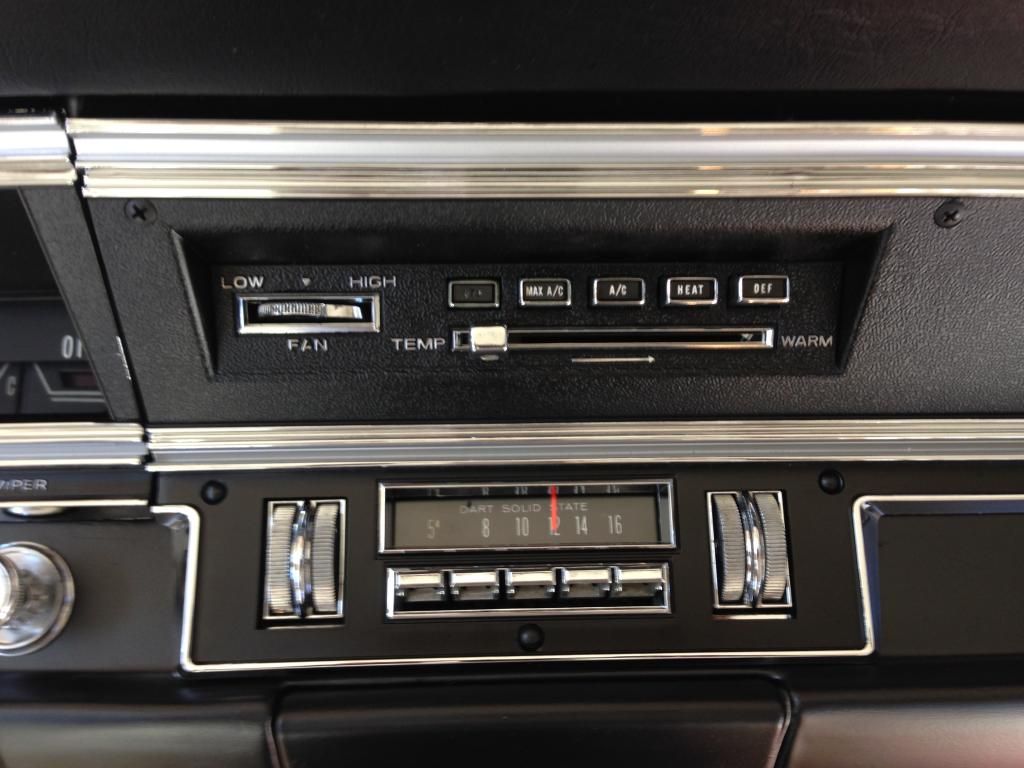
I finally finished reassembling my dash. I sent the original thumbwheel radio off to have it modernized so that I could put the dash back together the way it would look stock. The bezels came from Classic Industries. I noticed that the holes don't all line up with the original bezels, so I had to make some minor modifications. A couple of the holes I filled with little plastic plugs. Thanks also to a couple of FABO members who provided me with a couple of small parts--Martin (2fine69s) for the heater switch; Lawrence (VDART) for the radio mounting bracket


Looks great. Awesome attention to detail. That gonna be a really nice car when done.
132068Dodge
Well-Known Member
The dash looks great!
1969VADart
Well-Known Member
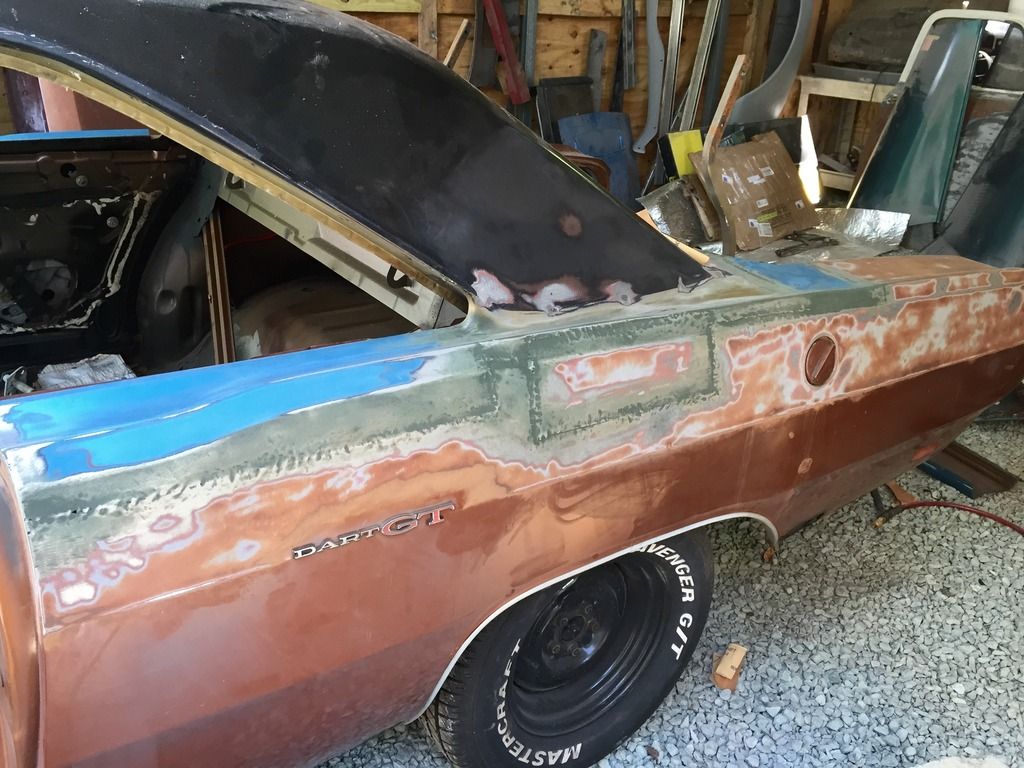
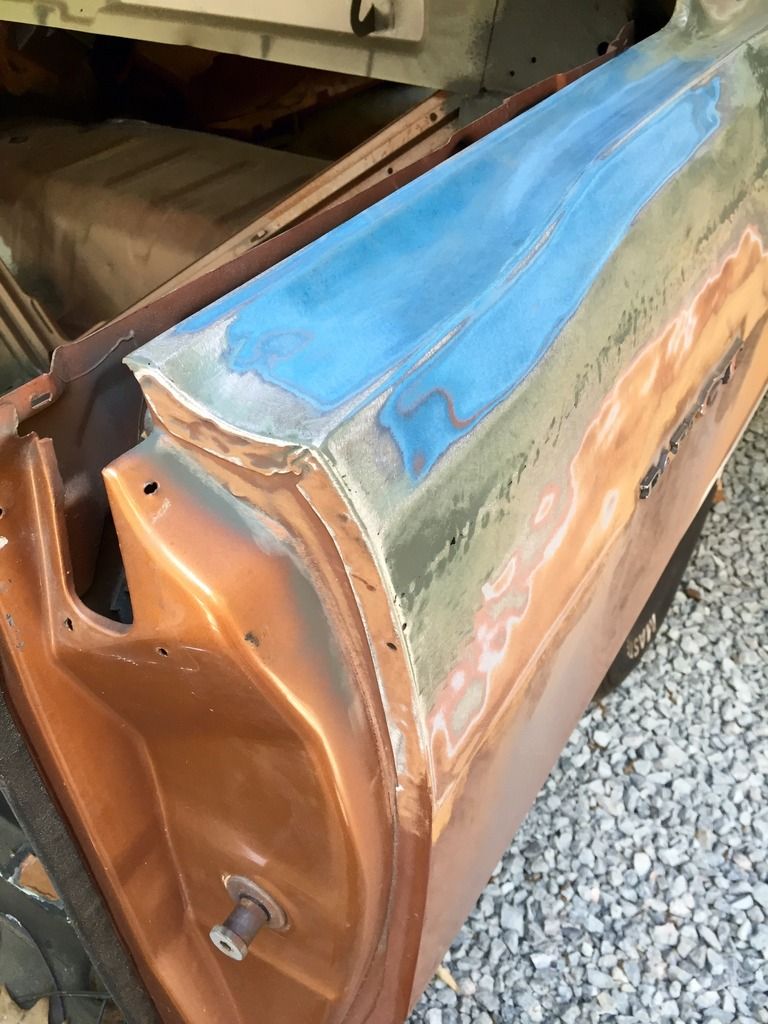
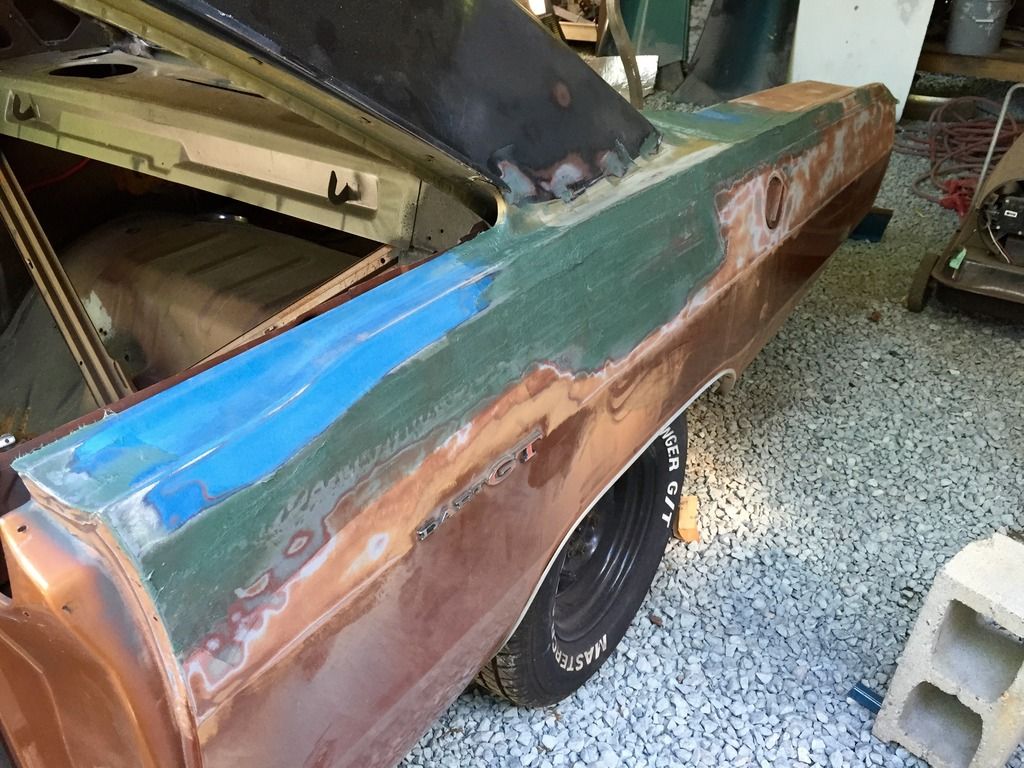
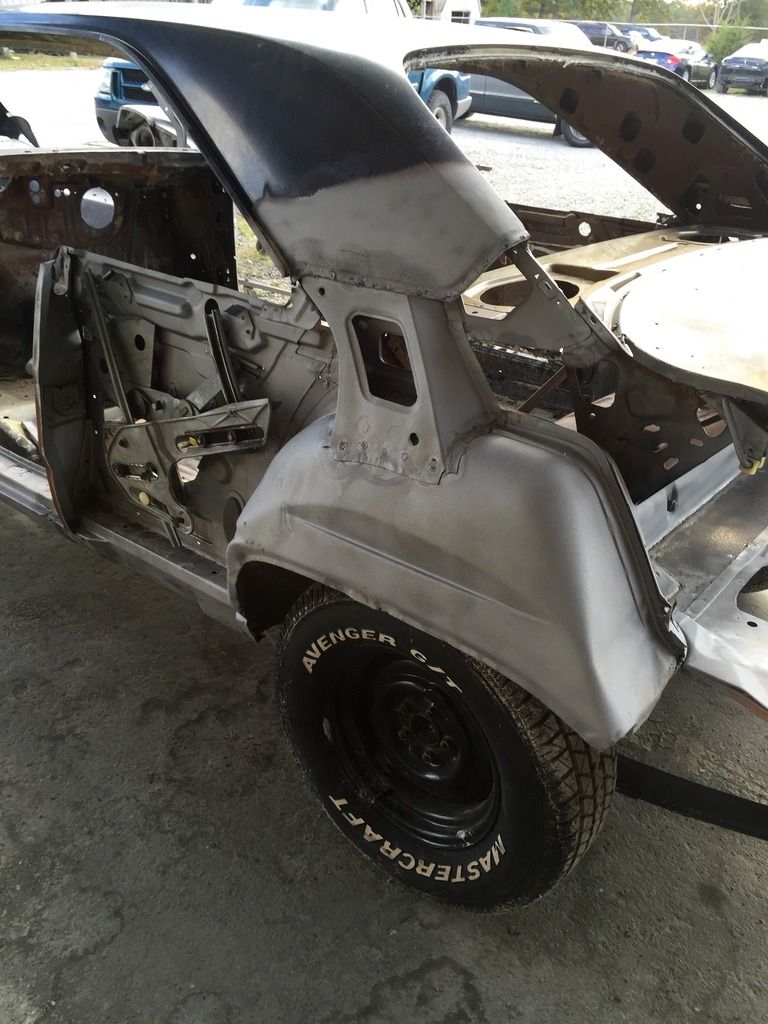
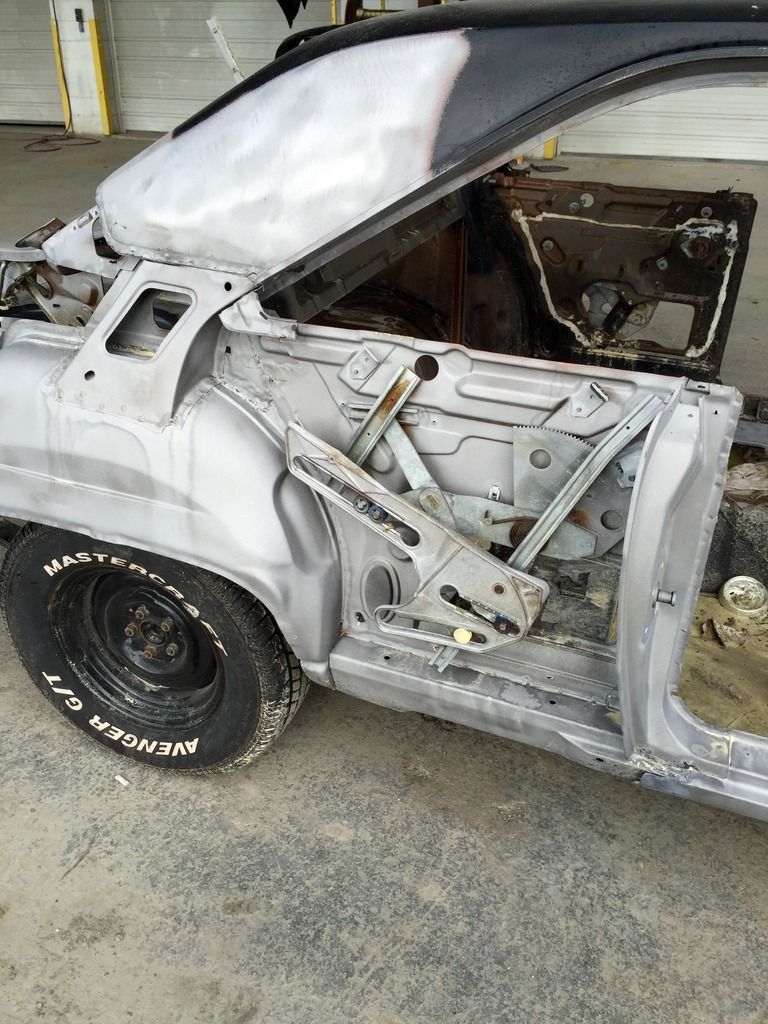
Been quite a while since some updates on the progress of my car. I shared a while back the radical roof swap that we did. Since then, we are finally starting to piece the metal work together and some of it is even working its way towards being prepped for paint. Here are a couple of pictures of the repairs we are doing to the quarter panels after locking down the new roof to the inner fenders. This will be repeated on the passenger side.
Here we are stripping the trunk lid and hood to prep, prime and eventually paint. Fortunately these two pieces needed no real rust repair. The finisher on the trunk lid is where we saw some dents. We also filled in a few unnecessary holes because I am installing the trunk panel on this lid.
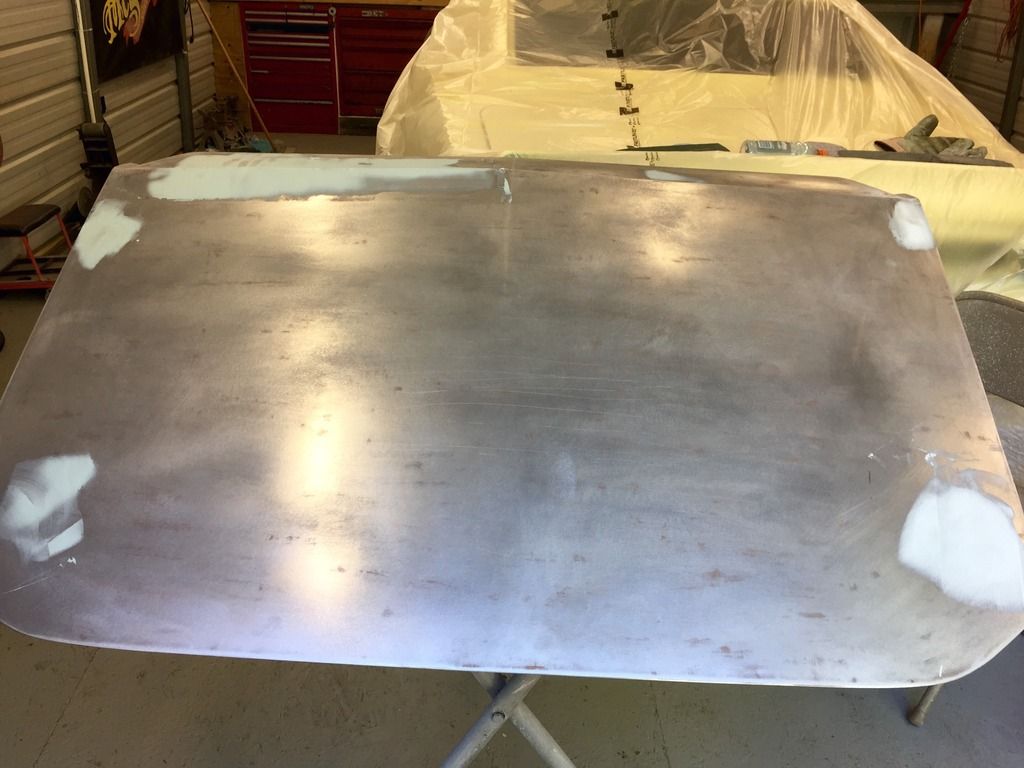
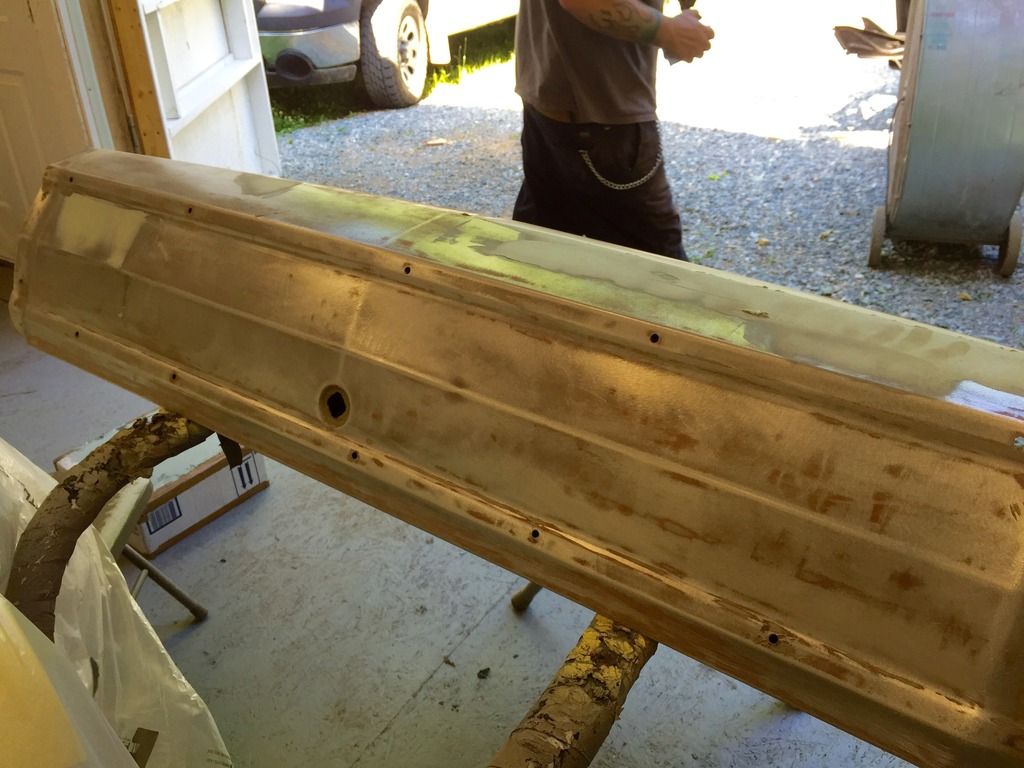
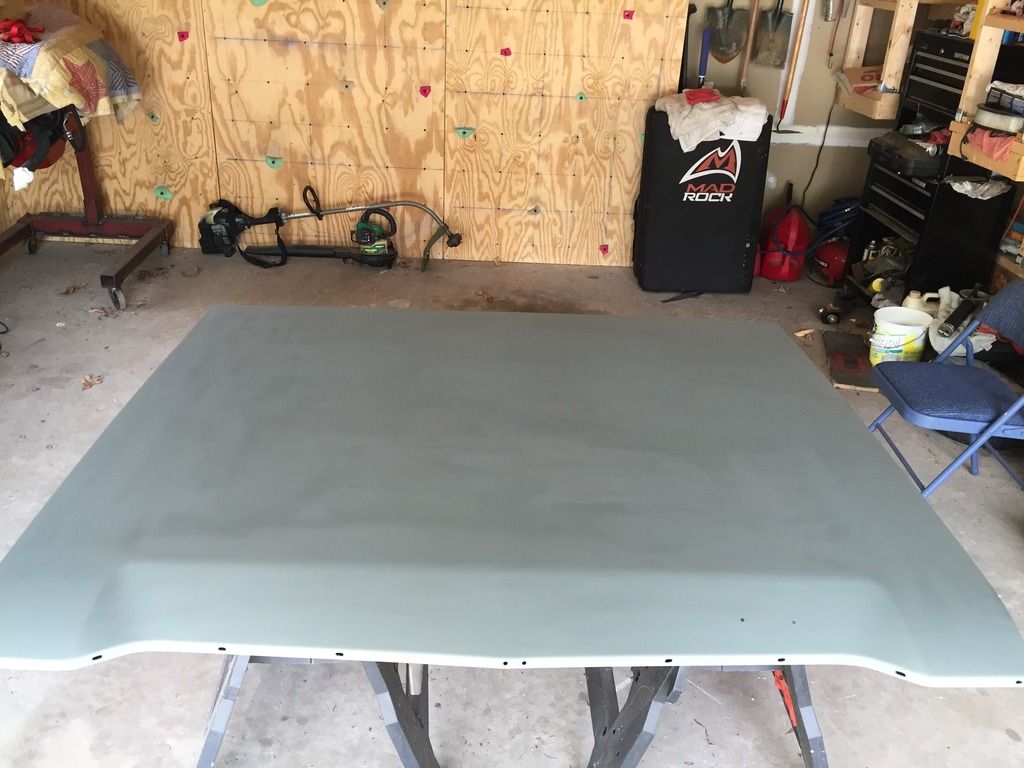
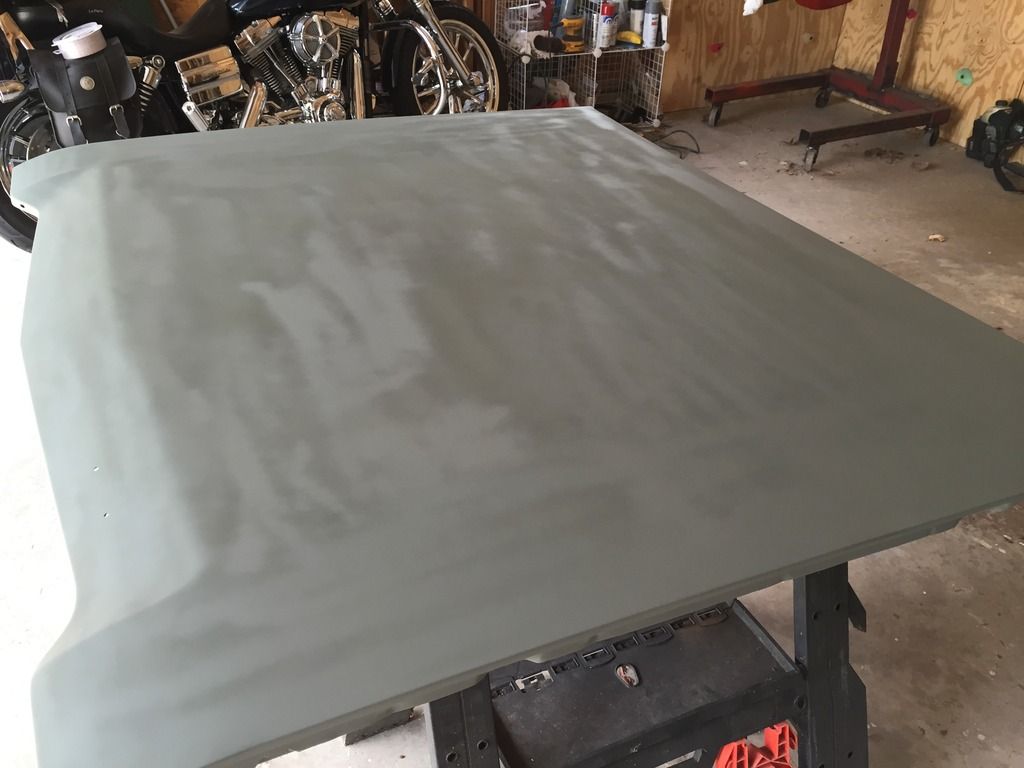
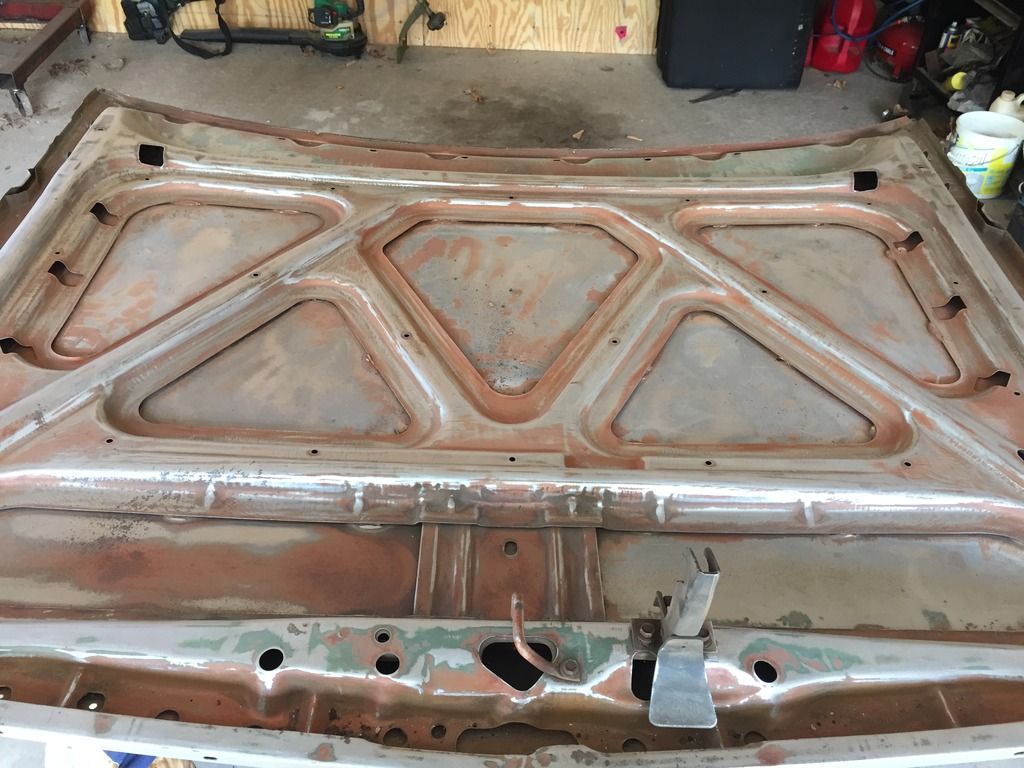


Here we are stripping the trunk lid and hood to prep, prime and eventually paint. Fortunately these two pieces needed no real rust repair. The finisher on the trunk lid is where we saw some dents. We also filled in a few unnecessary holes because I am installing the trunk panel on this lid.


paulz340dart
Well-Known Member
My car had the same rust in the floorboards that yours did, I purchased some really nice quality patch pans for the floor towed the Dart back to my friends body shop in Tempe and he installed them and they turned out perfect. And once again I was so fortunate that I brought my Dart to Az. in 1981 cause the only rust was those front floor boards. At least it appears that yours is being repaired as good as new. It will be really nice when done.
1969VADart
Well-Known Member
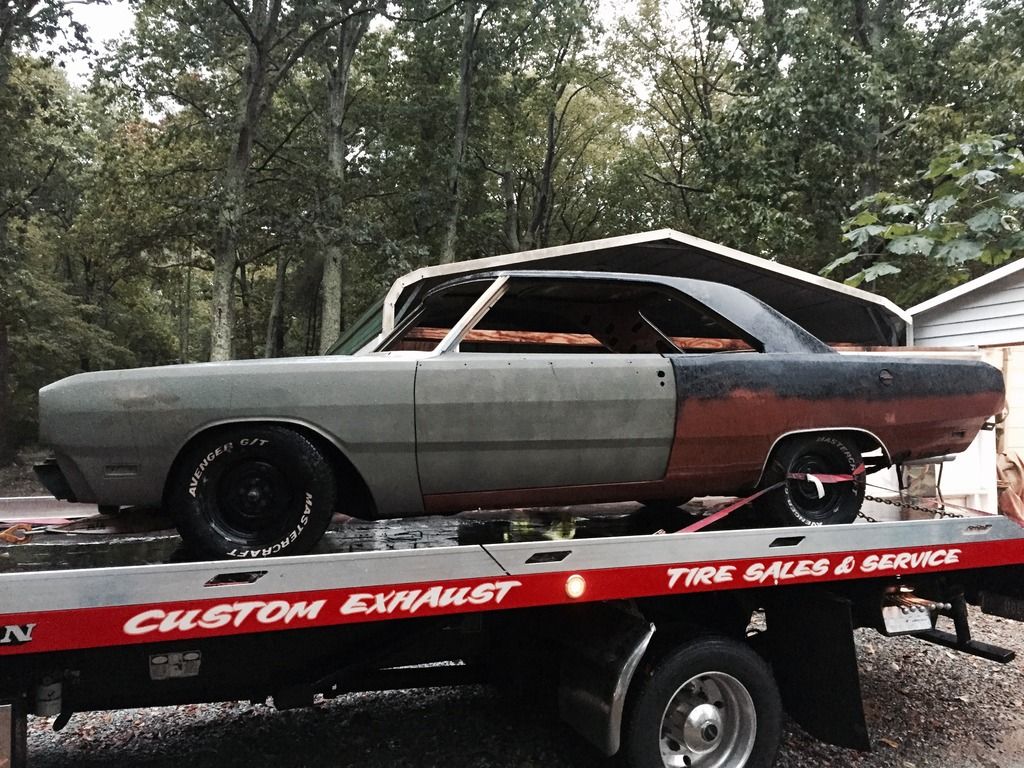
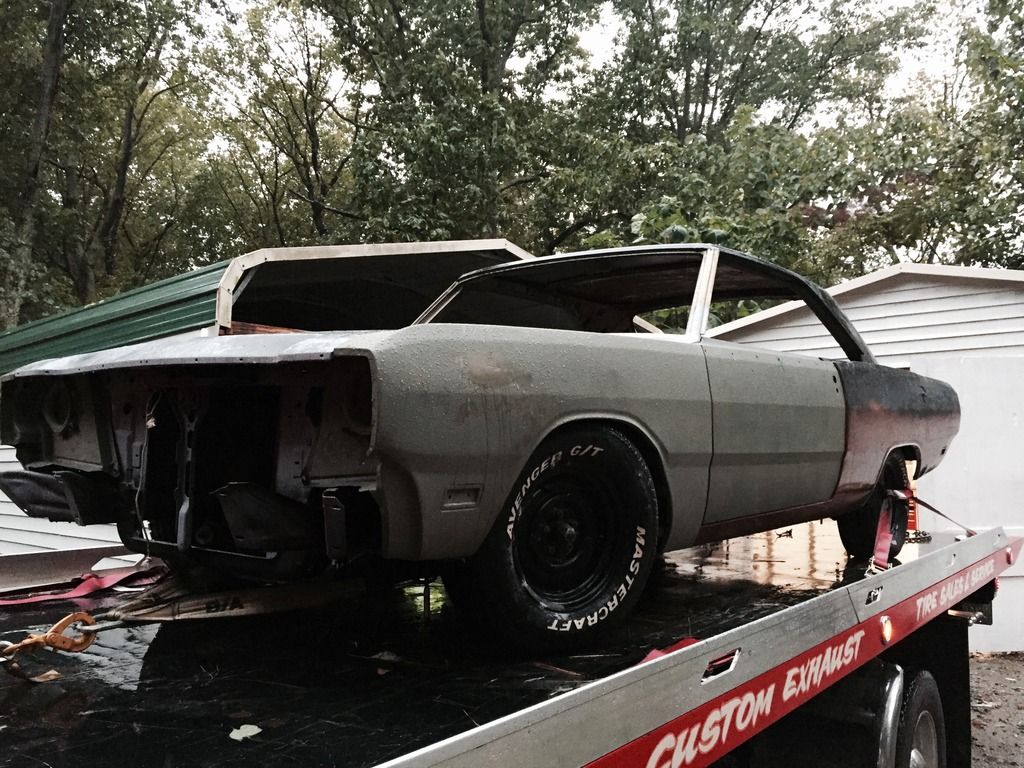
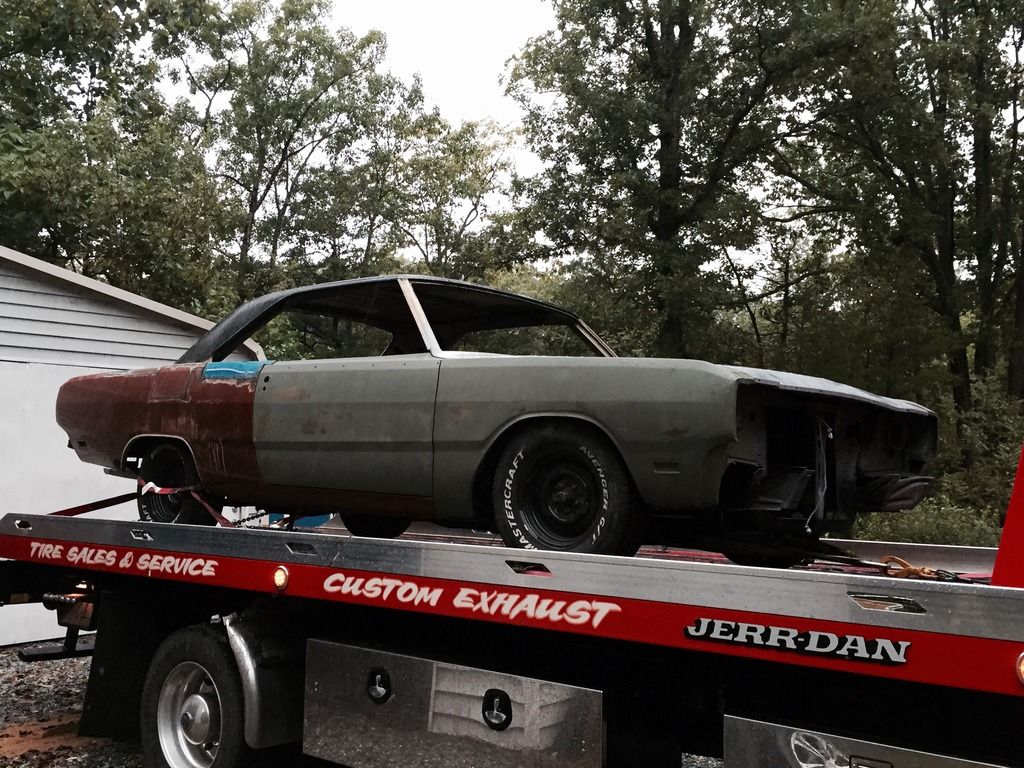
Car is now on the move after pulling the plug on my body man. Here is how she sits currently.
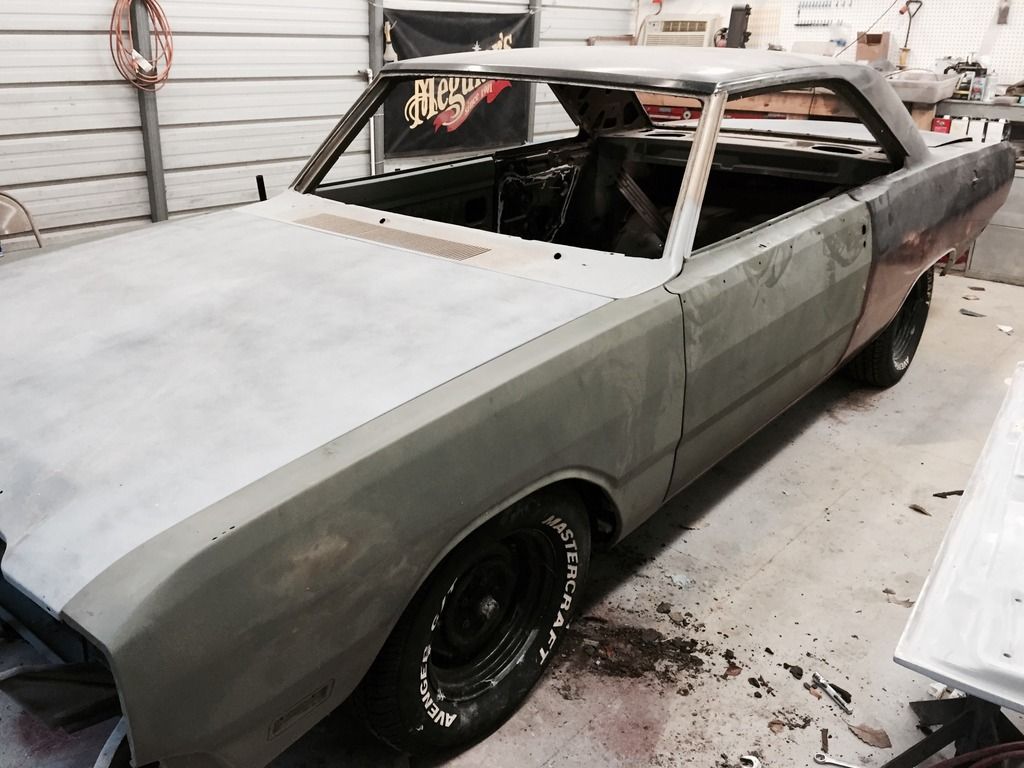
We are now going to cut these quarters off instead of this patchwork quilt. The whole trunk area pretty much has to be replaced anyway.
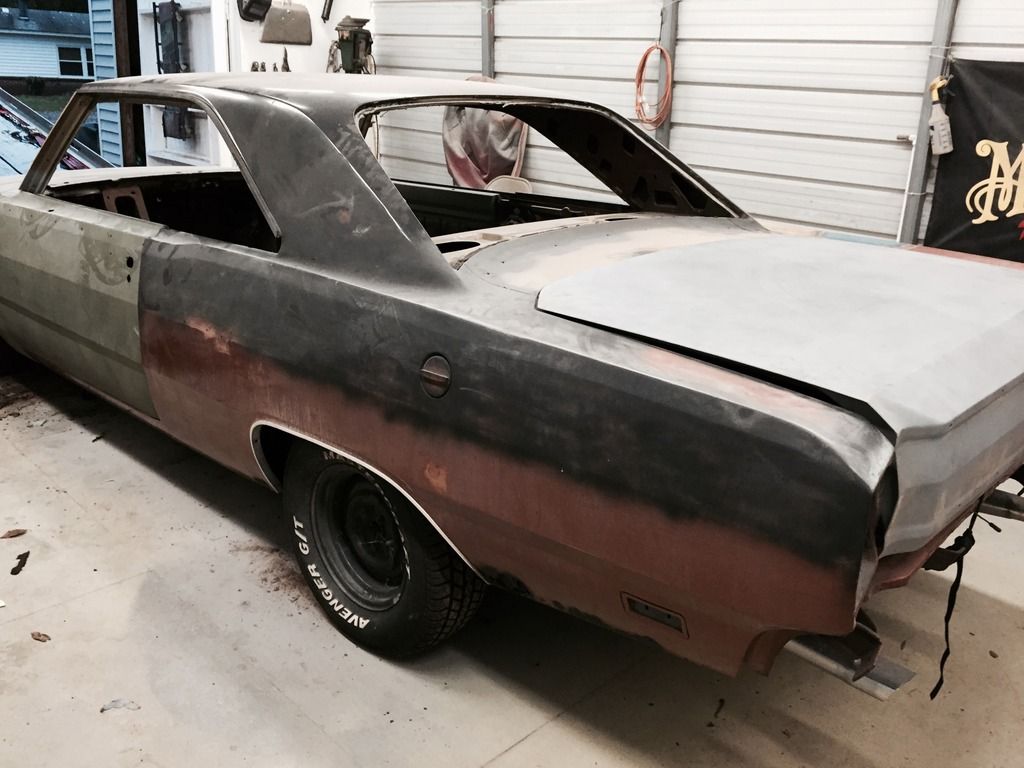
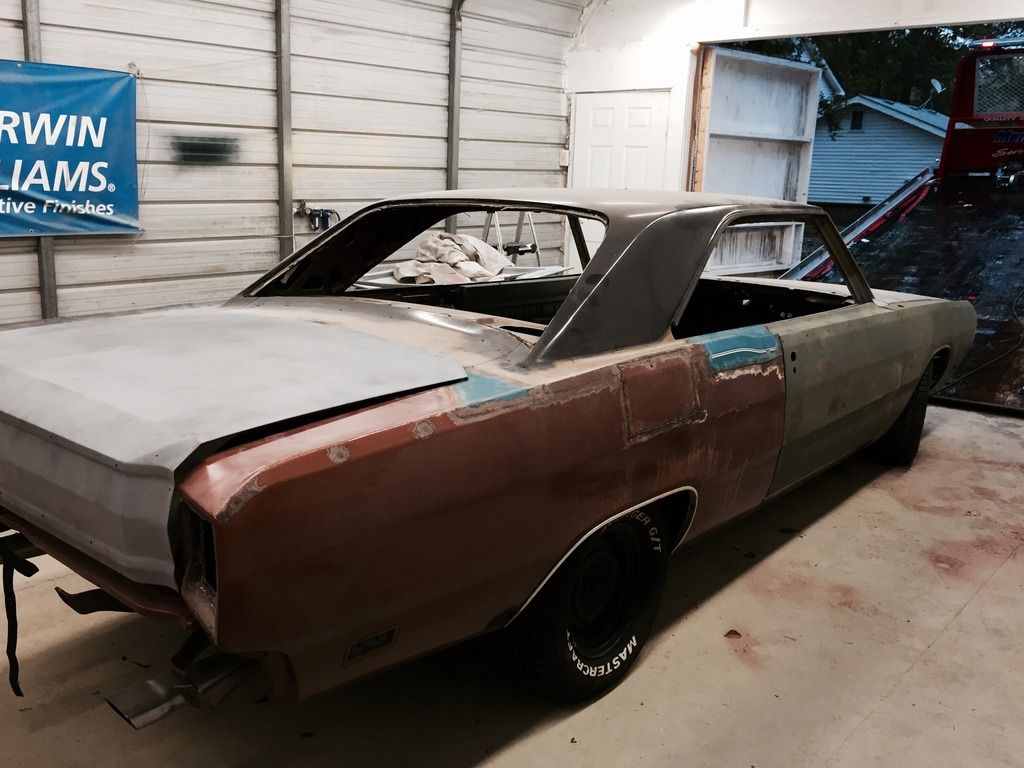
Headed to a real restoration shop where real work can finally get going. There might actually be a light at the end of this tunnel. It was surprisingly hard to pull the plug on my body guy.


73 Swinger 8
Well-Known Member
Impressed!!! With your attention to detail you could handle the body work yourself. Keep it coming.
Lookin Great. Sometimes you just have to move on. Body guys can be a real problem.
1969VADart
Well-Known Member
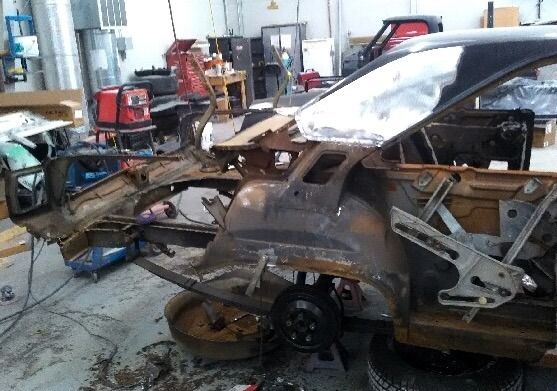
Well it got real serious, real quick. It went from what looked like a full body to this in one week. My previous guy didn't get this much work done in a year. And the doors are completely done as well. Just waiting on the different tail panel parts to come in to move forward. Glad I made this decision because I don't know that we would have discovered all of the rear body issues at my previous body man's home shop, at least not with the plan he had.


1969VADart
Well-Known Member
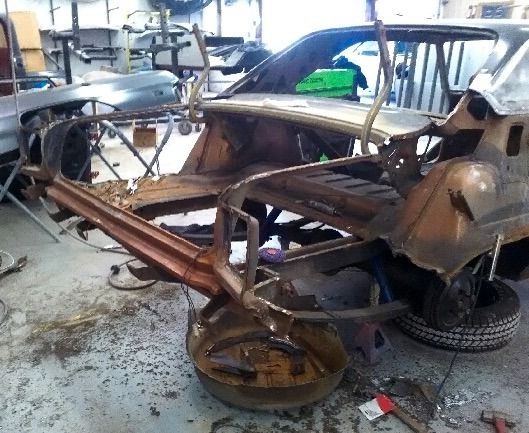
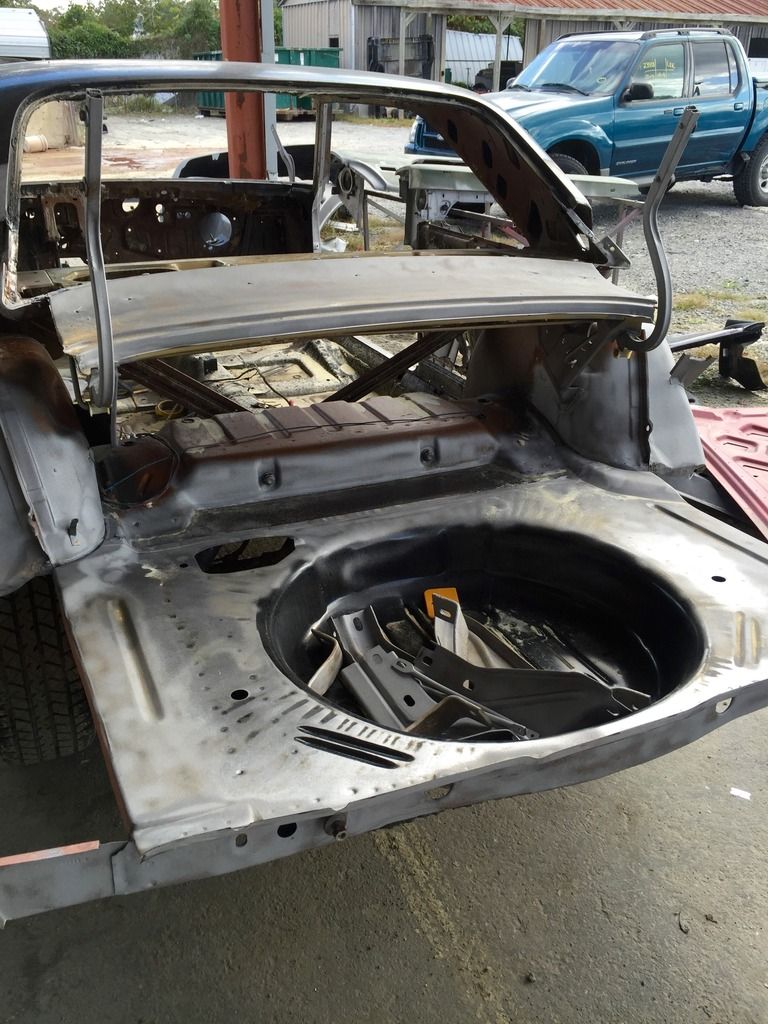
Progress continues. New trunk pan has been added while waiting for the new tail section parts. The bulk of the car has also been media blasted. Fortunately, many of the inner panels and metal proved to be in good shape. We can also see that the frame is solid.

The hood and trunk lid are now ready for primer and paint. The doors have been repaired and are close to being ready for primer. The fenders are also close. Amazing how much work gets done is a short period of time in a real shop.


The hood and trunk lid are now ready for primer and paint. The doors have been repaired and are close to being ready for primer. The fenders are also close. Amazing how much work gets done is a short period of time in a real shop.
Geo4K
Just your average Gearhead.
Thanks for posting these - I have some work on mine for the rear quarter windows and it sure is nice to see what they look like from the other side!
That's more work thank I could handle - best of luck!
That's more work thank I could handle - best of luck!
-


