The Great Pumpkin - '71 Duster

-
looked for magazine found the one I was thinking of , lot of similarities, ,just this one doesn't have a vinyl top, the magazine is from may 1992 , I'm missing the beginning page of article , but I remember the car being same colour as yours,same wheels , same rear gear ratio aswell, if you can find a complete magazine it might help.i just remembered this article right when I saw your car!lol
20161211_212431.jpg
20161211_212440.jpg


20161211_212526.jpg
 
Thanks for digging that out. Pretty similar! Yep, no vinyl top and it looks like that car has side stripes, mine has the stick-on trim. I read through the article, kinda the standard formula for how these cars were built back then.

Like I mentioned previously, when I got my car it was as if the guy went through the Mopar Performance catalog in 1993 and said, "I'll take one of each". When I took the motor apart, the bearings had 1994 date stamps on them. I think it was raced pretty regularly for a while and then mothballed.
 
Any progress Greg? I know it's pretty coldin the garage these days. I'm proceeding at a snails pace when the mood arrives.
(I did start up the wives engine for the first time. Oil plate to block leaked like crazy. UGH! Fixed now.)
 
Any progress Greg? I know it's pretty coldin the garage these days. I'm proceeding at a snails pace when the mood arrives.
(I did start up the wives engine for the first time. Oil plate to block leaked like crazy. UGH! Fixed now.)

Hey Rob. Not much in the last few weeks, just have been really busy with life. Like insanely busy. Kinda sucks actually!

Basically need to finish the last bit of wiring which should get me over the hump. Every time I look at it lately though I just turn around and go back inside.
 
Every time I look at it lately though I just turn around and go back inside.
LOL, here as well. I walk inthe garage, I say, "Hey, that looks nice! Only have to do....." and I go back inside. To cold, to tired workin nights, the cold at nmight saps more strength than normal. Also not so fond of doing things twice as I had to do. Bums me out, so I take it slow. Theres no rush to get it up and running ready for the snow. I just have to finish it up and send the hood out for paint. 99% of it is done, just needs assembly.

Then maby I can get back to MY project! LMAO!
 
OK, so back on the horse for a bit here, taking advantage of this ridiculous, unseasonably warm weather. Been out in the garage chipping away at the Duster trying to get the car ready for the season.

So I am essentially re-wiring my entire car AGAIN. I hate to say it kind of needed to be done but I will admit that some of the stuff I did a few years ago was lookin' kind of hacked. Every time I get to a point where I need to tie in some component, I uncover something else that looked like a fire waiting to happen. So, out it comes to re-done or replaced.

Basically the very last vestige of the old version of my car was the battery cable and old Moroso battery box. It's all gone now. The main cable itself was OK I suppose but I noticed a few gouges in the insulation and I never liked how it laid across the trunk out in the open - it was really too short.

This is how it all has looked for the last few years. Could be worse I suppose. Note continuous duty solenoid in the alternator charge line on the left, "Ford" starter solenoid on the right.
IMG_0162a_zps6f08a02f.jpg


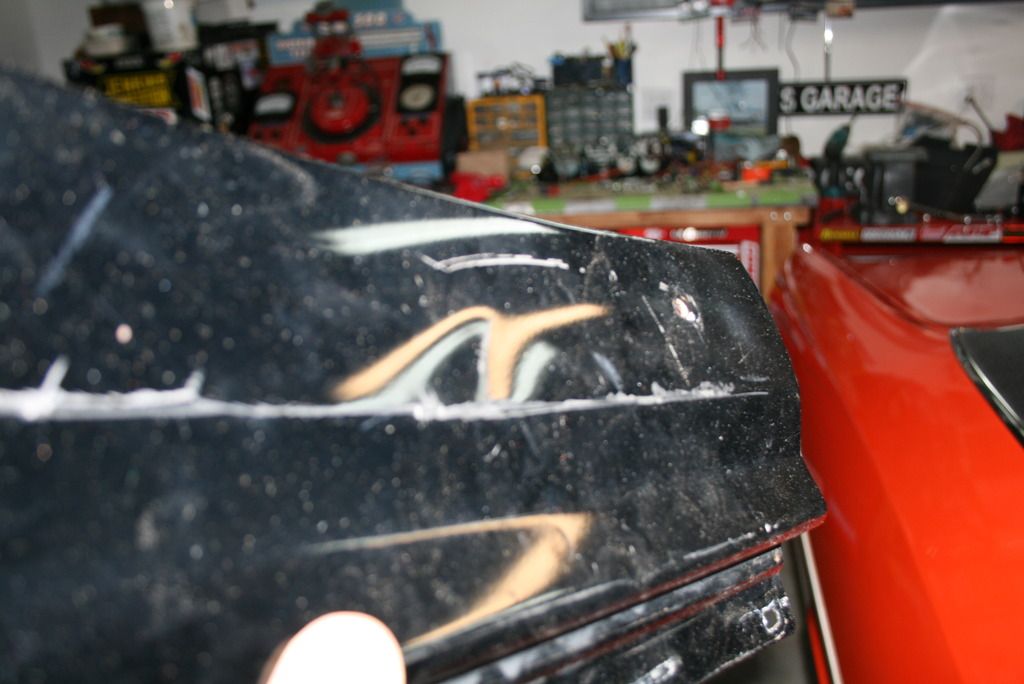
So I went down to SK Speed and picked up a new Taylor aluminum battery box, 20ft of new cable, screw on terminal ends and a bunch of heavy duty plastic adhesive lined shrink tubing for the other terminals.

Here's basically what it looks like now. Not totally finished yet but you get the idea.
IMG_3812_zpsfvuiqboz.jpg


Though it looks similar, things came out a little more sanitary and concise since I am starting from scratch and not re-doing existing wiring. BTW, Taylor makes nice stuff. I have liked pretty much everything I have from them including plug wires, my cutoff switch and now the battery box.

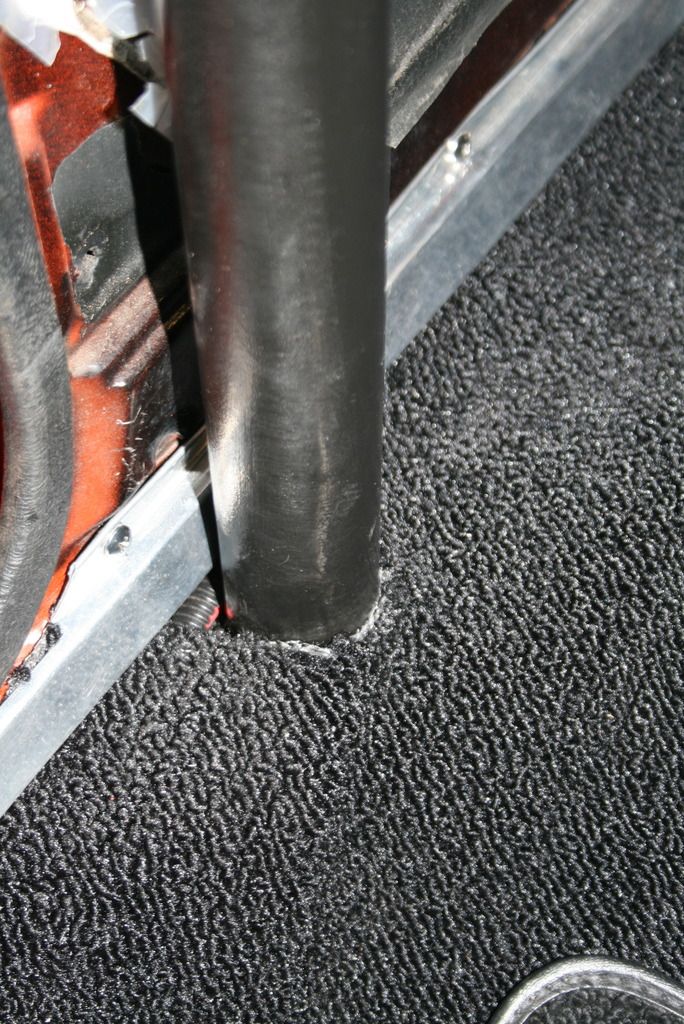
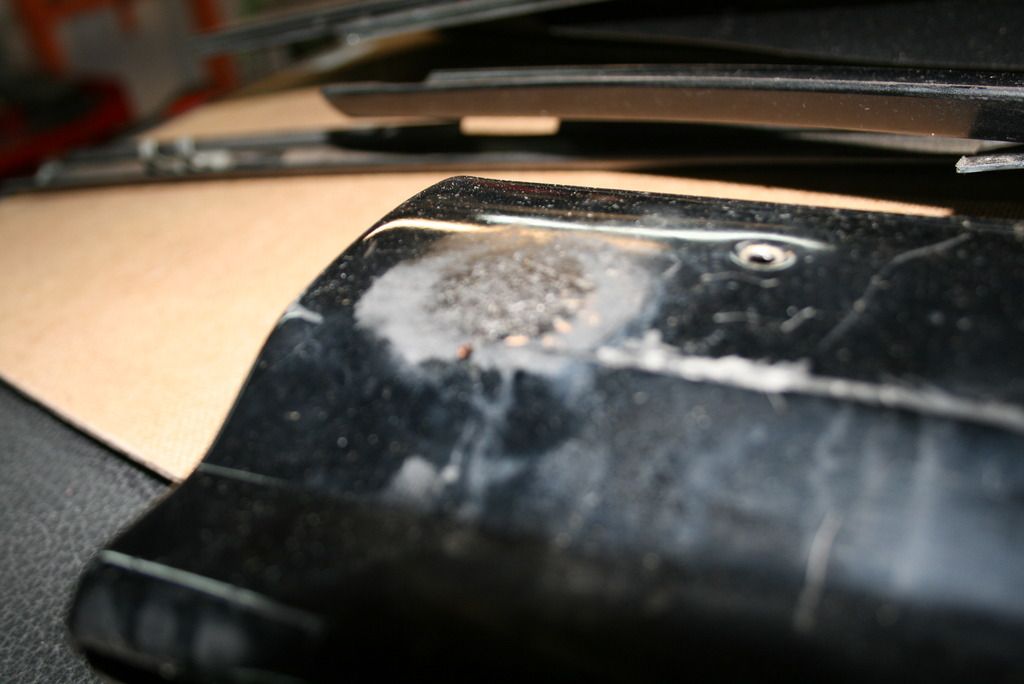
Just a shot of how the new terminal ends look. If you use shrink tubing here, it gets chewed up pretty much instantly, AMHIK. You really need this thick stuff on larger wire terminals. The shrink tubing here was just another measure of abrasion protection since this end of the wire goes to the B+lug on the starter. Note the heat shielding for where the wire comes out of the firewall and snakes around the headers to the starter.
IMG_3810_zpsusrb6zwb.jpg


Previously, the battery cable was run up the driver's side in the trough along the sill. One issue with the cable was that it was short and ran diagonally across the tire well in the trunk to where the battery was on the other side. I never liked that. Besides looking half-assed, it was not secured down very well.

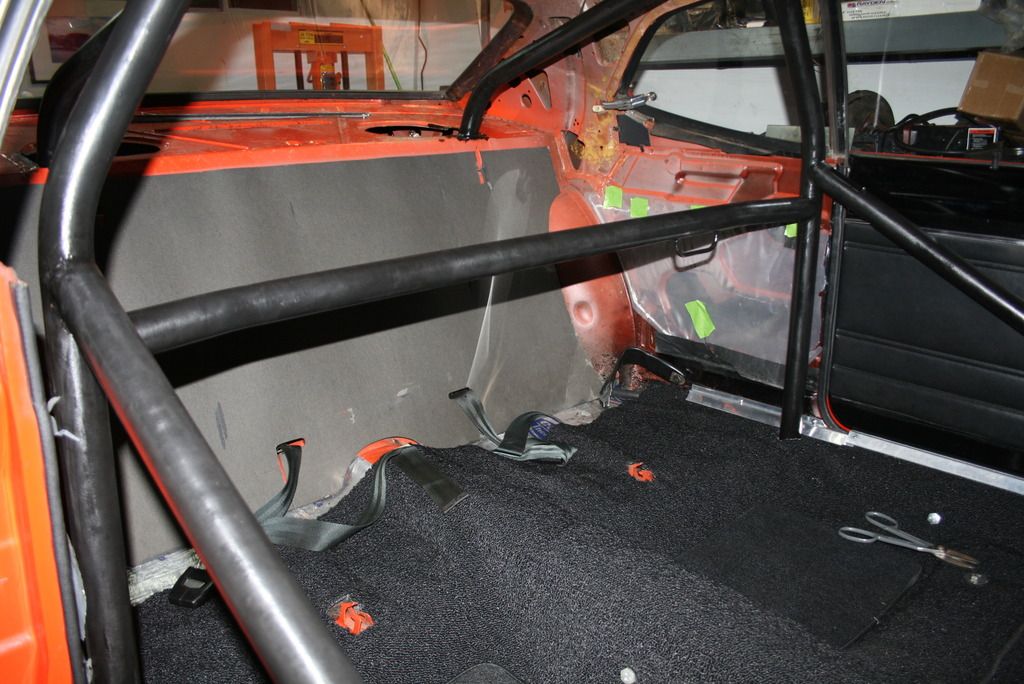
I left the new cable longer so I could route it along the front of the trunk pan to the other side. From there, it goes to the box instead of hanging out in the middle o the trunk. There were some clips for the rear defroster wiring that were still in place under the package tray so I used those to secure the wire. They were the right size and work great. Nice and neat now. Blue wire is the fuel level sender.
IMG_3813_zpsk7p1buus.jpg


The small lengths of shrink tube you see were used to help guard against abrasion. It also helps to keep the main fuse box power wire tight to the battery cable since that also needs to go back to the cutoff switch. Running that wire all the way back to the switch provides the ability to kill all the dash/ignition stuff up front.

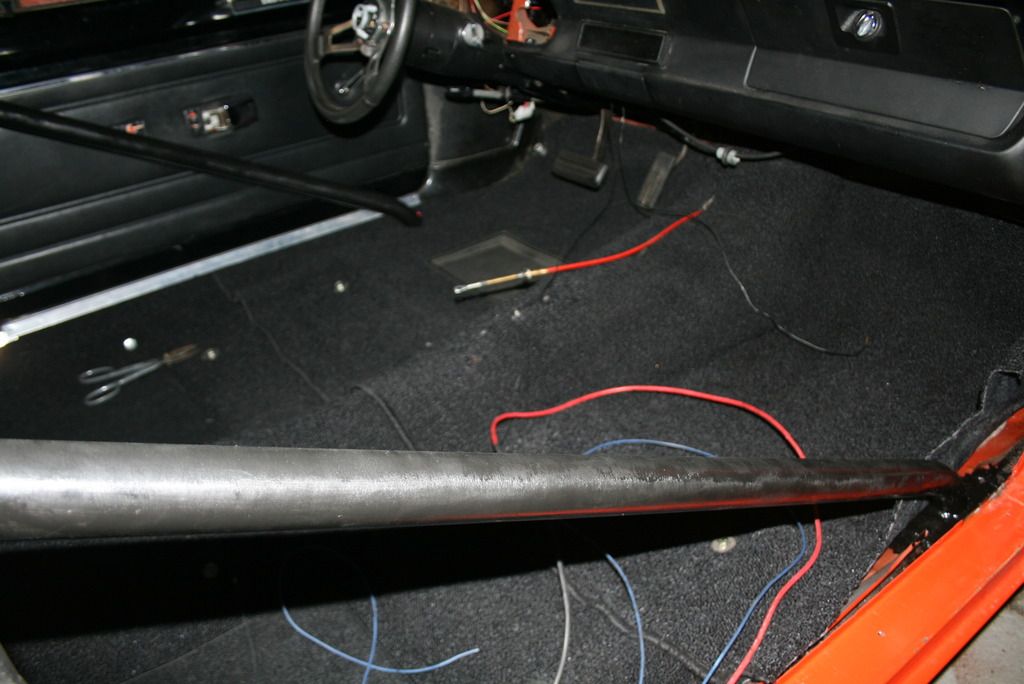
So I had to move the fuse box from the middle of the firewall to the left side. When I started laying out the wiring from the column to the fuse box, there was too much in the way. The connectors from the column essentially feed everything out towards the left so all the wiring would have had to first go towards the firewall and then over the column and associated parts. Some of it would have inevitably ended up by the pedals which I definitely did not want.

I looked at it for a bit trying to see where it might fit best with a minimum of hassle. Right then I realized I had used the driver's side fresh air box maybe one time since I've had the car so that was removed and the cowl vent was covered up to make room for the fuse box. Now it's a straight shot to the box with shorter wiring. All good!
IMG_3814_zps6me5xnmi.jpg


Man, I hope to finish up this wiring soon.

More to come.
 
Going out there right now before work to get more done. No more excuses. Tired of looking at it sitting on jack stands.
 
Nothing better than getting rid of those electrical demons. That's why I replaced all of mine too. No sense in risking a fire when you've put that much time and money into it. Keep at at it. The light is just around the corner!
 
Nothing better than getting rid of those electrical demons. That's why I replaced all of mine too. No sense in risking a fire when you've put that much time and money into it. Keep at at it. The light is just around the corner!

Thanks man. It'll get done.

Here's a perfect example of how things go for me. So I'm doing the alternator wire back to the battery and realize I need a fusible link. My output wire is 8 ga. so I need a 12 ga. fusible link. No 'regular' fuse here, the link is a slow burn and will absorb spikes better than a fuse. I have three 14 ga. but no 12. So off to the parts store.

I seriously went to every parts store in my town and a trailer place, not one of them had one stupid 12 ga. fusible link. The guys at the old school parts store in my town like to laugh at me when I come in because I always seem to find the oldest obsoletest wiring component they have on the spinning rack.

So now I have to order online. If I order now, the parts will show up on Thursday night. My weekends are filled with kid/family stuff so now it's literally a week before I get back to doing what I started.

I guess there are other things to do while waiting on the stupid wire but it can be pretty demoralizing sometimes.
 
OK, one major update.

Since most of the interior was out while messing with the wiring, I decided it was a good time to get a roll bar installed. It turned out to be quite a story. Rather than re-typing it all out, you can read all about it here.

Other than that, I have not been doing much with the car lately. Life has been unbelievably busy for me over the last 6-8 months. Seems like my former lifestyle of slack and leisure is a thing of the past and the responsibility gods have decided I needed to be whipped into shape. Not fun, gets in the way of hot rod time.

Still pecking away at things a little at a time when I can. Dash wiring is nearing completion which will be a huge thing to have done. Most things after that are pretty straightforward like putting the interior back in (including a new headliner) and finishing up the rest of the plumbing.

Shooting to have it done before summer.

More to come.
 
Ive been snooping around for a few months lol

Rob, you knew he couldn't stay away.

Thanks for chiming in Adam, good to see you making the rounds a little.

Took a little time to work on the Duster on Sunday and got some of the interior back in. Carpet is mostly back in but man, I did a horrible job trimming it the first time. Seriously, the whole thing is jacked up. Thankfully most of the crooked or uneven parts are covered up by various things but it still bothers me knowing how poor of a job I did. Had to cut some oddly shaped holes to fit it around the bars on the floor but that part came out OK I guess.

Nest time I'll swallow my DIY pride and get this type of stuff done by someone more proficient at it than me.
IMG_3828_zpsk9gpmfep.jpg


Note the OE plastic splash guards still in place where the rear door panels go. A little brittle though. Trunk divider is a little flimsy but still intact too.
IMG_3823_zpsppmssd9d.jpg


Unfortunately, painting the roll bar also yielded less than stellar results. I used POR15 so it wouldn't rust or chip but it's definitely not like paint. I used a foam brush and went around the bars with mostly even strokes hoping they would blend. At first you couldn't see the them but when I went to go touch up some areas I missed, it got splotchy, like it had already started to dry and the very top layer was getting peeled up. Was hoping the second coat would cover it up but no dice, nice and splotchy again. Turned out kinda like a hammertone finish. It's not horrible, mostly depends how the light reflects off it. At least it ain't gonna rust. Maybe I can cover it up somehow.

Note uneven reflection from flash on front down bar... splotchy.
IMG_3824_zpsqm4imjmi.jpg


Ordered a headliner from Year One, it's on it's way. Wish I didn't have to mess with that but it was torn all the way across, right above the back window. It was being held together with safety pins and would flap around like crazy with the windows open. It pretty much disintegrated when I took it out. Not looking forward to fighting with that thing, I can tell it's going to be a *****. Not real interested in having the windows taken out but that would sure make life easier.

To get the headliner out, the rear sail panels have to come out. The roll bar main hoop is close to the panels, it was really hard to get the front mounting screws out. I basically had to spin them out with vice grips. Might try to put those back in with some sort of modern panel push lock type thing if I can. Wrestling them out of the space between the main hoop and window beat them up pretty good. Plus, the passenger side got a little roasted by the TIG welder. Might have to see if I can get them cleaned up or find another set. The shop that put the bar in told me to leave them in but I kinda wish I hadn't.

Great. Just great.
IMG_3832_zpsgdgktver.jpg


Tungsten Inert Gas roasted my sail panel.
IMG_3833_zpsvosskn5f.jpg


In other news, spent some more bucks this week and finally ordered a fiberglass hood from AAR. I figured it would be a good idea to try and offset some of the added weight of the roll bar and it's always best to take weight out of the front of the car. I went for the lift-off type so the hinges are coming out. Sprung for a tall, dual snorkel scoop as well. I'll be honest, I've always wanted a car with a hood scoop. I would have liked to have the scoop molded in to the hood but it adds significantly to the price of an already expensive part and can delay delivery for a long time. It's OK, makes it less of a commitment. I can eyeball it and decide whether I want to go through with it.

4 1/2" dual snorkel scoop.
DualScoopXL.jpg


Now to decide on hood pins. I'll probably just go with Moroso aluminum ones. The chrome ones rust and I don't completely trust those expensive Quick Latches. Too modern looking anyway. Keep it simple.

On a side note, weather sure is frustrating here in the North East. It's beautiful one day and absolutely miserable the next. Hard to keep momentum going when it's cold and wet out. I've lived here my entire life too and it still drives me nuts. Depressing.

More to come.
 
Wow! Look is at that. I had no idea.
I was just wondering where Greg was.
In Ct.!!!
 
Back in CT ?

Yes. I was in your neck of the woods today too. Well Ridgefield actually, but close enough. Thanks for checking in. Good to hear from you too, Rob.

So yeah, we sold our house in Huntington and close on it next week. Duster is still on Strong Island but I'm moving it into storage this week.

I was really working on finishing the thing but decided that I needed to remodel our kitchen in order to make a few bucks on the house. Turned out to be the right decision but I lost another summer. I kept telling myself I would dedicate a few days to get it running before the move but of course that didn't happen. Same old story.

Our house here in Stamford is in the middle of being reconstructed, won't have a garage for a while which really sucks. Not to mention a kitchen or entire first floor for that matter. More delayed gratification. Hope to have the house mostly finished before spring.

Kind of in the market for something to drive at the moment, I can't take not being able to drive an old Mopar any more. Not getting rid of the Duster though, no way, it will be finished. When I rolled it out of the garage the other day, I couldn't stop looking at it, it's so bad ***, I still love it! Just need something for the time being.
 
-
Back
Top