1970 Swinger 340 Hemi Orange 4 speed

-
2nd sheet.

null_zps78240398.jpg


null_zps1a396d3e.jpg


null_zps01921e4e.jpg


null_zpsb8a2d165.jpg
 
Free Tape FTW!!!

Great write up, subscribed.

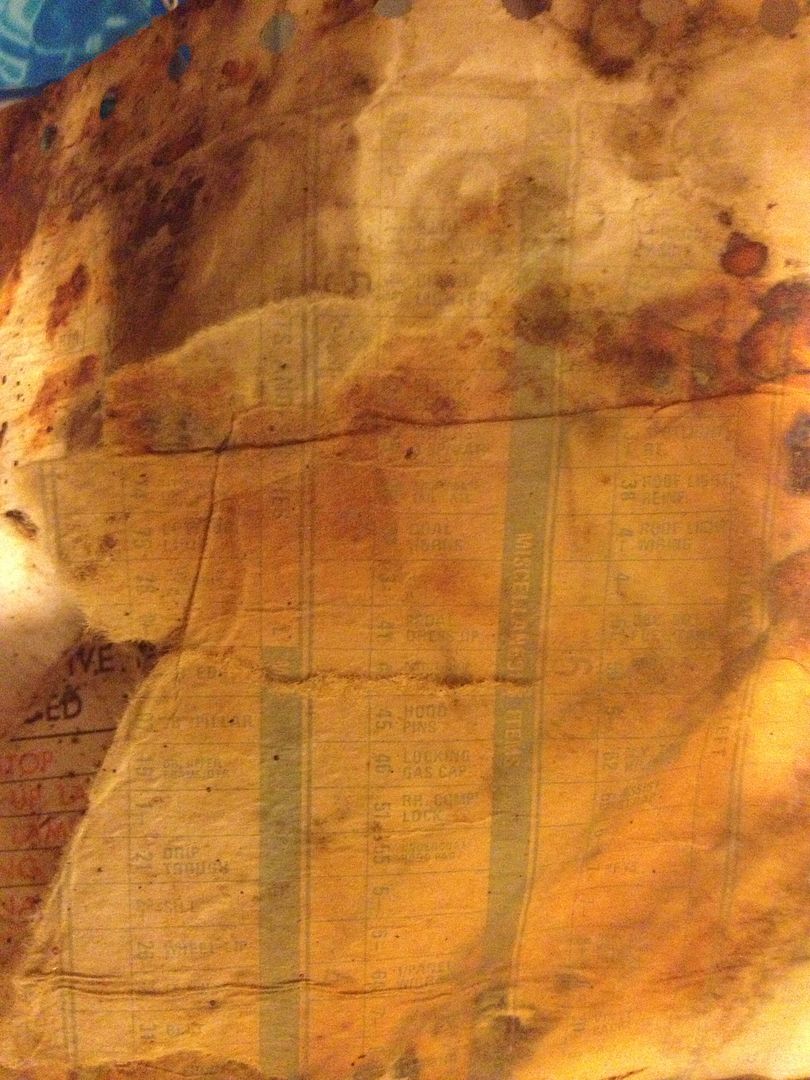
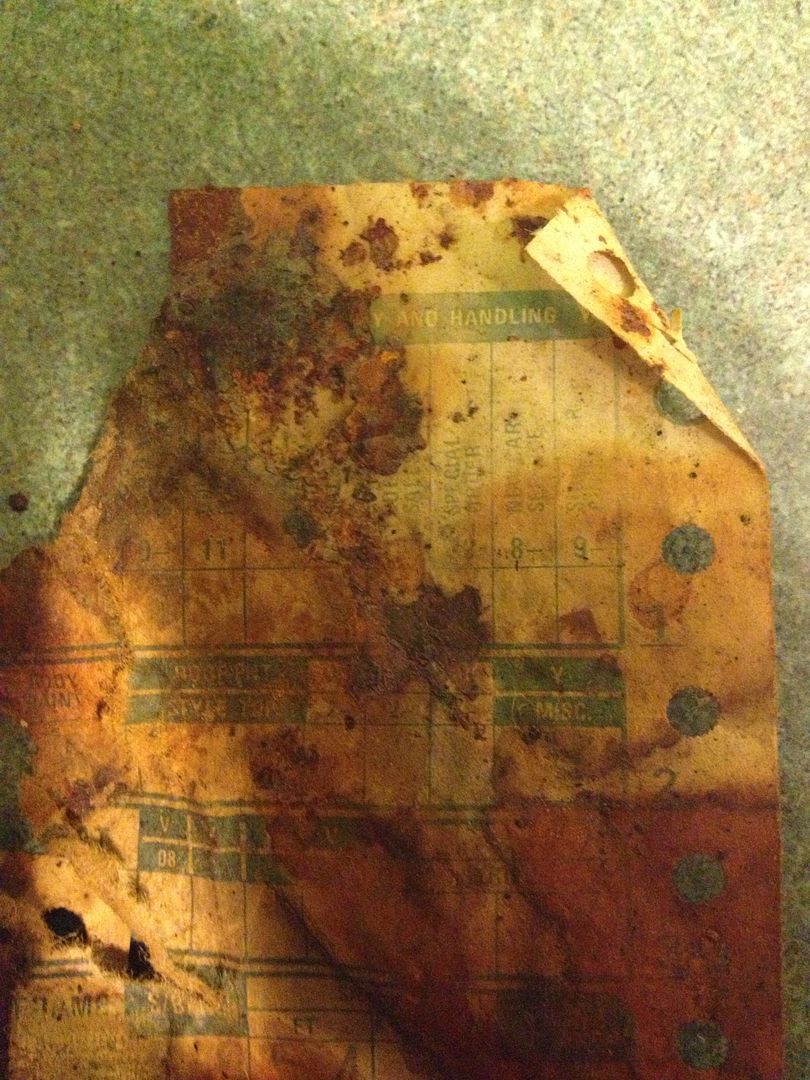
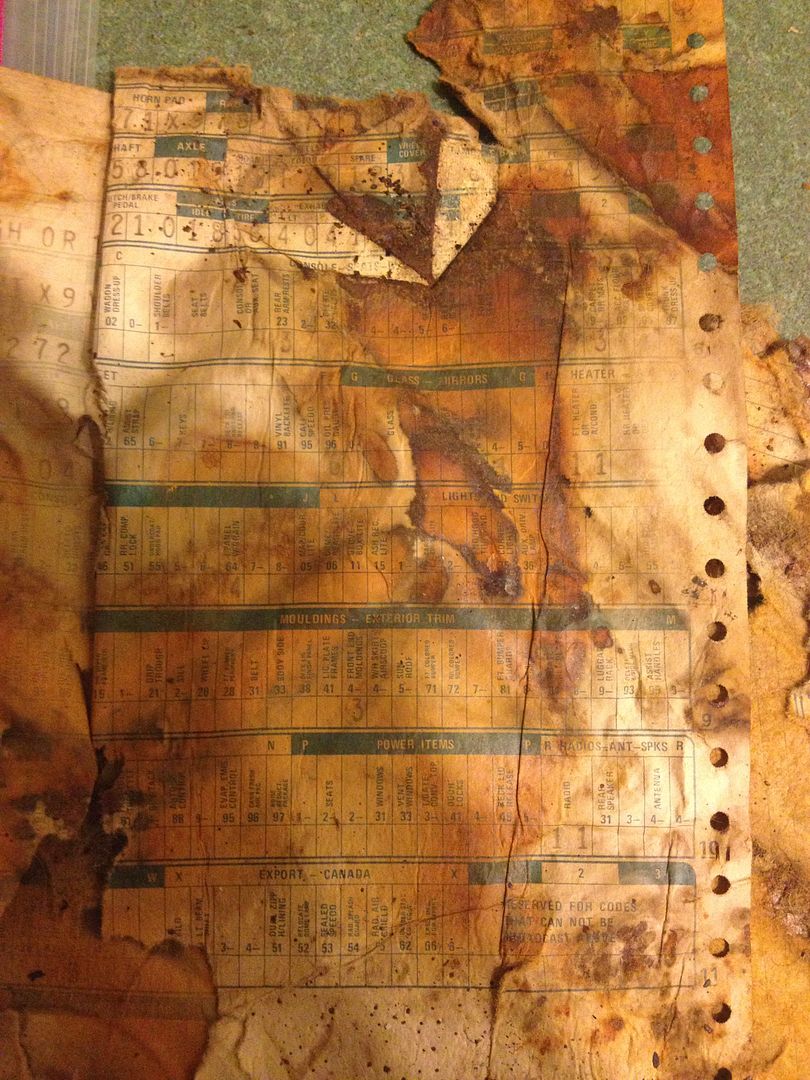
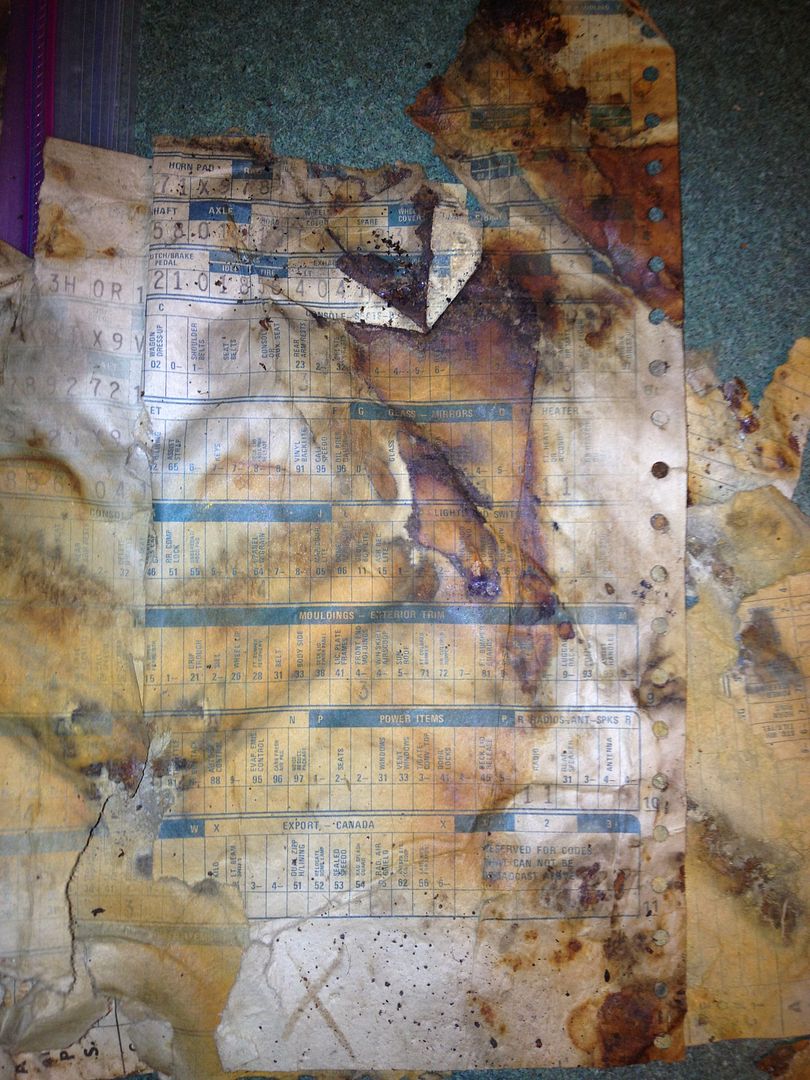
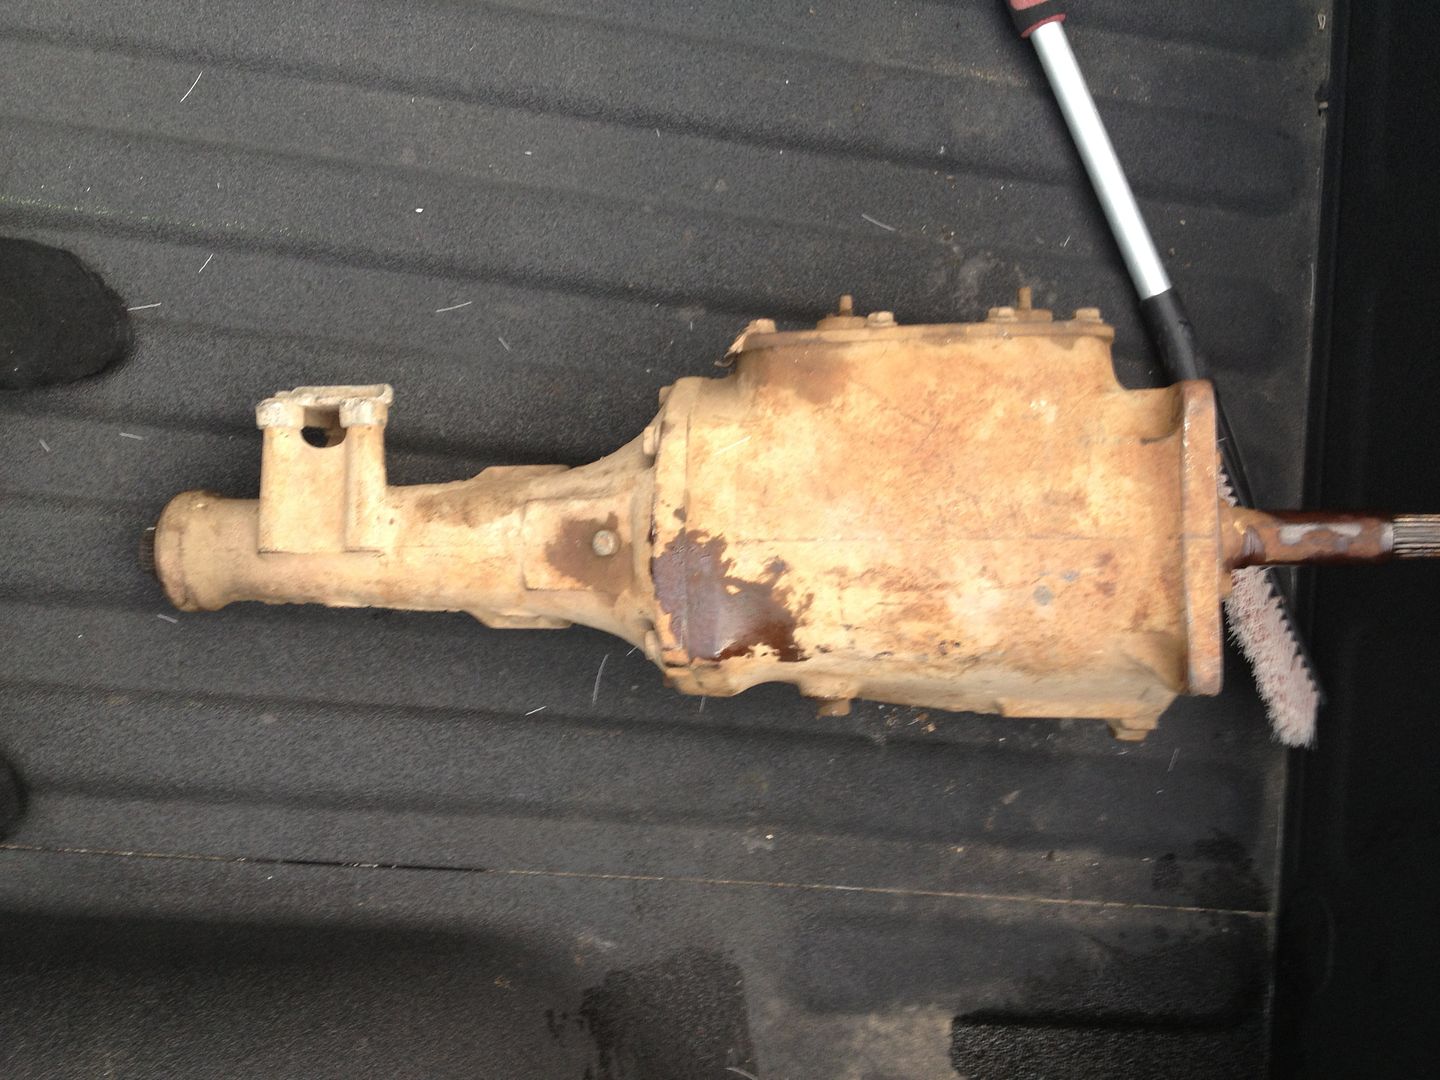
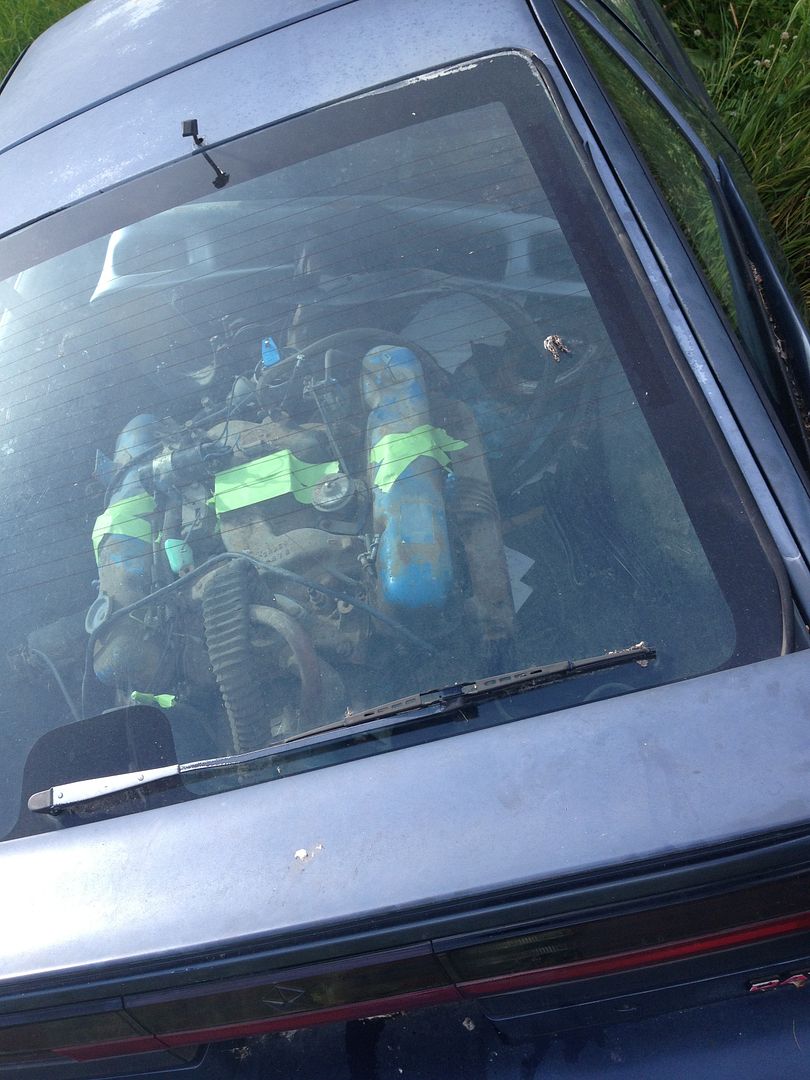
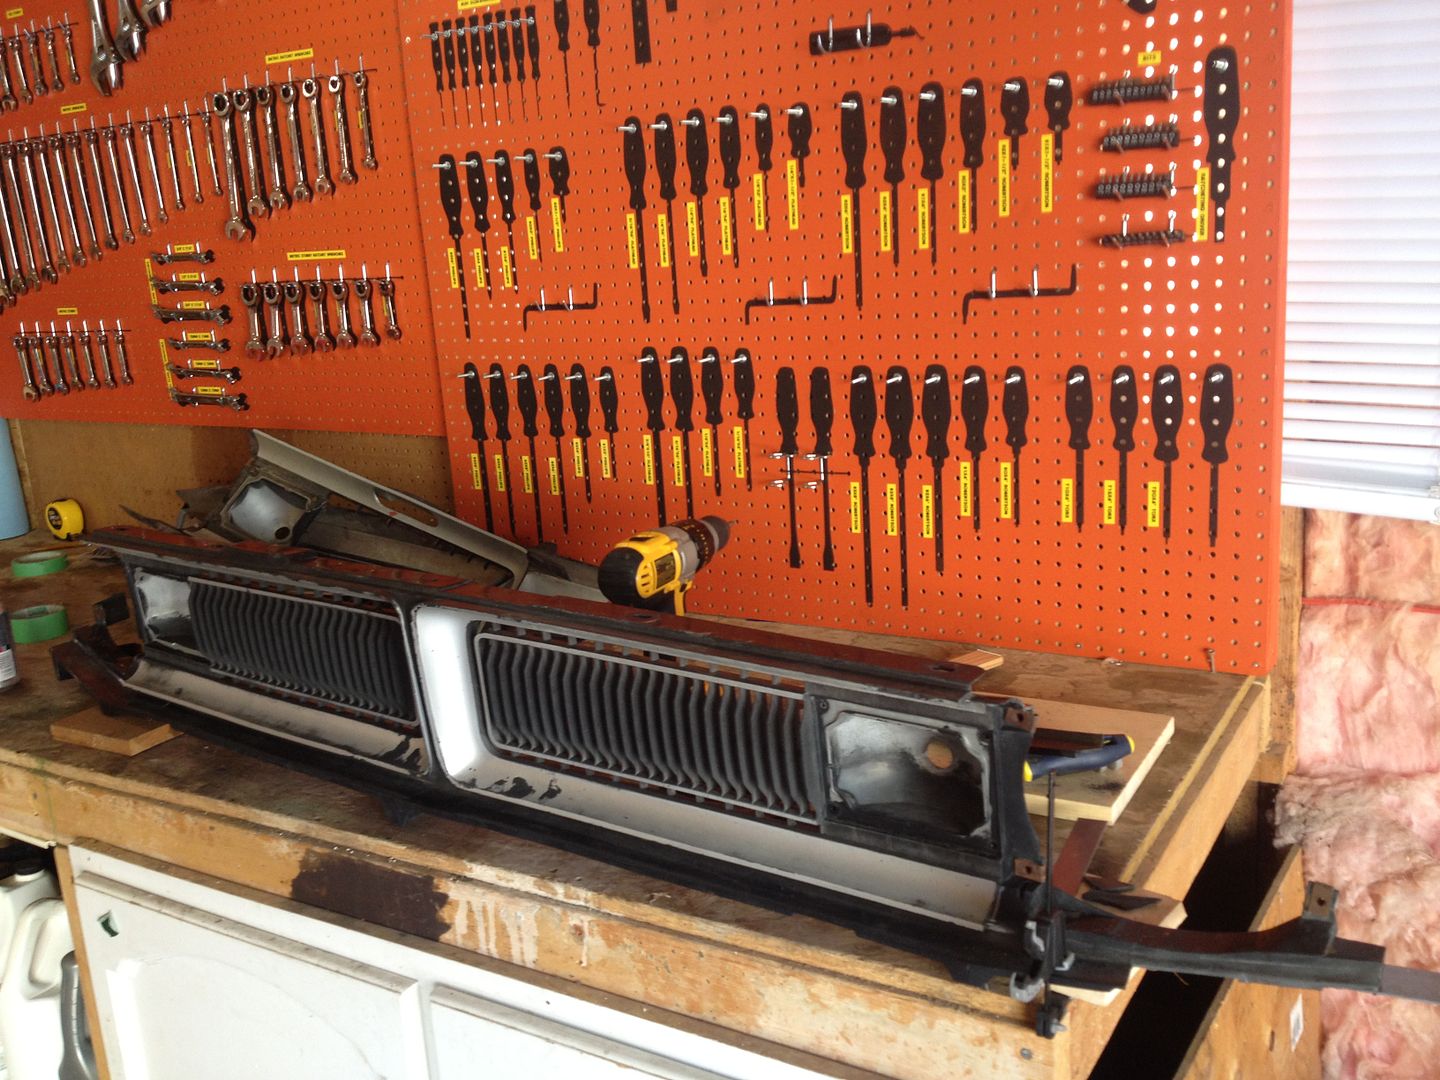
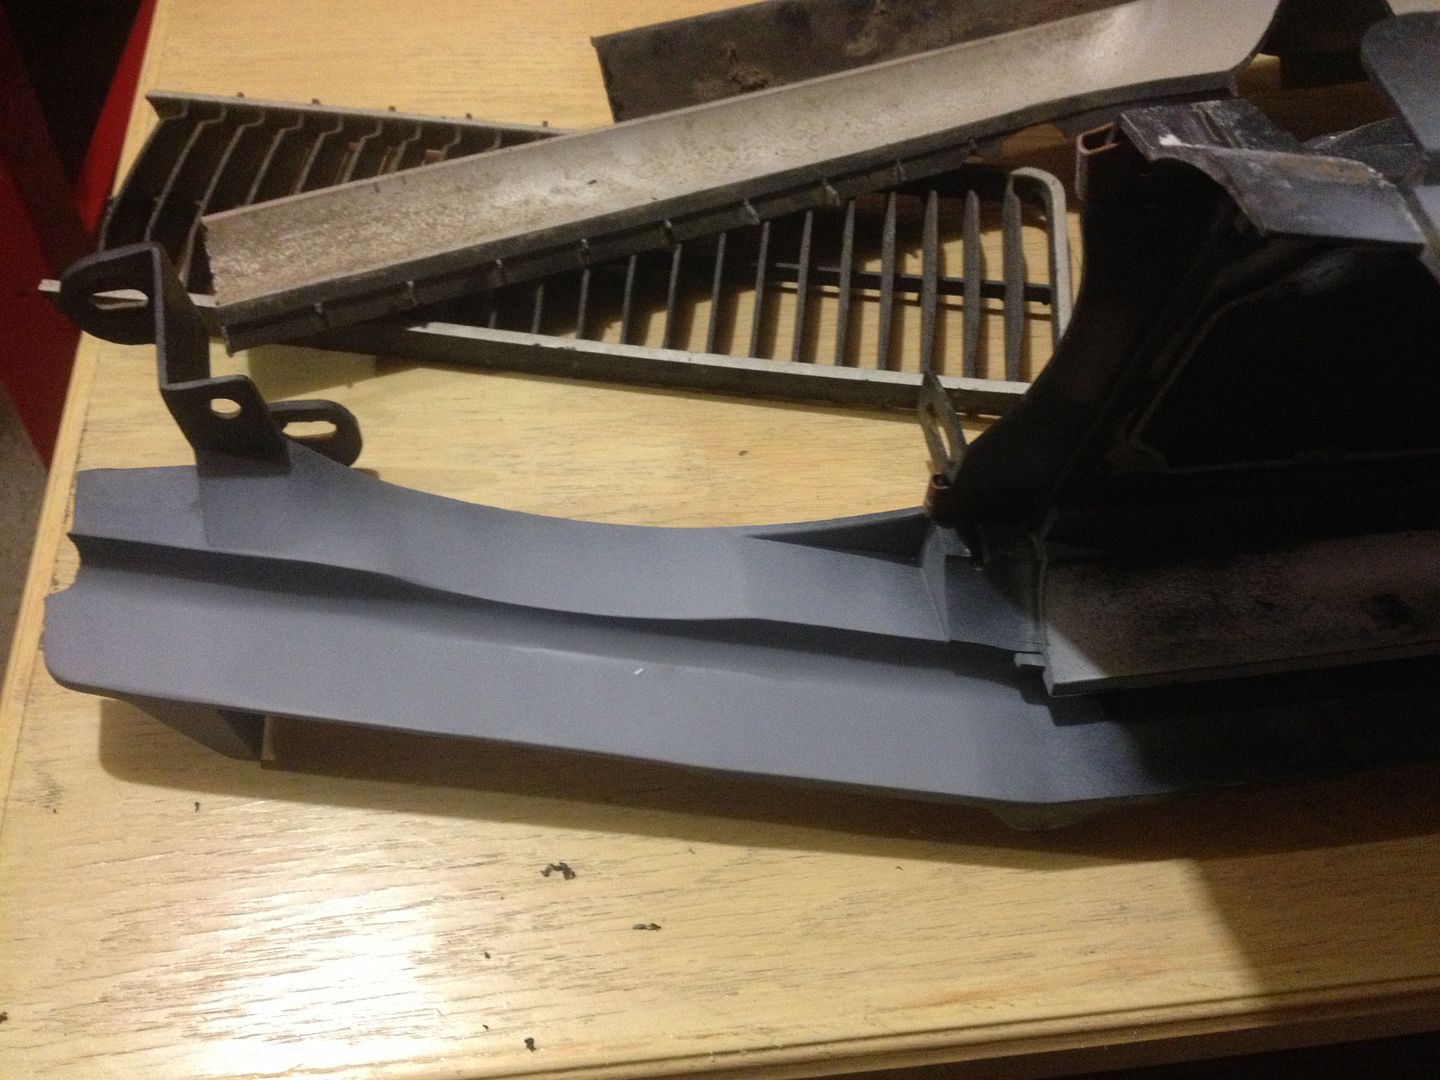
Haha yeah it's kinda cool finding assembly line trash in my car! (Well the previous owner did)

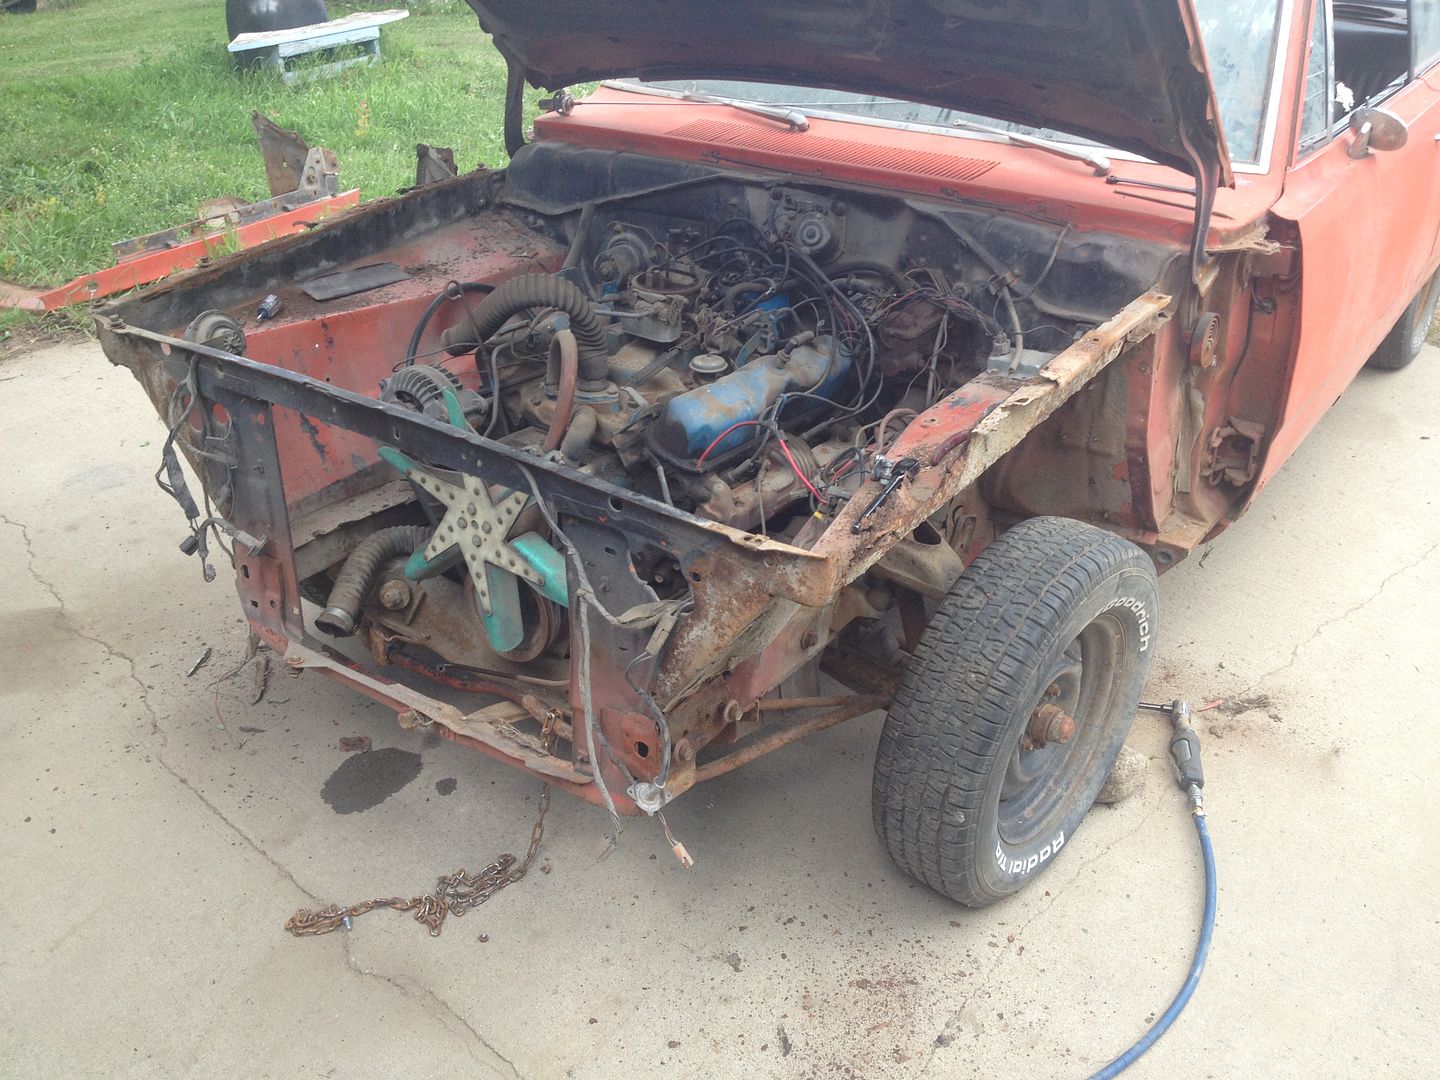
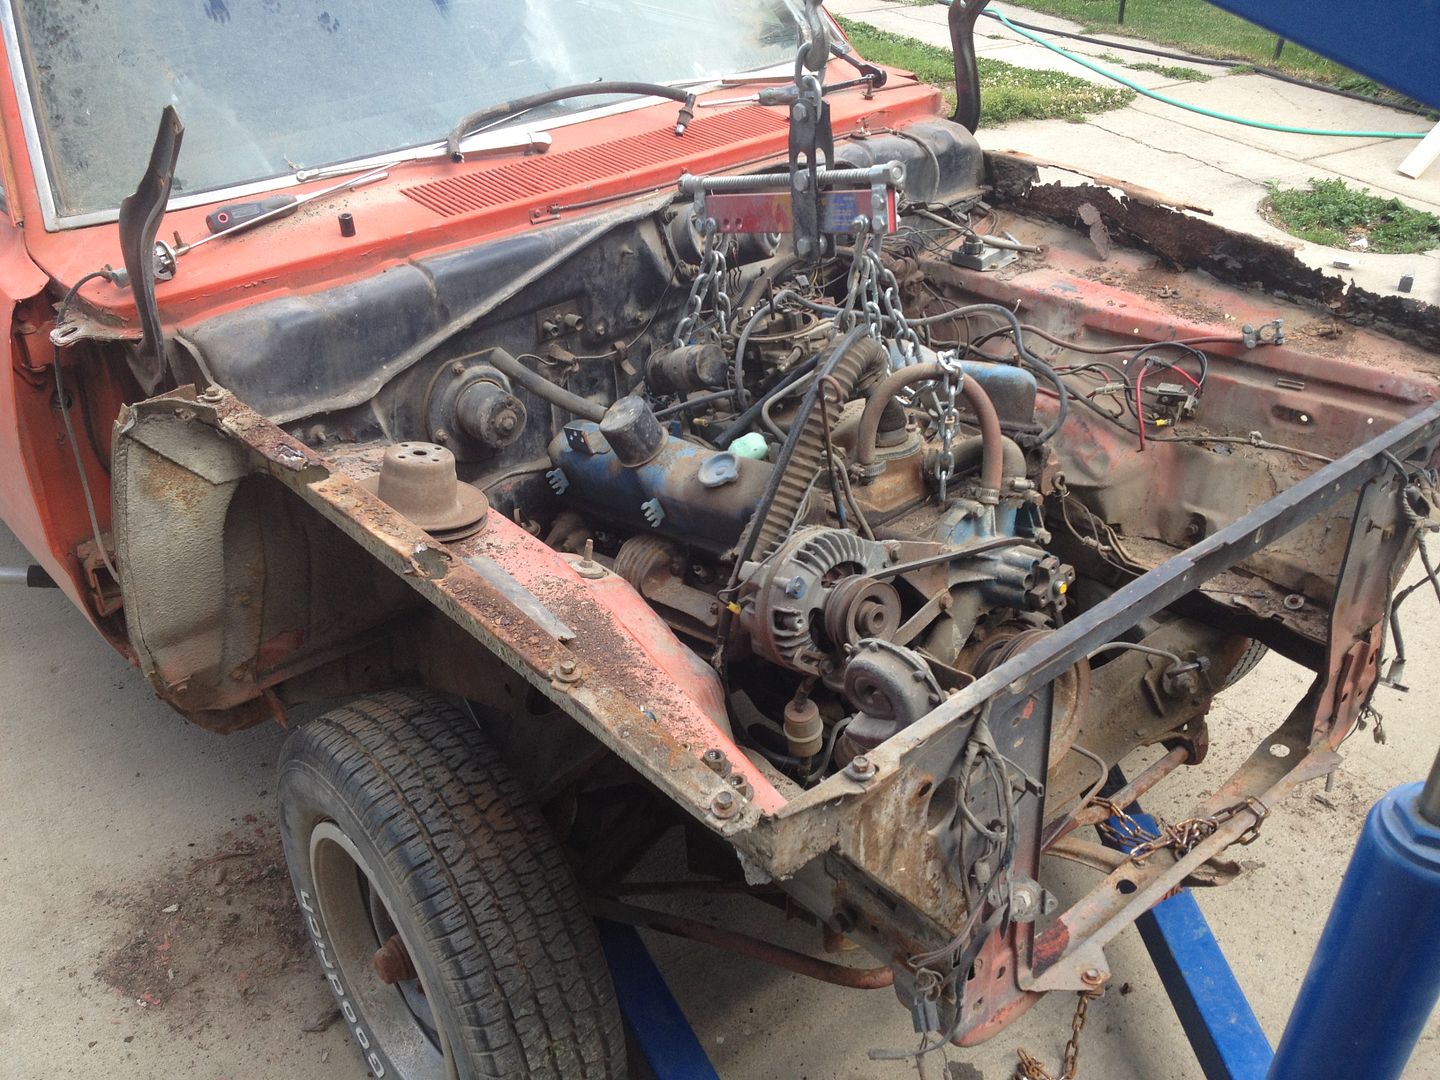
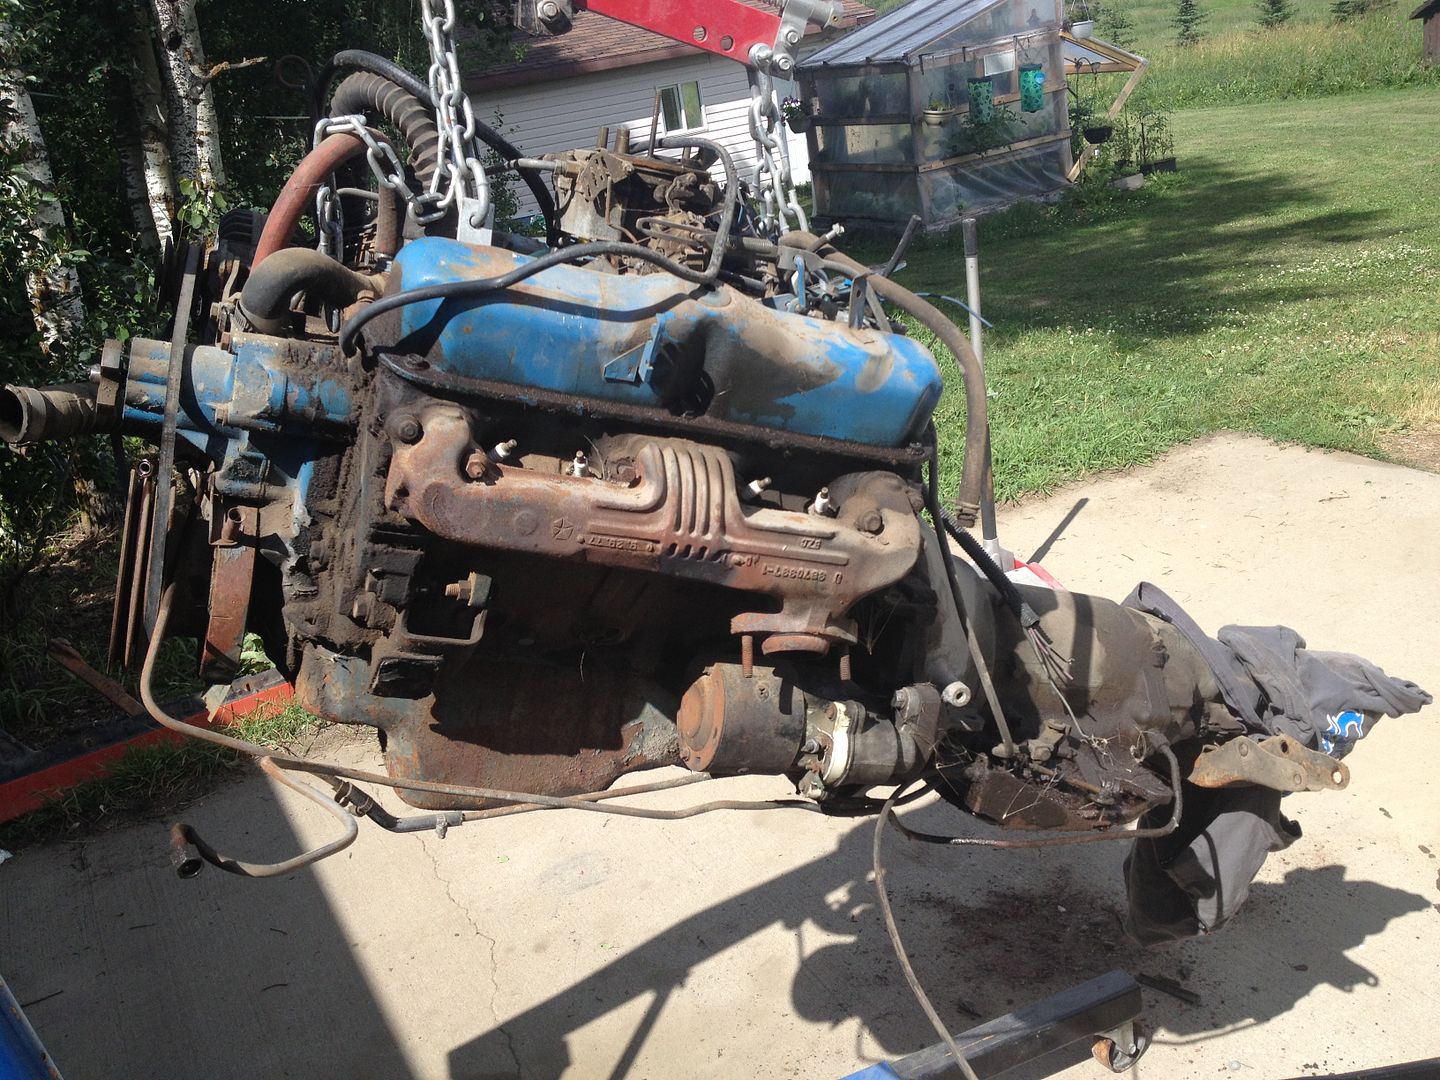
Thanks! I'll be pulling the motor this weekend now... I got side tracked with the hail damage on my truck and dealin with that and doing a 6hr round trip picking up my broadcast sheet.

A huge thanks goes to Rocky_JS for decoding my car and remaking a broadcast sheet for me!
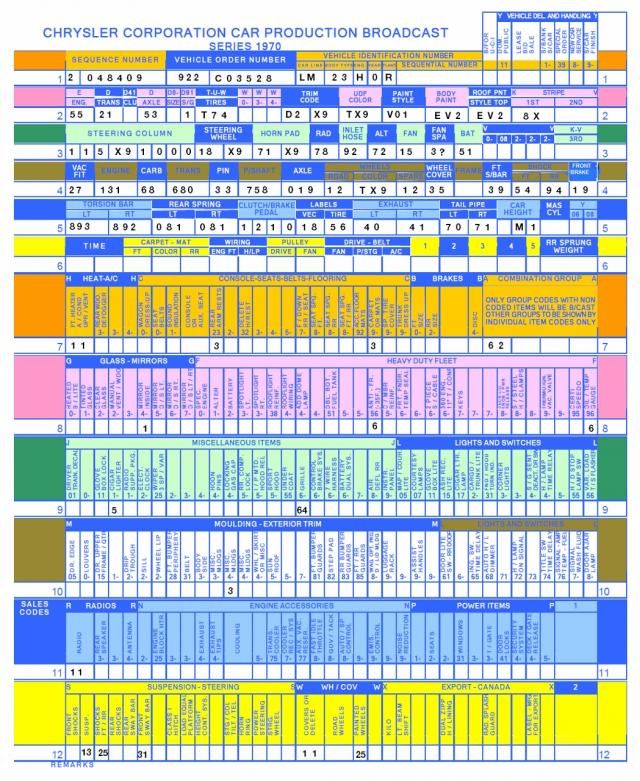
null_zps831e4afc.jpg


Line 1
2048409 - SEQUENCE NUMBER
922 = September 22 1969
C03528 = ORDER NUMBER
L = DODGE DART
M = MEDIUM TRIM GRADE
23 = 2 DOOR HARDTOP
H = 340 4-BBL
0 = 1970 MODEL YEAR
R = BUILT IN WINDSOR CANADA
12****= VIN SEQUENCE NUMBER

Y07 = BUILT TO CANADA SPEC'S

Line 2
ENGINE E55 = 340 4-BBL
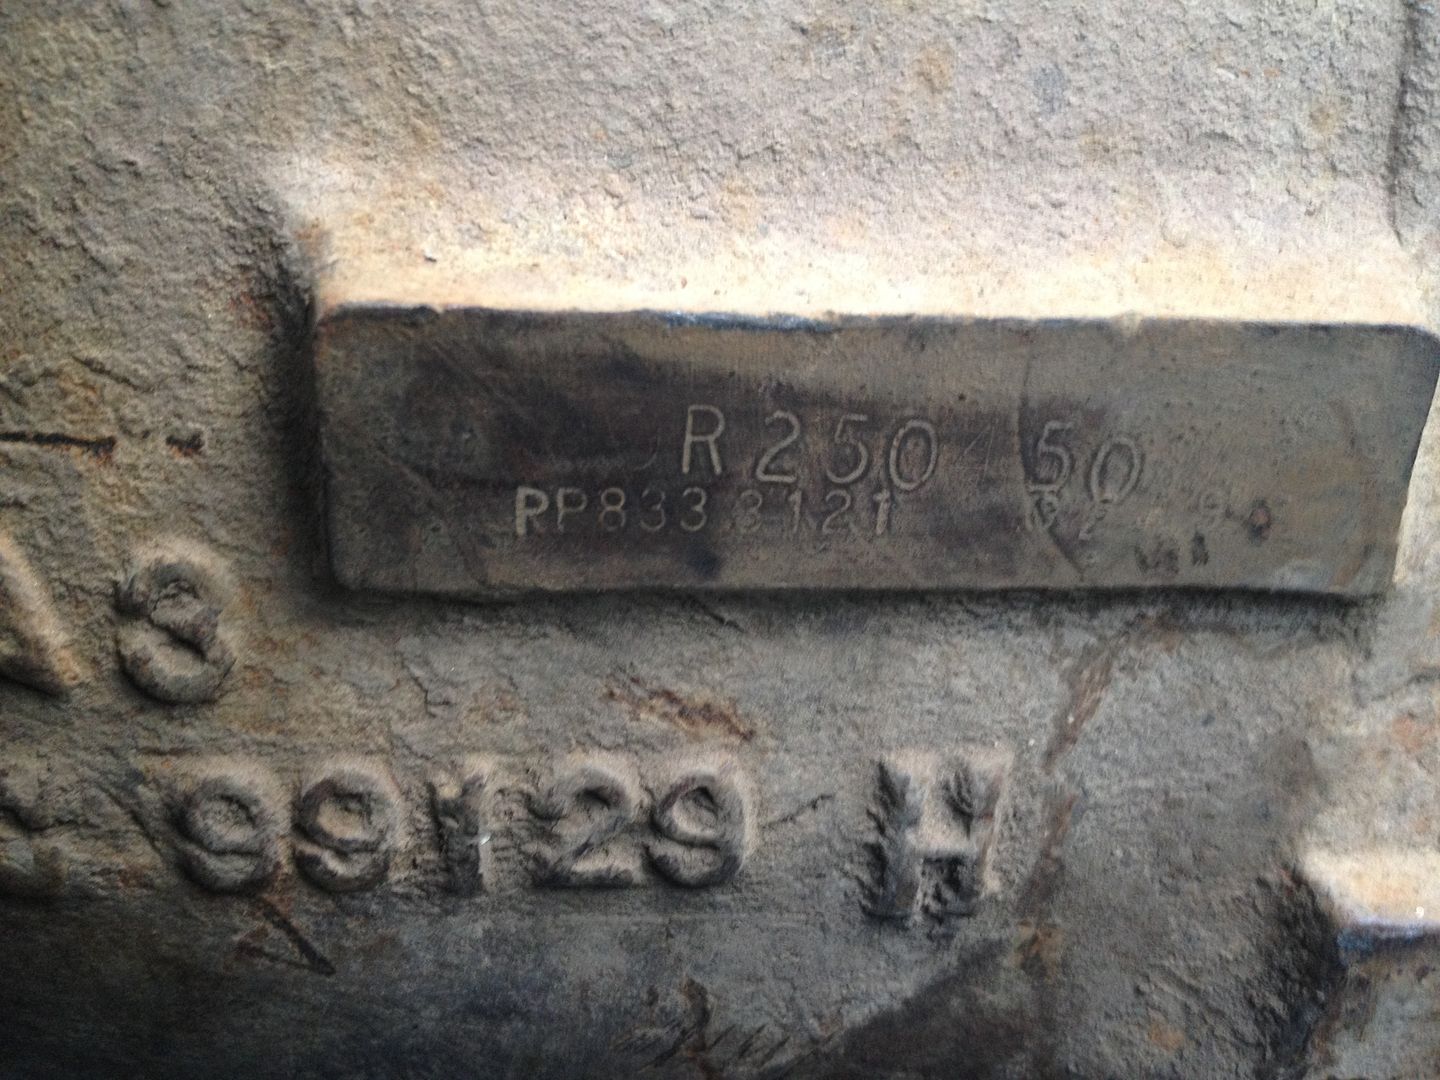
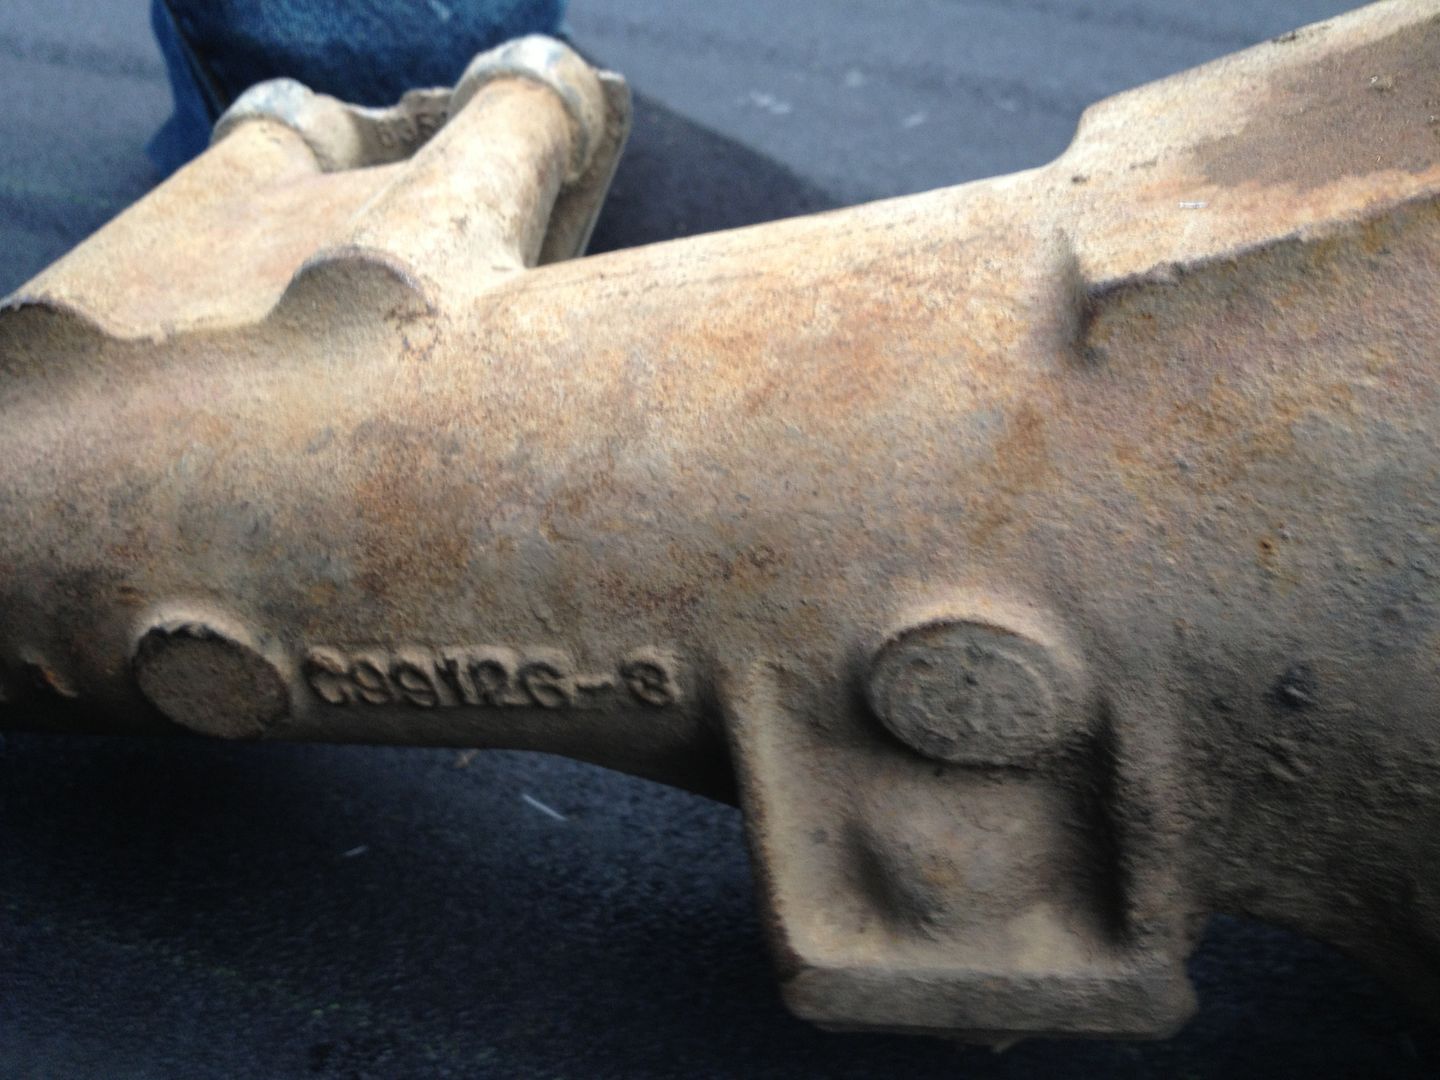
TRANSMISSION = D21 = A-833 4-SPD
AXLE - D53 = 3.23 RATIO
S/G - D91 = SURE GRIP
TIRES - T74 = E70x14" WSW
TRIM CODE - D2-X9 = 50/50 bench seat - vinyl, black in color
UDF TX9 = BLACK, Upper Door Frame color
PAINT STYLE - V01 = monotone paint
BODY PAINT - EV2 = Hemi Orange
ROOF PAINT - EV2 = Hemi Orange
STRIPE - V8X = BLACK BUMBLE BEE STRIPE

LINE 3
STEERING COLUMN - X9 = BLACK
STEERING WHEEL - X9 = BLACK
HORN PAD - X9 = BLACK
RADIATOR - 78 = 2998978 22"
INLET HOSE - 92 = 2863292 W/340 ENG
ALT - 72 = 3438172 (STAMPED) SINGLE GROOVE 37 AMP
FAN - 15 = 2863215 18" 7 blade w/340 (clutch type)
FAN SPACER – 33 = FLUID/THERMAL DRIVE UNIT 2863233 (FAN CLUTCH)
BATTERY - 51 = P#3755151 - 48 AMP GROUP 24 W/GREEN CAPS


LINE 4
CARB - 68 = P# 3462968 Carter 4-bbl AVS, ID number 4933S (340-4-spd)
PINION - (33) 8.75/ 1 3/8 DIA P# 2931663, GEAR #2070611 SERVICE SET # 3432620 - 3.23 RATIO
DRIVE SHAFT - 58 = P# 2883758 for a-833 4-spd, Diamentions 51.96" x 3"
WHEEL - 12/X9 = 14"x5.5" P# 2660312, COLOR X9 = BLACK
SHOCK
FT - 54 = 3400854
RR - 94 = 3400594
FRONT BRAKES - 19 = K/H Disc Brake car


LINE 5
TORSION BAR
LT - 893 = 2535893 DIAMETER .870, 120 LB/IN SPRING RATE
RT - 892 = 2535892 DIAMETER .870, 120 LB/IN SPRING RATE
BRAKE PEDAL - 12 =
CLUTCH PEDAL - 10 = 3575110 (STD DUTY)

TAIL PIPE
LT - 70 = 2925670
RT - 71 = 2925671

WHEEL COVER - W11 = P# 2944435.
WHEEL COLOR - TX9 = BLACK
WHEEL 25 - (SEE ABOVE)

LINE 6
A62 = RALLYE INSTRUMENT CLUSTER PACKAGE

LINE 7
H11 = HEATER W/DEFROSTER
C23 = REAR ARMRESTS W/ASHTRAY
C93 = CARPET

LINE 8
G41 = DAY/NIGHT INSIDE REAR VIEW MIRROR
F56 = ANTIFREEZE TO -35 DEGREES
F96 = OIL PRESSURE GAUGE

LINE 9
J15 = CIGAR LIGHTER
J64 = WOOD GRAIN DASH


LINE 10
M43 = GRILLE TRIM MOLDINGS

LINE 11
R11 = AM RADIO (2 WATTS)

LINE 12
S13 SUSPENSION = HEAVY DUTY with SWAY BAR
S25 SHOCKS = FIRM RIDE 1" FRONT and REAR
S31 = FRONT SWAY BAR
W11 = DELUXE WHEEL COVERS (SEE ABOVE)
 
Picked up an A833 today. It came from a wrecked 1970 340 Swinger... I'll be pulling it apart and rebuilding it when the time comes, I'm far from needing it but couldn't pass it up!

null_zpsd9d2e379.jpg


null_zpse551552d.jpg


null_zps64183bc4.jpg
 
Glad you are happy to get the build sheet Randy. And THANKS FOR THE BEER !

Yeah I'm very happy with it.. It completes the car! No problem! Thanks for taking me to deans in your Swinger! It's been YEARS since I've driven in one, gives me more motivation to get mine done!

I got the front clip and motor/trans pulled yesterday. Next weekends goal is to pull the interior out and glass... Getting closer to being blasted! The firewall to floorpan pinch weld seam is flattened around the transmission, which is gonna make it a pain to do the full floor pan replacement. I'm going to have to cut the seam out of my parts car and graft it in. The drivers motor mount was busted and caused the transmission to slam into it and flatten it out (the motor mount was completely busted and someone tied the motor to the frame rail with a cable)

The other surprise I found is the rear pinion snubber mount (the one that's spot welded to the pan) was completely hammered out and someone welded a 1/4" plate there. That is another piece I'll have to cut out of the parts car and weld in! This poor car was driven pretty hard in its day!

null_zpsa063fbbe.jpg


null_zpsd4e980f6.jpg


null_zpscd349ffd.jpg


null_zps0ff1df6d.jpg


The ultra rare 360 under glass! Good thing I had a parts car Daytona to keep my motor dry and out of the way. The back bumper was on the ground after putting it in the back, haha.

null_zps0a958863.jpg


My front scoops are actually in great shape. I was worried because they were held on with wood screws. I just need to get the stud kit and they'll be good as new!
null_zps787b64b1.jpg
 
Nice job on the build sheet fellas, I got lucky on mine but most probably don't so its nice to see they can be reproduced like that. :thumbrig::thumbrig:
 
Sorry I missed a couple

Labels
Tire pressure label 56 = 3402056
Emissions label 18 = 3412418

Sway Bar = 2535534
 

Attachments

  • 3402056.jpg
    39.9 KB · Views: 1,248
  • 3412418.jpg
    36.8 KB · Views: 1,247
Thanks John! I'll have to order those decals when time comes... The broadcast sheet sure tells a lot of info.
 
Chopped the pinion snubber mount out of the parts car and beadblasted it and put it aside... This parts car just keeps on giving!

null_zpse2927f24.jpg

null_zpse26abcdf.jpg
 
I figured I'd post this up to help people who have broken grilles and don't have the proper pieces to fix it, but have another busted one to chop up. I figured i'd save this grille since its almost perfect except for some missing tabs and one broken piece in the bottom corner (the spare grille was missing all these parts too)

I've fixed it with all hand files, heat gun, epoxy and sandpaper. I still have two more tabs to repair and then filler, primer and the hard task of masking for the 1970 paint scheme. (I have the proper argent grille silver)

null_zps521b1669.jpg

null_zps9bacc4c6.jpg

null_zps2210387a.jpg

null_zps7352f8cf.jpg

null_zpsa4c475d4.jpg

null_zps3e82482c.jpg

null_zpsbd8160ec.jpg

null_zps36c1bca1.jpg

null_zps865a5d46.jpg

null_zps5e4a3795.jpg

null_zps97b076d2.jpg

null_zpsc25d61dd.jpg

null_zps21c9b960.jpg

null_zps21ecf5f7.jpg


That's all for today! I figure this grille will take 30+ hrs to restore. Once it's complete I'll bag it up and store it away.
 
One more tab in the middle of the grille and it will be complete! Next is bodywork, primer and paint. I will finish the back side too where I did the repairs so it will be an almost unoticable repair.

Here's my C clamp contraption to put it in the exact spot (used the other side to make the jig and mirrored it for the broken side)

null_zpsa61ec350.jpg

null_zpsce993344.jpg

Once again this tab was made from scratch.
null_zpse5e980bc.jpg

null_zpsd55c4de9.jpg
 
Well the grille is now complete. I started some bodywork on it, but I have a ton left to do! I test fit it to the fender and upper grille support and all the tabs I made line up perfectly, so I'm relieved! This might not be worth doing to a Dart grille, I can see doing this to a shark tooth, but I figure I'd save a couple hundred fixing this one and get a challenge out of doing it. Here's some more pics... Next time I post up some pics it will be in primer in the repaired areas and than paint.

null_zps09bc0070.jpg

null_zps467bf75b.jpg

null_zps92fab53d.jpg

null_zps721526a4.jpg

null_zpsf5c515e8.jpg

null_zps999b56b7.jpg

Here's all the products I've used/using
null_zps2f44b83b.jpg


Here's what it looked like... Busted lip and missing tabs.
A1290E3A-F84A-4891-8105-7F8250D6F2A8-3018-000002176D95BE14_zps4d9927ab.jpg
 
Nice job on the grille :cheers:

Thanks!!

I finished most of the bodywork on it and put it in primer where I repaired it. Tomorrow I'll sand the primered areas in 320 dry and give them one more light coat of primer, then I'll wetsand all the big areas in 600 wet and take a grey scotchbrite over the entire grille (have special paste to put on scotchbrite to clean and give it a better adhesion for when I paint it) then i will spray it in silver and let it sit for a few days, then mask it (not looking forward to that) and spray the SEM trim black on it.

I have to repair the passenger side headlight door as well (missing a big piece) I also ordered a new set of parking light lenses and they're on there way.

null_zps488135d5.jpg


null_zps2aa01ef1.jpg


null_zps1009c3a9.jpg


null_zpsa12170b3.jpg
 
After 6hrs of sanding I got it in paint. The spray tip for the totally auto silver was plugged so I had to use another one and it was really tricky to spray without it modeling. I think it turned out almost perfect tho!

null_zpse735a389.jpg

null_zps670e5b33.jpg

null_zps77e2f3c6.jpg

null_zps3ed62eac.jpg

null_zps4e50f223.jpg

null_zps139ac0a6.jpg
 
Thanks John! It's now dry and a nice satin colour and looks way nicer! I had a few spots that bothered me with the modeling so I redid them last night. (Hopefully I have enough paint left to do the parking light lenses when they arrive) I've also got a new fastener kit coming to complete the grille

null_zps3445ba7d.jpg

null_zpsfb96f655.jpg
 
Awesome work on the grille and parts.
So, did you like the Totally Auto paint in general?
The color looks spot on.
 
Nice work on the grille. The car is coming along nicely.

Thanks!


Awesome work on the grille and parts.
So, did you like the Totally Auto paint in general?
The color looks spot on.

Thanks, it seemed good and covered really well, it just came out really fast an was hard to keep even coats especially when your trying to get in all those fins. I used the paint tip from my SEM trim black paint because the one on the totally auto can was junk and it was a brand new never used can. I soaked it in gunwash for a bit bit it still never worked proper. I would have much rather sprayed the paint from my mini paint gun, but the rattle can did fine.

The colour is exact!
 
Headlight bezels are done! Took about 3hrs to mask them, I think they turned out great! Maybe by the weekend I'll have the entire grille done, we'll see how it goes. It's tedious work.

null_zps69077a47.jpg


null_zps765cd8e4.jpg


null_zpsb5eba979.jpg


null_zps3ffbee56.jpg
 
-
Back
Top