Any interest...?
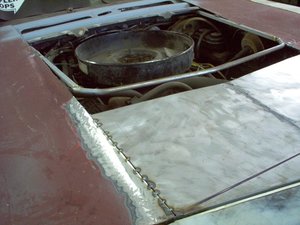
This pic you can see that the base of the scope is actually higher than the skin ahead of it as it sits level above the air cleaner.
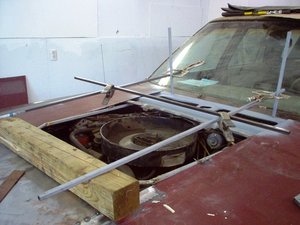
Now time to get on with the structure of the scope. I recruited Pop to help me with this. I could see it all in my mind's eye, but not the practical way of doing it. Pop walked in the door and had it. Nice having a partner with all that experience.
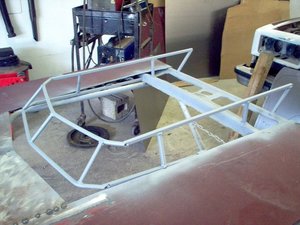
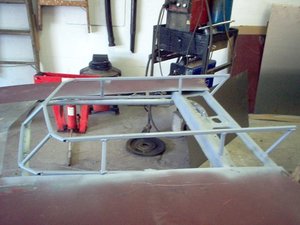
These next pics are of the structure for the air box. Again, this all 1/2" square and round tube. The rear opening sits above the cowl at 4" and tapers to 3 1/2" to the front. There will be more supports at the top, but I'm want to lay in the sides of the air box before I top it. That I way I can reach everything easier with the welder.
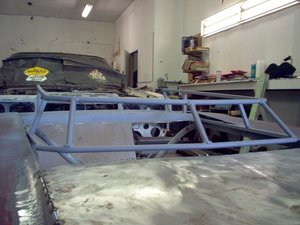
This last shot, I think you can see where I cut off some the remaining support structure over hanging the rear of the air cleaner. The base will be welded tight along here. I've also made sure to leave the cowl vent openings open. The louvers from the original skin won't be re-used, but a blend air can be handy for defrost, etc.


This pic you can see that the base of the scope is actually higher than the skin ahead of it as it sits level above the air cleaner.

Now time to get on with the structure of the scope. I recruited Pop to help me with this. I could see it all in my mind's eye, but not the practical way of doing it. Pop walked in the door and had it. Nice having a partner with all that experience.

These next pics are of the structure for the air box. Again, this all 1/2" square and round tube. The rear opening sits above the cowl at 4" and tapers to 3 1/2" to the front. There will be more supports at the top, but I'm want to lay in the sides of the air box before I top it. That I way I can reach everything easier with the welder.


This last shot, I think you can see where I cut off some the remaining support structure over hanging the rear of the air cleaner. The base will be welded tight along here. I've also made sure to leave the cowl vent openings open. The louvers from the original skin won't be re-used, but a blend air can be handy for defrost, etc.
