70 duster: updating, and a no-dough pro-touring makeover
i had some time Friday and Saturday to work on the car some.
started out by re-installing the headlight switch, after putting some electrical contact goo on it. tightened down the wiper switch that had worked loose as well. i also re-crimped all my connections under the dash. when i wired this car, i had used some really nifty ratcheting crimping pliers. apparently, sometime in the middle of the car, they had crapped out. half the crimps were plenty tight, half were able to be pulled apart with minimal force. so, while they were accessible, i redid them.
when i reinstalled the fuse panel, i re-made the mount, as the toe pf my boot always hit the circuit breaker for the lighting system when i power shifted. the new mount is a good 2 inches higher than before. the tail light and turn signal problem turned out to be bad connections in the weather pack between the column and dash harnesses. i cut it out, as the nearest place that has readily available small quantities of weather pack terminals is 40 miles away. also, the weather packs took up a LOT of real estate under there. i used a 9 pin "Power connector" from the black bins at radio shack. 9 bucks for the male and female sides. I've used these for a lot of aftermarket stereo installs into muscle cars, gauge clusters, etc. they work really well after you tweak the pins a hair for good connection. out of the package, only about 3/4 make good contact. but they're small, readily available, and cheap.
with the dash wiring out of the way, i moved onto other things.
one thing to remember before the next part. i built/assembled this car in a thrash to finish before my wedding. needless to say, i didn't make it. came close, but got taken out by a car accident. i finished the car shortly after being married, when time and money were extremely short. needless to say, I'm finding some things that should not have been done the way they were, or at all. also finding things that i should have noticed during assembly, but die to being in a hurry, i didn't.
i did a nut and bolt check while i was around the interior. most interior screws i got about 1/2 turn on. i found that the steering column bolts i got about 2 turns out of, and 3/4 of the door hinge bolts were barely touching the sheet metal.
after i got done with this, and got everything i had taken out of the dash put back together, i vacuumed the carped hoping it would help.

it didn't.
pulled it out to vacuum it again and hit it with a leaf blower to get all the sand out that my shop vac didn't.
still did not help.
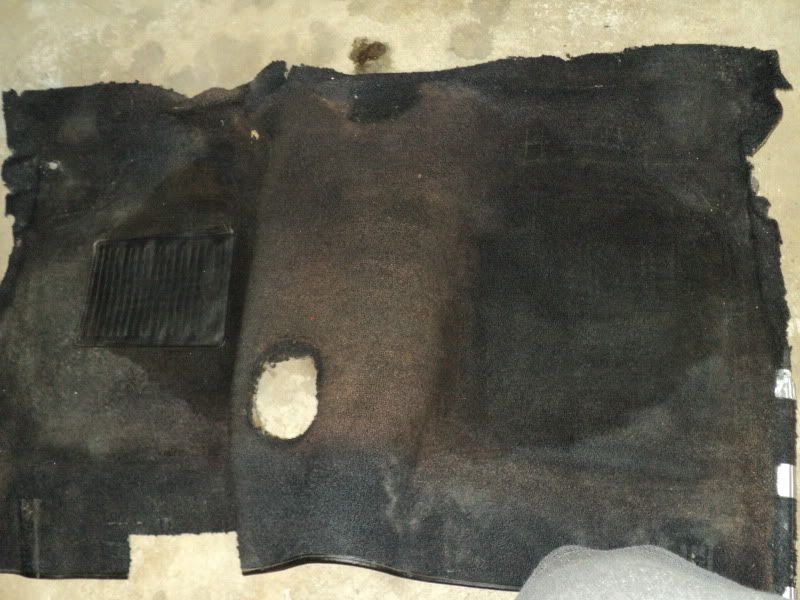
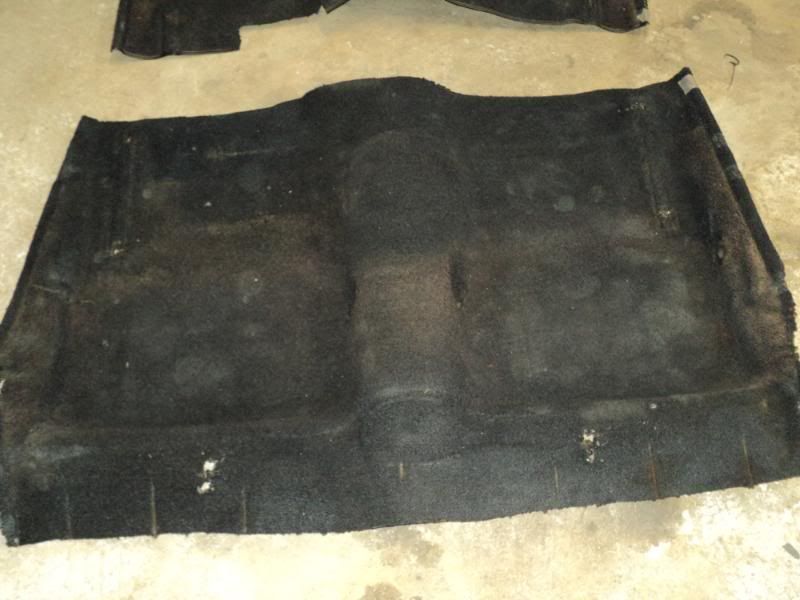
the carpets were purchased in 1996 at the metrolina swap meet for a total of 96 bucks. they may have fit better if i had known what i was doing back then, but they have always fit badly since i installed them. now, in addition, they are stained, have a few holes, are faded, and are getting a bit fuzzy from age. after realizing that I've got bigger fish to fry financially right now (rear axle, seat belts, etc), and that if i go with a T5 ill need to change them anyway, i went with the budget alternative.
i learned this while flipping some cars during college.
vacuumed the carpets again.
cut the strings, fuzzies, etc off of them. started putting repeated dustings on them with a can of Dupli-color vinyl and fabric dye. after a few dustings, they looked pretty even on color. so i waited for the paint to dry, and brushed them down with a stiff bristled brush. helps to break up the painted fibers and make it look more factory. more needed on the cut pile versus loop carpet, but i did it anyway.
here's what they looked like afterwards (7 dollars and an hour later)
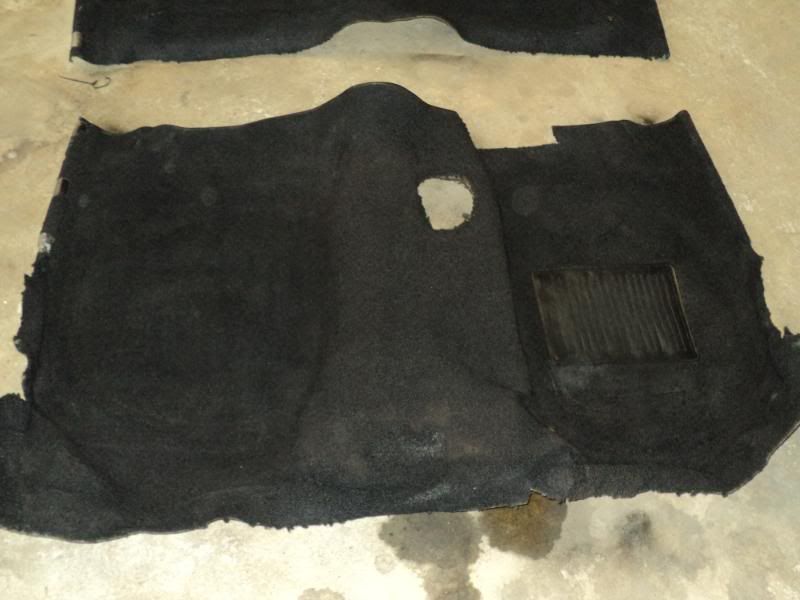
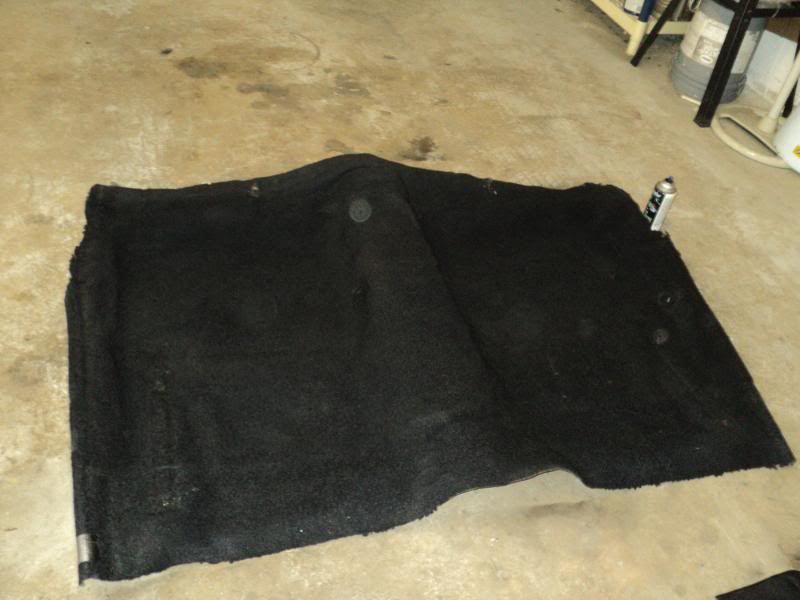
i wouldn't go so far as to call them great, but i will say that they are good enough.
before reinstalling them, i looked to the foil backed jute job i did.
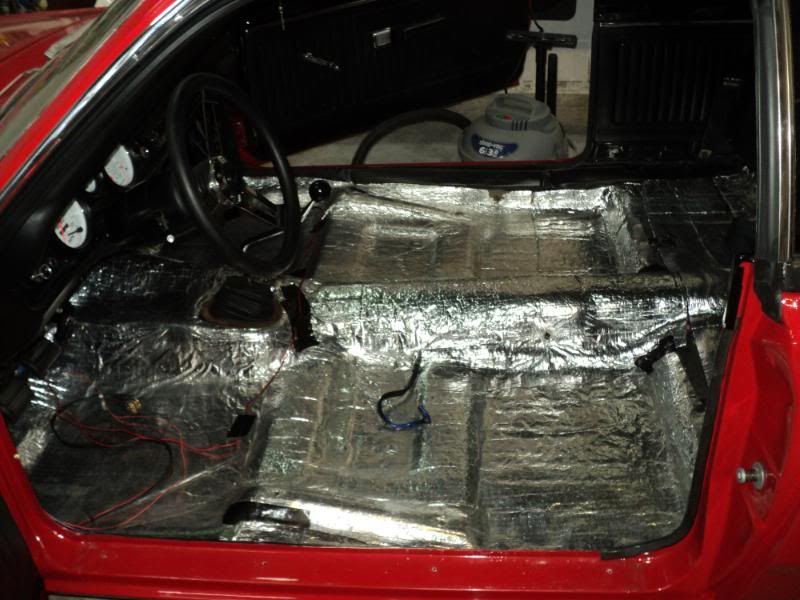
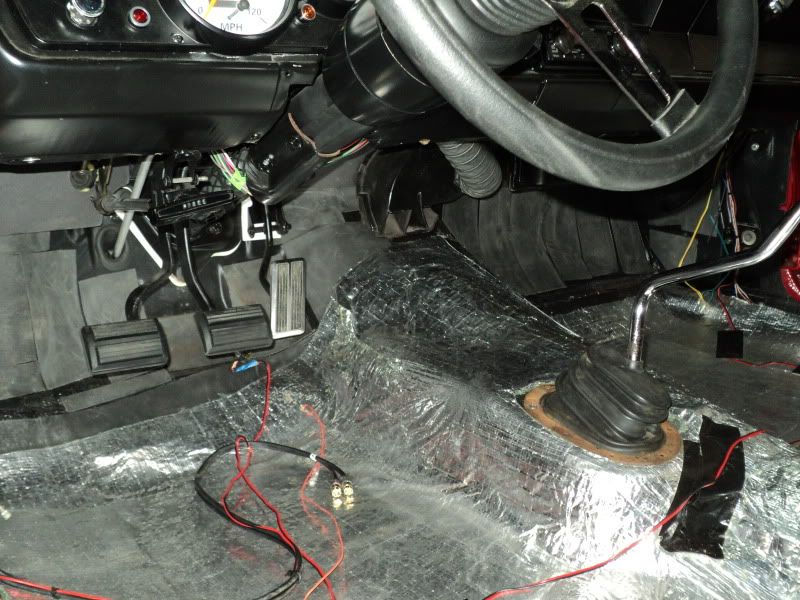
why i didn't go up the toe boards, i don't remember. probably ran out of materials, or was worried about it showing above the carpets.
so, 15 dollars of 3M spray adhesive, and a 20.99 roll of foil backed jute from pep-boys in Charlotte later, i covered the toe boards. my wife came down and helped with this, as i suck with fabrics and such.
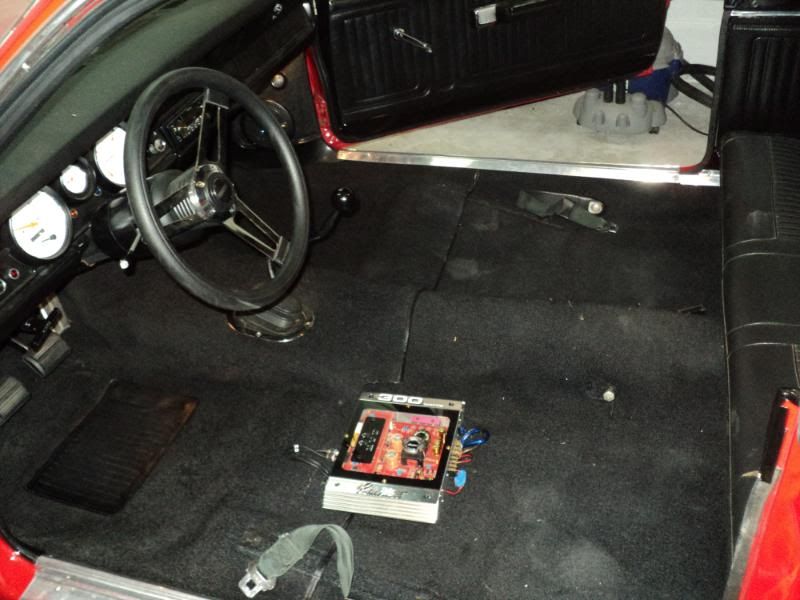
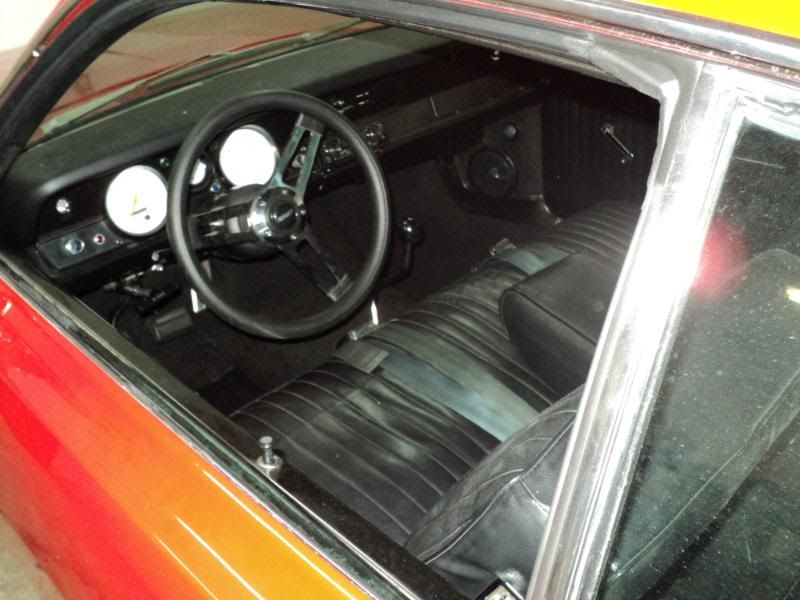
i didn't take any pictures before carpet re-install, so here's after reassembly.

put the amp back in (an old audiovox rampage amp i traded a pack of smokes for in 2001 while i was working at a gas station). took the time to tune in my gain frequencies and crossover points. sounds a lot better from the kick panel speakers now.
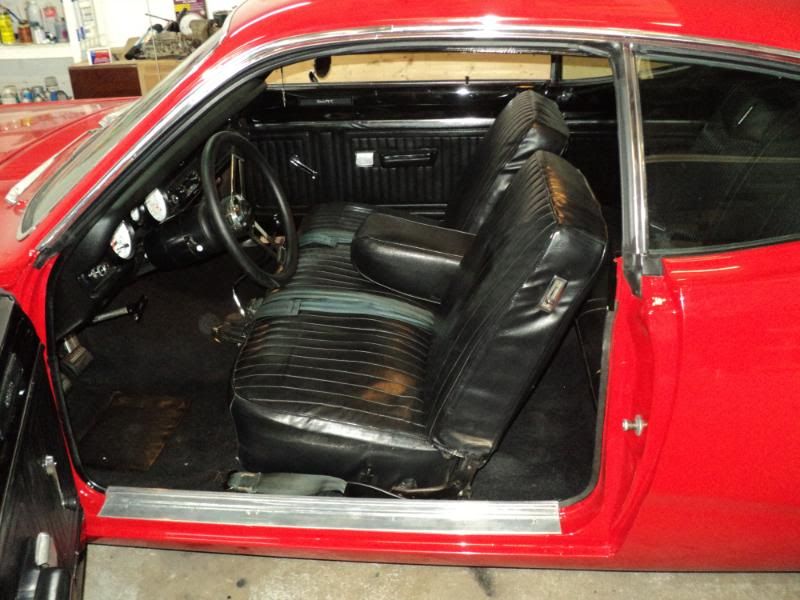
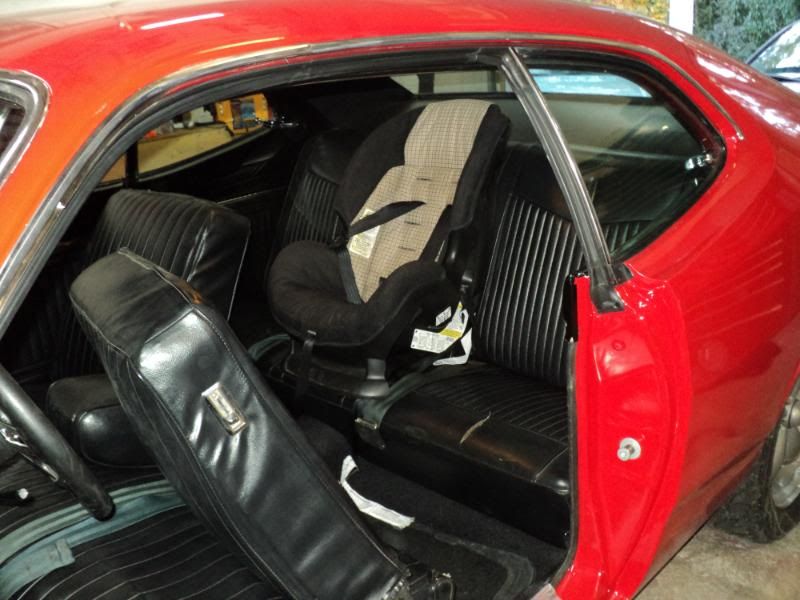
Then i put the front bech back in, and put in Mary's car seat to double check the belt. belt is just right this time. (third try)
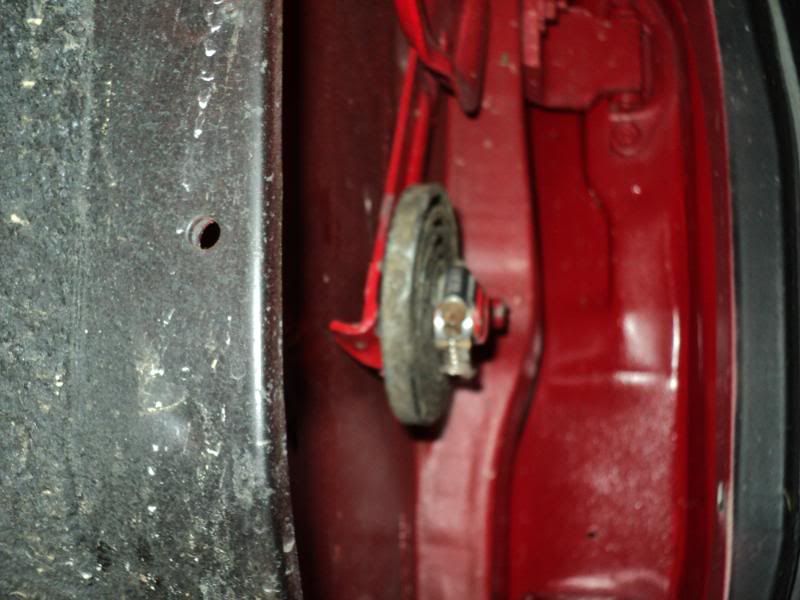
i also started messing with getting my hood springs and splash shields in. used the springs from the hood hinges on a dodge daytona, as i read in another guys thread that that is what he used for his AAR hood. unfortunately, i am not as successful as him. i mounted them just like his picture, but they do not hold the hood up at all. they are only pre-loaded about 1/2 turn, so i think i may need to preload them more. which to do so will require me pulling the hood and hinges.
here's pics of the attempt.
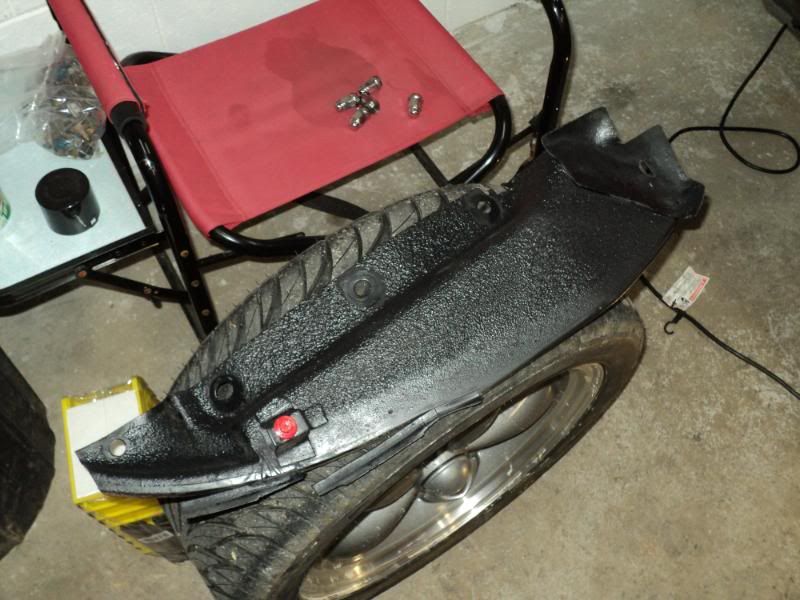
and my refinished splash shields that never made in in during the resto.
took the family out to dinner Saturday night just to try it out. all the lights work properly, the gauges are more accurate and stable, there is less engine noise in the interior, and less squeaks and rattles.
also, we put a full tank of gas, Jenn, and Mary in the back seat, then went over some nasty dips in the road. the tires hit the wheel wells about the same time that the axle hits the bump stops.no fender contact though. YAY!!!
Jenn says its still too loud, though.
i guess you cant make her happy all the time.....
total as of now: 1397.39
more later, after i get some more time. got to pull the hood next for the springs, bulkhead connector, and booster.
i had some time Friday and Saturday to work on the car some.
started out by re-installing the headlight switch, after putting some electrical contact goo on it. tightened down the wiper switch that had worked loose as well. i also re-crimped all my connections under the dash. when i wired this car, i had used some really nifty ratcheting crimping pliers. apparently, sometime in the middle of the car, they had crapped out. half the crimps were plenty tight, half were able to be pulled apart with minimal force. so, while they were accessible, i redid them.
when i reinstalled the fuse panel, i re-made the mount, as the toe pf my boot always hit the circuit breaker for the lighting system when i power shifted. the new mount is a good 2 inches higher than before. the tail light and turn signal problem turned out to be bad connections in the weather pack between the column and dash harnesses. i cut it out, as the nearest place that has readily available small quantities of weather pack terminals is 40 miles away. also, the weather packs took up a LOT of real estate under there. i used a 9 pin "Power connector" from the black bins at radio shack. 9 bucks for the male and female sides. I've used these for a lot of aftermarket stereo installs into muscle cars, gauge clusters, etc. they work really well after you tweak the pins a hair for good connection. out of the package, only about 3/4 make good contact. but they're small, readily available, and cheap.
with the dash wiring out of the way, i moved onto other things.
one thing to remember before the next part. i built/assembled this car in a thrash to finish before my wedding. needless to say, i didn't make it. came close, but got taken out by a car accident. i finished the car shortly after being married, when time and money were extremely short. needless to say, I'm finding some things that should not have been done the way they were, or at all. also finding things that i should have noticed during assembly, but die to being in a hurry, i didn't.
i did a nut and bolt check while i was around the interior. most interior screws i got about 1/2 turn on. i found that the steering column bolts i got about 2 turns out of, and 3/4 of the door hinge bolts were barely touching the sheet metal.
after i got done with this, and got everything i had taken out of the dash put back together, i vacuumed the carped hoping it would help.
it didn't.
pulled it out to vacuum it again and hit it with a leaf blower to get all the sand out that my shop vac didn't.
still did not help.
the carpets were purchased in 1996 at the metrolina swap meet for a total of 96 bucks. they may have fit better if i had known what i was doing back then, but they have always fit badly since i installed them. now, in addition, they are stained, have a few holes, are faded, and are getting a bit fuzzy from age. after realizing that I've got bigger fish to fry financially right now (rear axle, seat belts, etc), and that if i go with a T5 ill need to change them anyway, i went with the budget alternative.
i learned this while flipping some cars during college.
vacuumed the carpets again.
cut the strings, fuzzies, etc off of them. started putting repeated dustings on them with a can of Dupli-color vinyl and fabric dye. after a few dustings, they looked pretty even on color. so i waited for the paint to dry, and brushed them down with a stiff bristled brush. helps to break up the painted fibers and make it look more factory. more needed on the cut pile versus loop carpet, but i did it anyway.
here's what they looked like afterwards (7 dollars and an hour later)
i wouldn't go so far as to call them great, but i will say that they are good enough.
before reinstalling them, i looked to the foil backed jute job i did.
why i didn't go up the toe boards, i don't remember. probably ran out of materials, or was worried about it showing above the carpets.
so, 15 dollars of 3M spray adhesive, and a 20.99 roll of foil backed jute from pep-boys in Charlotte later, i covered the toe boards. my wife came down and helped with this, as i suck with fabrics and such.
i didn't take any pictures before carpet re-install, so here's after reassembly.
put the amp back in (an old audiovox rampage amp i traded a pack of smokes for in 2001 while i was working at a gas station). took the time to tune in my gain frequencies and crossover points. sounds a lot better from the kick panel speakers now.
Then i put the front bech back in, and put in Mary's car seat to double check the belt. belt is just right this time. (third try)
i also started messing with getting my hood springs and splash shields in. used the springs from the hood hinges on a dodge daytona, as i read in another guys thread that that is what he used for his AAR hood. unfortunately, i am not as successful as him. i mounted them just like his picture, but they do not hold the hood up at all. they are only pre-loaded about 1/2 turn, so i think i may need to preload them more. which to do so will require me pulling the hood and hinges.
here's pics of the attempt.
and my refinished splash shields that never made in in during the resto.
took the family out to dinner Saturday night just to try it out. all the lights work properly, the gauges are more accurate and stable, there is less engine noise in the interior, and less squeaks and rattles.
also, we put a full tank of gas, Jenn, and Mary in the back seat, then went over some nasty dips in the road. the tires hit the wheel wells about the same time that the axle hits the bump stops.no fender contact though. YAY!!!
Jenn says its still too loud, though.
i guess you cant make her happy all the time.....
total as of now: 1397.39
more later, after i get some more time. got to pull the hood next for the springs, bulkhead connector, and booster.