I'm back with my dual 3.5" speaker brackets
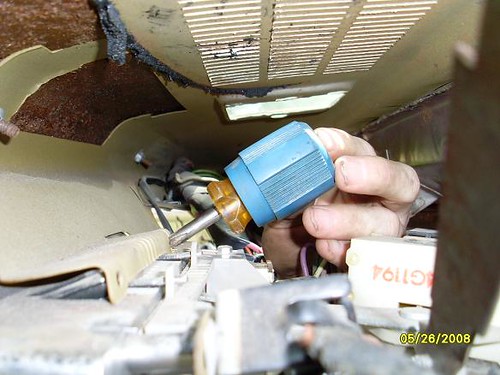
Grassy, maybe these pics will help illustrate what you are about to get into. Bear in mind that I took these with the dash stripped down quite a bit - glove box, defroster vents and hoses, instrument cluster, heater-A/C housing all removed. However, these will show you how much room there really is under the dash - once you get settled in the floorboard upside down and comfortable and reach your hand up through the maze of wire harnesses and vaccum lines. Overlook what I was doing in the photos (removing the heater-A/C bezel.) I'm just trying to show you what's going on under the dash. Don't worry, it's not really that bad - and you can leave your windshield in place.
You can see remnants of the black, sticky sealant they used to isolate the old 4"x10" speaker from the underside of the dash - that's where the new bracket will go. The middle hole of the three you see near the defroster vent opening is the one where you will find the speaker mounting screw. Obviously, if the defroster hoses are removed first, it will make it easier to get at the screws, but be careful - those original hoses are usually VERY fragile. It probably goes without saying that the shorter the better in choosing the nut driver you will use to remove the speed nuts.
Anytime some of you folks who have already done this installation feel like jumping in, be my guest. It's been a while since my son and I did his and I'm sure I am probably overlooking a handy tip or two.
Jerry
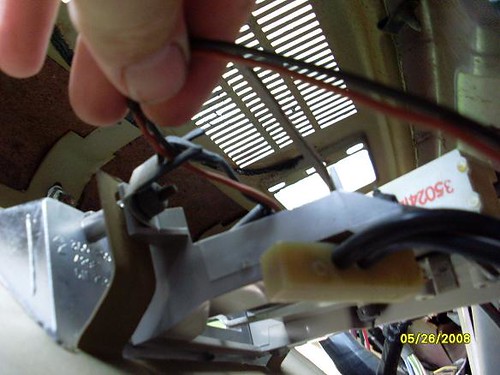
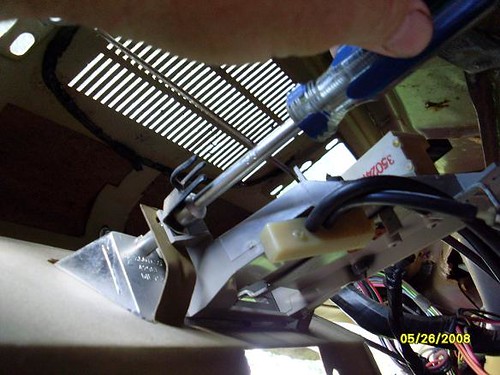