Workbench ideas?

-

Americanstandard

Active Member
Joined
Dec 9, 2012
Messages
33
Reaction score
1
Location
Bay area
Saw this nifty cylinder head video [ame="http://www.youtube.com/watch?v=6dfzeMgrHqA"]here[/ame]

Home made press *Start of video
Ice cube tray sorting *Skip to 5:38
Pizza box *Skip to 6:53

My buddy helped me remove the cylinder head off my slant, and we used a box and plastic sandwich baggies to keep things in order and labeled.

At the machine shop, I saw them using old 2 liter soda trays for their pistons!

Another buddy told me his dad would tape everything and label everything. Remove distributor, tape everything up and write down where things went.
They also nailed mason jar lids to a piece of wood on a wall, collect misc small parts, label the jar, then seal the jar.

I would have never thought up anything like these ideas. In fact, if I didn't pick up these ideas before taking off my cylinder head, I would have probably mixed things up... or... laid everything out piece by piece until I chronologically lined my garage

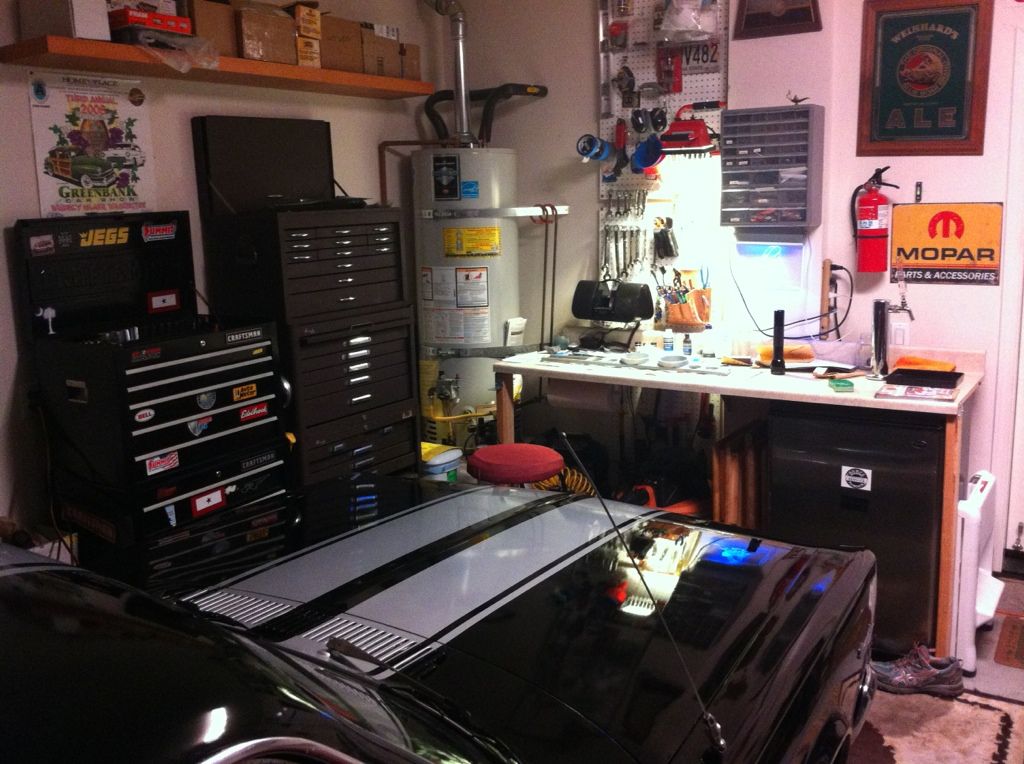
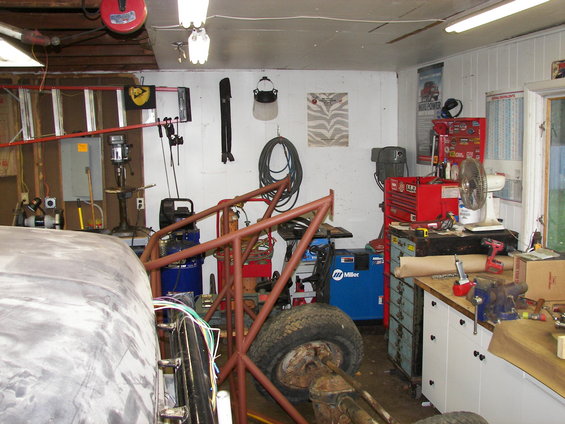
I work at Ikea, so parts (hardware and wood) are easy to come by for cheaper than what customers get it for.

I am thinking that it's easier to buy a built workbench from a hardware store, but to use ikea and build a cabinet to organize parts and tools. Thoughts or tips to share?
 
I am building a new workbench for my shop right now. Hope to have it done this weekend and will post a pic or two when complete.
As for keeping up with parts during a resto, I used plastic baggies, bought or reused, labeled, and then boxed with stuff from the same area. So, if I was removing the interior, I might have 20 or 30 baggies all in the box labeled "interior". It worked well for me on two restos.
C
 
I've seen the junior size baby food jars hanging from the bottom of a shelf. Sorting/storing various small screws and such. Finger space between the jars, only half a rev' between up and down.
 
I've always built my own workbenches, but they are a lot of work to make, so when I needed more space I decided to try a workbench with drawers from Lowes. They are a brand name, and look substantial, but are certifiable junk. Made in China...who'd a guessed?

My new shop will have homemade benches and drawers. If you work on cars, you need heavy duty everything.
 
Go to a machine shop auction or old school district auction, and get a heavy-duty metal desk with a wood top.
 
I did get my new workbench done. The basic design was featured in "Shop Notes" a few years back and I built the basic bench then at 8'. This new bench is 6' and I put in a row of drawers on each side that are about 20" deep and set up to use dividers if I want. The lower shelf is 3' wide. The top is made from 2X10 material with a sheet of waterproof hardboard used as a sacrificial top. All of the pine 2 by material was cut from our back yard about 3 years ago and I had it sawn to useable stock. The drawer fronts were pieces of pallets I salvaged and the drawer handles were given to me by some friends who remodeled their kitchen a few years ago. Total cost, less than $75.
C
 

Attachments

  • DSC01077.JPG
    134.5 KB · Views: 2,479
  • DSC01080.JPG
    141.4 KB · Views: 1,213
You could try pallet racking. 2000# per shelf. use 2 by x for bench top. they can really take a beating. I don't have room for the racking at full width so I cut the stands down to 24" spacing and have a bench 24" x 8' and continued with 8' of shelving at one end that I can set each shelf at whatever height I want.
 
I build my dads bench with my grandpa and its tough as nails made it so you could pull the drawers out and use them as step to stand on the bench to get into the cabinets
 
My neighbor gave me a 60 lb solid wood core fire door from an old building
(he worked at Knotts Berry Farm so all the stuff is legit OLD) and told me it would make a great work bench..it did! 4X4 post legs, a second smaller door as a shelf and a few diagonal stringers to keep it nice and rigid. Drill a few holes up top for a vice, bench grinder, etc.
 
I did get my new workbench done. The basic design was featured in "Shop Notes" a few years back and I built the basic bench then at 8'. This new bench is 6' and I put in a row of drawers on each side that are about 20" deep and set up to use dividers if I want. The lower shelf is 3' wide. The top is made from 2X10 material with a sheet of waterproof hardboard used as a sacrificial top. All of the pine 2 by material was cut from our back yard about 3 years ago and I had it sawn to useable stock. The drawer fronts were pieces of pallets I salvaged and the drawer handles were given to me by some friends who remodeled their kitchen a few years ago. Total cost, less than $75.
C


Great Bench! Love the look of your shop as well. I went pretty plain with 1 4X8 sheet of 3/4 MDF cut in half to double it up and make it 1.5''. I put it on top of my toolchest and built legs on one end. I left 2'' stick out on the front for clamping and about 6-8 inches on left side for a small vise. I also like hanging my tools so I went with a white pegboard for the back spaced off the wall 1.5 inches. The height of the table to is just below my elbows so when I'm working it will be at a comfortable level. I also took an old dresser from Walmart and scrapped the drawers building my own out of 3/4 plywood with roller sliders which you can see to the left of my bench in the pic. Also on the right hand side of the bench you can see the angle grinder hanger I made out of an old 2' square. Need an under the counter power bar for tools and I'll be on my way. Love the ideas guys, keep them coming!

Cheers
 

Attachments

  • Tool board.jpg
    138.7 KB · Views: 1,067
Check out the cave in my signature. I built my benches out of 2X6 and 2X4. Then they are covered with 5/8" plywood. The lower shelf is set in about 8" so when I am sitting on a stool at the bench my feet fit under without hitting. This allows for being closer to your work.
 
Check out the cave in my signature. I built my benches out of 2X6 and 2X4. Then they are covered with 5/8" plywood. The lower shelf is set in about 8" so when I am sitting on a stool at the bench my feet fit under without hitting. This allows for being closer to your work.

Love the Cave! Thx for sharing. Well thought out plan for sure, looks like heaven on earth! Lol:cheers:
 
gdrill - Nice!:cheers::cheers::cheers:

Newf - I would like to see a pic of your angle grinder holder... Surely it cannot be as cheap as my cordless drill holder! I'll shoot that side of the shop next.
C
 
I just watched the video of the guy doing headwork, for the first time. What a hack.
 
Newf - I would like to see a pic of your angle grinder holder... Surely it cannot be as cheap as my cordless drill holder! I'll shoot that side of the shop next.
C[/QUOTE]


Sure thing. Just cut off the 1.5'' side of the square and bent it in a vise. no patent pending lol. I also want to rig this up on an old office chair bottom (remove the seat obviously) and put what ever size small diameter pipe that will fit into the base with the 2'' square (or thin gauge metal strip) welded perpendicular to it on top. Then it goes all around the car with me.

Cheers
 

Attachments

  • angle grinder holder 1.jpg
    118.1 KB · Views: 915
  • angle grinder holder 2.jpg
    145.2 KB · Views: 939
Don't discount the "simple backyard stuff," either. One of the absolute handiest things I've ever ended up with was something I built to jig up a couple of recumbent bike frames to keep them in line. It's a big 'ol piece of angle, I guess about 3/8" thick x 3 x 3" or so and about 4-5' long. I ended up mounting a vise on one end. It is supported on the vise end by one leg with an upside down "T" bottom, and a straight single leg on the other, so it will sit "firm" on uneven ground.

This thing is a jig, a bracket, a welding table, a vise, clamp, fixture, it quite simply gets USED.
 
Check out the cave in my signature. I built my benches out of 2X6 and 2X4. Then they are covered with 5/8" plywood. The lower shelf is set in about 8" so when I am sitting on a stool at the bench my feet fit under without hitting. This allows for being closer to your work.

WOW Nice cave!!!! Are you looking for a tennant, i could live there happily. Who needs a house.
 
I'm kind of limited on space since my shop is in what once was the electrical/paint room in my condo. i built mine in an L shape with the right side of the L being cantilevered so I could store the compressor under there but pull it out easily if needed. Shelf above with a 4 foot florecent mounted underneath helps me see what I'm doing. Sturdy shelf underneath for powertools and other stuff. Space to tuck the welder out of the way on the left.
Its kinda messy with body work stuff right now as I'm repairing the fender for my Valiant after a dumb biatch ran into it.
 

Attachments

  • 0203121821a.jpg
    55 KB · Views: 862
  • 0206131020.jpg
    148.6 KB · Views: 1,576
  • 0206131020a.jpg
    131 KB · Views: 1,677
Every work bench needs a beer tap.

522F280B-7341-4D93-BD17-DAD38F480172-2791-00000695A394EFB6.jpg
 
I would post pics of my shop but im pretty sure everyone has seen it already . its a gravel driveway with trees and grass . it sucks not having a garage but you cant beat the excellent light on a warm summer afternoon.
 
Check out mine, i started a thread called " show me your work bench i will show you mine" its made from welded steel tubing. I dont make anything out of wood. Prefer to cut, zap, grind, and paint.
 
-
Back
Top