PST's Stiffening Plates Install
Over the weekend Guys I decided to clean up a lower control arm that we had, so our sales staff had an example to refer too. I hope this helps you guys out as well. Please practice all safety precautions when performing this installation
Thanks
James
So what do these parts have in common? Why go with a Mopar tubular lower control? When with these cost effective parts from PST you can achieve the same performance. This weekend one of our employees will do step by step posts on how easy it is to do. So stay tune

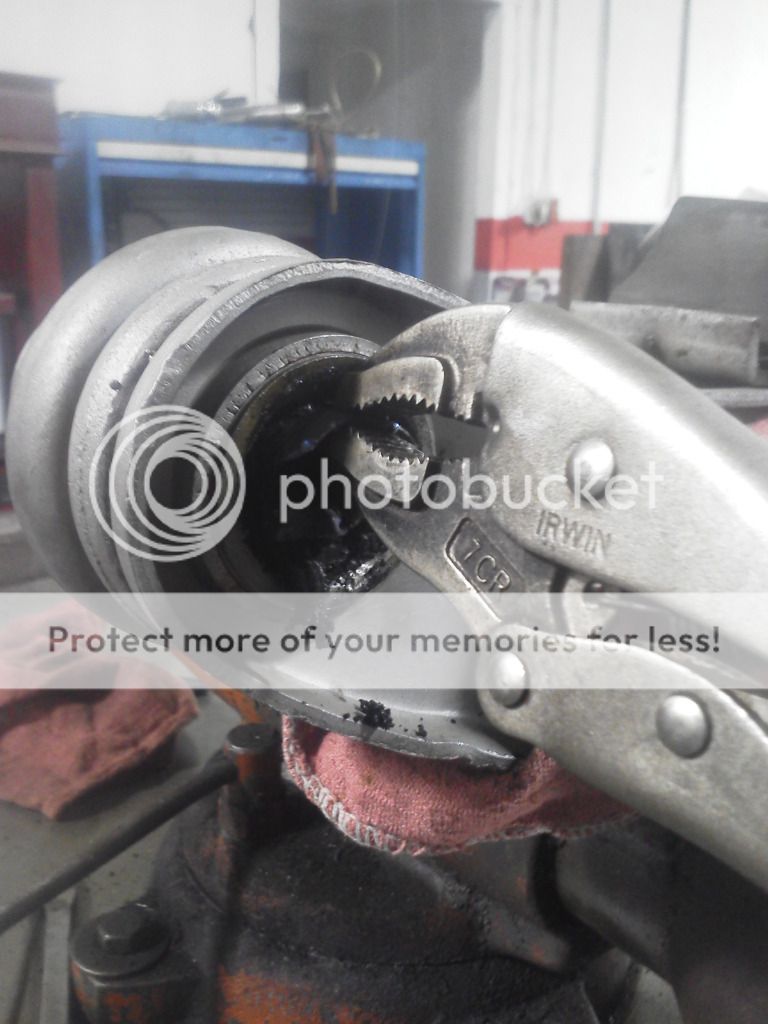
With the pivot shaft removed, now you will have to remove the lower control arm bushing and inner sleeve( on this build we will be installing a PolyGraphite bushing so we will be re-using the outer shell) Many people burn the rubber out, but a cleaner and easier way is with a heat gun. Direct the majority of the heat into the center in sleeve for a few minutes.

Now that the inner steal sleeve is nice and hot, take a vise grip and grab the inner sleeve and twist. The inner sleeve will easily come free. Once that is free use a pic or thin bladed screw driver and go between the outer shell of the bushing and the rubber center. Then remove the rubber with vise grips.
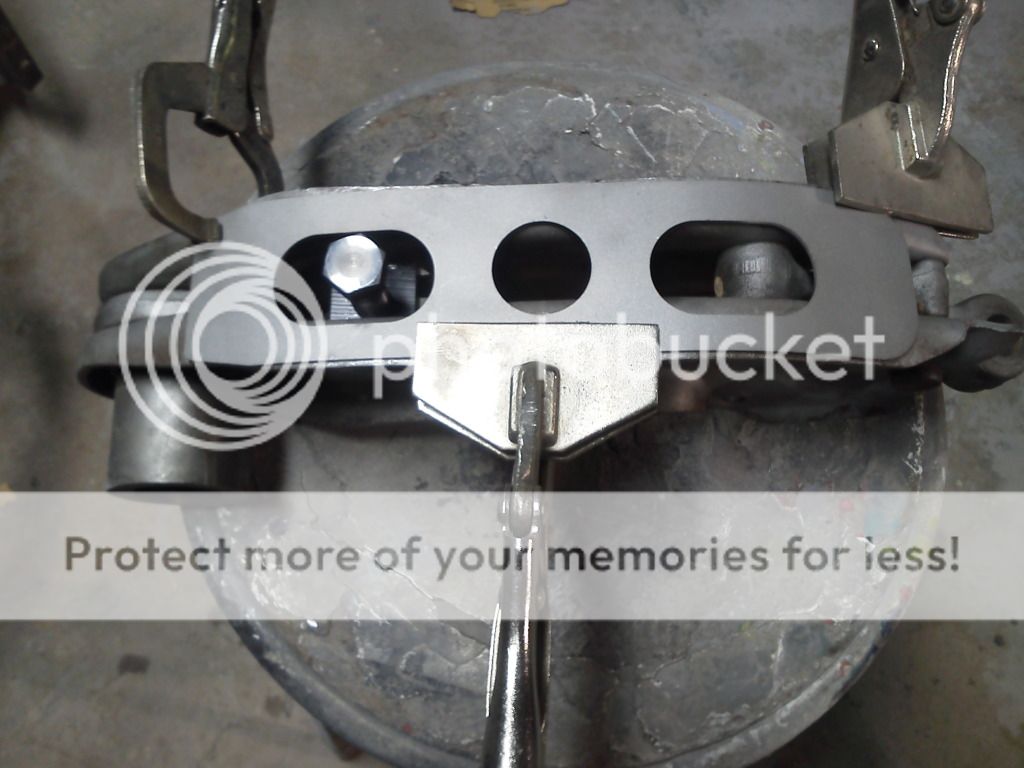
With the control arm clean and free of rubber, take PST's stiffening plate and center it over the back of the control arm. Make sure to have adequate room to allow access to the torsion bar adjuster and control arm bumper. Use multiple vise grips or clamps to hold the stiffening plate flush to the control arm
After double checking the placement of the stiffening plate make your initial spot welds to hold the plate in place.

Now with the stiffening plate secured, start welding either side of the plate till completely welded.(Click on the picture to view video)
[ame=http://s671.photobucket.com/albums/vv72/JamesRFrom/?action=view¤t=VID_20130224_122357_zpsa265f5bc.mp4]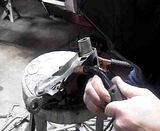 [/ame]
Make sure that you have proper weld penetration of the plate to the lower control arm.
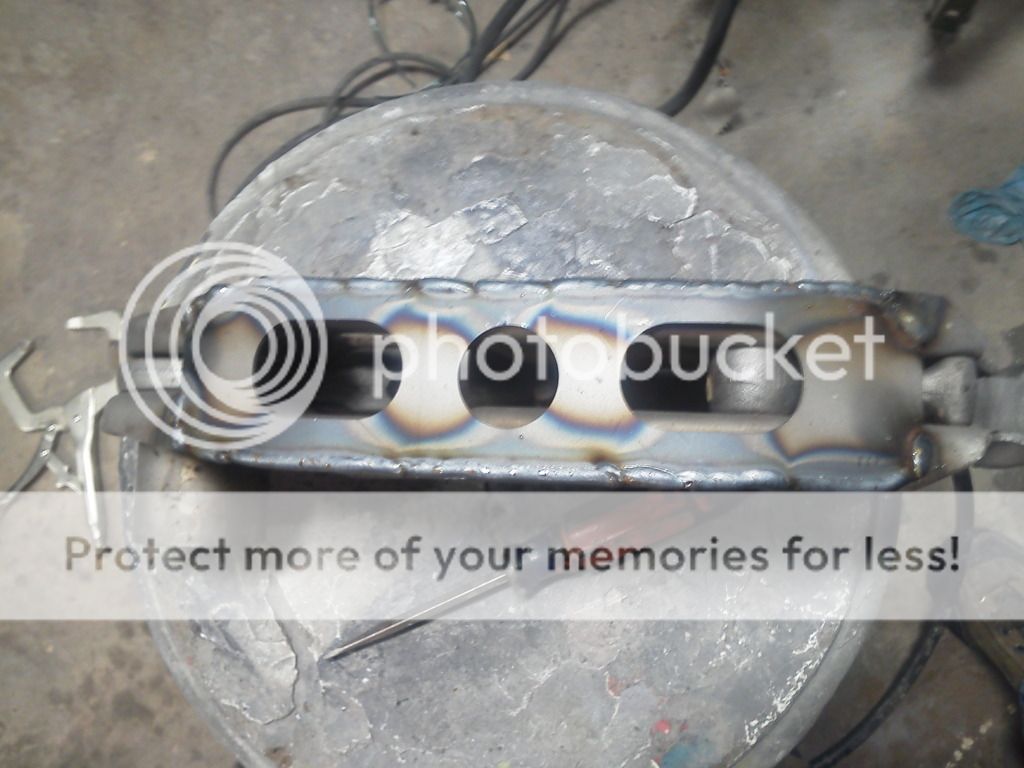
With welding completed it's now a matter of appearance, in this case I used a grinder with a sander paper flap disc and smoothed out the welds to give a seamless appearance.
If you have any question please feel free to contact us at 1-800-247-2288 or www.p-s-t.com

Finished cleaning the welds up and gave the control arm a fresh coat of chassis black paint. Stay tune tomorrow I will be installing the PolyGraphite lower control bushing, pivot shaft and torsion bar adjuster. Just a few simple upgrades and you have a control arm that ready to perform in any situation.
James
PST
1-800-247-2288
[email protected]

Over the weekend Guys I decided to clean up a lower control arm that we had, so our sales staff had an example to refer too. I hope this helps you guys out as well. Please practice all safety precautions when performing this installation
Thanks
James
So what do these parts have in common? Why go with a Mopar tubular lower control? When with these cost effective parts from PST you can achieve the same performance. This weekend one of our employees will do step by step posts on how easy it is to do. So stay tune
With the pivot shaft removed, now you will have to remove the lower control arm bushing and inner sleeve( on this build we will be installing a PolyGraphite bushing so we will be re-using the outer shell) Many people burn the rubber out, but a cleaner and easier way is with a heat gun. Direct the majority of the heat into the center in sleeve for a few minutes.
Now that the inner steal sleeve is nice and hot, take a vise grip and grab the inner sleeve and twist. The inner sleeve will easily come free. Once that is free use a pic or thin bladed screw driver and go between the outer shell of the bushing and the rubber center. Then remove the rubber with vise grips.
With the control arm clean and free of rubber, take PST's stiffening plate and center it over the back of the control arm. Make sure to have adequate room to allow access to the torsion bar adjuster and control arm bumper. Use multiple vise grips or clamps to hold the stiffening plate flush to the control arm
After double checking the placement of the stiffening plate make your initial spot welds to hold the plate in place.
Now with the stiffening plate secured, start welding either side of the plate till completely welded.(Click on the picture to view video)
[ame=http://s671.photobucket.com/albums/vv72/JamesRFrom/?action=view¤t=VID_20130224_122357_zpsa265f5bc.mp4]
[/ame]Make sure that you have proper weld penetration of the plate to the lower control arm.
With welding completed it's now a matter of appearance, in this case I used a grinder with a sander paper flap disc and smoothed out the welds to give a seamless appearance.
If you have any question please feel free to contact us at 1-800-247-2288 or www.p-s-t.com
Finished cleaning the welds up and gave the control arm a fresh coat of chassis black paint. Stay tune tomorrow I will be installing the PolyGraphite lower control bushing, pivot shaft and torsion bar adjuster. Just a few simple upgrades and you have a control arm that ready to perform in any situation.
James
PST
1-800-247-2288
[email protected]