AlV 69 Dodge GTS project
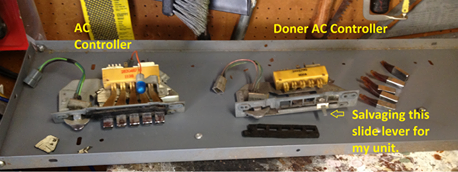
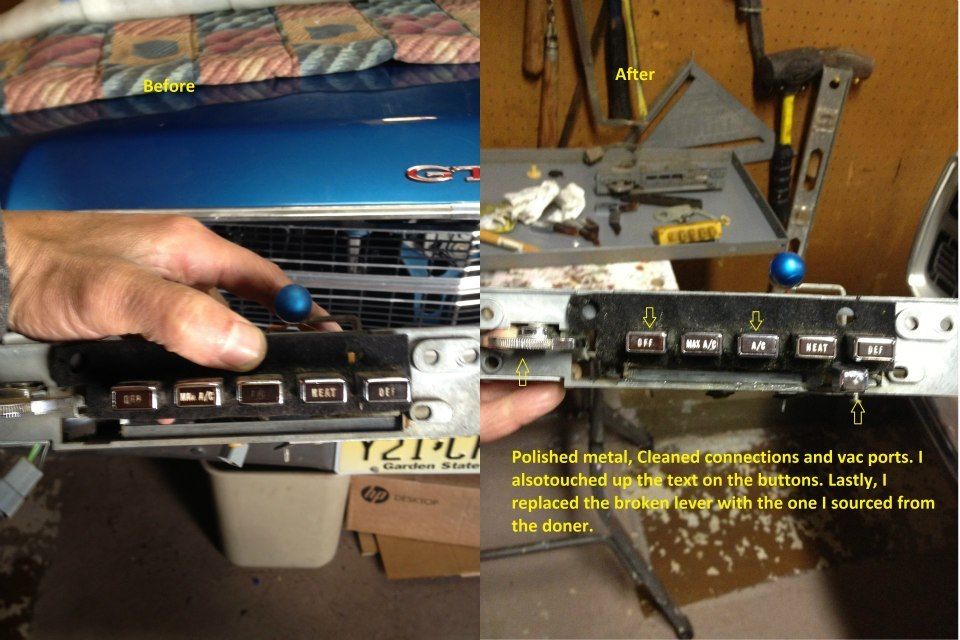
When I bought the GTS the AC heater control was not working and needed to be sorted out. I bought a used donor on Ebay for 5 bucks and salvage the slide lever and button covers. While I had it apart I cleaned the components, connections and connectors. I also touched up the button labels and cleared the vacuum ports.
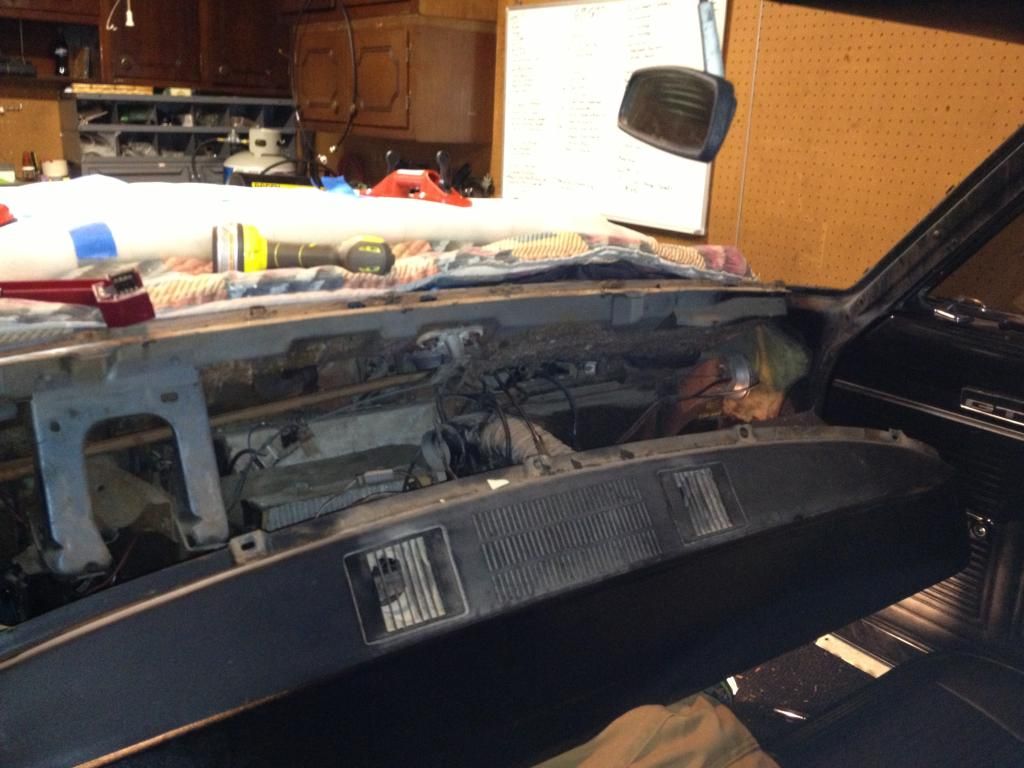
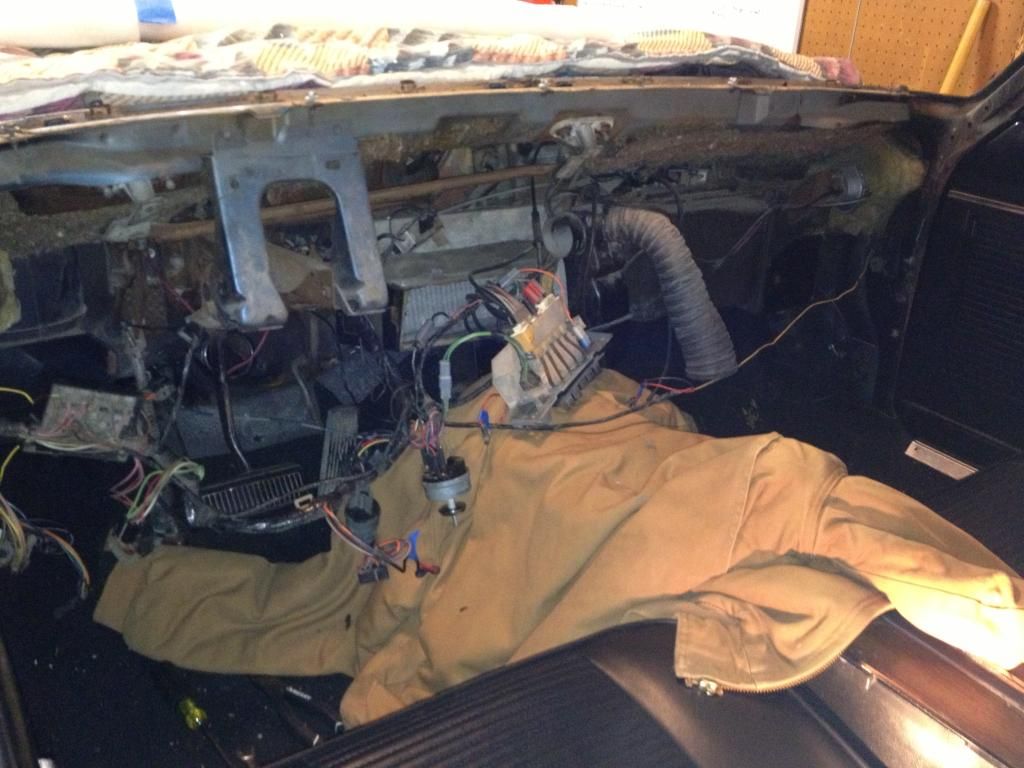
With the Dash frame out I had unrestricted access to everything so I started the rebuild work with the Climate vacuum control unit. My approach to tracking the harness connections is to use masking tape to label the connections.

Other than being dirty the switch looked good.

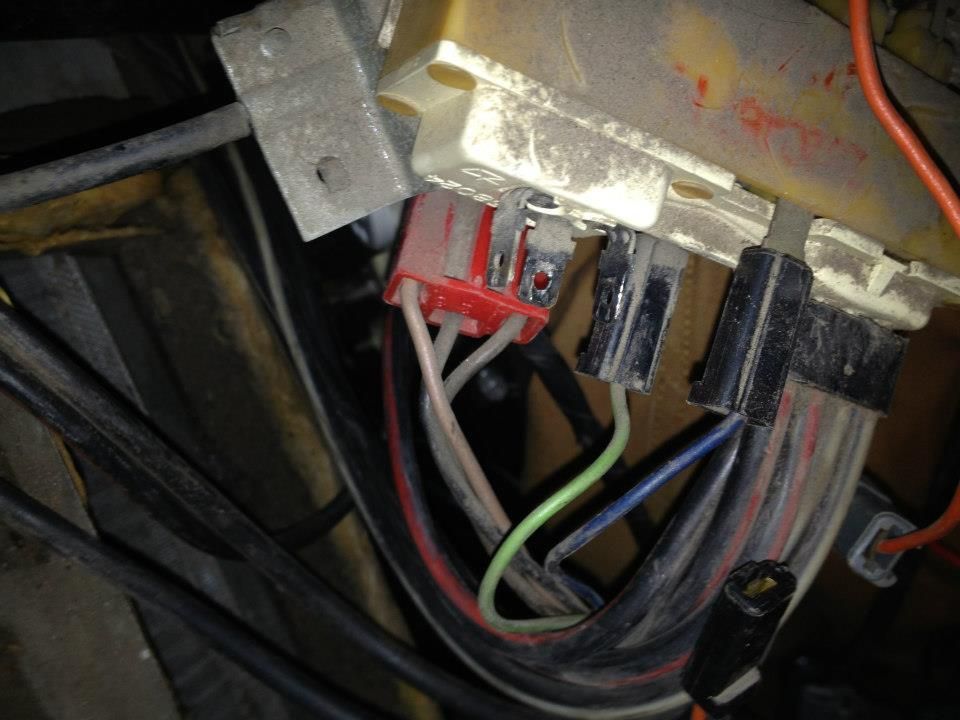
Removal was quick and easy and I was certain to label all of the connections. Here you can see that wear on the buttons and the missing slider knob.
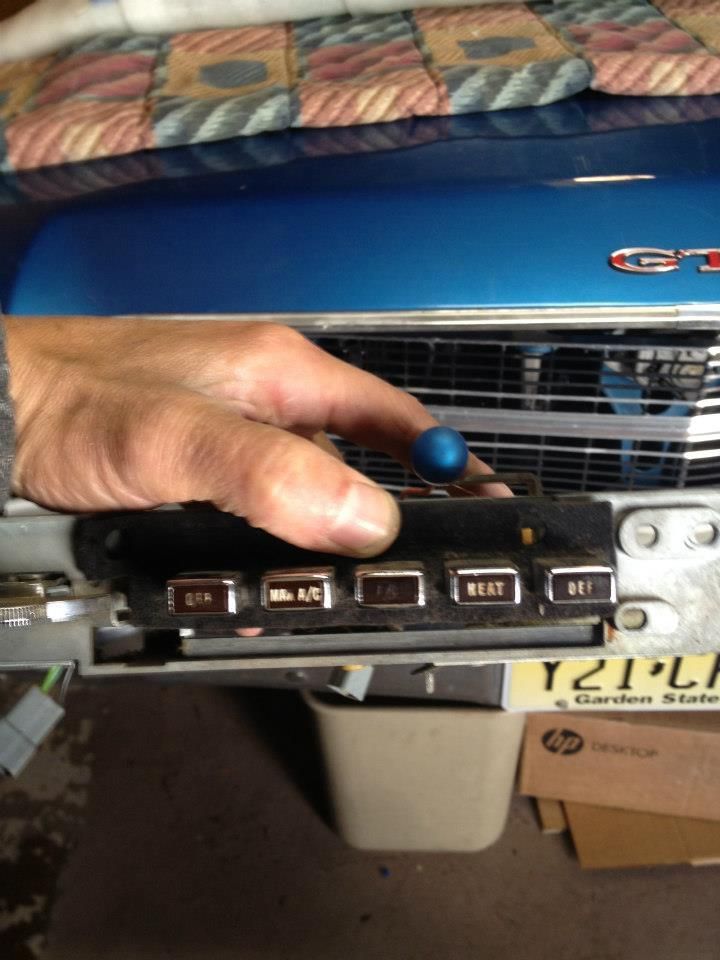
Since my unit was in generally good condition I only needed to clean it up. I picked up a donor unit. My first step was to grab the slider from the donor along with any buttons and button caps. I also lubed the switch and push buttons because they had become very stiff.
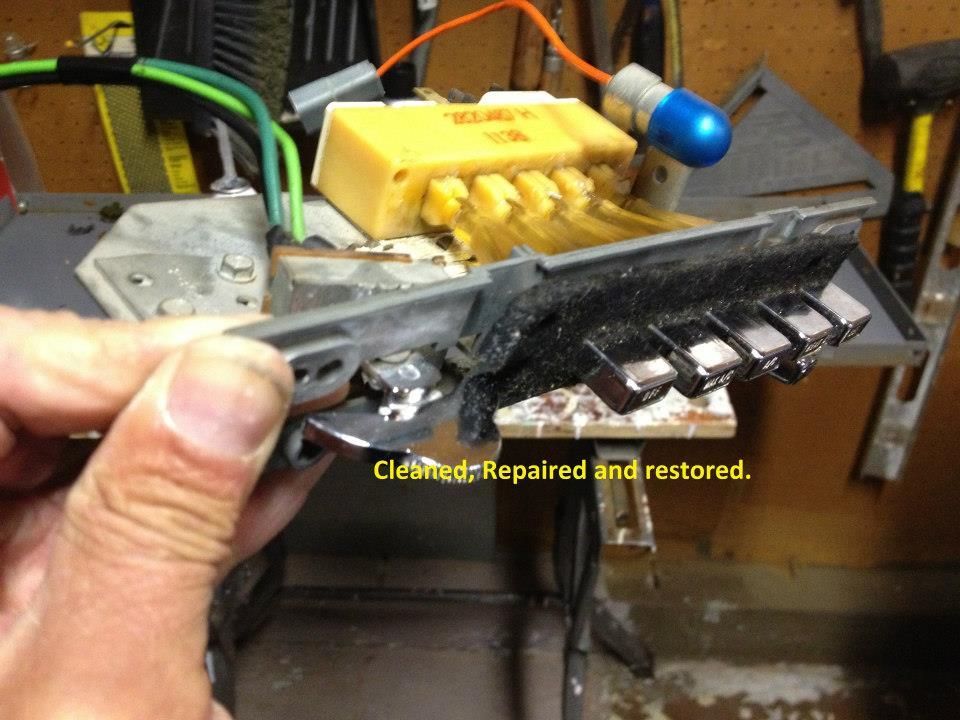
Here is a shot of the unit all cleaned and lubricated. It turns out that I need to grab the slide pivot clip along with the slide lever from the donor.
I used a bit of white modeling paint to touch up the button lettering.
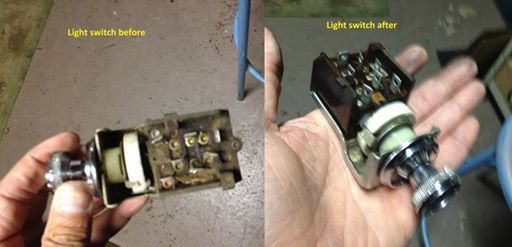
I removed all of the switches and cleaned them up. The only switch I had to replace was the flasher since it had completely fell apart. Here is a shot of the light switch. A little cleaning, dielectric grease and done.
The Radio wasn't working when I picked up the car. No power and wouldn't tune by either the thumb wheels or preset buttons.

Some of the wires were cracked and needed to be replaced.
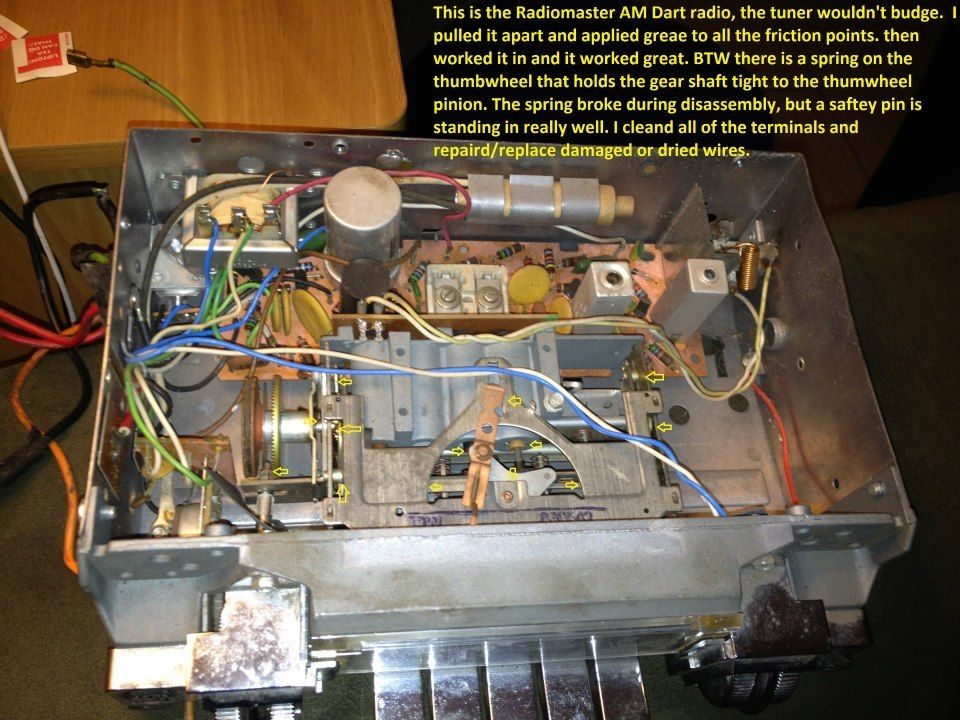
I cleaned the electrical contacts and lubed mechanical contact points, including the thumb wheel torque shaft and gears as well as the chassis. I also address the button preset mechanism. I repaired the thumb wheel pinion gear located on the wheel itself and replaced the damage hold down spring with a safety pin trimmed to the same shape. the safety pin was slightly stiffer.
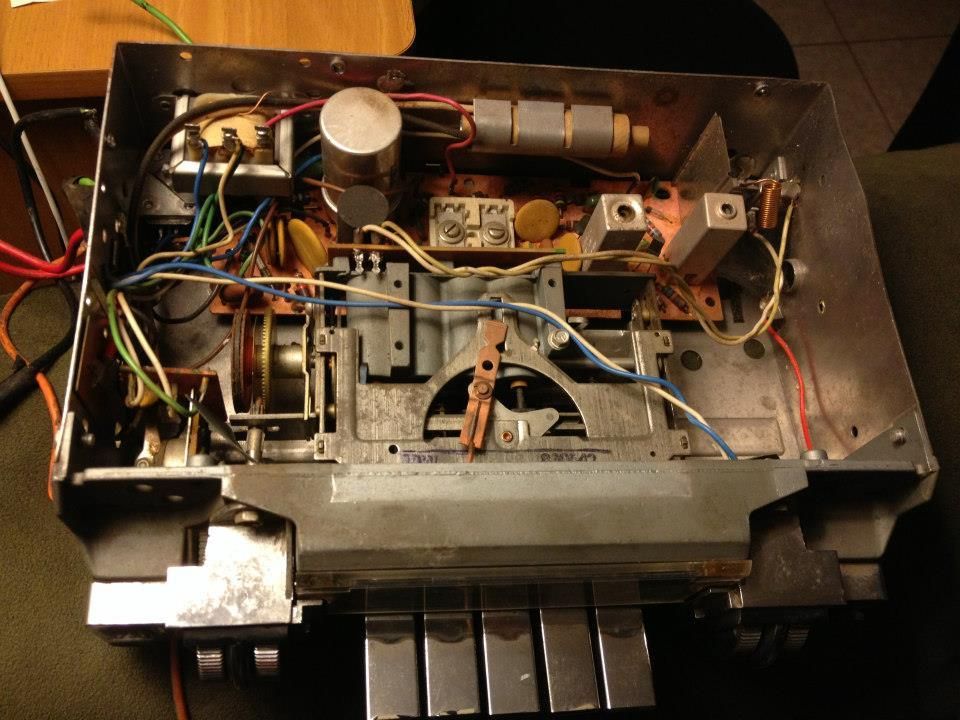
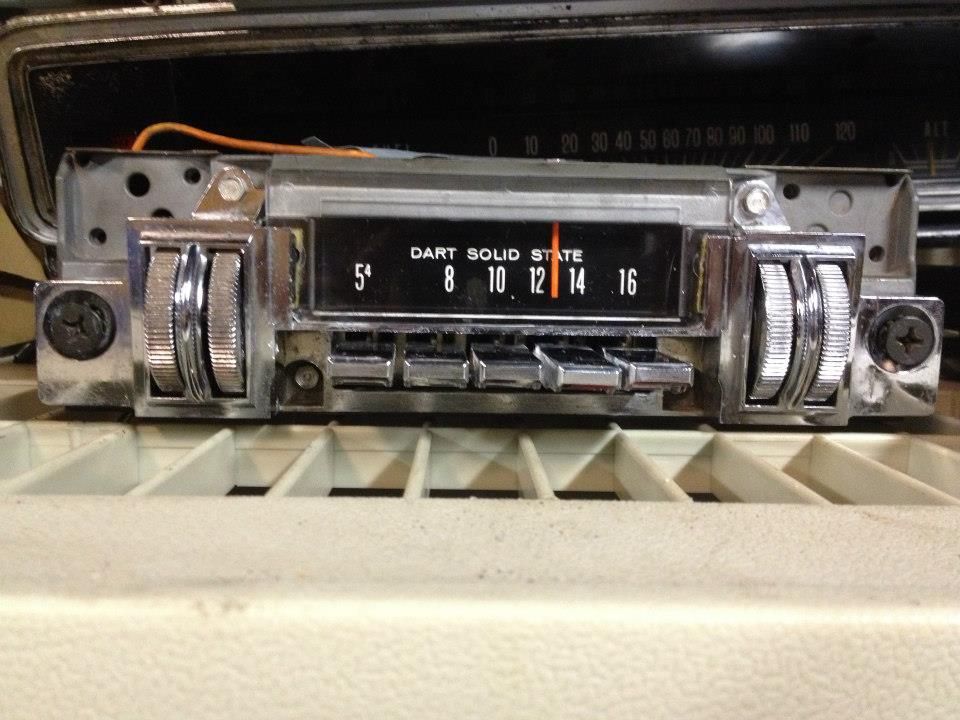
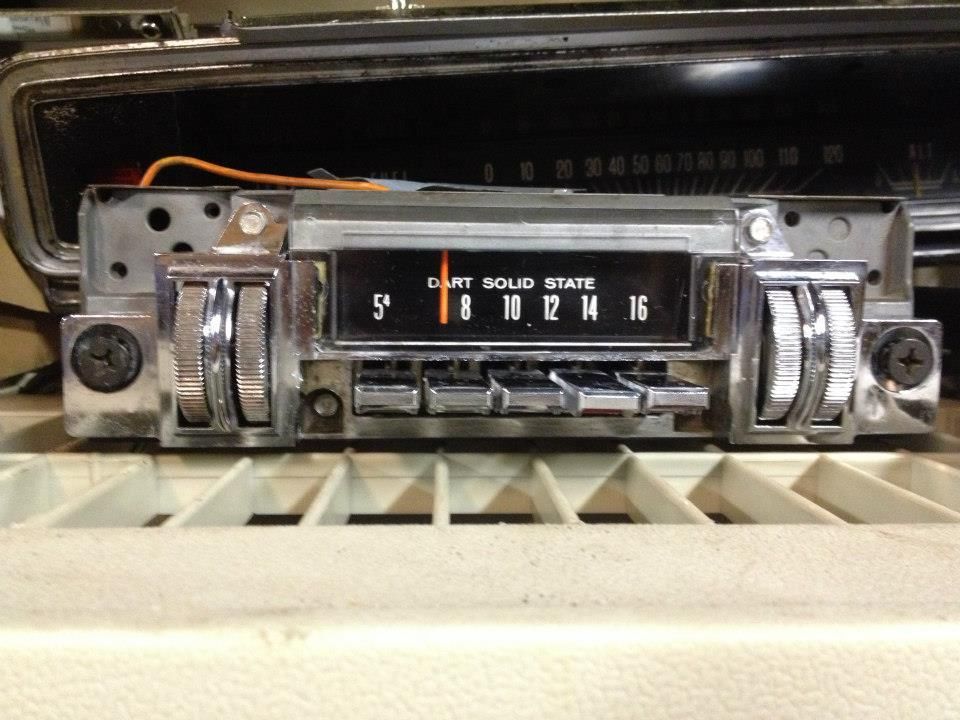
I bench tested the unit and happy to say that everything works as expected. I cleaned and polished it the beast I could and through it up on the shelf with the other finished switches and controls to reinstall later.
Next few pics show the tuner in different positions and shelved. lol.
While I was in there I did the ashtray but I'll spare you that one. lol
I'm sure that this could all be done to a higher standard but I'm really happy with it so far.
Next stop is the dash frame... Damage around the ignition switch and all of the rust by the glove box (damn that spark plug!)
When I bought the GTS the AC heater control was not working and needed to be sorted out. I bought a used donor on Ebay for 5 bucks and salvage the slide lever and button covers. While I had it apart I cleaned the components, connections and connectors. I also touched up the button labels and cleared the vacuum ports.
With the Dash frame out I had unrestricted access to everything so I started the rebuild work with the Climate vacuum control unit. My approach to tracking the harness connections is to use masking tape to label the connections.
Other than being dirty the switch looked good.
Removal was quick and easy and I was certain to label all of the connections. Here you can see that wear on the buttons and the missing slider knob.
Since my unit was in generally good condition I only needed to clean it up. I picked up a donor unit. My first step was to grab the slider from the donor along with any buttons and button caps. I also lubed the switch and push buttons because they had become very stiff.
Here is a shot of the unit all cleaned and lubricated. It turns out that I need to grab the slide pivot clip along with the slide lever from the donor.
I used a bit of white modeling paint to touch up the button lettering.
I removed all of the switches and cleaned them up. The only switch I had to replace was the flasher since it had completely fell apart. Here is a shot of the light switch. A little cleaning, dielectric grease and done.
The Radio wasn't working when I picked up the car. No power and wouldn't tune by either the thumb wheels or preset buttons.
Some of the wires were cracked and needed to be replaced.
I cleaned the electrical contacts and lubed mechanical contact points, including the thumb wheel torque shaft and gears as well as the chassis. I also address the button preset mechanism. I repaired the thumb wheel pinion gear located on the wheel itself and replaced the damage hold down spring with a safety pin trimmed to the same shape. the safety pin was slightly stiffer.
I bench tested the unit and happy to say that everything works as expected. I cleaned and polished it the beast I could and through it up on the shelf with the other finished switches and controls to reinstall later.
Next few pics show the tuner in different positions and shelved. lol.
While I was in there I did the ashtray but I'll spare you that one. lol
I'm sure that this could all be done to a higher standard but I'm really happy with it so far.
Next stop is the dash frame... Damage around the ignition switch and all of the rust by the glove box (damn that spark plug!)