My 70 340 Duster Resto

-
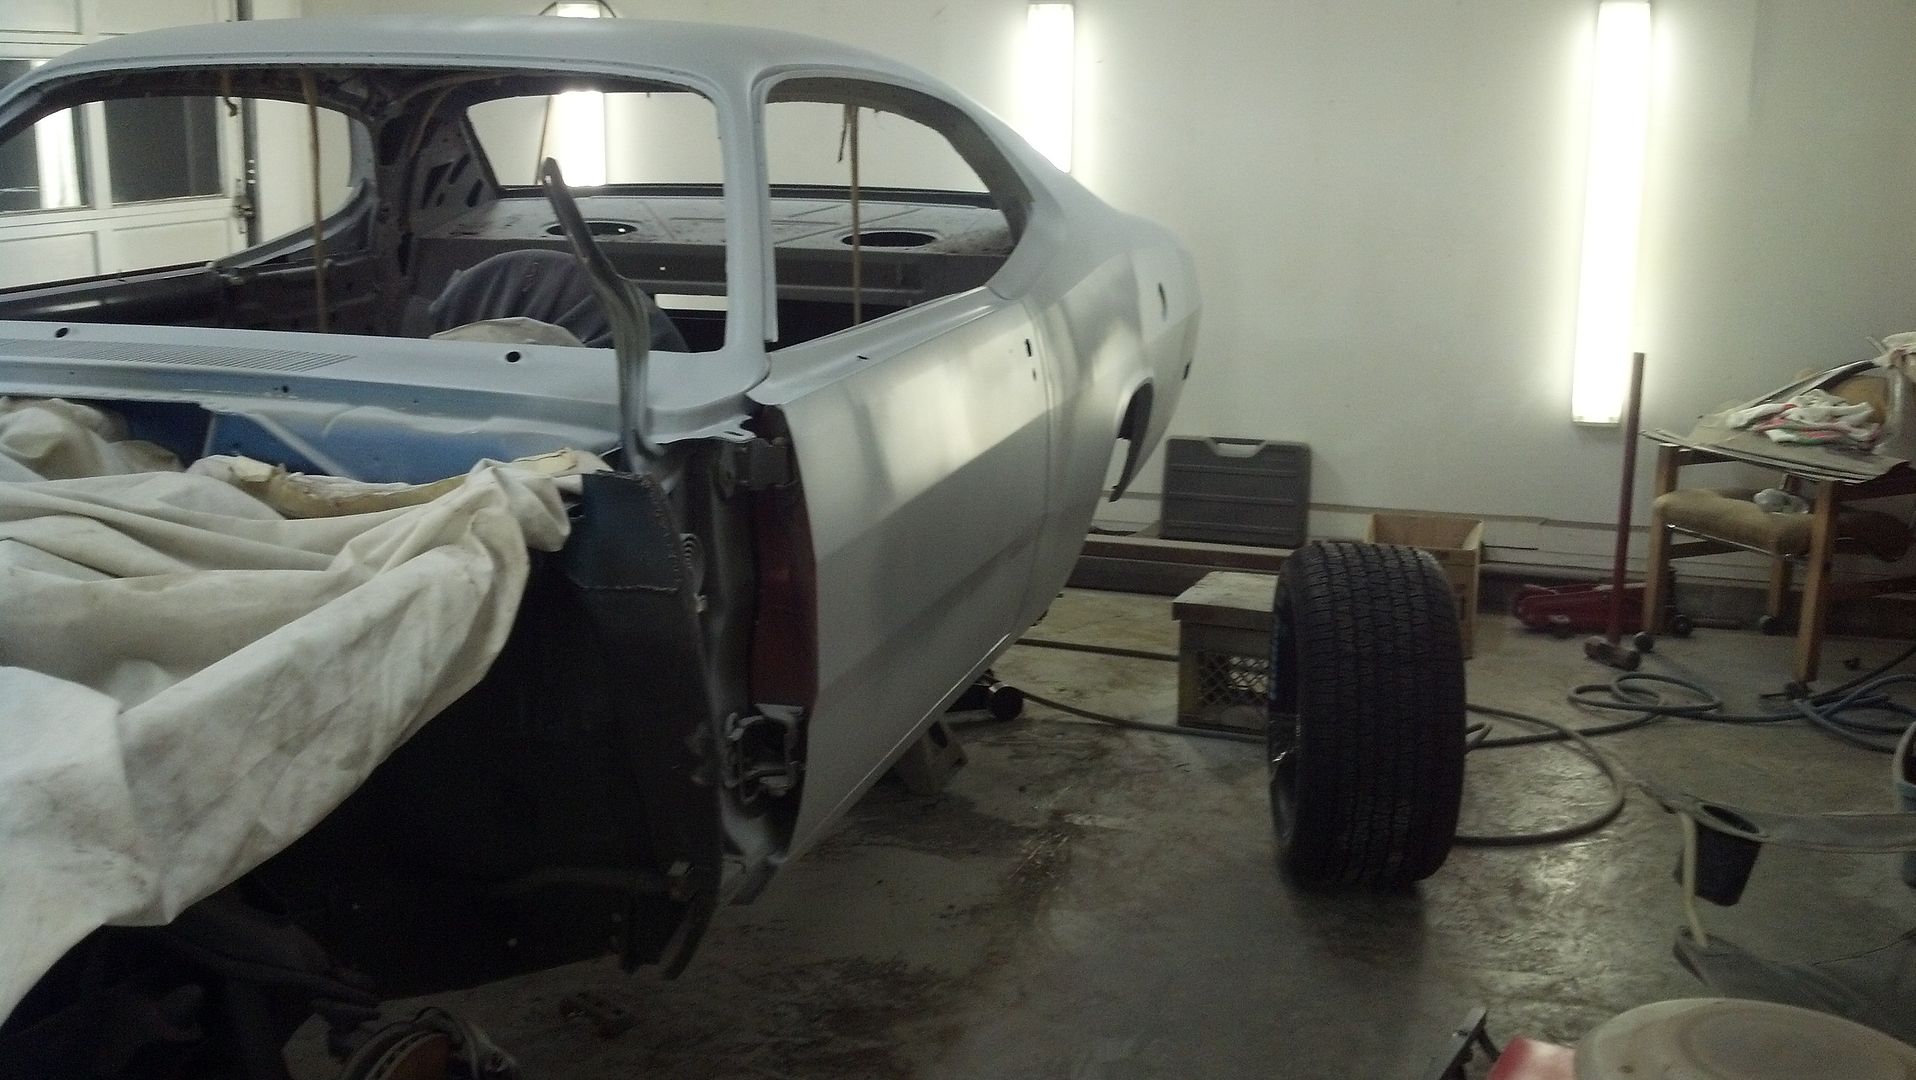
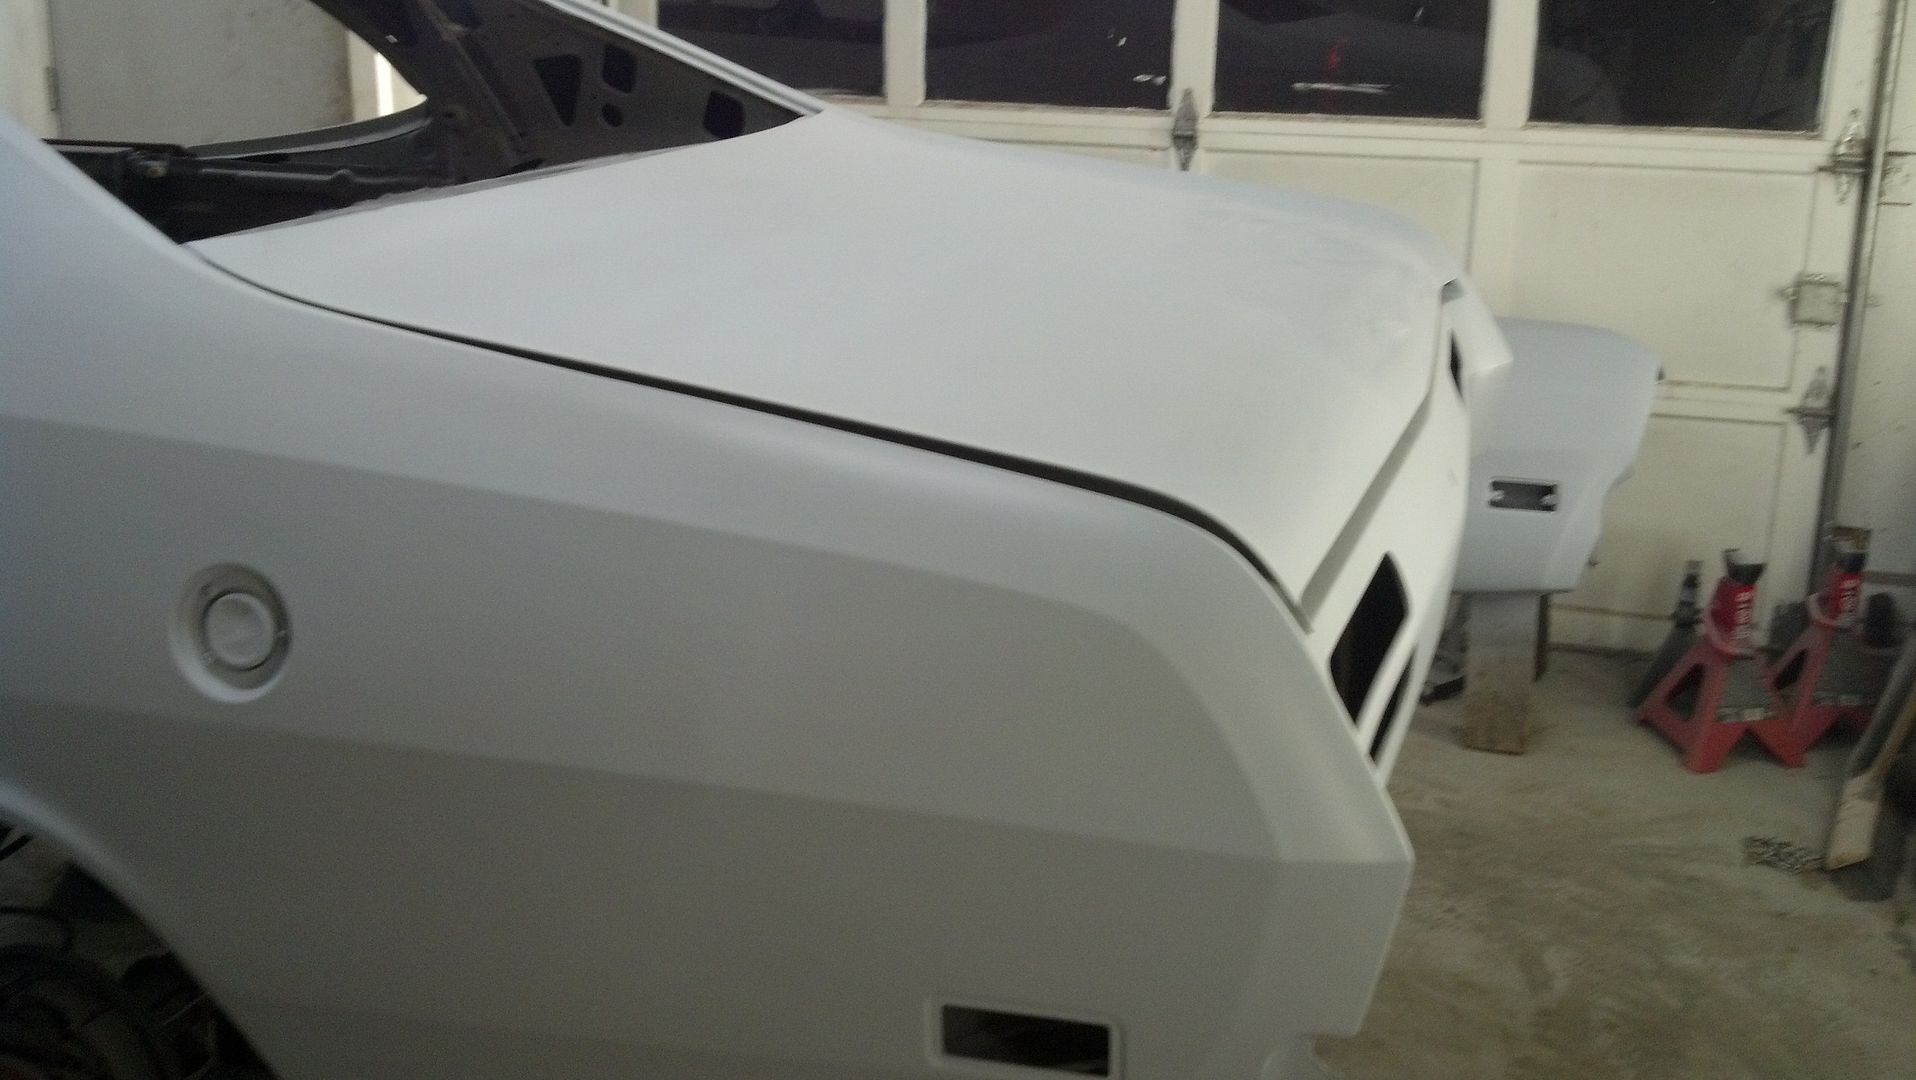
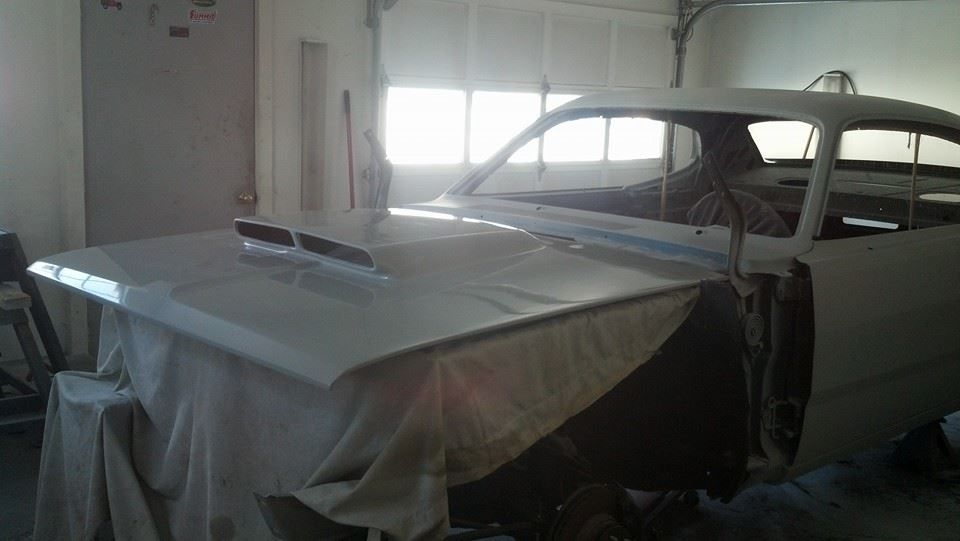
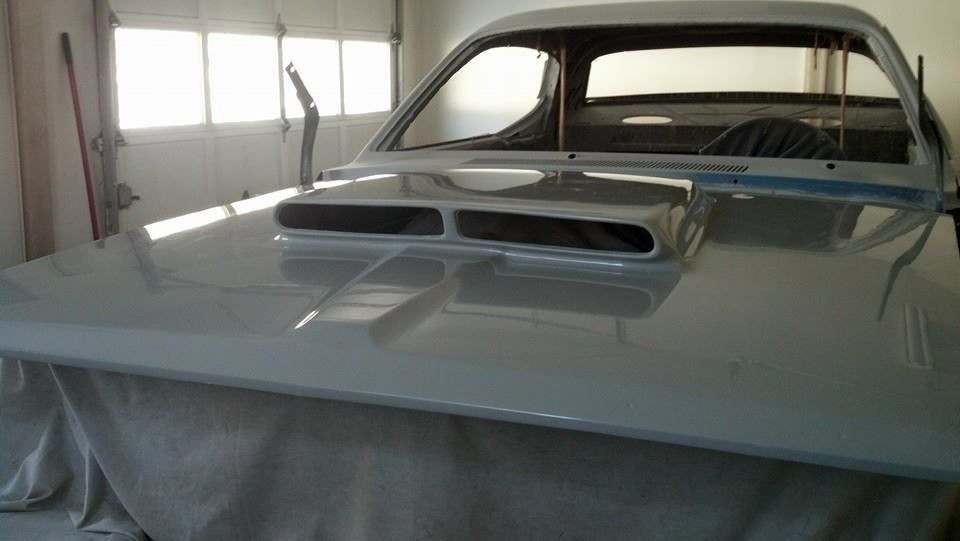
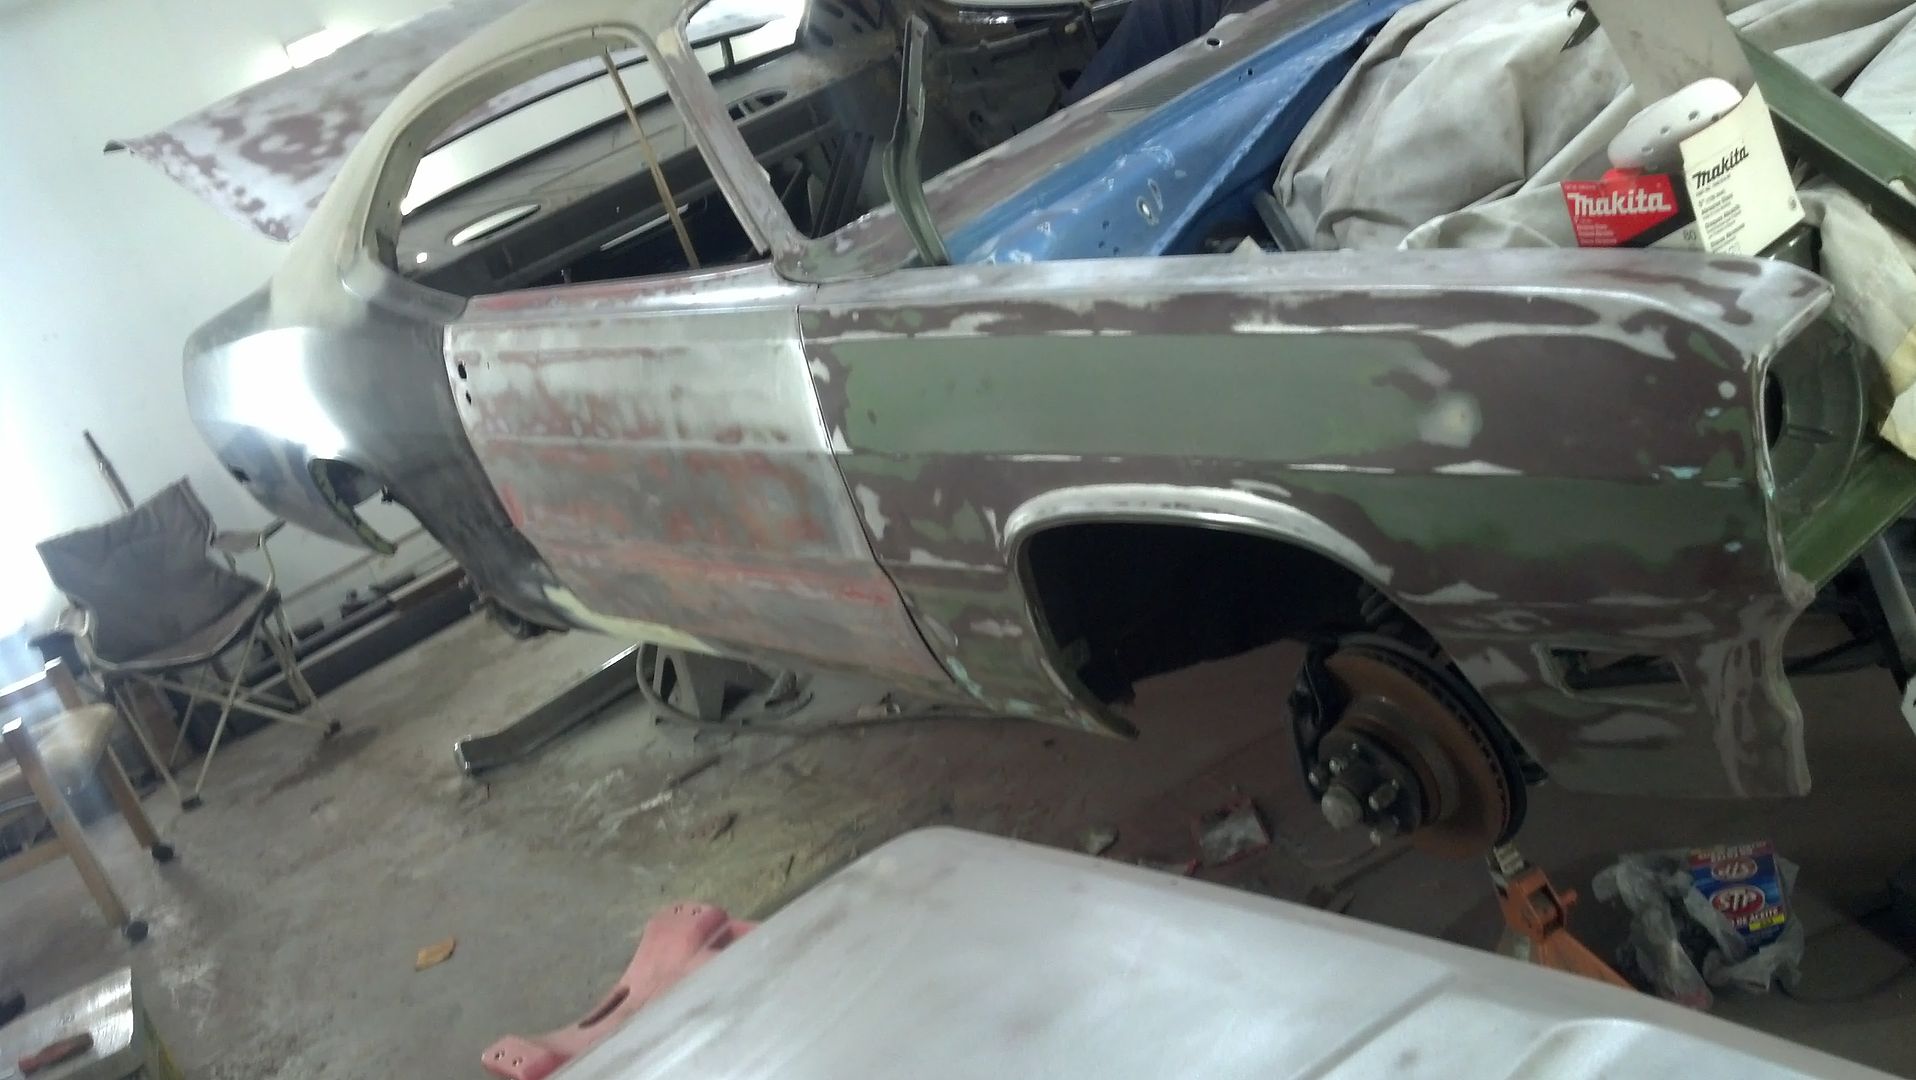
I know its been quite a while since I last posted about the build! I wish I could say its done and here are all the pics but there's still much work to do. Doing this project with my dad and making our time align has made thing difficult to get it done, but with me now moving in April it has lit a fire under us. Here are the current pics!

IMG_20130702_195758_215.jpg

IMG_20130702_195830_972.jpg

IMG_20130702_195744_022.jpg

IMG_20130701_214130_546.jpg

IMG_20130701_153707_456.jpg

IMG_20130701_153746_455.jpg

IMG_20130701_214101_630.jpg

IMG_20130702_195728_693.jpg

IMG_20130702_195709_486.jpg

IMG_20140106_192006_693.jpg

IMG_20140102_093617_994.jpg


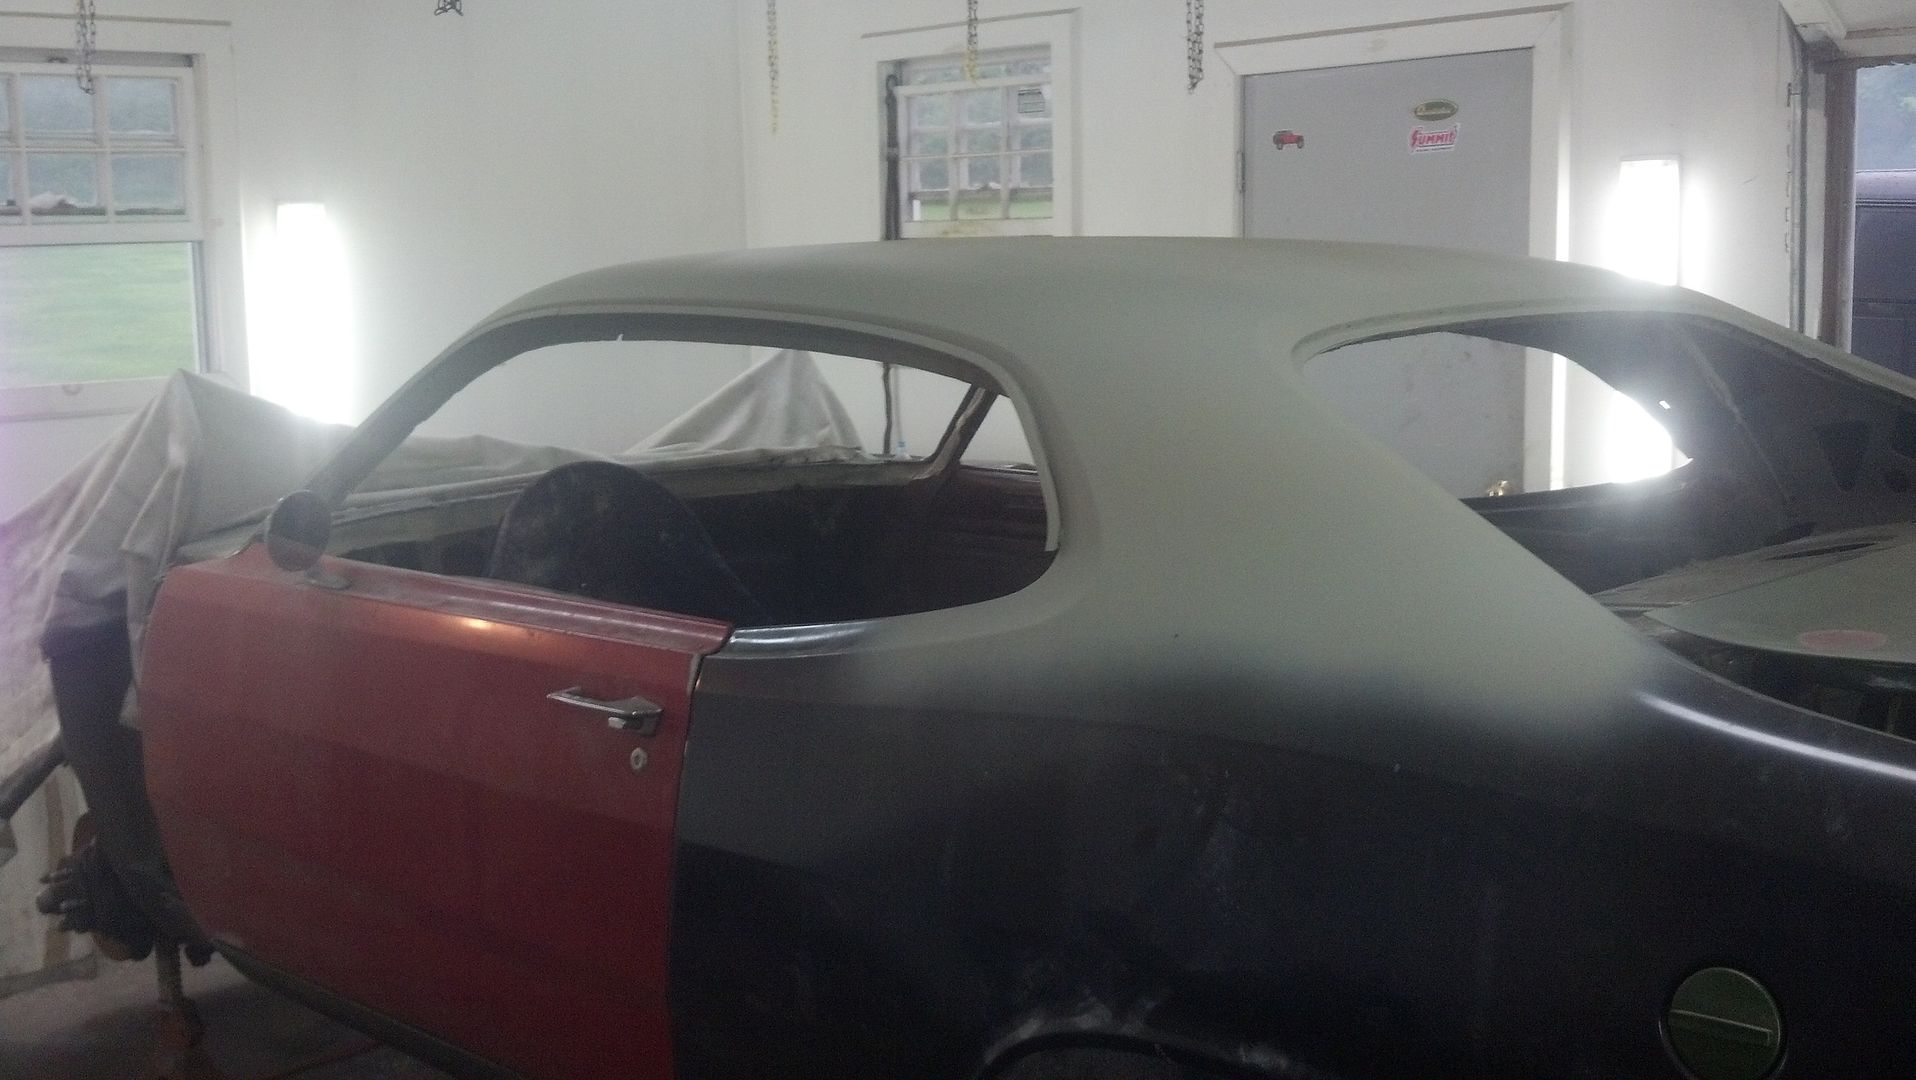
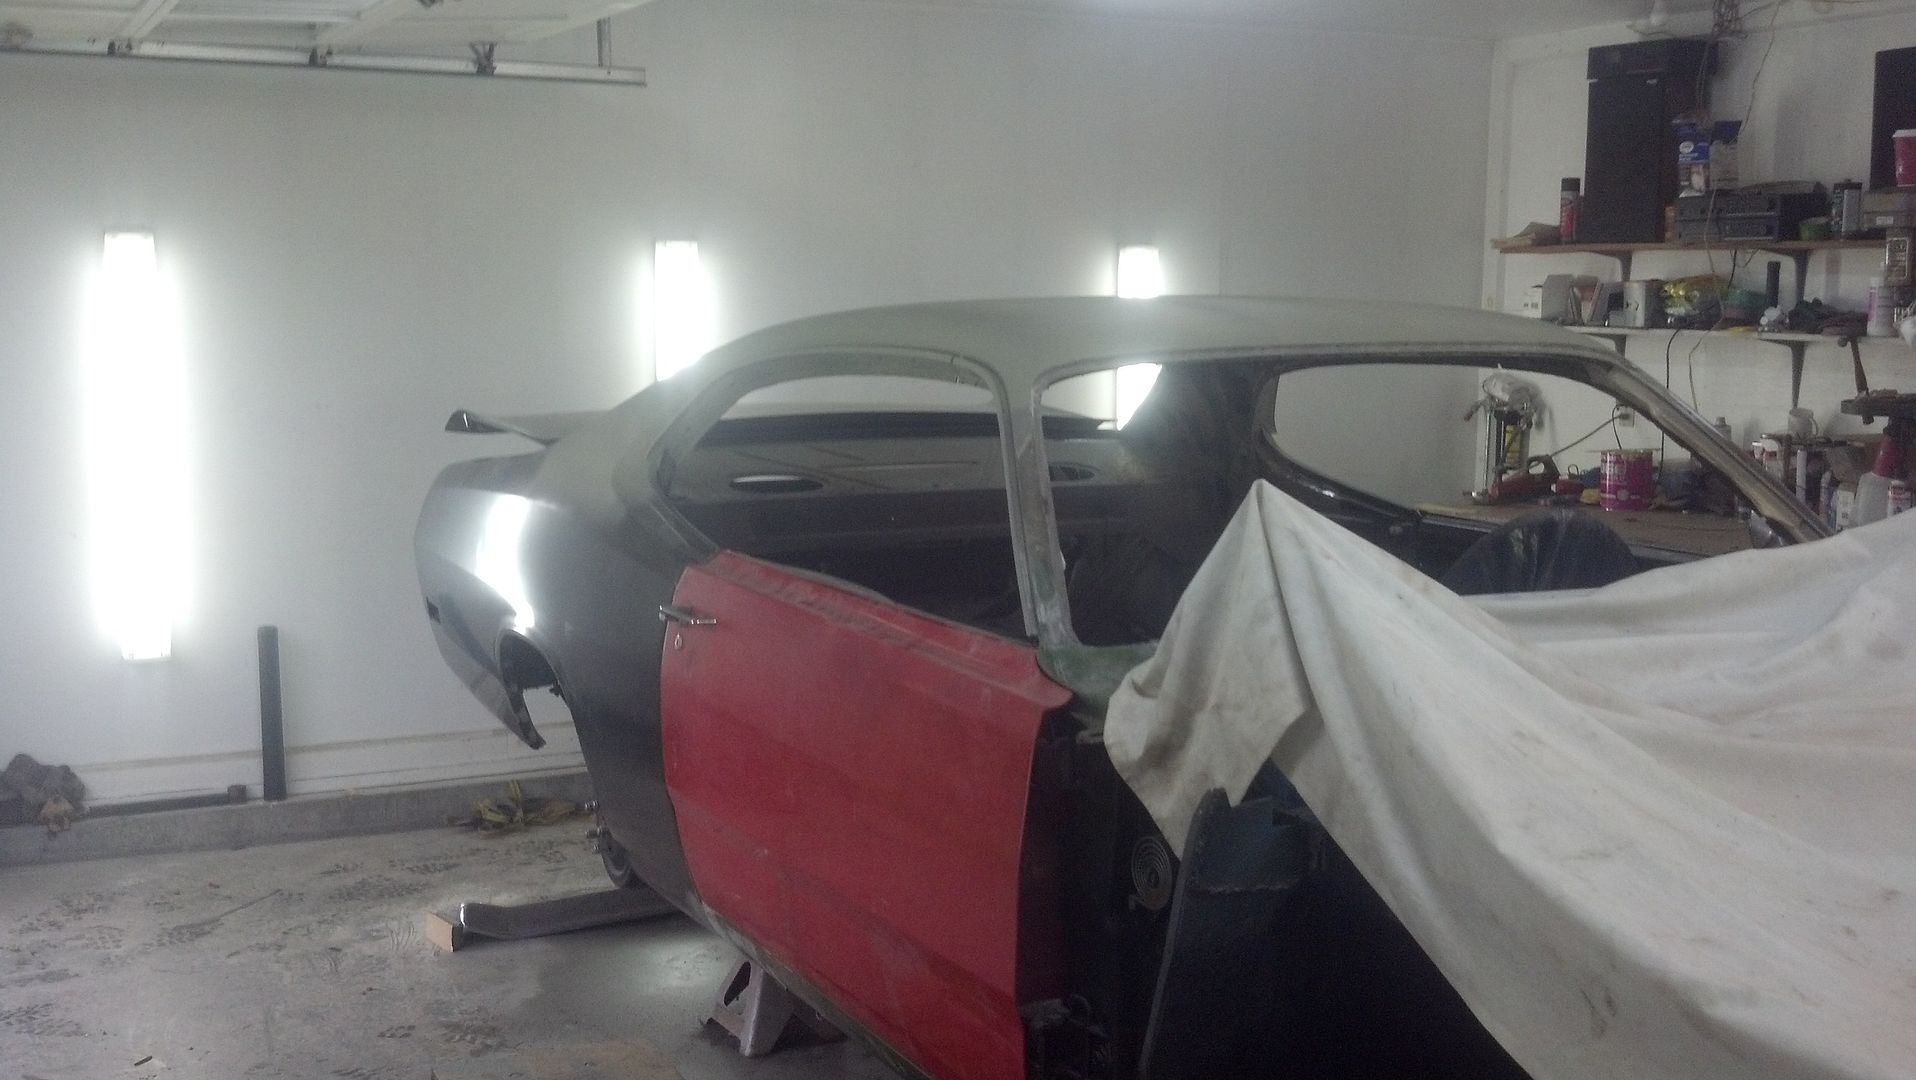
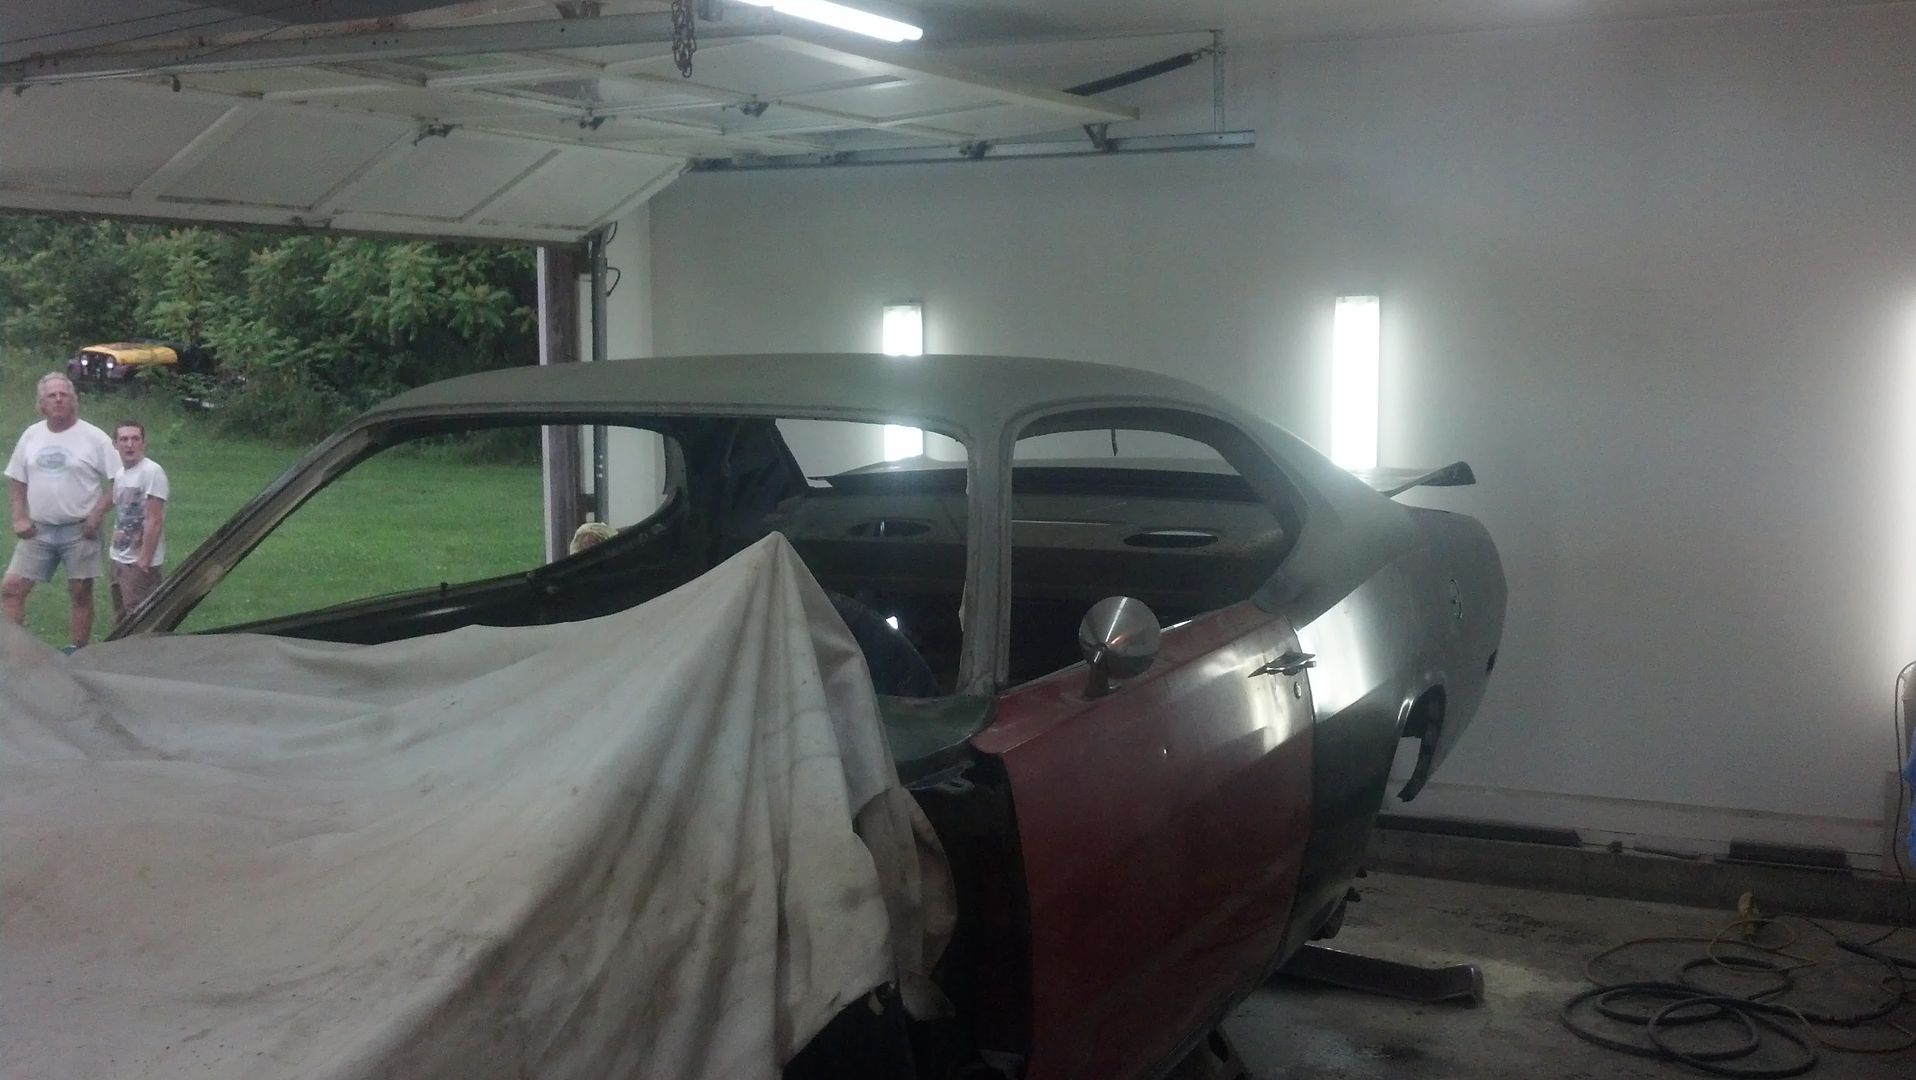
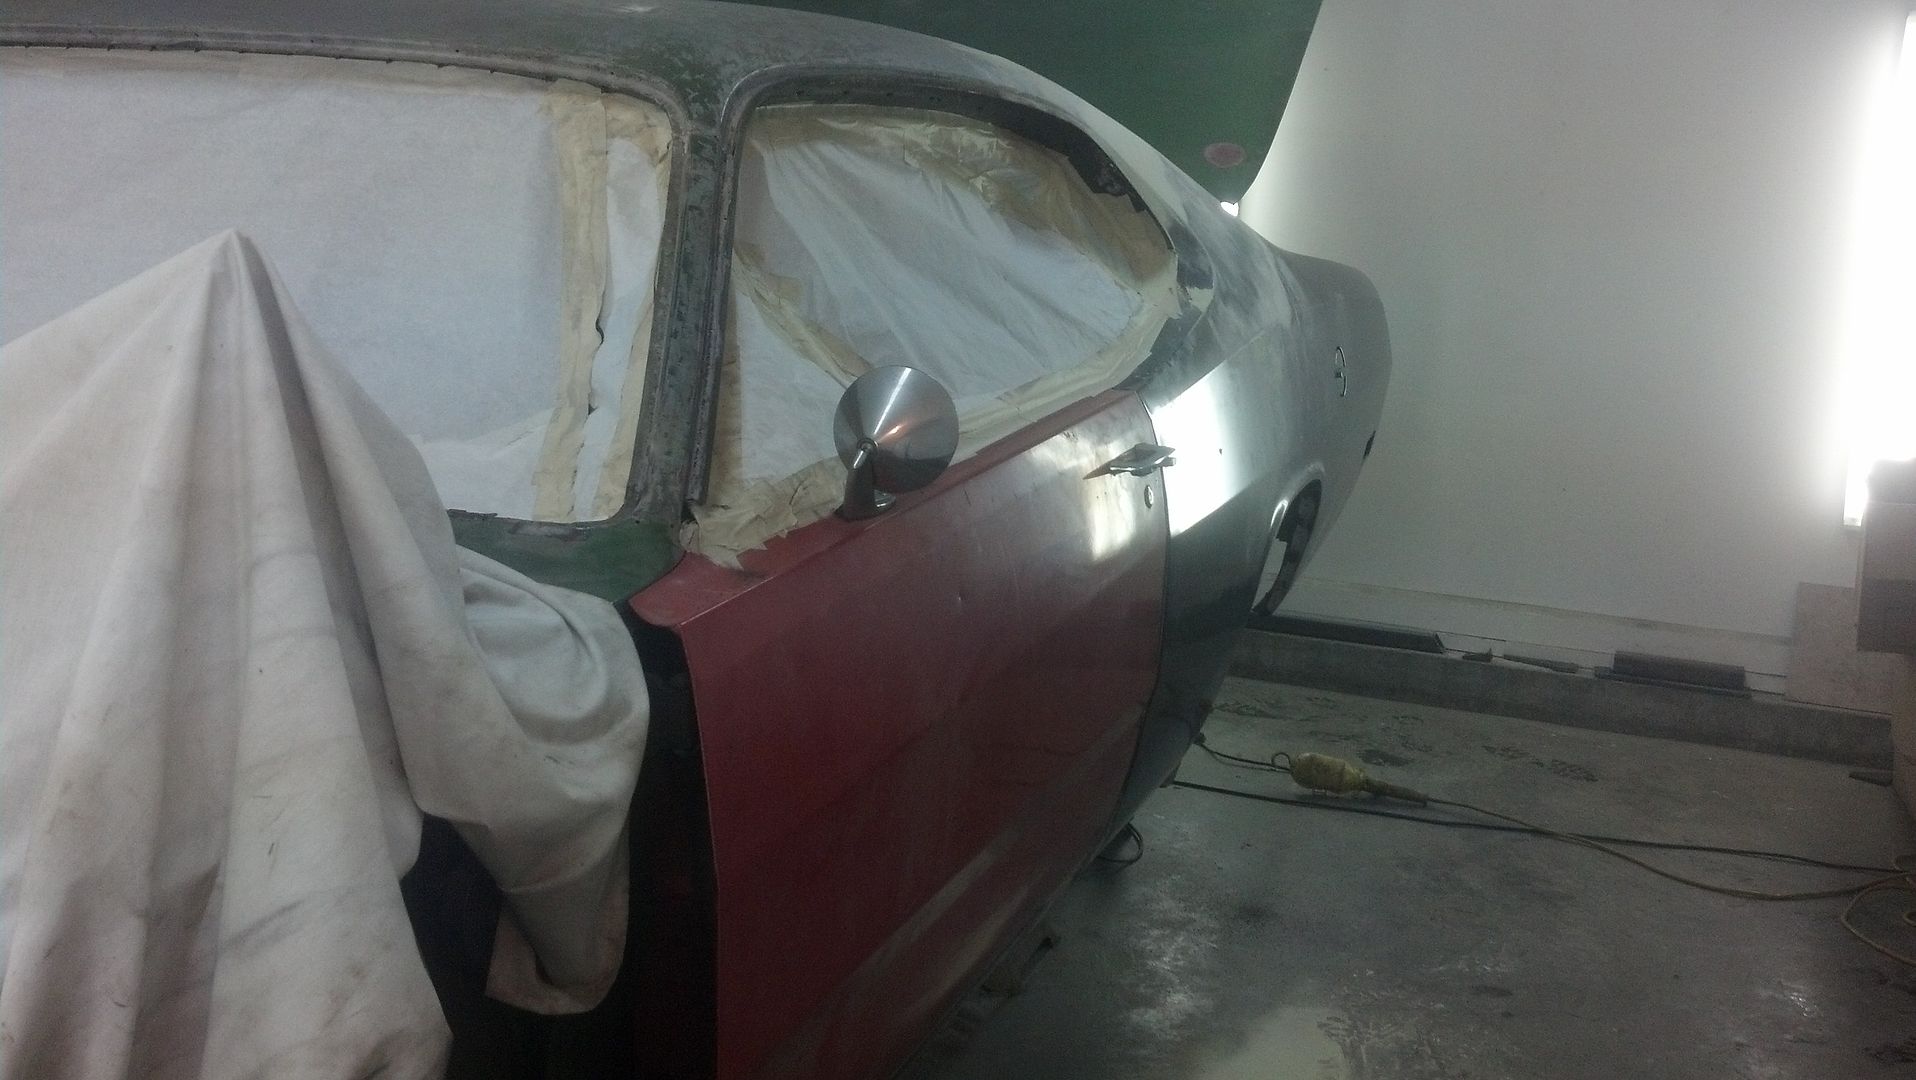
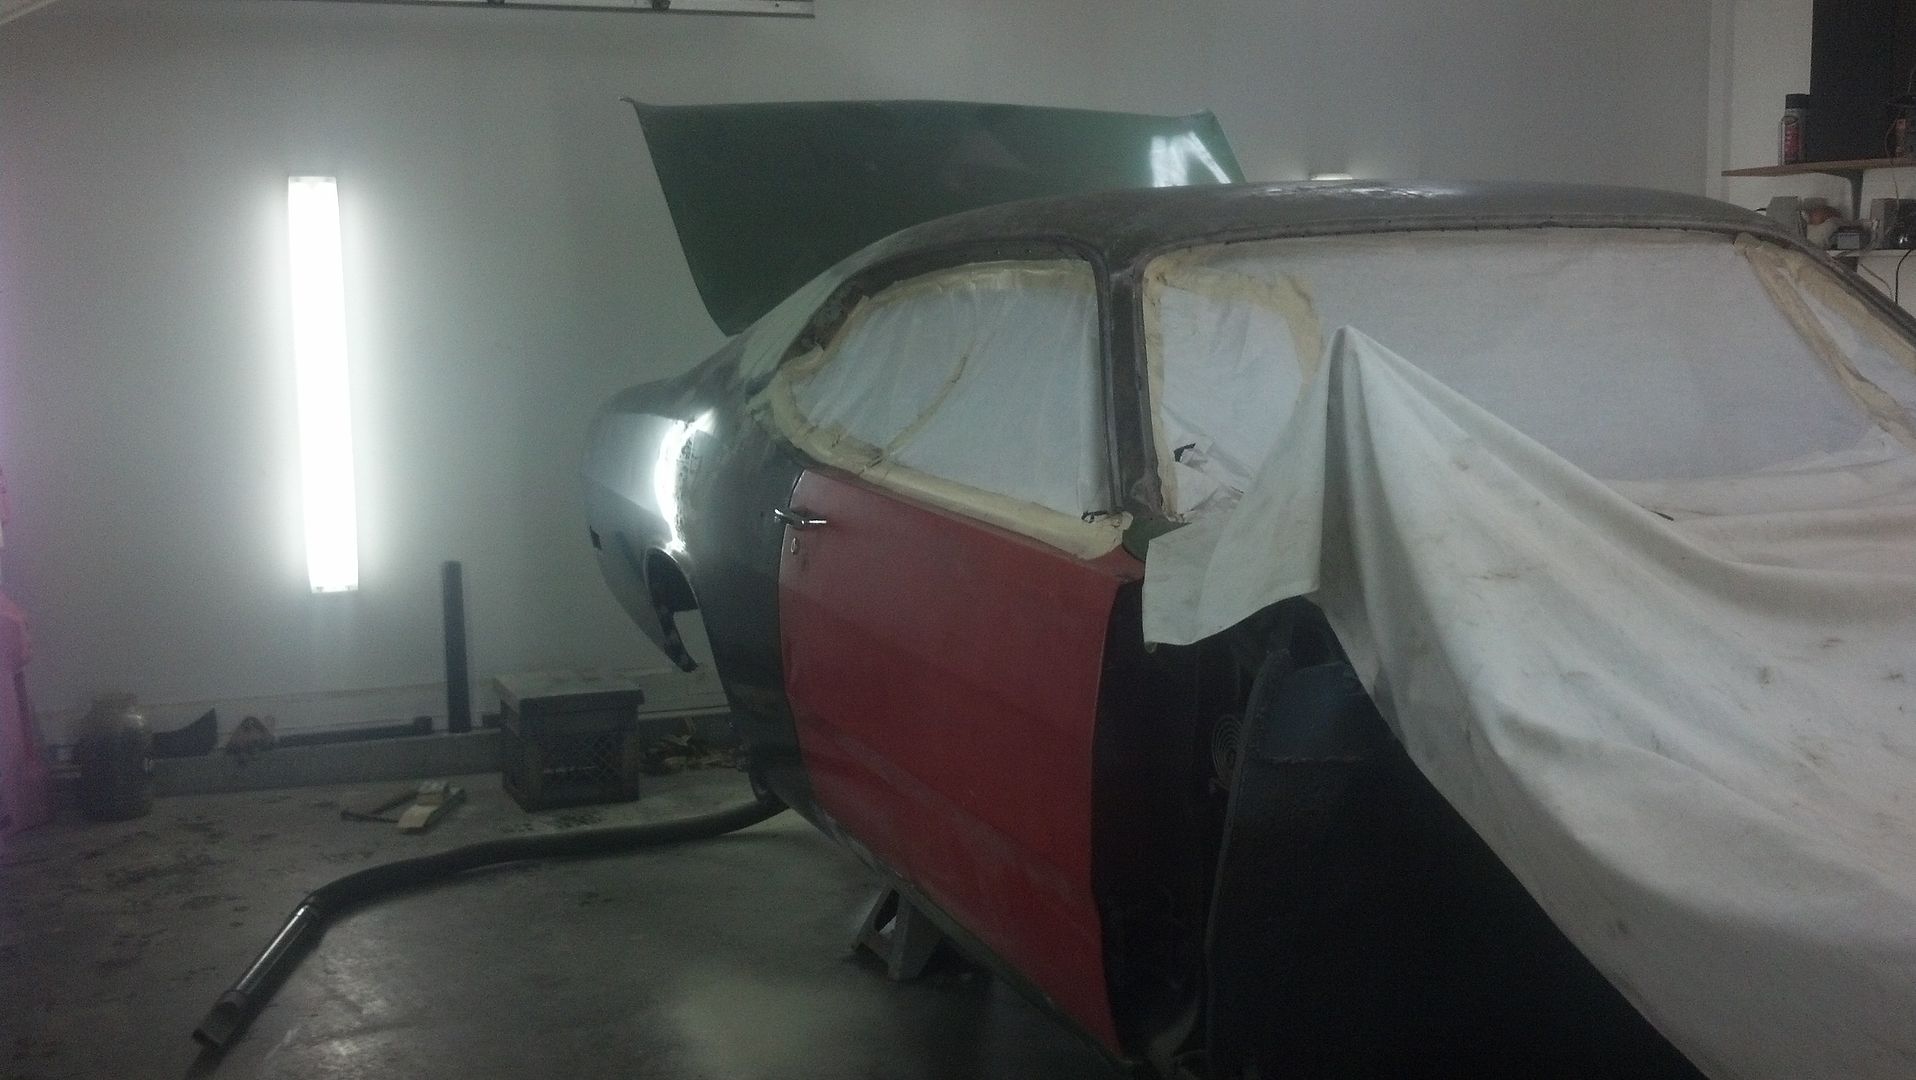
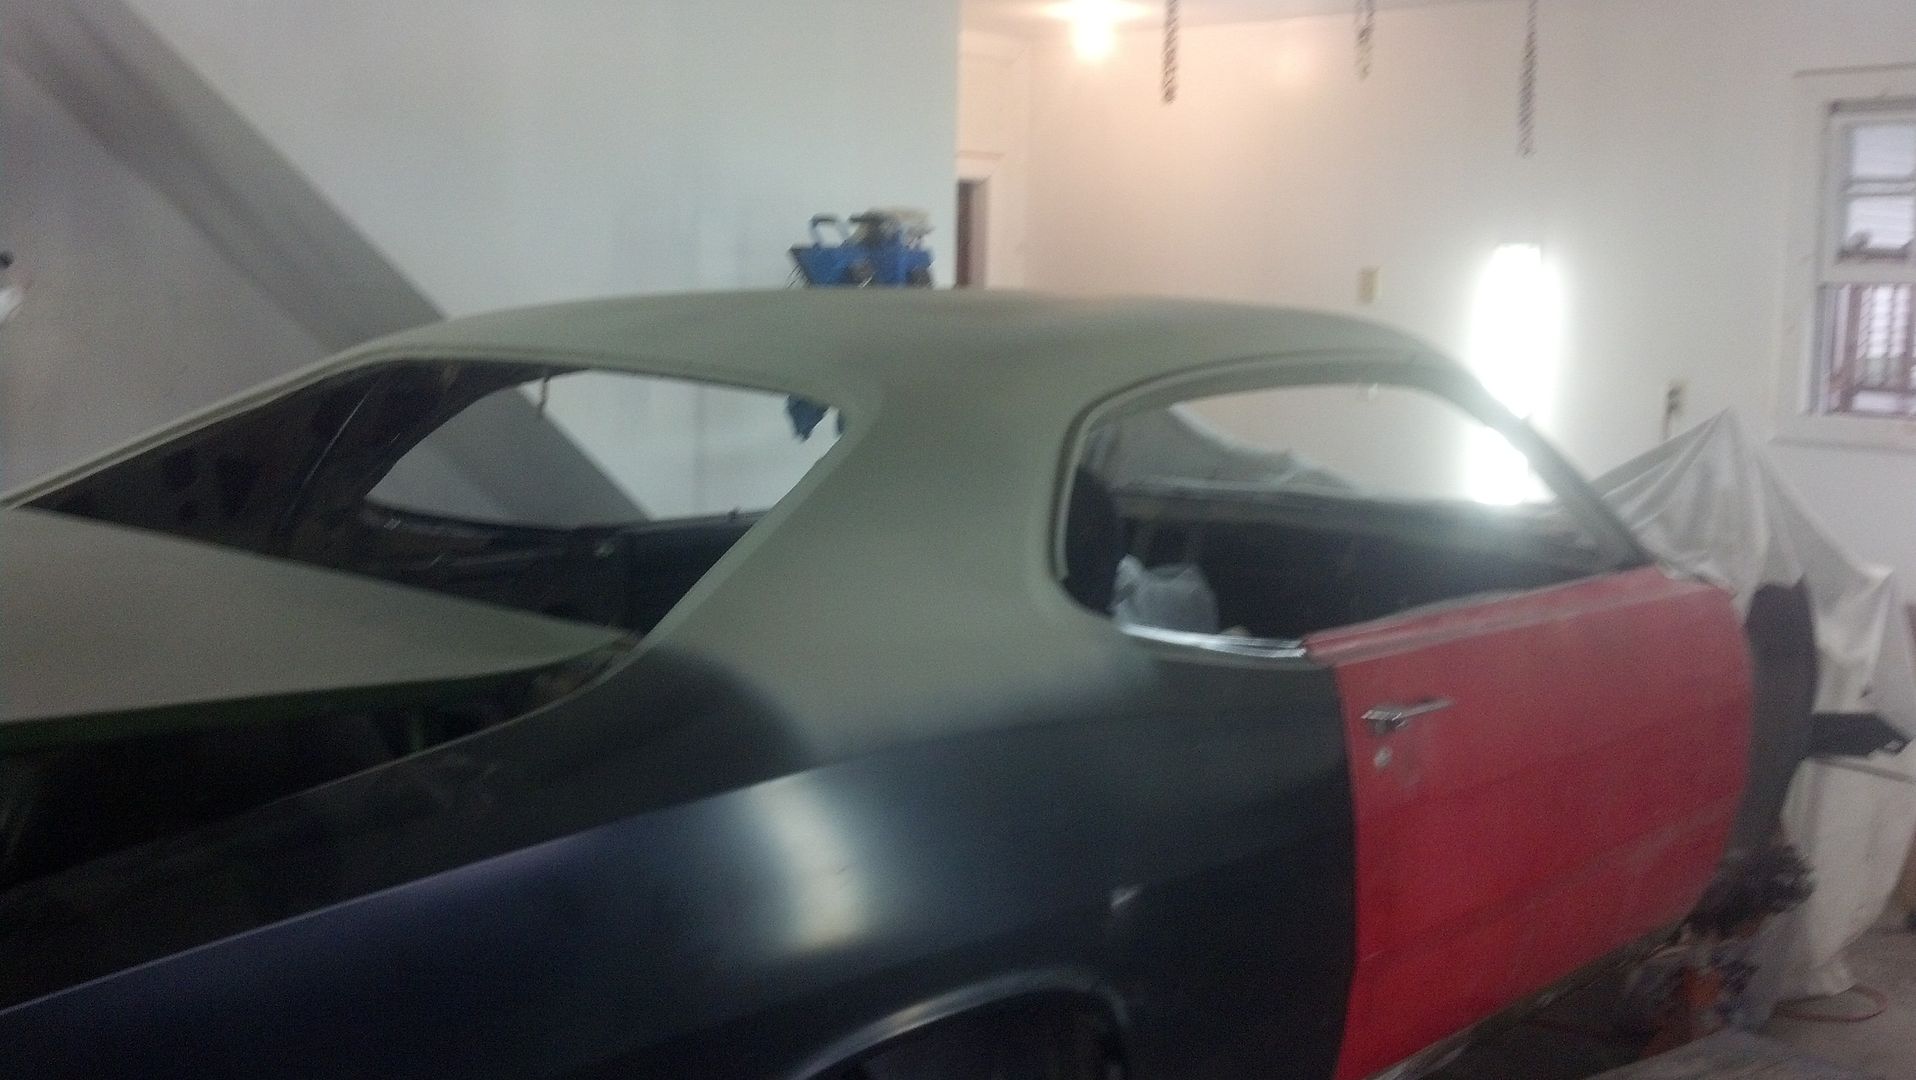
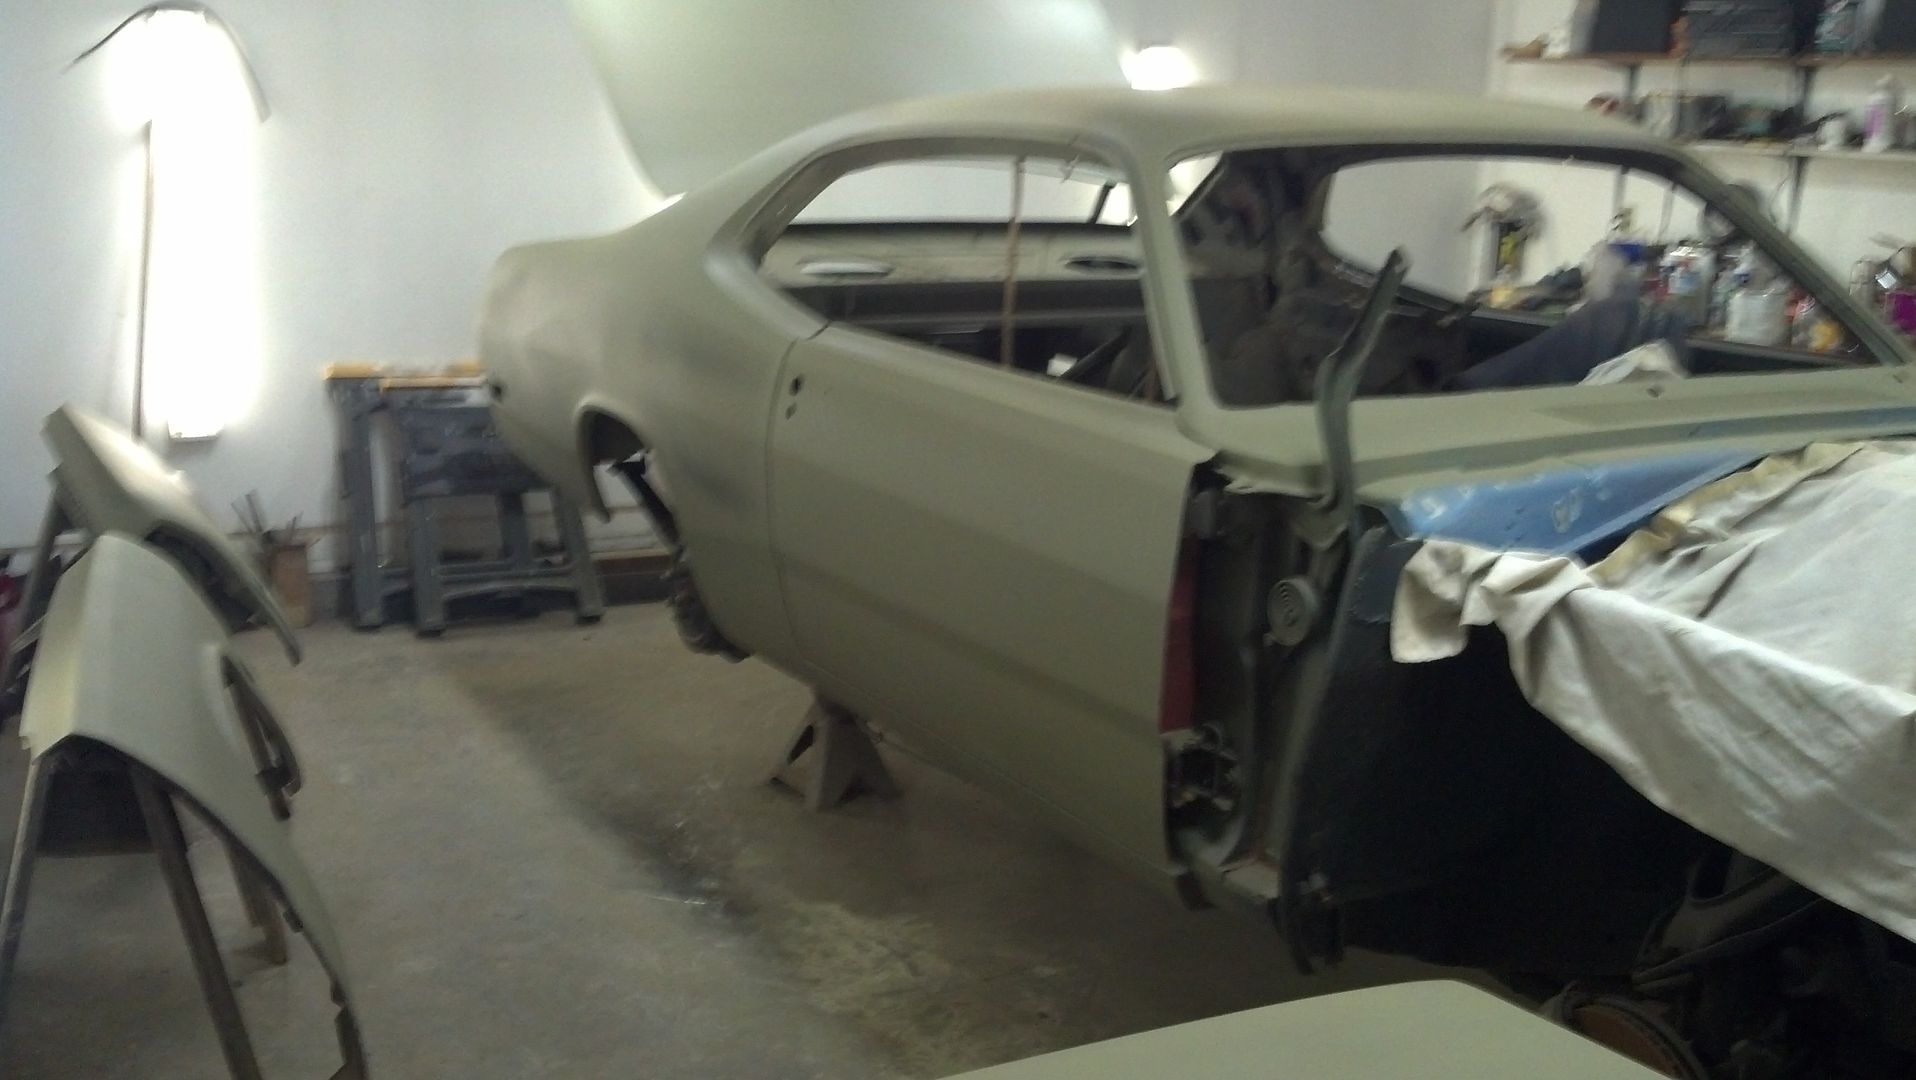
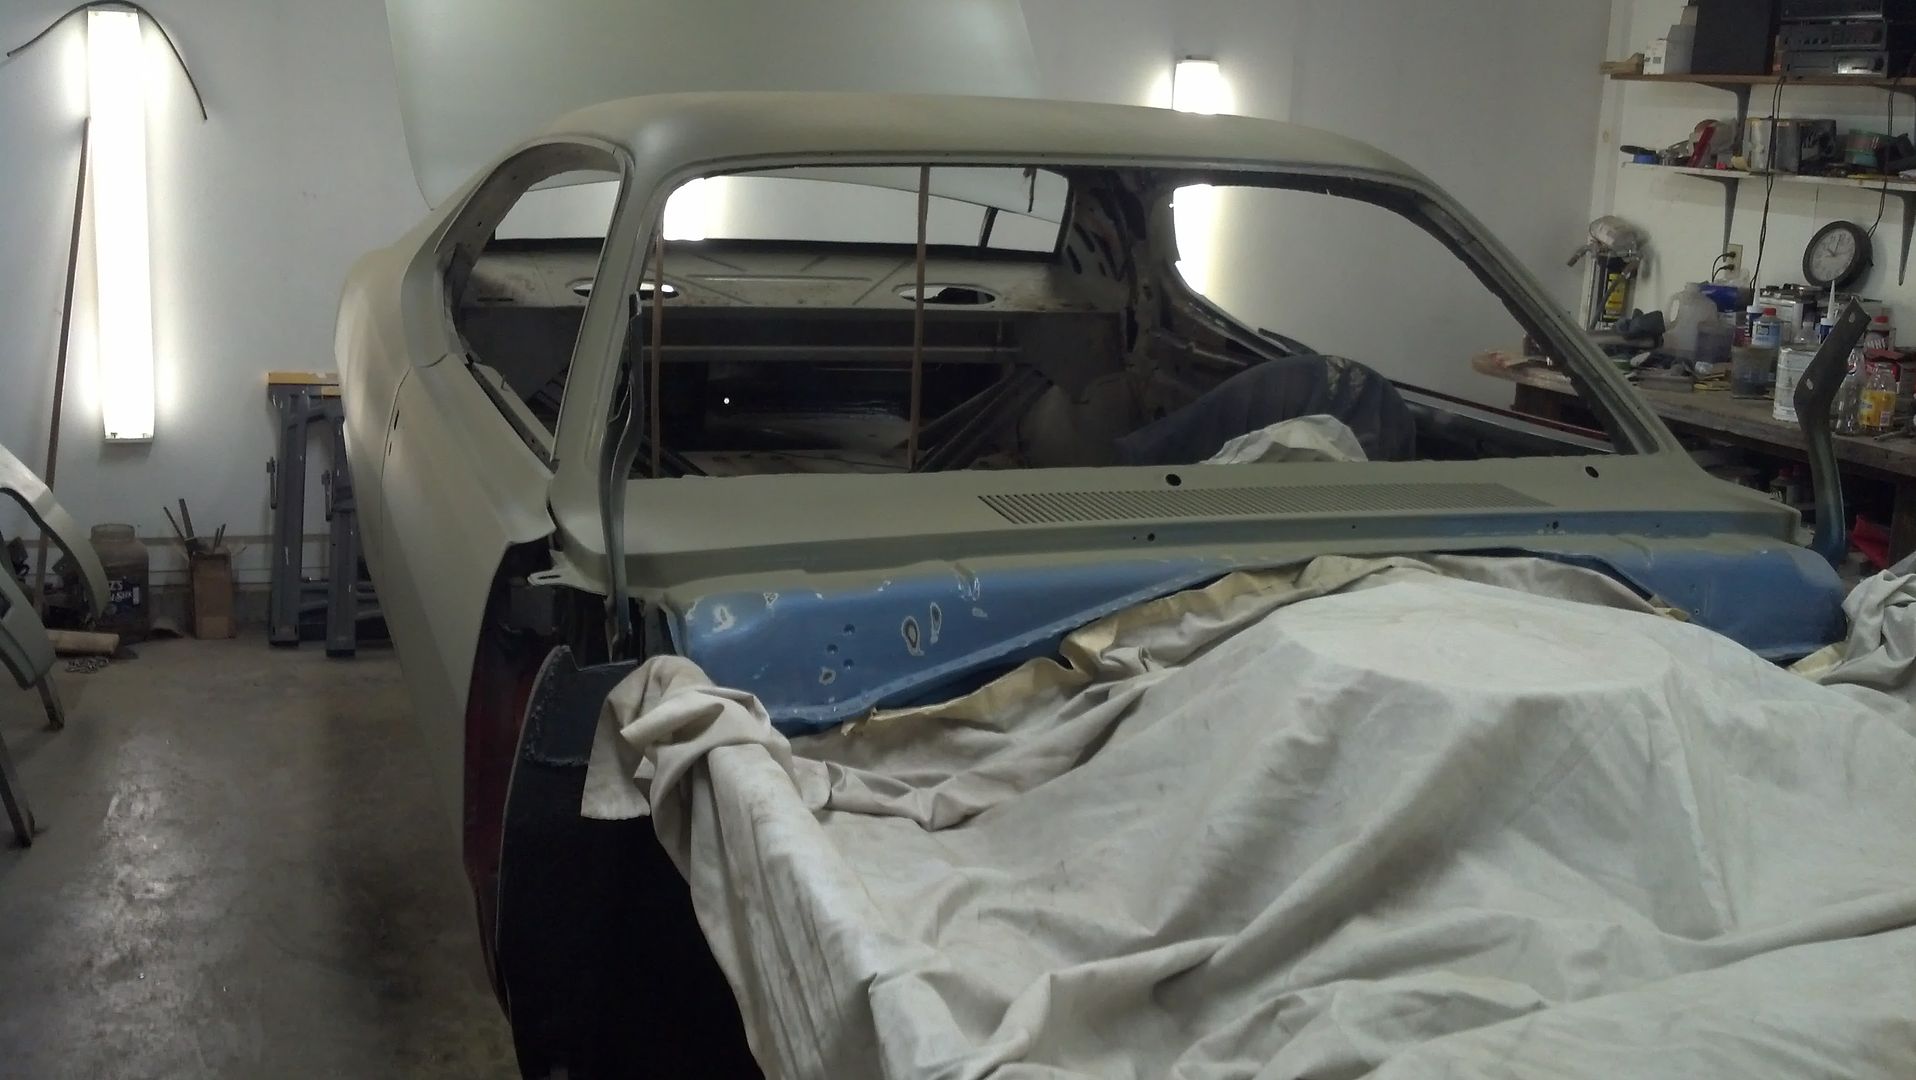
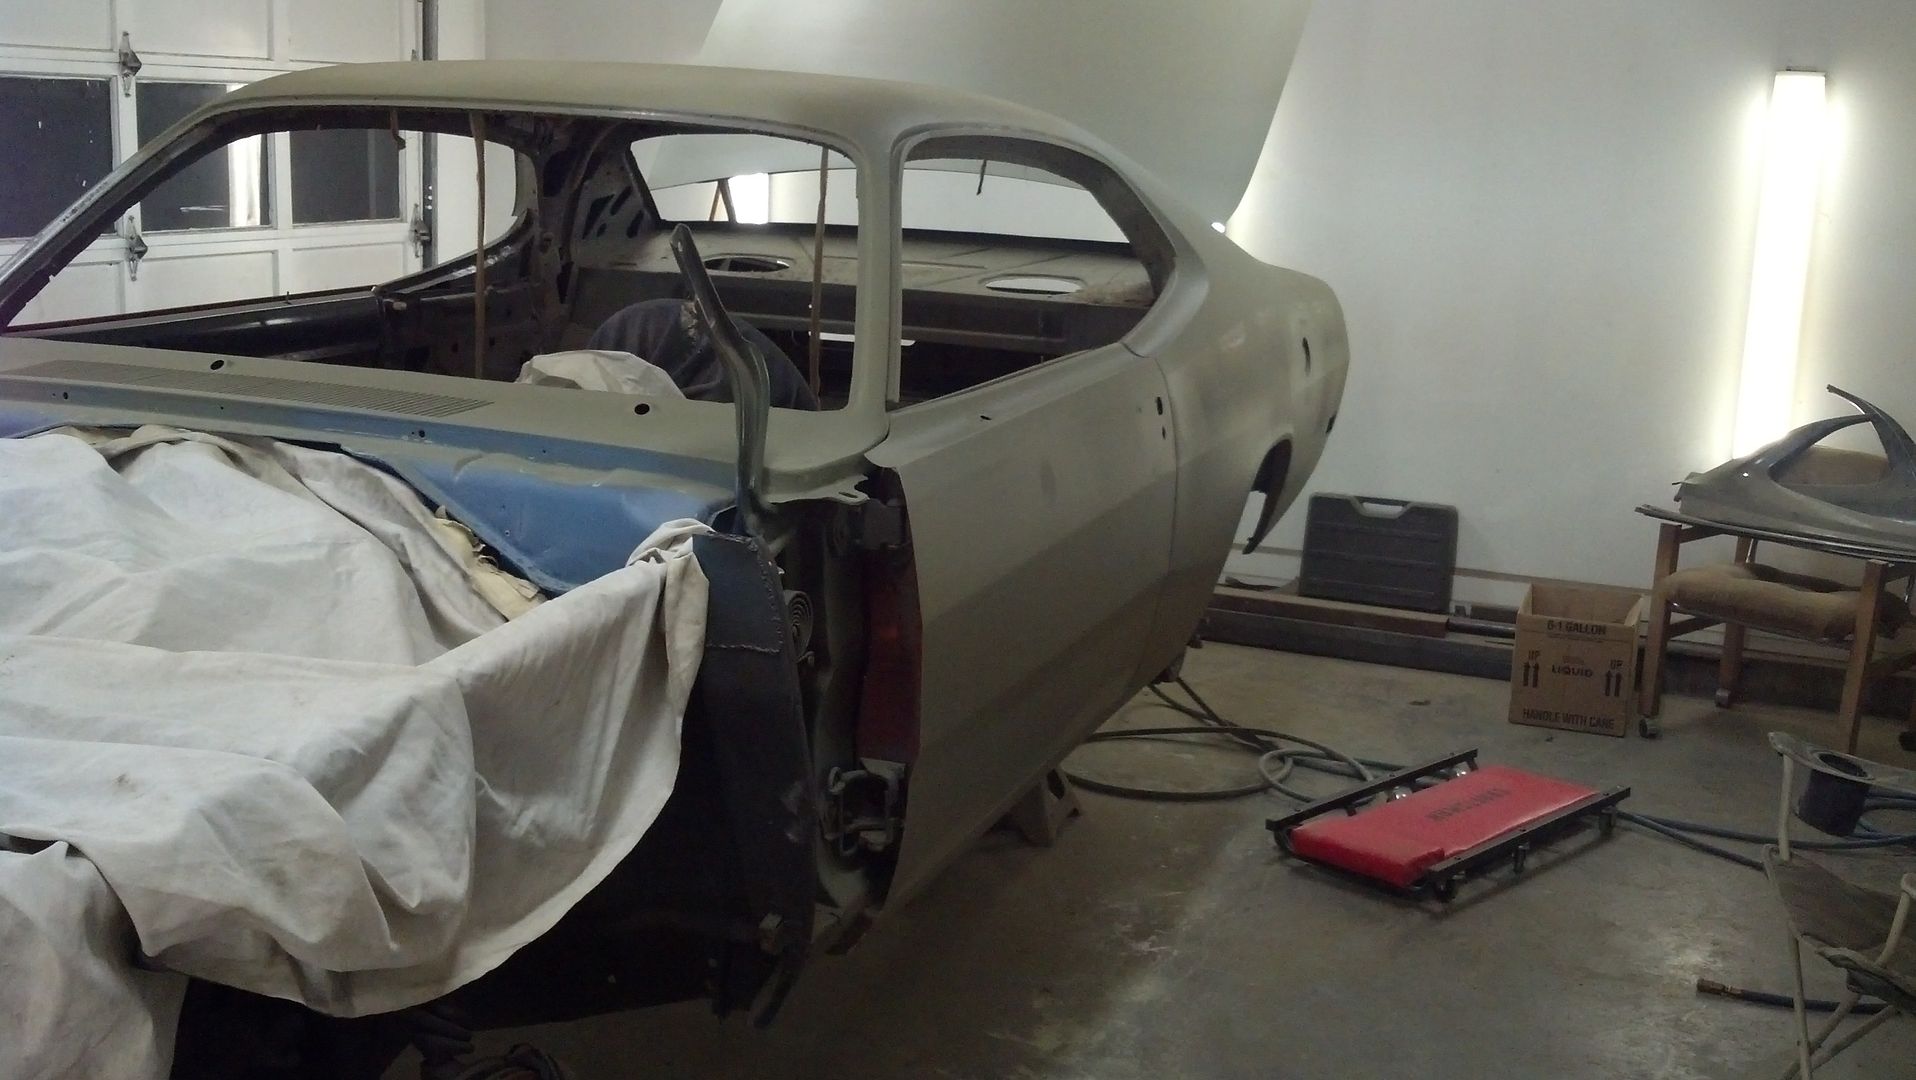
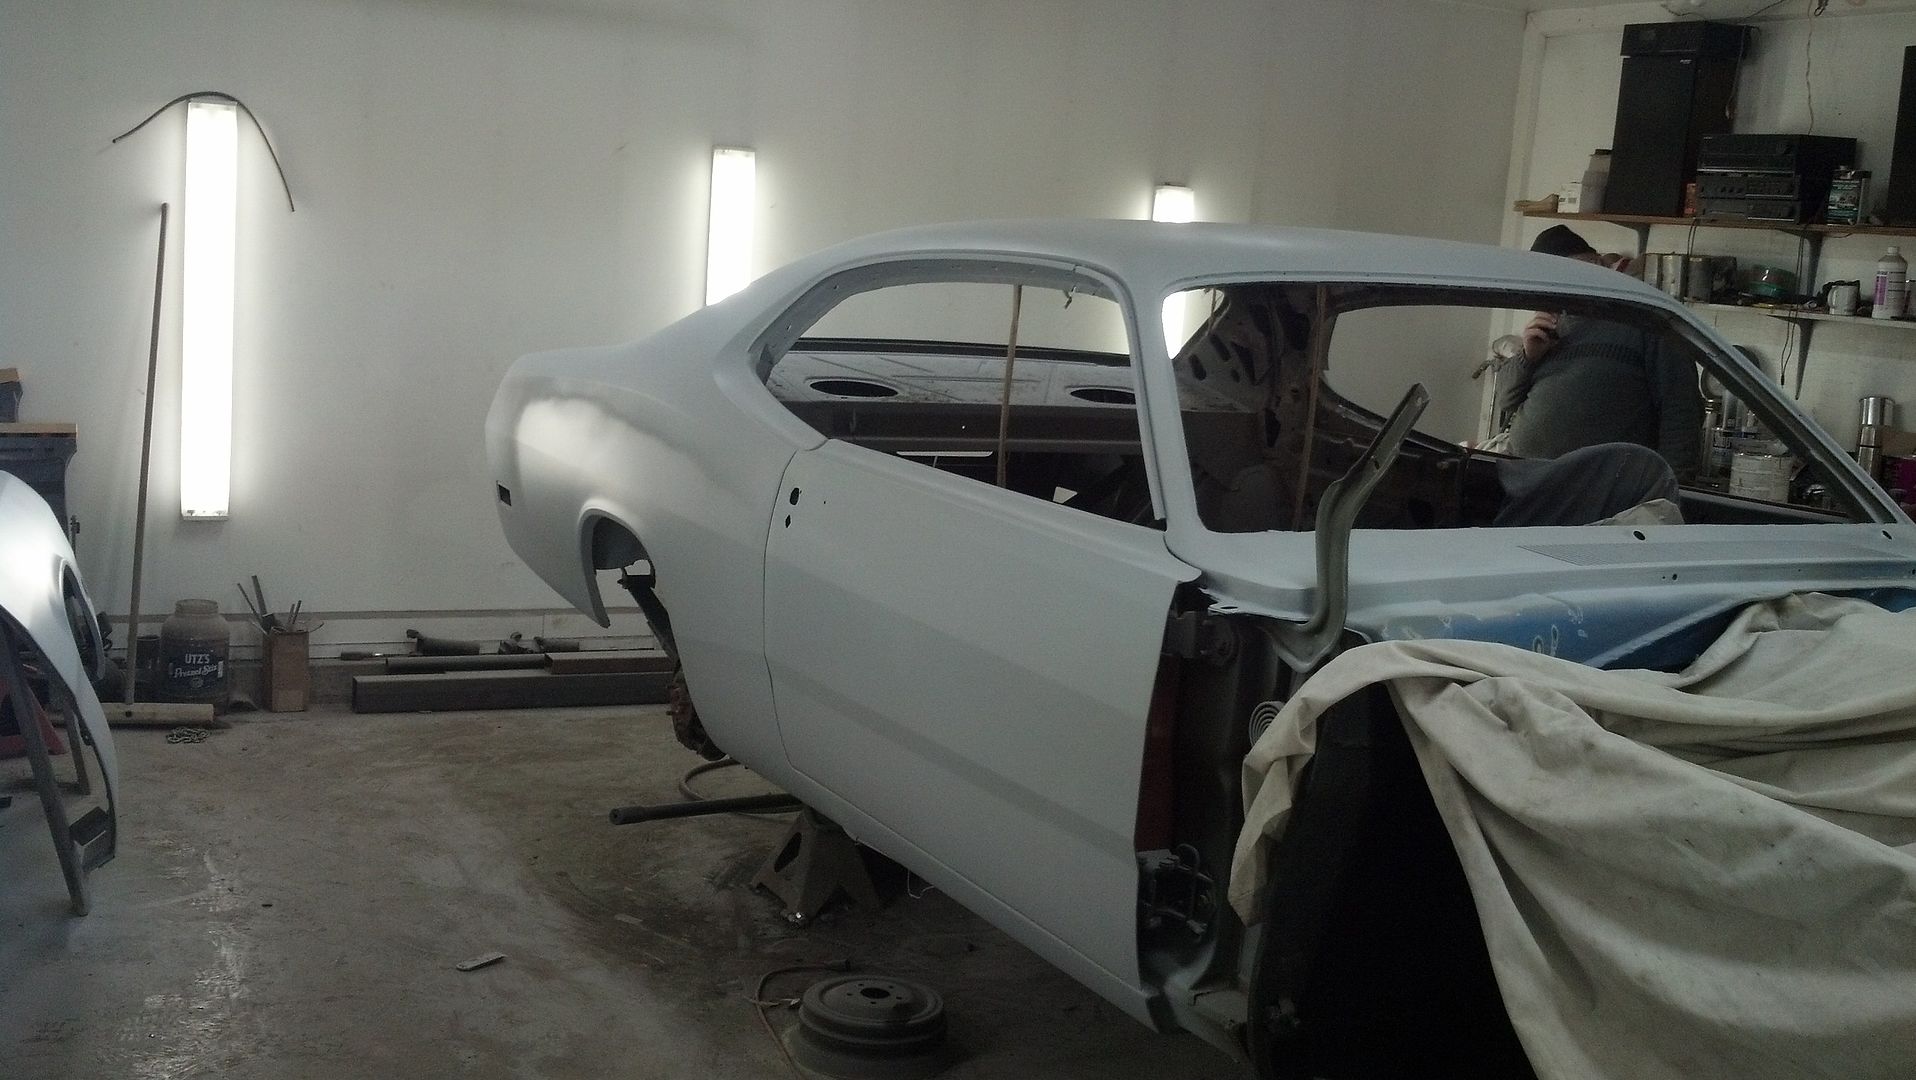
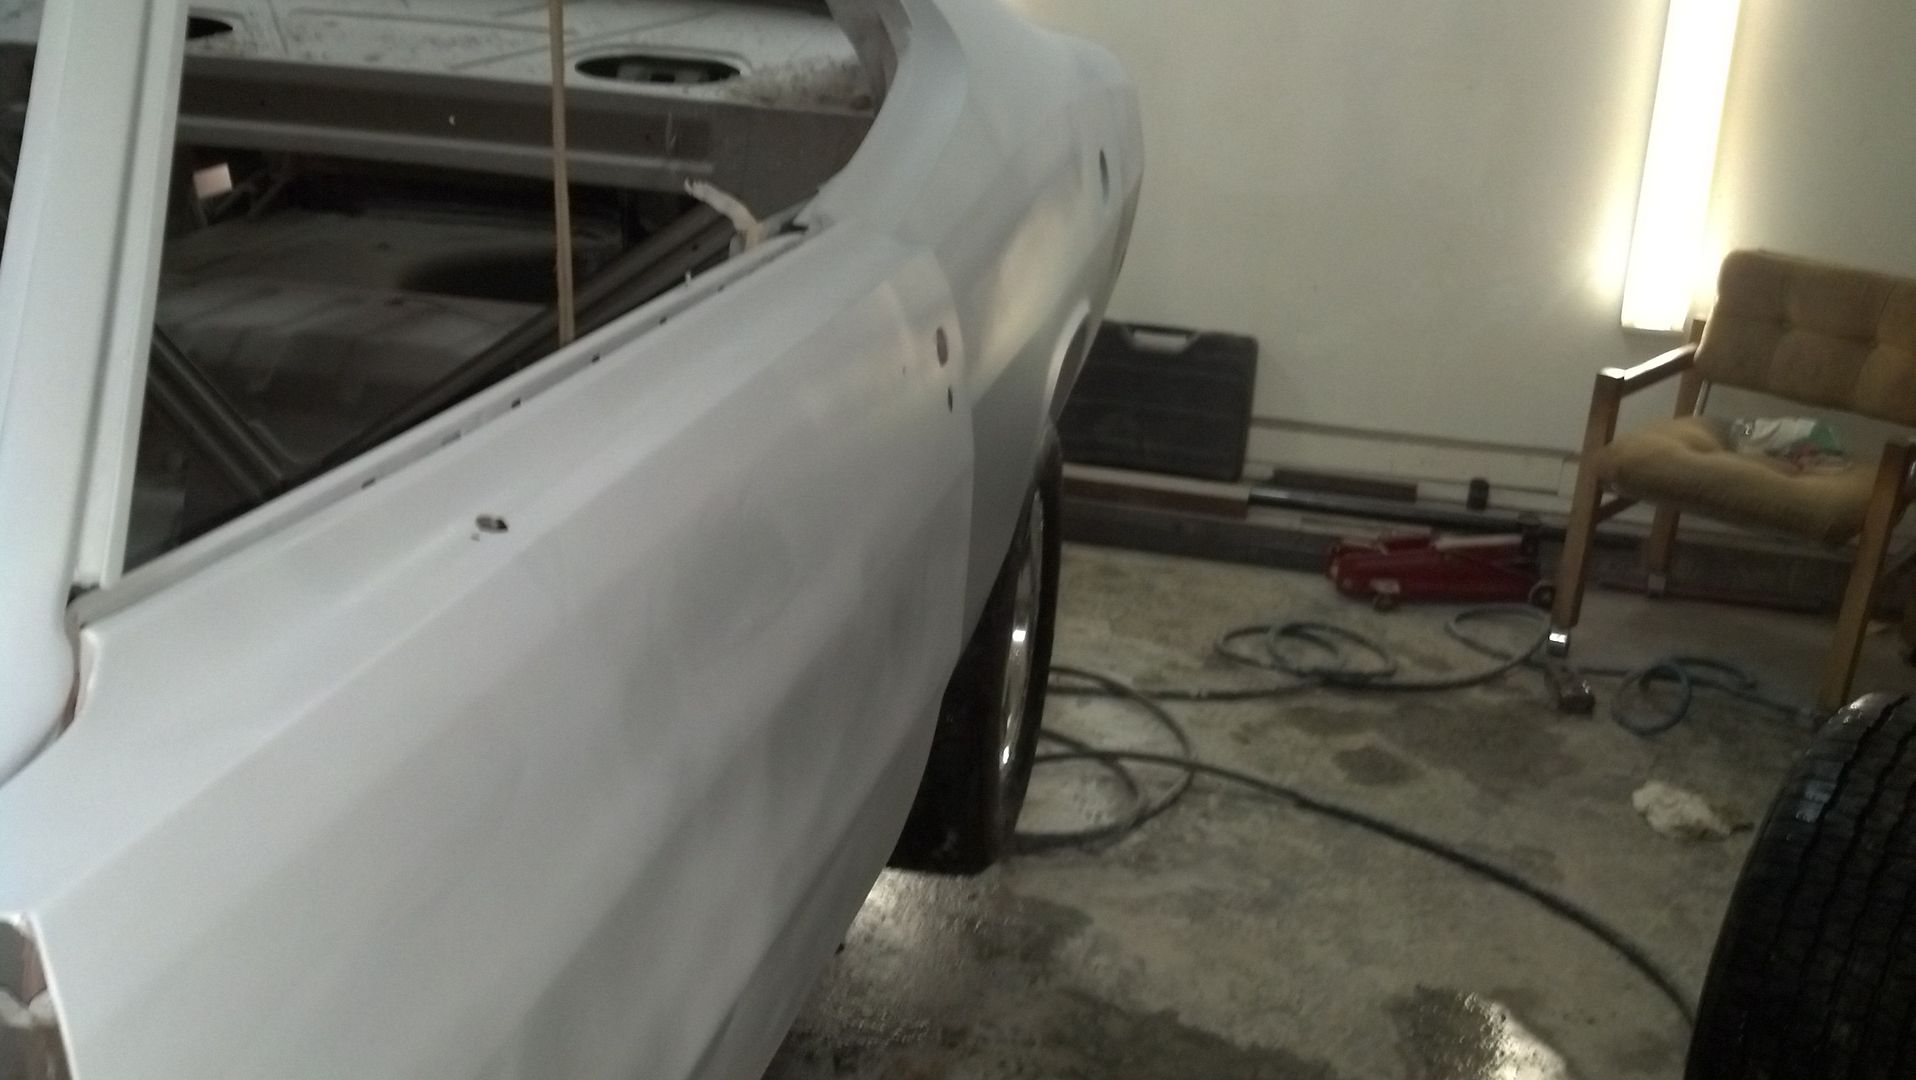
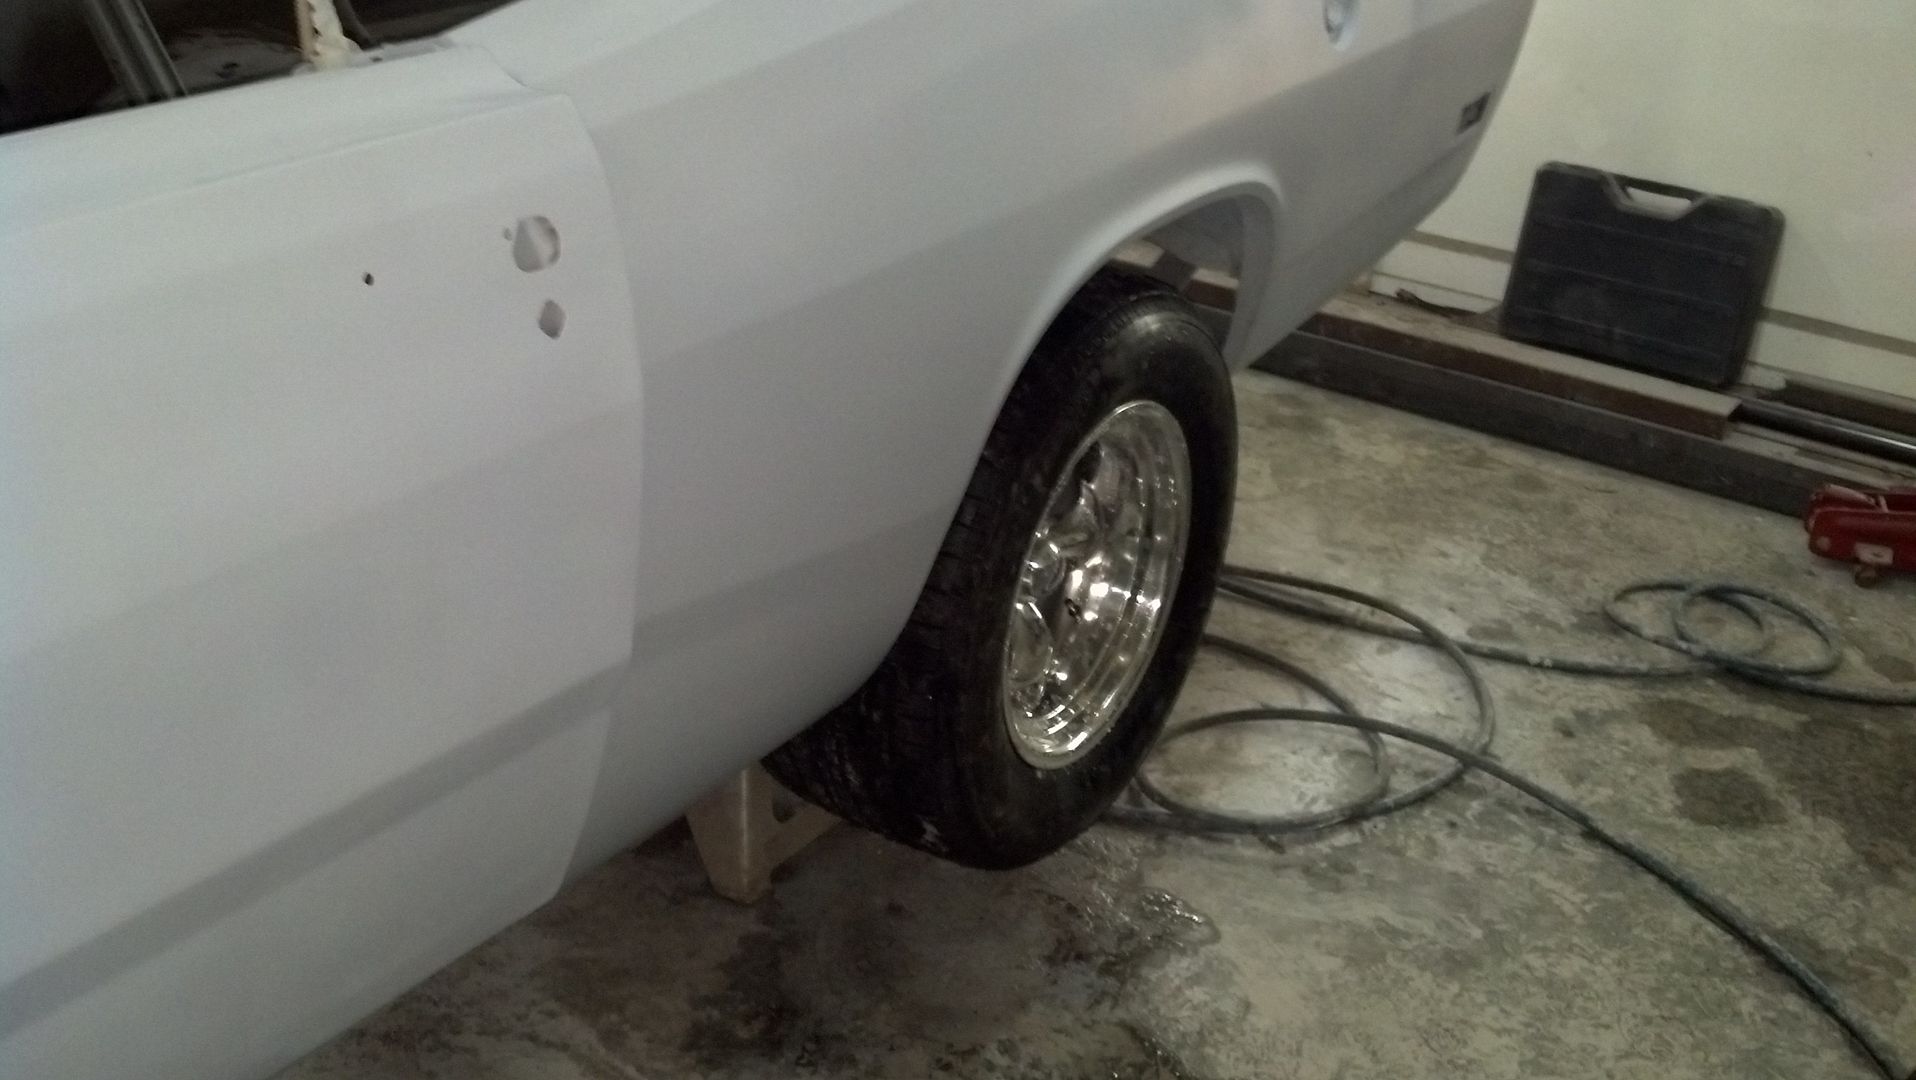
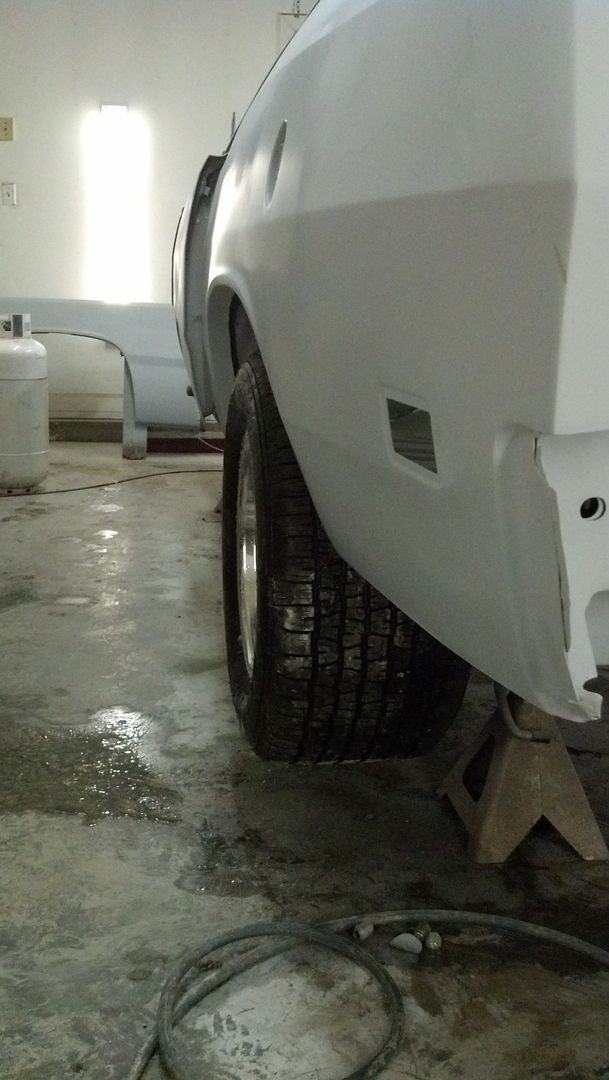
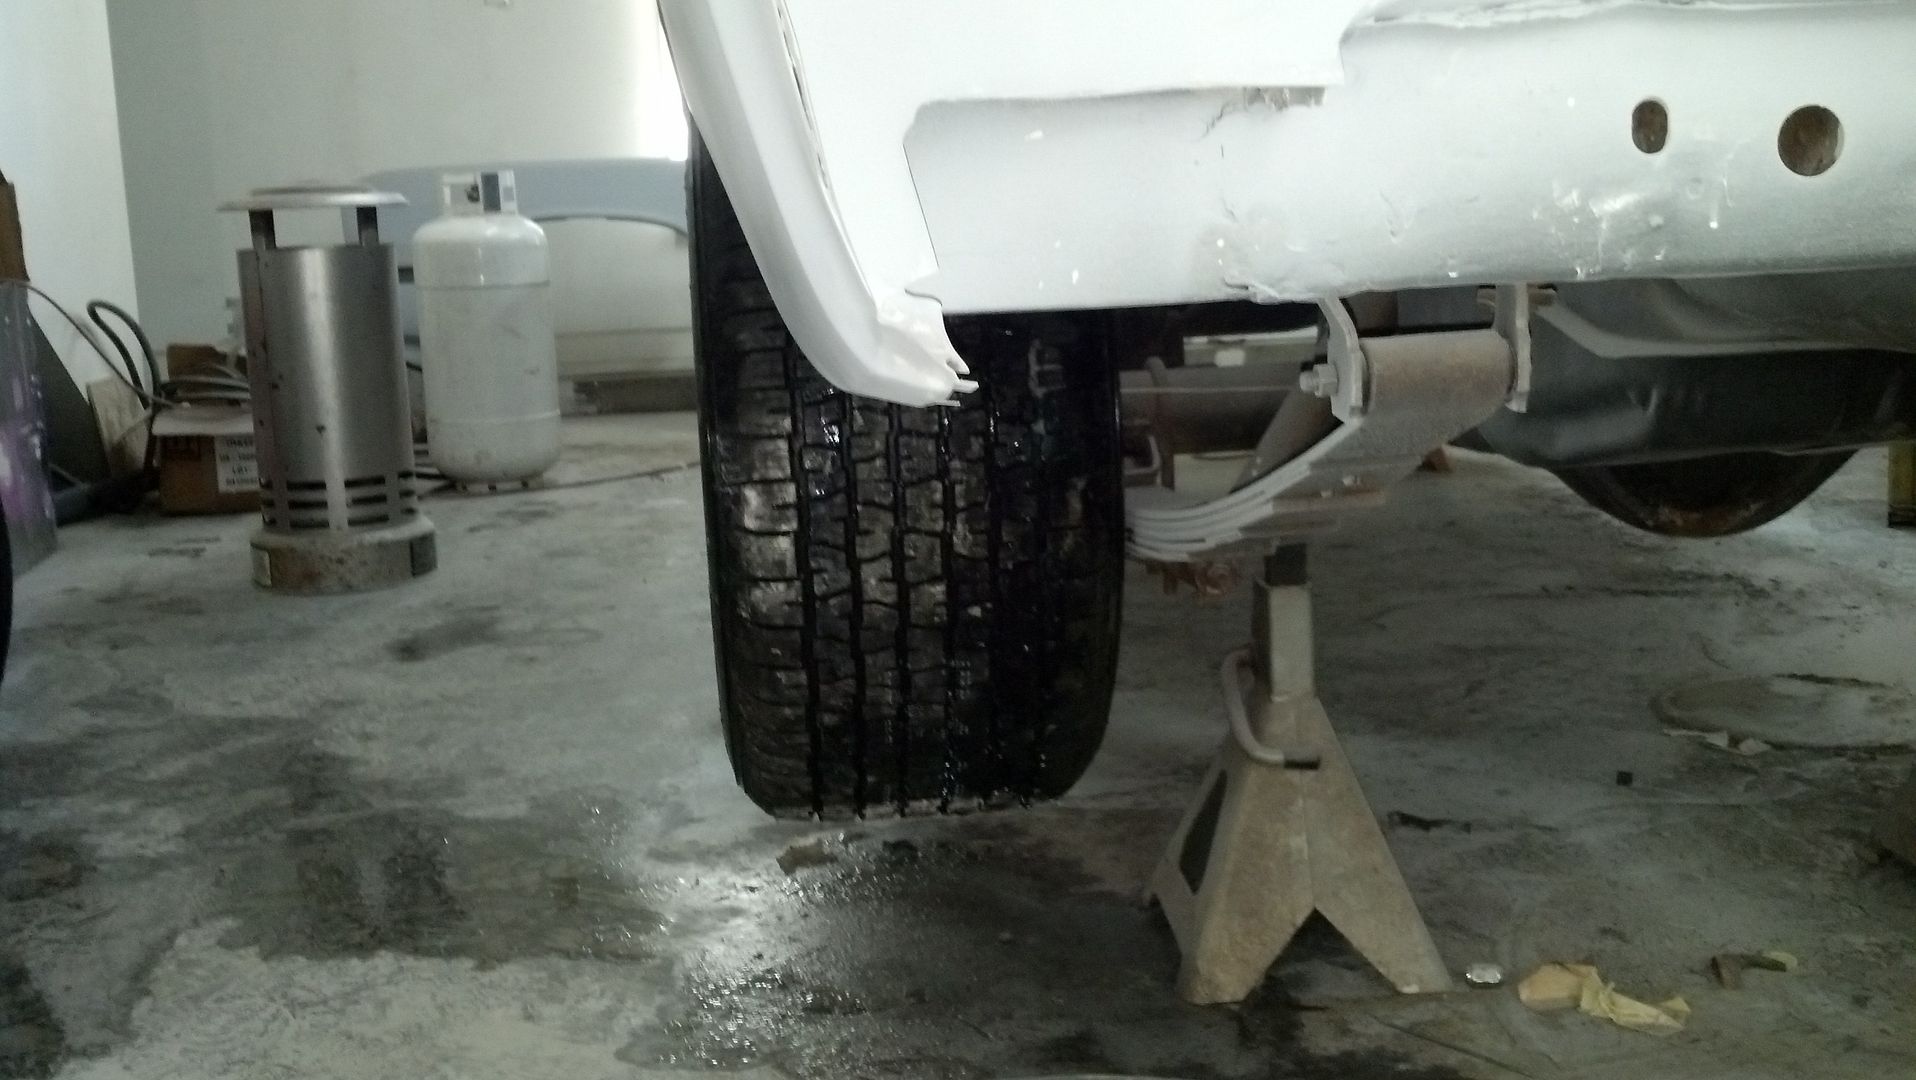
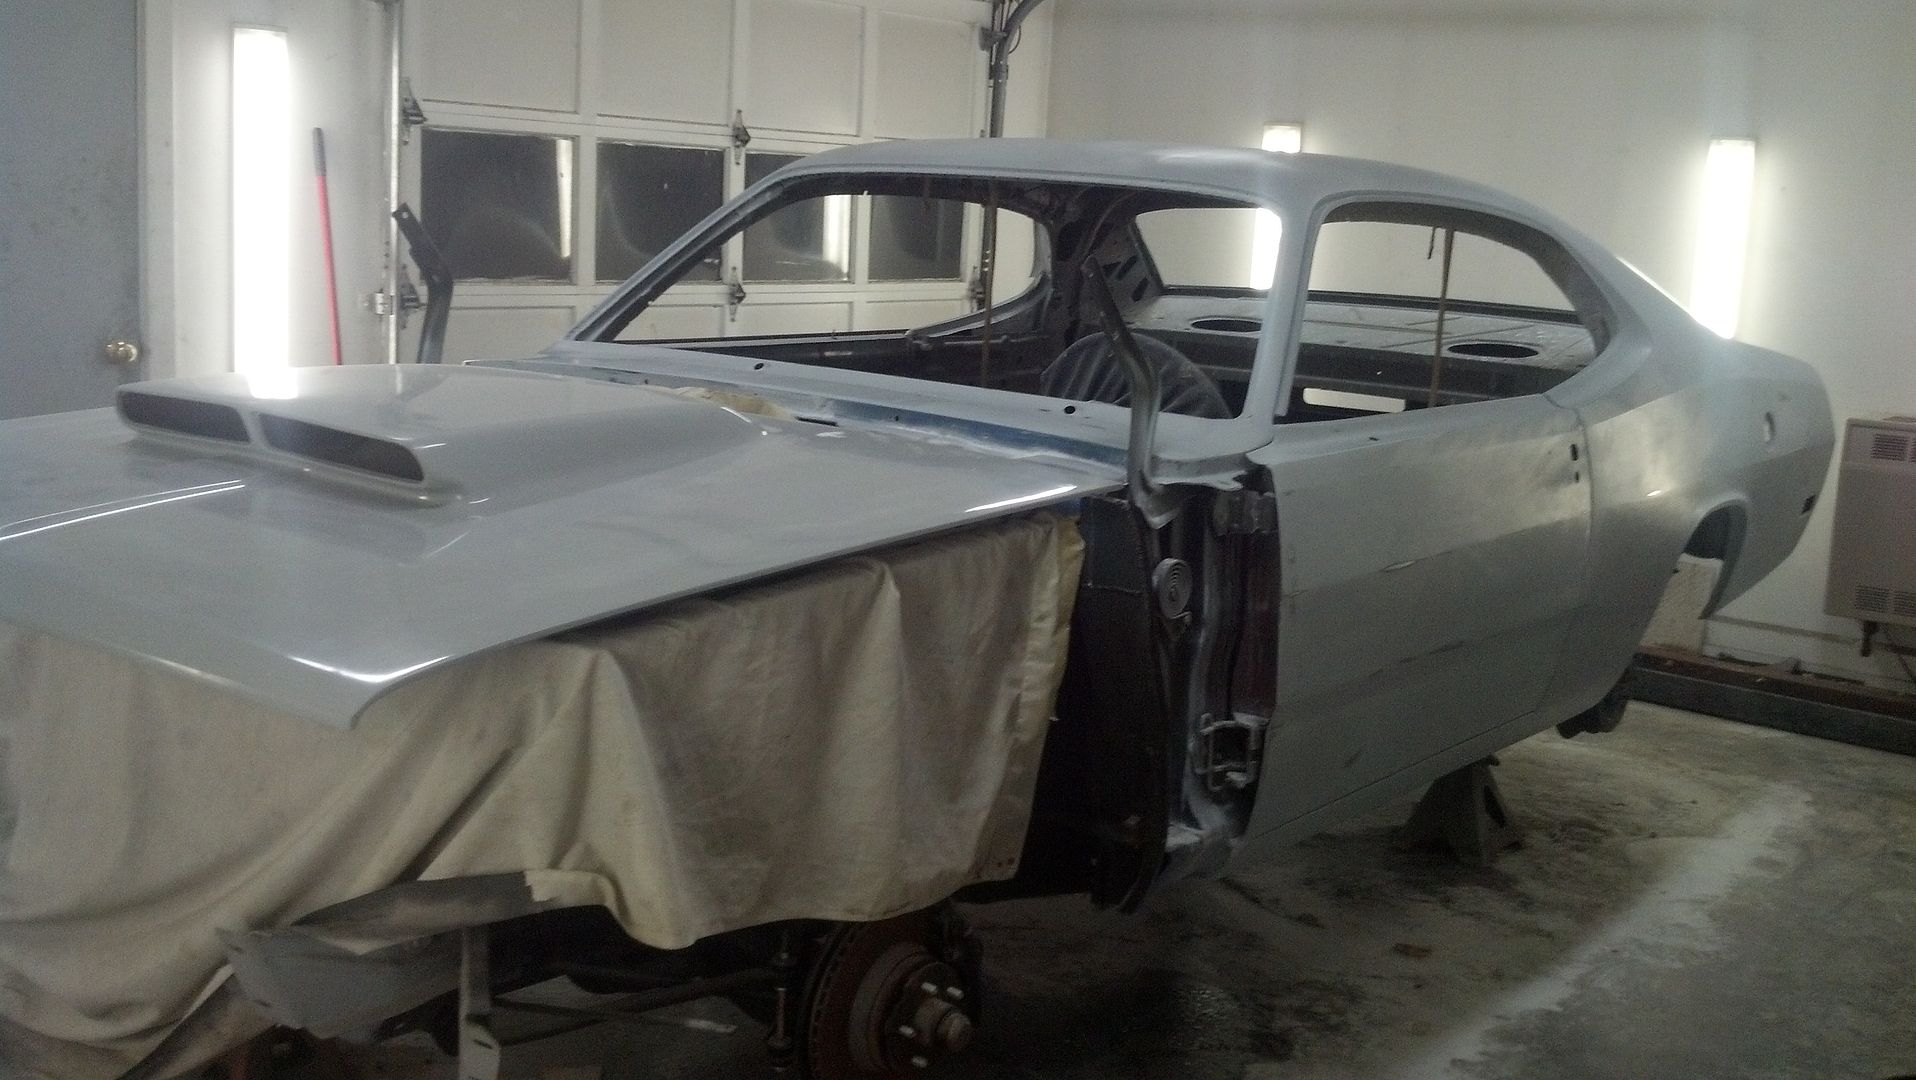
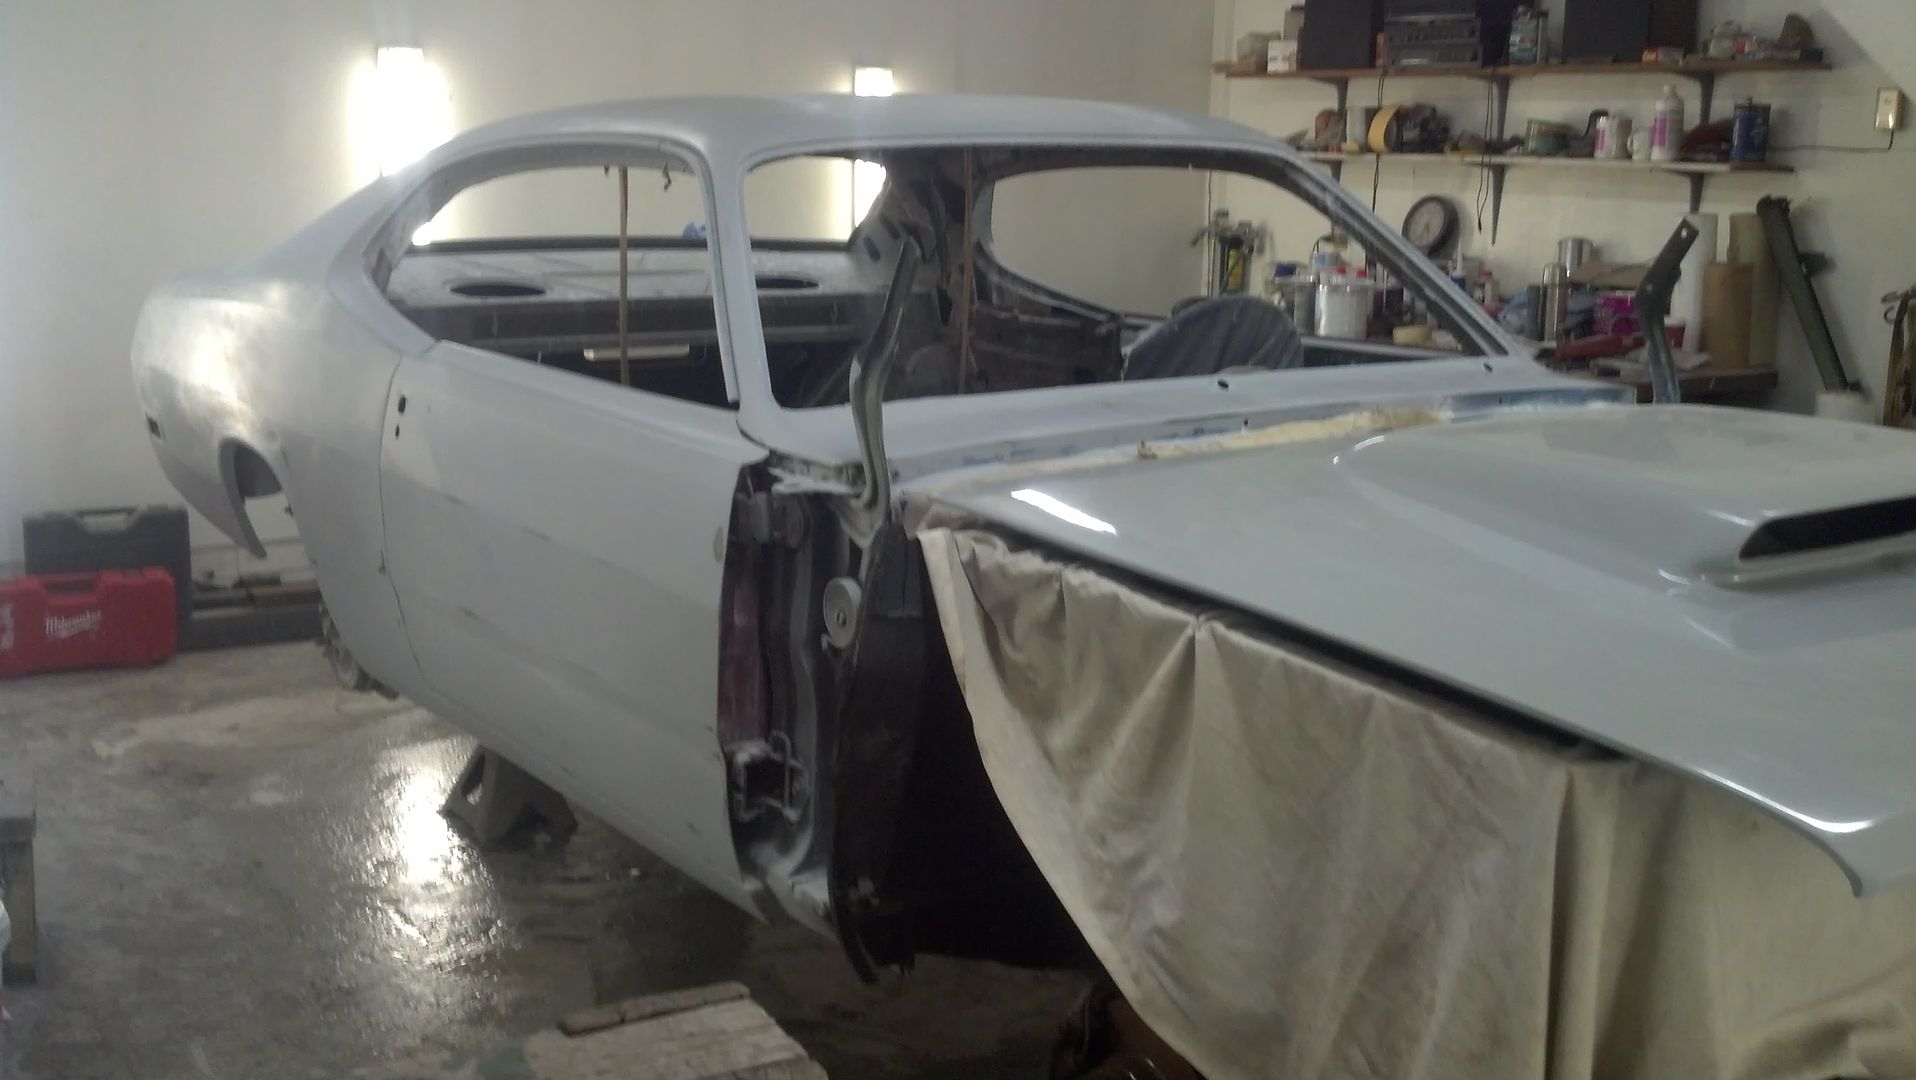
This driver side door line was a pain. We ended up having to recut our spot welds on the door post half way down and using a hook from the wall and a ratchet strap we pulled the quarter out very slowly and welded it back in. Now the line is perfect which you can see in the last picture.
IMG_20140102_093637_017.jpg

IMG_20140106_191959_064.jpg

IMG_20140106_192019_320.jpg

IMG_20140106_191945_823.jpg


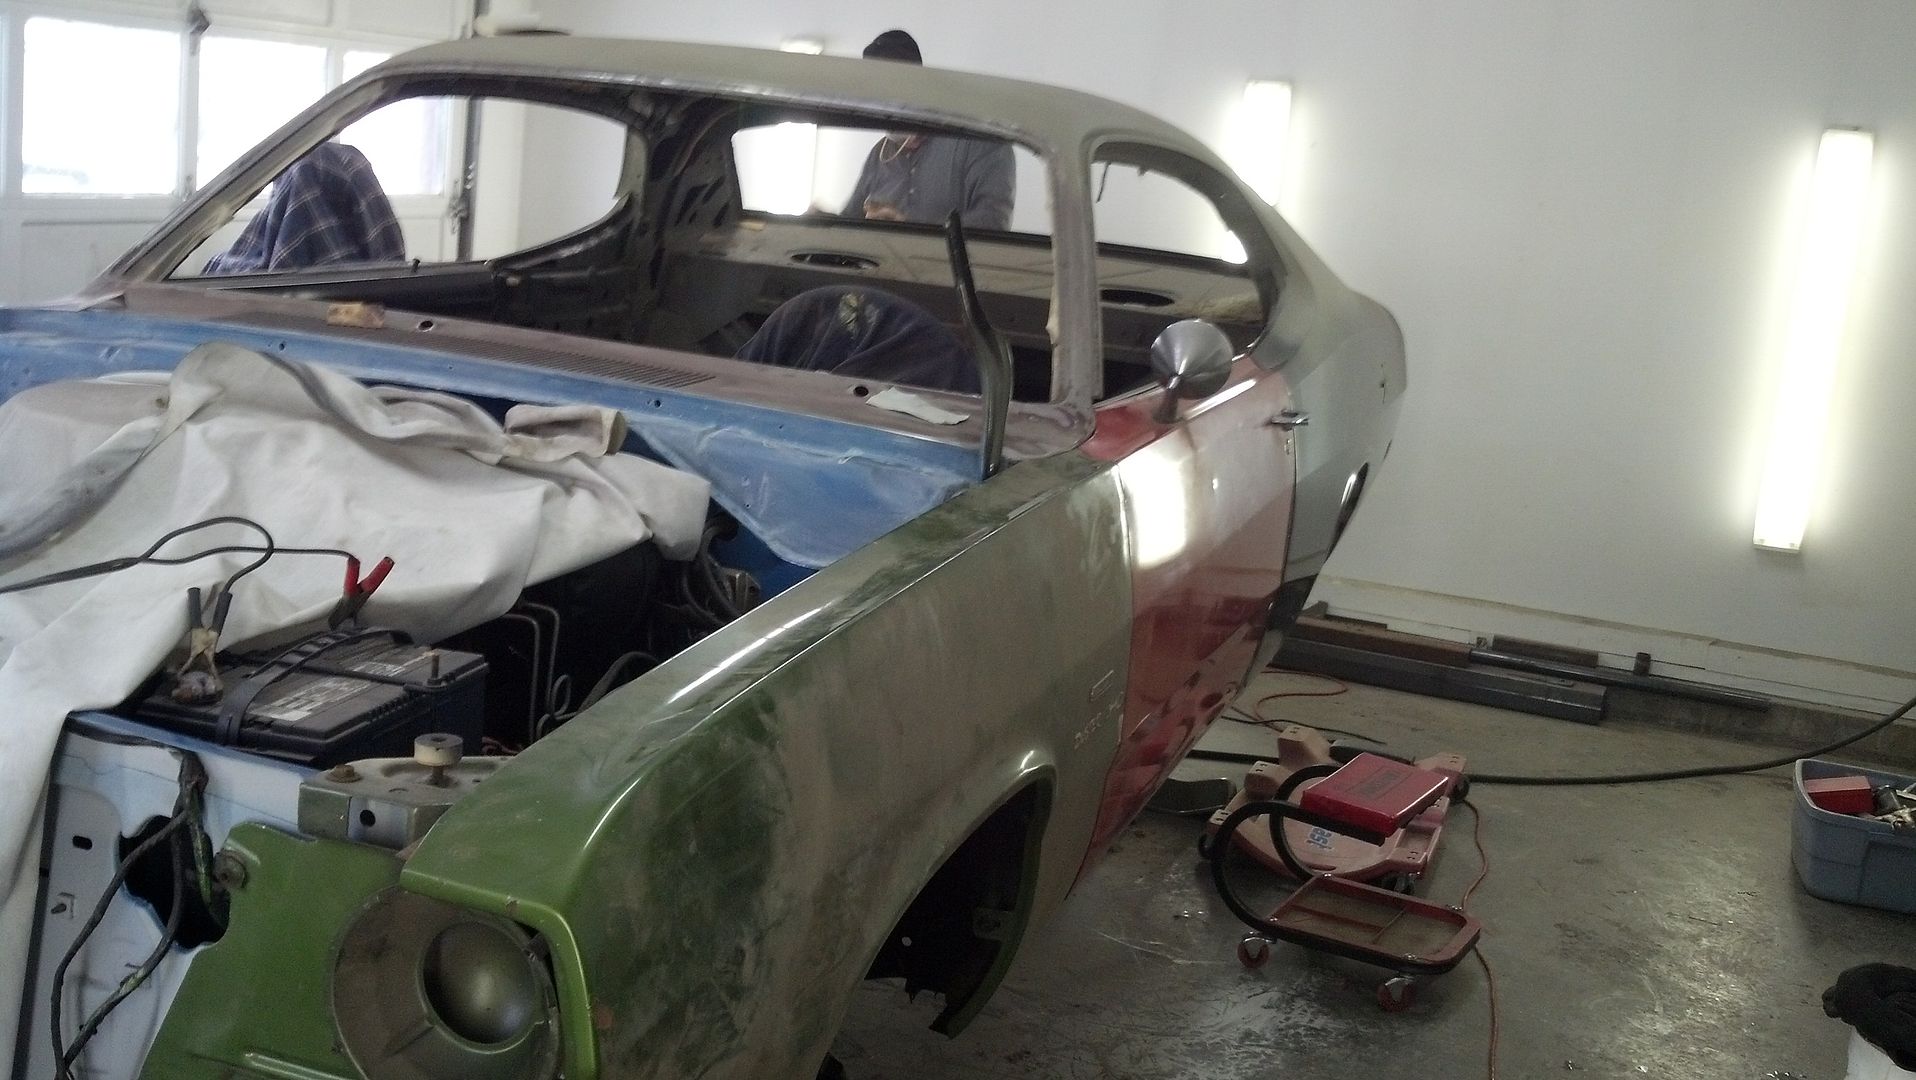
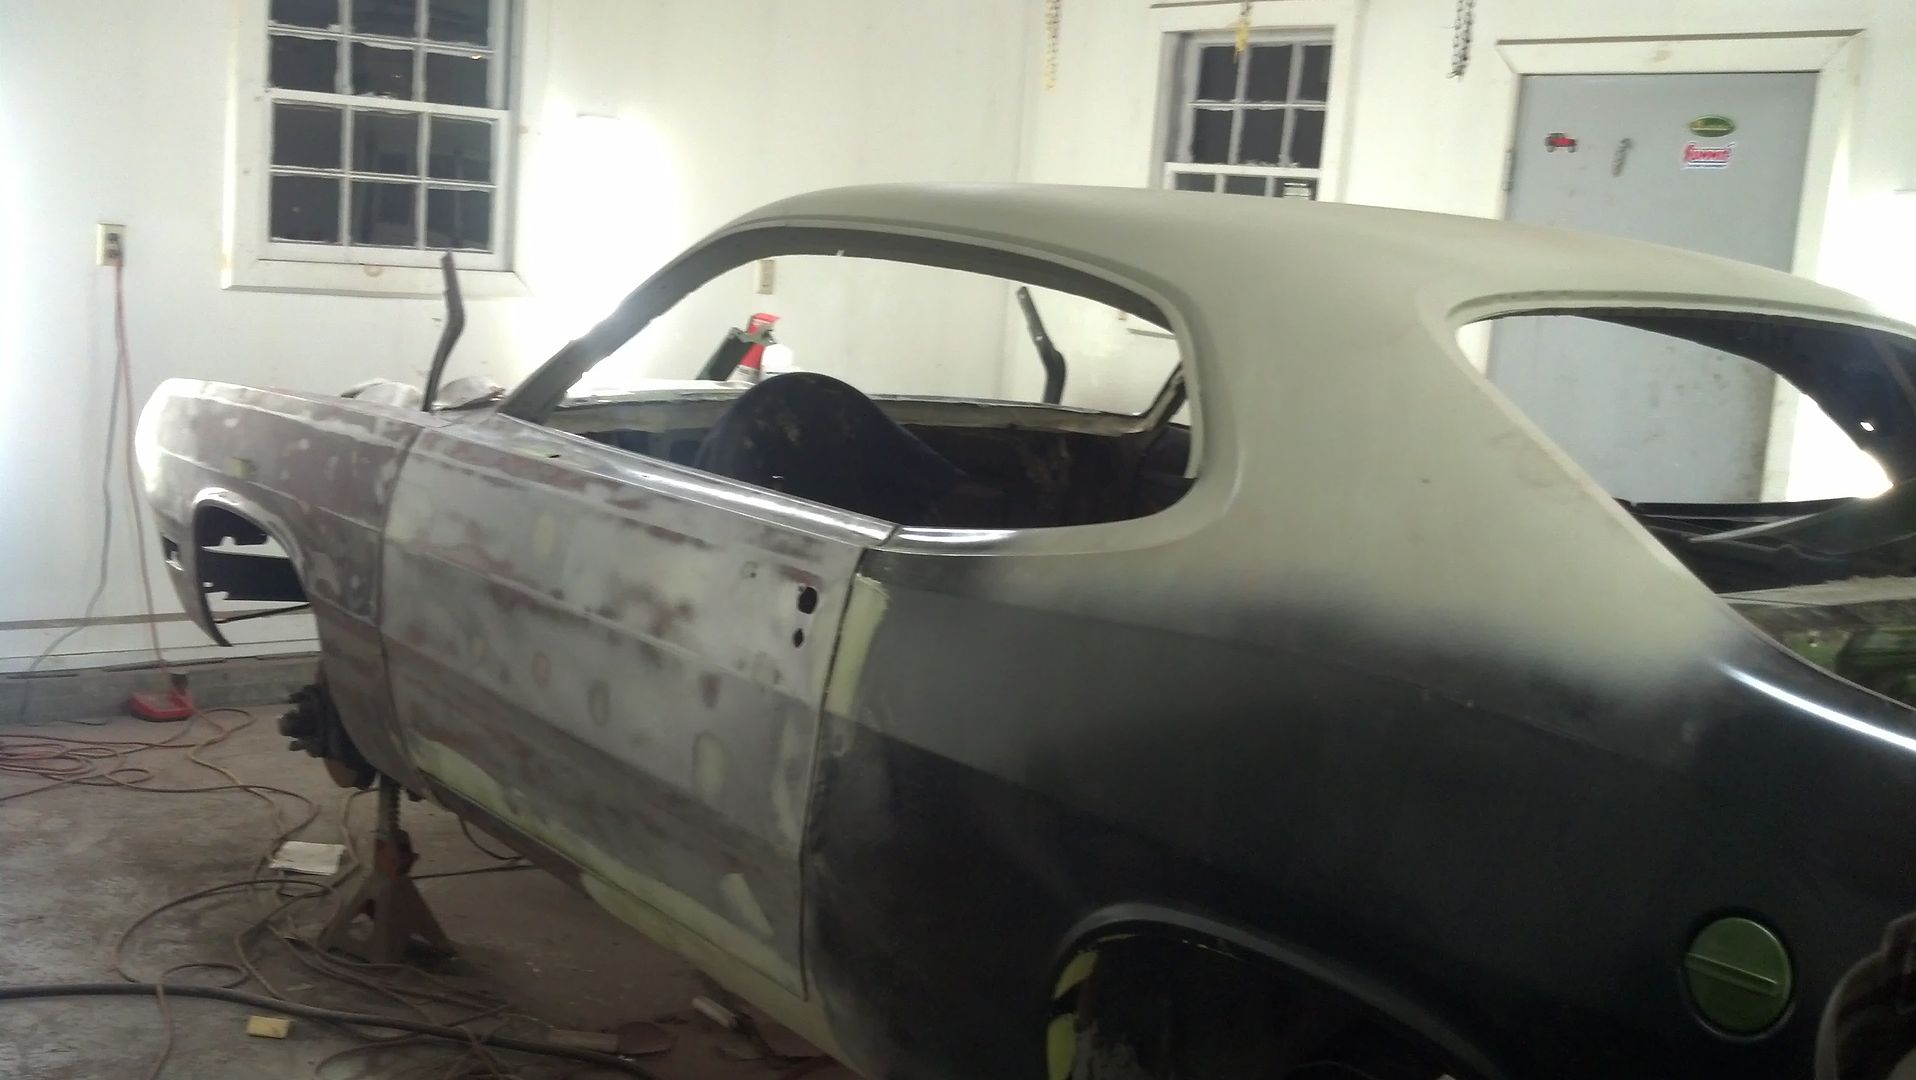
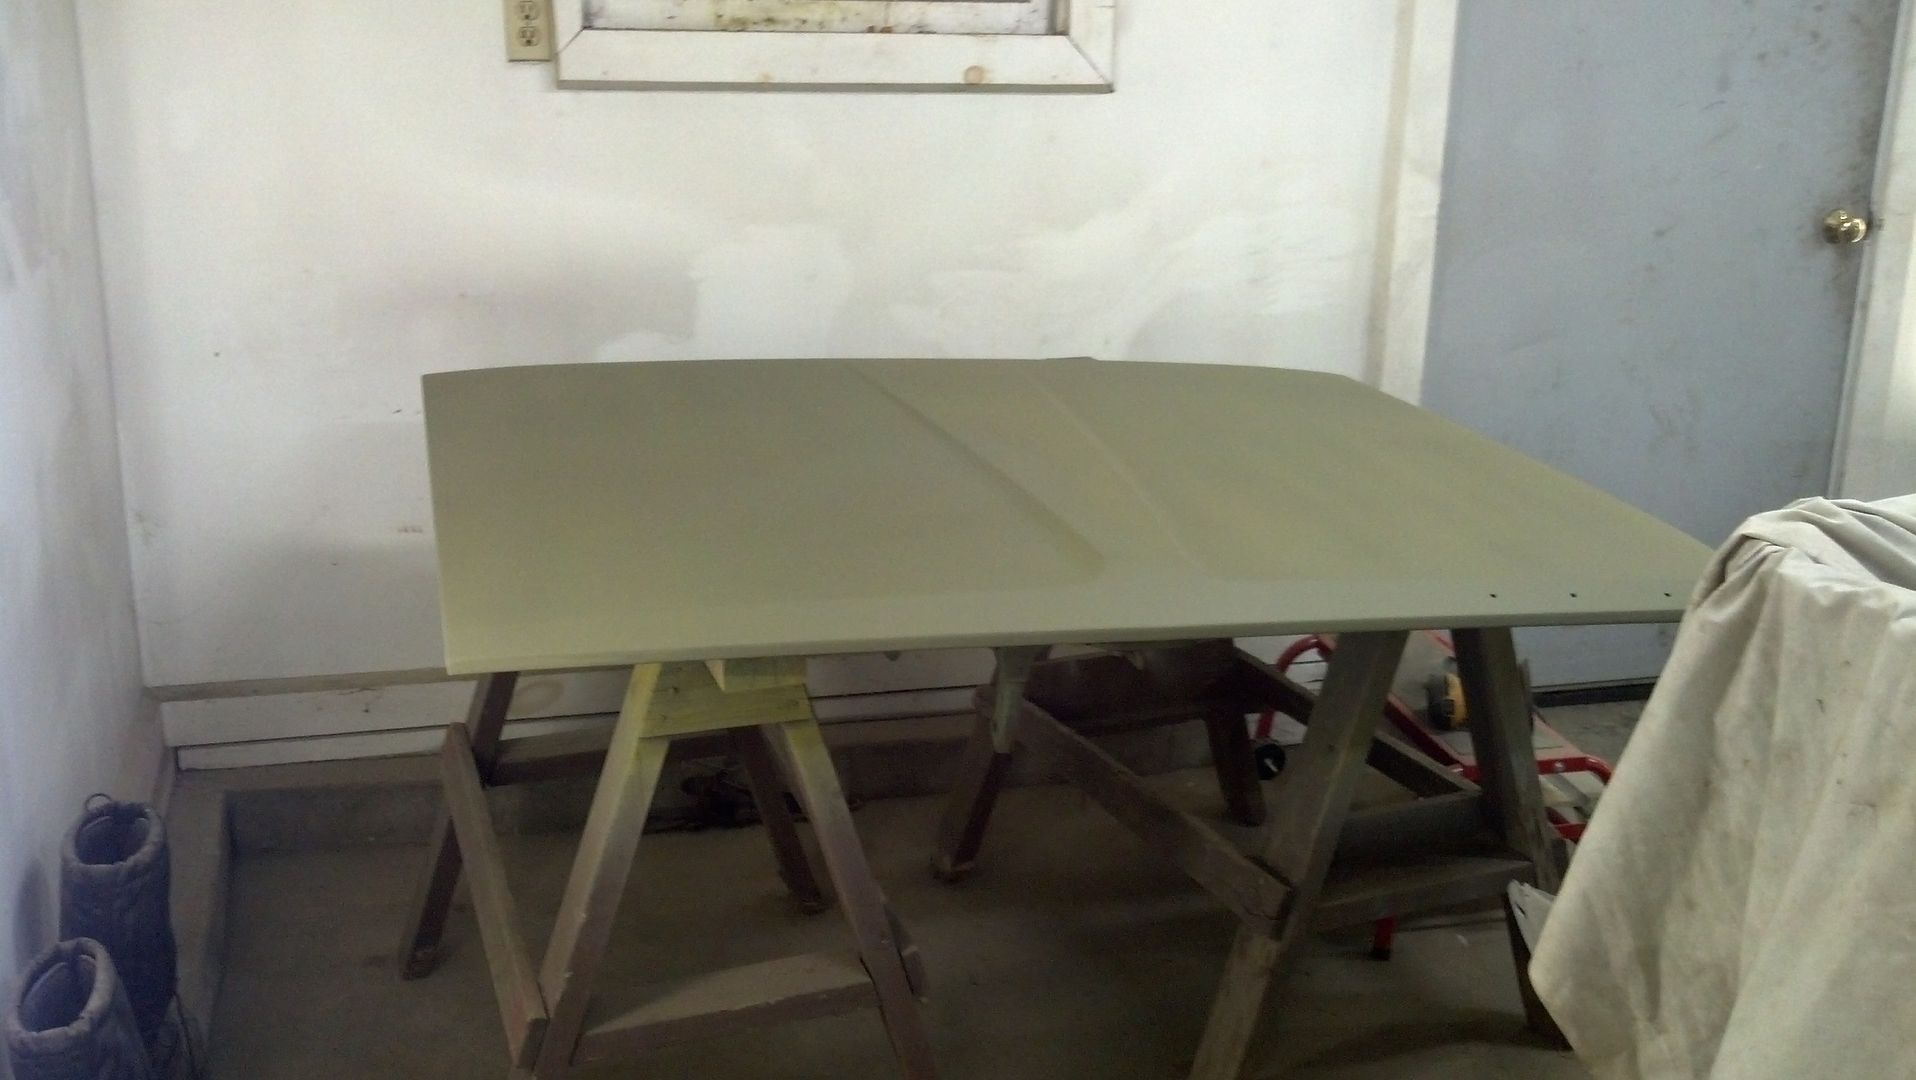
Hopefully it will be in etching primer this weekend so I can stop spending $20 a day in propane to heat the shop. Then we'll finish the little body work to get it filler primer on, block it out, jam the whole car, and then paint! (ha if it was just that easy :happy6:)
 
great project. now that to quarters are on i think the worst is behind you. there a pain but worth it.
 
I ended up going with the 3/4 spring relocation kit to squeeze in a 10" 5.5"bs wheel with 295/50r15's.

Also where have you guys gotten the 2 individual duster hood scoops?

Thanks!


IMG_20140119_185741_536.jpg

IMG_20140119_185753_980.jpg

IMG_20140119_185803_998.jpg

IMG_20140119_185817_186.jpg

IMG_20140123_172837_854.jpg

IMG_20140123_172755_836.jpg

IMG_20140123_172808_739.jpg

IMG_20140123_172849_732.jpg

IMG_20140123_172924_113.jpg

IMG_20140123_172945_235.jpg

IMG_20140123_172959_247.jpg
 
looking great. that tire size will look awesome on there. what kind of rims you going to use?
 
looking great. that tire size will look awesome on there. what kind of rims you going to use?

I ended up going with Coys C- polished aluminums in a 15" wheel.

Top right picture. They are the only ones I could find 5.5" backspacing in a 10" wheel for a 5x4" bolt pattern. Plus I really like the looks of them. Alot like the old Crager style. Then the fronts are a 15x7 with a 4" bs running 215/65r15 tires.

http://coyswheel.com/coys-c5-1415.html


Also last night for the first time I bolted the hood on to make sure its going to close with the RPM Airgap intake and the stock 340 air cleaner, come to find out it BARELY does. Probably should have checked that a long time ago :lol:

duster.jpg


I got my shipment from Summitracing this week too :D

I ordered the 2.5" stainless steel Pypes Violator setup along with the QTP cutouts.
Got a line lock for the front brakes just for fun, new carpeting, headliner and bumpers.
Also ordered an HEI (coil on cap style) distributor along with a rev limited ignition module to go in the disy. I have a tendancy to get carried away horsing around so this should help protect the motor a little bit.

Aaannnddd now I have no money haha
 
Thanks!

Updates:

We got the 2nd coat of filler primer on Sunday. Now more wet sanding.

I decided to go with the 6 pack fiberglass hood from AAR Fiberglass. Ordered that, hood springs and a mix and match of the different year duster stripes I liked yesterday.

Going with the 72 340 side stripes that has the dust cloud and the 70 tail stripe with the duster 340 cloud in matte black along with painting the hood matte black. I also ordered a set of 1" lowering blocks to set the car down a little bit.
 
Lookin' good, Devin! You guys are making great progress. Kudos to you and dad.

Wish full quarters had been available when I did mine.
 
Hey you found it! haha thanks alot! The full quarters where such a pain tho. I'm glad we did them but it was just so much work getting them to fit right. And the middle body line just before the wheel well one each side pretty much disappears.... so we've been working on rebuilding that.
 
The wheels came in! The time we took measuring for the backspacing payed off! Nice wide tire still sits inside the wheel well. Just under 1/4" of space between the tire and leaf at 34psi.

:cheers:

Hopefully I'll see the fronts mid Feb since the blanks wouldnt be in till the first of this month but the rear was what we were really waiting for.


IMG_20140205_175100_045.jpg

IMG_20140205_175107_447.jpg

IMG_20140205_175118_366.jpg

IMG_20140205_175159_251.jpg

IMG_20140205_175136_572.jpg

IMG_20140205_175142_694.jpg
 
wheels are a tight fit,you sure that is enough room once its on the ground? sure look good though! those coys look really nice. i have been waiting to see them on someones a body thanks for sharing the pics!
 
wheels are a tight fit,you sure that is enough room once its on the ground? sure look good though! those coys look really nice. i have been waiting to see them on someones a body thanks for sharing the pics!

Well once its on the ground it should only bulge on the bottom but I'm a little worried about cornering etc. I may take another set of drums and cut the center out for a 1/8" spacer to bring me to 1/4 of space, I also have a buddy with a mill who could make me some 1/4 spacers quick. Or I'll bump the air pressure up.

And Thanks! The Coys are beautiful! I hadnt seen to many rigs with them either and I had read a couple bad reviews about Coys service along with good reviews. So I took a chance and ordered them. They shipped when he said they would and he (Dave) was great to deal with. He just got the front blanks in the first of the month so I should be seeing those in a few weeks.

since your building a blue 70 duster you should take a lot of this on on bigblockdart.com
maybe some inspiration, not mine but i think its sweet

http://www.bigblockdart.com/forum/showthread.php?3050-My-latest-progress

Okay thanks! I'll take a look.
 
What wheels are they? They look a lot like the summit wheels I'm running on my Car.
 

Attachments

  • IMG_0492 LR.JPG
    92.3 KB · Views: 530
They are Coys wheels, but I read that they come from over seas? So its possible that they both get the blank from the same vendor.
 
I ended up getting longer rear studs and 5mm thick spacers for the back to get the tire away from the leaf spring. I could pull the tire with my hand with 34psi and get it to barely rub at the front of the tire so that wasnt going to work.

Also bought a driveshaft hoop, foam bump stops and 1" lowering blocks for the car to set it down a little bit. We're gonna get the exhaust on and set the car on the ground before I put the blocks in to see how high it sits. Then once we decide whether or not we'll do the drop blocks i'll build towers for the bump stops on each side so I dont hit my rear quarters.
 
just wondering did you cut the lip on the quarter?how much room do you have between the tire and the quarter?
what you have is what i would like on my demon. any advise would be appreciated :)
 
just wondering did you cut the lip on the quarter?how much room do you have between the tire and the quarter?
what you have is what i would like on my demon. any advise would be appreciated :)

Hey Fez,

We were going to cut the quarter but with the amount we could cut without being into our spot welds it still wouldnt be enough to sink the whole tire up there. So I ended up buying the foam bump stops so the tire wont hit the lip. I havent made them yet but I'll keep you posted. I did get the 5mm spacers in but havent taken a picture or measured the distance between the tire and fender yet either.

I'll be gone to Ohio for work for a week but I'll try to measure that for you and take some pictures when I get back!
 
The hood came in! Its not all the way on in the pics just resting infront of the springs. We're at about 60 hours of wet sanding now and time is running out. Just got my move date of the second week in April to head to NC and i'll be in Virginia the week before for the forger run off so hopefully we can get it painted in time!

Hood2.jpg

Hood.jpg
 
Just got the 4th coat of filler primer on last night!

Here's a couple pics right before we sprayed it after wet sanding.


IMG_20140304_201254_811.jpg

IMG_20140304_201512_880.jpg
 
how it the progress going? will you have it painted in time for your move?
 
Hey Fez,

Thanks for the interest! Unfortunately with some other pojects I also had to get done before I moved the Duster still sits as it did in the last picture.

The front wheels came in but thats about it. My dad got a job up in Maine for a few months as well but we're working on setting up a week that I can go back up and get a solid 5 days in on the car. Maybe we can at least get started on the paint.

I have also changed the direction of the engine. I'm going to return the full pypes exhaust setup and cutouts to summit and go with a GT45 turbo running 5-9 pounds of boost. :D

I have built a few of my own fuel injection setups on my jeeps with junkyard tbi's so I am going to use a 454 throttle body with an external regulator and Aeromotive fuel pump acting like a blow through carb with a little more tuneability.

BUT that will all come once the car is painted and down here in NC. Currently I am just doing all my homework and starting to gather parts but I still have alot to learn. Should be a fun car after that though!!
 
-
Back
Top