Resurrecting the 1966 Dart Wagon

-

m880cummins

Well-Known Member
Joined
Jun 10, 2012
Messages
76
Reaction score
3
Location
Parkesburg, PA
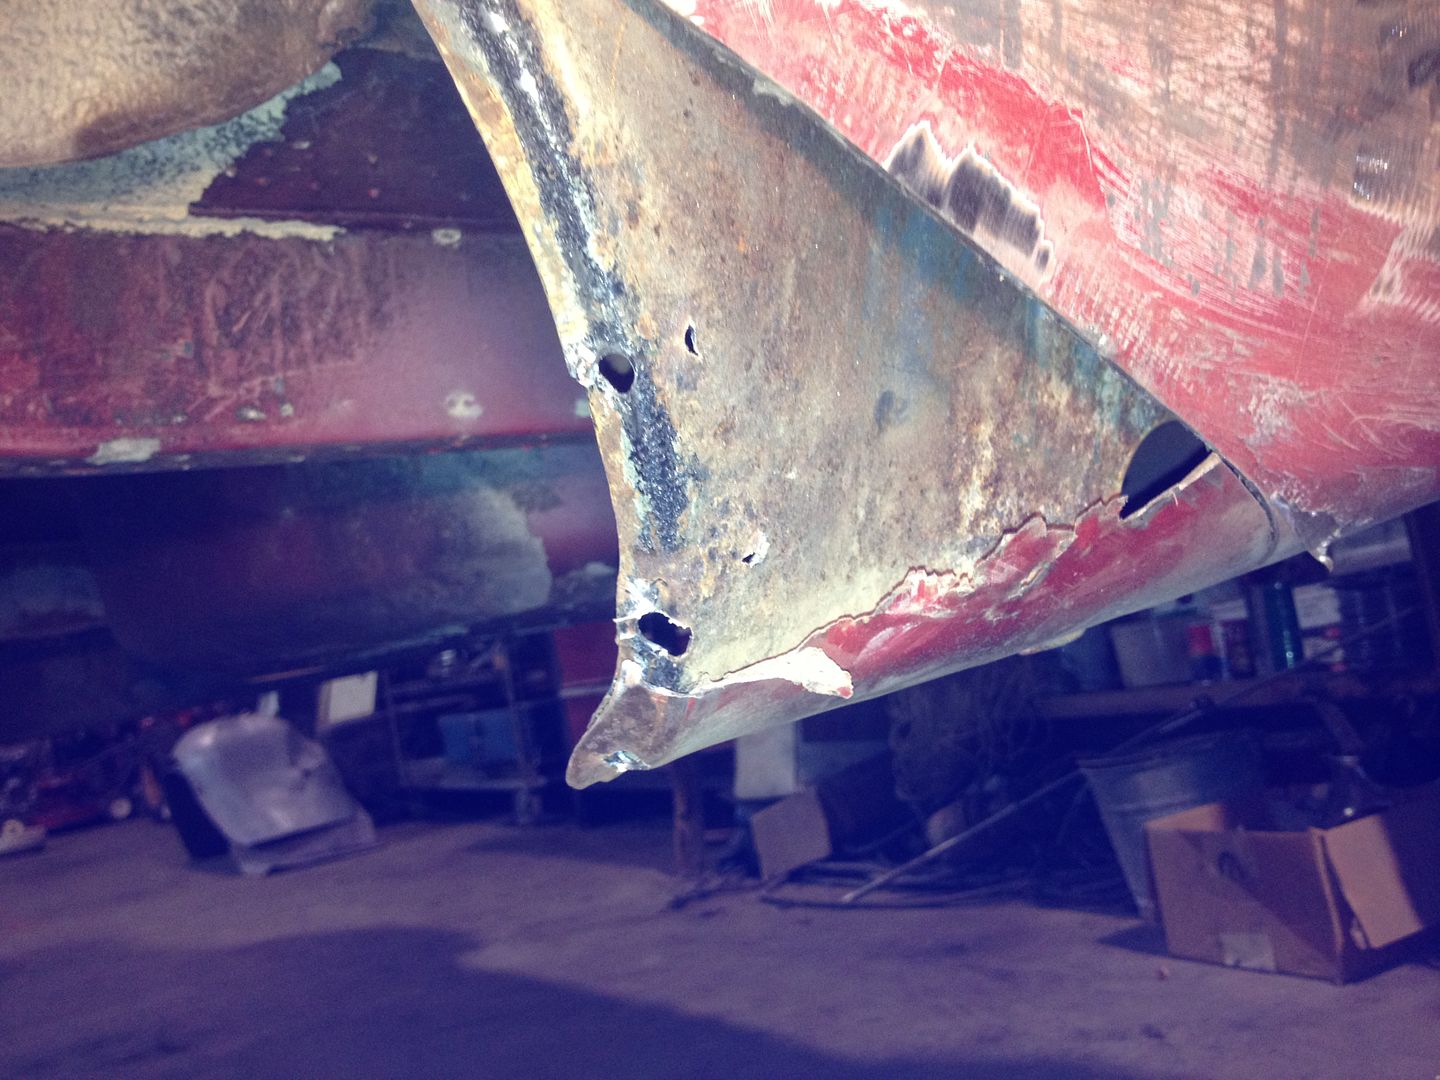
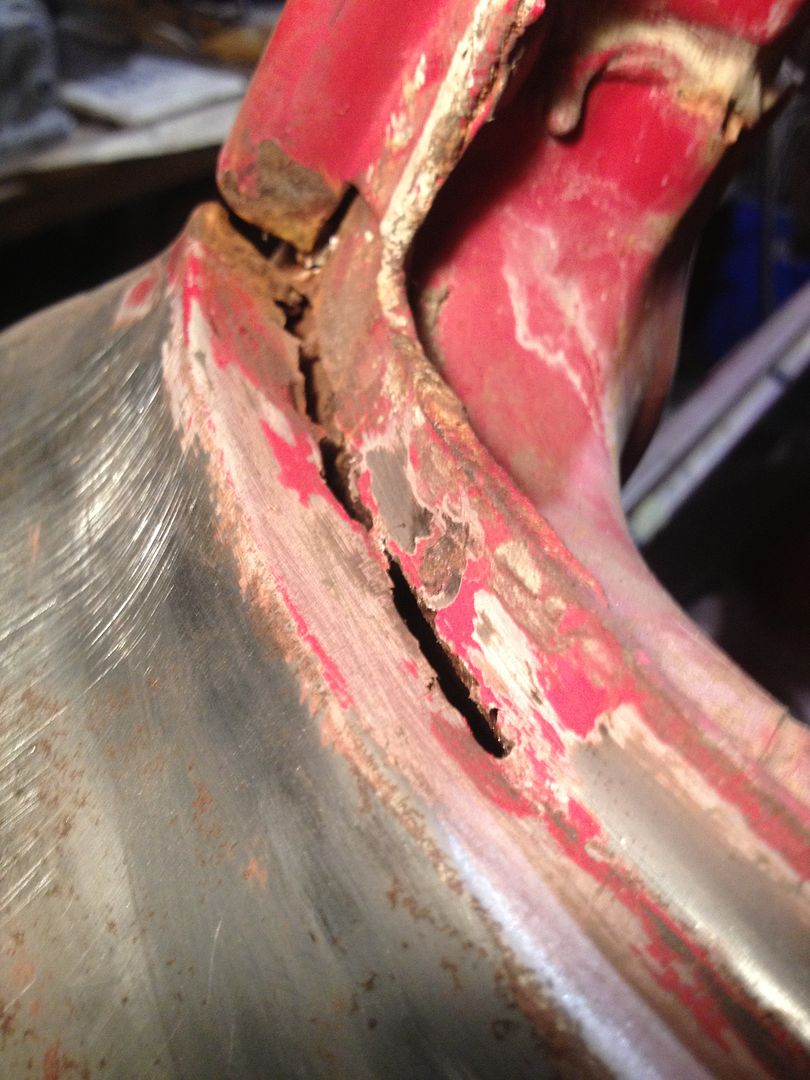
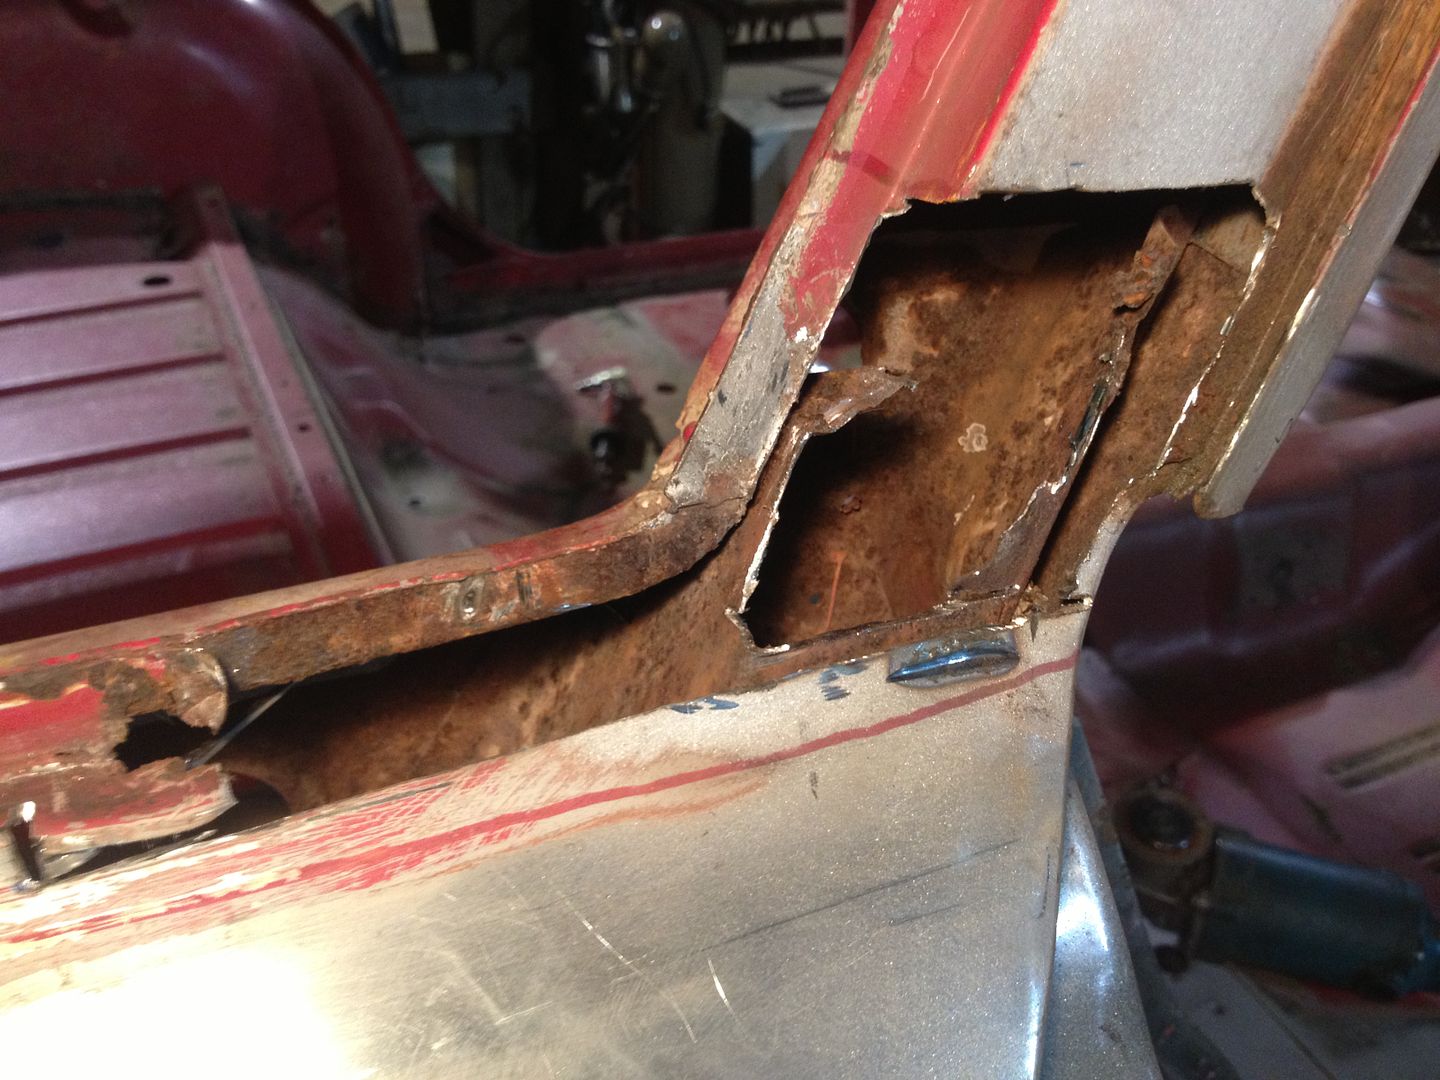
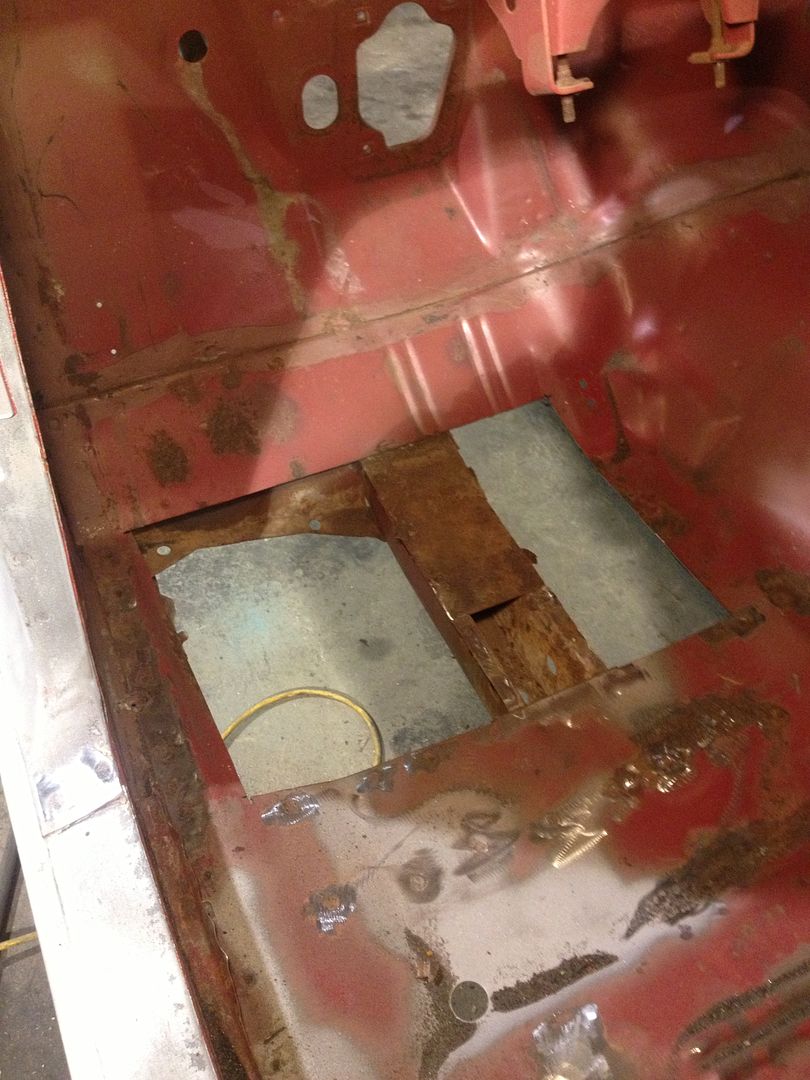
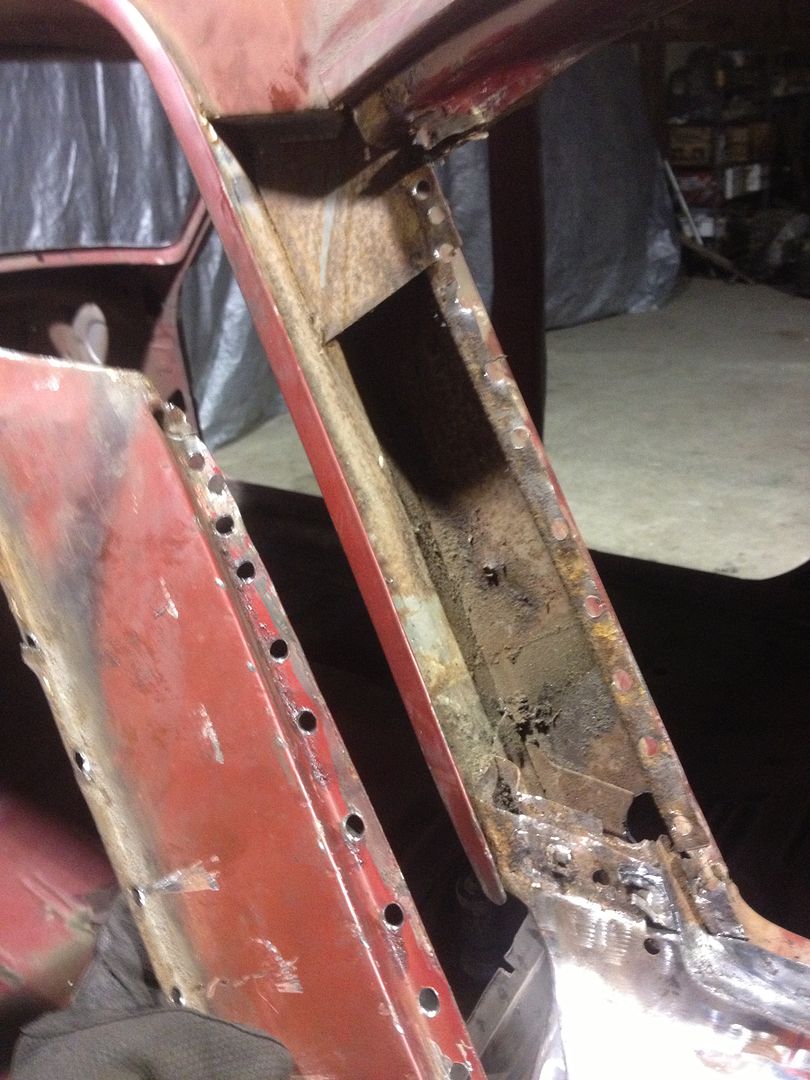
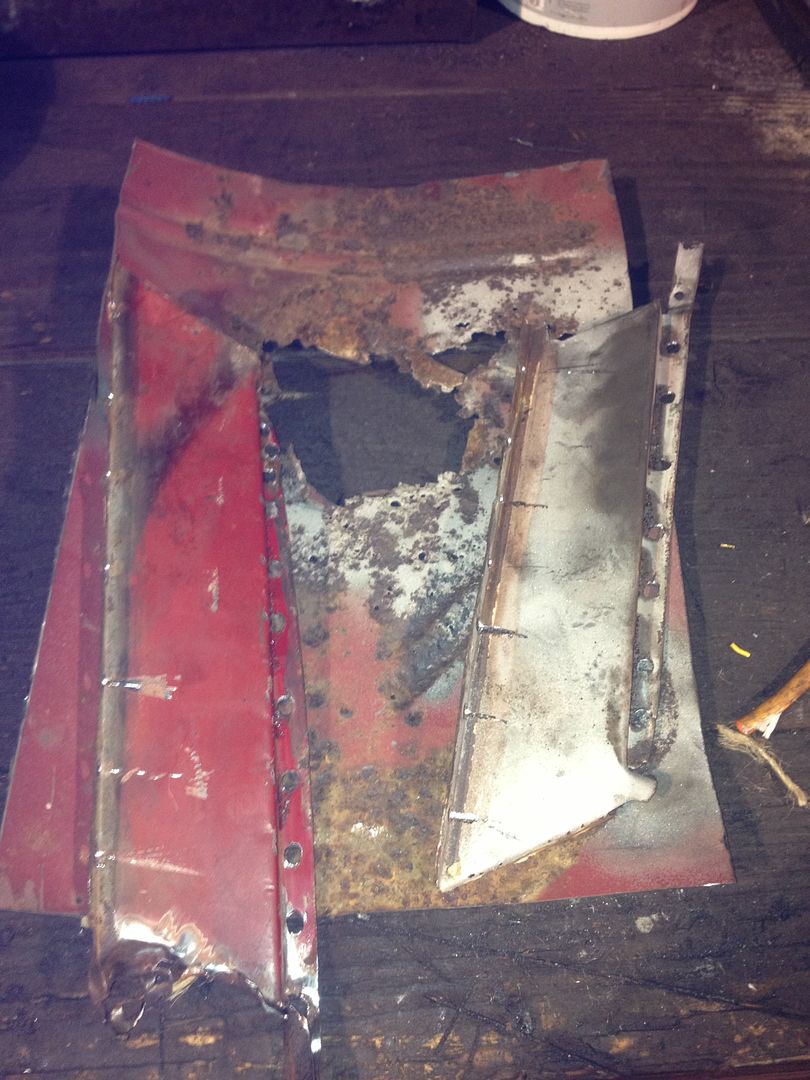
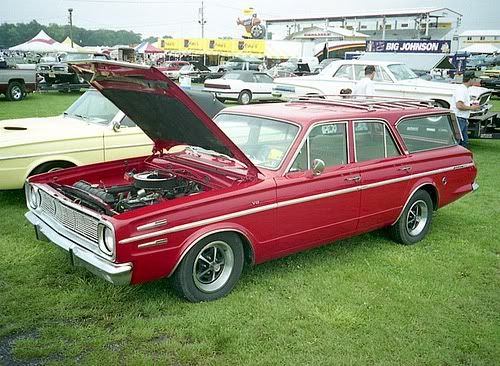
Well I'm going to be 18 in a month and want to enjoy this car before I'm off to college next year. Started life built in LA Febuary 14, 1966 as almost fully optioned with the exception of a power rear window, rear window deflectors and a map light. Dad bought it in northern PA for $300 at auction in 1993 and it had 130,00 miles on it and no rust at all. Took 4 years rebuilding it with my help here and there whether it was handing him a tool or walking on the tinted quarter glass that was lying in the yard one day and almost giving him a heartattack lol. Had a 273 and that was rebuilt, spun a rod after 5,900 miles so a 360 crate motor went in front of a A500 lockup/overdrive and a 3:91 posi 8.75. Racked up 100,000 miles as any car should be driven. Looked great but the silent beast lurked until a the early 2000s. That silent beast was rust and the wagon is the worst for it. 75% of the body panels are inaccessible from the back side except through maybe a 1" body plug hole. Currently the car sits with quarters and tailgate rusted out and some rot along the roof and doors. Drive train is still great and interior pristene. Was a baby poop brown car with gold interior. Now red with a gold interior.

As it was in 1999:

5b2648be.jpg


dadwdart.jpg


In case you were wondering my dad's common username is pigdoc he is part of the Mopar Mailing List just like me.

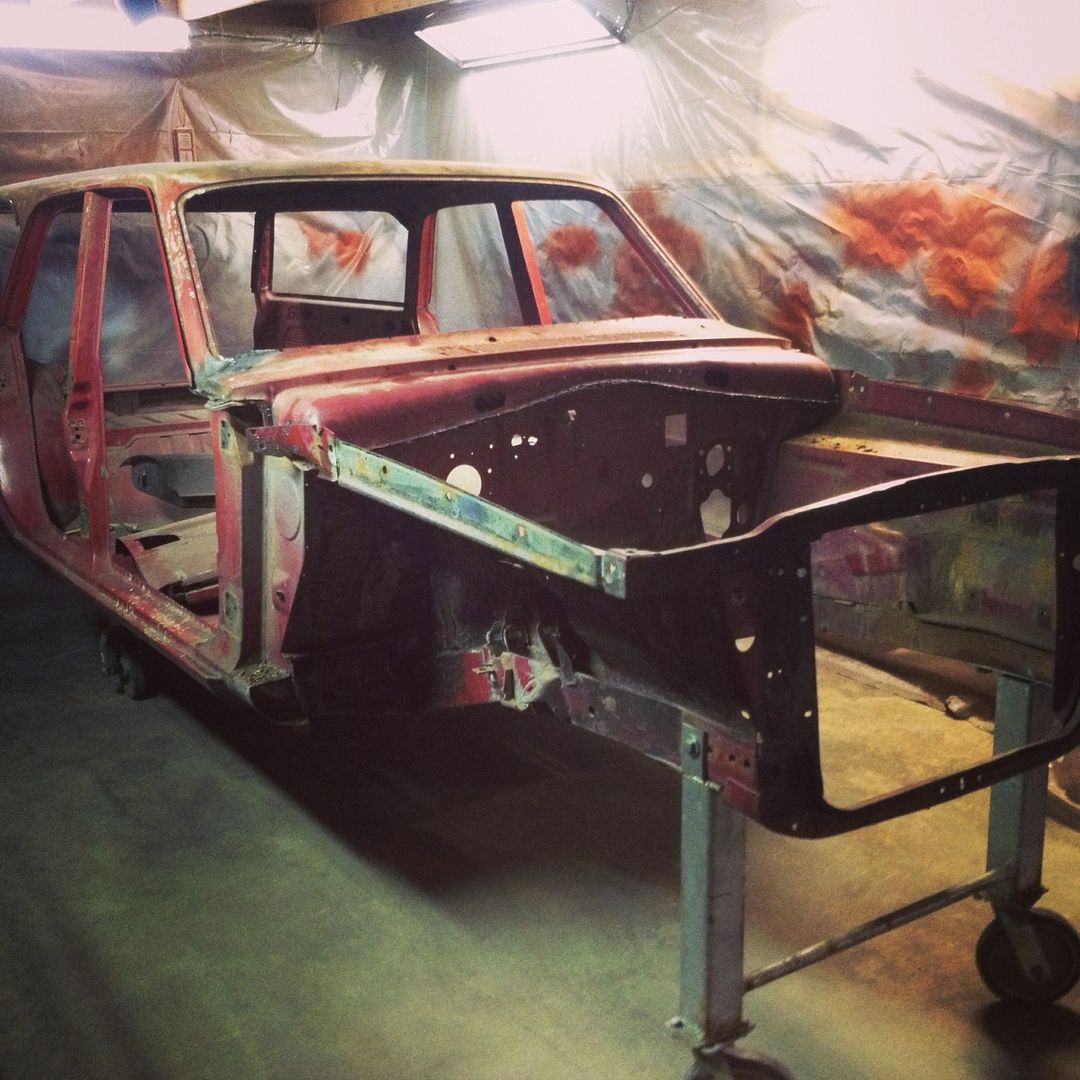
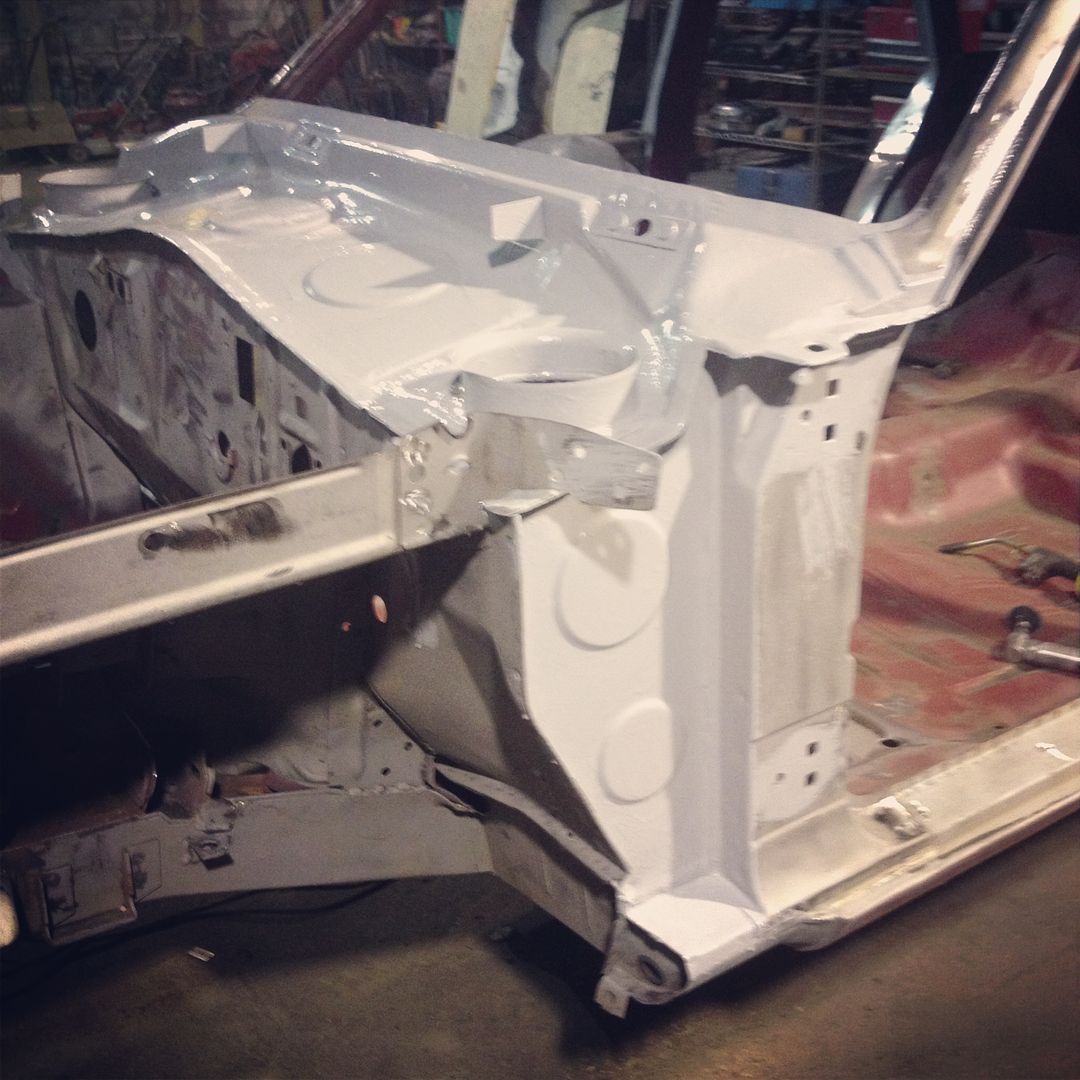
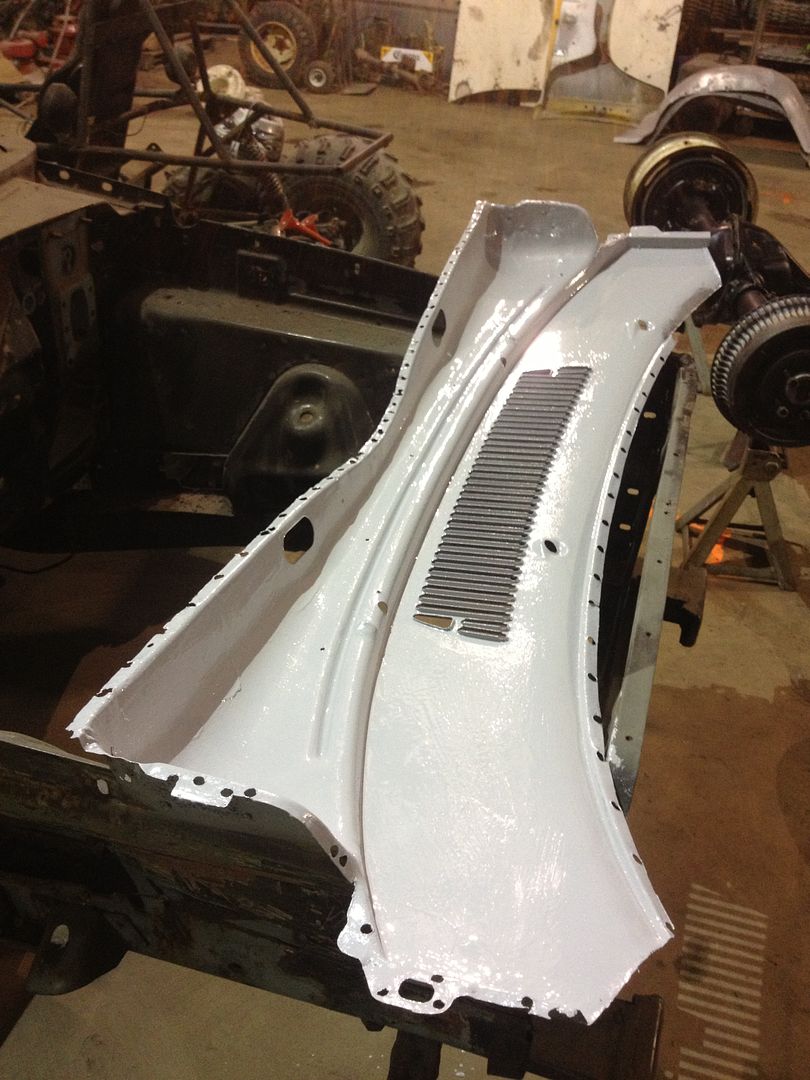
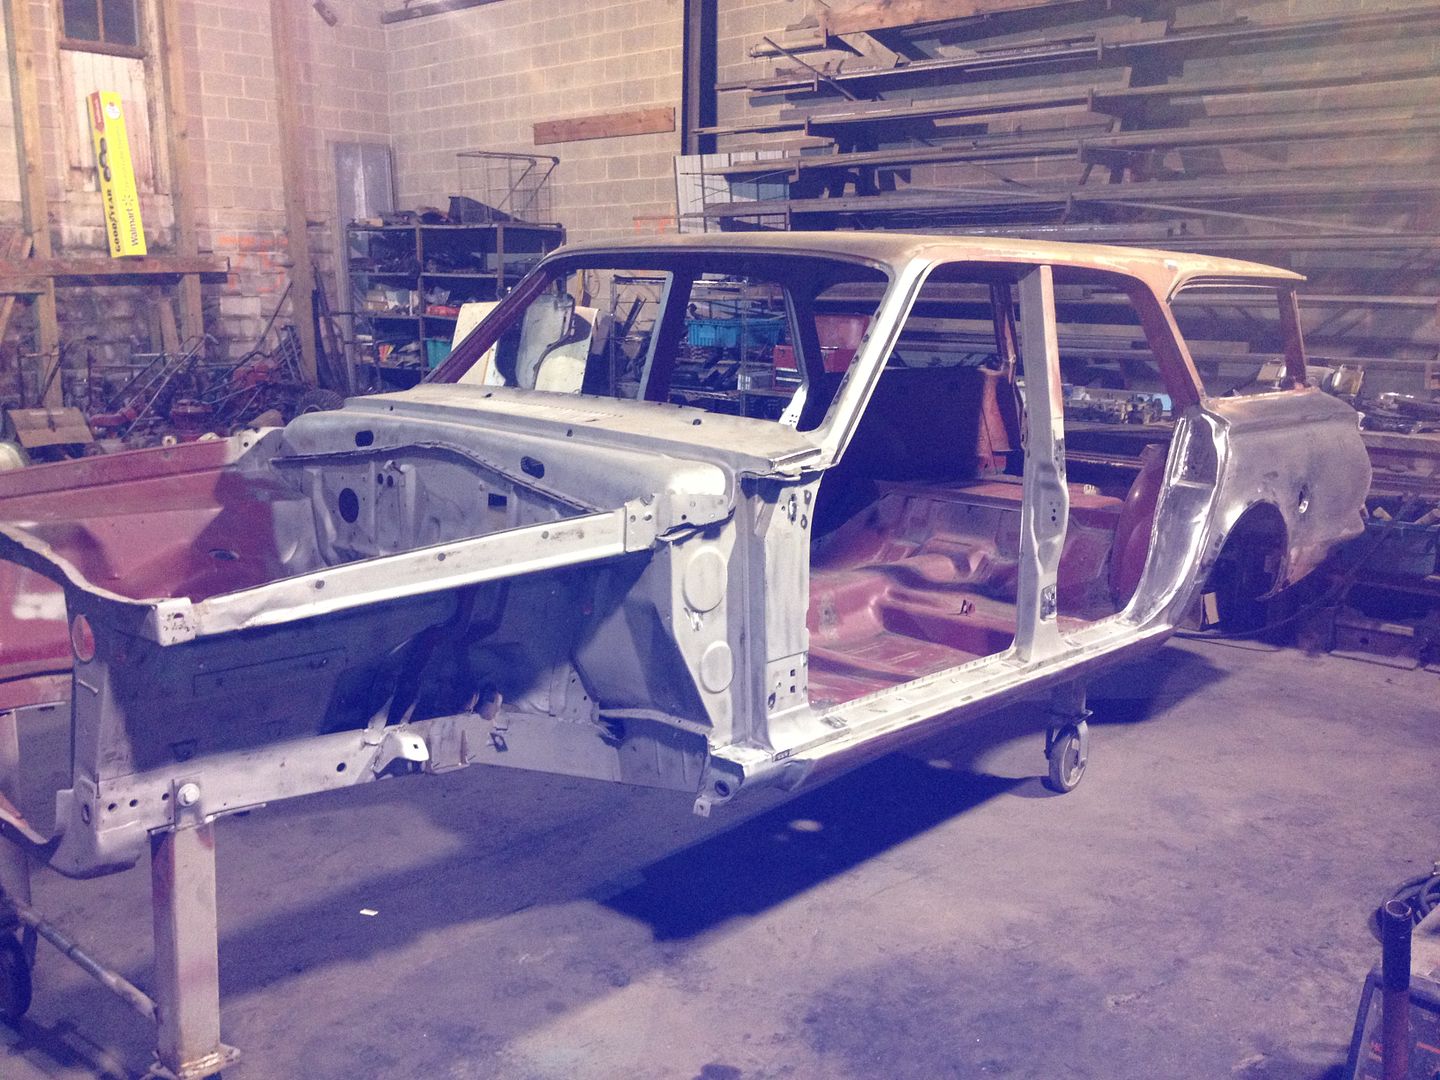
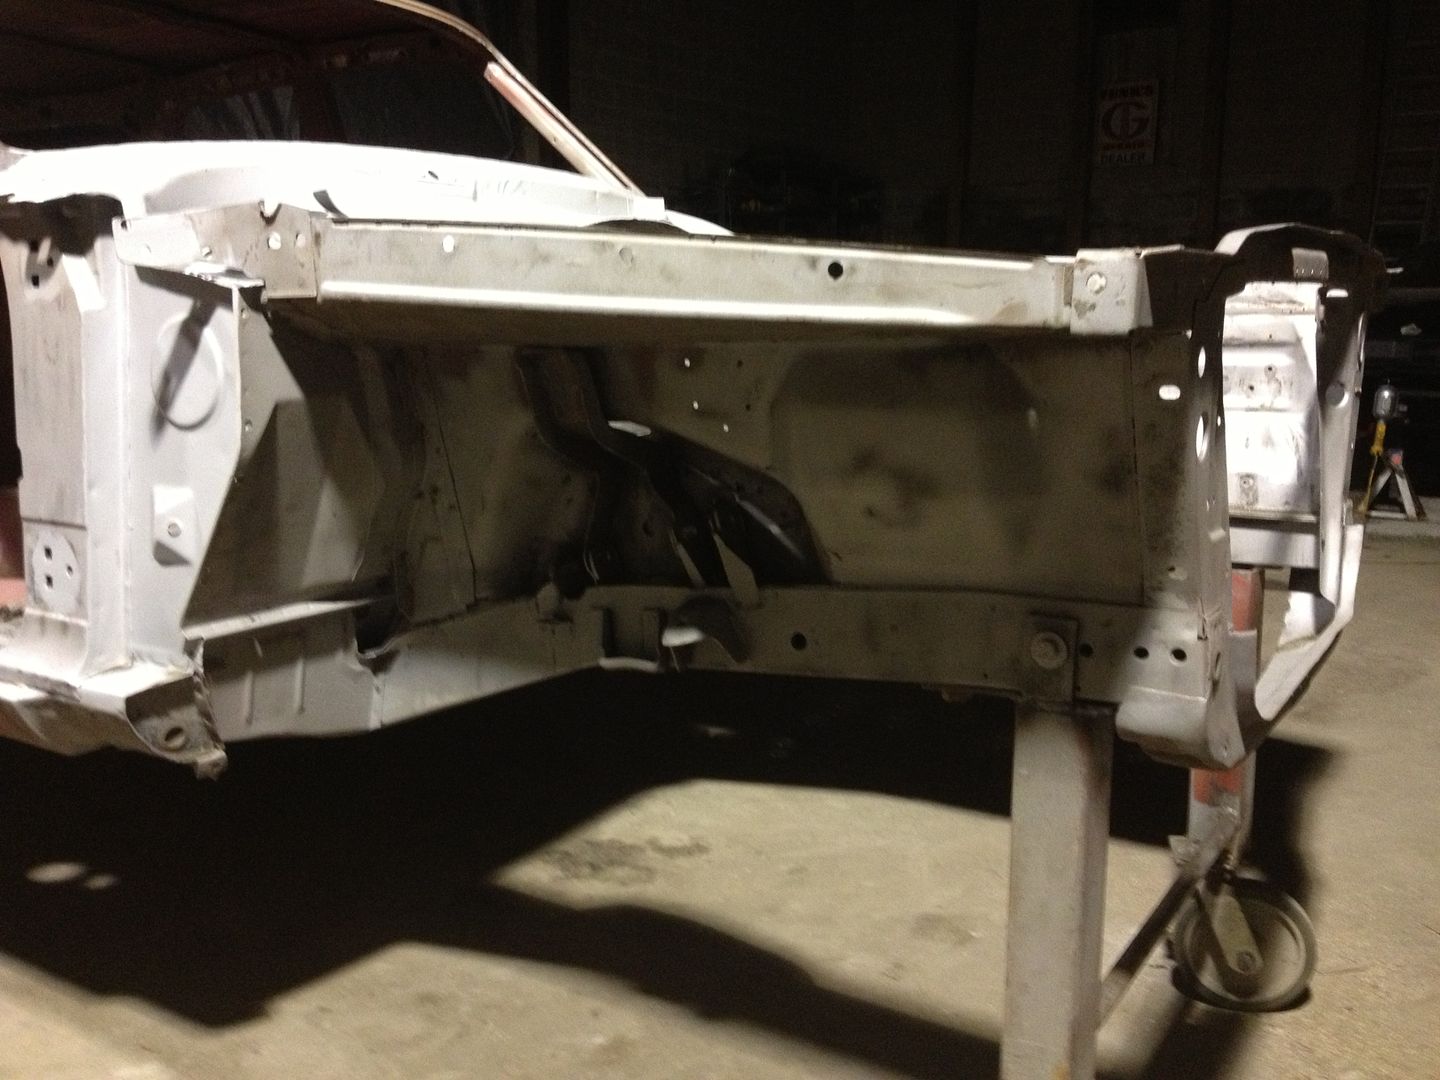
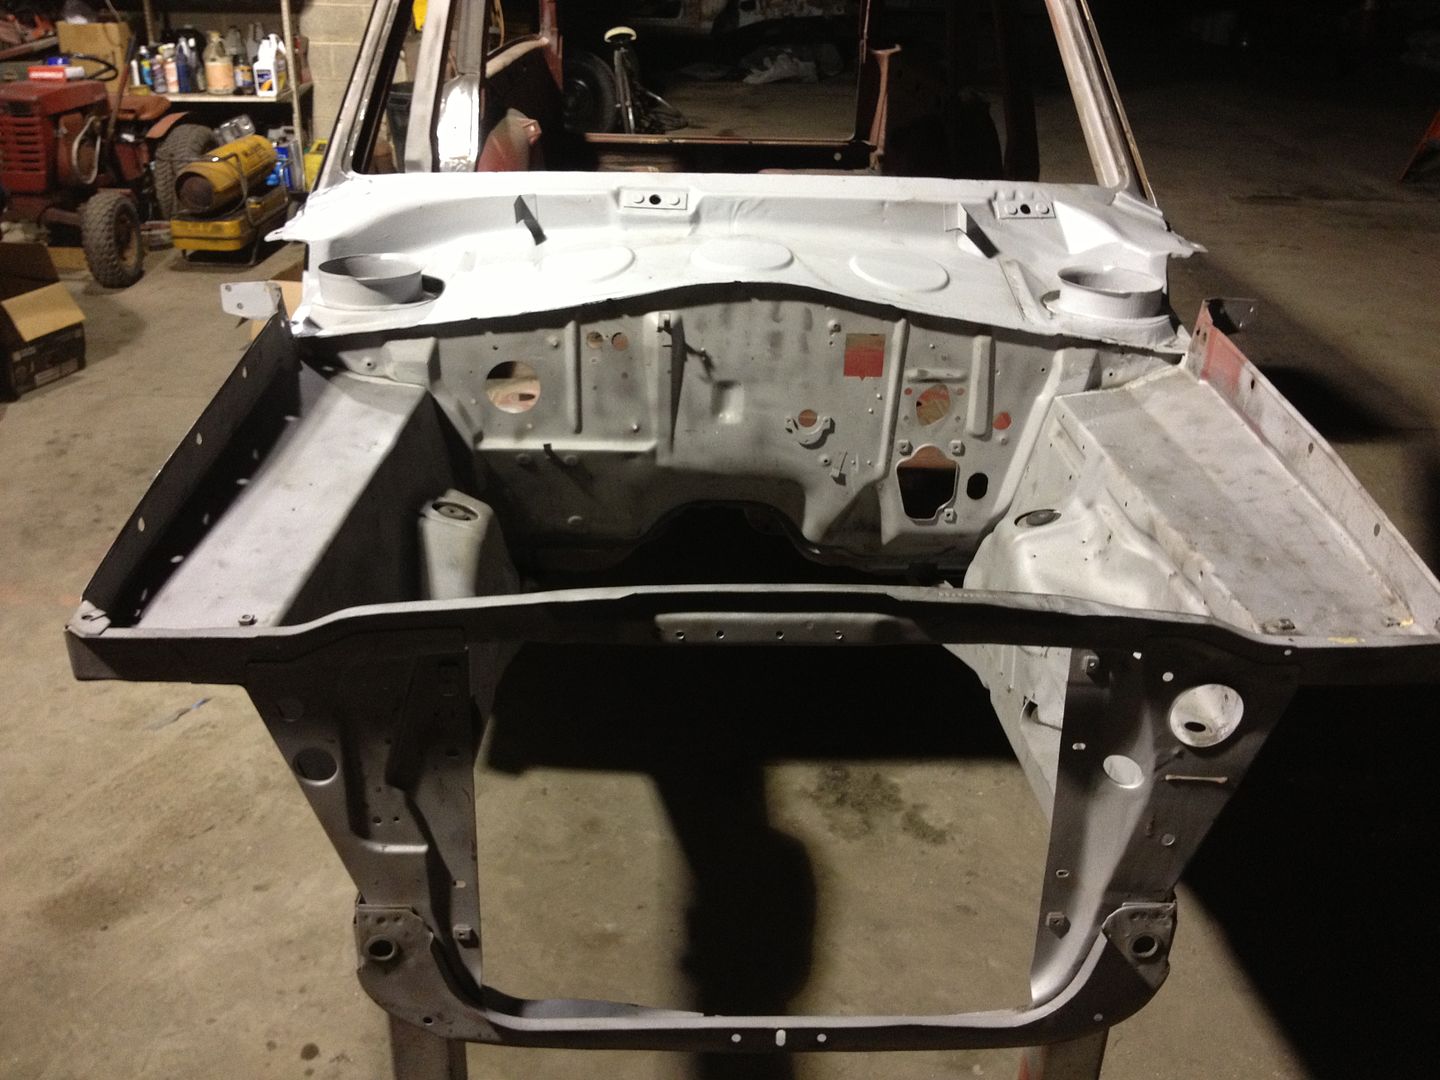
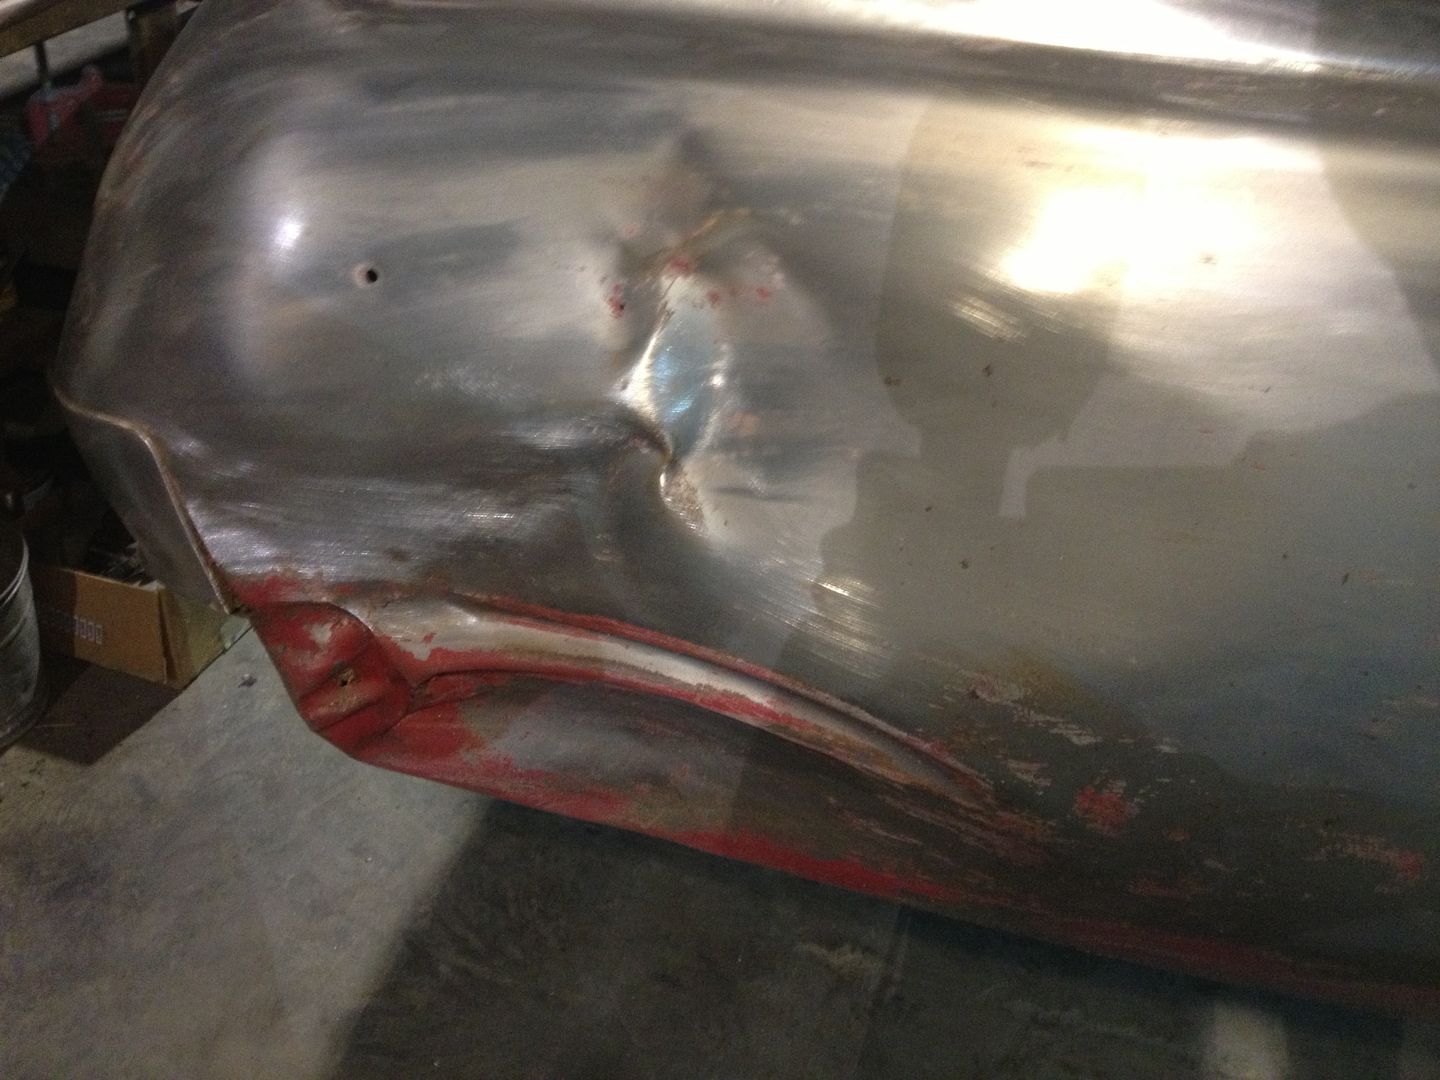
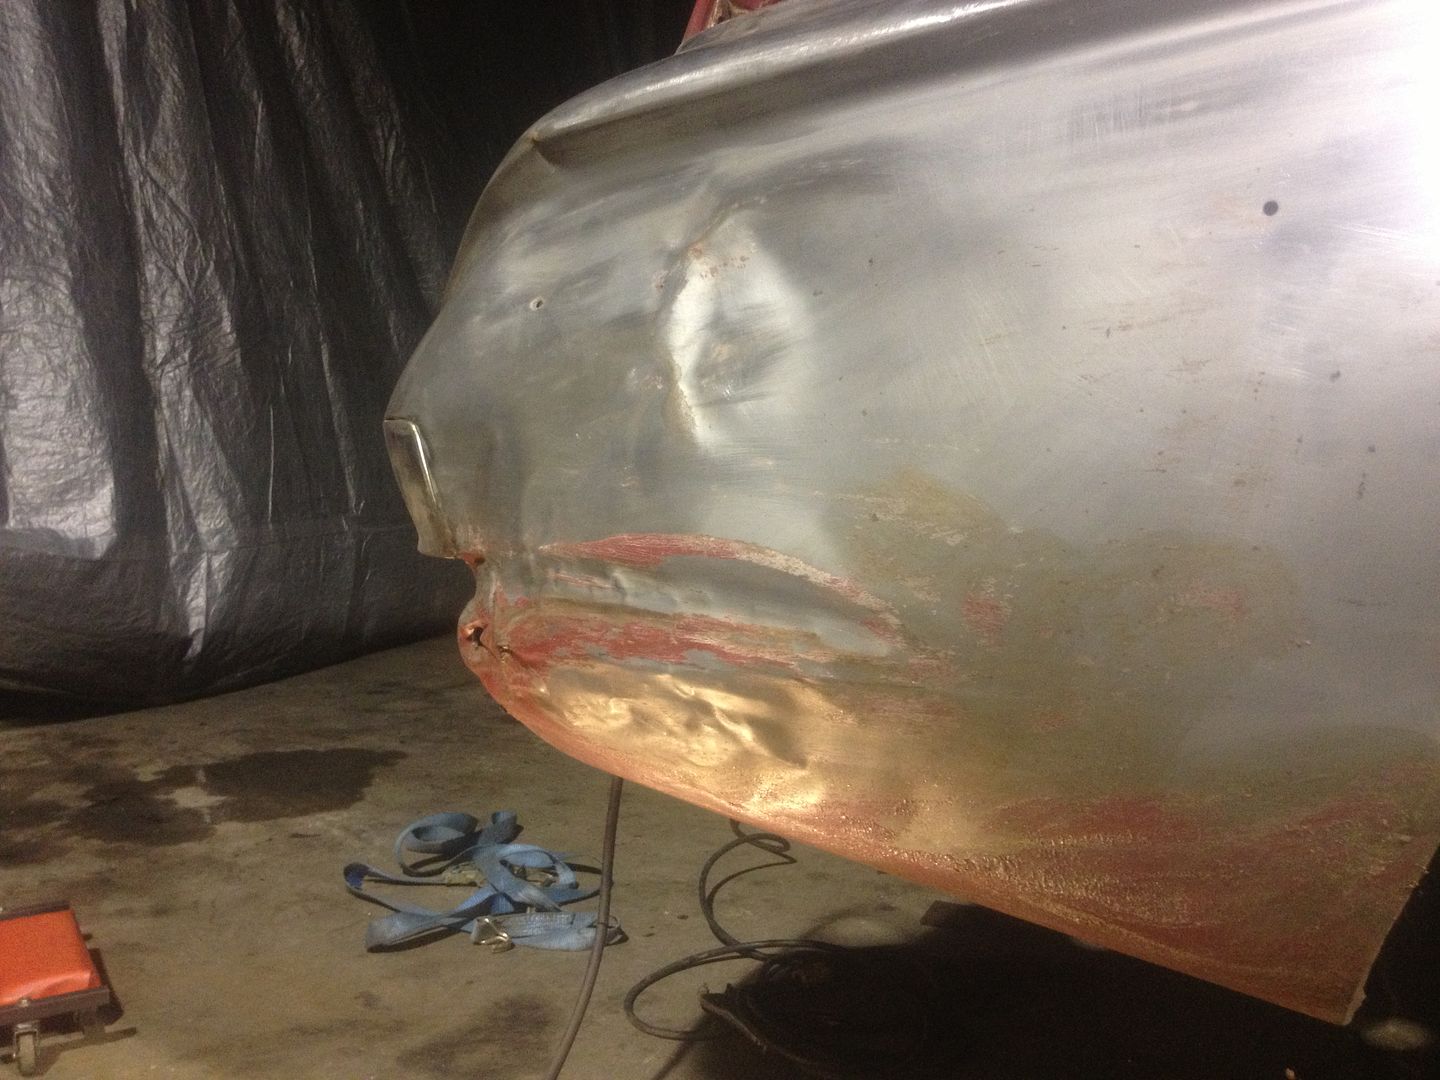
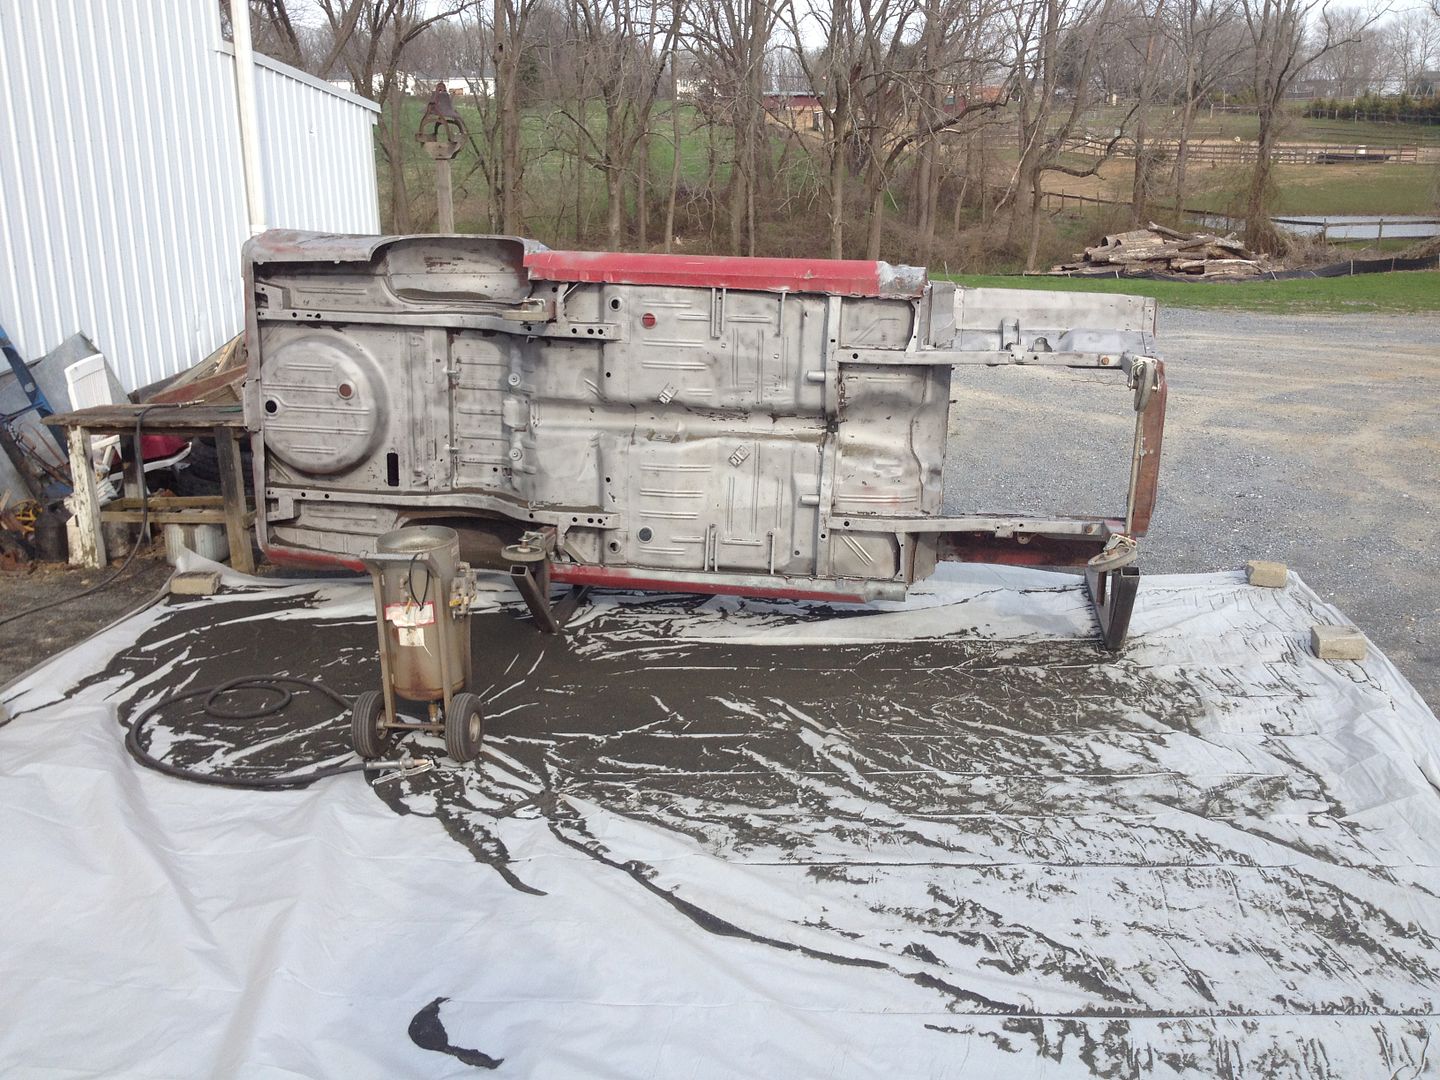
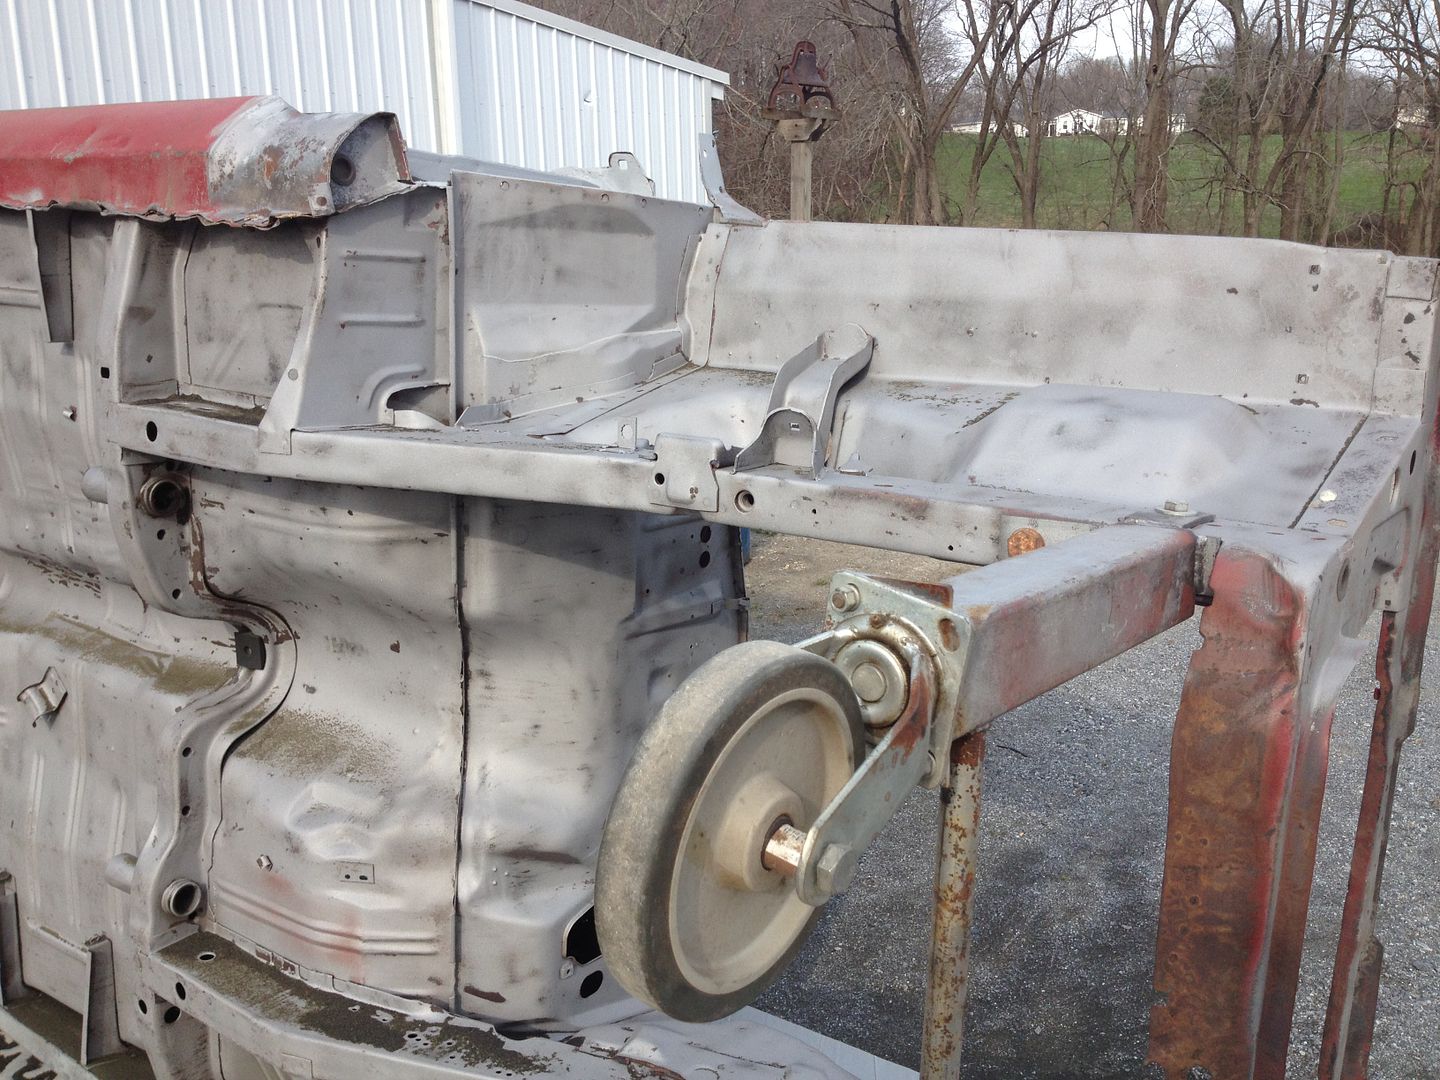
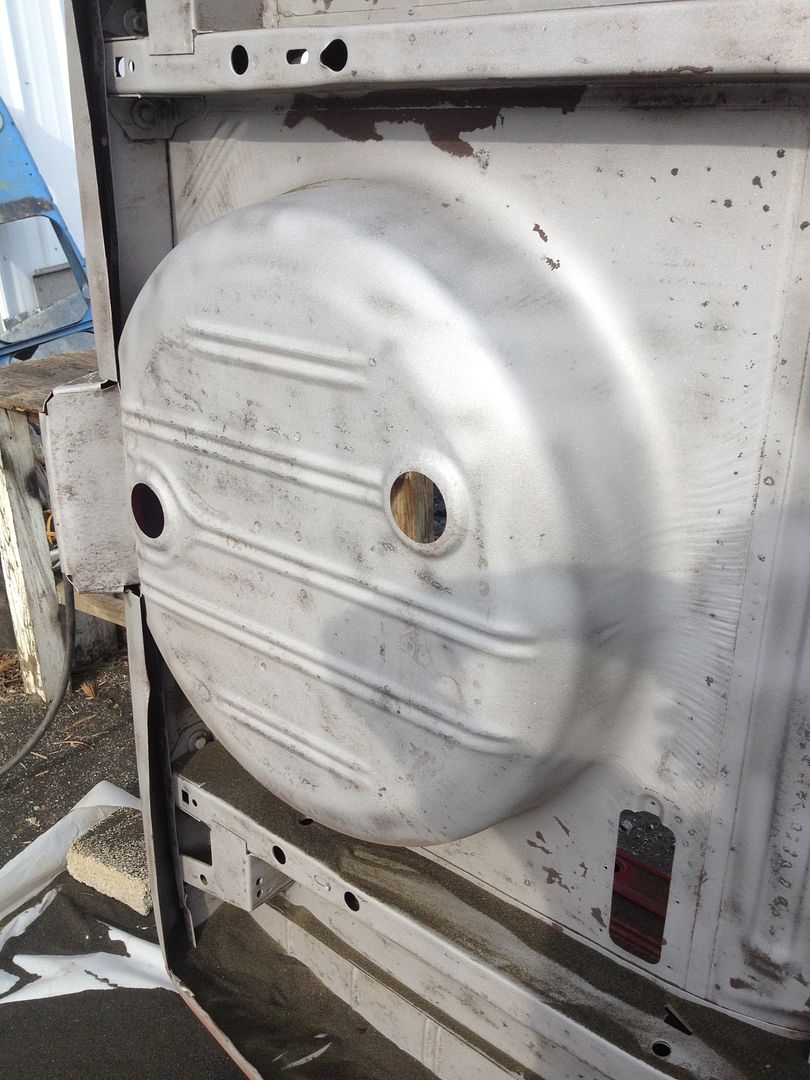
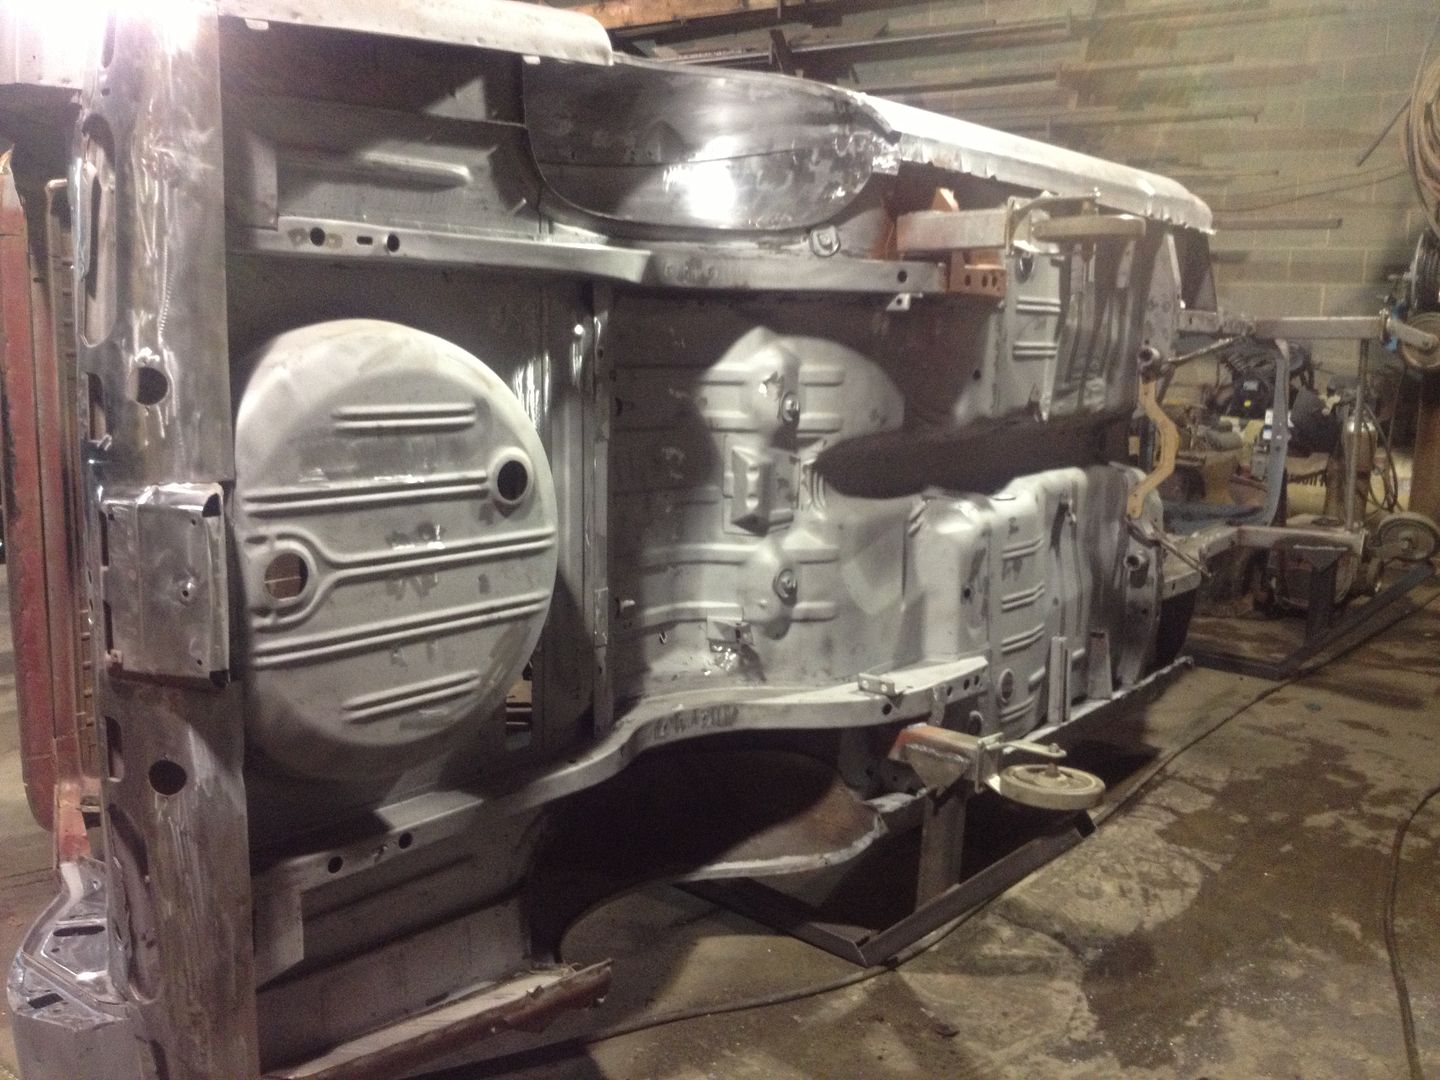
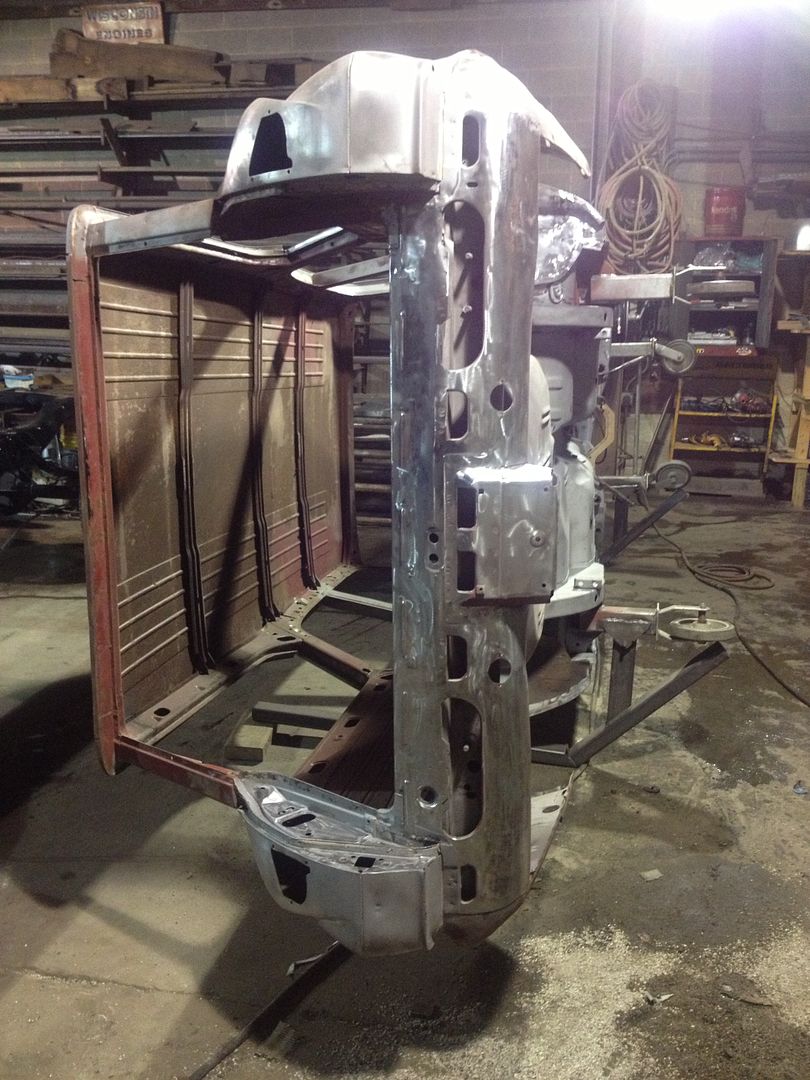
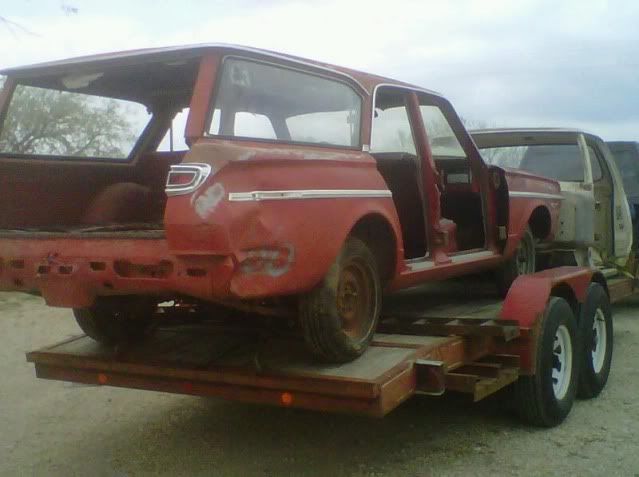
From Dr Mopar's salvage, here's the new body:

1aa7c1f8.jpg


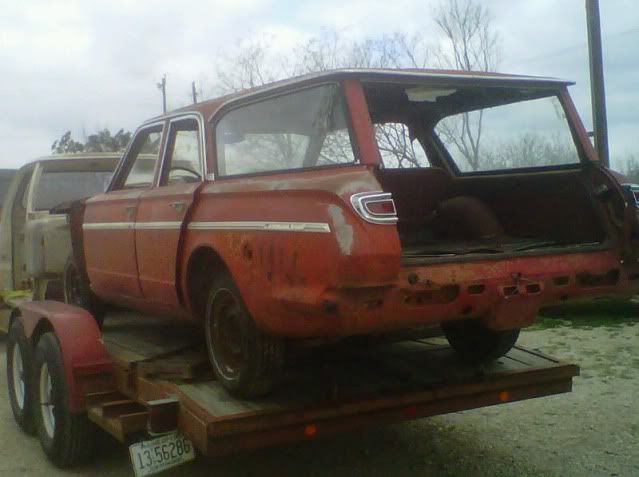
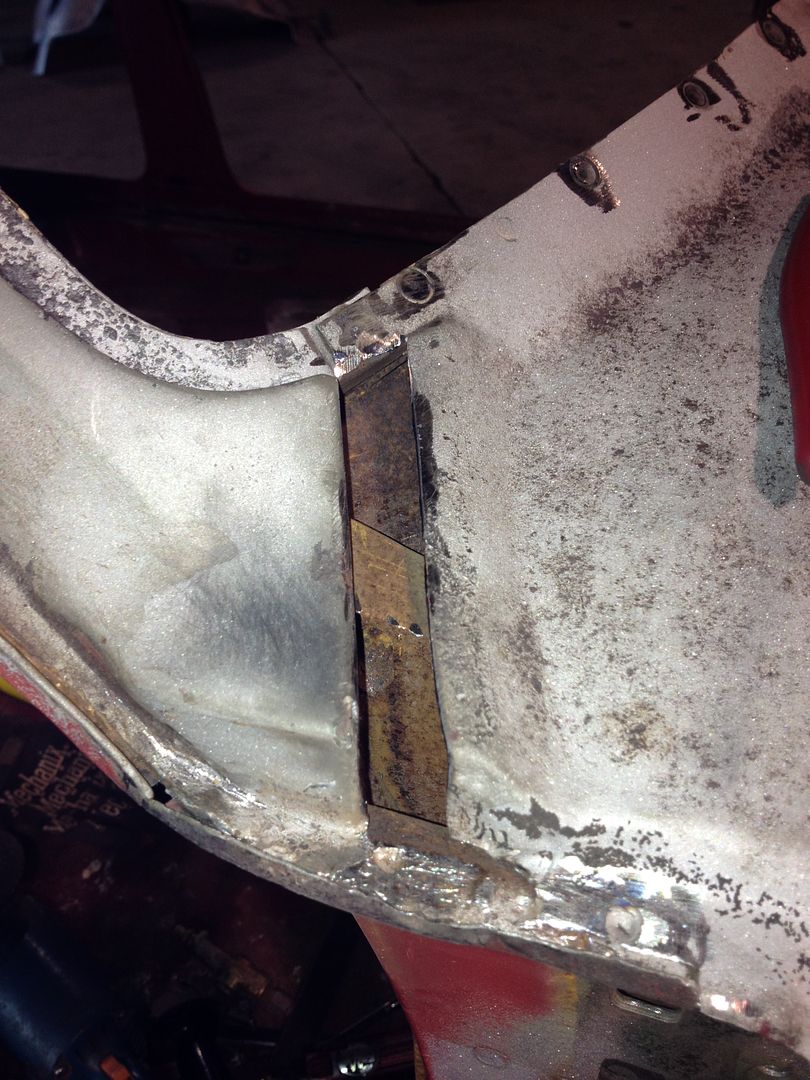
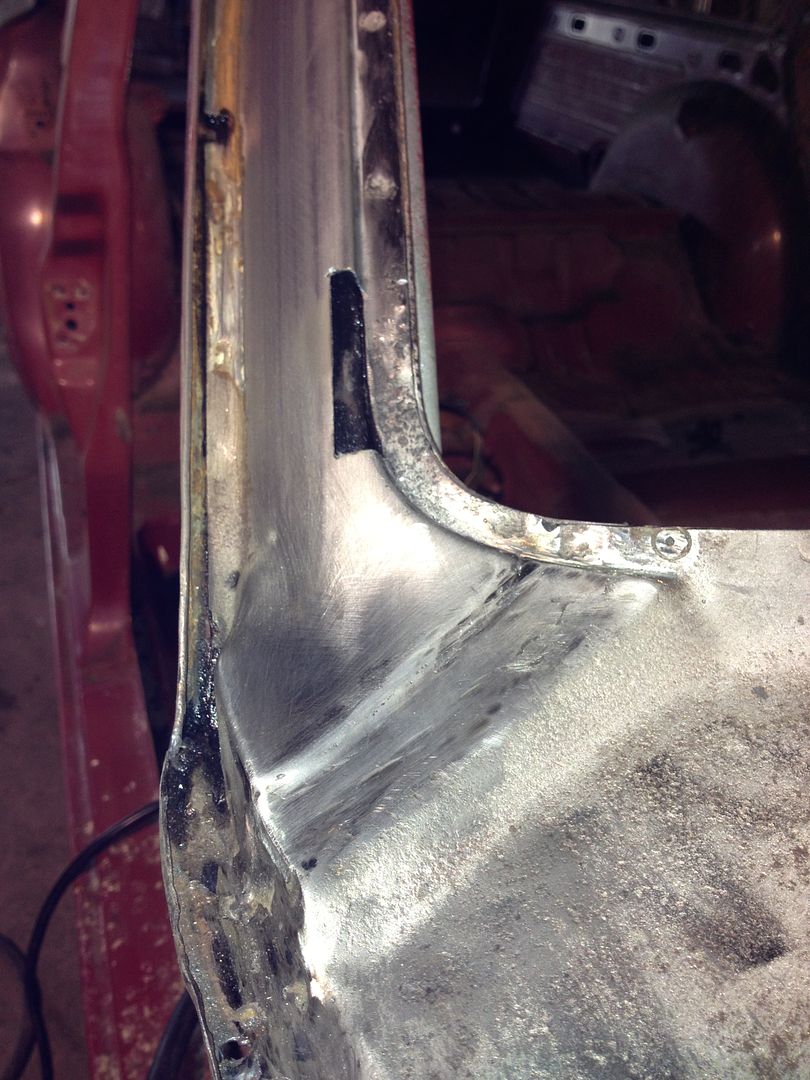
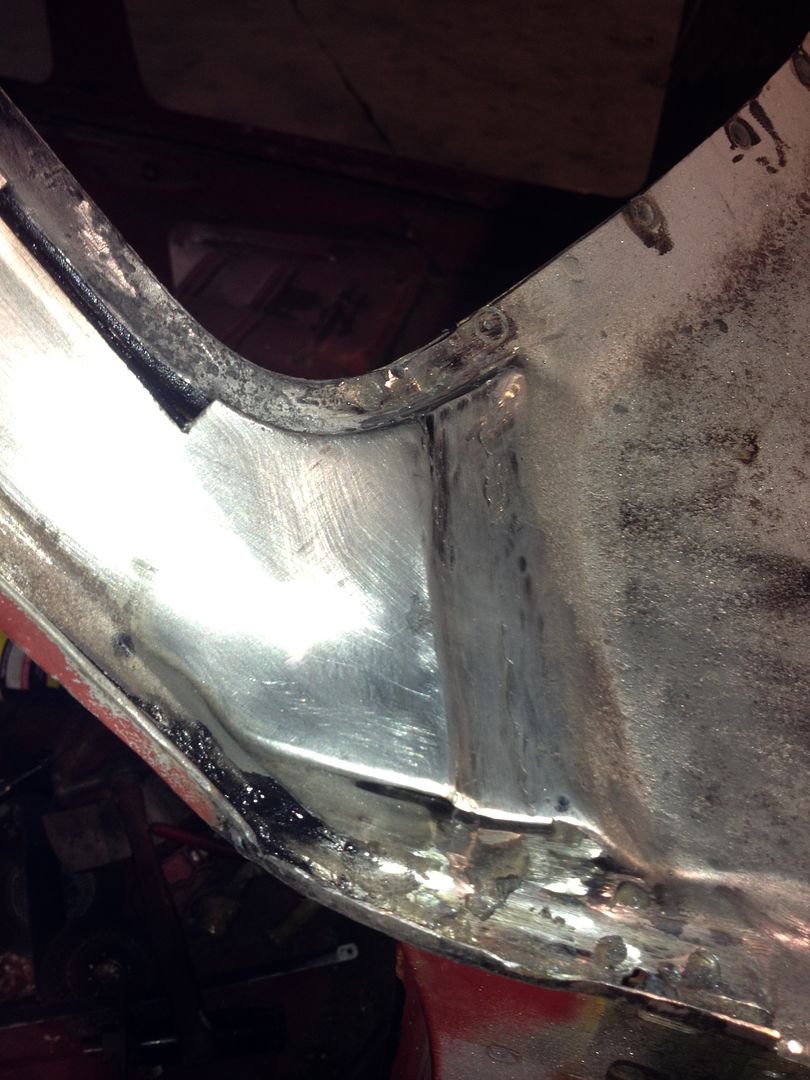
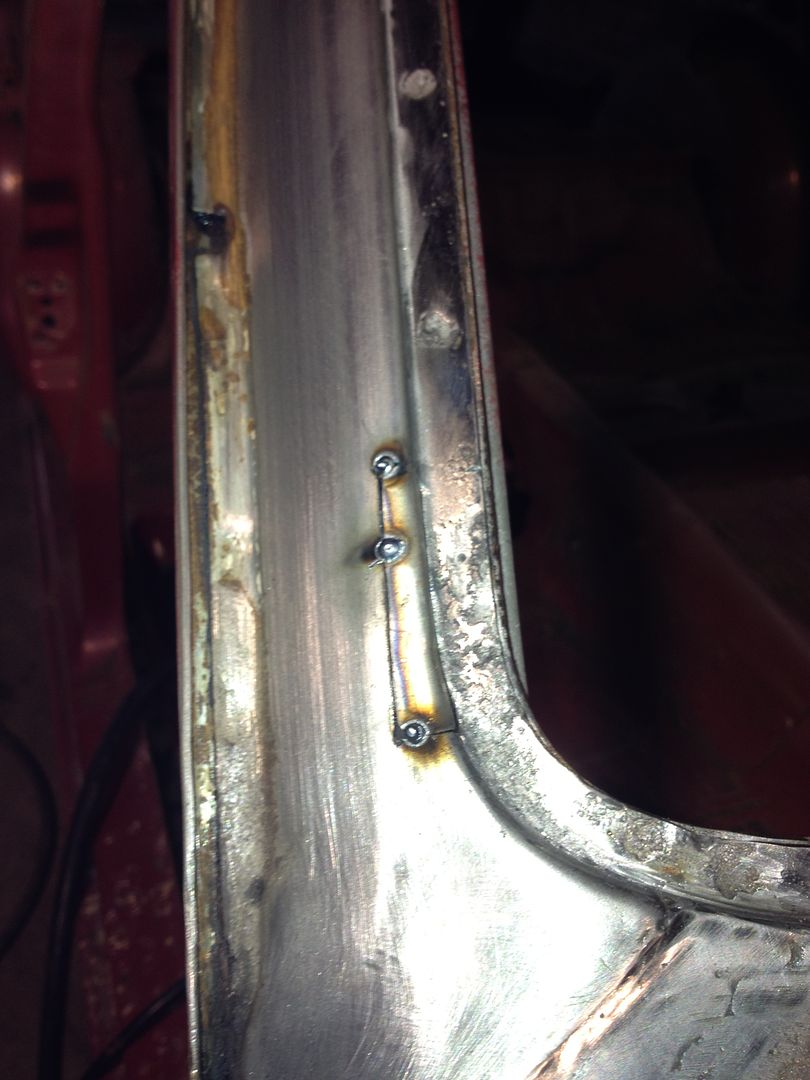
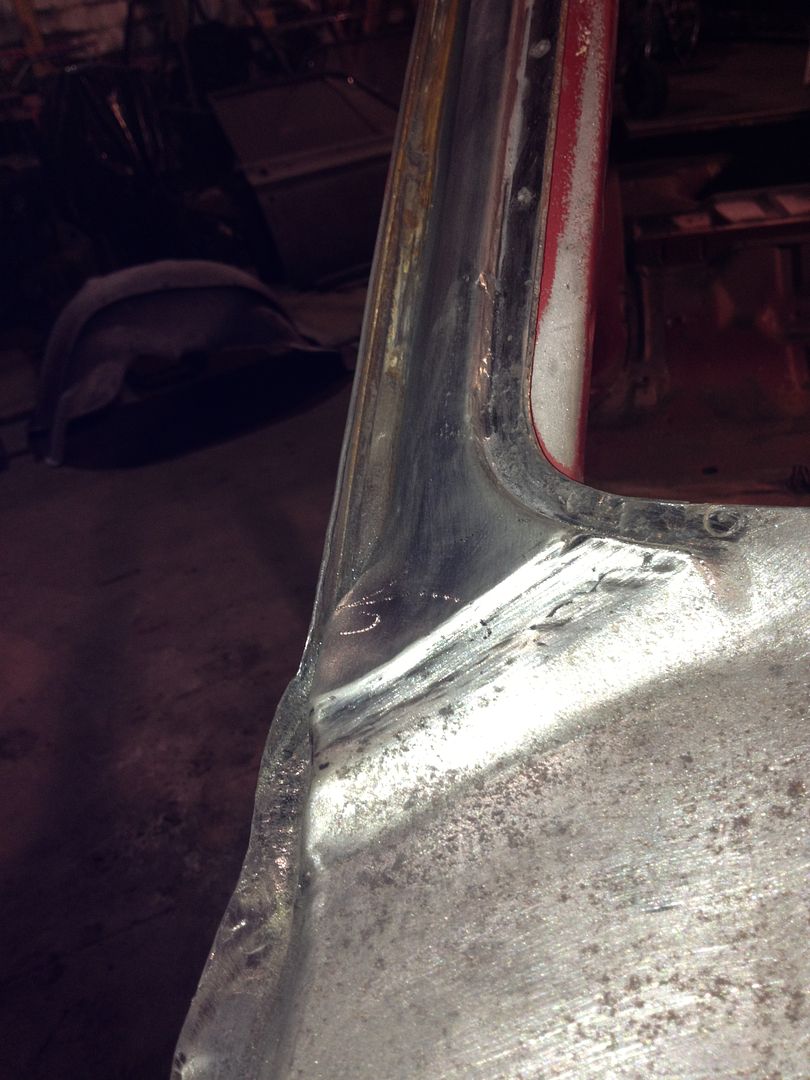
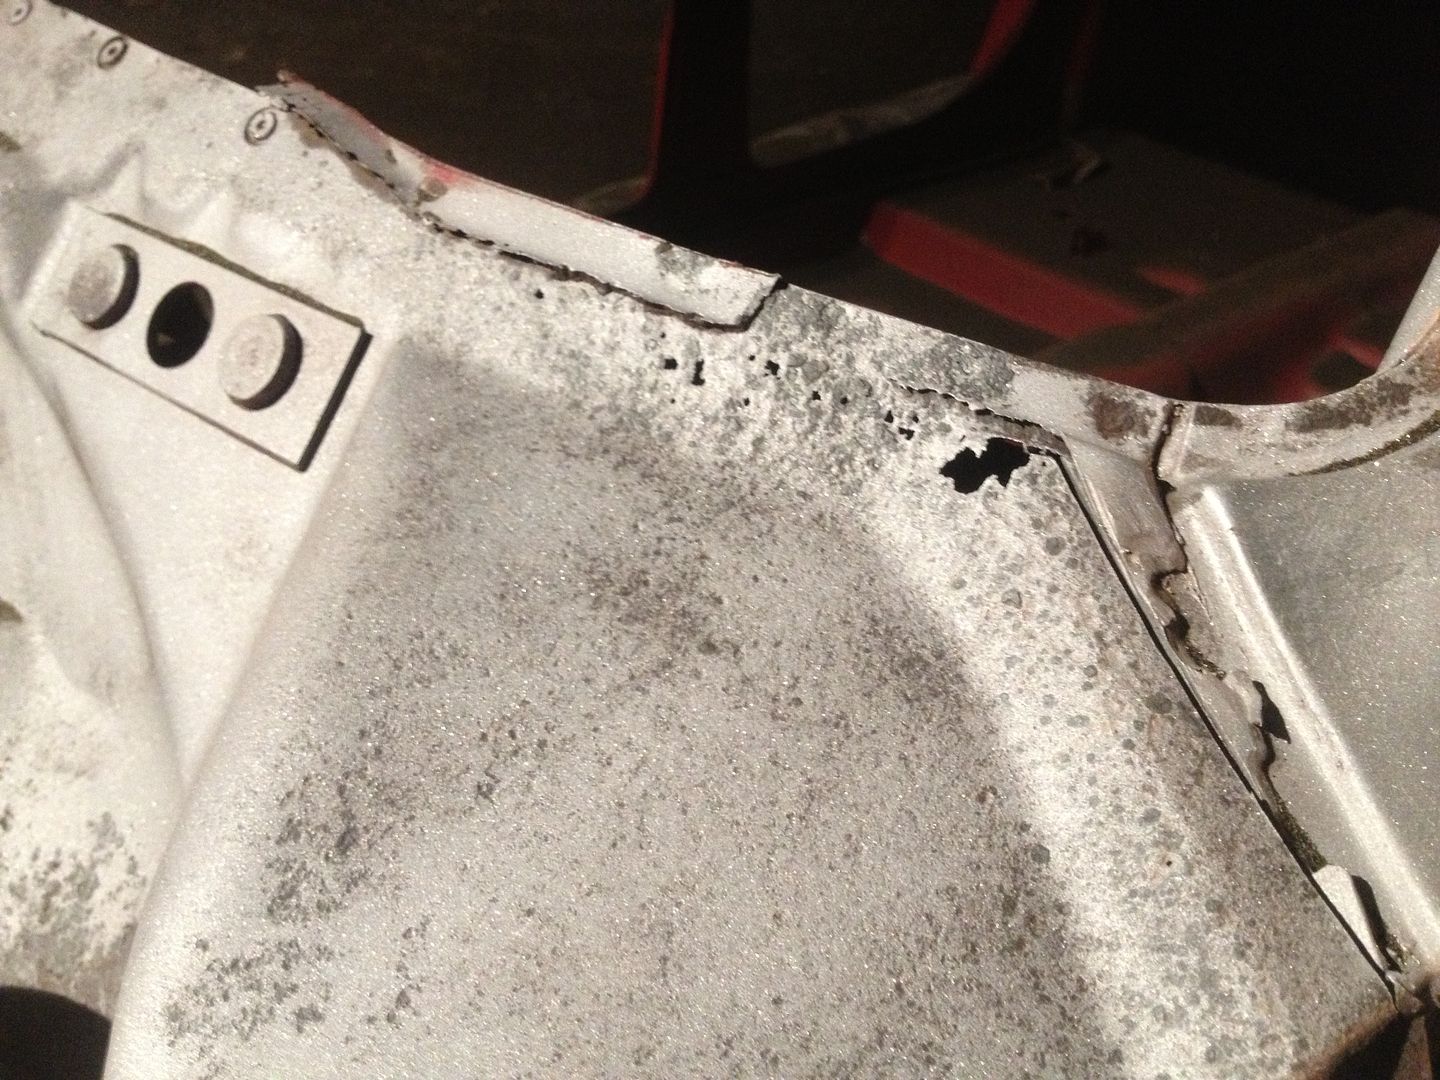
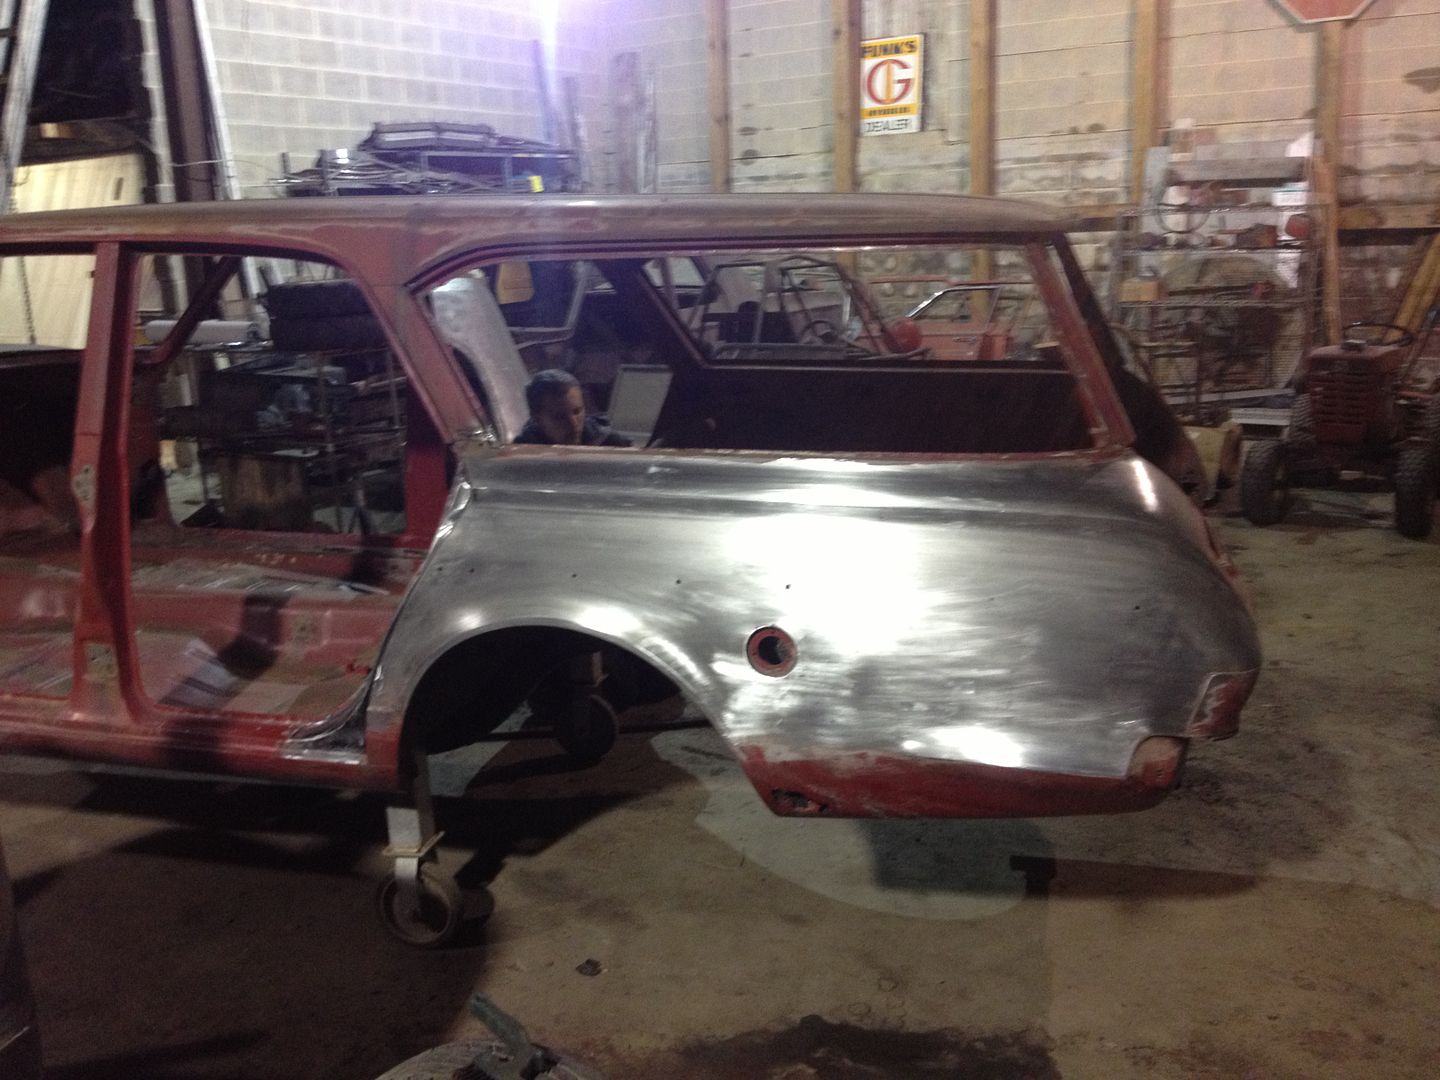
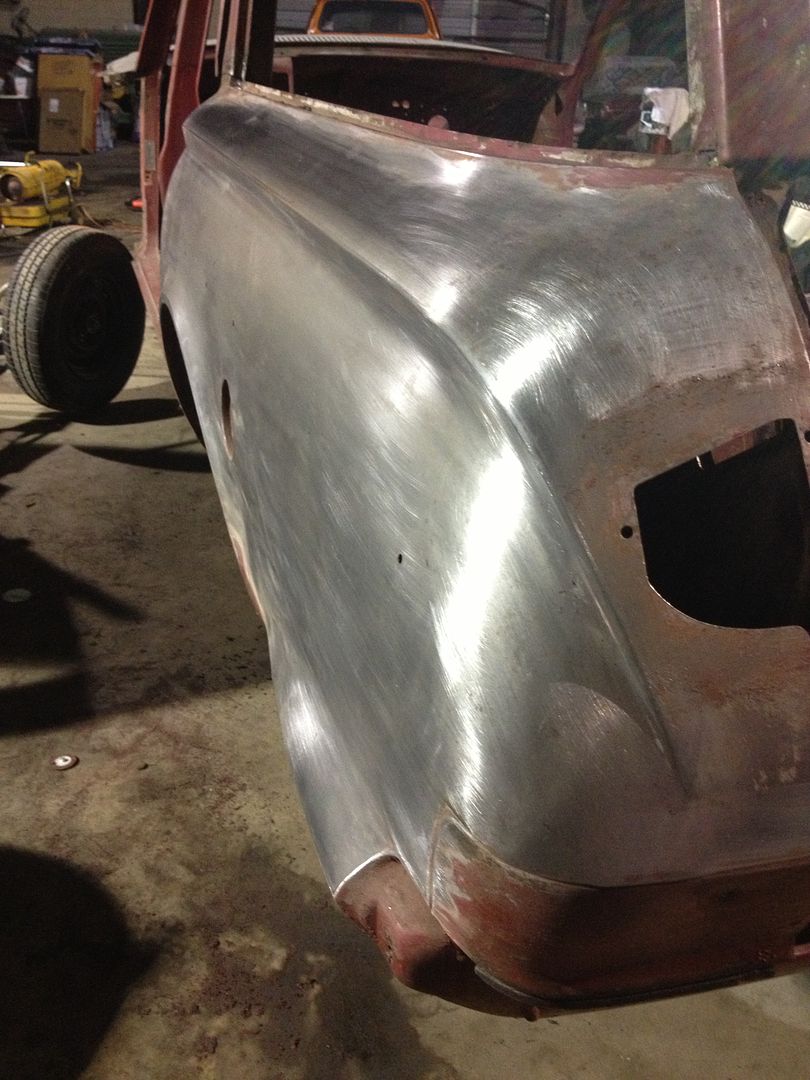
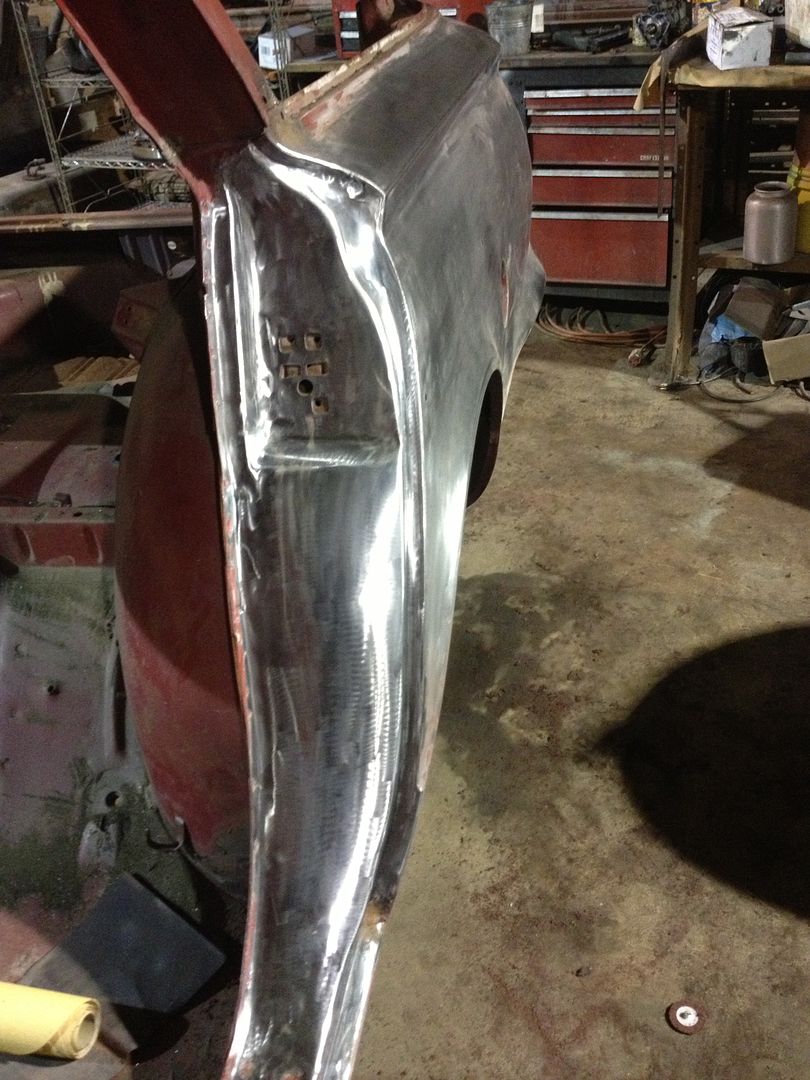
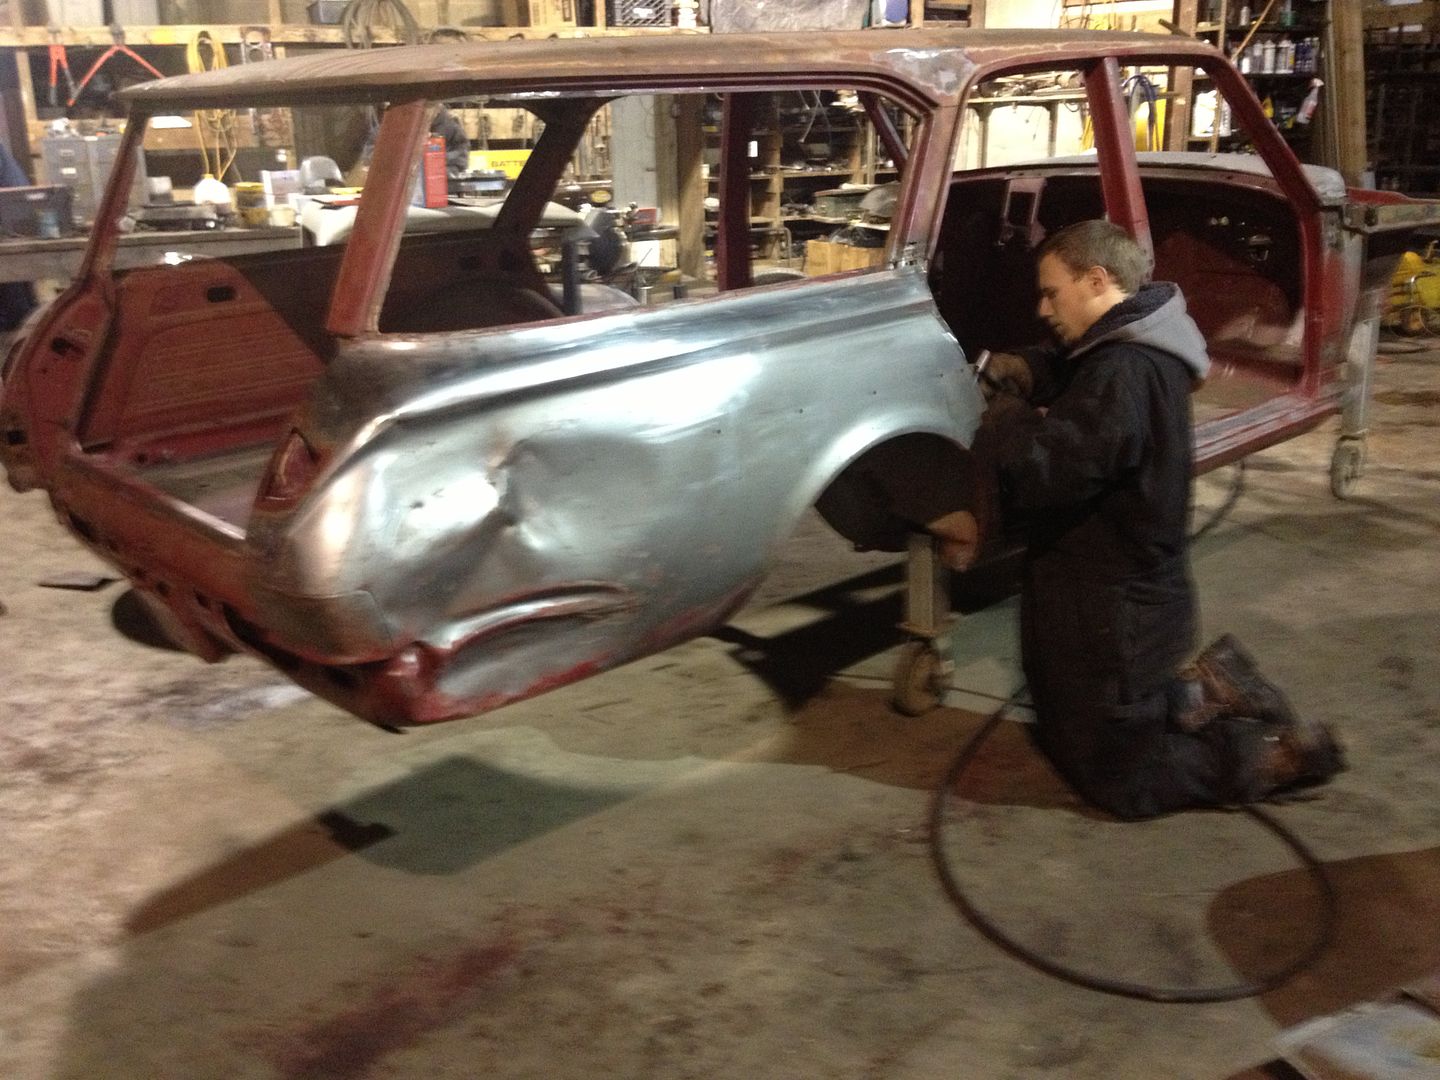
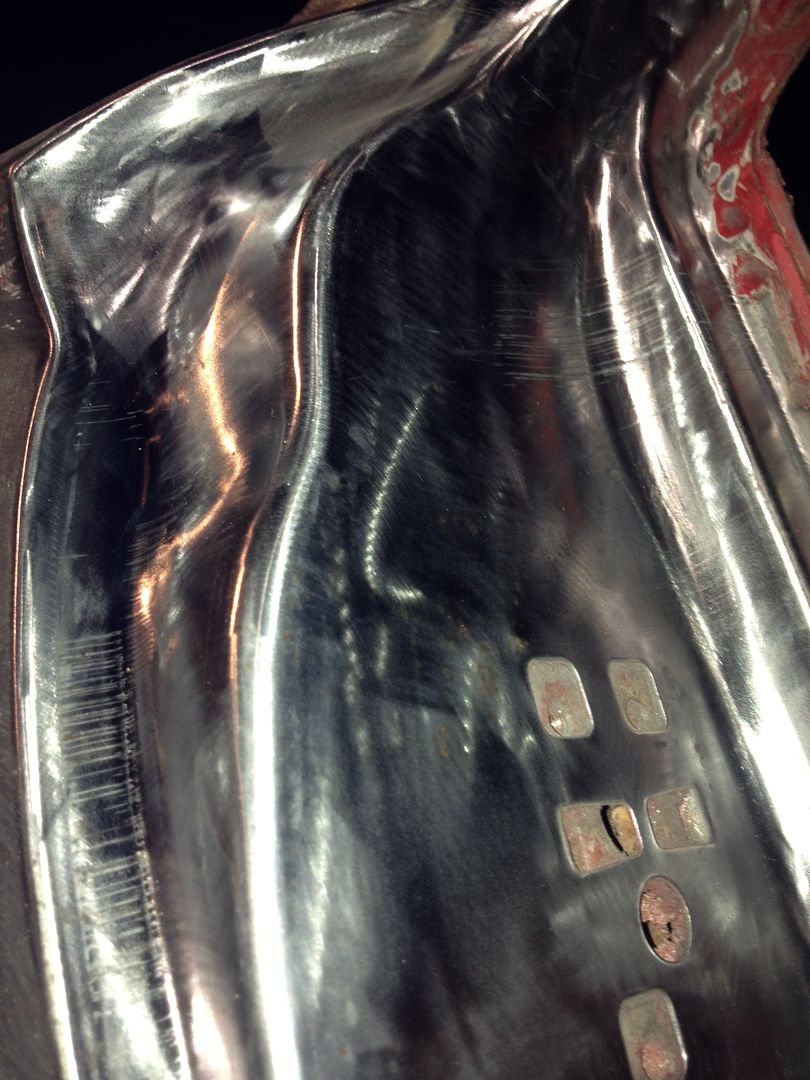
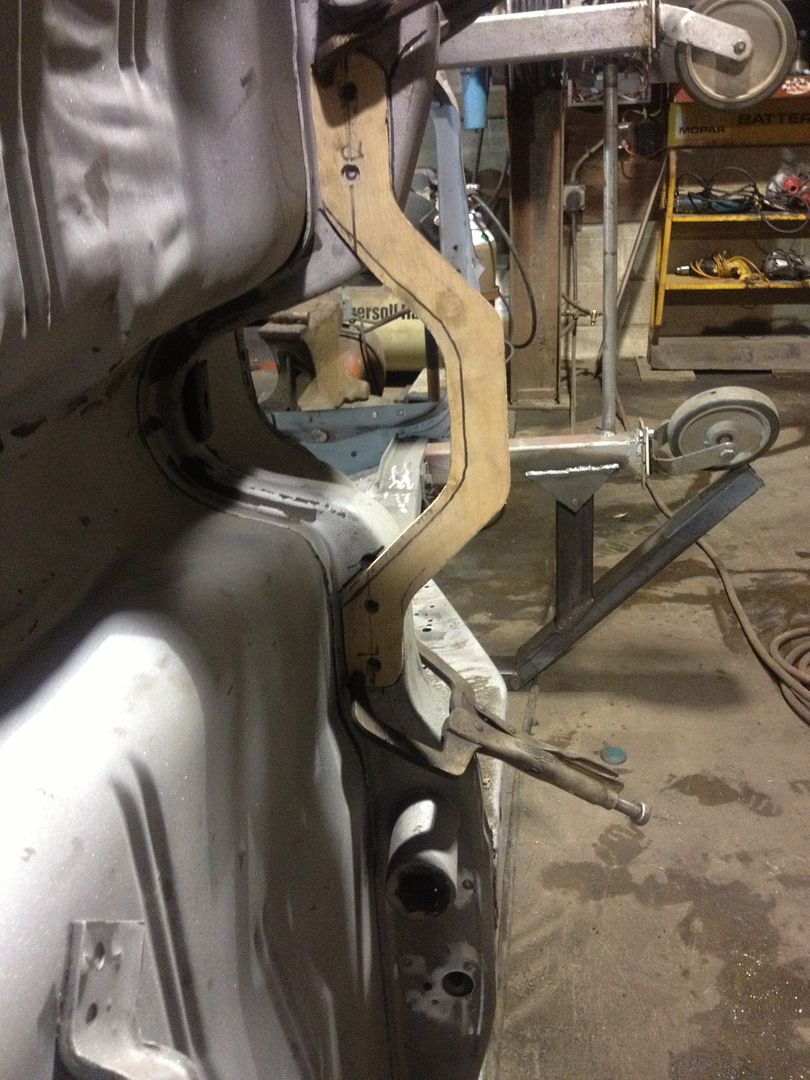
Has some quarter damage:
4ebe44f4.jpg


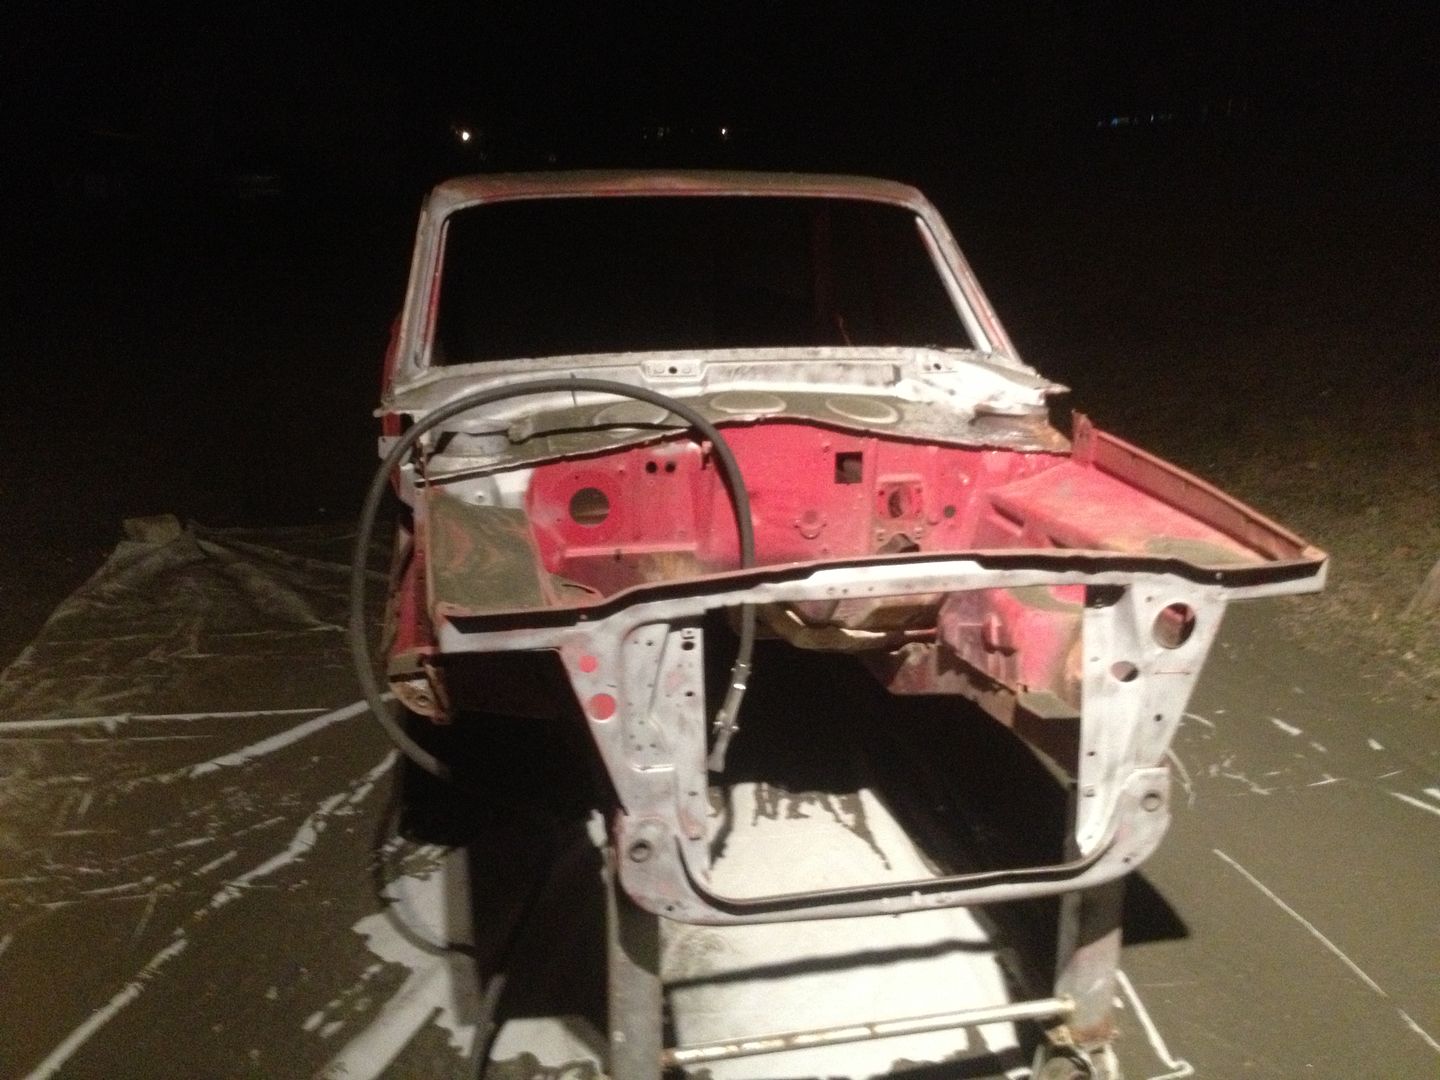
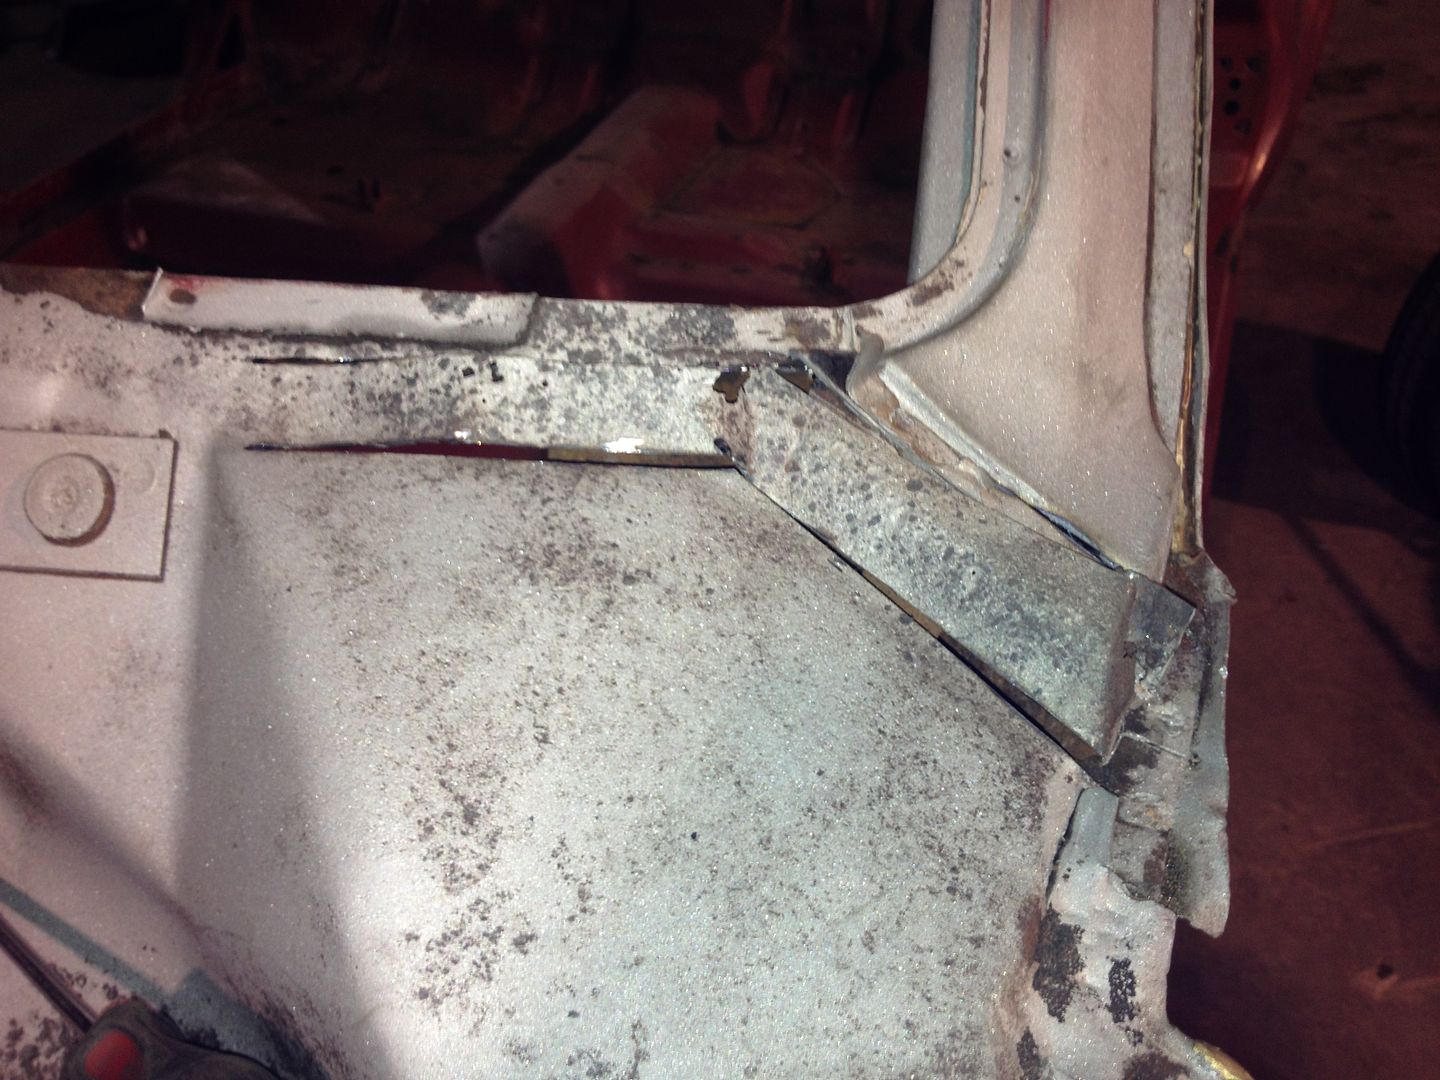
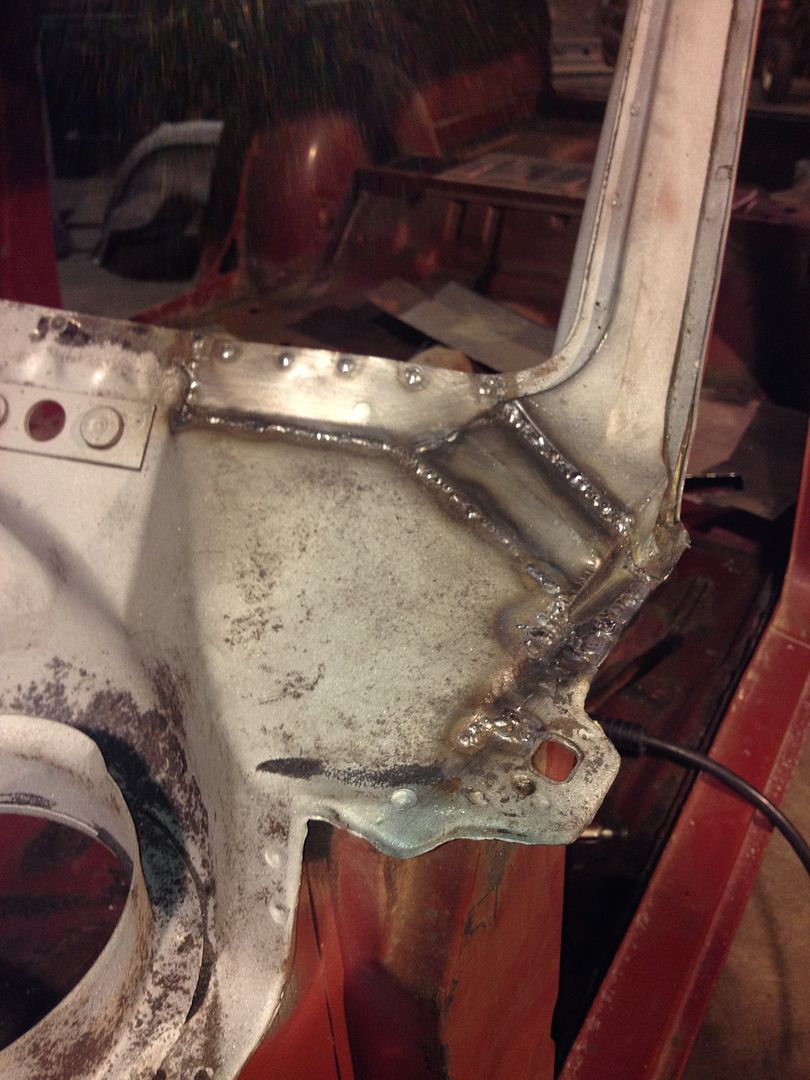
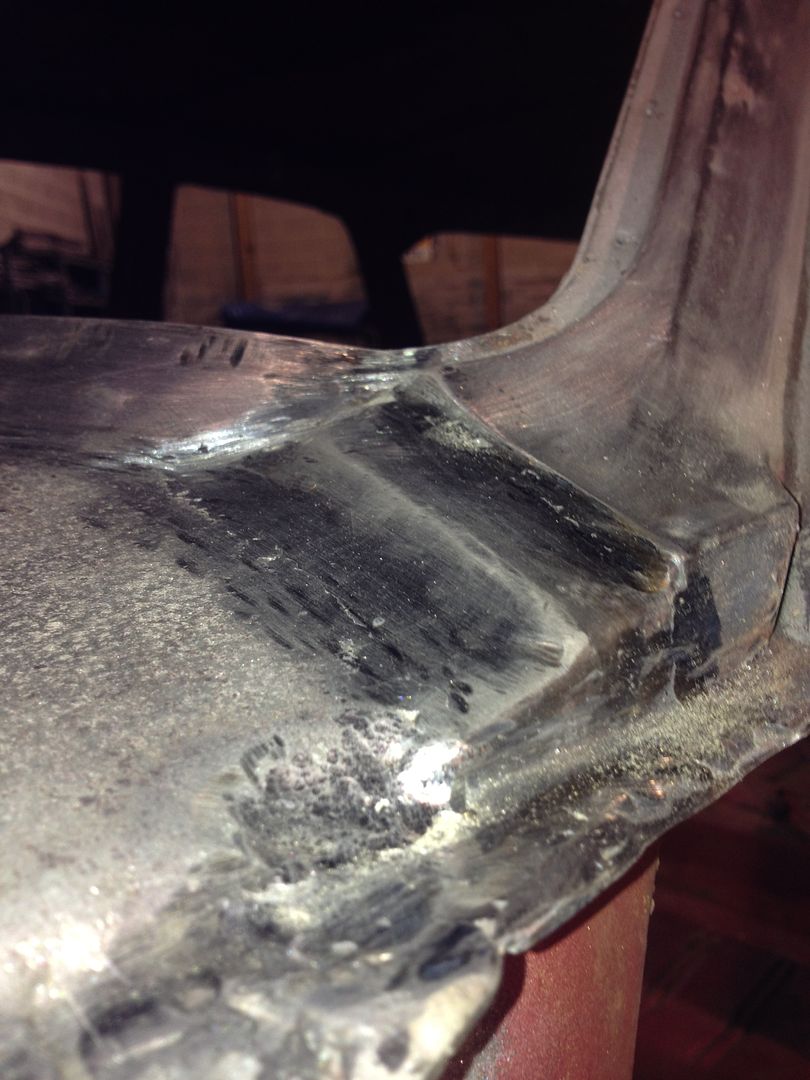
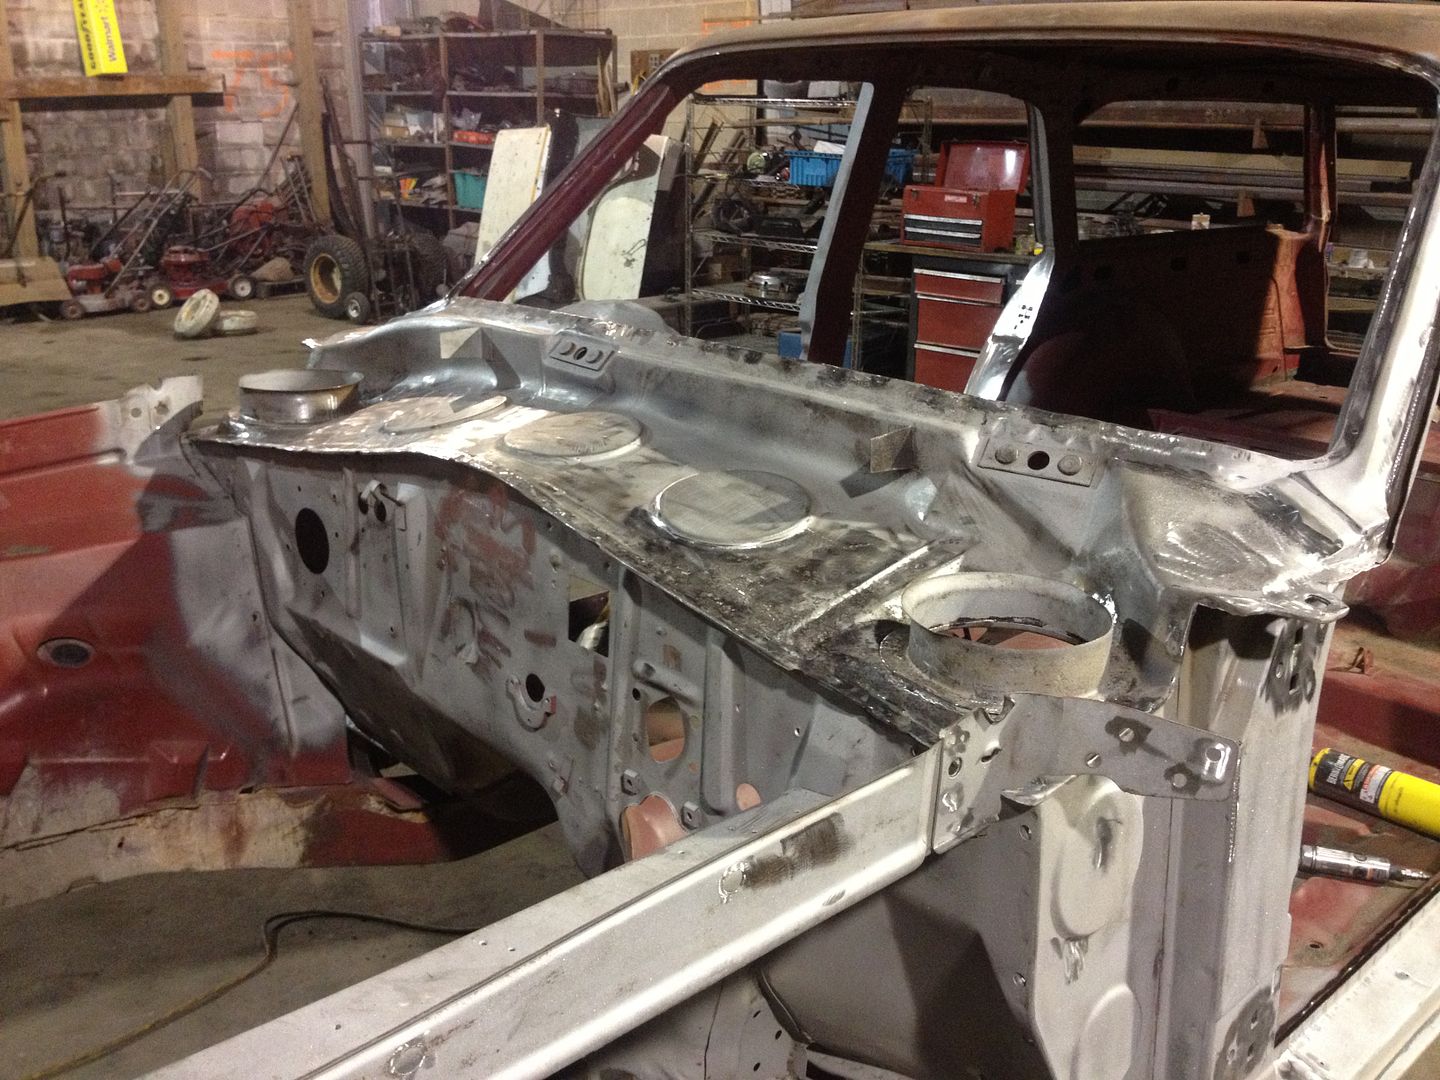
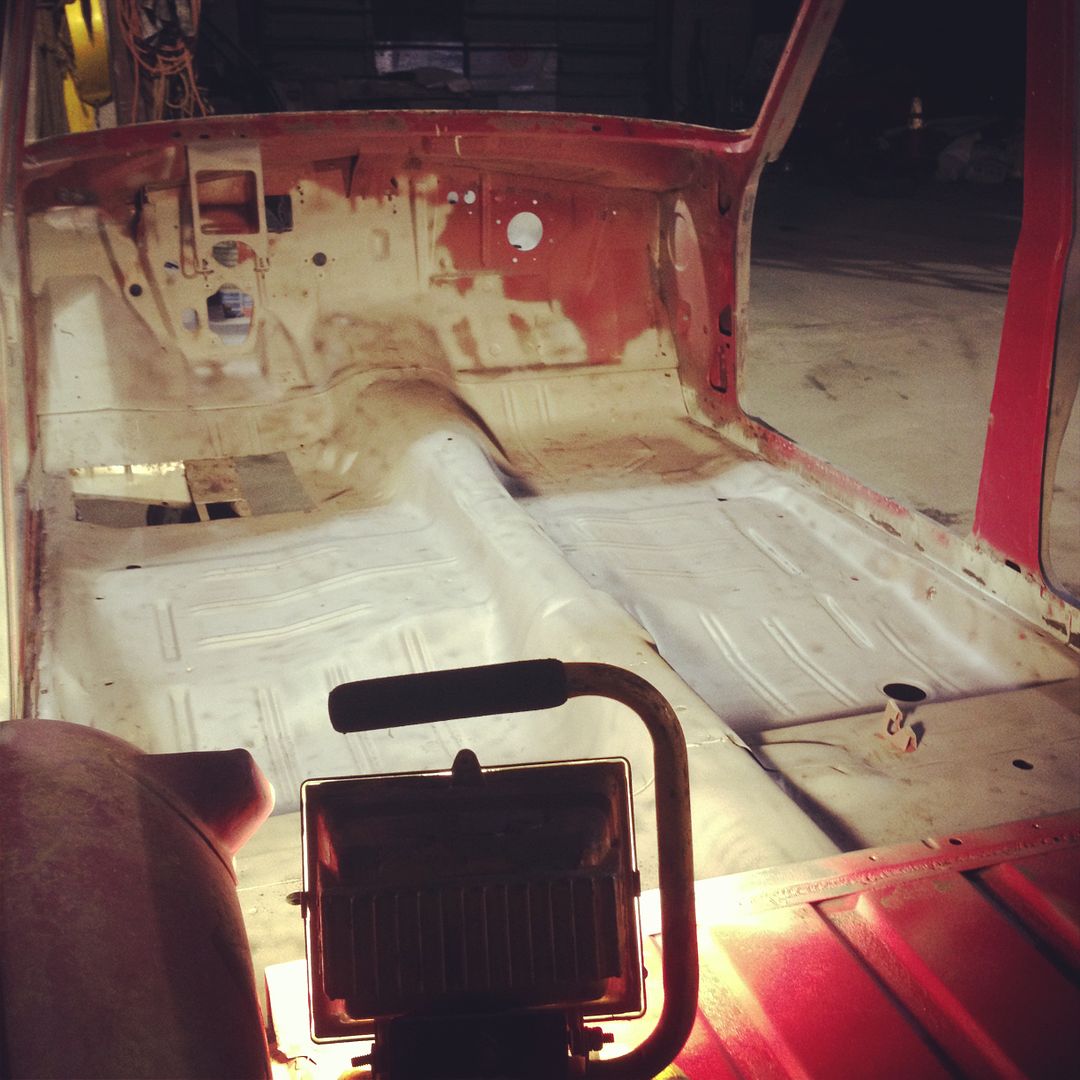
Since we got it in 2010, it sat on dollies as we dropped the /6 and took the suspension out. Yesterday, I completely gutted the interior, took windshield and dash out, cleaned up the inside a little and then took the junk hood off and put the good hood on and sandblasted the hinge spots and cold galvanized them and mounted it. Will be sending it to get soda blasted later this month. I'm taking the project on mostly by myself as I think I have enough experience now after doing 2 trucks:

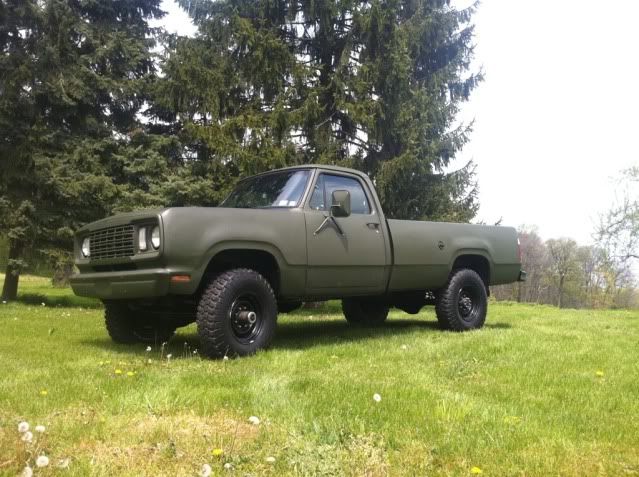
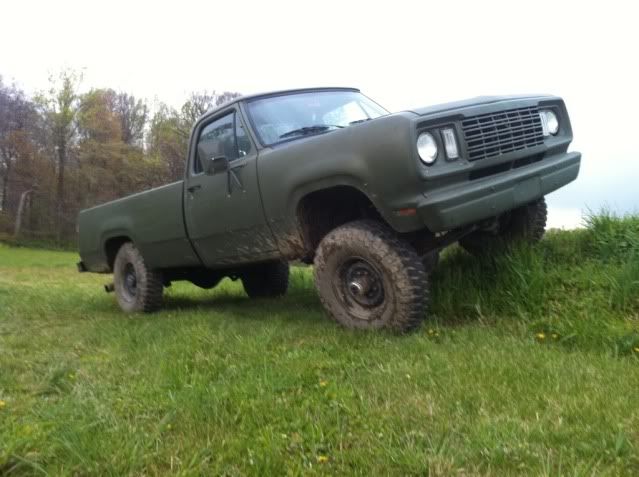
My 1977 M880 with a cummins 5 speed D60/D70 swap. Did everything myself except a hand sandblasting here and there from Dad. Took 4 months total:

Before:

HPIM3125.jpg


After:

a146d59e.jpg


a3e4b575.jpg


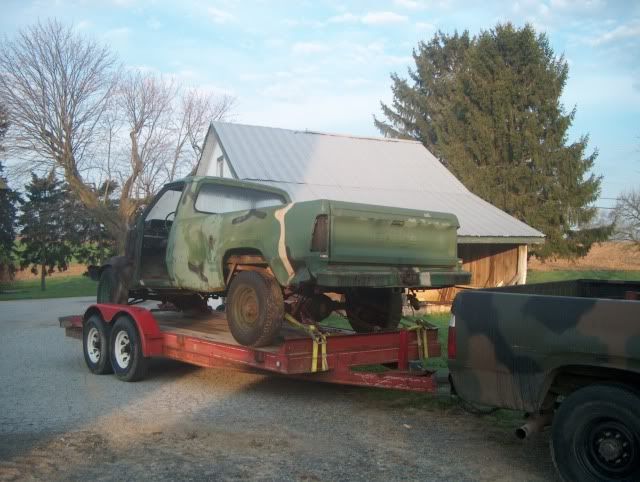
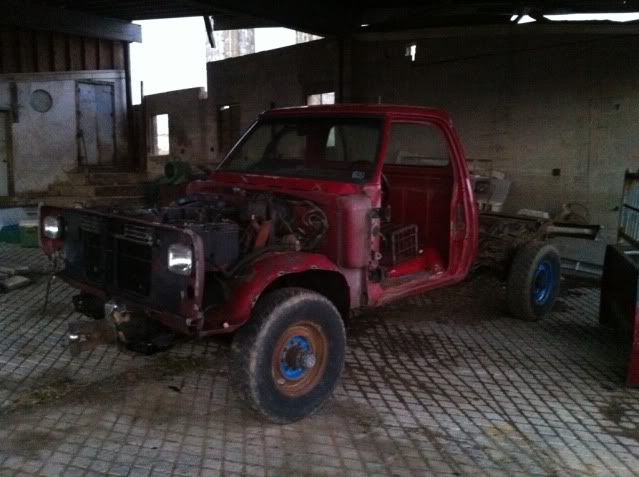
This spring's (mostly completed) project. My buddy commissioned me to do for him. He helped to. 1989 Dodge W350 cummins. Was supposed to get just new body panels but we dived in all the way and took it completely apart.

After it 4 hours we had it to this. Before:

ff287ed4.jpg


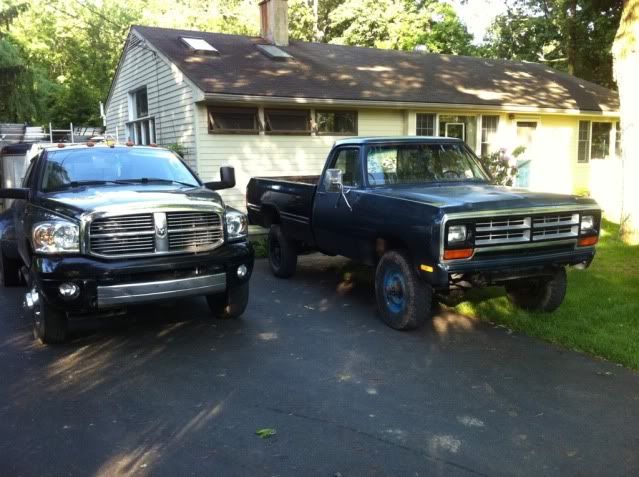
Still needs lots of little stuff but is road legal. Bed needs painted. The blue is Ford Norsea Blue Metallic. I sprayed it and it still needs wet sanding and buffing. After:

44cc7295.jpg


So yeah, my goal is every spring to do one restoration of a vehicle until I feel satisfied with a collection lol. I also have a 1965 Coronet Sedan that is supposed to be an A990 clone that is completely stripped down and needs floors put in which were already bought. Have fiberglass front fenders already as well as a built D60 4:56 powerlok for it and a 4 speed hemi box ready for a stroker.....

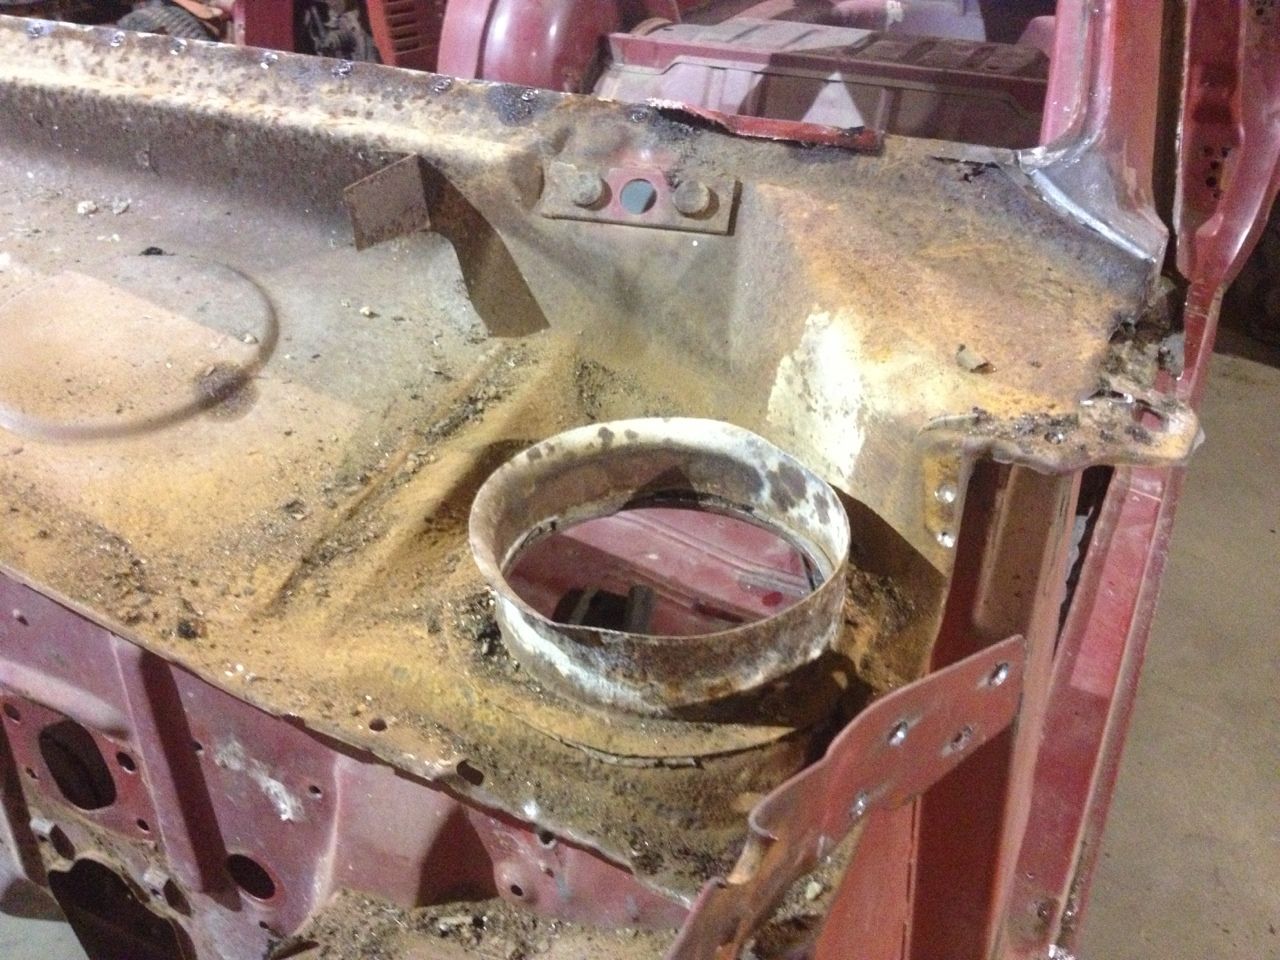
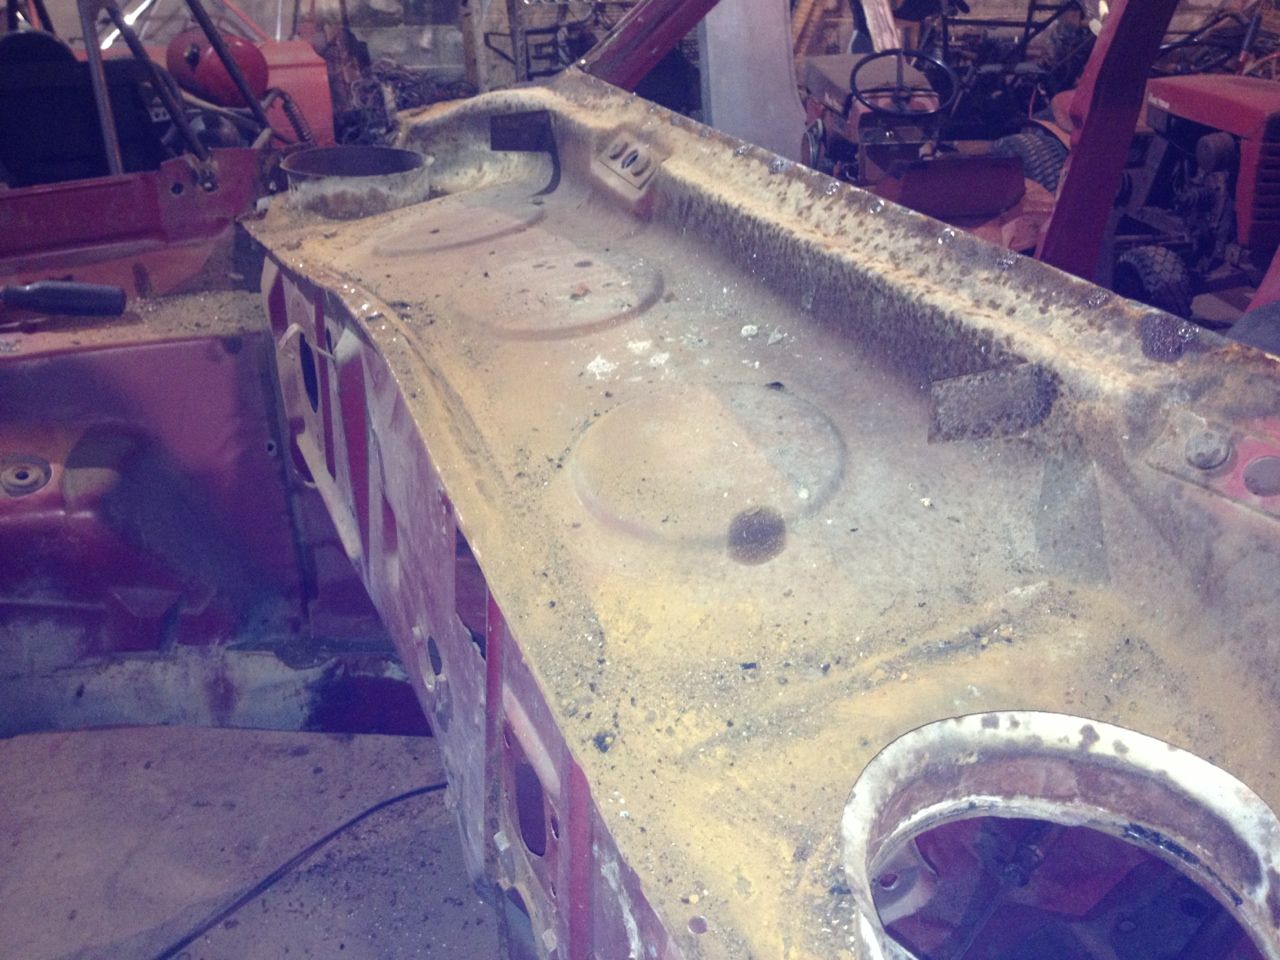
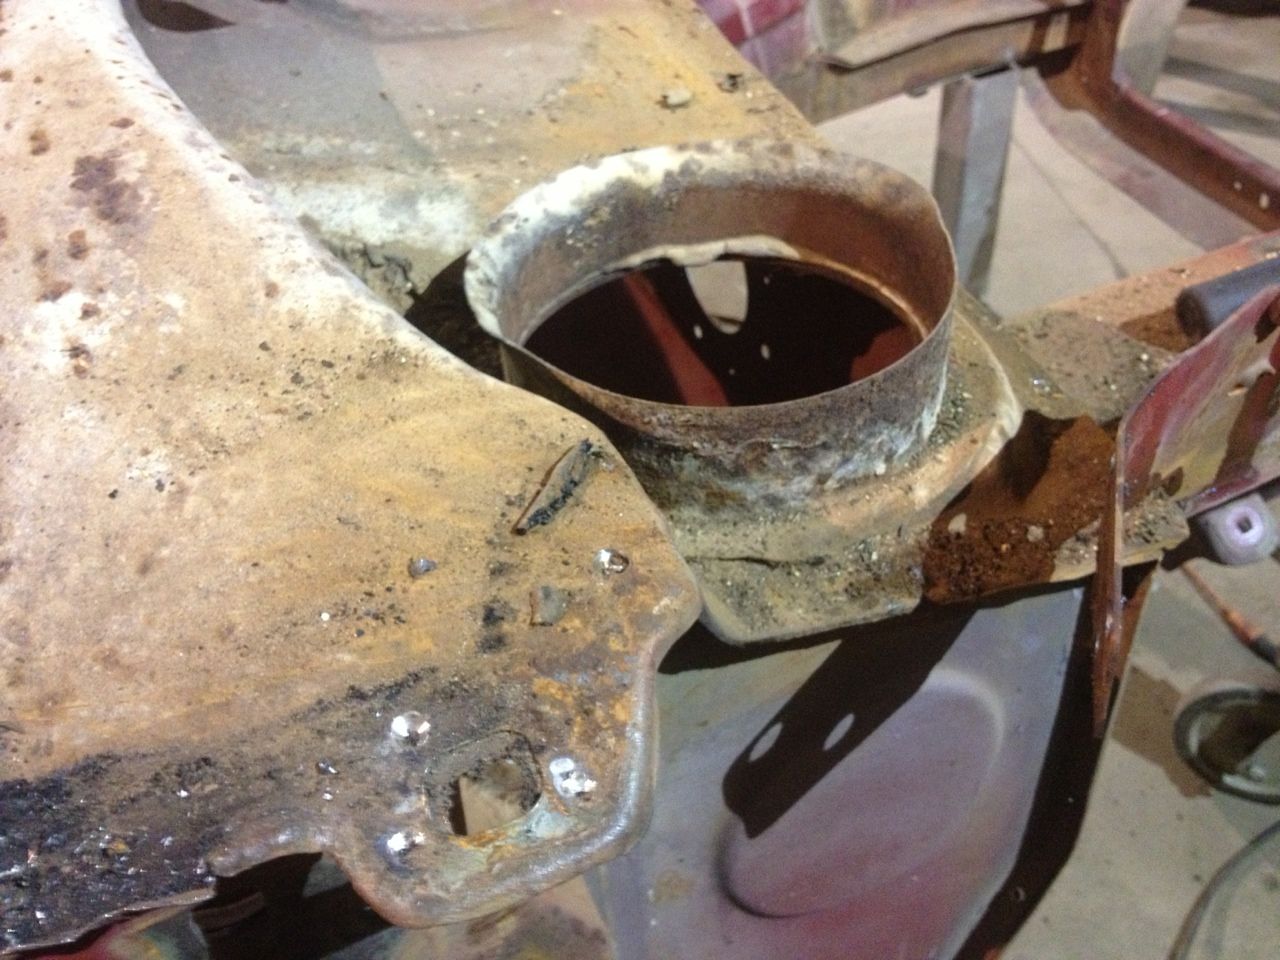
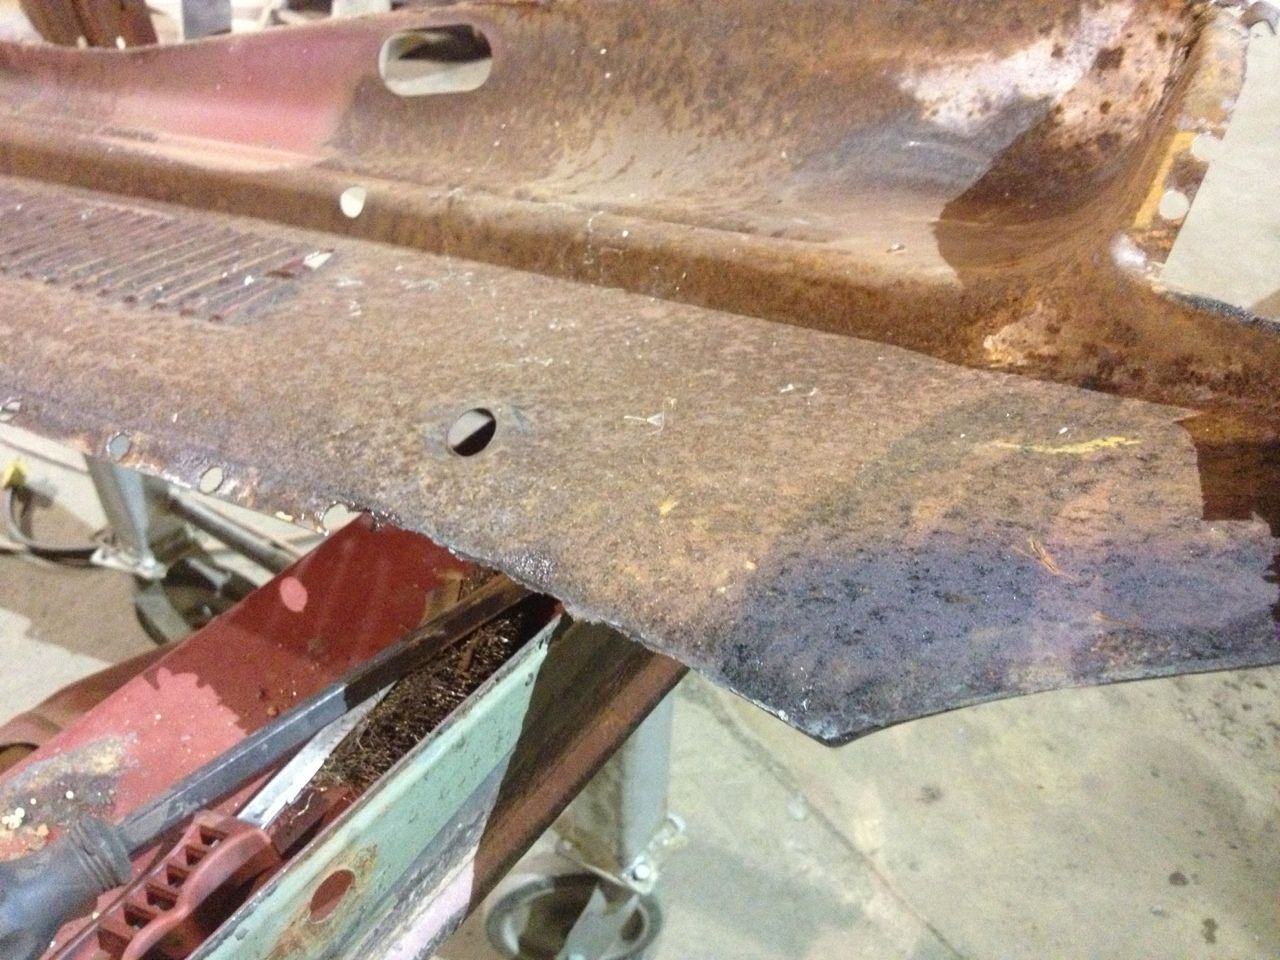
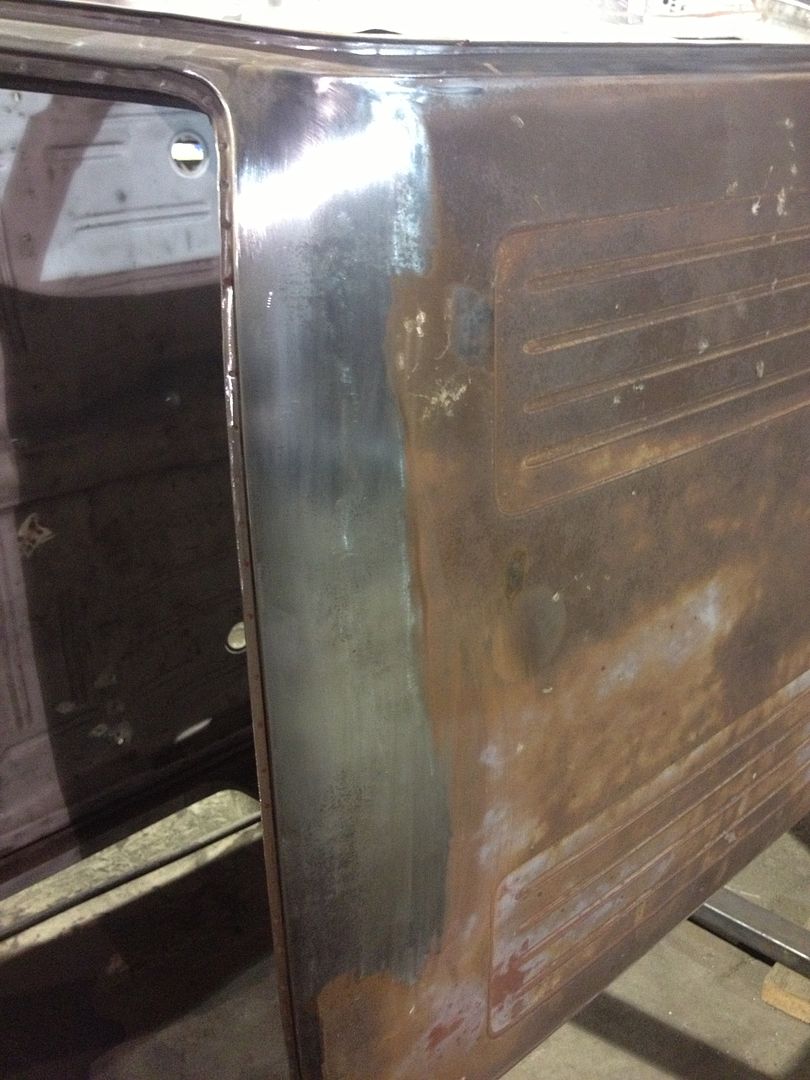
So the Dart will be looked upon as a lesson for the dangers of rust. I plan to treat 100% of the panels no matter how hard it is and then once all treated with acid/epoxy primer/epoxy resin it will be painted and then all passages sprayed with cosmoline. I want to drive it but it will be stored indoors full time this time around and I only want to do it once. No undercoating but the wheel wells will be lined with Monstaliner bedliner. Also will build my own stainless 2.5" exhaust to make the 340HP manifolds work and flow a little better then they currently do with whatever exhaust is in it now. Will install the AC this time and really just do my best on it!

The good thing is at my age, I learned the risks of rust so when I did my truck and my buddies everything was treated well. Should last a long time with proper maintenance. I guess I'm so obsessive about rust it's the reason I washed my truck 3 times over winter and then sprayed the whole underside with WD40! I just like to preserve my efforts.

Charlie
 
Charlie,
I hear ya man... My '65 Dart wagon is TOAST, but I can't bring myself to scrap her! They must be the hardest early A to restore, but I am committed (or should BE committed, maybe for even messing with it...) Good luck and supply lots of pics. I will be re-attacking mine in about a year.
 
Goor looking wagon of yours. Good luck with it and keep the pictures comiong. I'm working on a 65 Dart 270 wagon and I agree that they are tuffto restore. Parts arn't exactly laying around for them.
 
This post has been unearthed due to progress! I got sidetracked building a 1985 Cummins Crew Cab Dodge but now that it is mostly done, I have started to focus on the wagon. I need to get this car moving by next summer as we are trying to downsize and once assembled, I have a crap ton of spare parts to unload.

In 2 weeks I will start blasting parts of the car. I need to replace the head gasket on my Cummins but once that is done, I'll start moving on this thing some more. I drilled the spot welds out of the cowl panel and removed it to take care of hidden rust. The A pillar has some too so I may remove that as well. I'm just freaking out about hidden rust and only want to do the car once and take care of it from here on out.

The plan is to sandblast, patch, epoxy prime, seam seal and spot weld back together. I also stripped the undercoating off the bottom of the car and inner fenders. I'm going to do 3-4 coats of epoxy primer on the bottom side and probably raptor line the inner fenders and wheel wells. I like a bright undercarriage to see dirt and any leaks/rust spots etc.

C2CC8A1B-835A-4651-BE3F-A7028E76CAB9-1854-00000311E4029704_zps596ea469.jpg


E44F7C3B-1497-4381-B518-3FAE59BEAF9E-1854-00000311EE4317FE_zpsf84e19ea.jpg


AB0B4F84-7671-407F-9152-BFF5BFE5B8B5-1854-00000311F6D34BED_zps836092e2.jpg


F4024F9E-33E7-4825-A788-ED722639929E-1854-00000312027BB0A9_zps46866614.jpg


6EF195B4-C412-450D-8DAB-85EE56E7A7F6-1854-00000312196E1EF3_zpsc671a7c4.jpg


Wondering what the A pillars are like inside:

92F6BA5C-8E71-43FB-B126-EDBA0872A018-1854-000003120C8DA4BF_zps8c739635.jpg


Nothing is left on the body. Every nut and bolt even the hood hinges are removed!

5990070B-55C3-4530-900A-37C9559ED84B-1854-00000312246B11DA_zps195dce3b.jpg


Charlie
 
Gonna be nice again! I love the 66 darts I have a real soft spot for them and the 70-72
 
Progress!

I blew my headgasket on my cummins and got that wrapped up last week so I worked on the Dart. Rolled it out and used up the remaining blasting abrasive I had left. Got the cowl area done and the cowl panel I removed cleaned up. Did part of the firewall and inner fenders also. Planning to pick up about 500lbs of abrasive in the next week and rolling the car on its side onto a mattress outside and do the bottom and floors.

Today, I fixed up the A pillars. The passenger side had a small hole and some nasty looking metal at the bottom where a sloppy factory weld was. I cut it out and grafted in a new piece. The driver's side was worse. I had to remove a large piece and spend a couple hours fabricating a nice piece to go in its place. I'm happy with how it turned out! Planning to spray the whole cowl panel area down in rust converter, hand sand and hand brush the whole area with epoxy primer before I spot weld the cowl panel back on.

79897AA3-C84C-452C-B5AA-50F75733930C_zpsfmbcgxkg.jpg


34416CE5-D8FF-4A1B-8AFA-68395D126F6D_zps5uyun9q0.jpg


140431FB-D0D5-4A63-8D85-921352E2FE03_zpskl1zkn5w.jpg


C9DD2BCA-7EF3-4466-A55A-1A9151FC7C02_zps9l0kulja.jpg


04A207BF-8192-4186-8847-10F110458EF9_zpsgimbjxlw.jpg


EB093644-EA2E-4A18-B37F-FB1968F17E3B_zpszt7fokmy.jpg


047BA1B2-459A-4BC7-BD26-A4FCF448BA78_zpsjqfhzfg0.jpg


E56F09ED-33A9-4E67-8D96-BBDD44C0D6EC_zpslqcfcocl.jpg


61B21B4C-9DC2-476C-B4A2-A3B0D5AD766D_zpsf1s1ctrf.jpg


7A2B590A-2F4A-47E8-B50F-E8FE9981E166_zpsjkkxwu9t.jpg


Charlie
 
Been trying to put some hours in this thing...

Sandblasting, stripping, sanding, cutting, welding. I would like to get the body in 100% bare, clean metal by May 1st.

Finished repairing cowl for the most part. I epoxy primed it and am very happy with the durability because it won't blast off!

53EF2D7C-9361-4BE1-B5F0-7165B9EF7528_zpsufcfrwdw.jpg


B89F7D09-317F-4980-8728-82FB0AD2DC48_zpslwjza8dk.jpg


00846E87-CF2C-48FF-AAAE-CEF79CD7E1AC_zpsjp395kqt.jpg


13FCD640-1C4E-45C6-AA59-463EA450EAC5_zpstiqzduxm.jpg


37AFD653-D70B-477F-A31D-99908F10747D_zpsjbsvng0x.jpg


86068E3C-3863-43EC-B6BE-4B267DBFF0BF_zpsmj9p1qxn.jpg


18845A2A-D4F1-4244-8FA1-DD6A1A287DEF_zpsayp6w4rh.jpg


E55B336D-4A61-4409-BA6E-93DF4A895E7B_zpscgrkvbeq.jpg


B31D26C0-44F6-437A-9968-908400E43E1F_zps1t83ds5e.jpg


33E81A24-CB29-4EE8-A939-336A69F8B9A8_zpst6mvpxyp.jpg


DD4243C8-5072-4108-BD0A-67F77AFDC599_zpszfzjbw2t.jpg


E6E51277-48FD-4720-A80D-FDC89D6915A5_zpsn7uxrtwp.jpg


2C52CCDC-36CF-4CC9-A0D2-0FB8E5EF21F7_zpsbojxuecd.jpg


Front is pretty much done for blasting:
4F1963FC-EE4B-4D17-9182-40BA8D4D79B7_zpseymxty7k.jpg


93B1488C-5F77-4283-AA0A-4B6C68C41026_zpspye2flzk.jpg


Addressing these tomorrow:

10B713C6-5839-4717-997F-3583E14117CC_zpszm0lfweq.jpg


7D104C86-2BF7-4ACB-8492-9E0C0C86CF16_zpsnthflws7.jpg


Dent repair. Still have a looonnnnngggggg ways to go but the porta power helped a lot so far. Want to use minimal filler here:

4BDB4D63-4FC0-4407-9AF0-6CDA650DAF00_zpsf0nkuxtm.jpg


949DB382-428F-40C4-BC27-F4F39DA9F2E2_zpsnqbylbbb.jpg


Also, I decided this car will be painted Chrysler Inferno Red. Our wagon was originally Chrysler Flame Red but we want something a little darker with some metallic to highlight the curves in the body....

Charlie
 
way cool. wish i could give my val wag this kind of attention
 
Thanks!

I'm also thinking of addressing the shock towers on this thing. I noted that the inner fenders have some stress areas from the shock towers. I'm thinking of adding provisions for a shock tower brace that will link the inner fenders together over the engine....

Charlie
 
Enjoying watching this build :cheers: and just had to jump in and say hello :hello2:
Carry on :cheers: and thank you for sharing a cool story and build with use:thumleft::thumleft:
 
Wow, this is EXACTLY my intentions with my '65. Disassembly has begun... thanks for the inspiration Charlie really nice work there!
 
This thread really is inspiring. It must be a young gun thing to be into wagons these days. I thought my cousin was a strange one for wanting to restore a wagon but it seems more and more people are getting into vintage wagons.

My cousin's 68 coronet:
 

Attachments

  • CIMG0931.jpg
    53.5 KB · Views: 748
Here's some good progress I know you guys want to see!

Continuing to blast:

130B1738-442F-495D-8DE3-9A4D525293C1_zpskrlyxzzb.jpg


Pillar reinforcements made. I made dimples using an impact socket and a piece of DOM that I put a bevel on. Worked nicely!

0C80B551-EE44-4FF5-8C5D-58919701FBD5_zpsjtfuy7mp.jpg


Weld surfaces were treated with weld-thru primer then it was installed:

7571D3AD-5B2F-4790-882A-F5191E17F815_zpsspcn1po5.jpg


Test fit of new pillar. Little bit of trimming and it was ready. Prepped all surfaces with primer/weld-thru primer:

18CC817B-DCEC-44B1-B9CC-4D650D8B22AF_zpsvl38n4xg.jpg


Ground flush at roof skin:

36449274-B63D-4C15-8F1C-302C2921FAAF_zpssbquphu0.jpg


Floor pan fab; made the beads by taking a piece of home depot shelf bracket and hammering with a piece of 3/8" rod stock. Turned out nicely. I had to flip it upside down a couple times and hammer between the beads to get them right but I have a nice smooth, consistent bead that matches the factory ones.

5111E3D2-B25B-453B-906A-E3F8F937D04D_zpsgdf0qubg.jpg


D34F21E4-4282-4384-A11D-AABC3B851A13_zpsdrpffos4.jpg


EBA5FC60-D993-4491-8FC4-101595DF1695_zpsnsf1ubrf.jpg


Charlie
 
Luv the home made bead roller! Id like to do the same thing. I can see the 3/8 round bar but can i get another pic of whats underneath the metal? U said home depot shelf bracket?
 
Made the bars to roll the car on its side. Works great. Takes 2 people to carefully roll it but it makes working on the bottom side a breeze. This weekend I sandblasted the bottom. Just have to go around and get a couple chunks of stubborn undercoat, smooth up all the spot welds, modify the trans tunnel and I can paint the bottom! The trans is an A500 so I have to raise/widen the tunnel for the OD unit. Also need to add a provision for the rear dual exhaust hanger and strengthen the shock tower a little.

F132FC95-8AA2-4ECA-8A69-9B9C6B592ACF_zps8gwrd8cm.jpg


49BFEE5C-F9DB-4EEF-B49C-CF9D1FF15AB9_zpsgfhhsbc6.jpg


E9D5AB6F-0D4C-4474-85E1-DDB993A3A25B_zpswedrn7es.jpg


I also started to assess what I need to buy for the project, and started choosing the best parts out of what we have. Its pretty fun being able to choose between 3 sets of taillights or 4 sets of door sill trim. Picking the very best parts and doing the needed work so when the body is painted, installation is quick and easy.
 
The task these past couple weeks has been working on the floor pans. This included removing the original style E brake brackets for a later, better working setup, modifying the trans tunnel for the bigger trans and smoothing out spot welds and deburring sheetmetal edges. There's still work to be done on the trans tunnel and floors but I am progressing towards primer very quickly.

This is a good reference if someone wants to do overdrive in an Early A. The old body had the same work done and my dad wanted me to reuse his tunnel and crossmember in the car but I opted against his request and made my own. It turned out way nicer than the original and I only have 2 days wrapped up in it so far.

39B82A54-4352-414A-A685-E689D0798A24_zpsm9mkm8i5.jpg


18B91489-96F1-4406-8A87-1C3629A0EAC0_zpsysfzywgv.jpg


1927D8FA-1E60-42F8-B10B-971D9D9F2819_zpssnl5dytb.jpg


66F63944-682C-4F1A-A77E-54CCF7883915_zps5f3hjl4b.jpg


Old VS New trans tunnels. The new one I hand formed out of 20ga.

DE0C1C23-4C50-4FDF-BC35-5D26DE4812E0_zpsyo5bqojh.jpg


37FD6C72-966F-4F96-B009-09FFD4C7943B_zpsgqkpbfbn.jpg


C0AF7A4B-0E21-4B9E-8B7A-9CCEC1159CD5_zps1vsswwv2.jpg


Made section cuts to bend it. The tubing is 1x2 1/8" wall. After it was shaped, the cuts were welded closed and a 1/8" strip was welded to the outside face to strengthen it and give a wider area for spot welds.

277F0055-DEB5-43B6-9954-3927EF25EBDB_zpszopla6gb.jpg


34F37B8A-B51D-44EF-B03D-B71BE6184D42_zpstmrtwogc.jpg


B63D6952-3CB9-4EF7-B591-71F7D24BC2A6_zpsaajytvtq.jpg


CF102A54-9C8C-4B9D-85E5-CF3D4AB6567A_zpsv8iweulh.jpg


E0FC3F0F-ECDC-4749-B2A5-635A792CA5B3_zps0r2ohb4s.jpg


350A3FBF-768F-4D54-894E-735C3D8AB85C_zpskvr83jmq.jpg


Spot welded to trans tunnel. Need to finish the ends now and tie it back into the subframe:

CF24FD57-7190-4DFC-AE43-DE1D92E8ECAF_zps5fqgd1cx.jpg


9810C3CC-6157-4685-A3BE-12CD10628FC1_zpsxlxh9cjr.jpg


Going to knock a bunch more out Thursday and Friday/Saturday.

Charlie
 
This car looks a lot like a wagon I found on the internet years ago. It was a PA car belonging to Paul Pritcher. It was gorgeous. I've been looking for a 66 wagon ever since.
 

Attachments

  • Paul Pritchers.jpg
    49.6 KB · Views: 622
-
Back
Top