Lets see- RUST "B" GONE- Projects

-

draginmopars

Well-Known Member
Joined
Jan 25, 2013
Messages
1,264
Reaction score
425
Location
Shady Hills, Florida
Let see your project
you are bringing back from the dead

you know the ones you thought, had a little paint bubbles
or that vinyl top car, just a little rust under there

I've seen some real talented metalwork
would like to see some more

It would help me and others
to keep motivated to complete the project
also to see how the repair was done

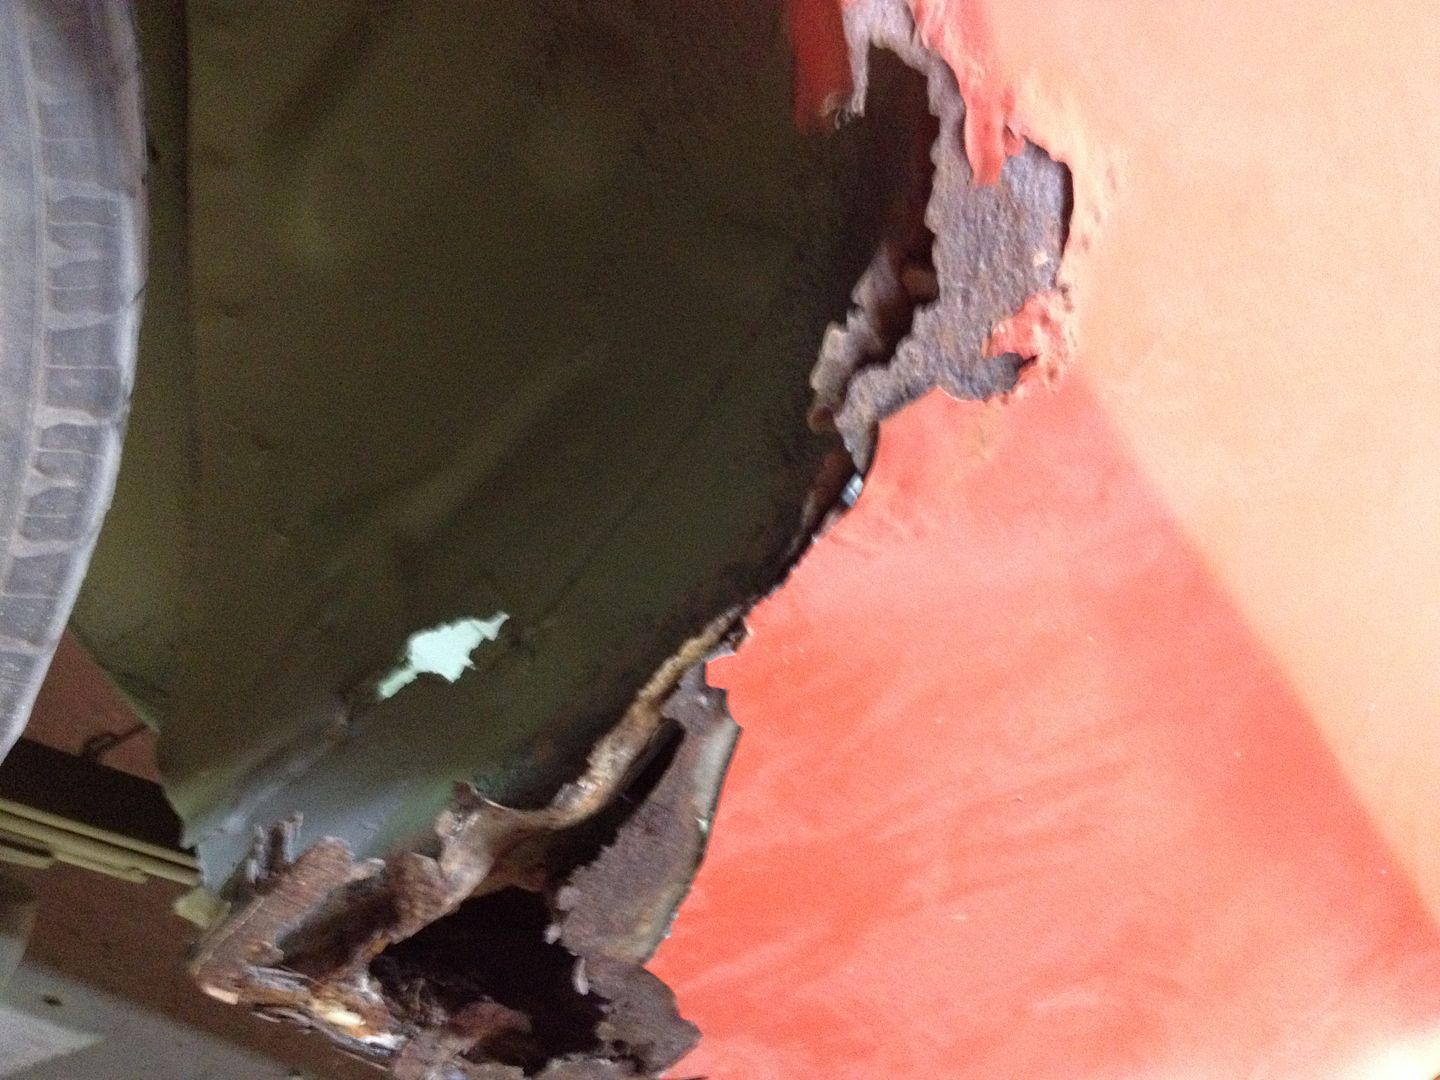
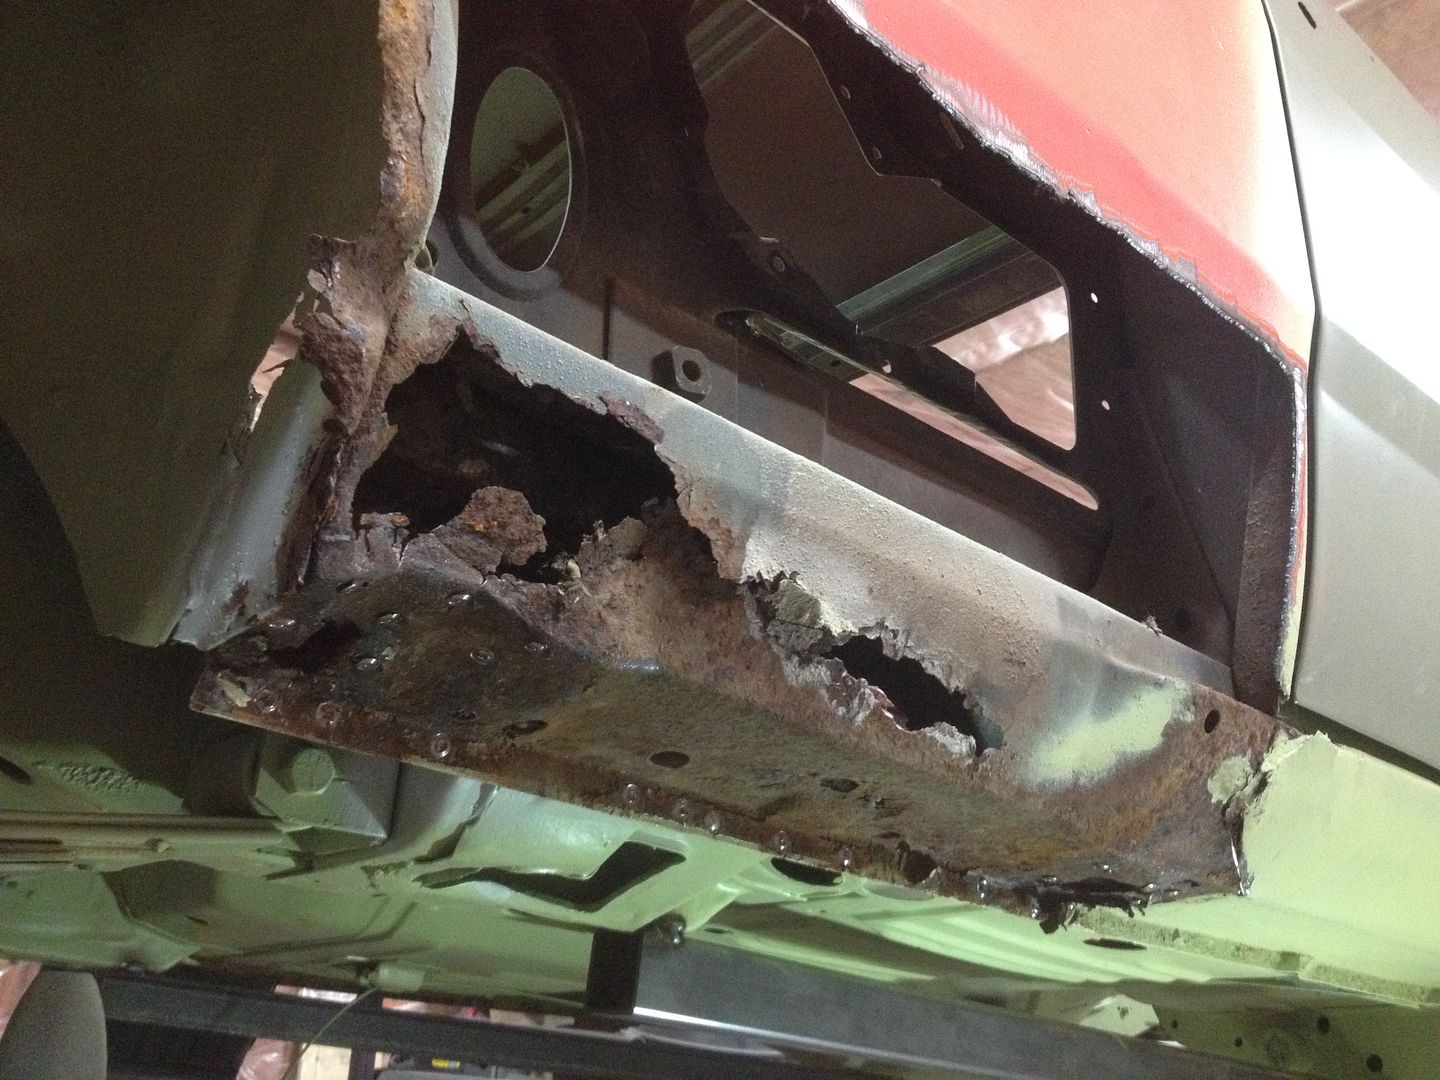
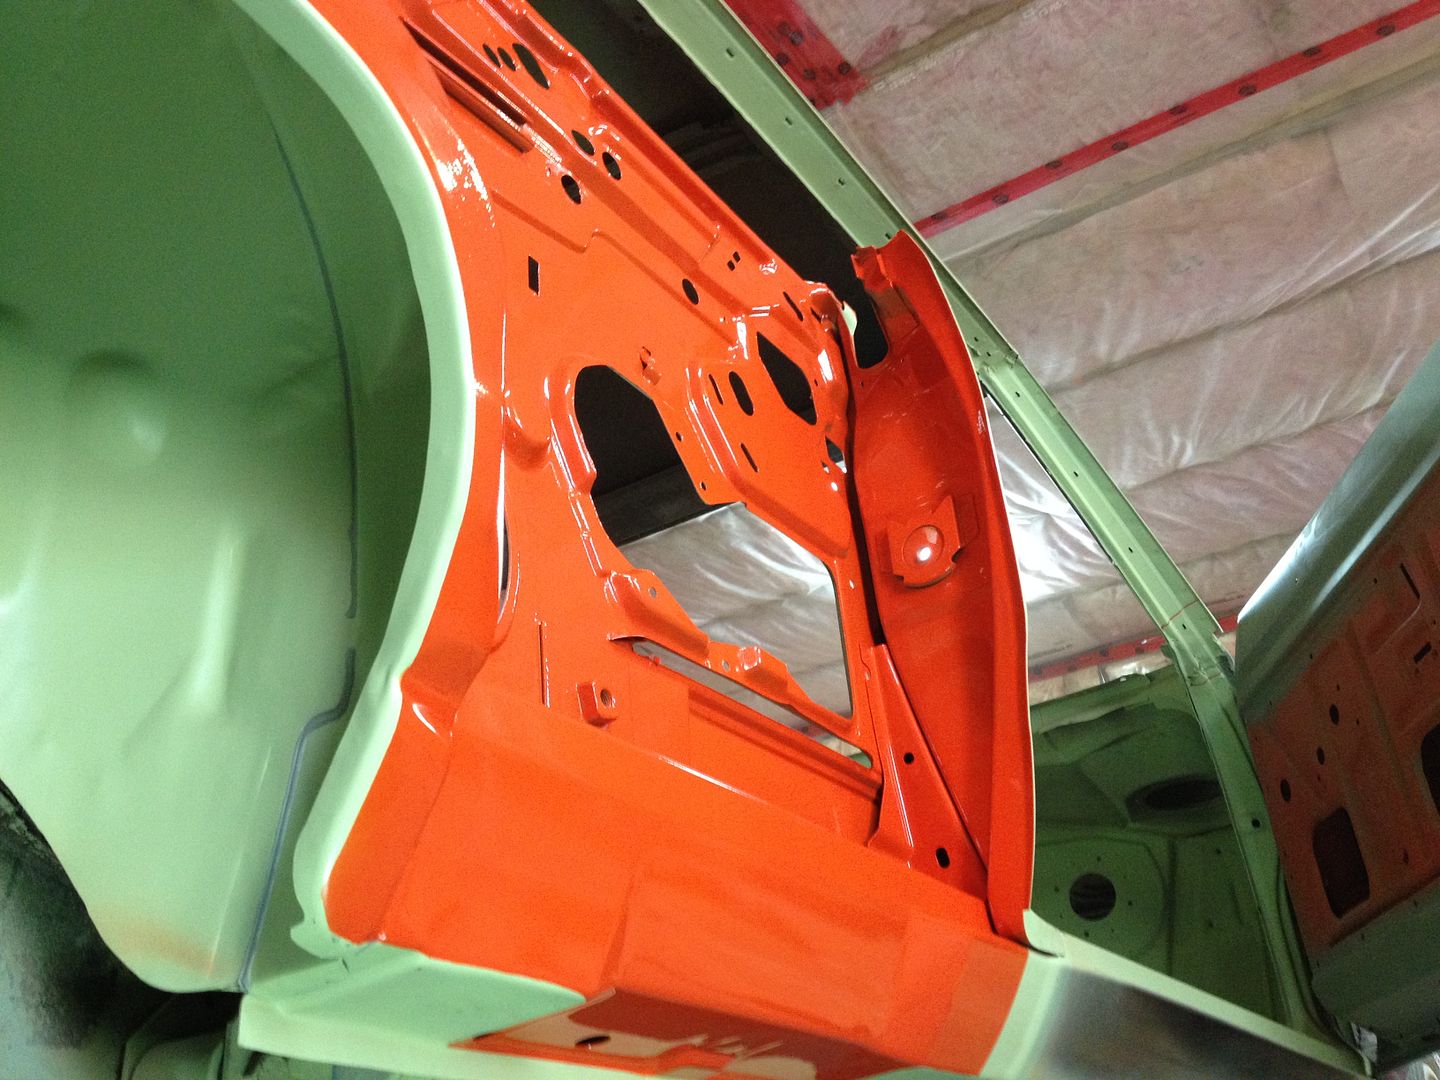
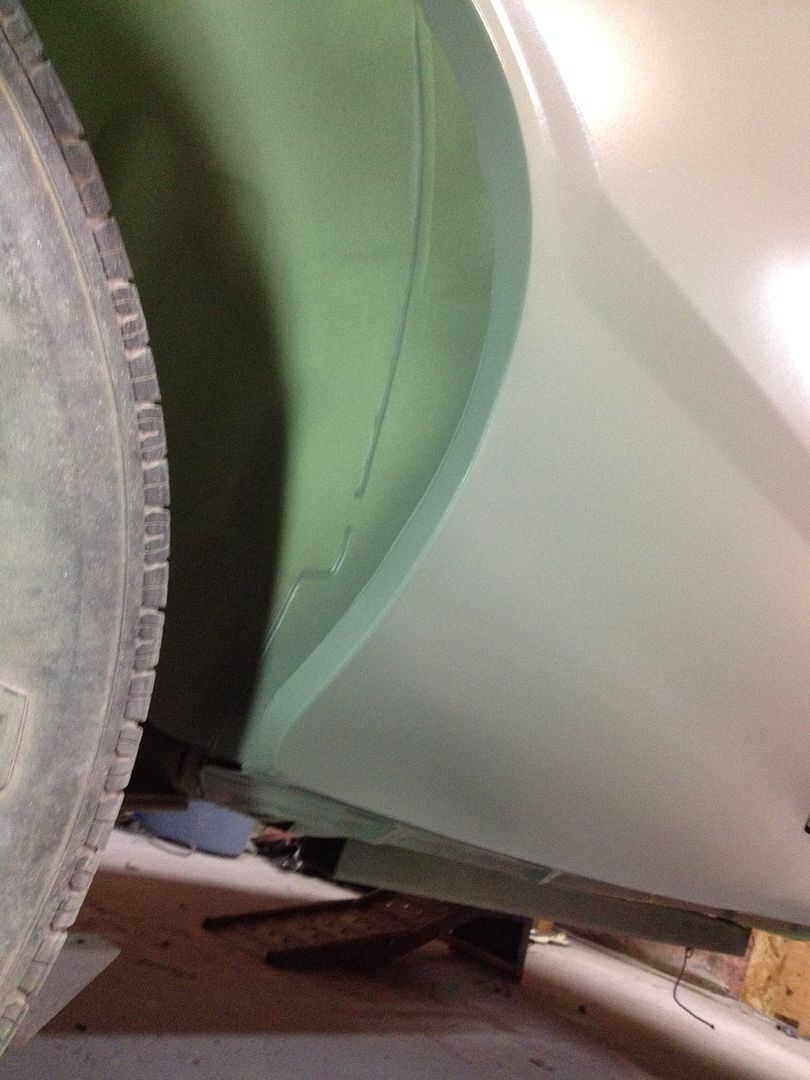
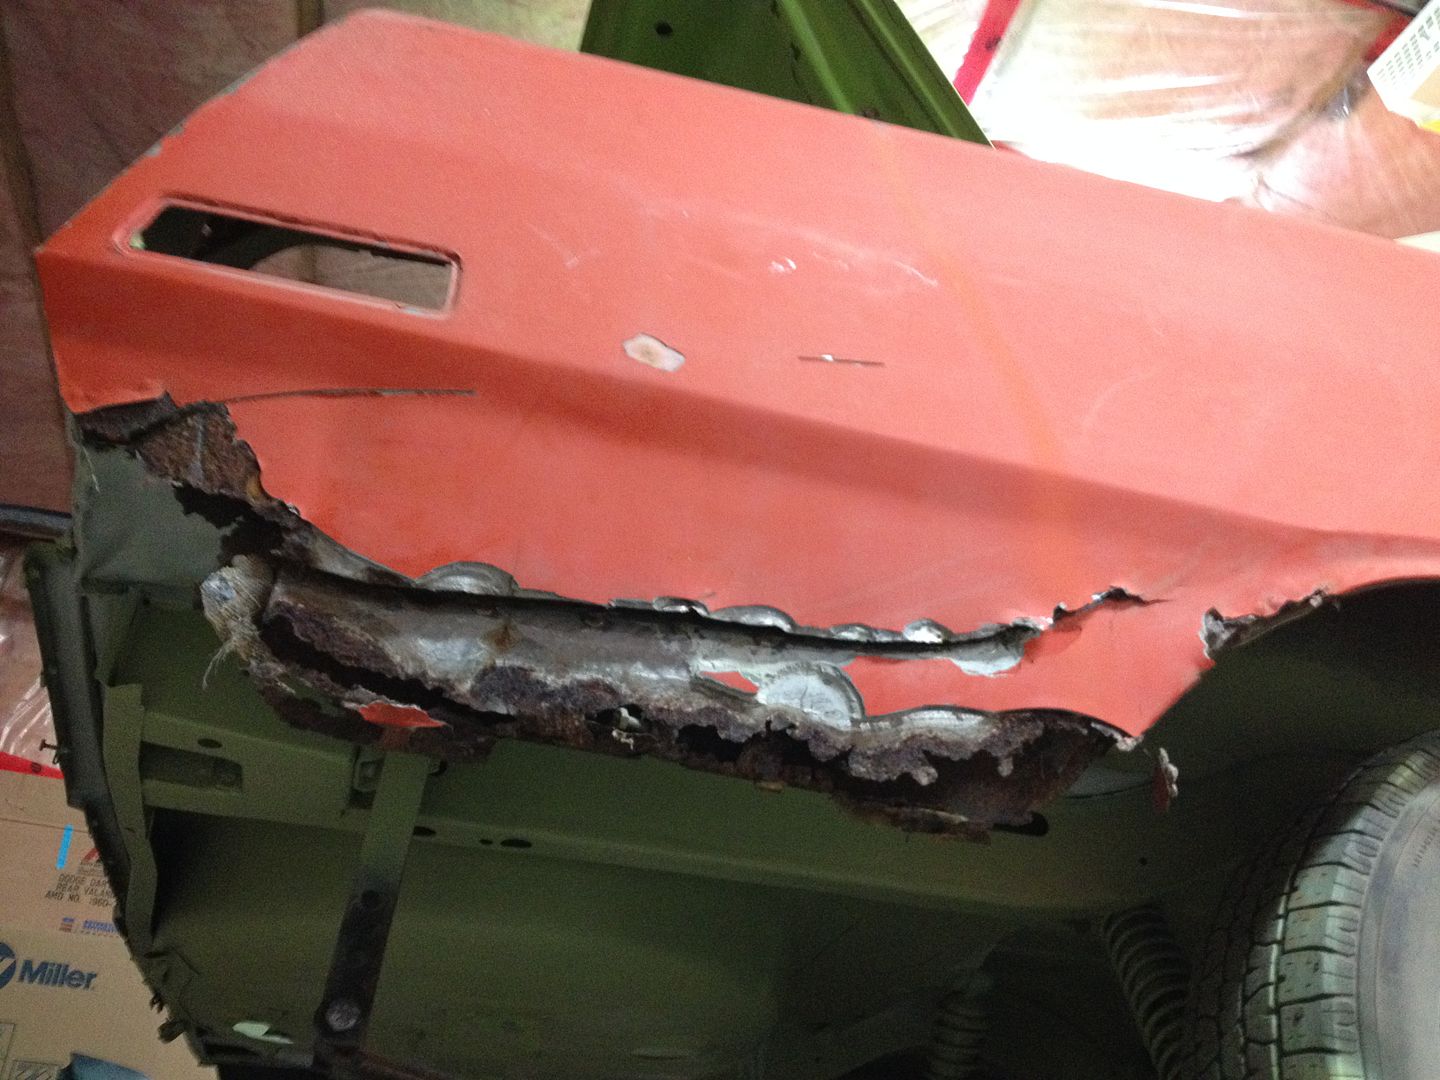
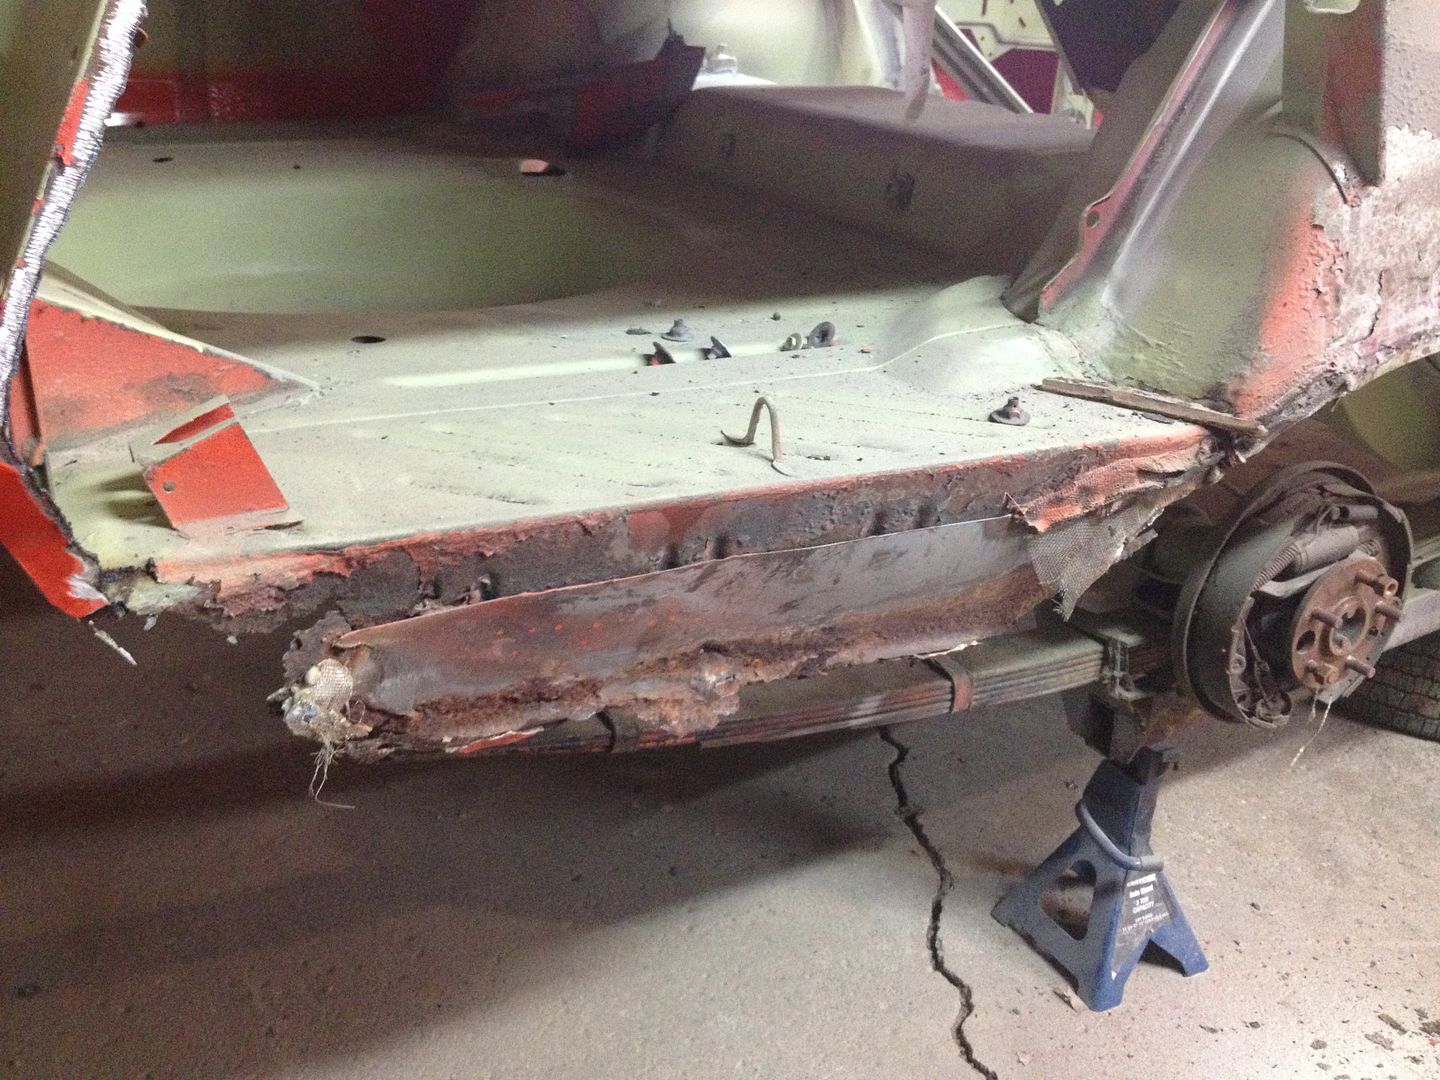
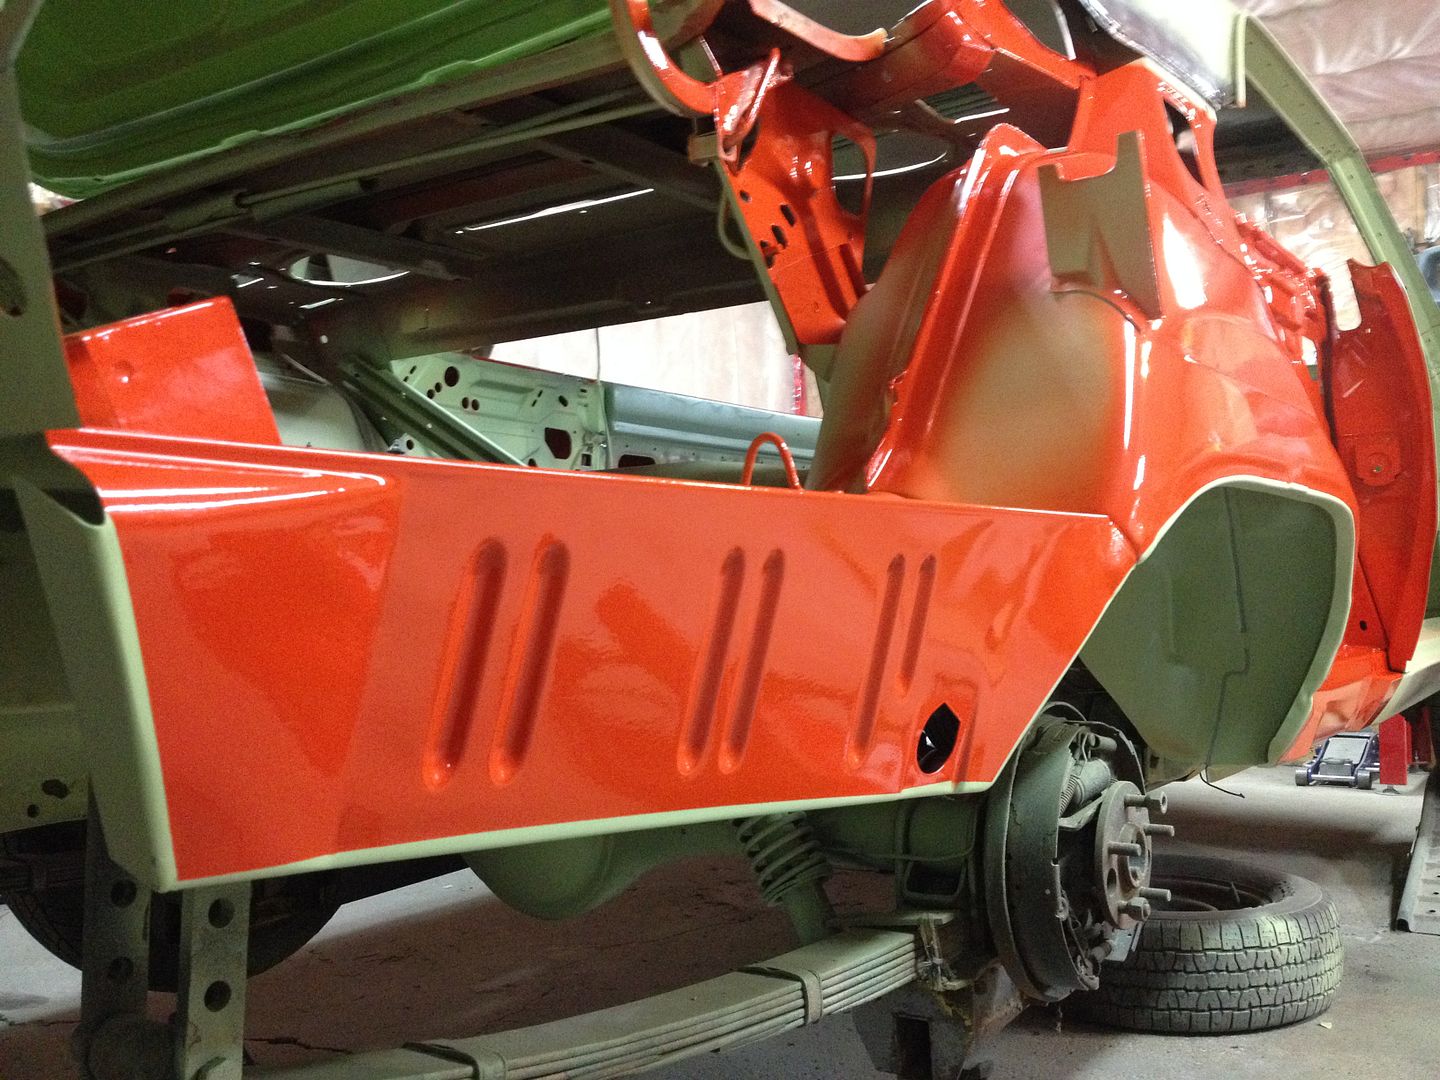
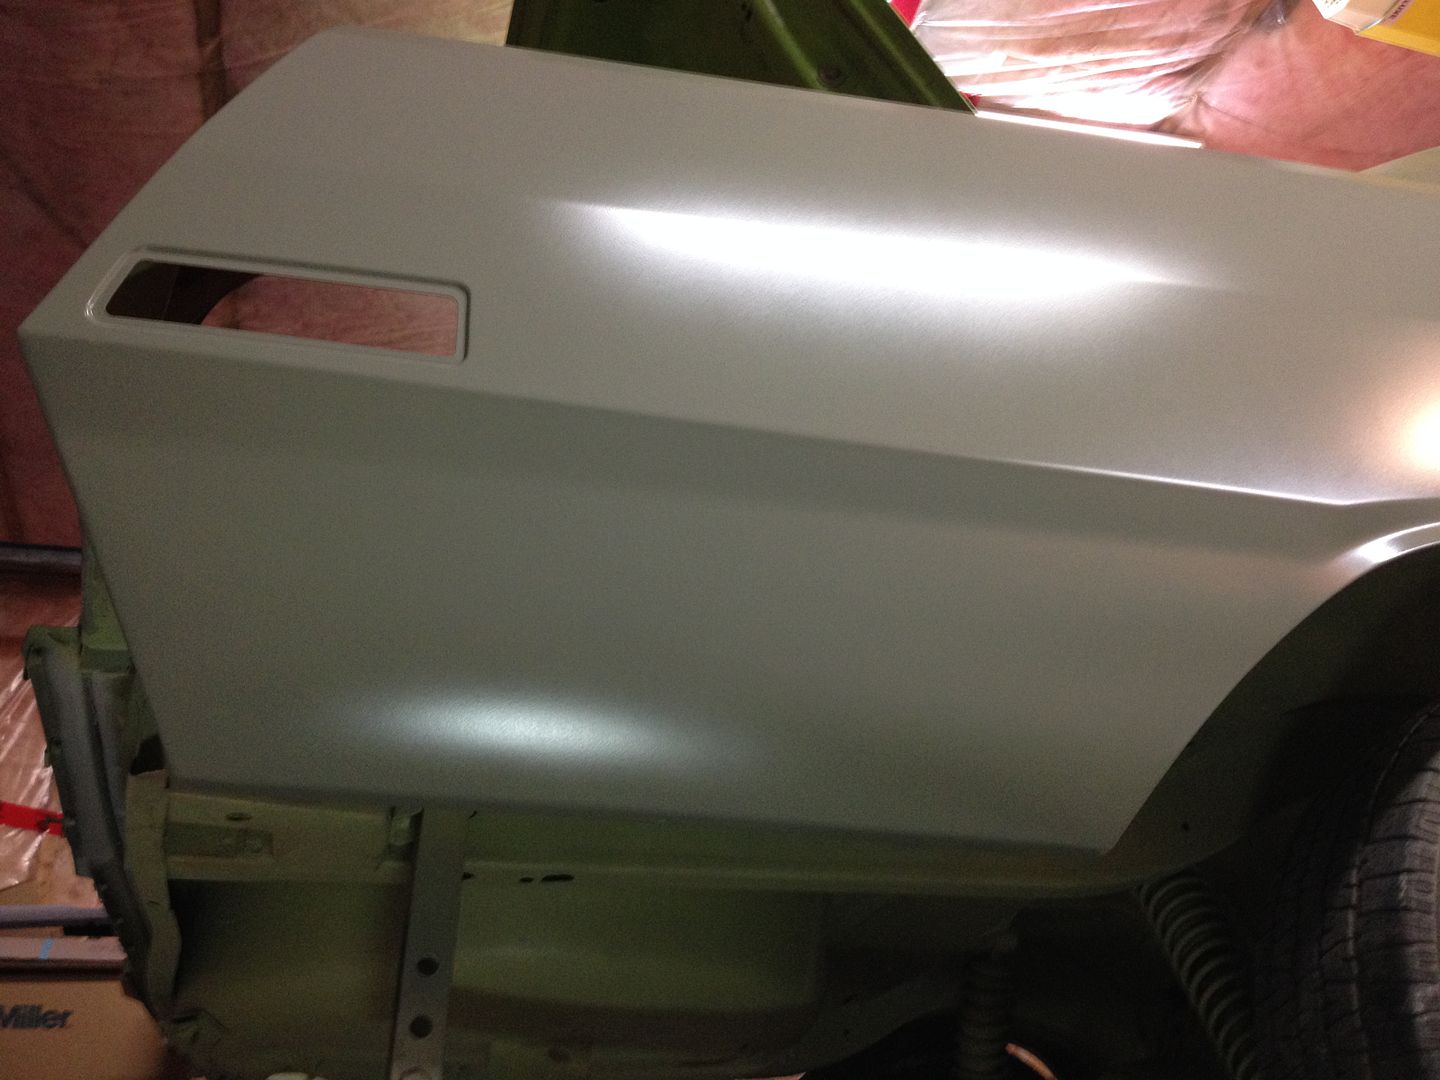
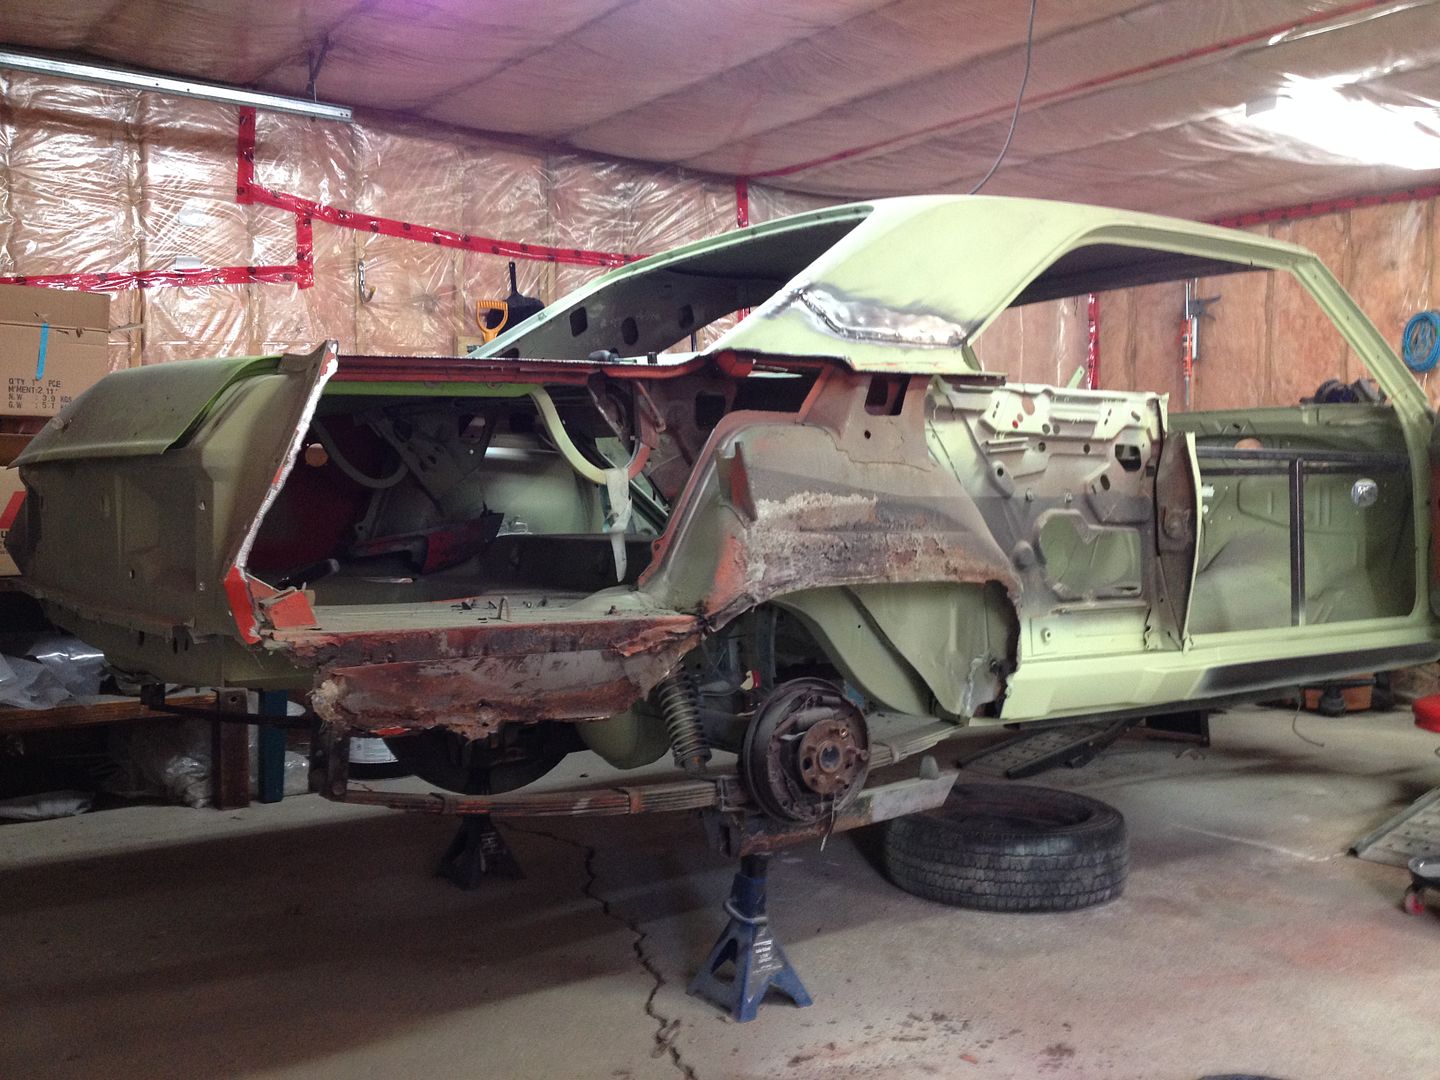
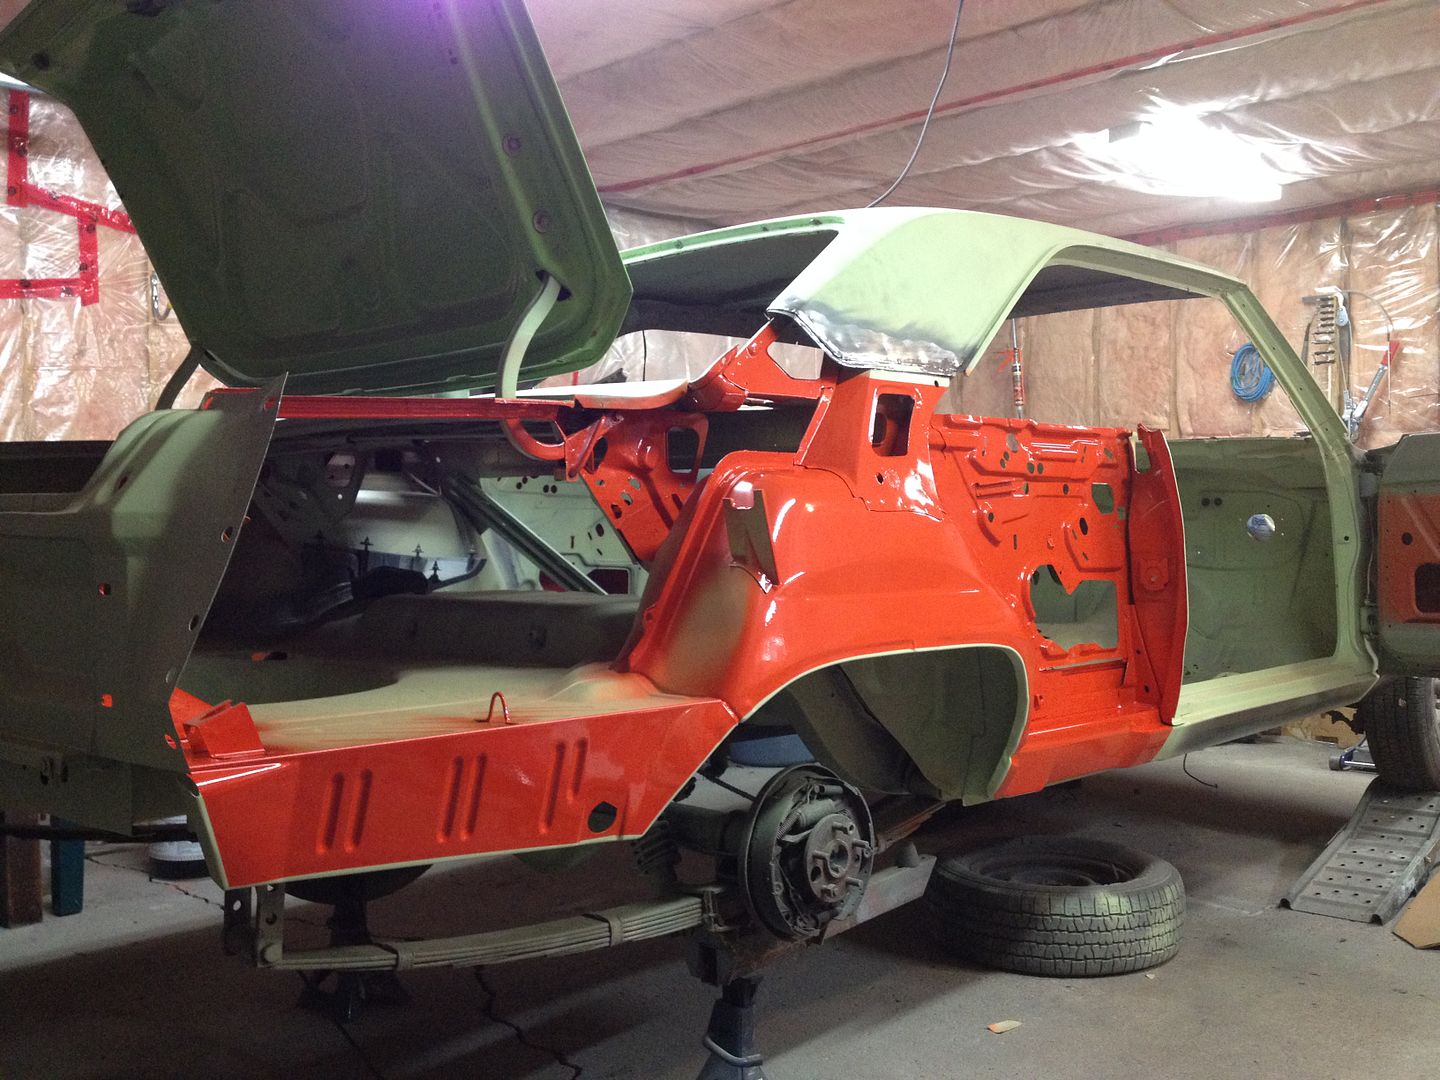
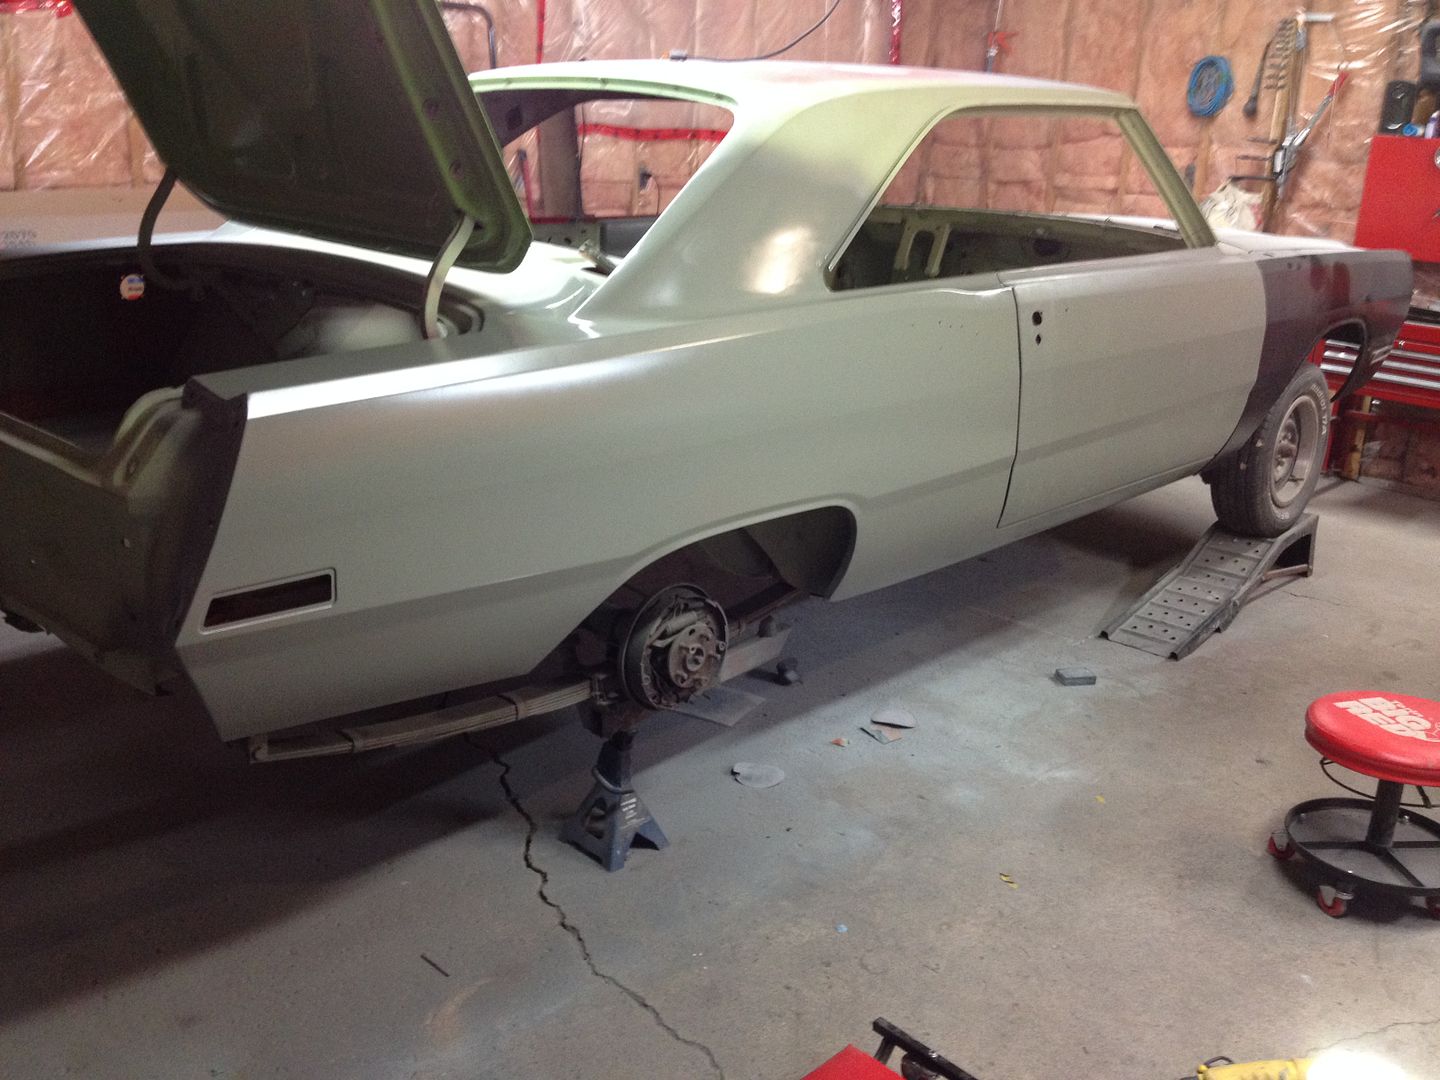
We will be doing both quarters, on a 70 dart soon
I'm sure there will be other hidden rust

016-1.jpg


151.jpg


this is the car hauler we repaired
the seller never told us it had fiberglass floors..

001-4.jpg


004-2.jpg


010.jpg


since we had a cummins donor and was putting the engine and trans in the 73
we cut the 92 at the rear of the cab and used it all

009-3.jpg


016.jpg


003-1.jpg


016-1.jpg


003-2.jpg


018.jpg
 
:D here's mine. bought in Miami Florida. sitting under an oak tree for a few years

The ONLY panels I did not have to repair were the passengers side inner fender, the front radiator support and the rocker panels. the rest all needed work. the complete floor pan was pulled from the tail panel to the firewall, it was a parts car for sure until a smart A$$ friend said the junkyard was only 2 miles away when I was pulling it home. I emailed him pictures after it went into paint.
couldn't find a rear floor pan for a 66 that I could afford so I found a $50 73 floor pant that worked for me. weird part ws where I drilled out the spot welds on the 66 was EXACTLY the same on the 73 except where the seat belts went. weird. oh the shape or the floorpan and the rubber plug holes were in a different position I cut out the section where the seats mounted so that I could flatten it for my 97 sebring seats.

View attachment dartbarracuda 026.jpg

View attachment DSCF1382.jpg

View attachment DSCF1387.jpg

View attachment DSCF2009 50-50.jpg

View attachment DSCF2011.jpg

View attachment DSCF2033.jpg

View attachment DSCF2070.jpg

View attachment DSCF2092.jpg

View attachment DSCF2836.jpg

View attachment WP_20130730_003.jpg
 
I'm getting started on a barracuda notchback that ill be replacing the floor and trunk pans this weekend ill get some pics posted, but I've got a question for you guys that have done this a time or two where should I brace the car before I start cutting it up. The car does have frame connectors already installed.
 
I'm getting started on a barracuda notchback that ill be replacing the floor and trunk pans this weekend ill get some pics posted, but I've got a question for you guys that have done this a time or two where should I brace the car before I start cutting it up. The car does have frame connectors already installed.

Are you doing the over the axle part too? if so you'll have to brace the rear frame rails to stay square. hardtops are easy. if you have frame connectors already in just put the car on either a body cart or 4 jacks tands to keep the car level ( if your really worried, tie the front and rear door jams with a 1 inch square tubing going from the striker in the rear to the top front door hinge location) measure the rear section which is the easiest to get out of alignment using the X measurement style. mine was off from the factory about .25 towards the passengers side. on a convertible you can fix it easy, on a hardtop or sedan eehh not so much unless you want to slice some metal and either take it out or put wedges in to made it totally square. level is the key word before you take it apart. when you start check door closure. it can change the fit.

mine had the normal 63-66 passengers side rear quarter of about .25 shifted up, so the tail lights didn't line up from trunk to quarter panel. now they are a lot closer. but if I do it again I am NOT fixing the quarter panel. 2 weeks worth of slicing and dicing to get it almost perfect isn't worth it.

What are the reference points for checking if the car is level? Is it just side to side, or is there also a front to back you can level off?

Posted via Topify using iPhone/iPad
 
You can level front to back on the top of the rocker panels and side to side across the inner fenders
 
"B" it is and gone is the rust! Lots to go but every little bit adds up.
 

Attachments

  • IMG_1229.jpg
    27.9 KB · Views: 581
  • IMG_0438.jpg
    46.8 KB · Views: 549
Are you doing the over the axle part too? if so you'll have to brace the rear frame rails to stay square. hardtops are easy. if you have frame connectors already in just put the car on either a body cart or 4 jacks tands to keep the car level ( if your really worried, tie the front and rear door jams with a 1 inch square tubing going from the striker in the rear to the top front door hinge location) measure the rear section which is the easiest to get out of alignment using the X measurement style. mine was off from the factory about .25 towards the passengers side. on a convertible you can fix it easy, on a hardtop or sedan eehh not so much unless you want to slice some metal and either take it out or put wedges in to made it totally square. level is the key word before you take it apart. when you start check door closure. it can change the fit.

Adamm thanks for the info that's what I was looking for Im not ddoing over the axle area that is the only spot in the floor minus the trans tunnel that's staying in the car. I am removing the cross support that the rear bumper mounts two and the rear valiance, im going to try and replace it as one hole peice along with the trunk pan.. So I would think some cross bracing will be needed.
Should I load the suspension? When I level the car?
I get some pics of the barracuda posted this weekend.
Aaron
 
Plus im doing the lower quarters and drop extensions as well I forgot to mention that in the previous posts.
Aaron
 
Some of yall are a lot braver than I am. S'all I can say.
 
A few pictures of my beauty where I found it and when it got home. Excuse the Ford pulling it home.#-o
I don't have any up to date photos of the tear down, but will post some later.
 

Attachments

  • IMAG0021.jpg
    54.3 KB · Views: 510
  • IMAG0210.jpg
    34.7 KB · Views: 490
  • IMAG0217.jpg
    48.4 KB · Views: 506
  • IMAG0215.jpg
    52 KB · Views: 504
Plus im doing the lower quarters and drop extensions as well I forgot to mention that in the previous posts.
Aaron
so you doing basically this
but not the over the axle hump... brace the frame rails if you take the trunk and tail panel off at one time or it might twist. the only thing that holds it all in alignment really is the tail panel and bumper panel pieces (or at least the 63-66 does)


Outer skin on and not attached to the inner drop.
View attachment DSCF2477.jpg

how bad the rust was
View attachment DSCF2468.jpg


here's mine with the over the axle hump in position checking for square. (it wasn't)
View attachment DSCF1960.jpg

here is what came out and the reason it wasn't square.
View attachment 036.jpg

the old over the axle hump, or what's left of it. bad pic but it was really bad

View attachment 046.jpg

yup it was that rusty.
View attachment 056.jpg

firewall to tail panel. the frames were welded to the body cart since I didn't want it to shift after I removed the floorpan. luckily the rocker panels in the convertible helped me keep it square.
View attachment 051.jpg


poped these out and repaired them since the ones I bought off of ebay wire full pieces but so crusty that ir was easier to fix these than try to save the ones I bought.
View attachment 057.jpg


here she is flipped over and me finishing up the welding after I squared itr up 1/4 inch off from the factory!
View attachment 2011_1109workcar0004.jpg
total floor done 66 trunk pan, 66 front floor pans and 73-6 rear floor pans to a 66 4door over the axle hump and then deadener put in.
View attachment DSCF3019.jpg
 
A few pictures of my beauty where I found it and when it got home. Excuse the Ford pulling it home.#-o

I don't have any up to date photos of the tear down, but will post some later.

looks pretty good for being buried in the dirt! if the torsion bar cross member is still good and the frame raile your good to go!
Mine started as a major project but it got done by "doing one thing at a time" that made it easier for me not to freak out about how much I was having to do. since then all my projects are "doing one thing at a time". makes life so much easier.
 
where can I get 65 barracuda sheet metal from? that's what I want to do is eliminate the rust like you guys did. GREAT JOB!!!:cheers:
 
looks pretty good for being buried in the dirt! if the torsion bar cross member is still good and the frame raile your good to go!
Mine started as a major project but it got done by "doing one thing at a time" that made it easier for me not to freak out about how much I was having to do. since then all my projects are "doing one thing at a time". makes life so much easier.

Torsion crossmember and inner rocker under drivers floor pan are completely missing. I think they fell off on the 3hr drive home while bouncing up and down on the trailer. Will post picture of it tomorrow night when I get home, I'm an over-road delivery route driver. My job actually has helped me by expanding my searching area for car parts.:cheers:
 
some of the things you guys do amazes me. I guess what you do is why MOPAR is still a eye catcher where ever it goes.
 
I luv these kind of threads. Very inspiring to see the incredible work being done out there.
Thanks for sharing.
 
A few from my project car. 1972 Duster 340.
 

Attachments

  • trunk floor removal 094.jpg
    39.2 KB · Views: 388
  • trunk floor removal 092.jpg
    38.4 KB · Views: 366
  • trunk floor removal 086.jpg
    37.7 KB · Views: 359
  • trunk floor removal 084.jpg
    37 KB · Views: 376
  • trunk floor removal 077.jpg
    29 KB · Views: 372
  • trunk floor removal 073.jpg
    33 KB · Views: 383
  • trunk floor removal 070.jpg
    36.7 KB · Views: 359
  • trunk floor removal 068.jpg
    33.1 KB · Views: 363
  • trunk floor removal 067.jpg
    31.4 KB · Views: 363
  • trunk floor removal 064.jpg
    35.7 KB · Views: 364
Fitting of new metal..
 

Attachments

  • Floor pan install 388.jpg
    34.2 KB · Views: 392
  • Floor pan install 390.jpg
    41.2 KB · Views: 352
  • Floor pan install 393.jpg
    33.4 KB · Views: 354
  • Floor pan install 394.jpg
    30.5 KB · Views: 378
You can level front to back on the top of the rocker panels and side to side across the inner fenders


yup it's what I did. I also to a reference off the inside to the trunk in the x pattern you use to square up most everything. that's ho I discovered mine was of 1/4 inch side to side and lower on the passengers side quarter panel. the quarter panel took a bit of "flexing" with a 2 lbs sledge to get back into alignment.

and for all you guys saying we're brave.. eh maybe so but the Wife calls it stupid stubborn. some days(most) I have to agree with her. BUT since I'm not restoring it to a" numbers car" but a daily that I want all the comforts in I feel that it's best for me not to mess up a good candidate for that type of car. plus I have plenty of time, I'm learning new skills and have little money to devote to the cars
anymore. if I can fab it then it'll get fabricated by me. oh and I HATE,HATE,HATE,HATE,HATE drilling spotwelds
 
-
Back
Top