Biohazard
Project: Instrument Cluster
The dash frame got touched up with some glazing putty, sanded, painted, and re-clearcoated. It is perched atop the now-infamous sawhorses curing in the sun.
Time to do something about that awful instrument panel.
The black strip across the bottom has many areas where the paint is flaked-off, is scuffed and has several poorly done touch-up blobs. The chrome plating is flaking off just about everywhere is is applied. $450 for a repro? I'd rather not, thank you. Perhaps, if everything else goes well, I'll put it on my Christmas wish list. For now, however, I'm going the arts n' crafts route and will try to achieve tolerable aesthetics with readily available supplies, elbow grease, and perseverance.
I am also not a fan of the wood grain + black version of the instrument panel favoring, instead, the textured black + matte silver of the standard panel. To me, the wood tone just looks awful against the red interior.
Let's begin!
This cluster came out of the frame and went straight into a thick contractor bag and has been sealed up since last Summer. It has not been cleaned like everything else so that will be the first order of business.
The wiper switch getting swabbed after being misted several times with ammonia.
http://smg.photobucket.com/user/vr6pilot/media/Red Fish/IMG_2347_zpsdcccb26b.jpg.html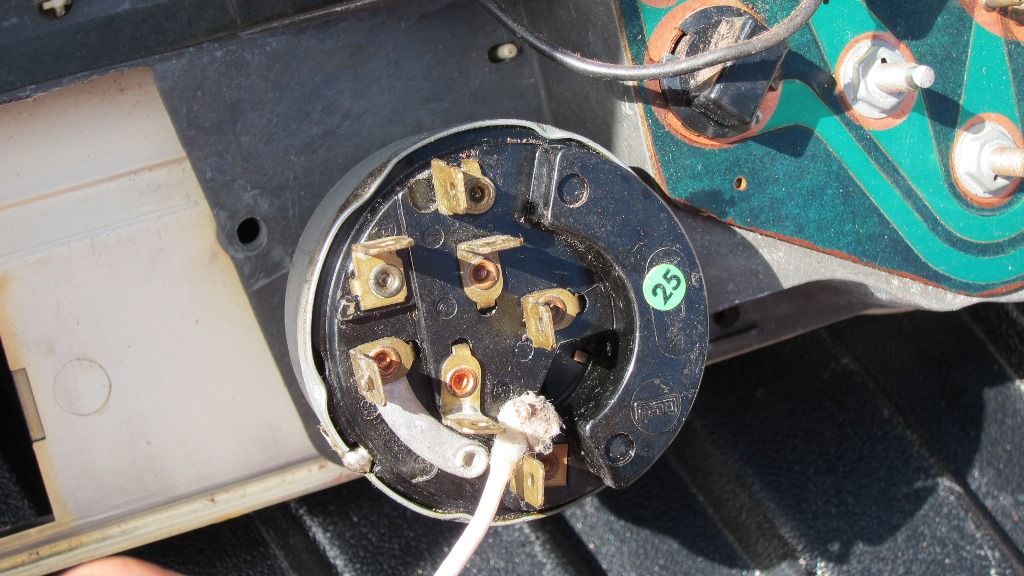
Brushing the loose dust and crud off the back of the gauges.
http://smg.photobucket.com/user/vr6pilot/media/Red Fish/IMG_2348_zps14a2e9e5.jpg.html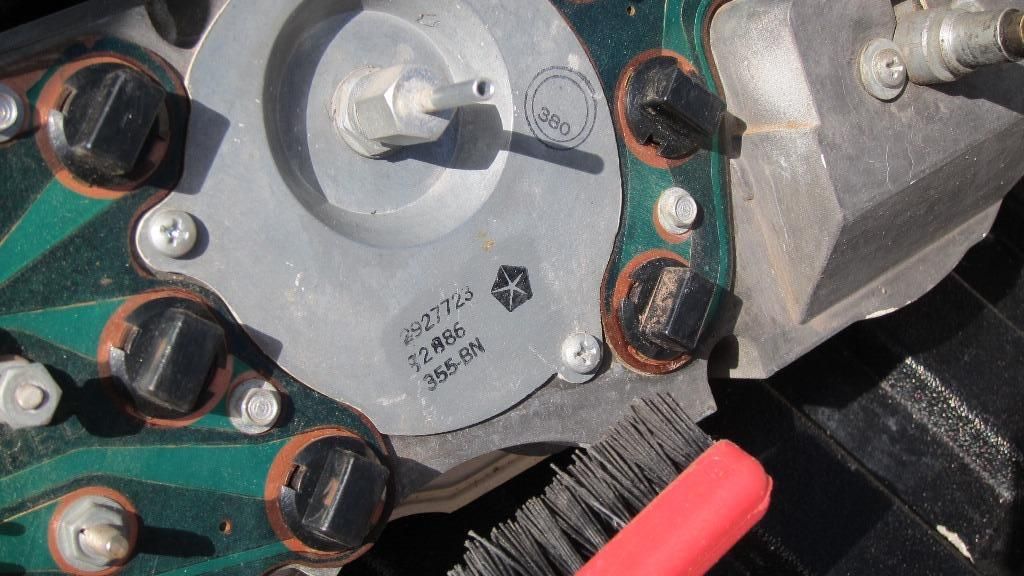
Brushing the crud off the headlight switch contacts area. Switch turned out to have some loose parts inside so, I ended up ordering a new one later that day.
http://smg.photobucket.com/user/vr6pilot/media/Red Fish/IMG_2349_zps0cd10bac.jpg.html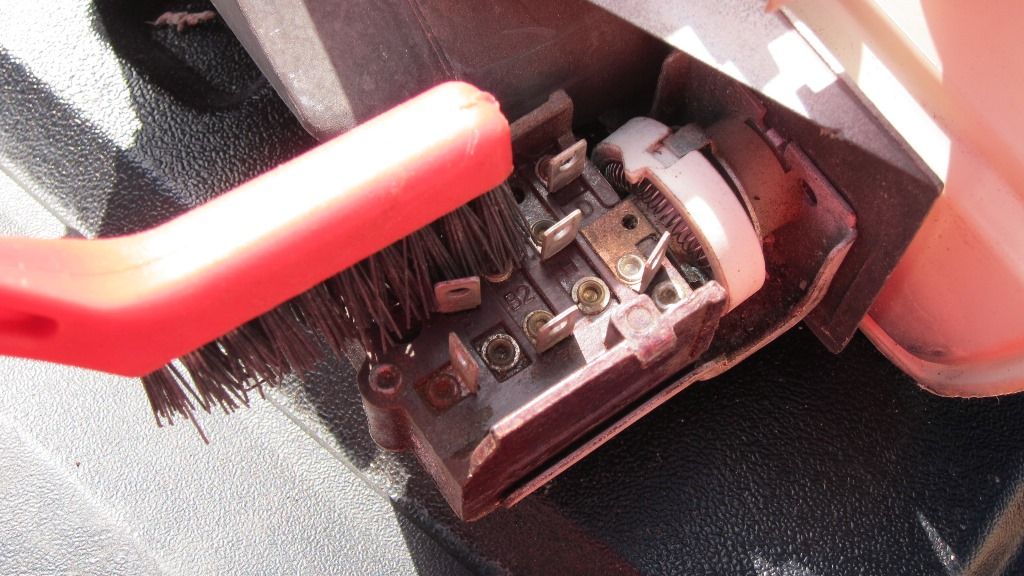
Take pictures!! The aid greatly in the reassembly process!
http://smg.photobucket.com/user/vr6pilot/media/Red Fish/IMG_2350_zps23aa31fa.jpg.html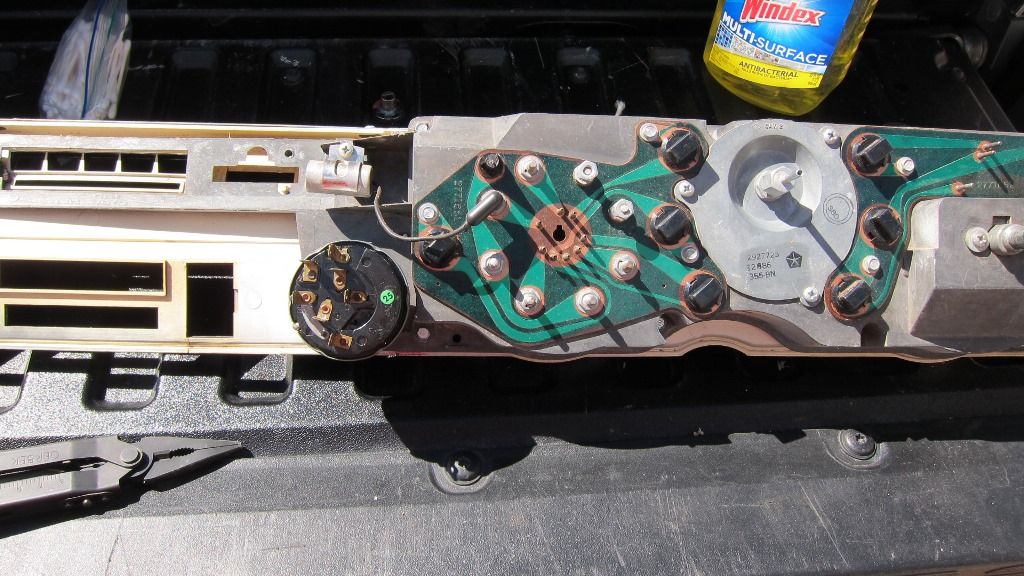
Same same.
http://smg.photobucket.com/user/vr6pilot/media/Red Fish/IMG_2351_zpsd03a7758.jpg.html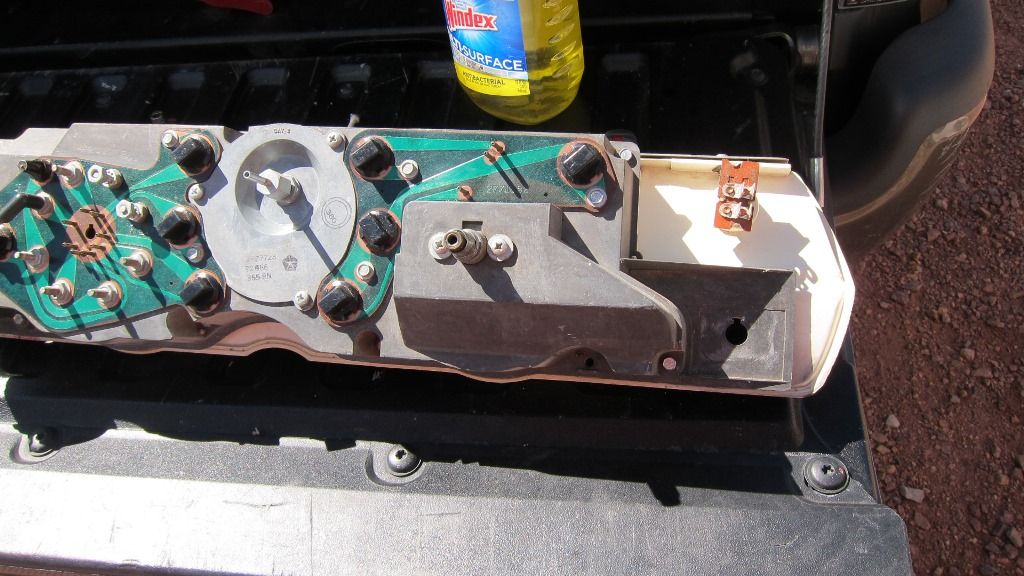
The speedo removed, years and years of gears turning left greasy dust in the instruments housing. Anybody think I'm gonna leave that there? lol
http://smg.photobucket.com/user/vr6pilot/media/Red Fish/IMG_2352_zpsab6aac45.jpg.html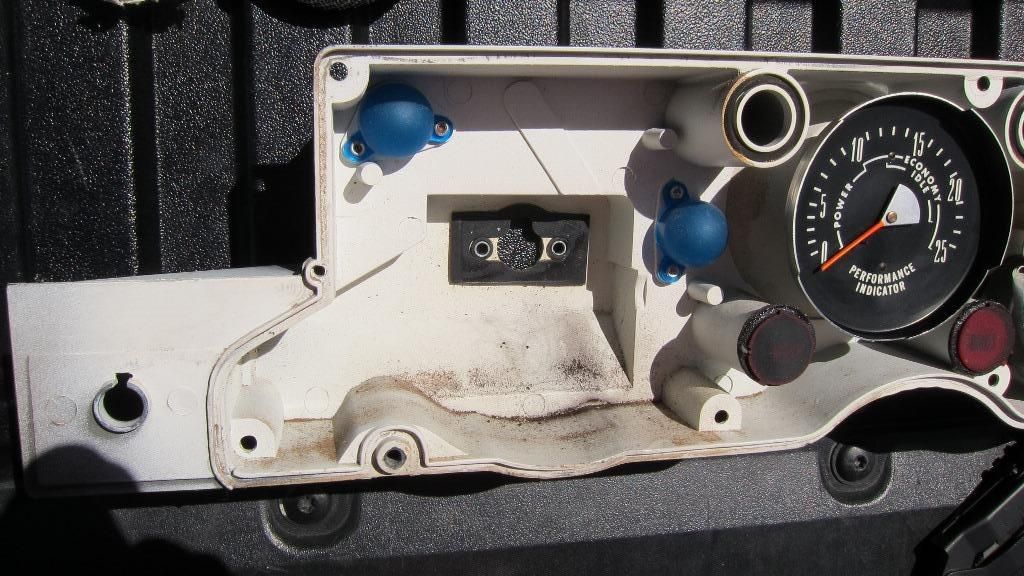
This one was to ensure I got the High Beam and Brake indicators back in the right spots.
http://smg.photobucket.com/user/vr6pilot/media/Red Fish/IMG_2352_zpsab6aac45.jpg.html
The gauges all functioned before teardown so I expect to clean them and return them to service. Here's a before-and-after of the gauge faces. How I freshened them up is my lil' trade secret.
http://smg.photobucket.com/user/vr6pilot/media/Red Fish/IMG_2352_zpsab6aac45.jpg.html
More dramatic than the last shot but some of this was sunlight induced.
http://smg.photobucket.com/user/vr6pilot/media/Red Fish/IMG_2355_zps3974385e.jpg.html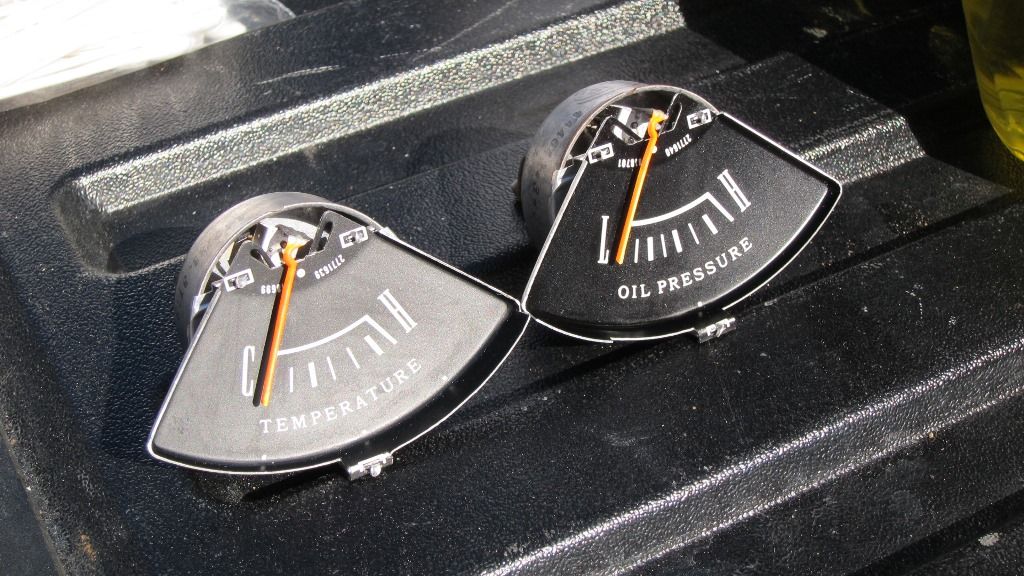
So, in the interest of fairness, I reversed their positions and re-shot.
http://smg.photobucket.com/user/vr6pilot/media/Red Fish/IMG_2356_zps85a7c47e.jpg.html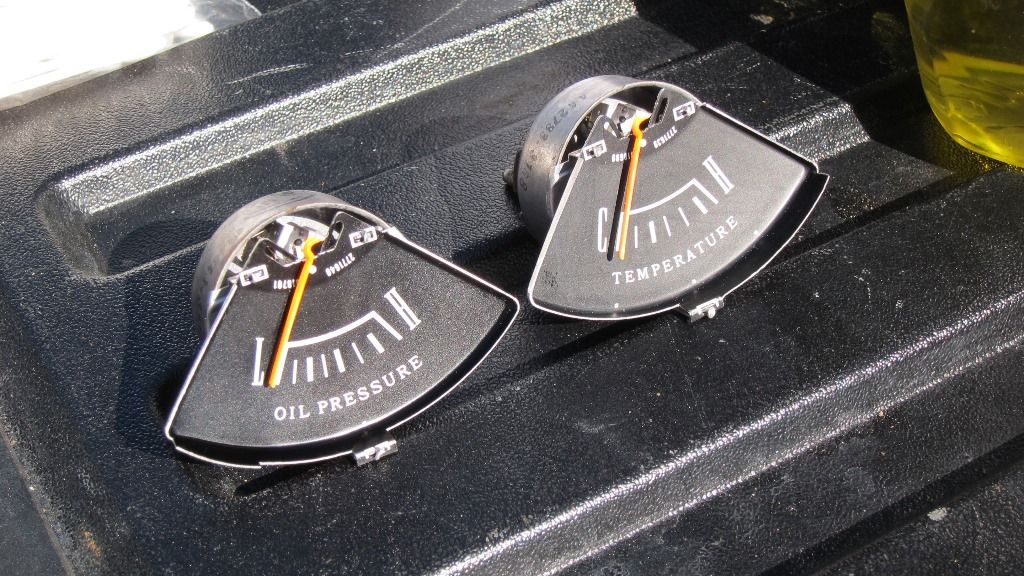
Rinsed out the guts with ammonia which evaporates like acetone out here in New Mexico!
http://smg.photobucket.com/user/vr6pilot/media/Red Fish/IMG_2357_zps395bcb62.jpg.html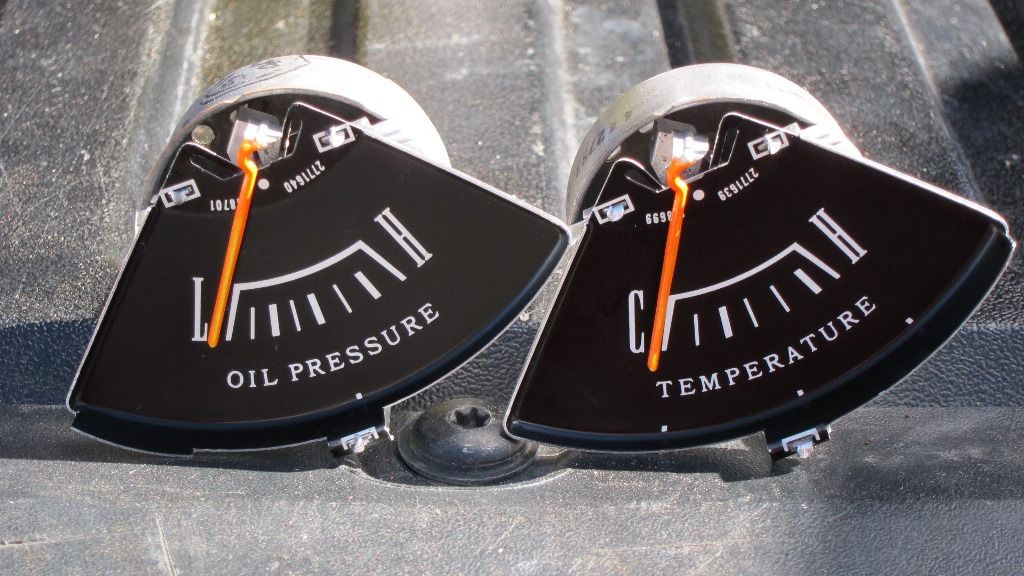
Happy with the outcome. \\:D/
http://smg.photobucket.com/user/vr6pilot/media/Red Fish/IMG_2358_zpsc652aee0.jpg.html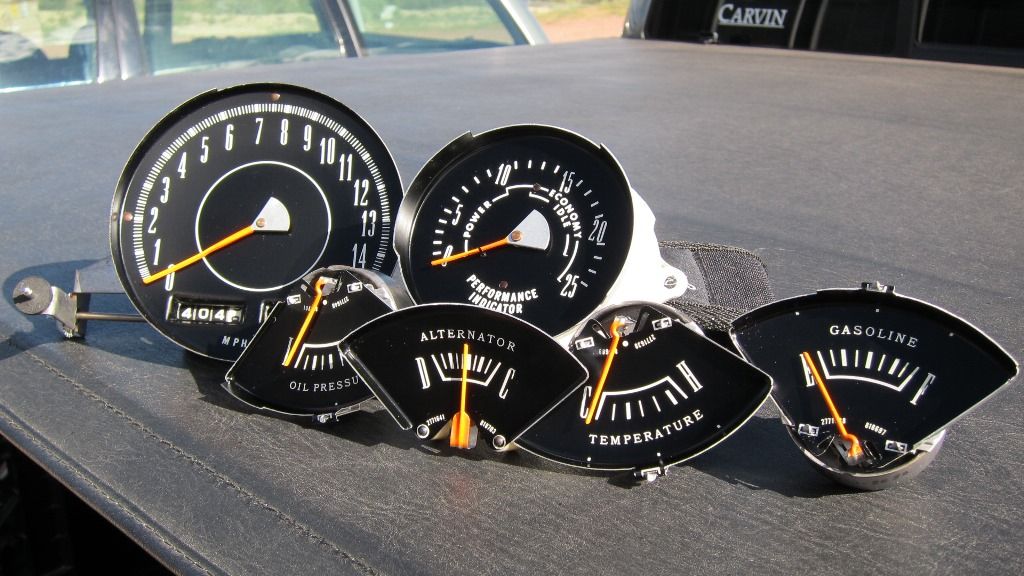