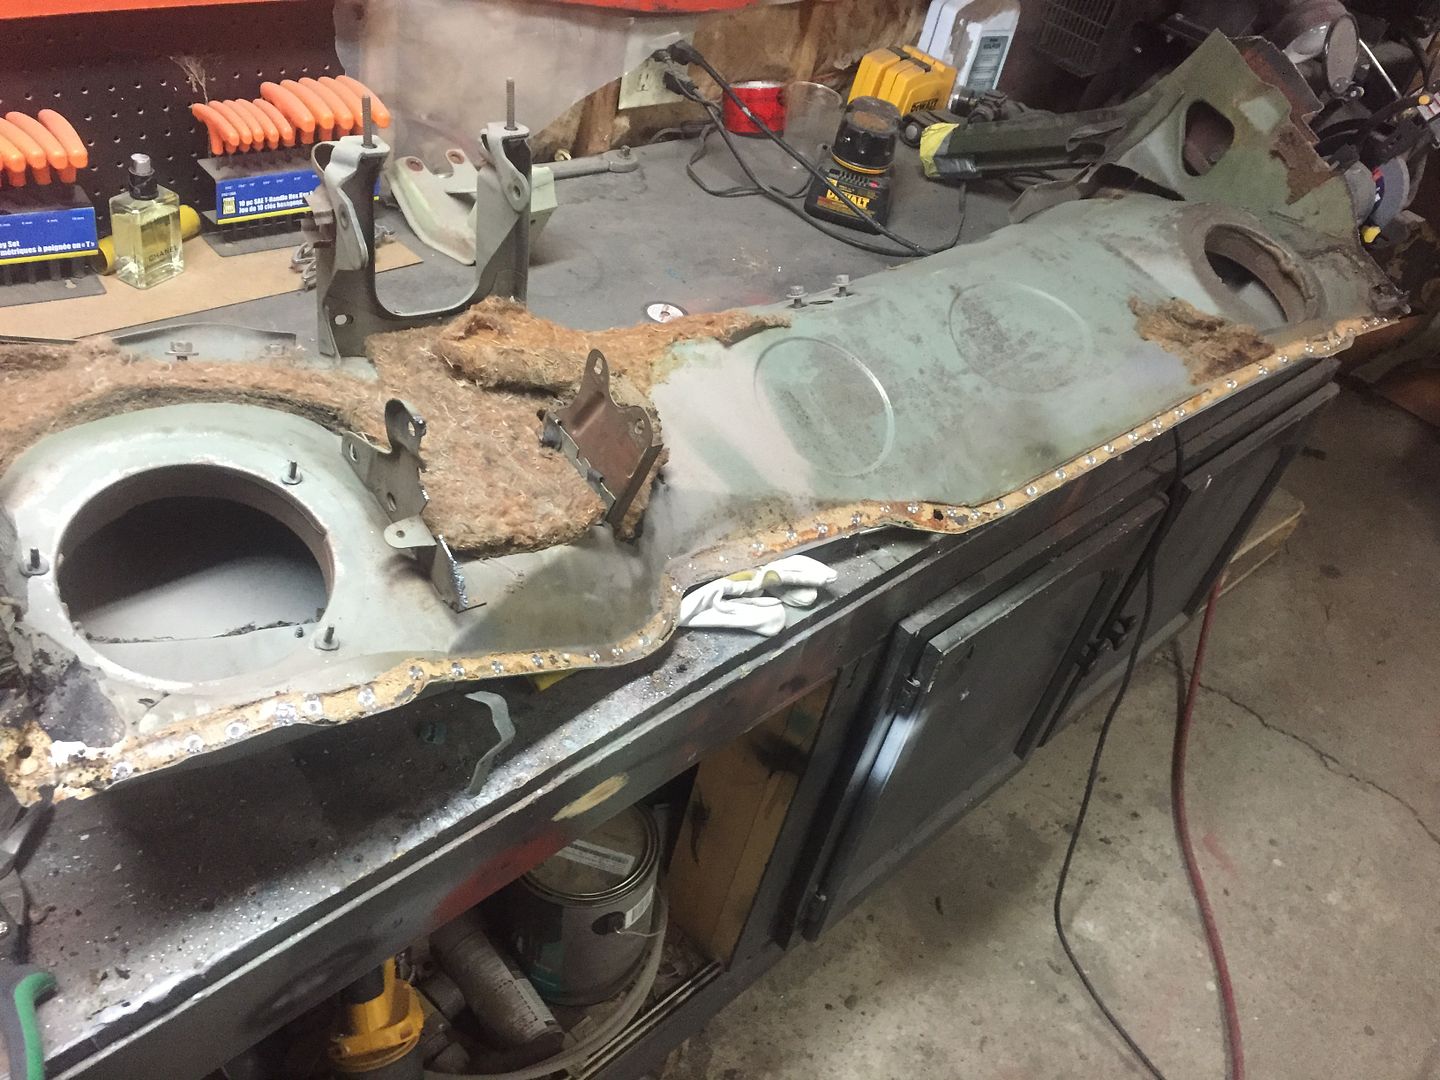
Working on my 68 dart redoing some really bad repairs, I'm sure it was done to the best of someone's ability but know we have replacement sheet metal. I knew I had a little rust on the bottom of the cowl but didn't realise it was this bad. Well of course I did use a small hammer to see how extensive the damage was. What is the best plan of action? Go in from the top? Or try to do it from the bottom? The engine and trans will be pulled leaving only the rear end in the car along with the front suspension. I have a picture for your enjoyment. Sadly I noticed today the passenger side has at least pin holes in it. Future plans include Heat and Air from Classic Air. Thanks for your help. Jeff
You are using an out of date browser. It may not display this or other websites correctly.
You should upgrade or use an alternative browser.
You should upgrade or use an alternative browser.
Cowl Rust! What is the best way to fix it?
- Thread starter jefflock
- Start date
-
rednesss
Well-Known Member
The correct way is going to be a ton of work. Drilling out a bunch of spot welds and cutting the cowl at the A-pillar and replacing the entire bottom panel and then re-seam sealing the whole shebang and welding it back up. Not for the faint of heart.
It's gonna have to be repaired from both sides since it has rust on both sides. If the inner cowl has rust that bad, you can be assured the under side of the outer cowl does too. There's really only one way to get it apart as redness described. Cut the bad out, weld good in, reassemble. I tell you what. I would slobber so much Rustoleum on that damn thing before I put it back together that it would add 10 pounds to the car. lol
I have done this before. Cut sections of the cowl off to get to bad spot, then I got a parts car & cut out the section of the bad vent hole. Weld it, grind it, then use duraglass ( its water proof ) putty is not. Then I sand it w/ 80 grit. I also put on a coat of seam sealer, then brush on some rust preventive paint. If you weld up & putty the top section of the cowl you will never know it was done. Good luck & let us know how you make out.
Hemiorangeswinger
Dodge Material
I'm just in the process of replacing my upper cowl, not from rust damage but from dents mainly in the vents plus I wanted to paint in behind there and make sure everything is sealed
Like said above, this needs to be repaired from the topside to be done correctly. IMO I'd remove the upper and lower from yours and remove the doner one from your parts car by drilling the spot welds out from the bottom (not drilling thru the upper portion of the cowl) so you can separate the top from the bottom and only have plug weld holes in the bottom.
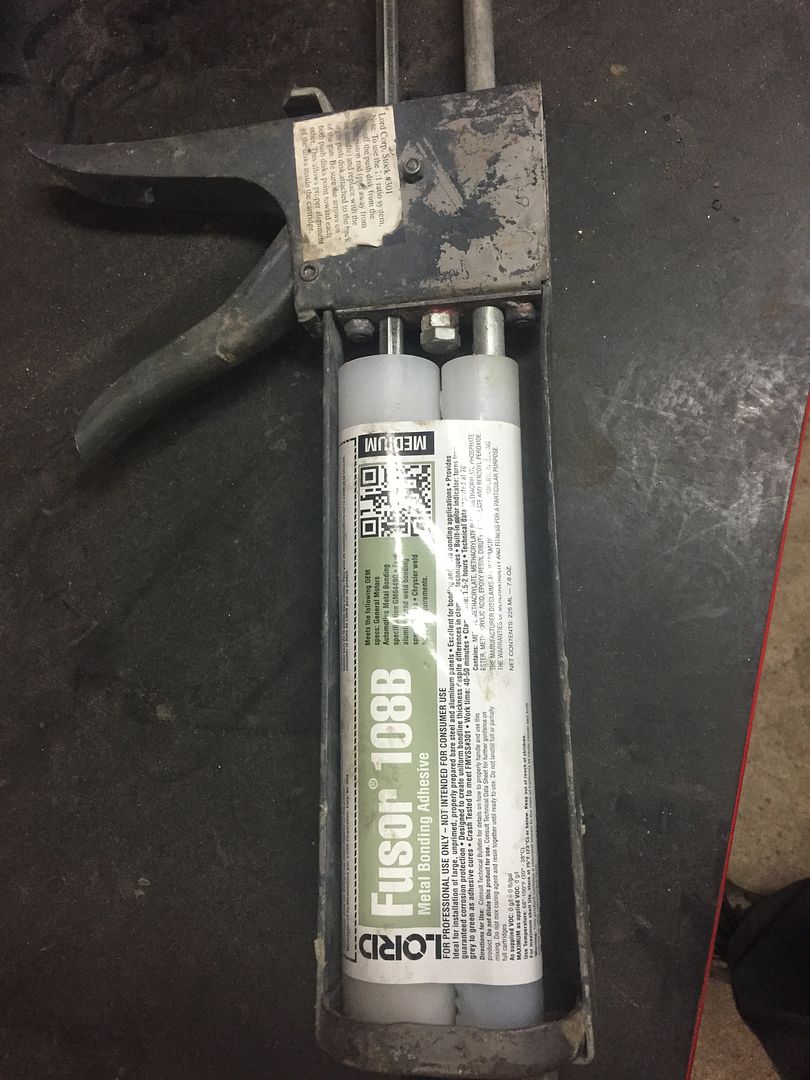
Then I'd weld the lower cowl to your car all along the A pillar and firewall seam, like factory. For the upper I'd glue the top and bottom seam with fuser structural glue and weld the sides/lead seam. Doing it this way will ensure you'll have no water leaks. The factory used a foam sealer and spot welded thru it (there is no such sealer I know of that you can weld thru) if you weld the upper cowl on you'll have leaking problems at the dash mount area which will leak inside the car and have problems with leaks in the engine compartment.
I'm not a huge fan of glue, I'd rather weld things but glue defiantly has its places and this is one area I recommend it. Fusor is very pricey and requires a special gun, but it's the best IMO
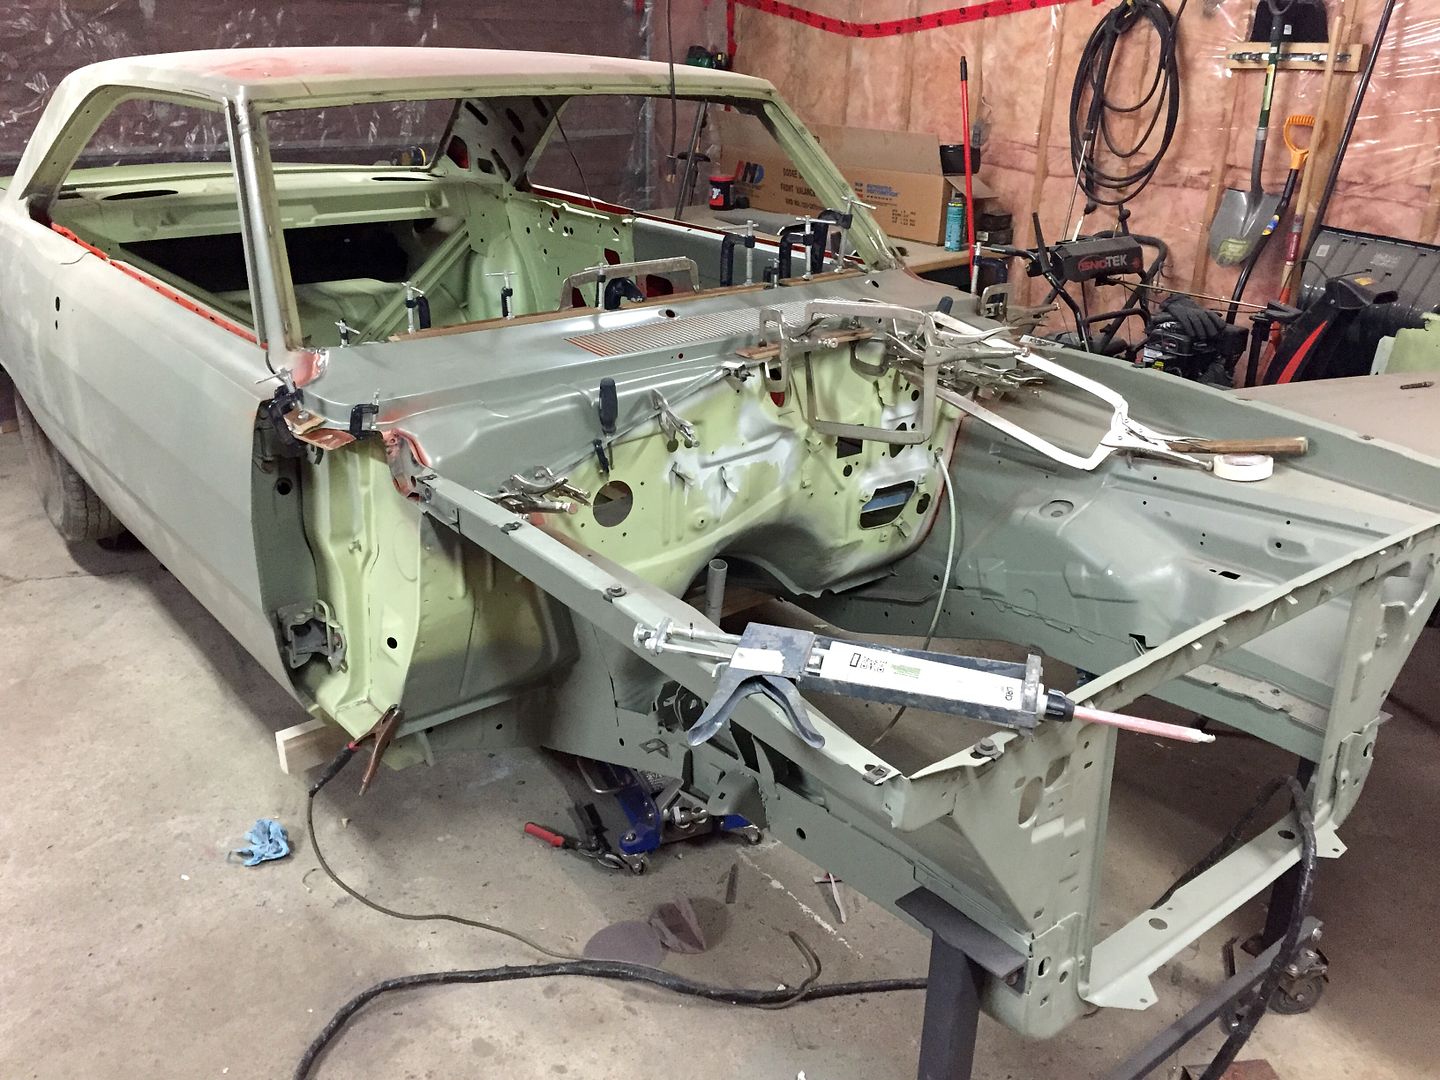
Here are some pics of my progress so far..
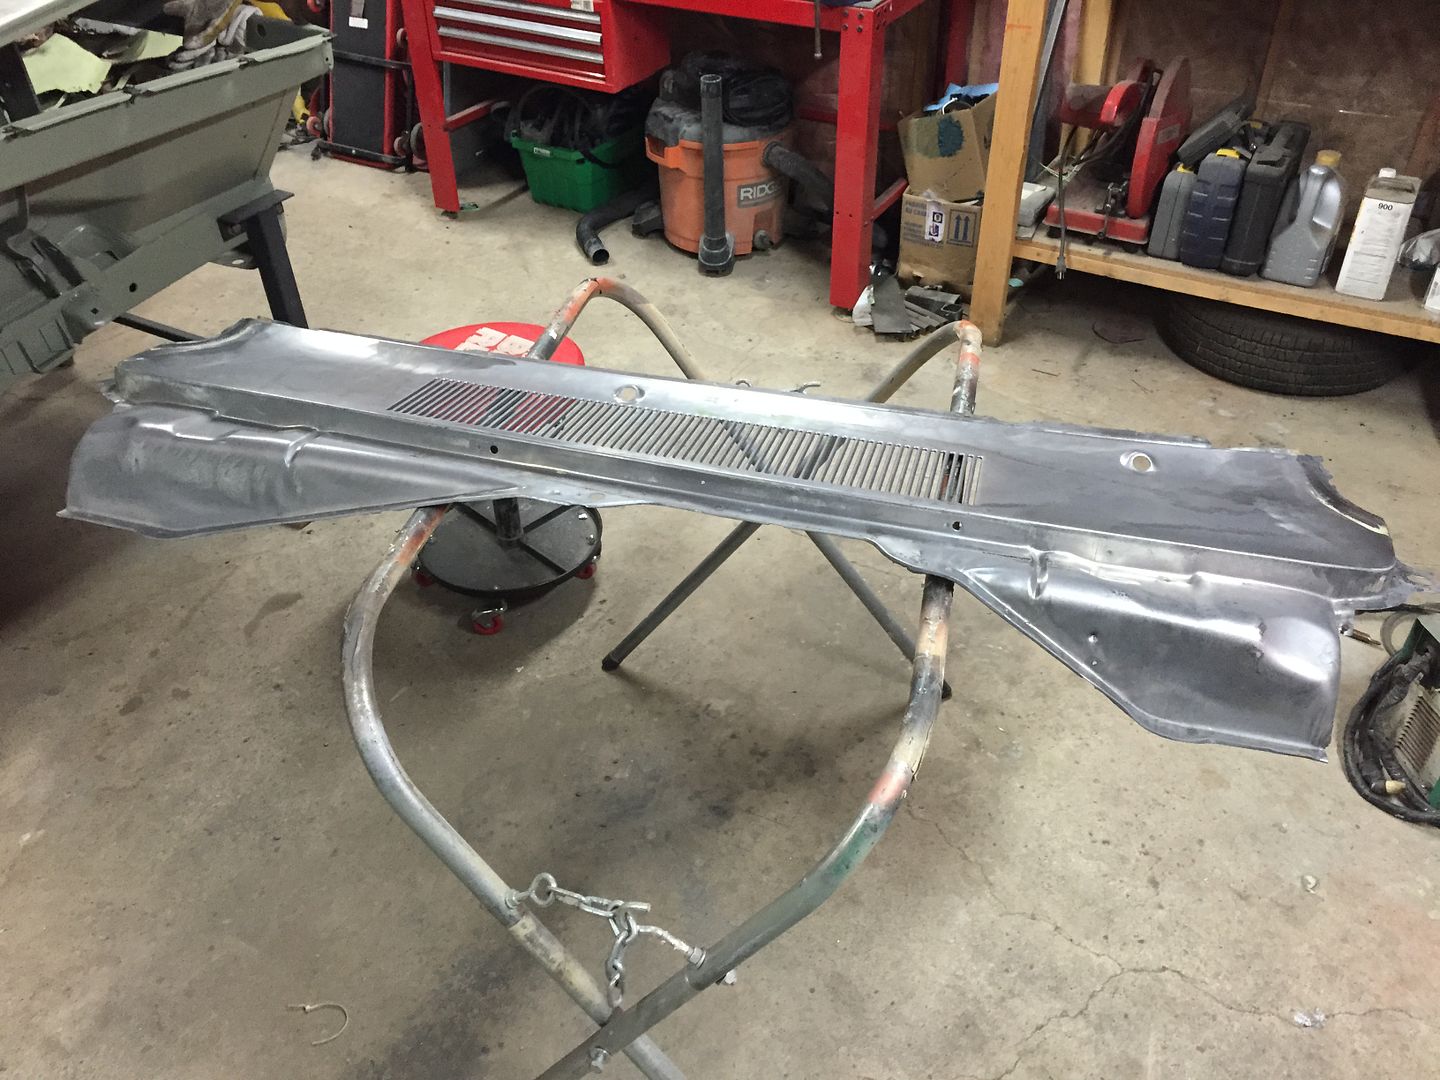
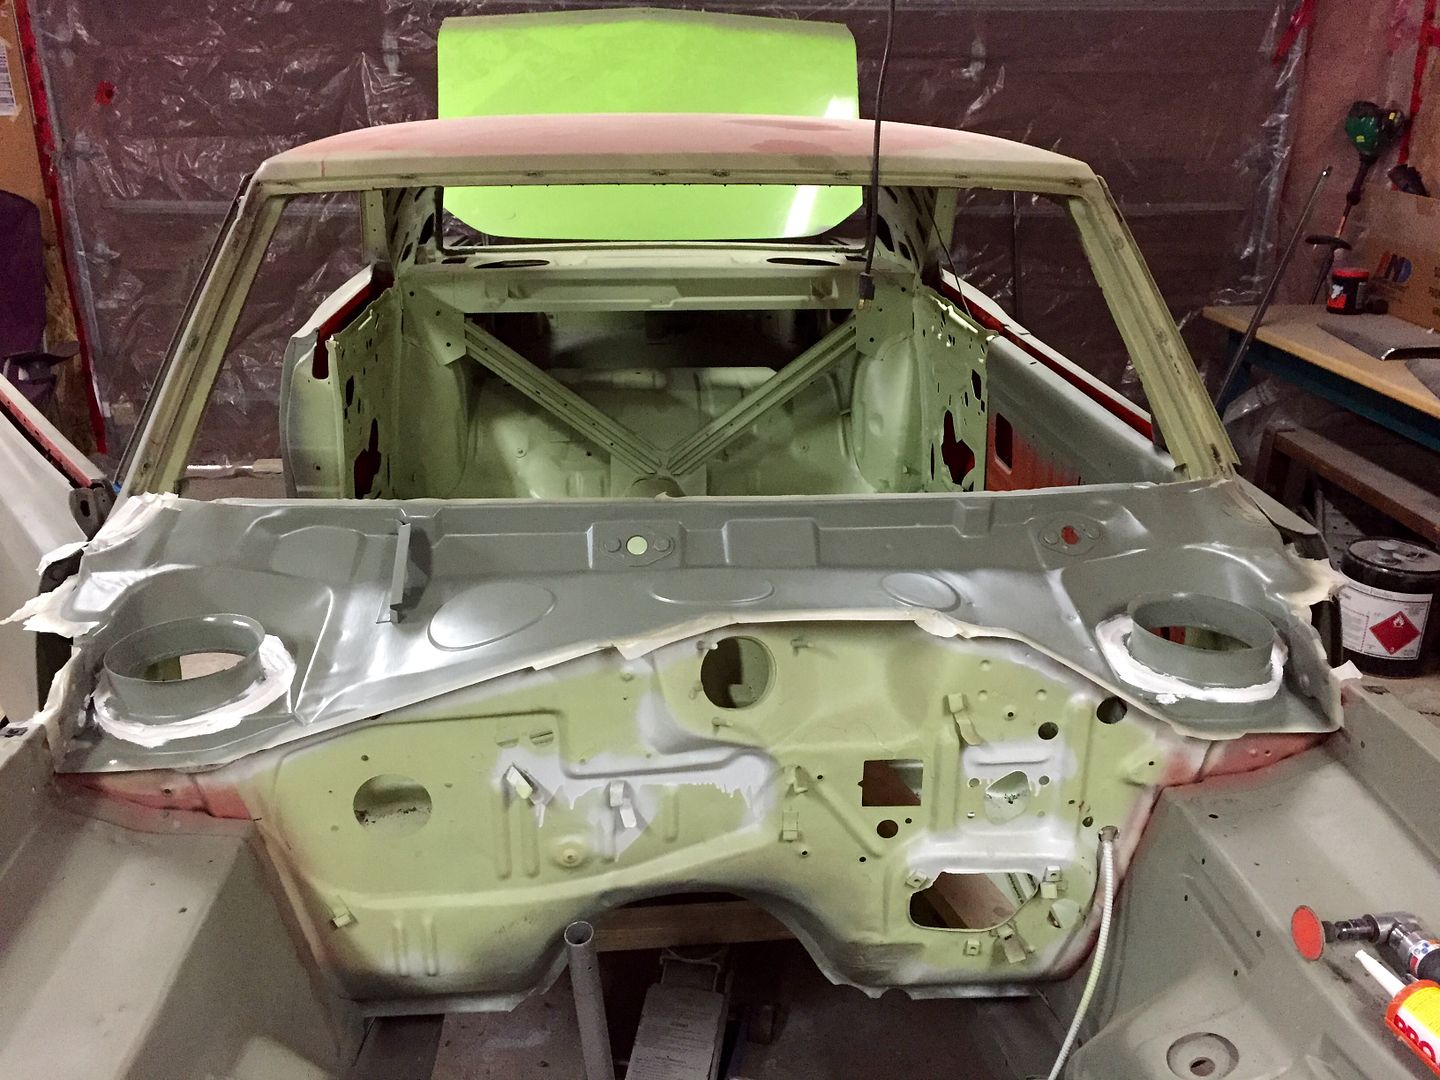
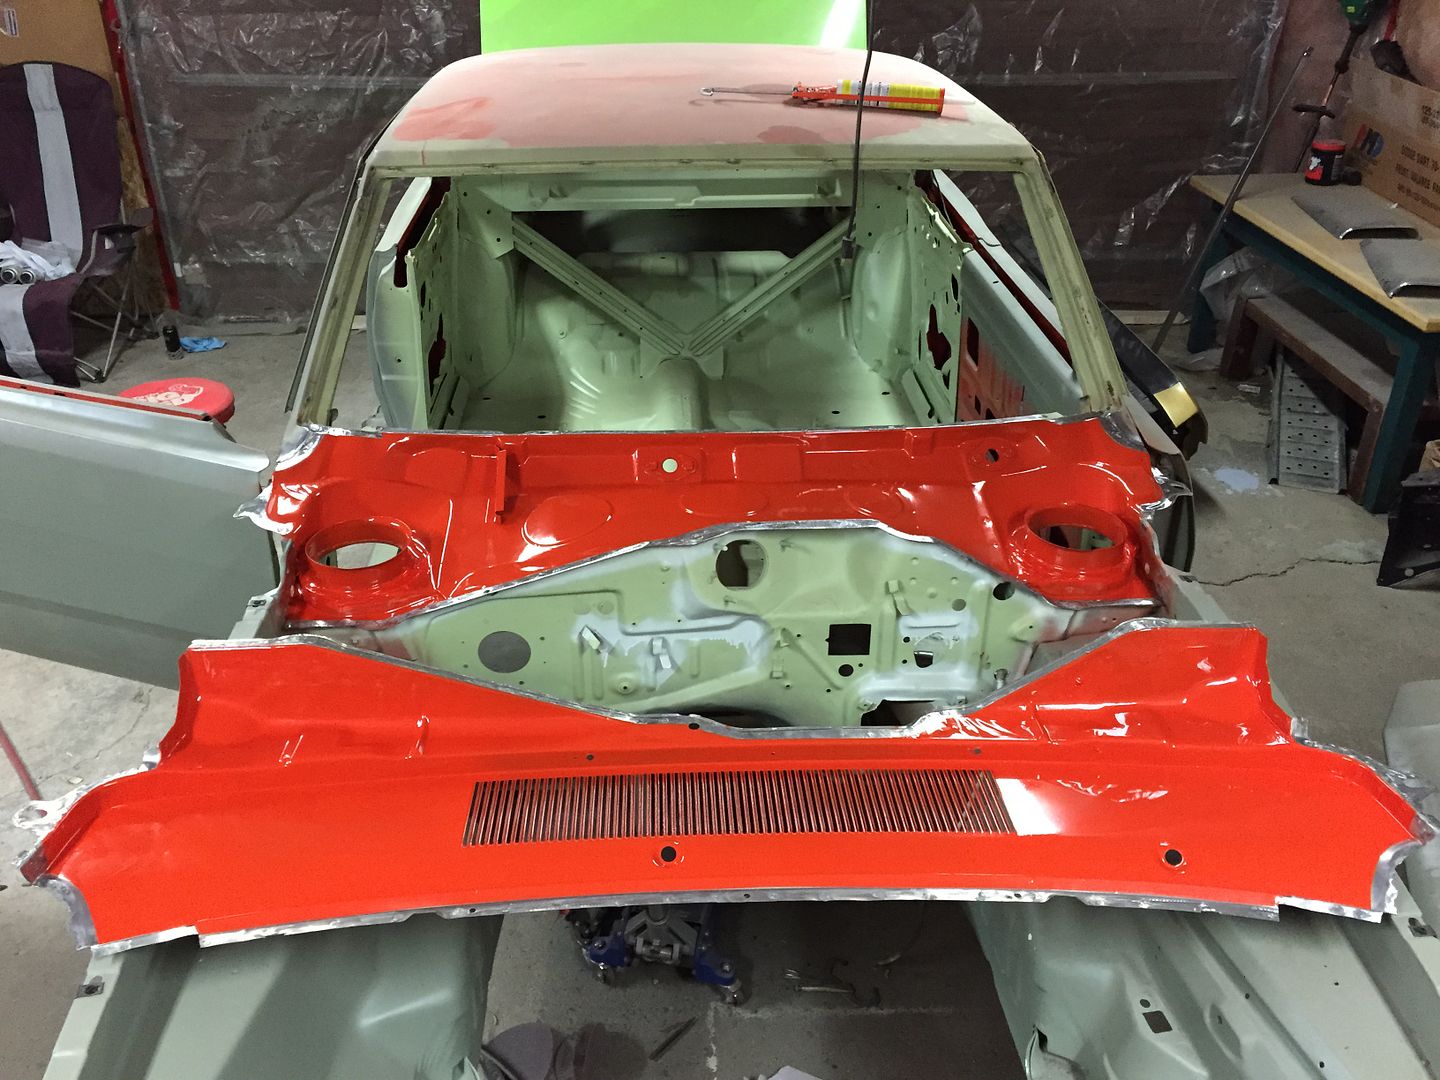
Hope this helps
Like said above, this needs to be repaired from the topside to be done correctly. IMO I'd remove the upper and lower from yours and remove the doner one from your parts car by drilling the spot welds out from the bottom (not drilling thru the upper portion of the cowl) so you can separate the top from the bottom and only have plug weld holes in the bottom.
Then I'd weld the lower cowl to your car all along the A pillar and firewall seam, like factory. For the upper I'd glue the top and bottom seam with fuser structural glue and weld the sides/lead seam. Doing it this way will ensure you'll have no water leaks. The factory used a foam sealer and spot welded thru it (there is no such sealer I know of that you can weld thru) if you weld the upper cowl on you'll have leaking problems at the dash mount area which will leak inside the car and have problems with leaks in the engine compartment.
I'm not a huge fan of glue, I'd rather weld things but glue defiantly has its places and this is one area I recommend it. Fusor is very pricey and requires a special gun, but it's the best IMO
Here are some pics of my progress so far..


Hope this helps
Hemiorangeswinger. Yes that helps a bunch. I wondered where to cut at on the sides of the cowl. Did you run a brace between the two sides to keep them square? Thanks Jeff
Hemiorangeswinger
Dodge Material
Hemiorangeswinger. Yes that helps a bunch. I wondered where to cut at on the sides of the cowl. Did you run a brace between the two sides to keep them square? Thanks Jeff
The lower cowl is removed from the top side, it sits on top of the A pillar area and firewall seam. Once you torch the lead seams out you'll see two layers there. I never braced my car since it's really solid now and I never had to remove my lower cowl.. It definitly wouldn't hurt any to run 1" square tubing from A pillar to A pillar. If I were doing it I would run it across at the upper door hinge area. I'd also set jackstands on the frame rails and make sure it's sitting level. The A pillars from the top of the roof down to the rockers are really strong and multi layered with steel so I doubt anything will move as long as they're solid, but it never hurts to add bracing because you might find more surprises along the a pillars once you start removing metal.
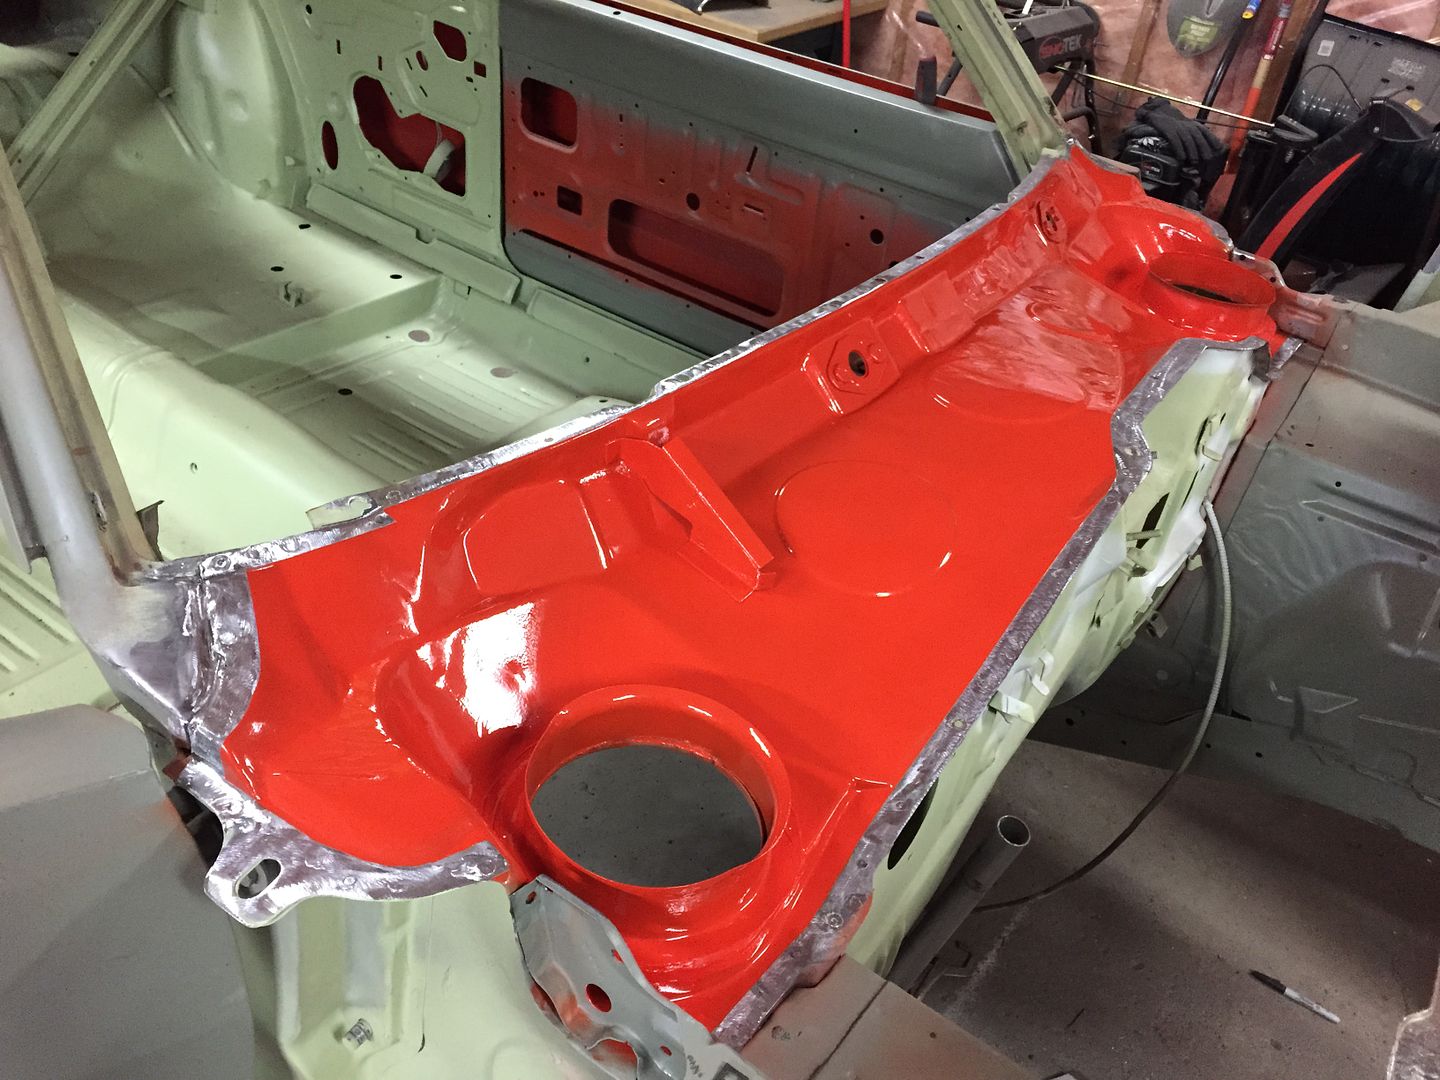
I just glue the upper on and you can never tell it's been touched (still retains all the original spotweld markings) and is 100% sealed from leaks at the dash seam and firewall seam.


HemiMark
Well-Known Member
The lower cowl is removed from the top side, it sits on top of the A pillar area and firewall seam. Once you torch the lead seams out you'll see two layers there. I never braced my car since it's really solid now and I never had to remove my lower cowl.. It definitly wouldn't hurt any to run 1" square tubing from A pillar to A pillar. If I were doing it I would run it across at the upper door hinge area. I'd also set jackstands on the frame rails and make sure it's sitting level. The A pillars from the top of the roof down to the rockers are really strong and multi layered with steel so I doubt anything will move as long as they're solid, but it never hurts to add bracing because you might find more surprises along the a pillars once you start removing metal.
I just glue the upper on and you can never tell it's been touched (still retains all the original spotweld markings) and is 100% sealed from leaks at the dash seam and firewall seam.
You mAKE IT LOOK EASY! lol nice work for sure
Hemiorangeswinger
Dodge Material
Looks great and again helps a lot. When working on these cars you can never have too many clamps.
That's very true! You can never have enough vice grips.. Especially the large C clamp ones. I've got a 24" C clamp vise grip and it was pretty pricey, but has made all my sheet metal repair easy! It reaches where you'd usually need sheet metal screws to hold it in place.
You mAKE IT LOOK EASY! lol nice work for sure
Thanks!! It really isn't to bad replacing a cowl, doing full rockers on the other hand is something I'll never want to do again.
Kickass work there, Randy. That's more than most people want to do. Very nice.
bighammer
Well-Known Member
That's very true! You can never have enough vice grips.. Especially the large C clamp ones. I've got a 24" C clamp vise grip and it was pretty pricey, but has made all my sheet metal repair easy! It reaches where you'd usually need sheet metal screws to hold it in place.
Thanks!! It really isn't to bad replacing a cowl, doing full rockers on the other hand is something I'll never want to do again.
That's a nice repair. Probably better than new considering the likelyhood that Mopar never went to that much effort to get paint back up under the cowl like that.
I know that the mustang owners have to contend with the same problem -rust in the cowl, leaking onto the carpet. One repair method was to seal off the vent holes on top of the cowl!
-


