Turbine Inspired Center Console DIY
So after someone posted some pics of the interior of a Chrysler Turbine car, I decided I really - really liked that center console - so much that I kind of wanted one similar to it. I was thinking of just making another standard kind of square or coffin shaped (like stock) center console now that I have bucket seats again, but opted for something based on the turbine console.
If you're not familiar with it, google it, and my idea may make a little more sense.
Obviously it's a bit shorter, this one is only going to be 36" in length and ends right between the two front seats, rather than going all the way to the trunk. Now, I don't have a floor shifter, so I opted for no shark fin, like the actual turbine has, but it will have a tube that looks like brushed stainless/ aluminum, with everything else happening above and behind it. For the turbine up front, I'm thinking either an 8" fan as a base or a really large silver/black air cleaner.
There will be two parts, which I'll hereby refer to as the substructure, and superstructure. Right now, the main body of it, which I'm calling the substructure is what I'm working on. Later when this part is complete, detailed and painted, I build the superstructure, which adds all the detailing on top and fills in the empty spaces, adds compartments, etc...
So, I started with an 8" wide design at first, that changed to 6" wide, @ the 20" rearward position and had an 8" diameter half circle, with a smaller part of the circle up front to frame the tube.
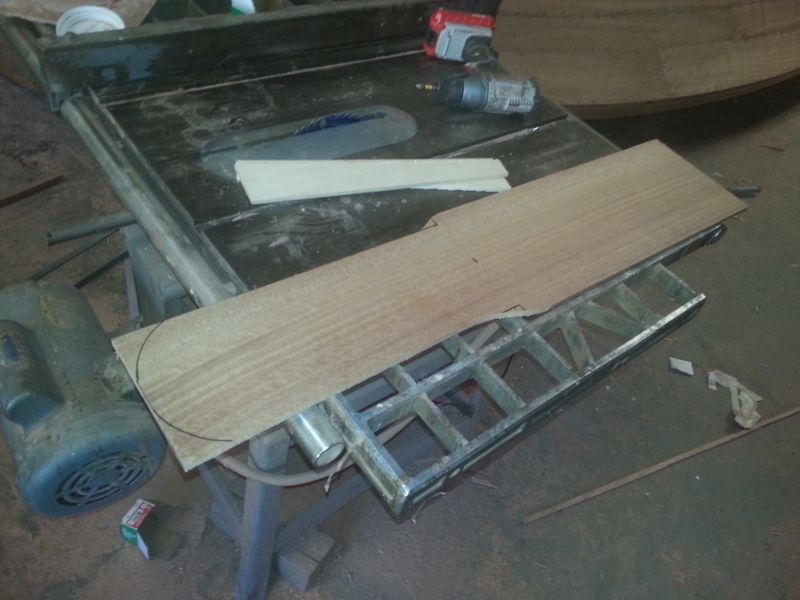
I made the base of 1/4" phillipine mahogany. (I'm a carpenter by trade).
Then I attached two basic frames to it to see how it looked in the car.
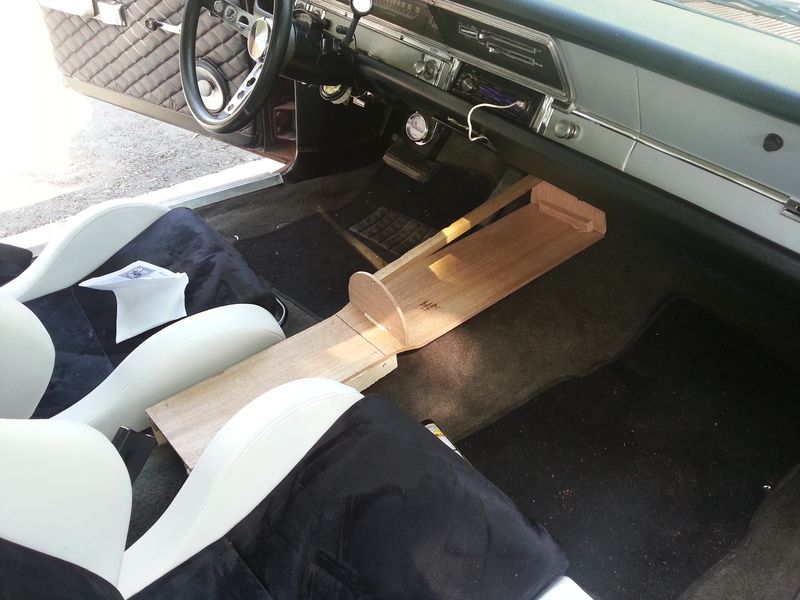
I didn't like how cramped between the seats it looked, and an 8" circle was too big for the tube. It didn't leave my any room to mount a "turbine" up front.
So like a true craftsman, I measured twice, and threw it away once.
Scrapped, onto a shape that will be narrower, I went with a 6" base up front, that changes to a 4 1/4" base @ the 18" part back.
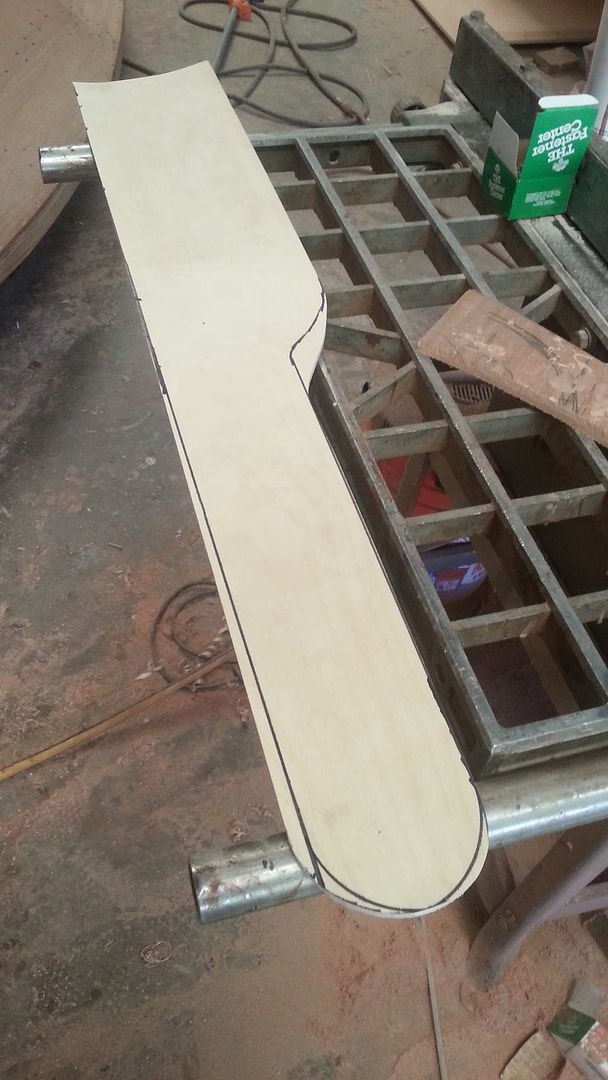
I went with 1/4" finbirch aircraft ply this time, and opted to use mahogany for the framing above it. Phillipine mahogany is slightly soft so it was easier to plane the edges round for the next step.
I planed some sticks of 1" x5/8" to build the framing and general shape with.
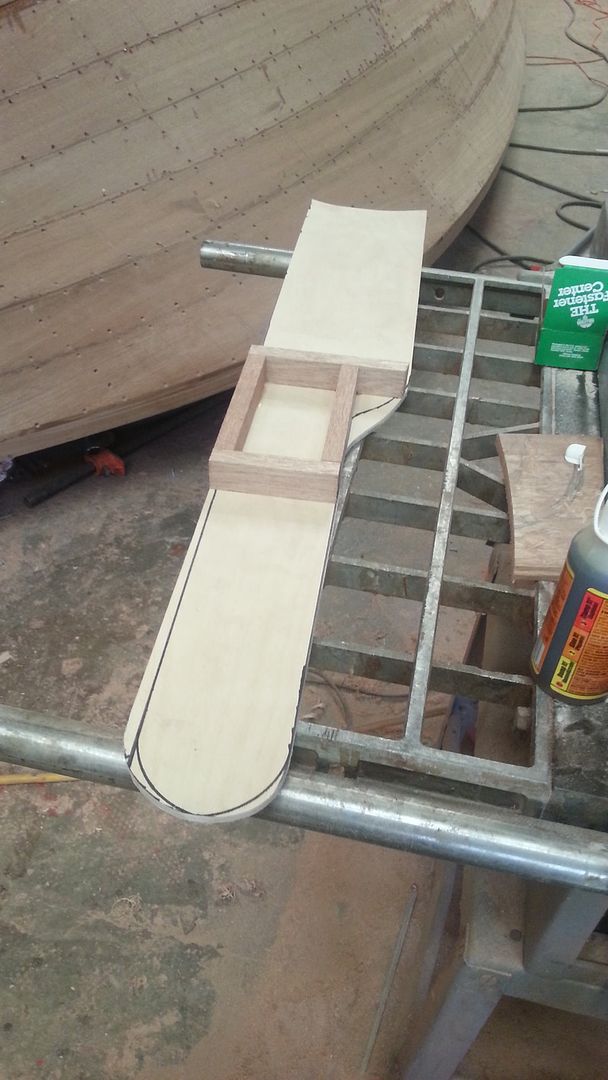
I set a basic rectangle out which will have the screws in the center to hold the console down to the transmission tunnel eventually when all the compartments are made. This will also serve for holding my phone, wallet, loose change, whatever.
Then I made some more sticks to finish the base off.
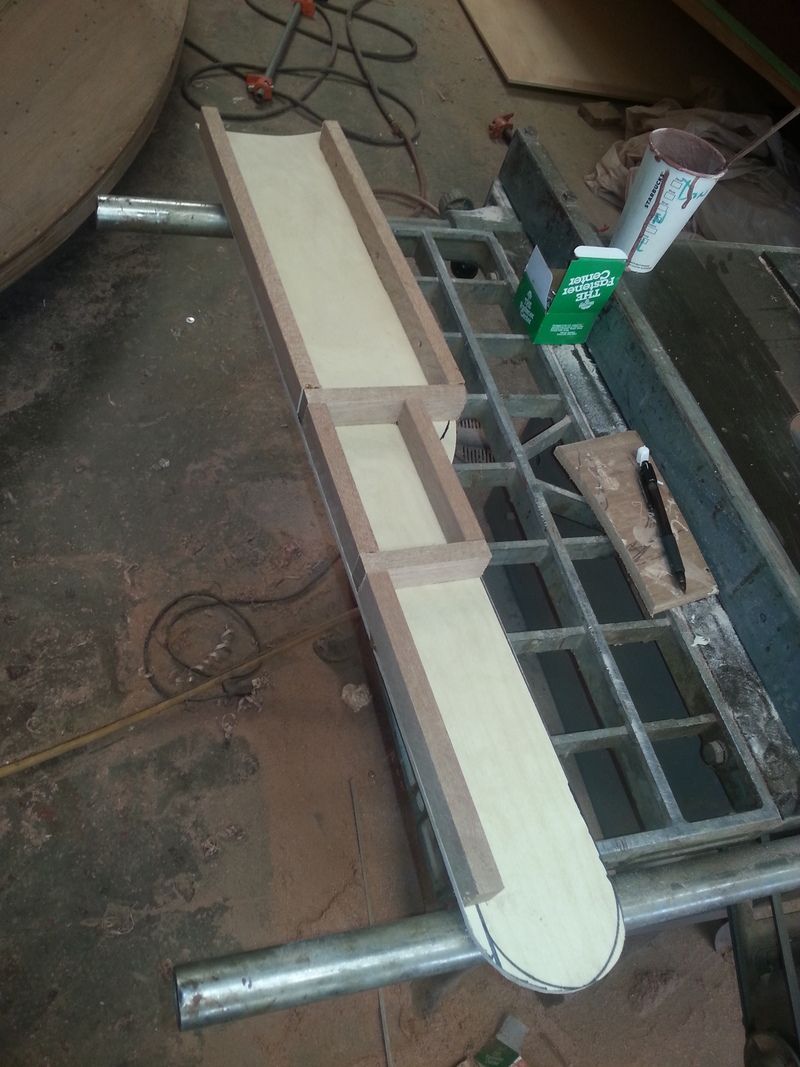
I aligned them how I wanted, then got some Gorilla Glue, and set them down with it. No clamps, since this doesn't need to be held down that well, it just needs to sit still.
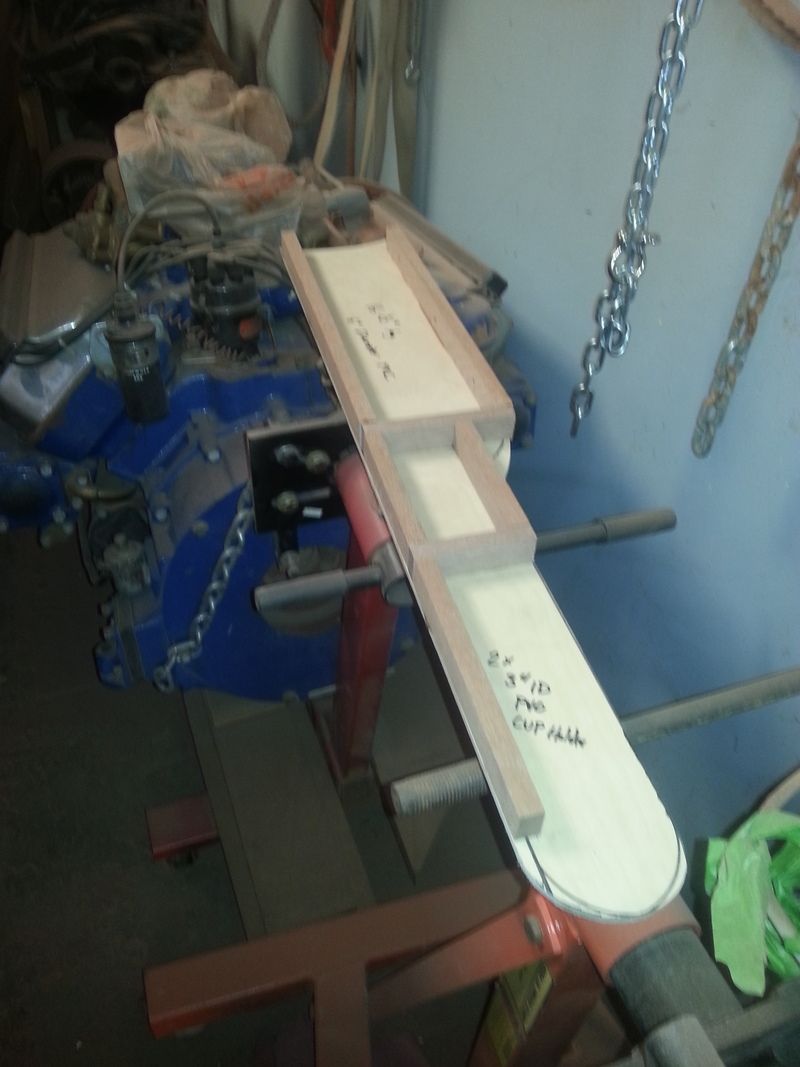
Then I set it on a Hemi Firepower to dry.
I went over to the hardware store and got a 16 1/2" section of 4" ABS pipe, and two 4" sections of 3" ABS.
I decided I ultimately wanted cup holders, but did not want to just cut holes in the top and go "cupholders... done" so I wanted them to be part of the substructure shape.
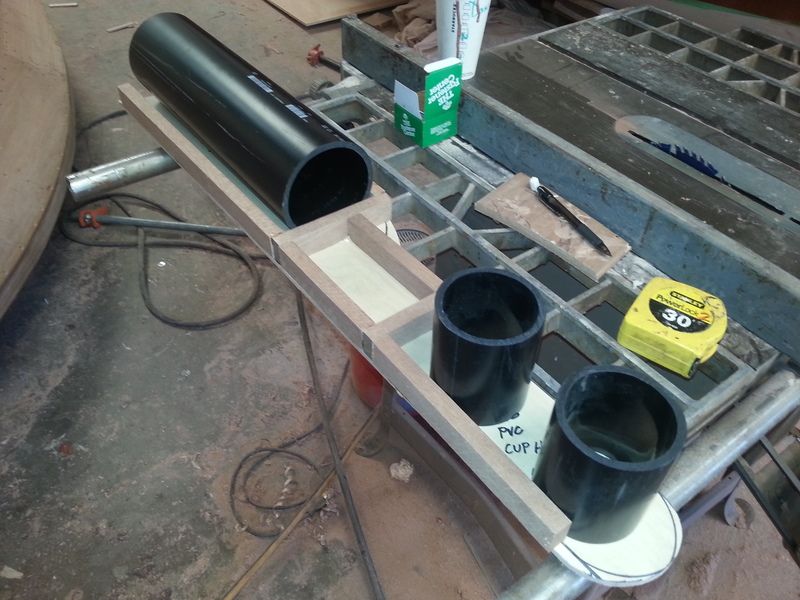
I gorilla glued the two cup holders in place, then screwed the 4" tube down through the bottom to hold it still and glued it as well.
I scrapped the wood framing of the tube idea and went for ABS, and figured that would be simpler, but will eventually require other work to fit the superstructure on top of this, it's a good trade off.
I set it in the car to test fit, and it fits a lot better. It's crooked in the picture, but it will look good.
Keep in mind it's just a turbine "inspired" build, it won't look exactly the same so to speak.
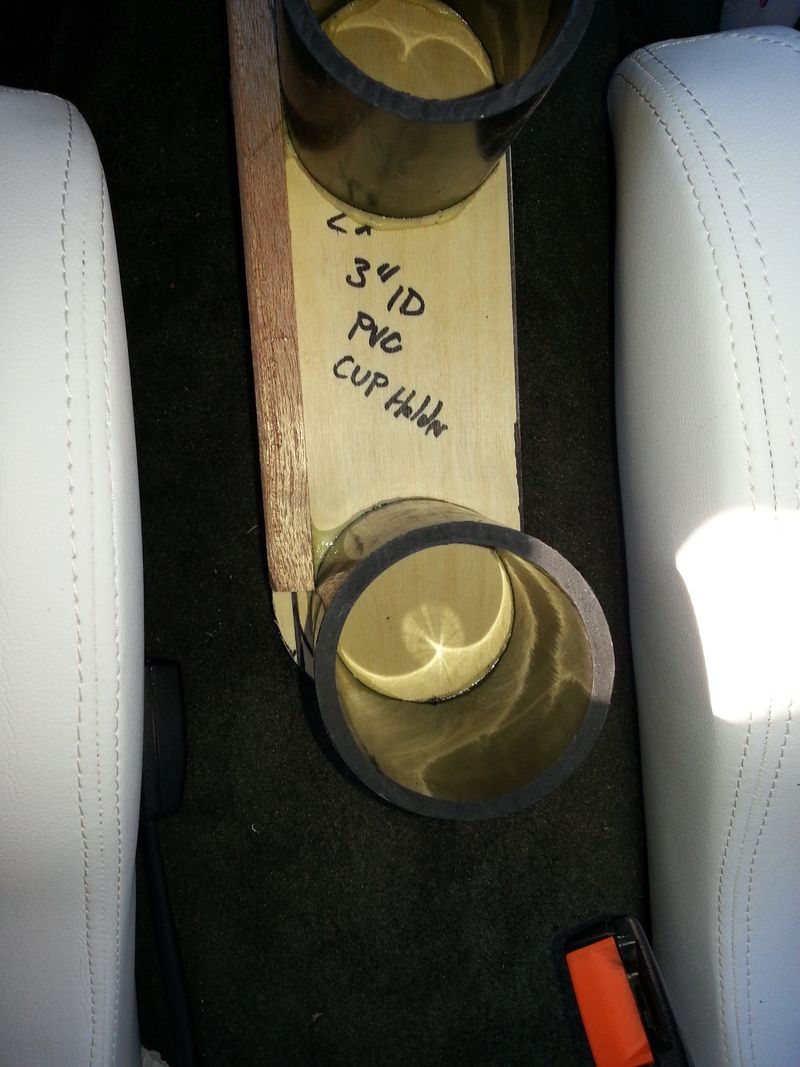
The spacing between the seats is a lot better too.
After I planed all the corner edges off the mahogany frames, I cut up an old white work T-shirt, and stretched it over the whole piece. It's important to trim down any corners or plane them off, otherwise they make a hard edge that you eventually have to sand off in the fiberglass or filler stage, so I just opt to deal with it now, unless you need or want a hard edge, then you leave it.
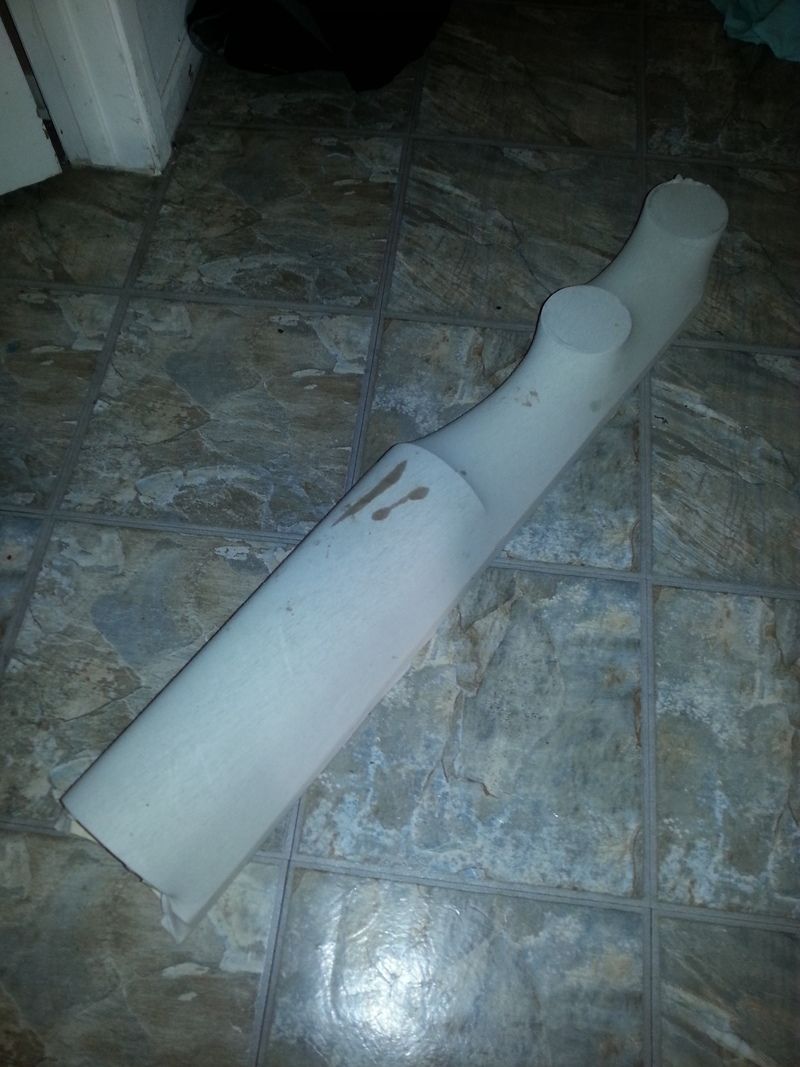
I stretched it all out and hot glued it to the bottoms of the base, and trimmed the excess. This will serve as the basic shape to attach the fiberglass matt to. This is a similar process audio builders use in custom speaker enclosures and the like and is where I started using this process as well.
Usually after this, you just lay some resin on the cloth you put down, and then let it dry, then start applying layers of chop mat. It's hard to use a full piece of woven fiberglass because it's hard to make it curve this complex. Chop is messier, and requires more sanding and filling, but a necessary evil for this.
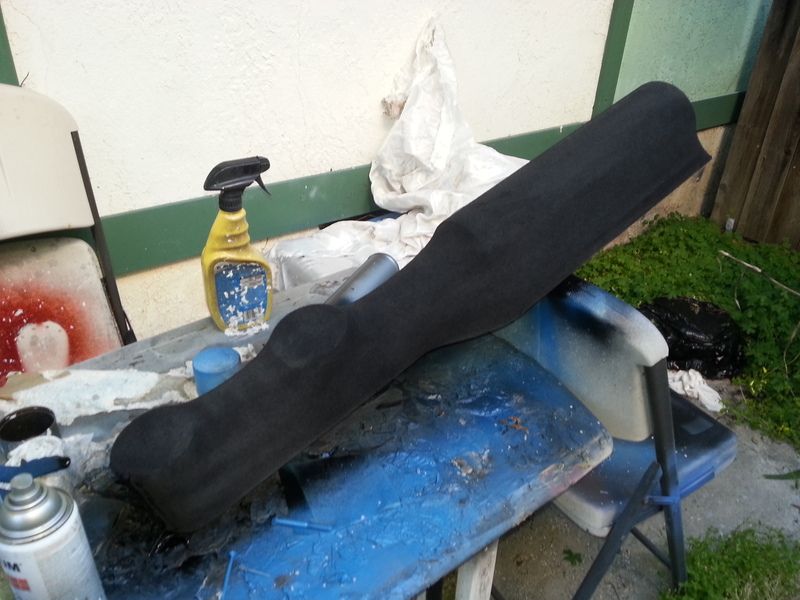
So like I said, usually resin goes over this, but I added a step I figured out a while ago. Usually when you add the resin, the fabric sags a little from the weight, and makes the shape not quite what you want. Some people stretch a second layer of fabric over or do other things, but I add spray paint. If you've ever painted a carpet (for some reason) or used regular spray paint on fabric, it makes it a little rigid and tough, so that's why I do it.
I spray painted it with some black paint i had laying around, and tomorrow when it's dry I'll add some epoxy resin to it, add any other shaping I need to, then get prepped for glass. Then once I have a basic final idea of where I'm happy with this whole substructure, I can build the second part that will be the superstructure.
So after someone posted some pics of the interior of a Chrysler Turbine car, I decided I really - really liked that center console - so much that I kind of wanted one similar to it. I was thinking of just making another standard kind of square or coffin shaped (like stock) center console now that I have bucket seats again, but opted for something based on the turbine console.
If you're not familiar with it, google it, and my idea may make a little more sense.
Obviously it's a bit shorter, this one is only going to be 36" in length and ends right between the two front seats, rather than going all the way to the trunk. Now, I don't have a floor shifter, so I opted for no shark fin, like the actual turbine has, but it will have a tube that looks like brushed stainless/ aluminum, with everything else happening above and behind it. For the turbine up front, I'm thinking either an 8" fan as a base or a really large silver/black air cleaner.
There will be two parts, which I'll hereby refer to as the substructure, and superstructure. Right now, the main body of it, which I'm calling the substructure is what I'm working on. Later when this part is complete, detailed and painted, I build the superstructure, which adds all the detailing on top and fills in the empty spaces, adds compartments, etc...
So, I started with an 8" wide design at first, that changed to 6" wide, @ the 20" rearward position and had an 8" diameter half circle, with a smaller part of the circle up front to frame the tube.

I made the base of 1/4" phillipine mahogany. (I'm a carpenter by trade).
Then I attached two basic frames to it to see how it looked in the car.

I didn't like how cramped between the seats it looked, and an 8" circle was too big for the tube. It didn't leave my any room to mount a "turbine" up front.
So like a true craftsman, I measured twice, and threw it away once.
Scrapped, onto a shape that will be narrower, I went with a 6" base up front, that changes to a 4 1/4" base @ the 18" part back.

I went with 1/4" finbirch aircraft ply this time, and opted to use mahogany for the framing above it. Phillipine mahogany is slightly soft so it was easier to plane the edges round for the next step.
I planed some sticks of 1" x5/8" to build the framing and general shape with.

I set a basic rectangle out which will have the screws in the center to hold the console down to the transmission tunnel eventually when all the compartments are made. This will also serve for holding my phone, wallet, loose change, whatever.
Then I made some more sticks to finish the base off.

I aligned them how I wanted, then got some Gorilla Glue, and set them down with it. No clamps, since this doesn't need to be held down that well, it just needs to sit still.
Then I set it on a Hemi Firepower to dry.

I went over to the hardware store and got a 16 1/2" section of 4" ABS pipe, and two 4" sections of 3" ABS.
I decided I ultimately wanted cup holders, but did not want to just cut holes in the top and go "cupholders... done" so I wanted them to be part of the substructure shape.

I gorilla glued the two cup holders in place, then screwed the 4" tube down through the bottom to hold it still and glued it as well.
I scrapped the wood framing of the tube idea and went for ABS, and figured that would be simpler, but will eventually require other work to fit the superstructure on top of this, it's a good trade off.
I set it in the car to test fit, and it fits a lot better. It's crooked in the picture, but it will look good.
Keep in mind it's just a turbine "inspired" build, it won't look exactly the same so to speak.

The spacing between the seats is a lot better too.
After I planed all the corner edges off the mahogany frames, I cut up an old white work T-shirt, and stretched it over the whole piece. It's important to trim down any corners or plane them off, otherwise they make a hard edge that you eventually have to sand off in the fiberglass or filler stage, so I just opt to deal with it now, unless you need or want a hard edge, then you leave it.

I stretched it all out and hot glued it to the bottoms of the base, and trimmed the excess. This will serve as the basic shape to attach the fiberglass matt to. This is a similar process audio builders use in custom speaker enclosures and the like and is where I started using this process as well.
Usually after this, you just lay some resin on the cloth you put down, and then let it dry, then start applying layers of chop mat. It's hard to use a full piece of woven fiberglass because it's hard to make it curve this complex. Chop is messier, and requires more sanding and filling, but a necessary evil for this.
So like I said, usually resin goes over this, but I added a step I figured out a while ago. Usually when you add the resin, the fabric sags a little from the weight, and makes the shape not quite what you want. Some people stretch a second layer of fabric over or do other things, but I add spray paint. If you've ever painted a carpet (for some reason) or used regular spray paint on fabric, it makes it a little rigid and tough, so that's why I do it.
I spray painted it with some black paint i had laying around, and tomorrow when it's dry I'll add some epoxy resin to it, add any other shaping I need to, then get prepped for glass. Then once I have a basic final idea of where I'm happy with this whole substructure, I can build the second part that will be the superstructure.
