The Great Pumpkin - '71 Duster
OK, so did some piston ring filing today, got the first and second rings done. All in all, went pretty well.
I will admit, this is the first time I have done this particular operation, kinda felt a little like a rite of passage. When I was at school and eventually at a dealership, I built engines but truthfully, I never file-fit piston rings. I guess you can sorta say it's a 'performance' detail. Either way, was good to get a feel for it.
It was definitely good to have the right tools for this job. I bought a ring-squaring tool just to do this and it made things go smoothly and helped get repeatable results. I'd buy one again if needed but the one I got should cover most small block applications - 4.00 - 4.085".
Here is the ring squaring tool.
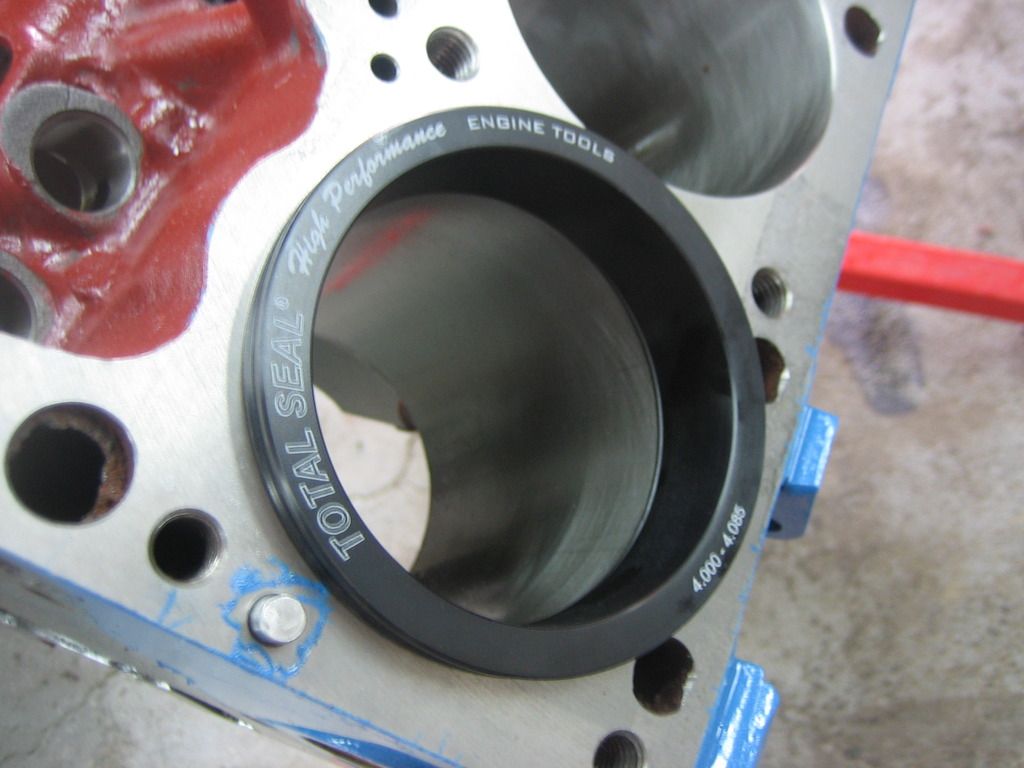
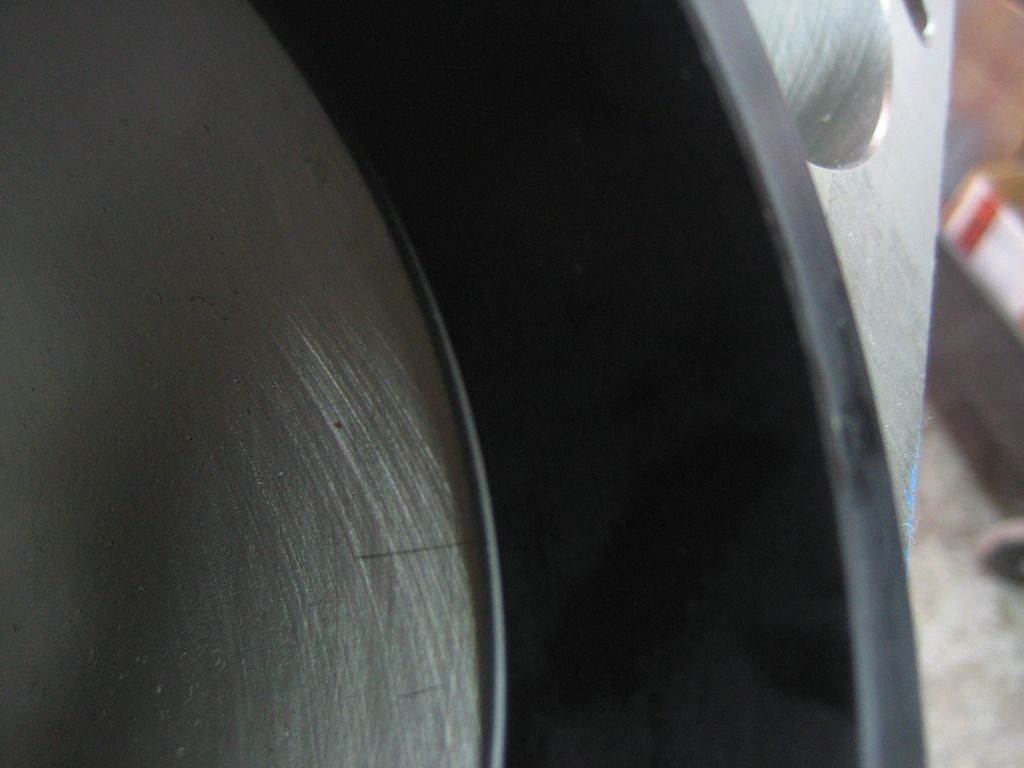
Here you can see the ring squared up at the bottom of the tool.
I've seen where guys use the piston turned upside down and push the ring down to square it but I don't like that idea - too much potential for damage. I wouldn't want to nick or drop a piston from handling it over and over again. Plus, you'd have to reach underneath to push the ring up to the piston top whereas with the ring-squaring tool you can just pull the ring up to the tool from the top with your fingers. In addition, the tool has a step which puts the ring at a repeatable depth without having to eyeball it every time.
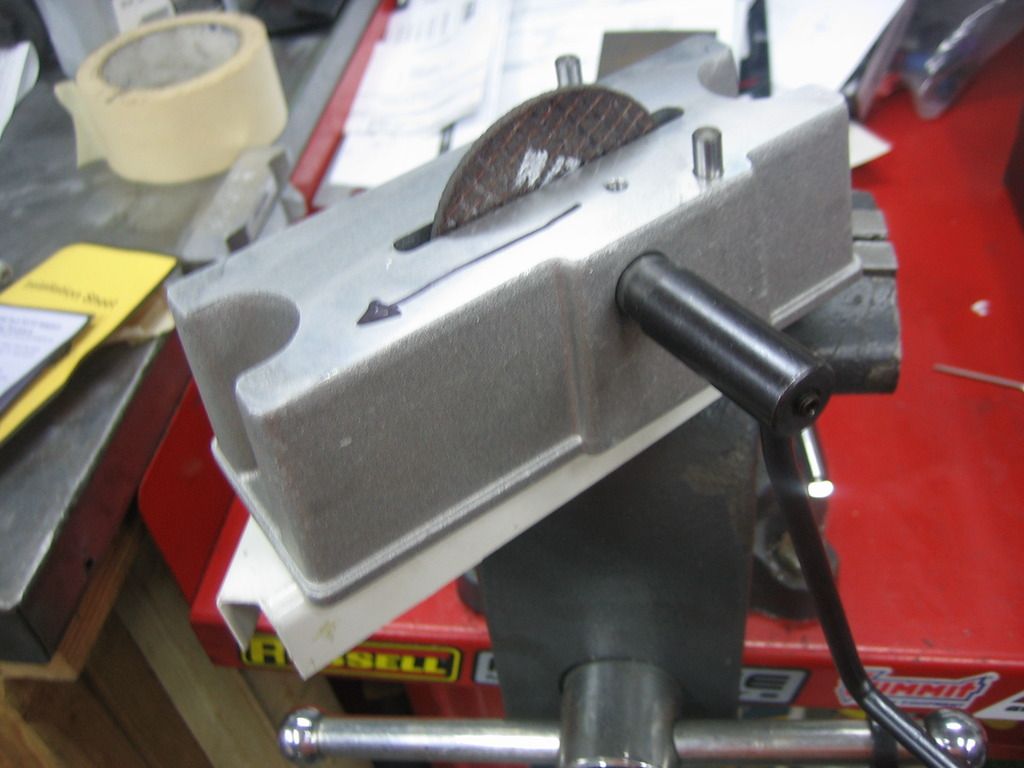
So no filing would get done without a ring file. The one I have is a Powerhouse brand I got from Summit. First thing I did was to file the edges on this thing as they were really sharp. It also needs to be mounted solidly which can be a little tricky depending where you put it. The arm can get in the way so you need to make sure there is room for it to swing around. I used a triangular shelf bracket I found in my basement clamped in a vice. Worked OK and was comfortable to use. I liked it on top of the vice - no reaching or bending over and plenty of room.
Here's the ring file set up in the vice.
So the way I did the actual filing took a long time. First thing I did was to put the ring down into the bore just to see what it looked like - no gap, ends butted right against each other, just as a starting point. Then, I pushed one side of the ring down to rotate it 90 degrees and push the sides of the ring together to pull it out.
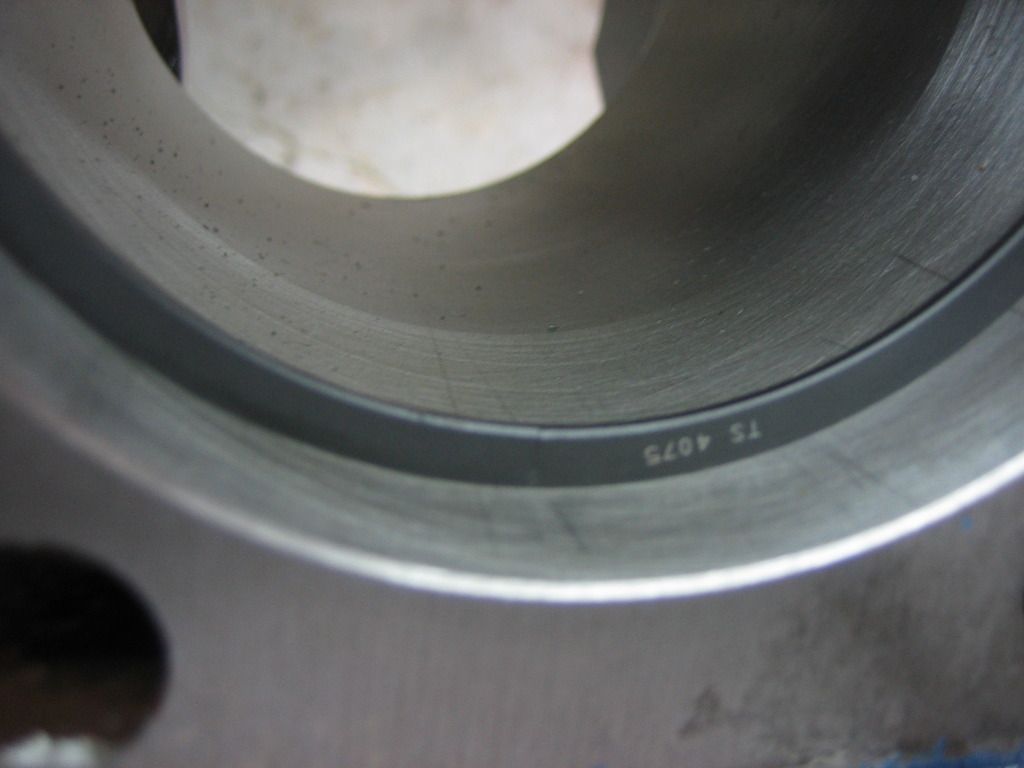
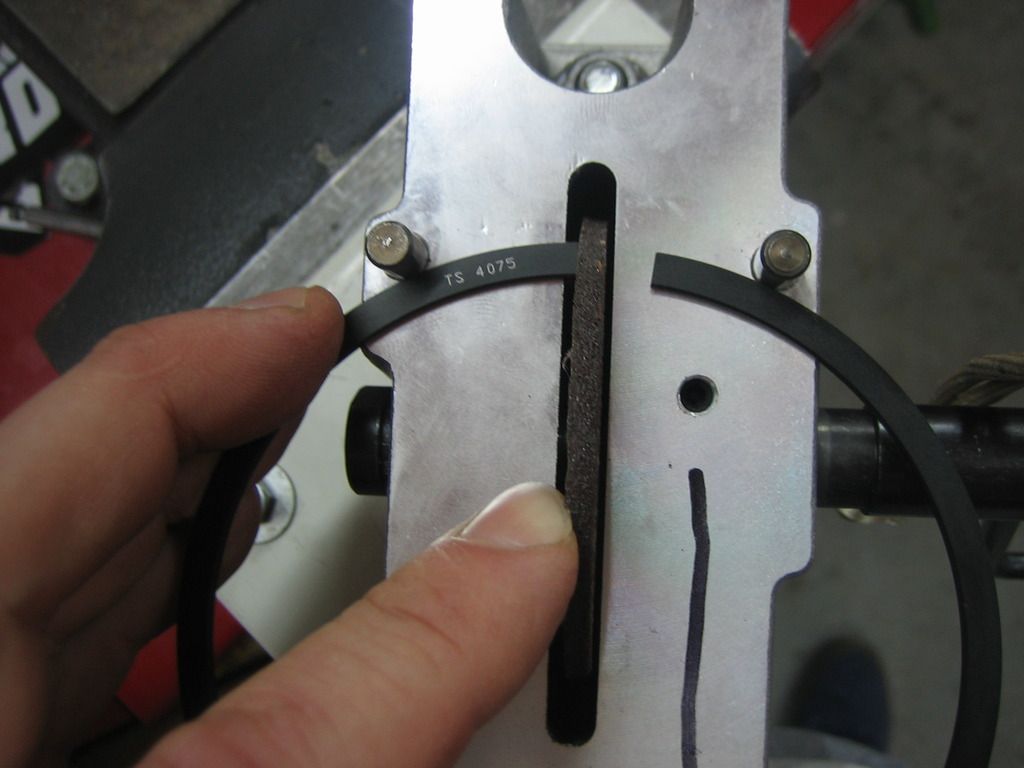
Then, onto the ring file. Regardless of your method, you do it the same way for every ring. The rings had markings on them so they were on top.
Markings.
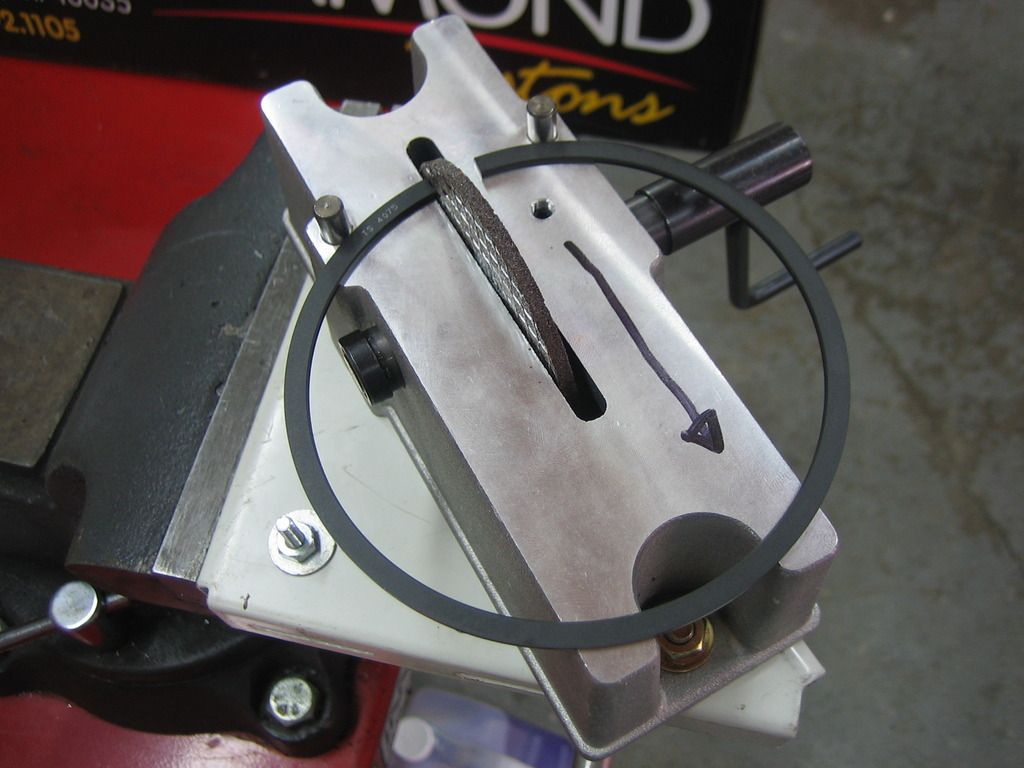
Also, to avoid irregular cuts, you file one side only. Lastly, you turn the file wheel towards you so as to avoid burrs on the outside of the ring cutting into your freshly-machined bores. Some files have a directional arrow engraved into the face of the tool to remind you which way to turn the crank but mine did not so I drew one with a Sharpie.
Note directional arrow. Duh.
There's definitely a little technique/feel to this. There are two posts at the top of the tool which act as a stop for the ring. While you push the ring against the stops, you hold it down with one finger and push the ring end against the filing wheel with another. The wheel also takes a different bite sometimes which you almost don't know until you start turning. You can adjust the pressure of the ring against the wheel with your finger if it does not feel right.
The first and second rings had totally different characteristics. The second rings only took a few tries to get the gap set as opposed to the first ring which took several rounds of back and forth. First ring gap was set to .018" (.0045 x 4.070) while the second ring was set to .020".
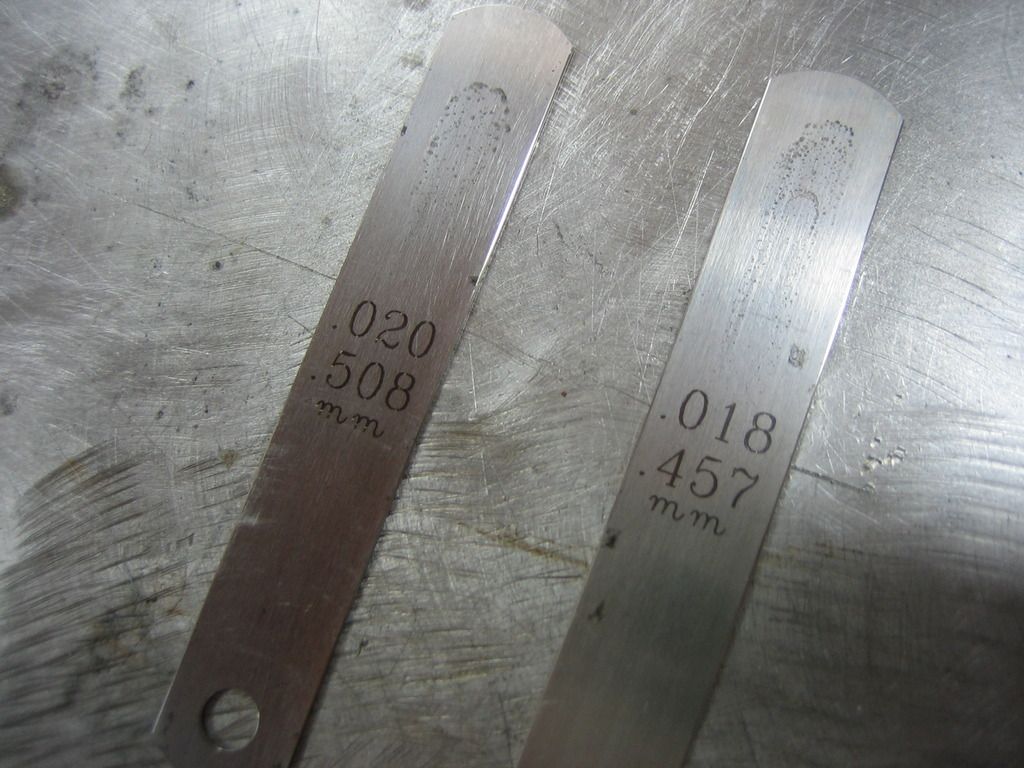
I tried to get to the gap slowly. Here's where the repeatability comes into play since taking the ring out of the bore several times to check/file/check can get pretty tedious. The squaring tool makes it a breeze, would have taken forever to do without it. I kept a bunch of feeler gauges handy for checking to see where it was at.
Anyway, I found it useful to count the number of turns of the wheel. I tried variations of 15 crank turns. After the first round of filing, I'd check to see where it was at - I'd do 30 turns at first which was around .006-.007". Then it was back and forth until I got close, like .015", then just a few turns at a time until it was where I wanted it. If it was tight, I did one or two turns to get it perfect. I finished it with a stone to break the edge and ensure against burrs. I'll probably hit it again before I put the rings on the pistons.
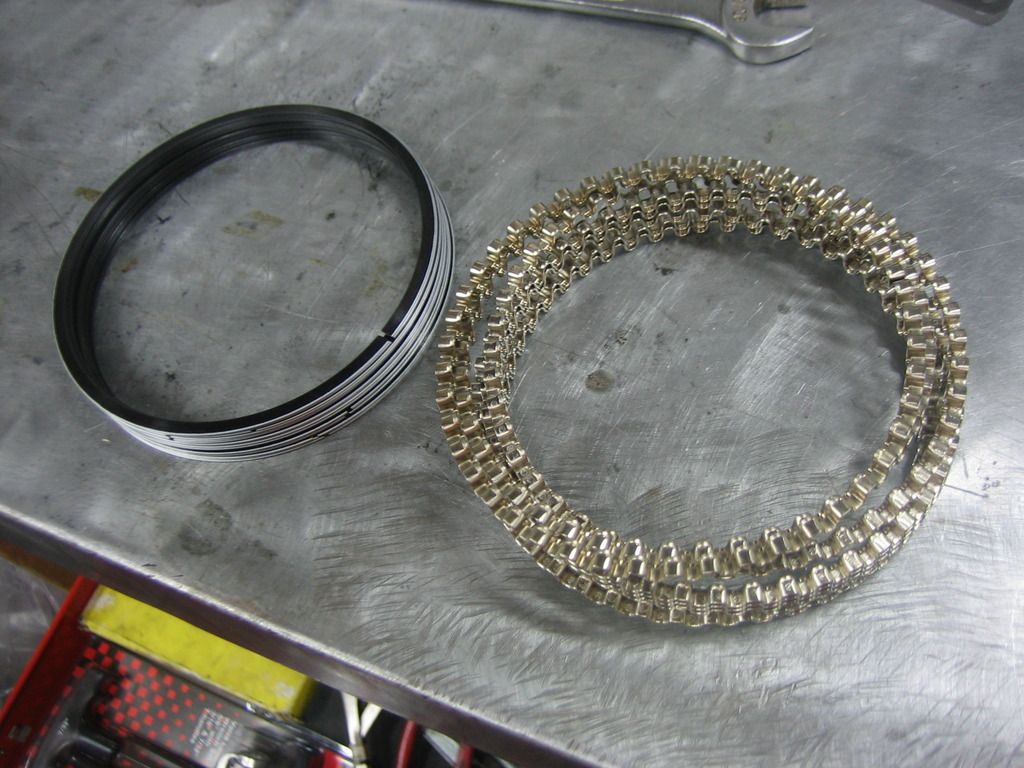
Oil rings are next. I checked a few of the oil rails and they will also need to be filed. There is a 'minimum gap' rather than say .018" or .020". Hope to get to those this week.
Oil control rings, ready for action.
So that's all for now. More to come.
OK, so did some piston ring filing today, got the first and second rings done. All in all, went pretty well.
I will admit, this is the first time I have done this particular operation, kinda felt a little like a rite of passage. When I was at school and eventually at a dealership, I built engines but truthfully, I never file-fit piston rings. I guess you can sorta say it's a 'performance' detail. Either way, was good to get a feel for it.
It was definitely good to have the right tools for this job. I bought a ring-squaring tool just to do this and it made things go smoothly and helped get repeatable results. I'd buy one again if needed but the one I got should cover most small block applications - 4.00 - 4.085".
Here is the ring squaring tool.
Here you can see the ring squared up at the bottom of the tool.
I've seen where guys use the piston turned upside down and push the ring down to square it but I don't like that idea - too much potential for damage. I wouldn't want to nick or drop a piston from handling it over and over again. Plus, you'd have to reach underneath to push the ring up to the piston top whereas with the ring-squaring tool you can just pull the ring up to the tool from the top with your fingers. In addition, the tool has a step which puts the ring at a repeatable depth without having to eyeball it every time.
So no filing would get done without a ring file. The one I have is a Powerhouse brand I got from Summit. First thing I did was to file the edges on this thing as they were really sharp. It also needs to be mounted solidly which can be a little tricky depending where you put it. The arm can get in the way so you need to make sure there is room for it to swing around. I used a triangular shelf bracket I found in my basement clamped in a vice. Worked OK and was comfortable to use. I liked it on top of the vice - no reaching or bending over and plenty of room.
Here's the ring file set up in the vice.
So the way I did the actual filing took a long time. First thing I did was to put the ring down into the bore just to see what it looked like - no gap, ends butted right against each other, just as a starting point. Then, I pushed one side of the ring down to rotate it 90 degrees and push the sides of the ring together to pull it out.
Then, onto the ring file. Regardless of your method, you do it the same way for every ring. The rings had markings on them so they were on top.
Markings.
Also, to avoid irregular cuts, you file one side only. Lastly, you turn the file wheel towards you so as to avoid burrs on the outside of the ring cutting into your freshly-machined bores. Some files have a directional arrow engraved into the face of the tool to remind you which way to turn the crank but mine did not so I drew one with a Sharpie.
Note directional arrow. Duh.
There's definitely a little technique/feel to this. There are two posts at the top of the tool which act as a stop for the ring. While you push the ring against the stops, you hold it down with one finger and push the ring end against the filing wheel with another. The wheel also takes a different bite sometimes which you almost don't know until you start turning. You can adjust the pressure of the ring against the wheel with your finger if it does not feel right.
The first and second rings had totally different characteristics. The second rings only took a few tries to get the gap set as opposed to the first ring which took several rounds of back and forth. First ring gap was set to .018" (.0045 x 4.070) while the second ring was set to .020".
I tried to get to the gap slowly. Here's where the repeatability comes into play since taking the ring out of the bore several times to check/file/check can get pretty tedious. The squaring tool makes it a breeze, would have taken forever to do without it. I kept a bunch of feeler gauges handy for checking to see where it was at.
Anyway, I found it useful to count the number of turns of the wheel. I tried variations of 15 crank turns. After the first round of filing, I'd check to see where it was at - I'd do 30 turns at first which was around .006-.007". Then it was back and forth until I got close, like .015", then just a few turns at a time until it was where I wanted it. If it was tight, I did one or two turns to get it perfect. I finished it with a stone to break the edge and ensure against burrs. I'll probably hit it again before I put the rings on the pistons.
Oil rings are next. I checked a few of the oil rails and they will also need to be filed. There is a 'minimum gap' rather than say .018" or .020". Hope to get to those this week.
Oil control rings, ready for action.
So that's all for now. More to come.