.......... I like the 70's clothing..
.
I think I still have some in the back of the closet........a blue leisure suit comes to mind.
You are using an out of date browser. It may not display this or other websites correctly.
You should upgrade or use an alternative browser.
You should upgrade or use an alternative browser.
1970 Swinger 340 Hemi Orange 4 speed
- Thread starter Hemiorangeswinger
- Start date
-
Hemiorangeswinger
Dodge Material
I don't think I can wait til spring to see your car in paint. This is like someone ripping out the last chapter in a book.
Haha! I have postponed doing the floors on the upper level for a year now, so I have to get it done.. I think doing bodywork during the winter will be better anyways, since I don't like sanding in the heat!
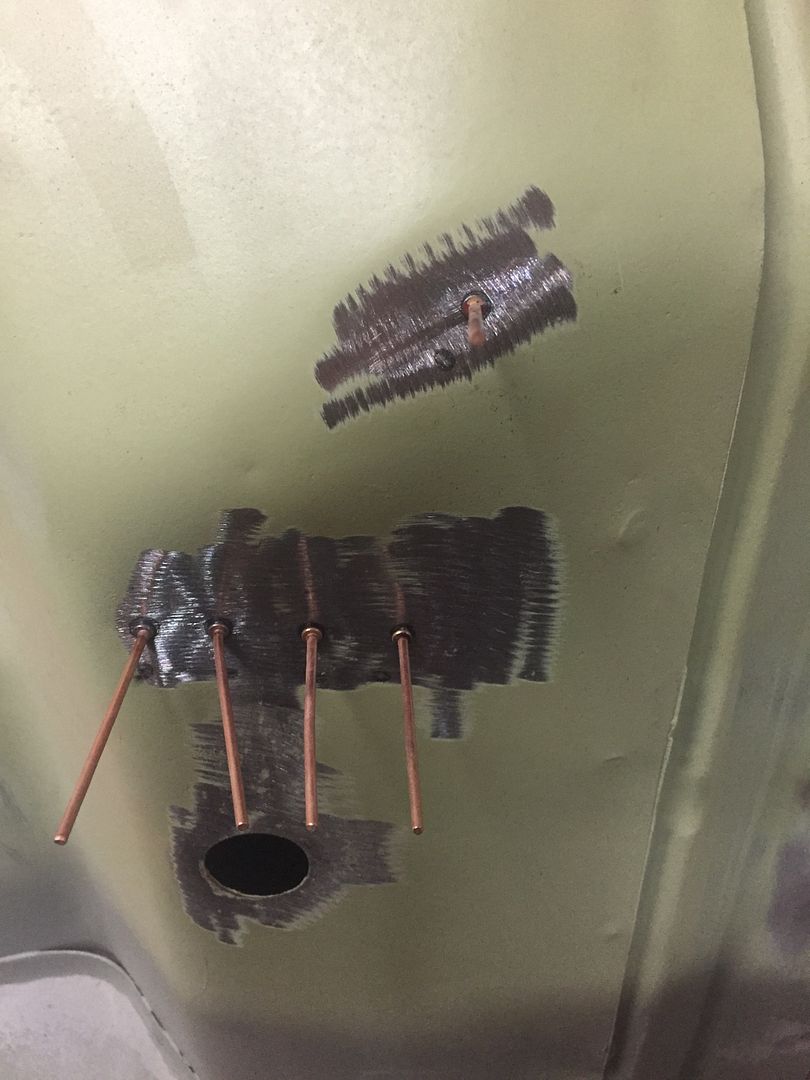
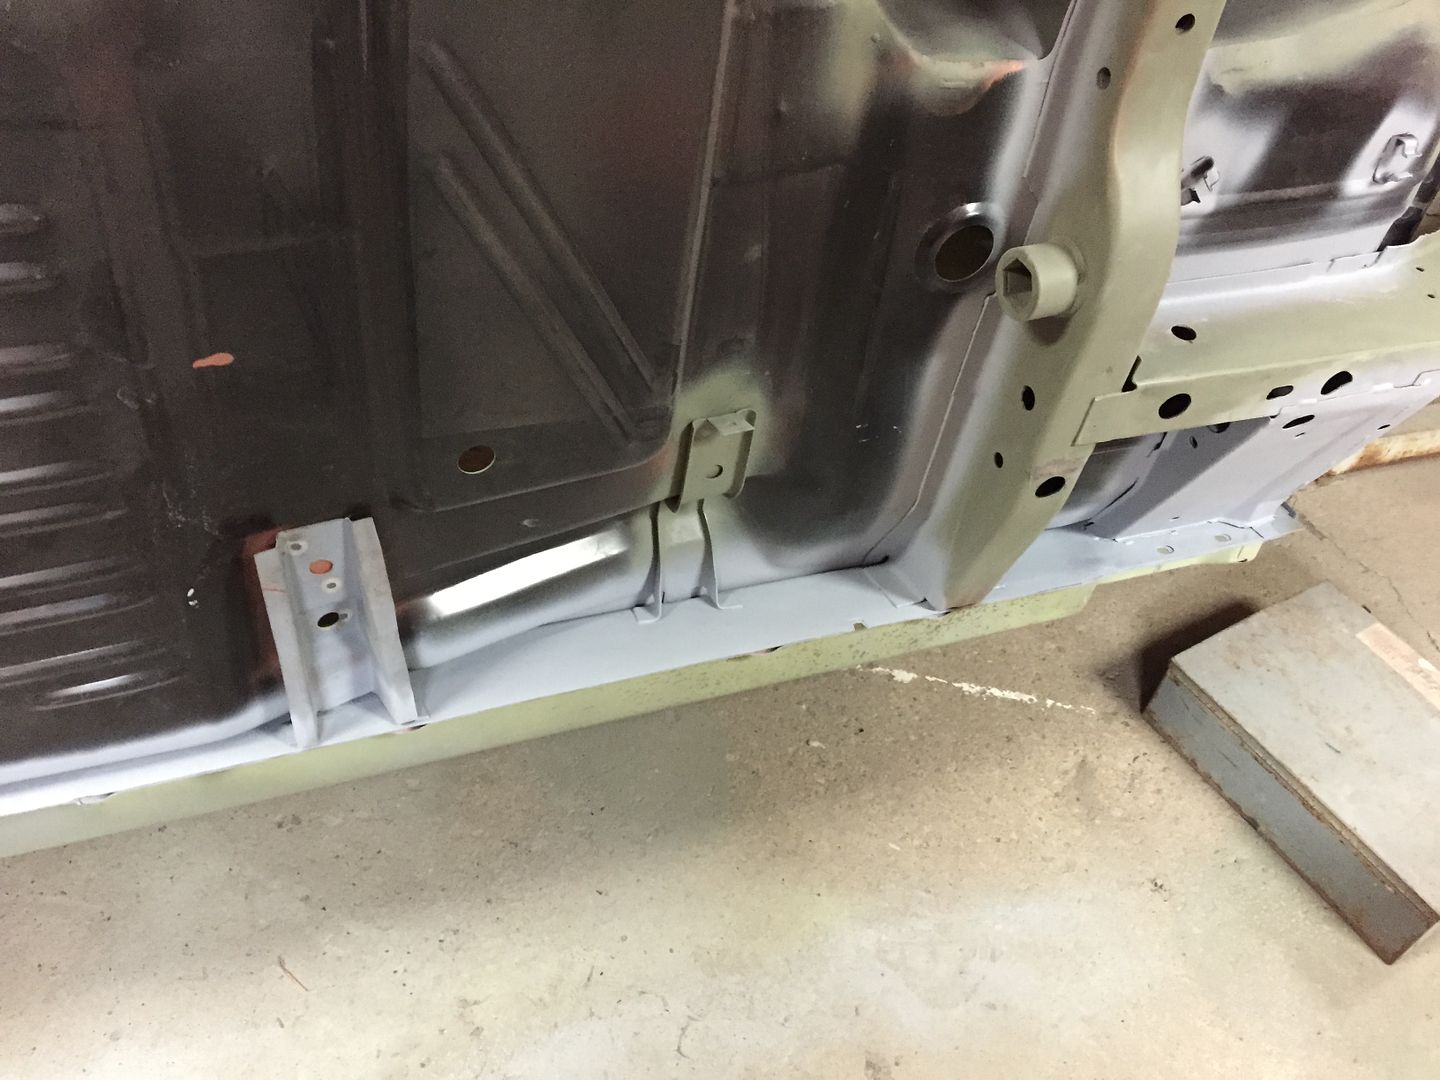
My Dad came by and helped me straighten the trunk pan out.. It turned out great! I gave it a skim coat of putty and sanded it smooth.. It is good enough for the bottom of a trunk pan!! I put it in high build primer and gave it a guide coat. I'll sand it with 220 and give it one more coat and it should be ready for paint. (I have two dings to fix, I missed them)


It no longer looks like someone played horse shoes in the spare tire well!
txstang84
Well-Known Member
JayinMI
Well-Known Member
It no longer looks like someone played horse shoes in the spare tire well!
That looks a million times better. How long did it take?
So, are you going to shoot the underside before you start on the house?
This is one of my favorite build threads (across several different sites that I frequent.)
Jay
Hemiorangeswinger
Dodge Material
That looks a million times better. How long did it take?
So, are you going to shoot the underside before you start on the house?
This is one of my favorite build threads (across several different sites that I frequent.)
Jay
Yeah it does! It took my dad and I about an hour or so to hammer and dolly it out and then I spent the rest of the day yesterday sanding it. It's not 100% perfect, but I don't think it ever was because its kinda deformed around the gas tank strap brackets on the spare tire well from it being pulled down from the weight of the tank or the straps being really tight. If I bang it back perfectly flat and put filler on it I risk the filler cracking when I go to install the tank.
I will have the bottom side done (all painted with overspray) and the inside of the roof Hemi Orange. I will also do the bodywork around the edges of the quarters and bottoms of the rockers while it's on the rotisserie. Then I'll take it off the rotissorie and put all the panels back on it and align them. I plan on taking a break from it in October so I might get some additional work done to it.. We'll see how far I get!
Thanks!!
Hemiorangeswinger
Dodge Material
I got some more work done to it today..


wade
Well-Known Member
where abouts in edmonton are you id love to come see the car
Hemiorangeswinger
Dodge Material
where abouts in edmonton are you id love to come see the car
PM sent.
Hemiorangeswinger
Dodge Material
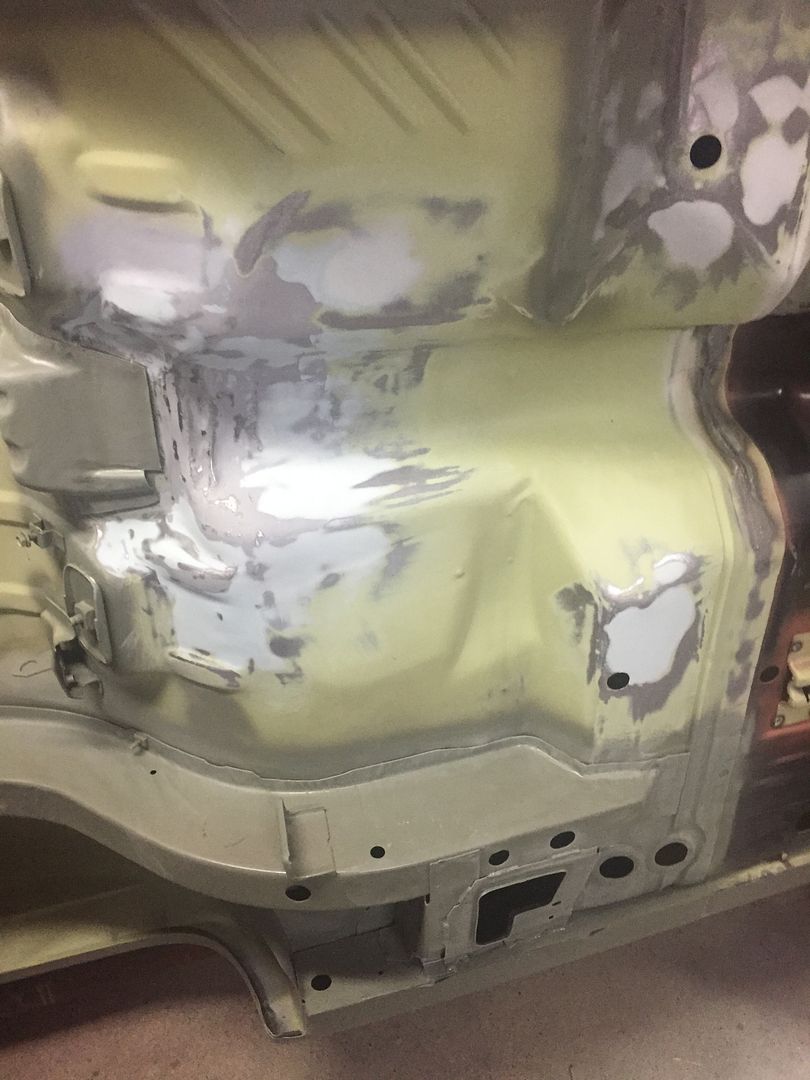
More sanding.. Bodywork is almost complete! Tomorrow and the next day I'll finish it off and by next week I'll be painting satin black!  .
.

I sanded all by primered spots with 180 grit sandpaper and primered one more time.. The next step is 400grit and epoxy/paint. Before paint I'm going to drip check a few places as well as seam seal to seal some areas off.
. 


I sanded all by primered spots with 180 grit sandpaper and primered one more time.. The next step is 400grit and epoxy/paint. Before paint I'm going to drip check a few places as well as seam seal to seal some areas off.
BrokenTool
Well-Known Member
Just spent all morning getting caught up on your progress, holy crap man...................I didn't realize how long it's been since checking in. The car and workmanship look fantastic. Good to hear the welding and grinding chapter is ending.
I will definitely have to check in a little more often from now on.
I will definitely have to check in a little more often from now on.
Hemiorangeswinger
Dodge Material
Just spent all morning getting caught up on your progress, holy crap man...................I didn't realize how long it's been since checking in. The car and workmanship look fantastic. Good to hear the welding and grinding chapter is ending.
I will definitely have to check in a little more often from now on.
Thanks Mike! It's strange going out to the garage and not having to weld/grind anymore.. The new chapter of sanding isn't all that fun, but at least it's a change! I'm glad you're enjoying the build.
76orangewagon
Well-Known Member
Hemiorangeswinger
Dodge Material
Randy,
With all the great work and straight sheet metal have you considered painting the undercarriage completely Orange ?
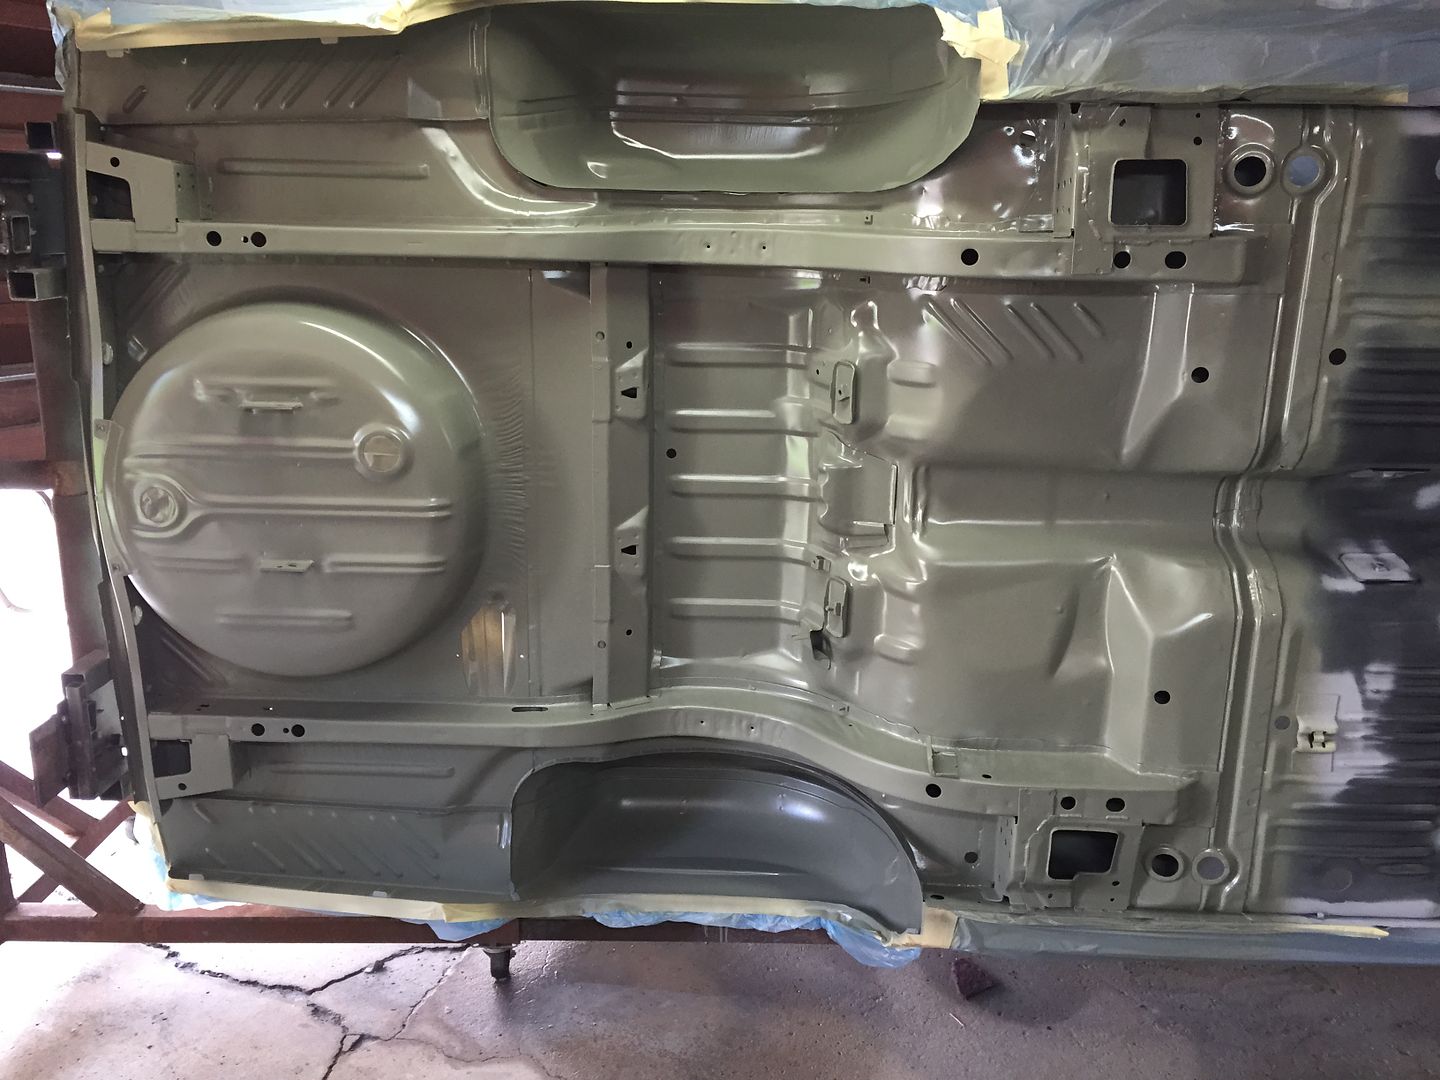
Wow, that looks really nice! Is that your dads Swinger? I have been going back and forth on what I wanted to do underneath.. At first I was going to paint it like your pics, then I decided I was going to use the resto Rick undercoat and do the entire bottom like a factory under coated car. I finally made my mind up to do it like it originally came.. I already bought the paint so there is no turning back now! Haha. I'm using the UNO single stage eutothane semi gloss black. Once it's painted I'm gonna simulate the overspray with LIMCO acrylic enamel Hemi Orange. Once the body is painted and the gas tank is in I will undercoat the wheel wells with Resto Rick undercoating nice and messy and then all the components will go back on.
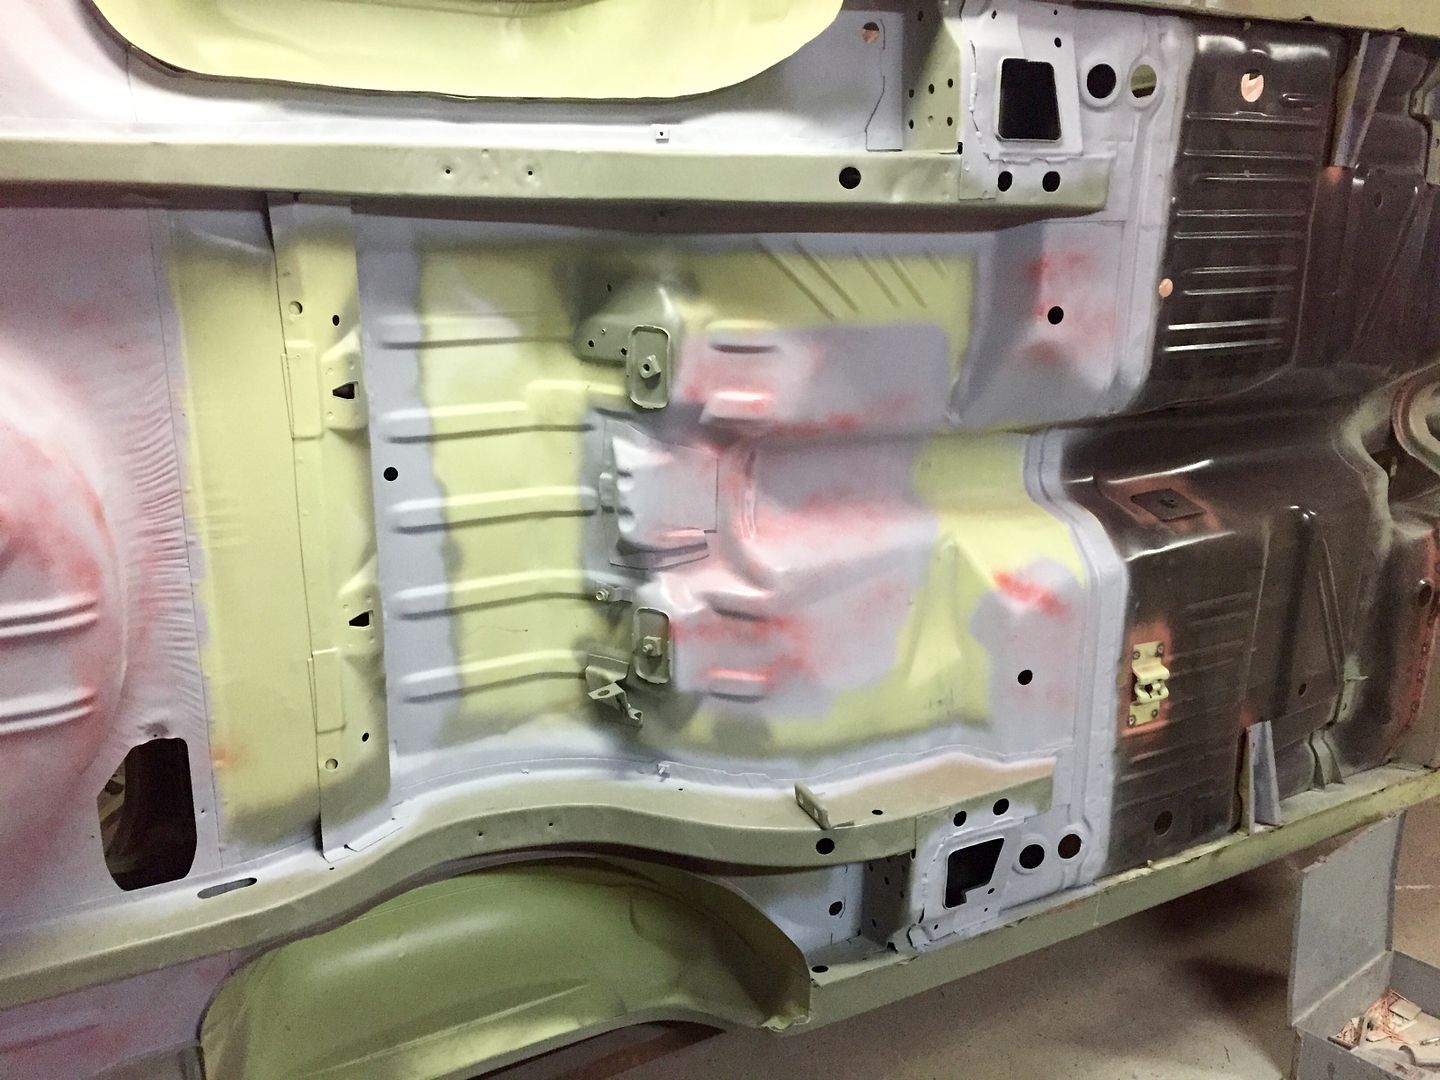
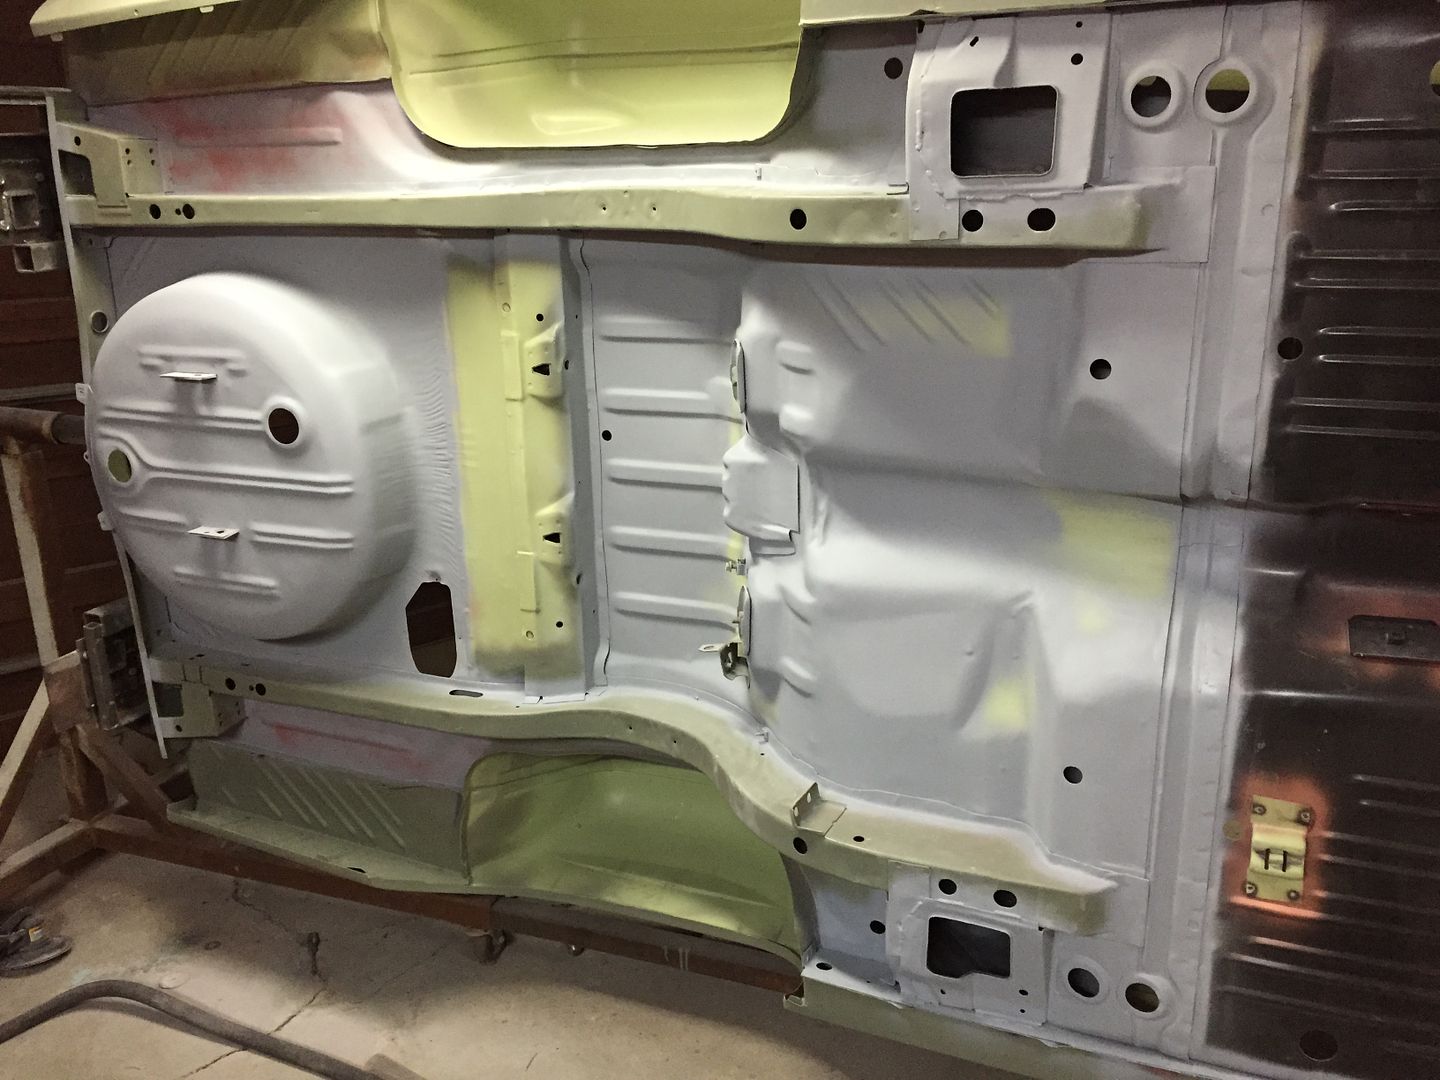
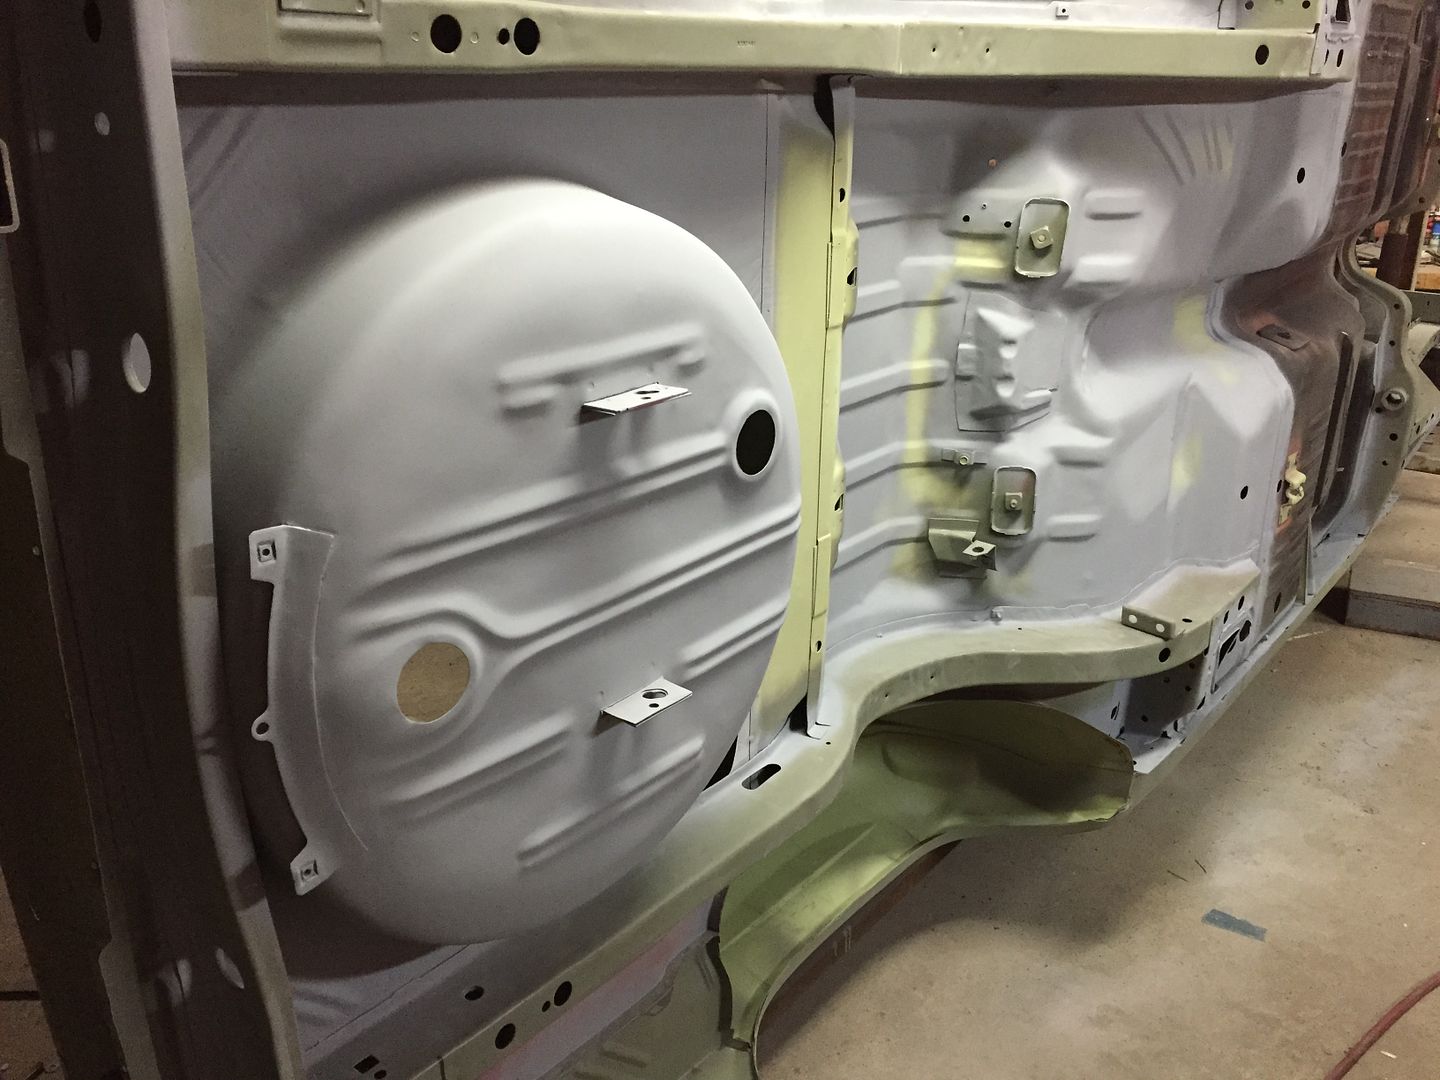
I finished up the bodywork on the bottom and gave it the final primering! I'm using a DTM primer so it's ok to go over where a broke thru. I have tomorrow off so I'll start sanding and hopefully paint the back half tomorrow! I can't do it all at once since I don't have a fan yet and there is a lot of area to cover getting into every crevice so I'll mask it off where the rear pan ends since there is a seam right across the entire car.


Drip checked some areas.


There's a few dings in the frame rails and they are staying for character!
76orangewagon
Well-Known Member
Wow, Is that your dads Swinger?
Yes it is...
Hemiorangeswinger
Dodge Material
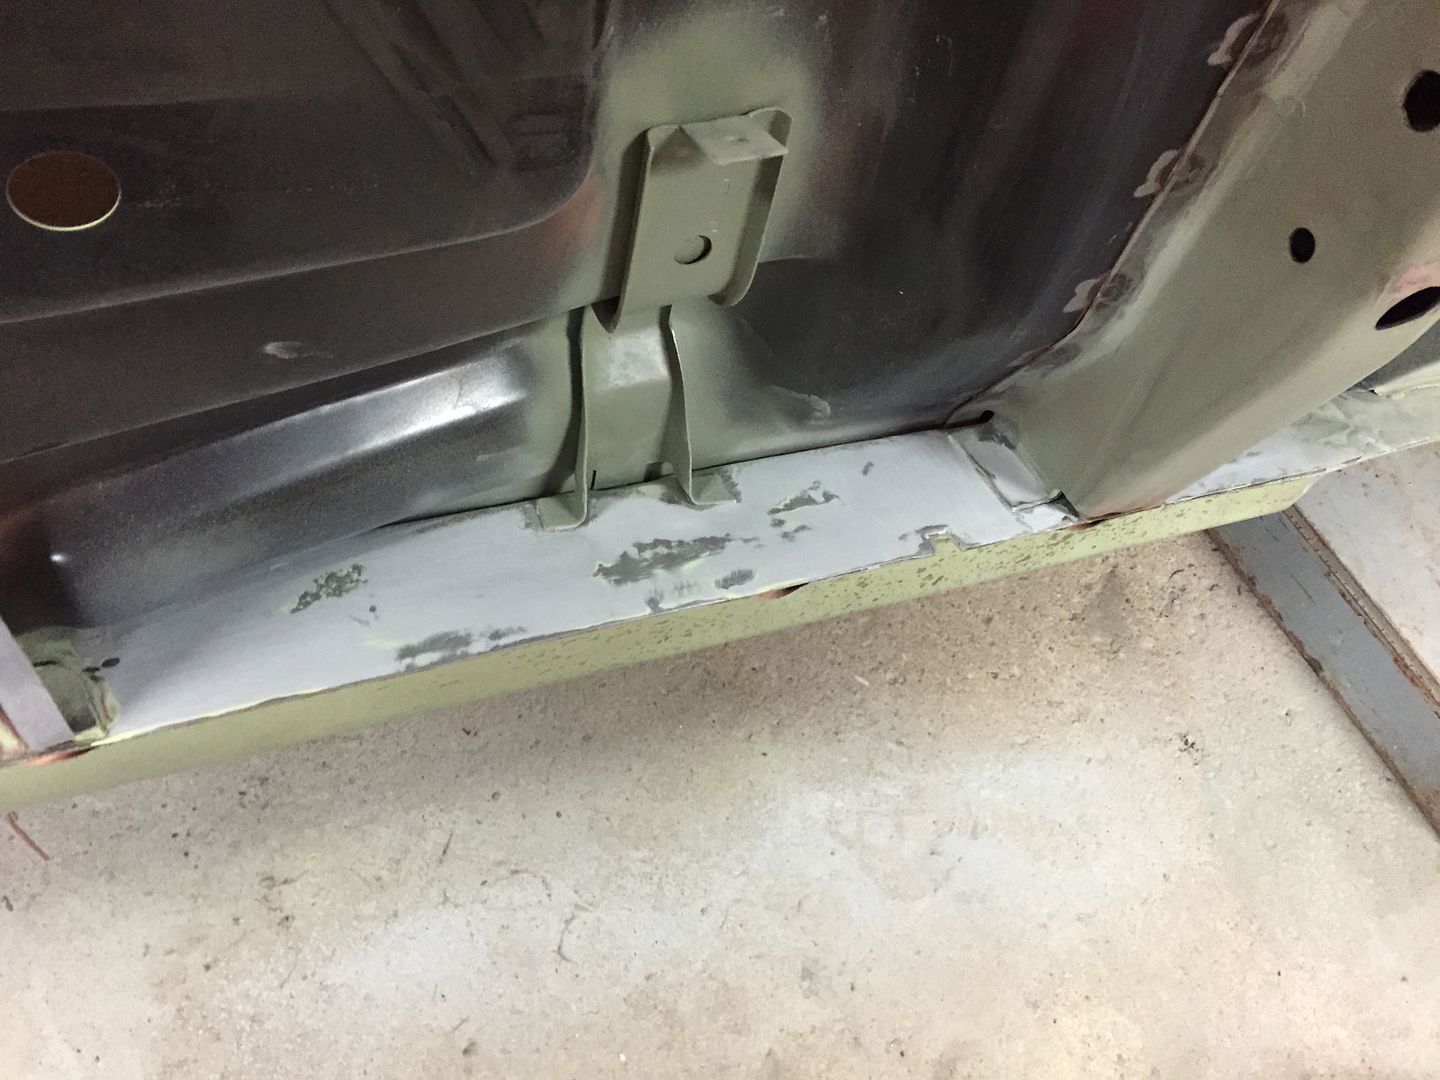
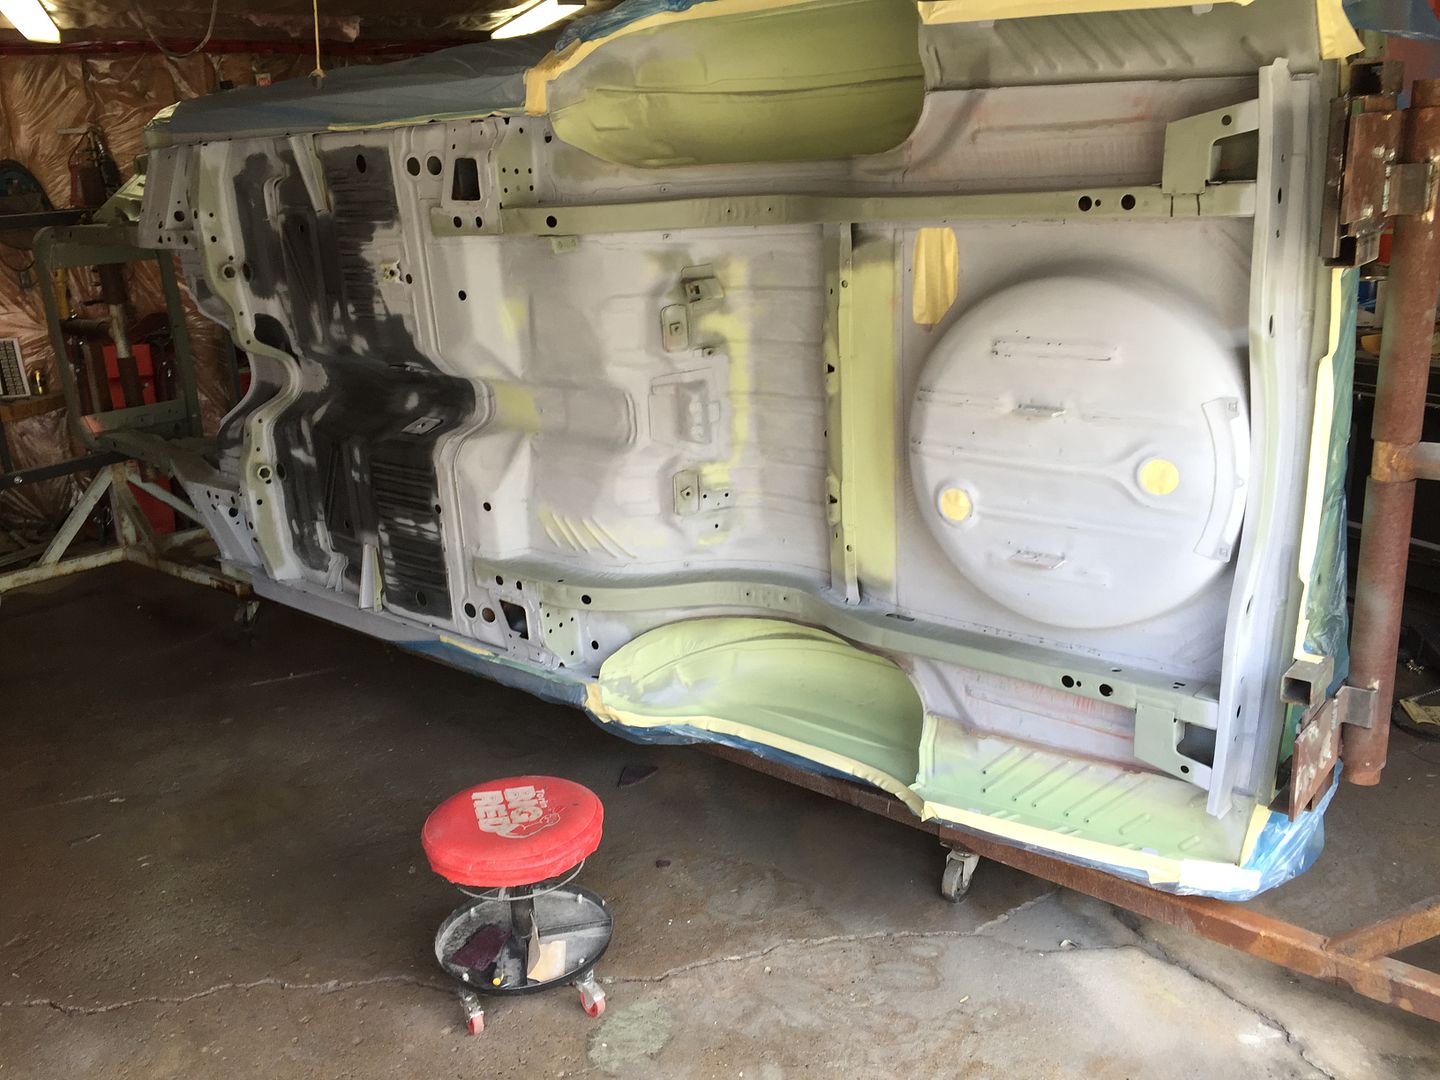
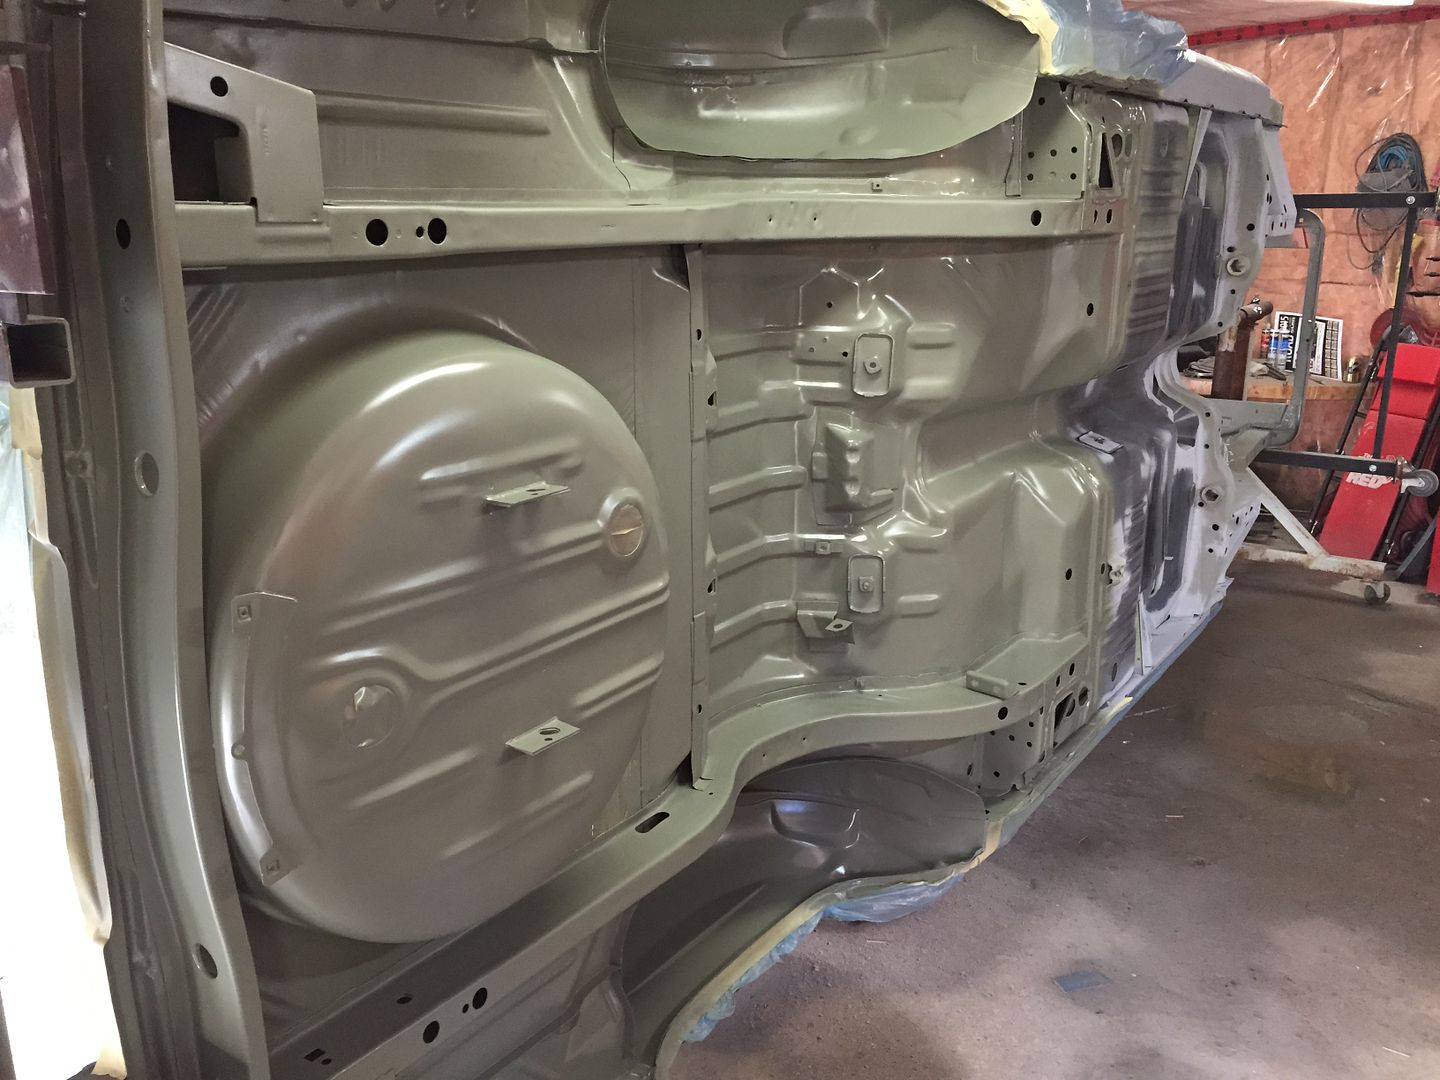
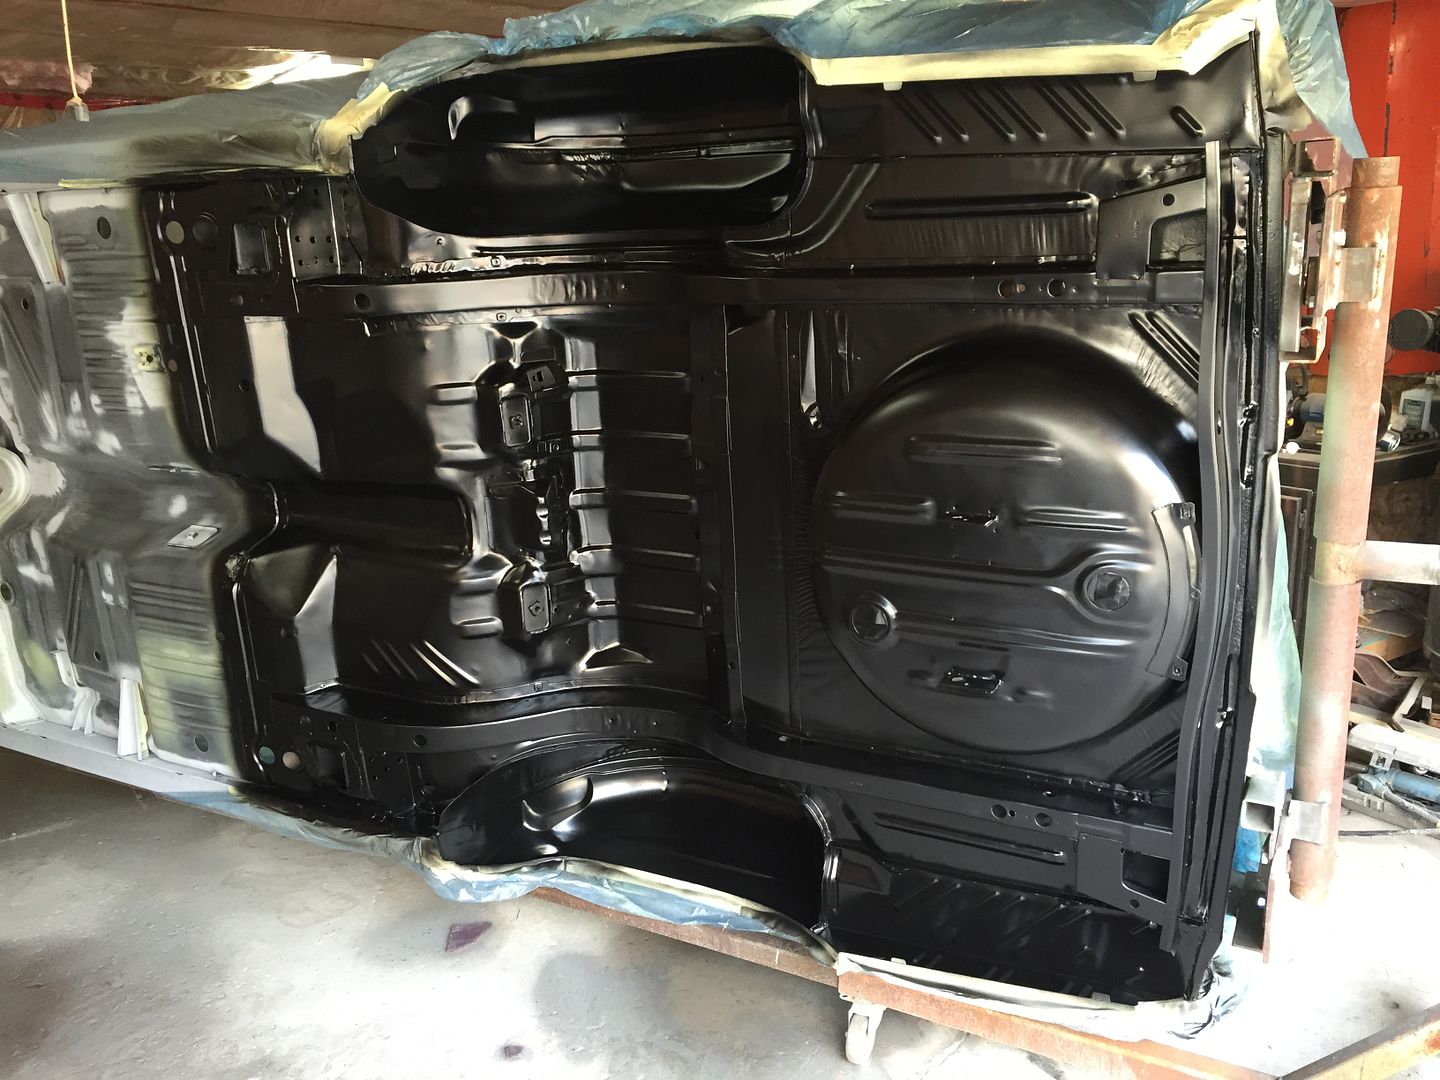
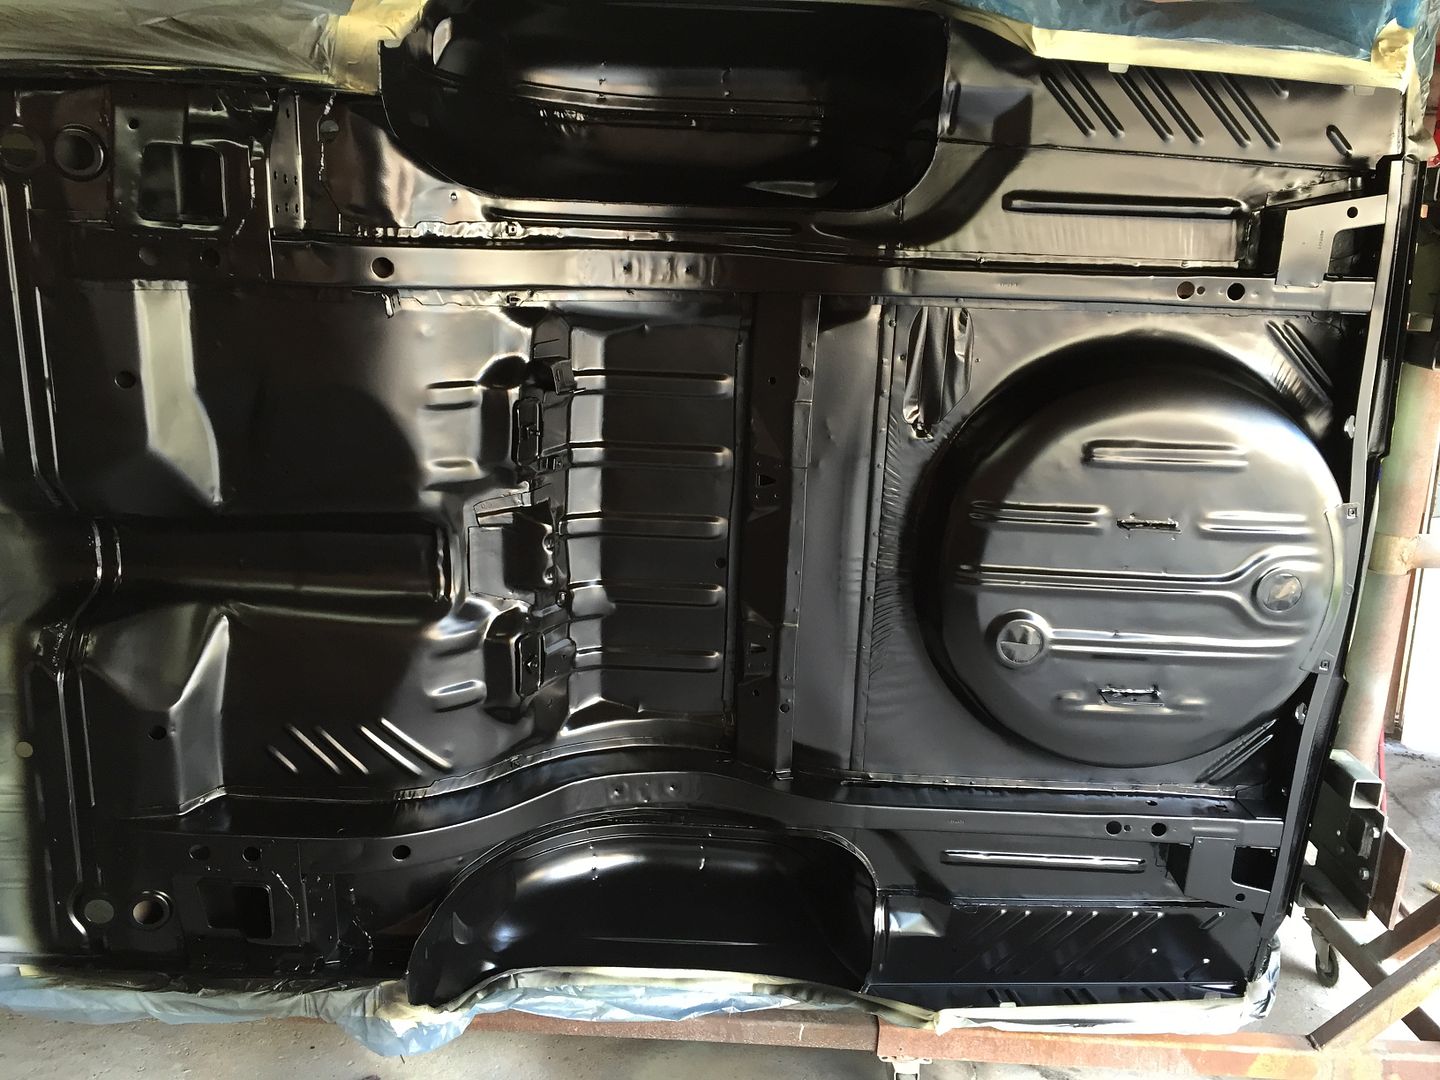
Spent the day sanding and got one half painted! Tomorrow I'll do the front half and then the day after that I'll do the overspray. This is really nice paint!
Epoxied.


Epoxied.


JayinMI
Well-Known Member
That looks great! It's almost a shame that it will get oversprayed, lol...even if that IS what it looked like factory. haha.
So, after you get the underside (and inside of the roof) done, are you going to put the suspension back on it so it can sit on the ground while you do house stuff?
Jay
So, after you get the underside (and inside of the roof) done, are you going to put the suspension back on it so it can sit on the ground while you do house stuff?
Jay
Hemiorangeswinger
Dodge Material
That looks great! It's almost a shame that it will get oversprayed, lol...even if that IS what it looked like factory. haha.
So, after you get the underside (and inside of the roof) done, are you going to put the suspension back on it so it can sit on the ground while you do house stuff?
Jay
Thanks Jay! Yeah it is a shame making a mess with overspray underneath.. Most people will think I'm crazy, but it was the way it came new. I haven't rebuilt the suspension components yet so it'll be going back on the stands I made with rollers so I can move it around the shop.. Plus I don't like doing panel alignment with it hanging off the rotisserie since I'm sure it has some flex to it being hung by the furthest points.
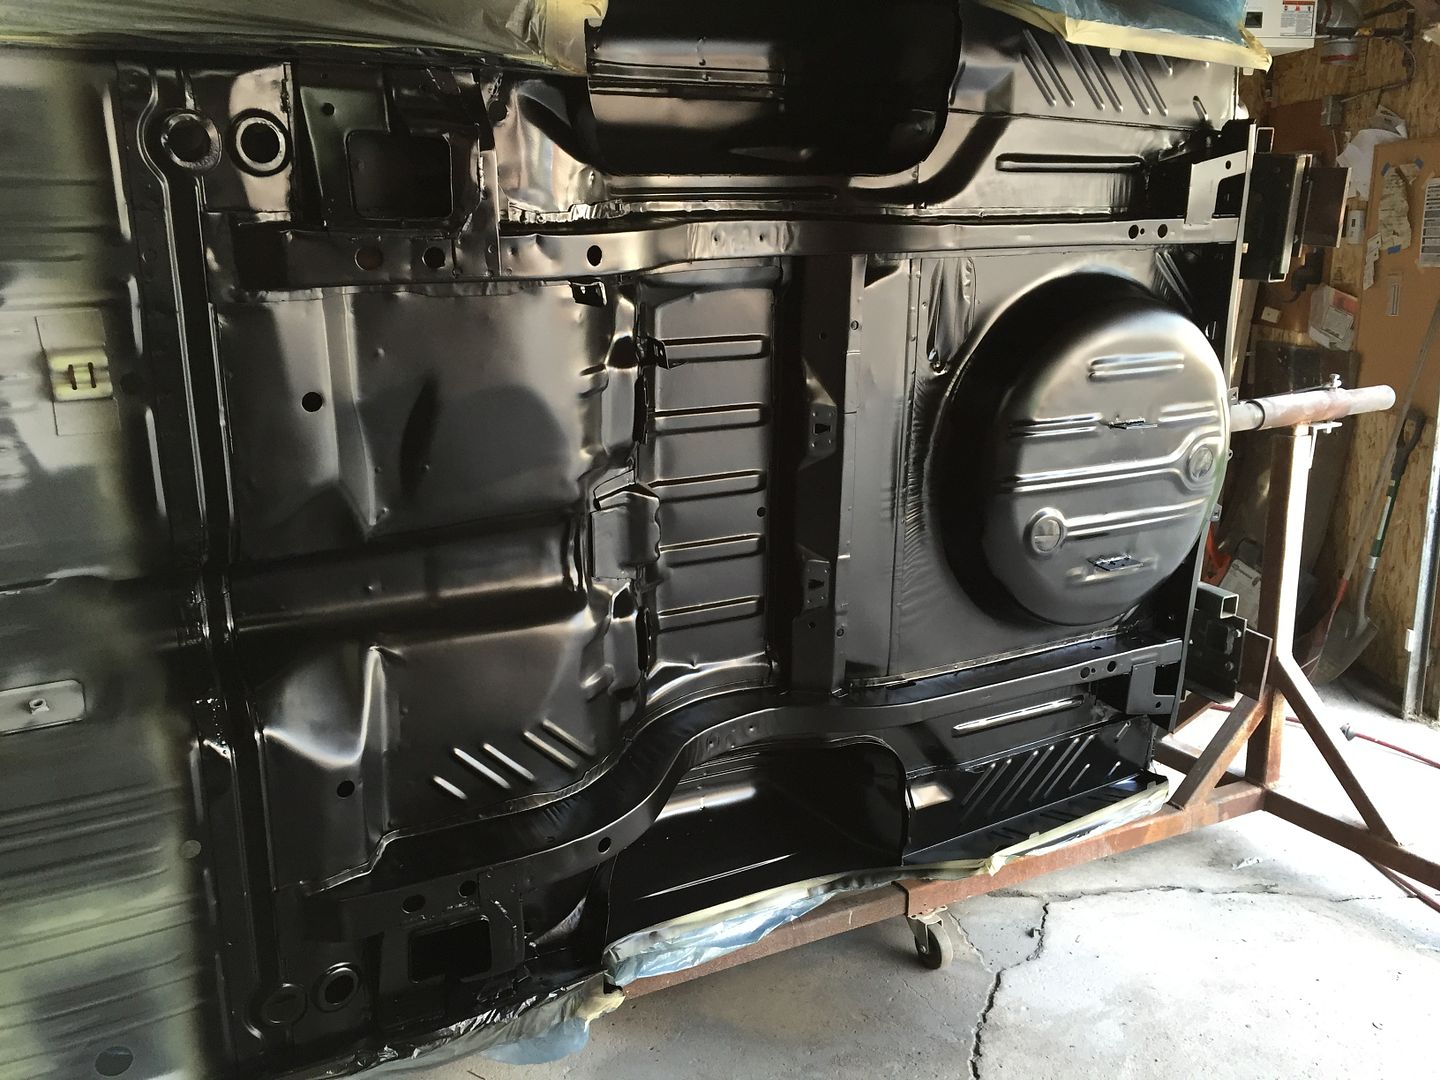
I'm gonna continue on the car till October so I'll get a bunch more stuff done to it, I'm sure! I think in two weeks it'll be off the rotissorie. After I do the overspray underneath I'm gonna paint the outside of the inner fenders in the satin black to help with the undercoat coverage and add extra protection if it chips (like I did to the rear wheelwell tubs) then I'll spray the front frame rails and upper control arm pockets in Hemi Orange to finish it off. I painted the bottom of the front frame rails black like it's supposed to be and whatever EV2 over spray gets on it will look proper. I'm not gonna undercoat the wheel wells until the car is painted since its next to impossible to mask off for the bodywork stage on the body. (During primer and paint) plus I want the front fenders bolted on when I go to undercoat it.
Forgot to take a picture after I epoxied!


Dartnut
Don't hate me because i'm beautiful
As usual, awesome work!
Wow! The last few pics look you bought the whole dang thing from AMD!
It's looks awesome!
My project is a shade tree restoration. I decided to clean and paint our bottom the body color. My son and I did it on a creeper with the car jacked up about 2 feet and supported from the front rear bumper supports. For our purposes it came out nice....
It's looks awesome!
My project is a shade tree restoration. I decided to clean and paint our bottom the body color. My son and I did it on a creeper with the car jacked up about 2 feet and supported from the front rear bumper supports. For our purposes it came out nice....
Attachments
txstang84
Well-Known Member
Daaaaaaaaaaaaaaaaaaaaamn! Randy-that's beautiful, man. I've been eagerly awaiting this, so I know full well this is a huge milestone for you. It just keeps getting better!
JayinMI
Well-Known Member
Oh, I meant to ask, what does "drip check" mean?
Jay
Jay
It looks awesome! So nice I would have loved to see full color.
76orangewagon
Well-Known Member
as usual, awesome work!
x2
Hemiorangeswinger
Dodge Material
As usual, awesome work!
Thanks!!
Wow! The last few pics look you bought the whole dang thing from AMD!
It's looks awesome!
My project is a shade tree restoration. I decided to clean and paint our bottom the body color. My son and I did it on a creeper with the car jacked up about 2 feet and supported from the front rear bumper supports. For our purposes it came out nice....
Thanks! I've been checking out your build and it's coming along great! The bottom side of your car looks awesome!
Daaaaaaaaaaaaaaaaaaaaamn! Randy-that's beautiful, man. I've been eagerly awaiting this, so I know full well this is a huge milestone for you. It just keeps getting better!
Thanks for the compliment! Yeah it's been a long time coming.. I hit a lot of road blocks on this project, but it's finally coming together as planned.
Oh, I meant to ask, what does "drip check" mean?
Jay
It's a seam sealer that works really well on tight seams.. It sucks right in and goes rock hard. It's used in the Dutchman panel to quarter seams.

It looks awesome! So nice I would have loved to see full color.
Thanks! Yeah it crossed my mind, but I'm really liking the factory look!
Thanks!
-


