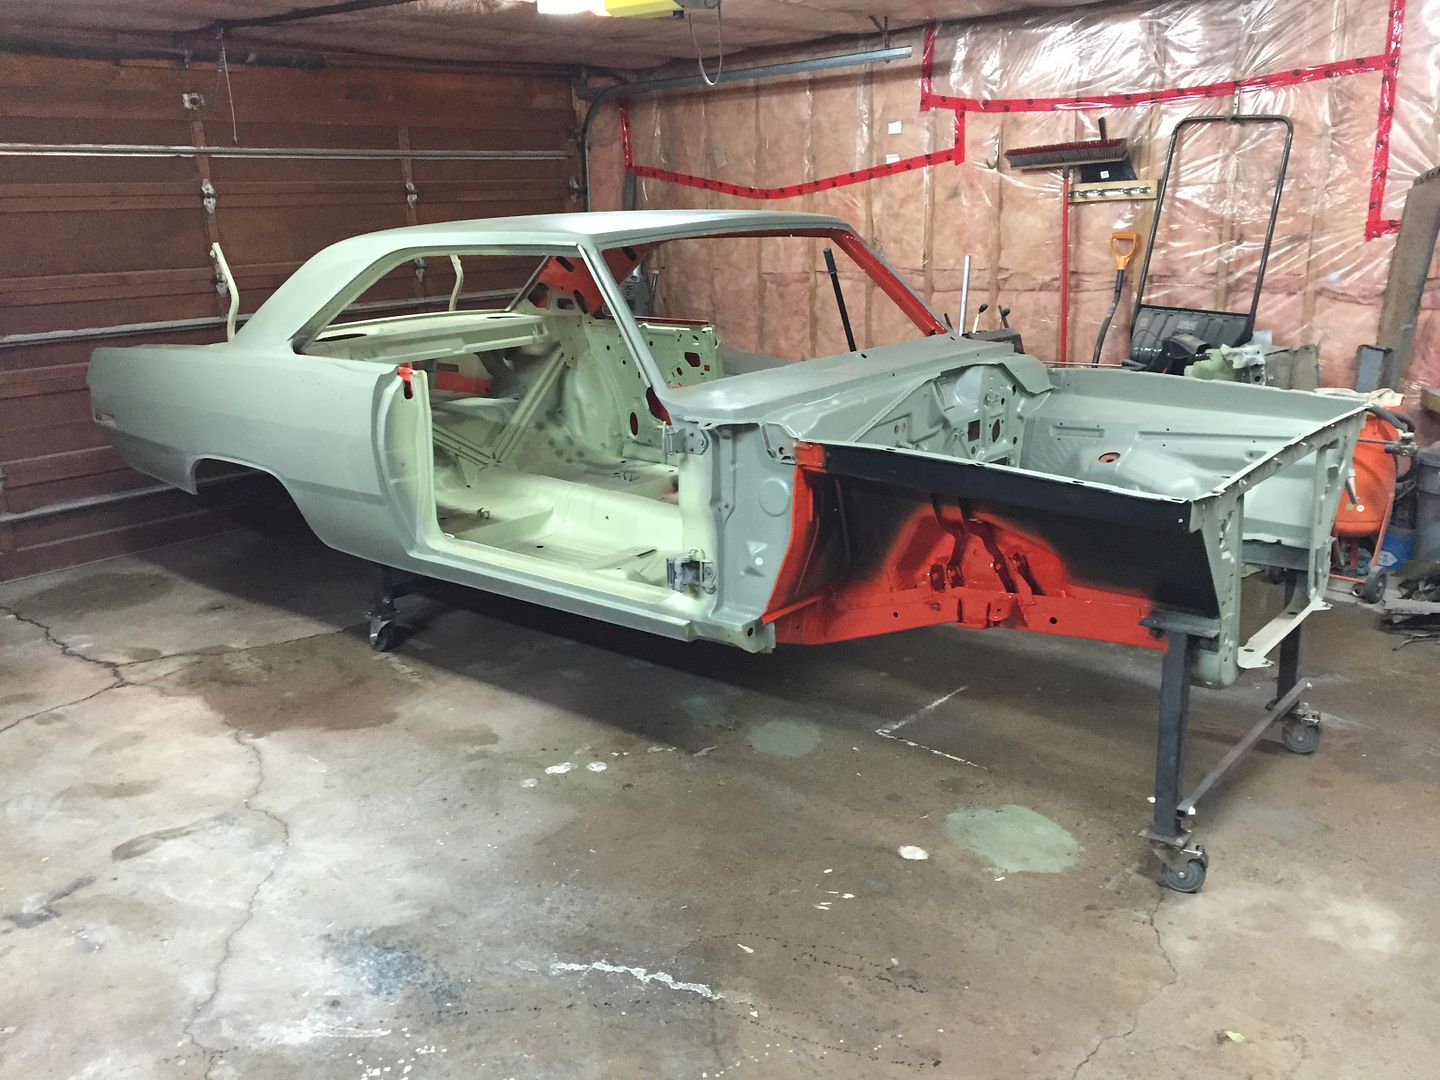
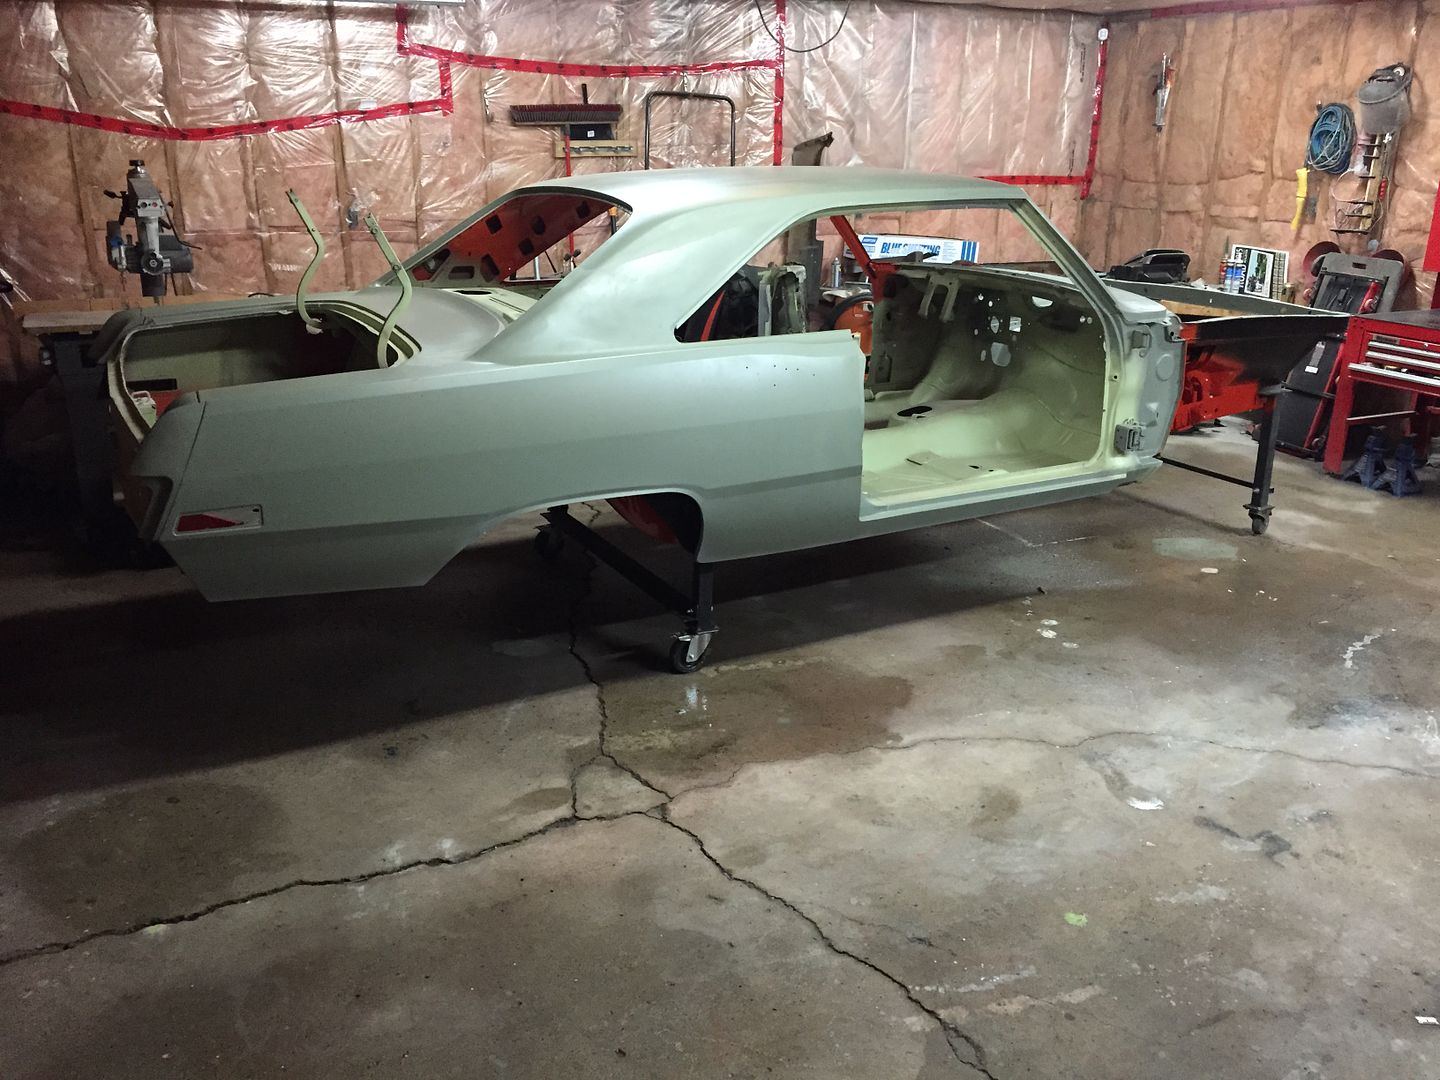
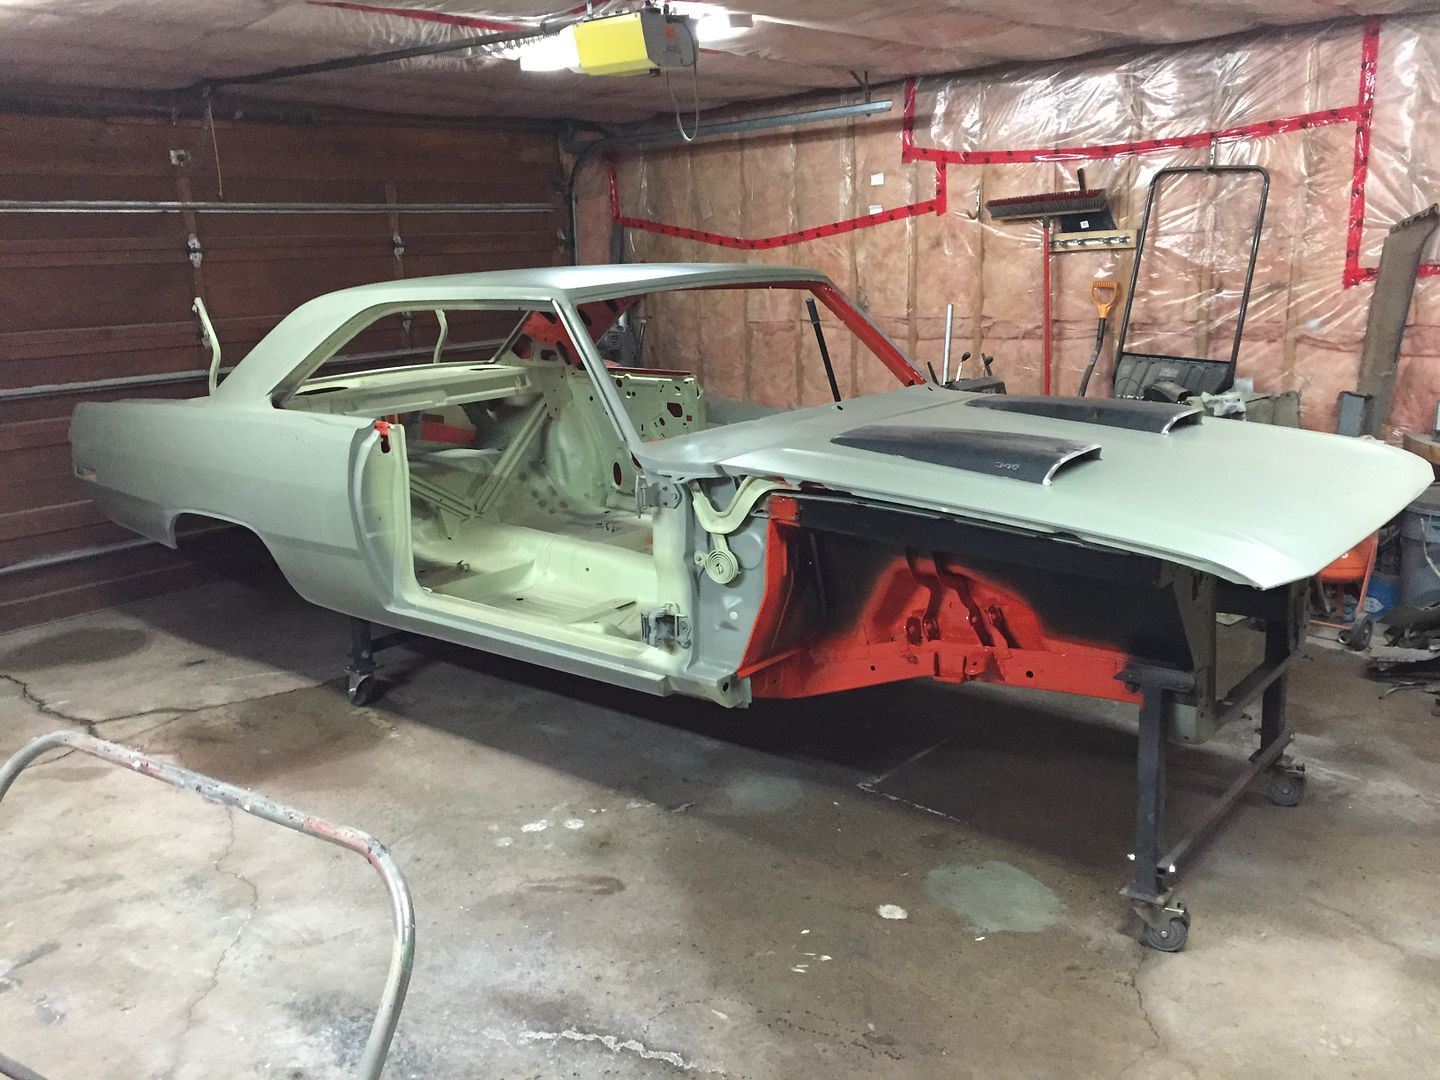
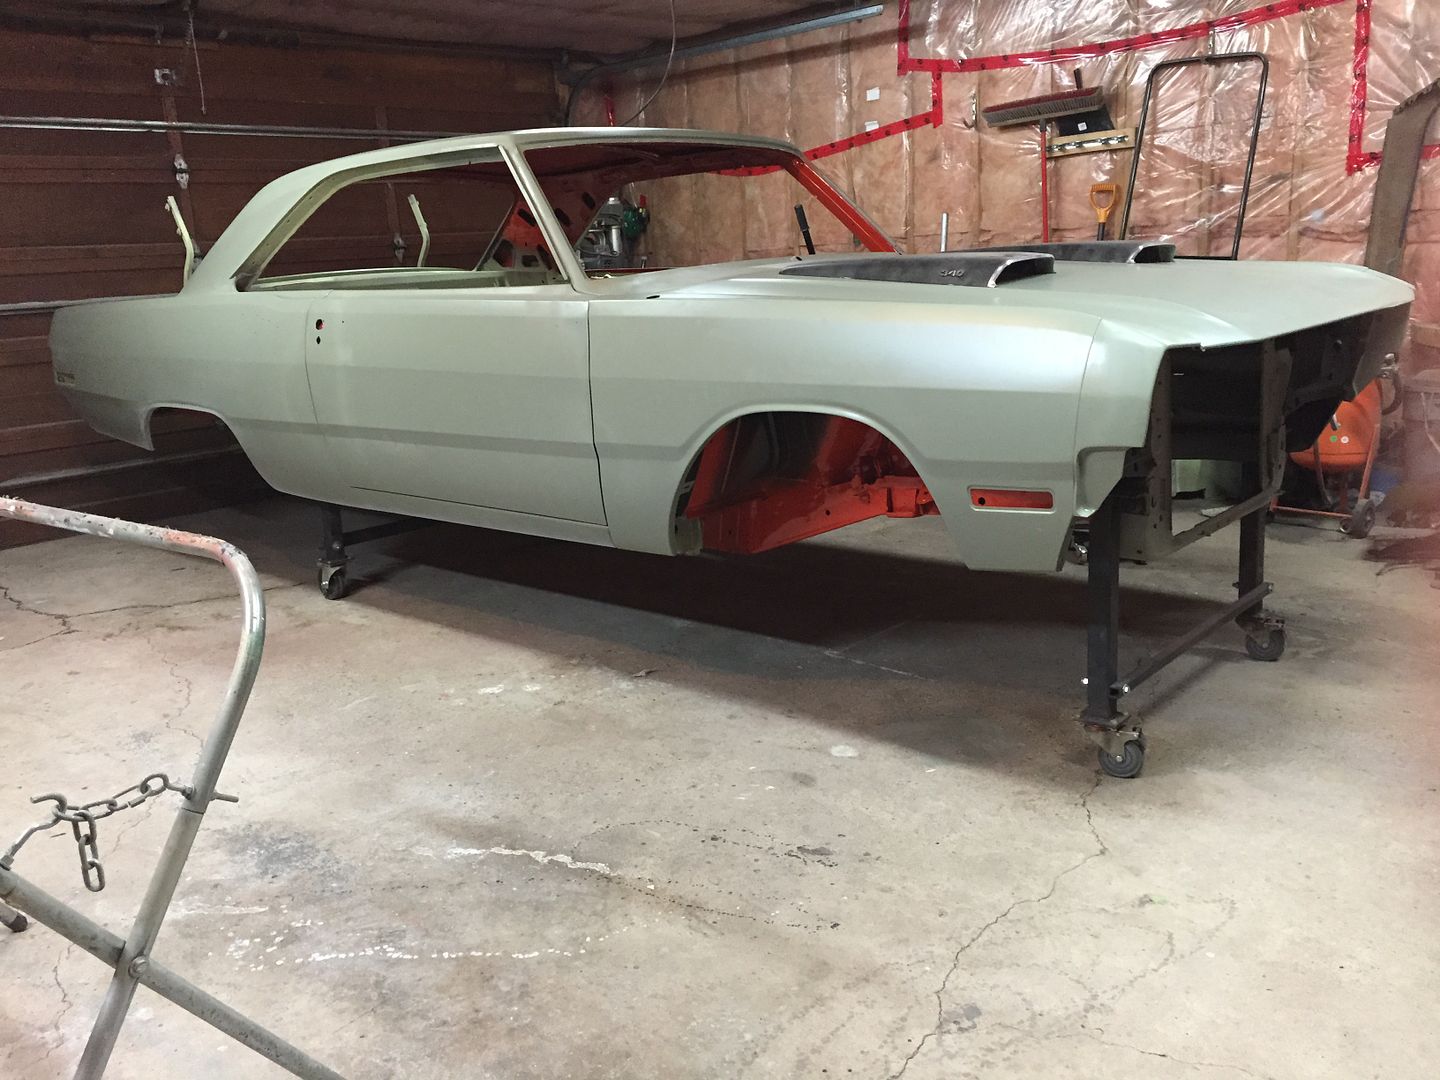
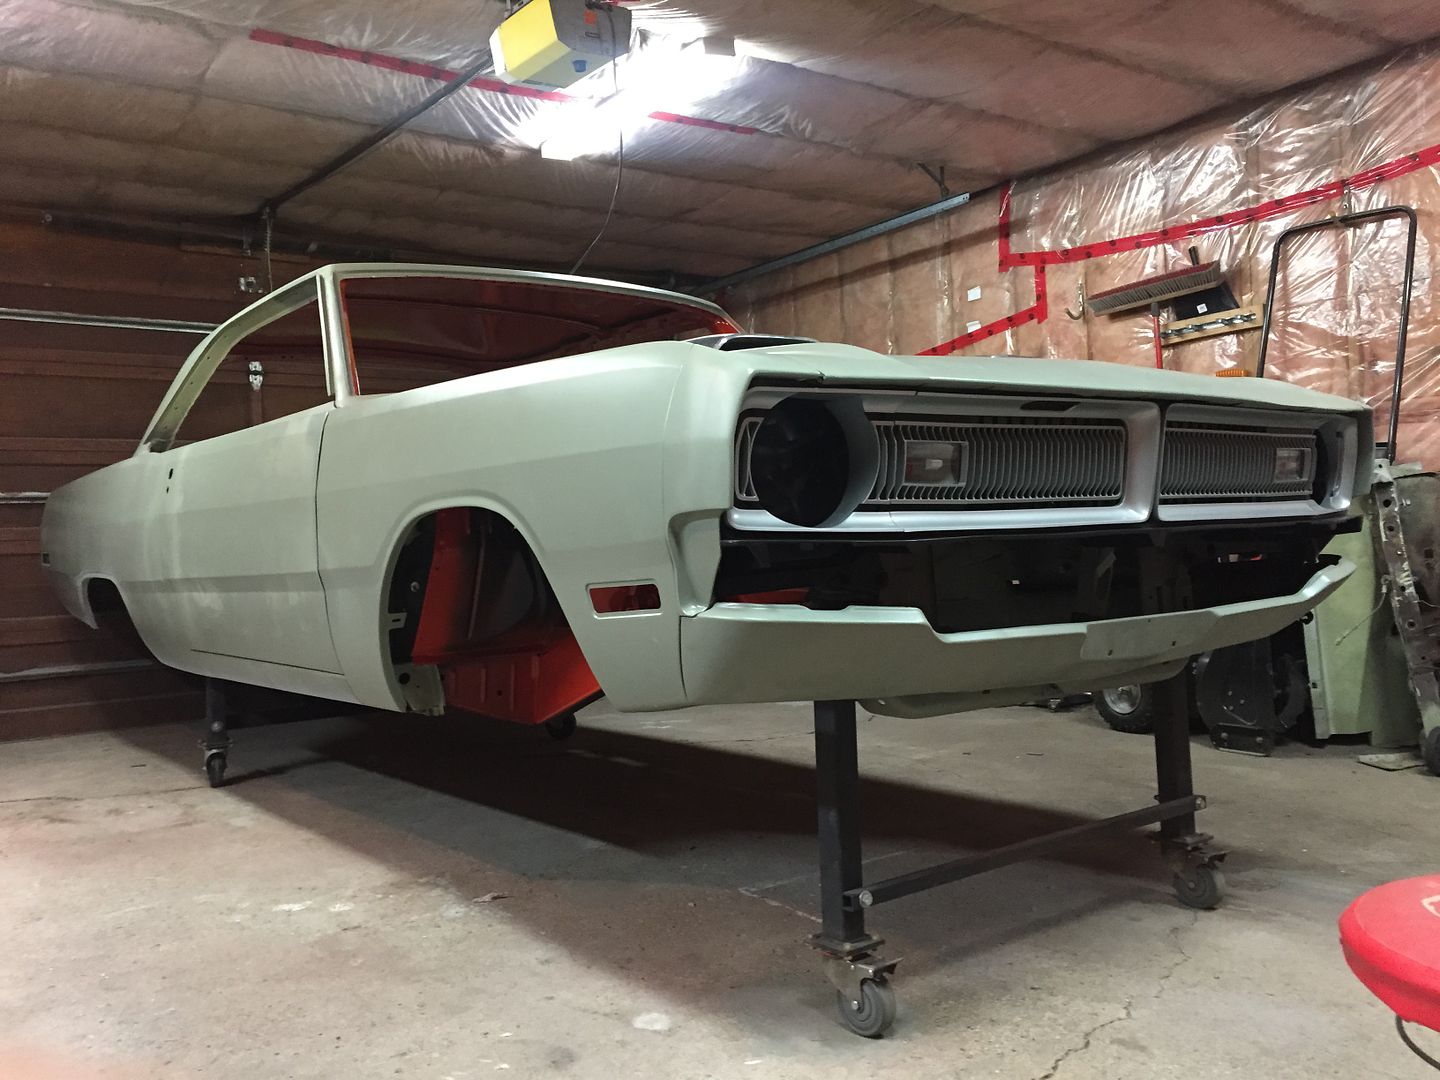
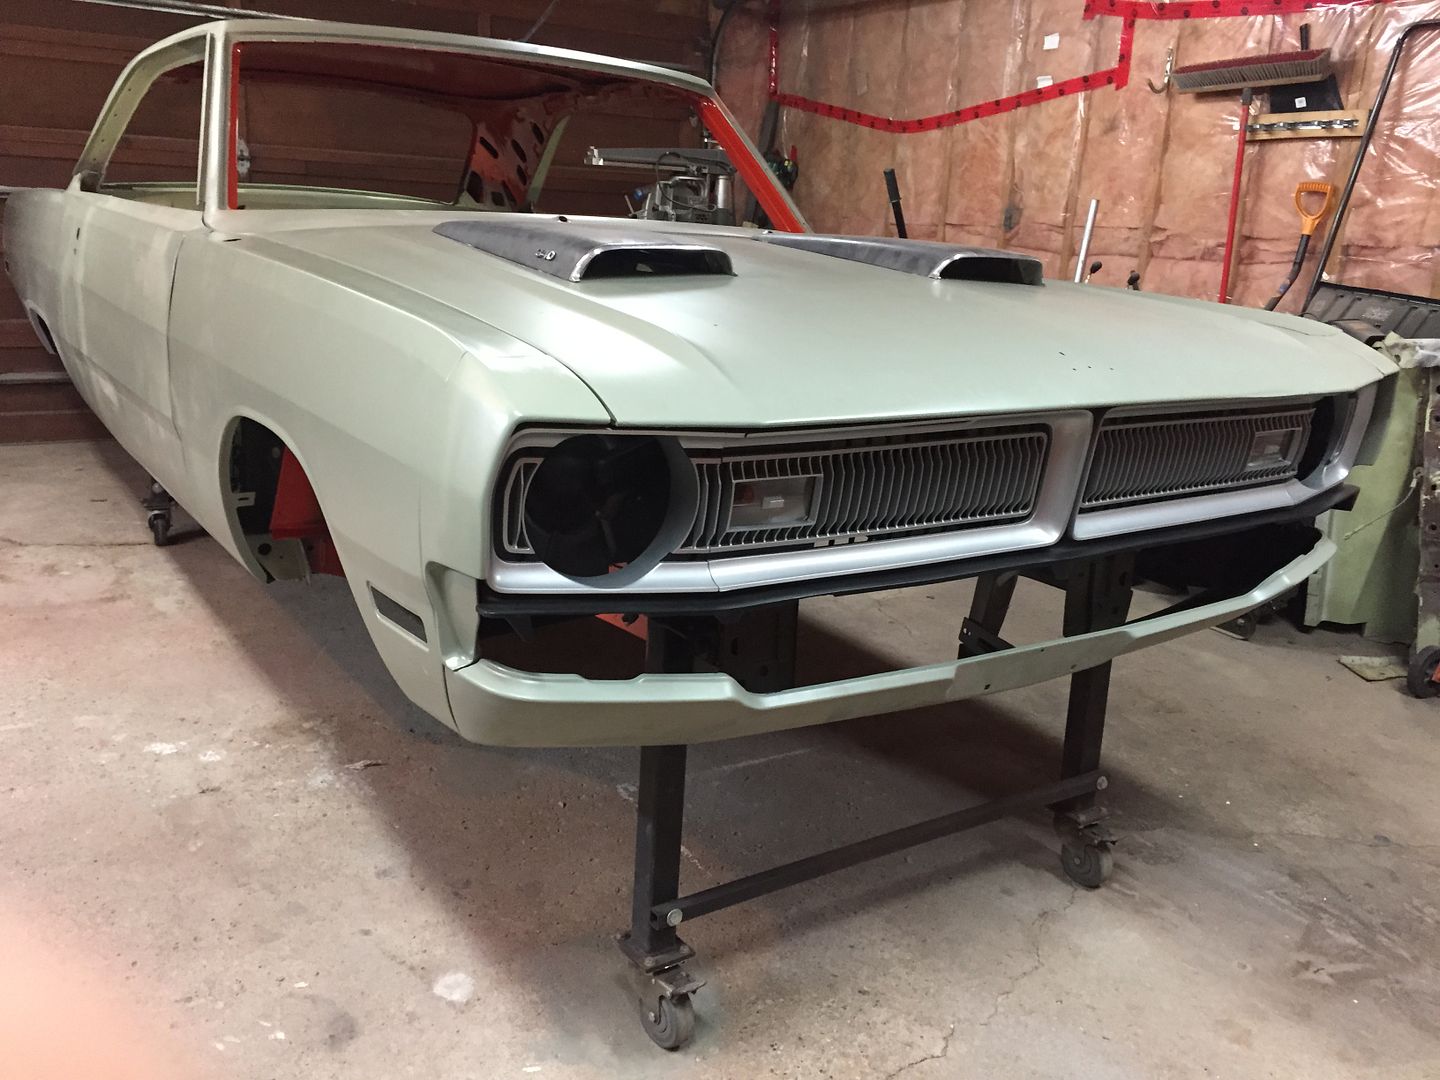
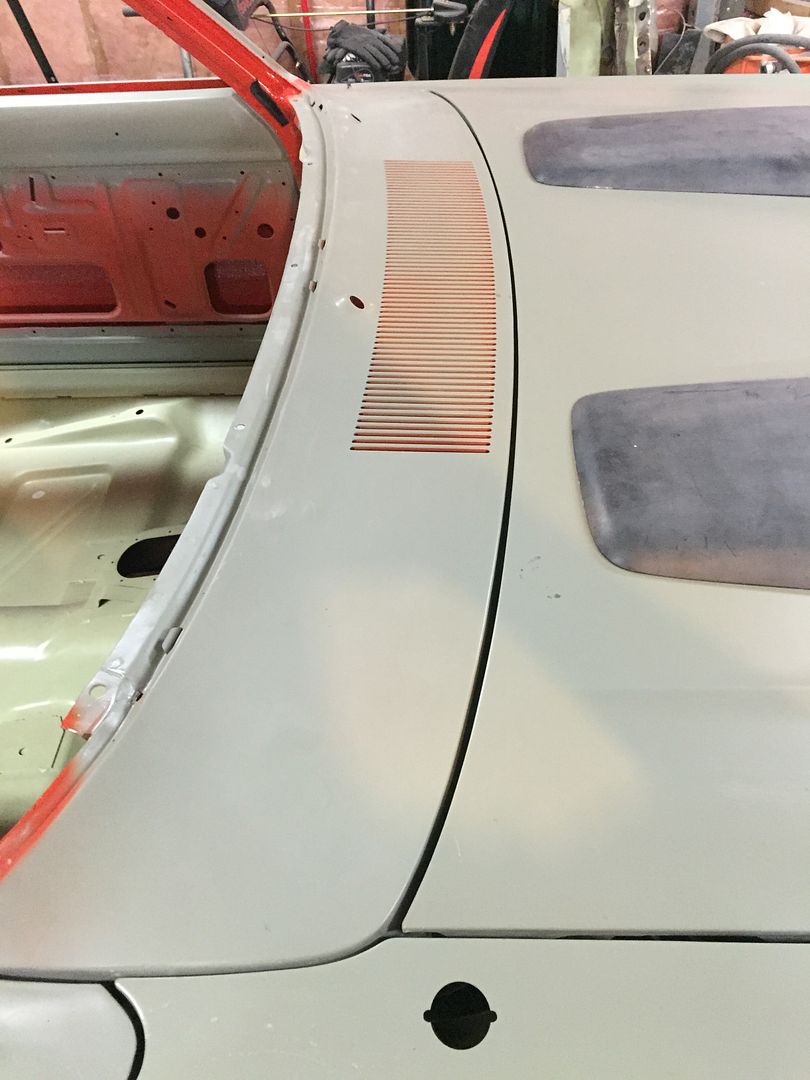
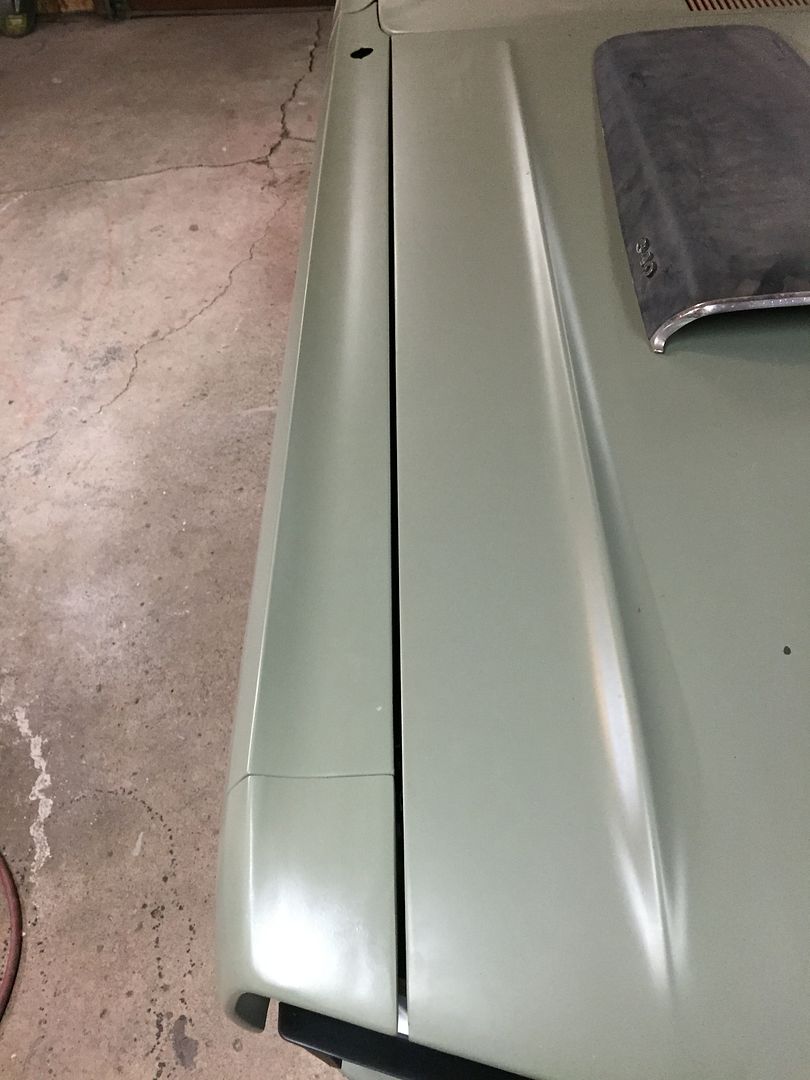
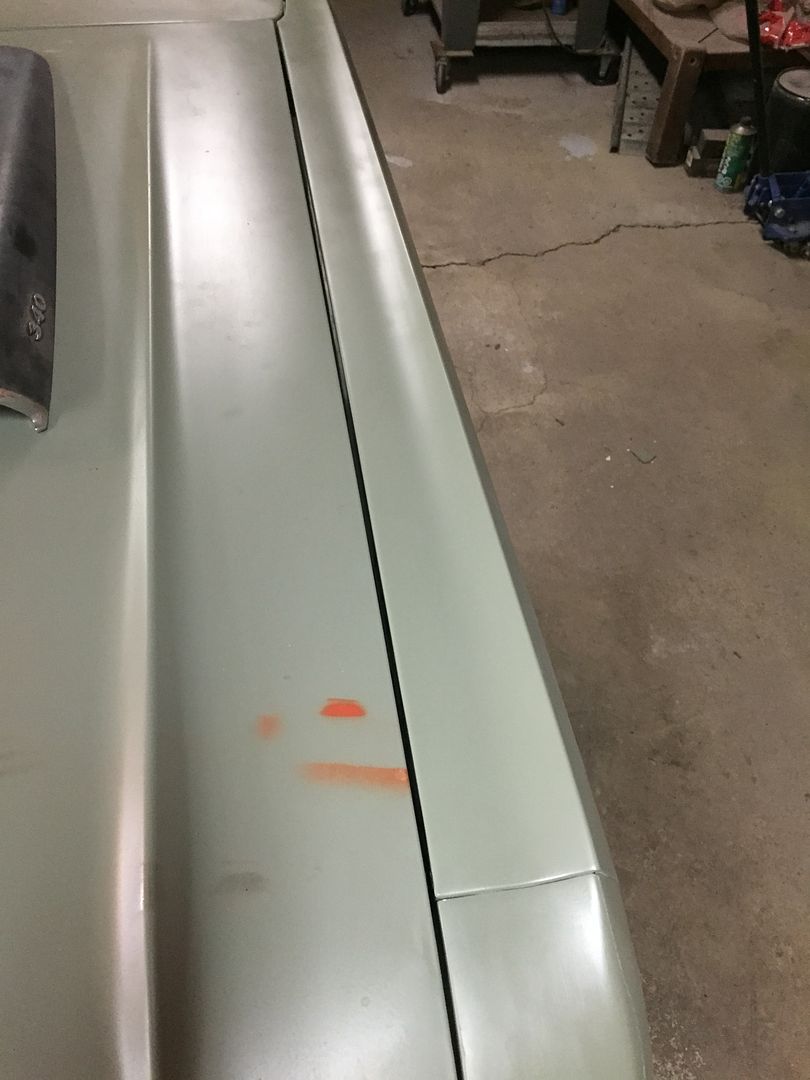
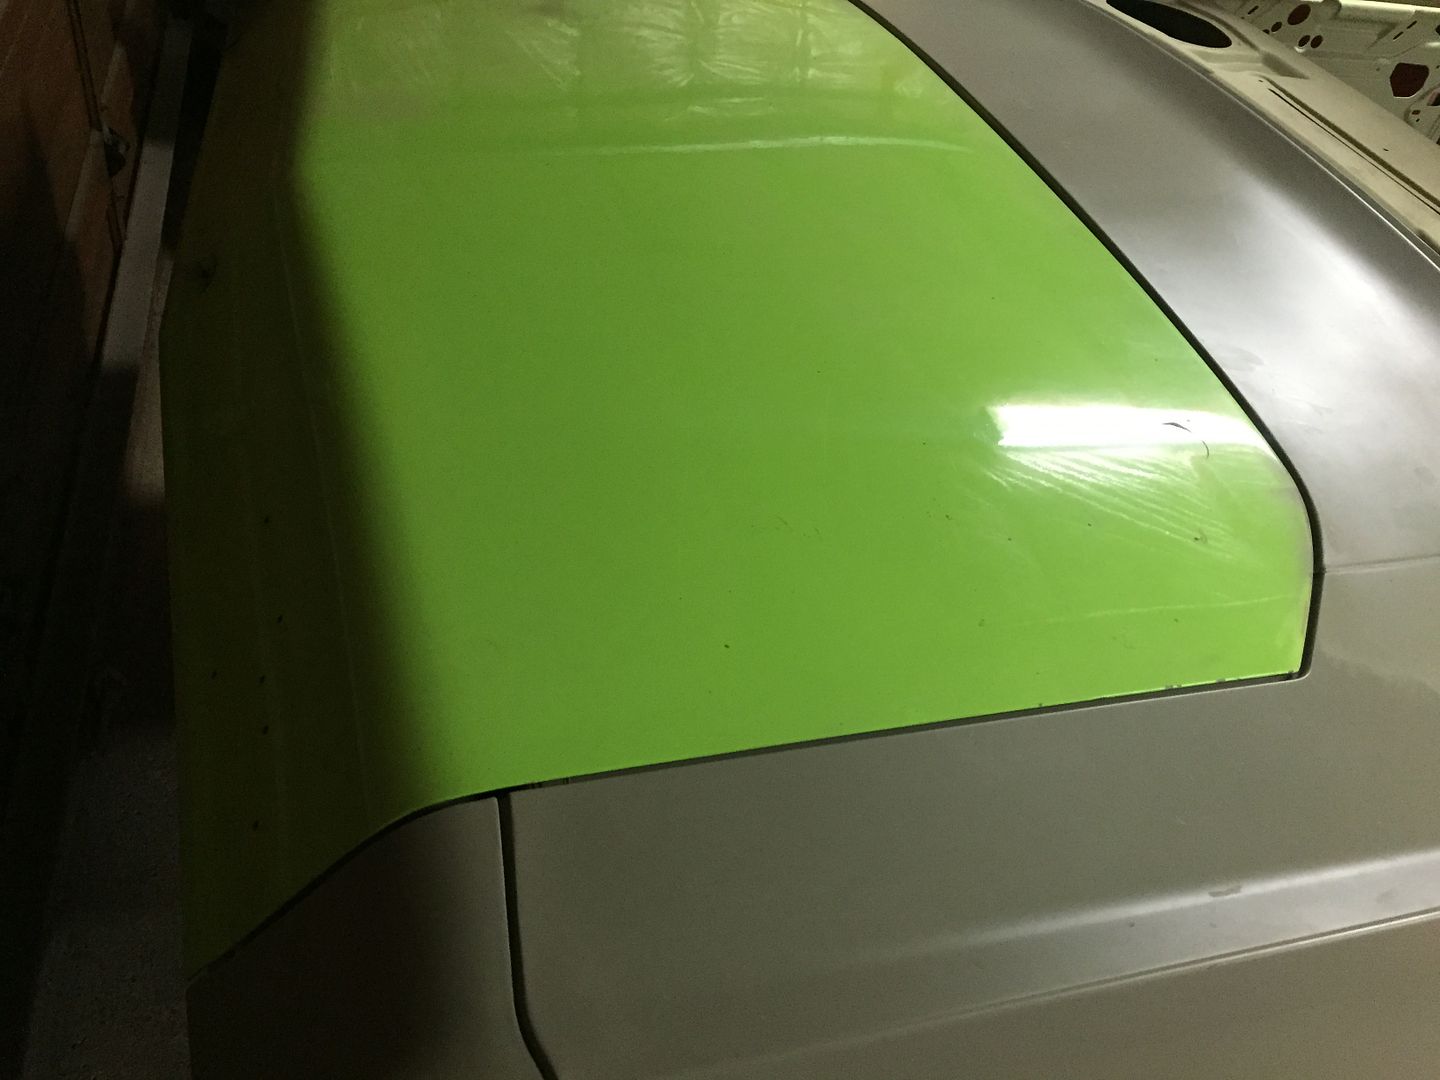
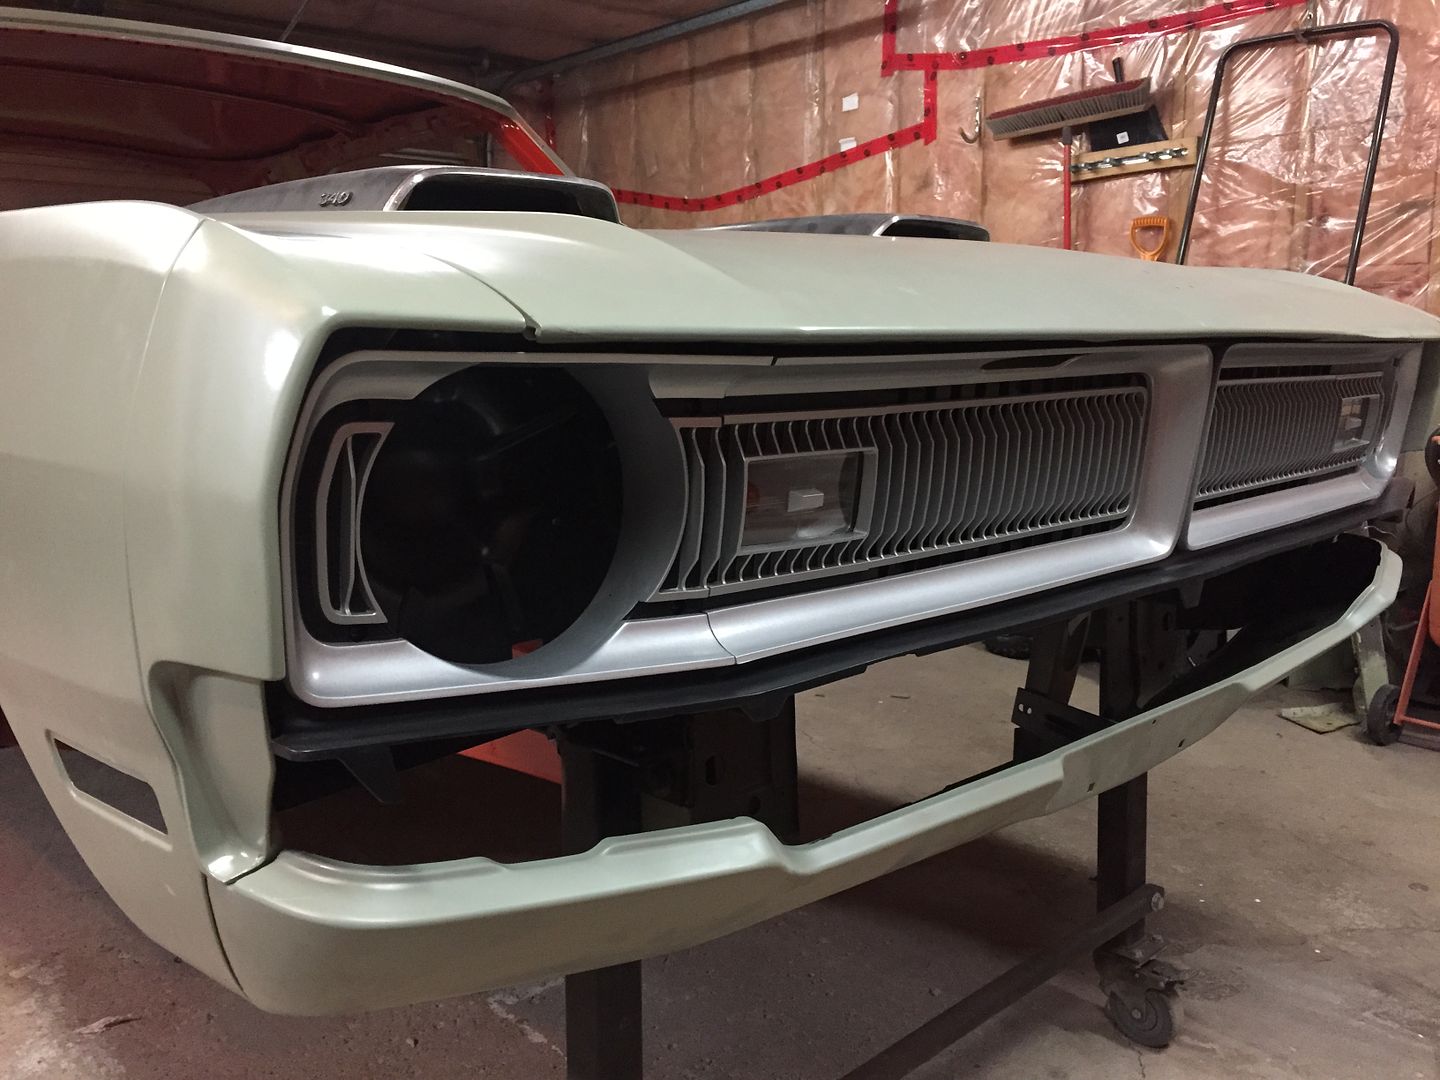
1970 Swinger 340 Hemi Orange 4 speed

-
I personally think a zero balanced and blueprinted warmed over 360 will be a fine candidate for such a meticulously detailed tribute car. A properly machined/matched/assembled/tuned 360 will easily net you over 300rwhp and that's more than enough to have a fun to drive classic car.

Randy, you probably have seen the article, but I wanna say it was in an issue of engine masters a year or so ago where they used Probe flat top pistons in their so-called "budget" 360...they were able to just add welds on the counterweights to zero balance their build...no mallory metal required. I've used Probe slugs before--great quality pieces and inexpensive for what you get.
 
Don't give up on looking for your original engine. I found mine original 340 in Vancouver Canada

Nothing more I can say, Awesome work!
 
I don't agree with a stroker not breathing with stock stuff. F.A.ST. cars runs 11s with a sb. Something to think about.

Thanks for the tip, I'll look into that option! I don't really want anything to extreme, since it'll be mostly on street tires (I'll get some slicks when I go to the track) and I kinda want to go for the completely stock look, and it's really hard to hold back on headers, intake and aluminum heads and I think if I go with the stoker setup I'll cave in and go that route.. Which I don't really wanna do!

This is an insane build! Great work!!

Thanks!!

Been there done that. SWEETTTTTTTTTTT

Wanna come do some more sanding? :p. Thanks!

I personally think a zero balanced and blueprinted warmed over 360 will be a fine candidate for such a meticulously detailed tribute car. A properly machined/matched/assembled/tuned 360 will easily net you over 300rwhp and that's more than enough to have a fun to drive classic car.

Randy, you probably have seen the article, but I wanna say it was in an issue of engine masters a year or so ago where they used Probe flat top pistons in their so-called "budget" 360...they were able to just add welds on the counterweights to zero balance their build...no mallory metal required. I've used Probe slugs before--great quality pieces and inexpensive for what you get.

I think a healthy 360 will be fine for this build too! I'm not straying away from it being an original 340 car at all and when it's done know one will know by looking at it anyways! Unless someone crawls underneath, haha. I'm not straying away from how it came new in anyways.. I wanted to do the v21 hood option and vinyl top on it, but I just can't because my OCD won't let me stray from the build sheet options!

Don't give up on looking for your original engine. I found mine original 340 in Vancouver Canada

Nothing more I can say, Awesome work!

Wow you found your original block all the way up in Canada? That's awesome! I have been looking but I have a fealing that the original motor was blown just by how hard this car was beat on! This car was the candidate for being driven hard and put away wet!

Thanks!

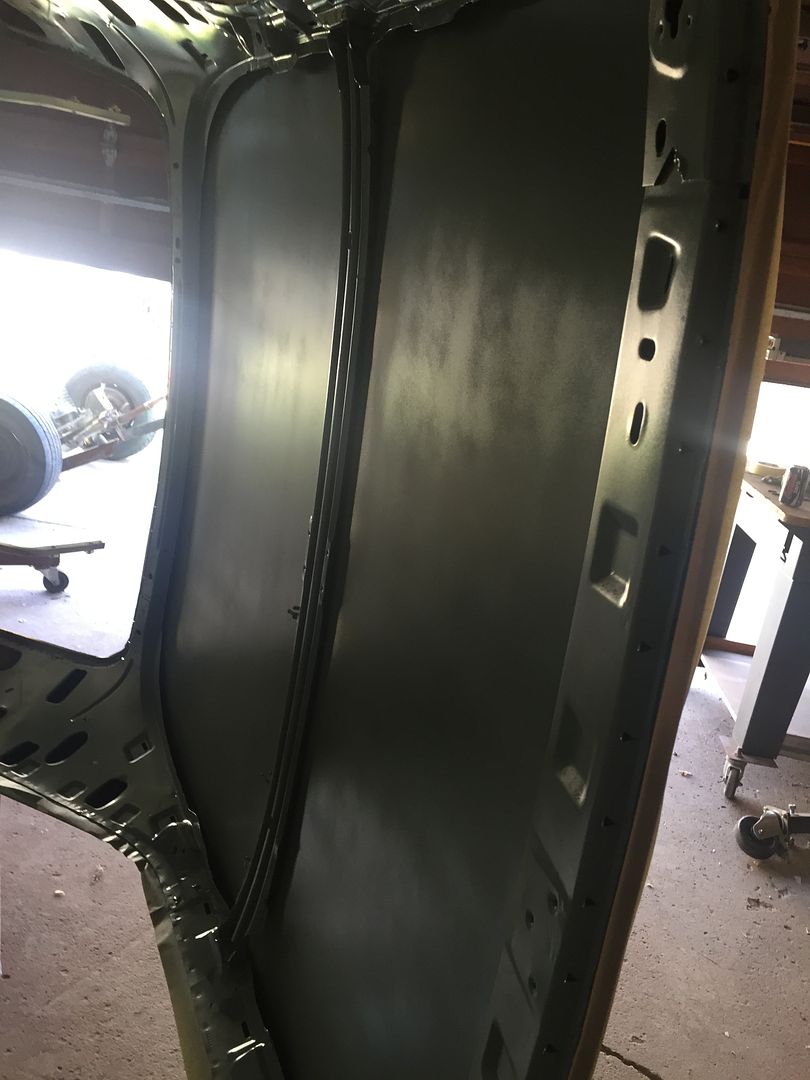
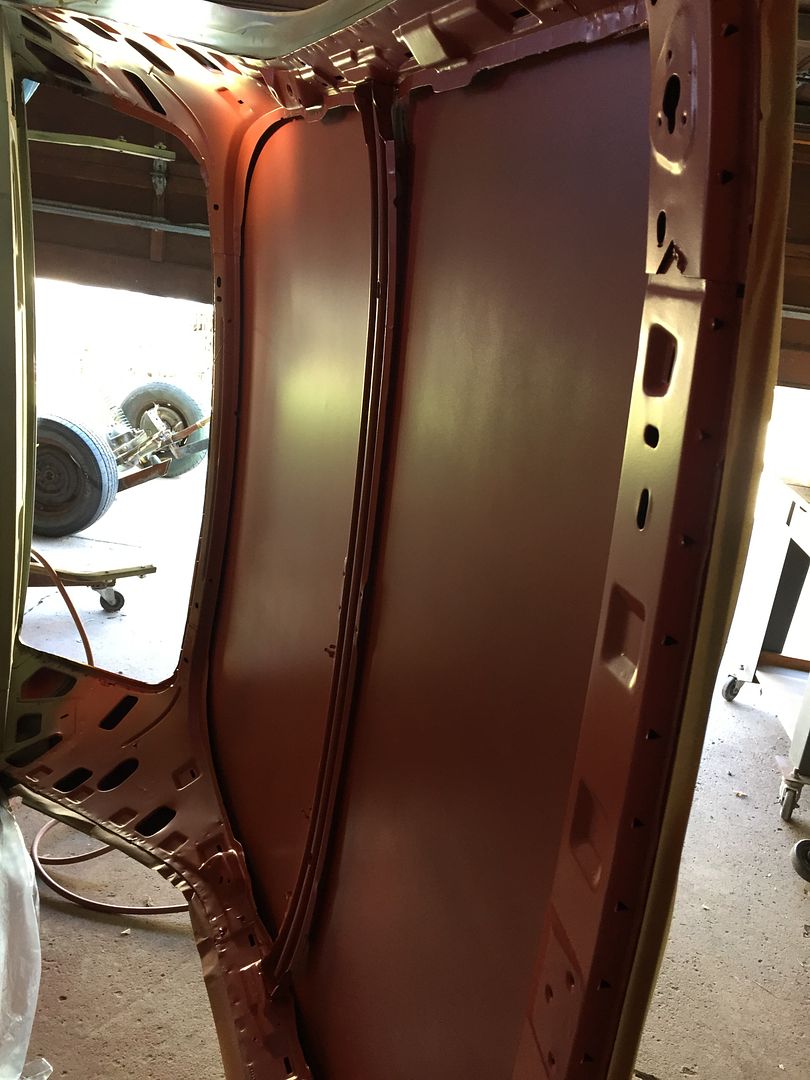
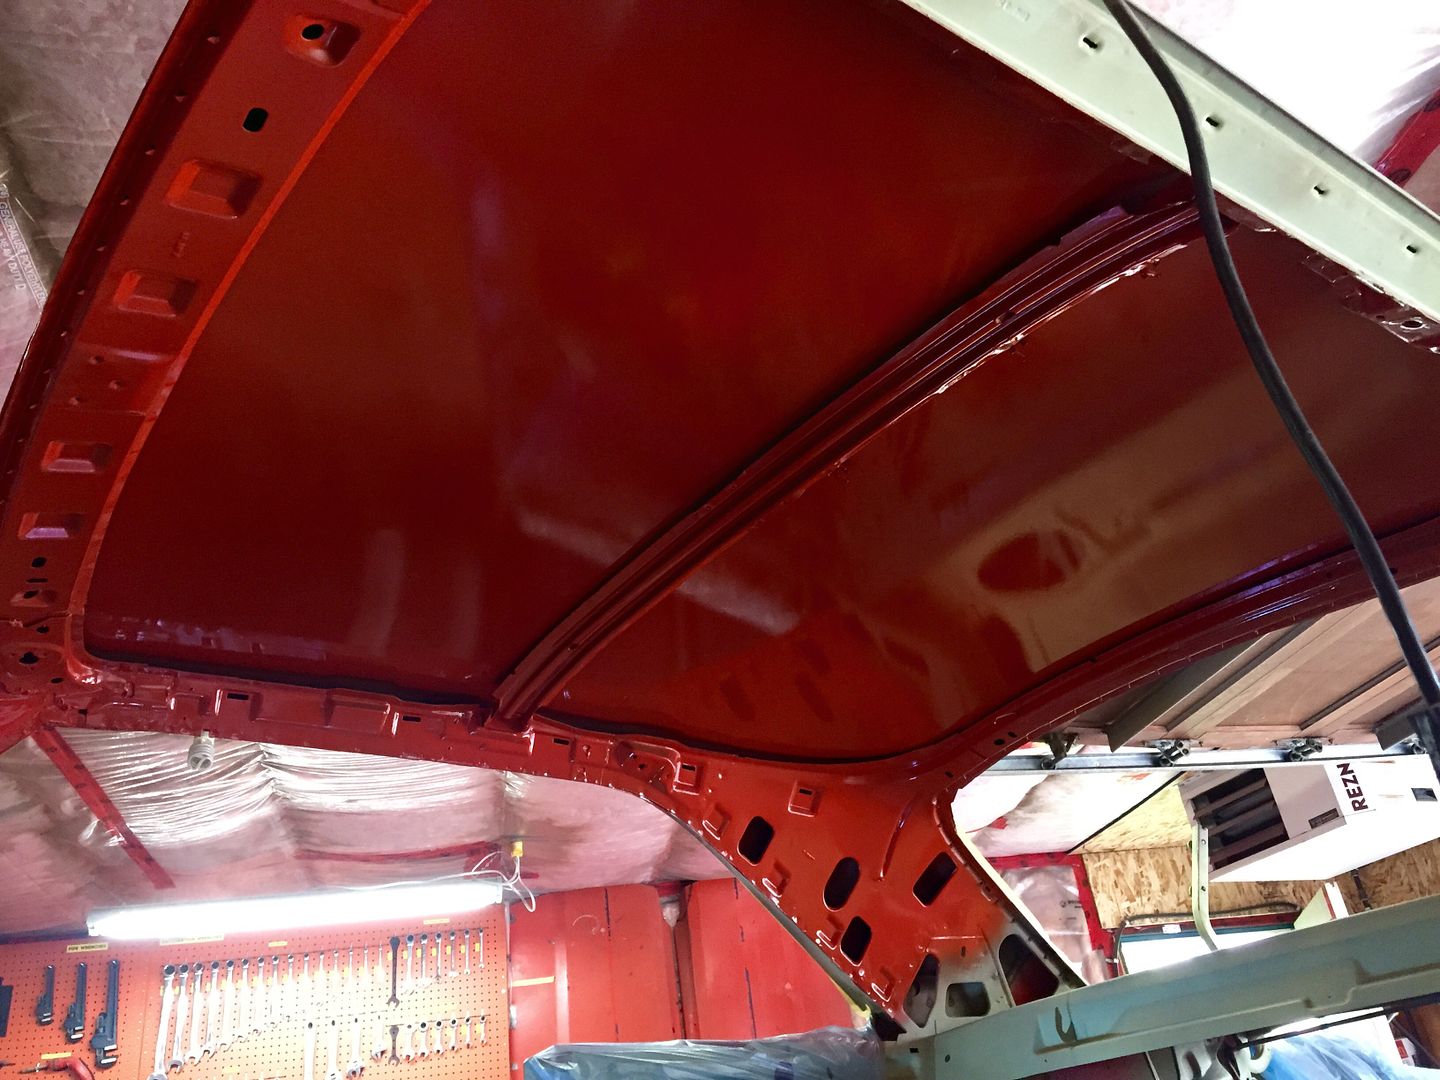
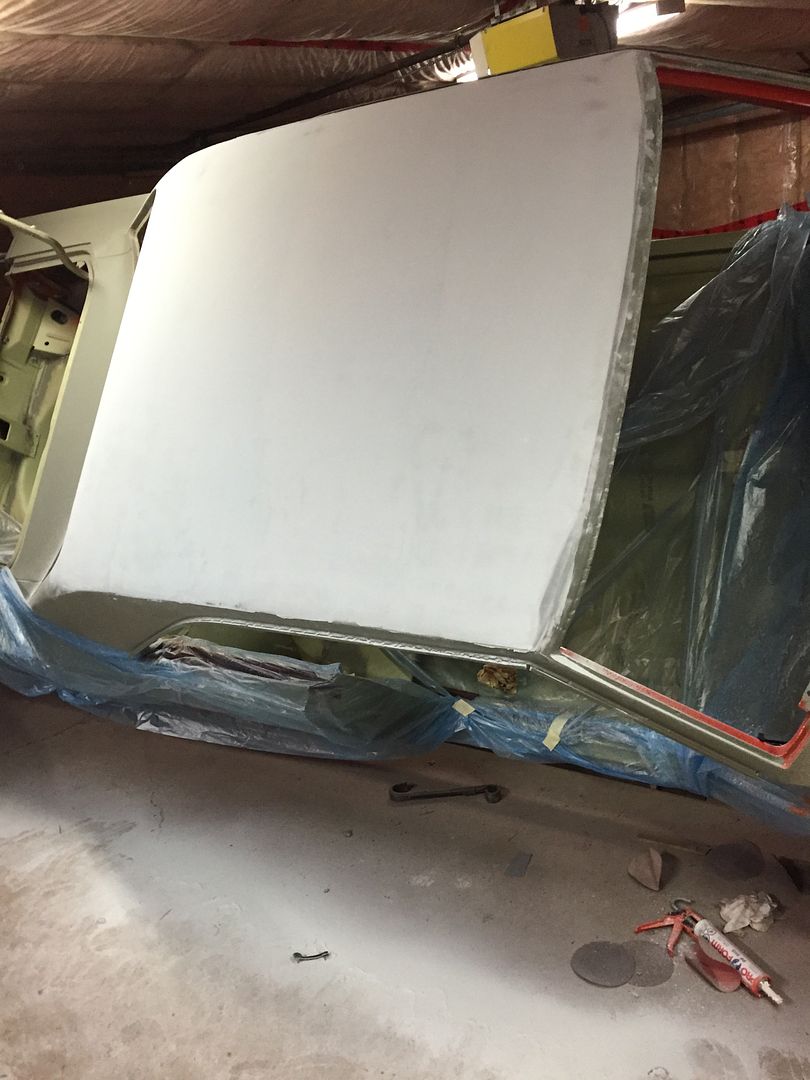
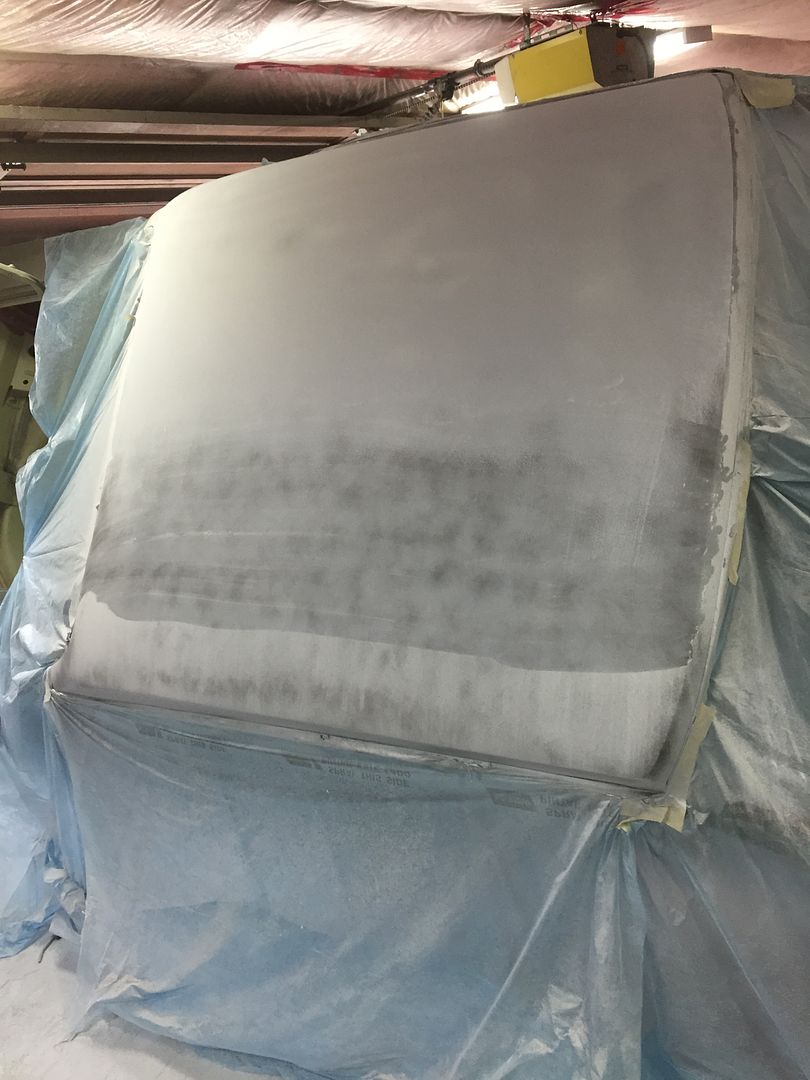
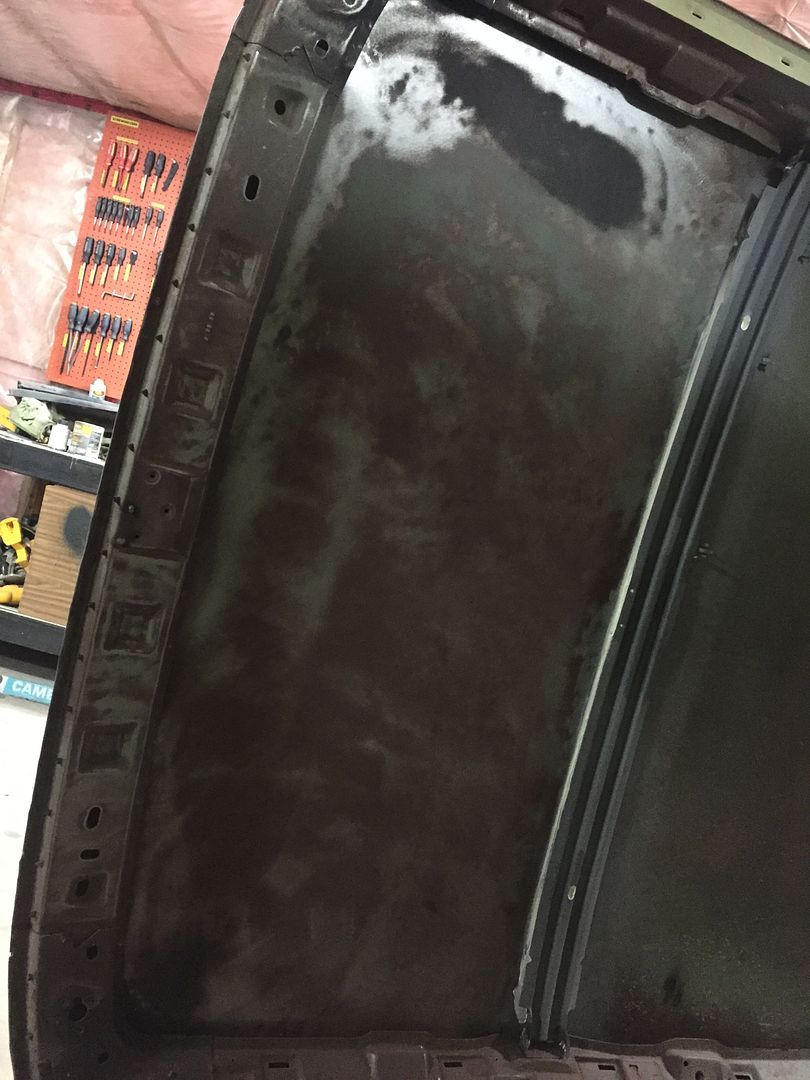
I started sanding bottom of the roof and what a pain! Nothing will touch the factory glue except for 80grit on the orbital! Tomorrow I'll finish sanding it and spray it with epoxy and then some Hemi Orange BC/CC. Then during the week I'll work on blocking the roof out and then hit it with polyester slick sand (spray on putty) and then block it out again and epoxy it and then put the glasurit high build eutothane primer on so the roof will be done.. Just taking advantage of the rotissorie before it comes off next week. I also seam sealed the cross brace now that the roof is straight.

It's amazing the bottom of the roof has no rust at all..
 
Epoxied


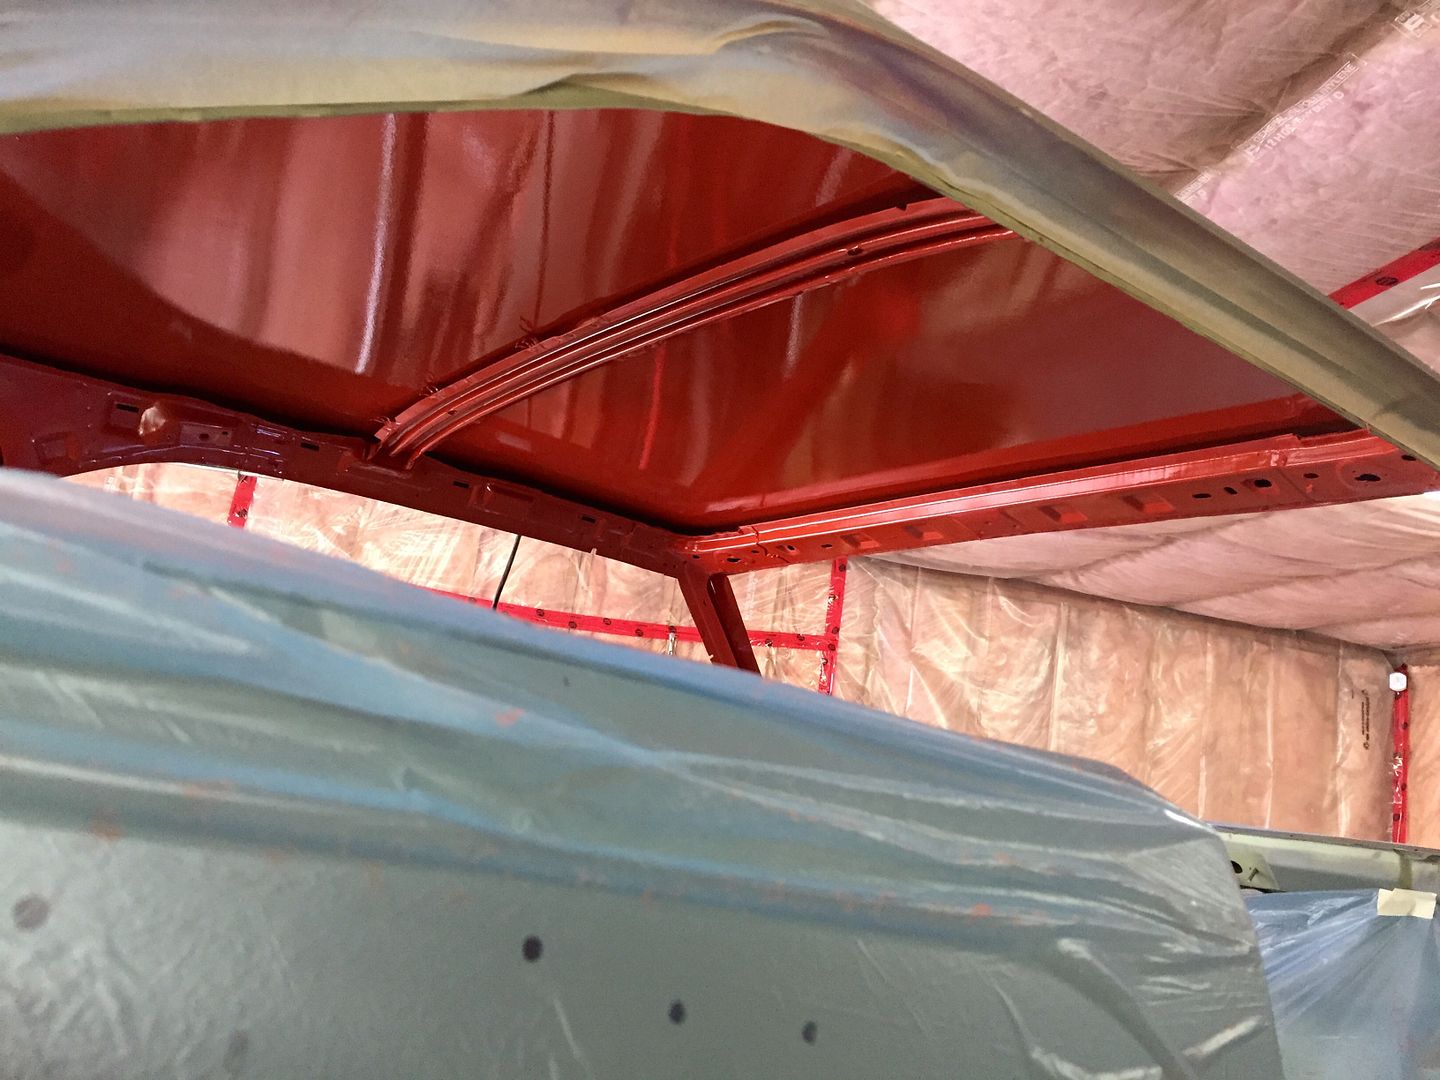
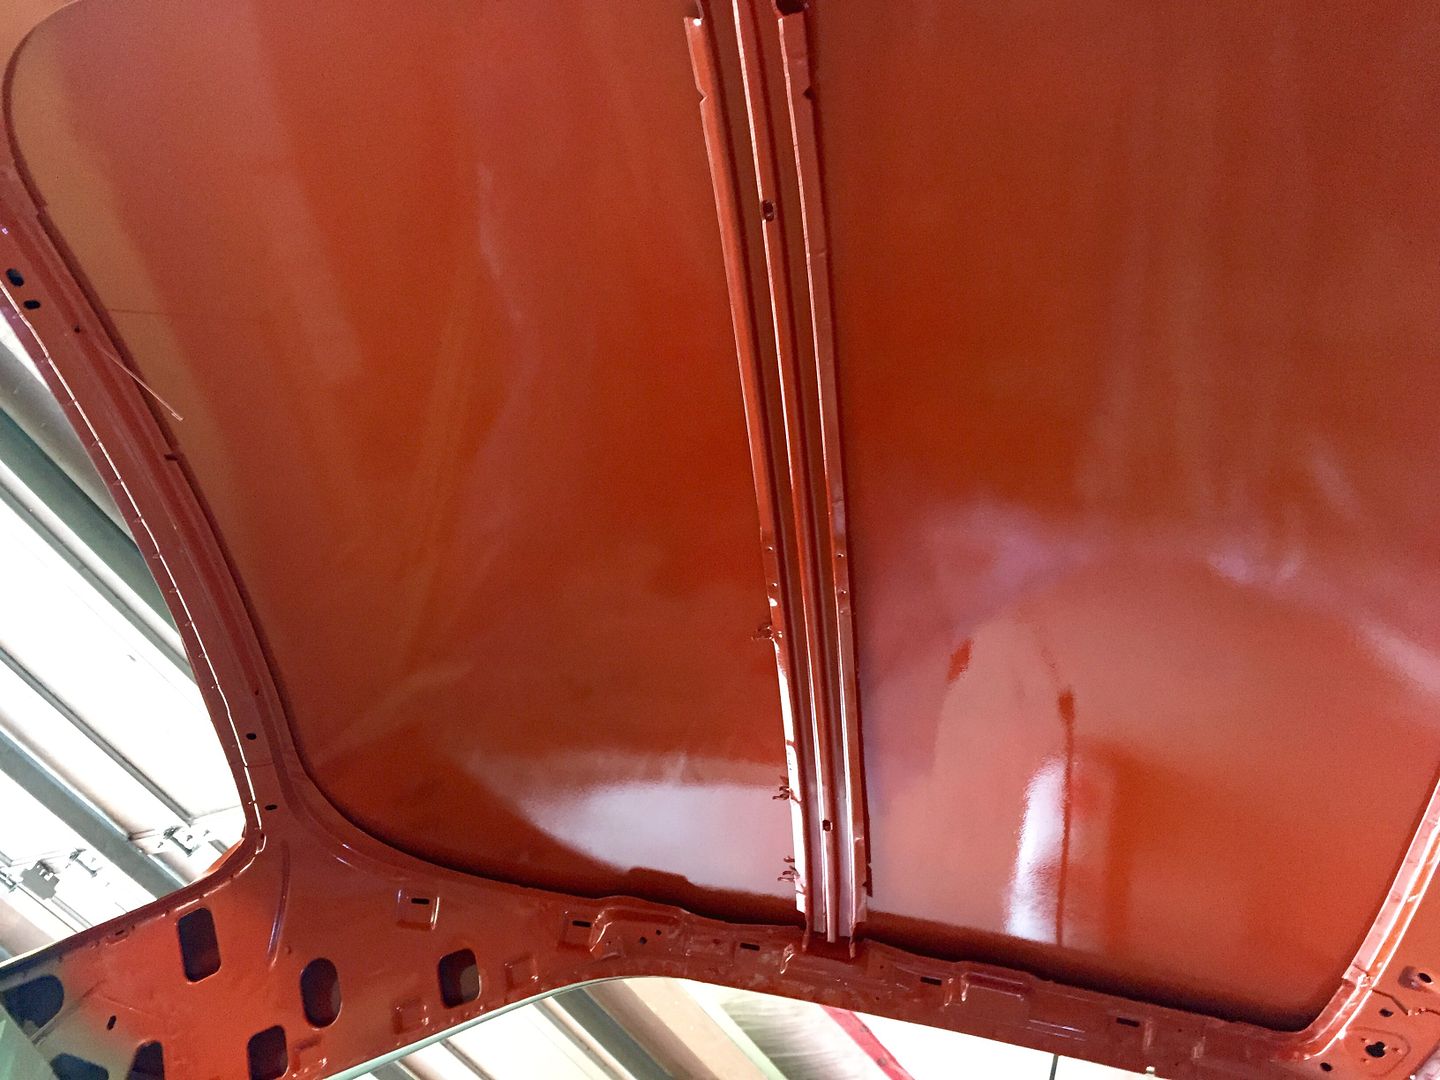
Two coats of base


Two coats of clear.. Good enough for the roof! It was 32* in the garage and the clear was drying almost as fast as it went on.. It's tricky painting in the heat! I'm also using a cheaper line of clear on the interior panels since they will never see the elements.. It's a waste using my good clear on panels what will never be seen/be in the elements!


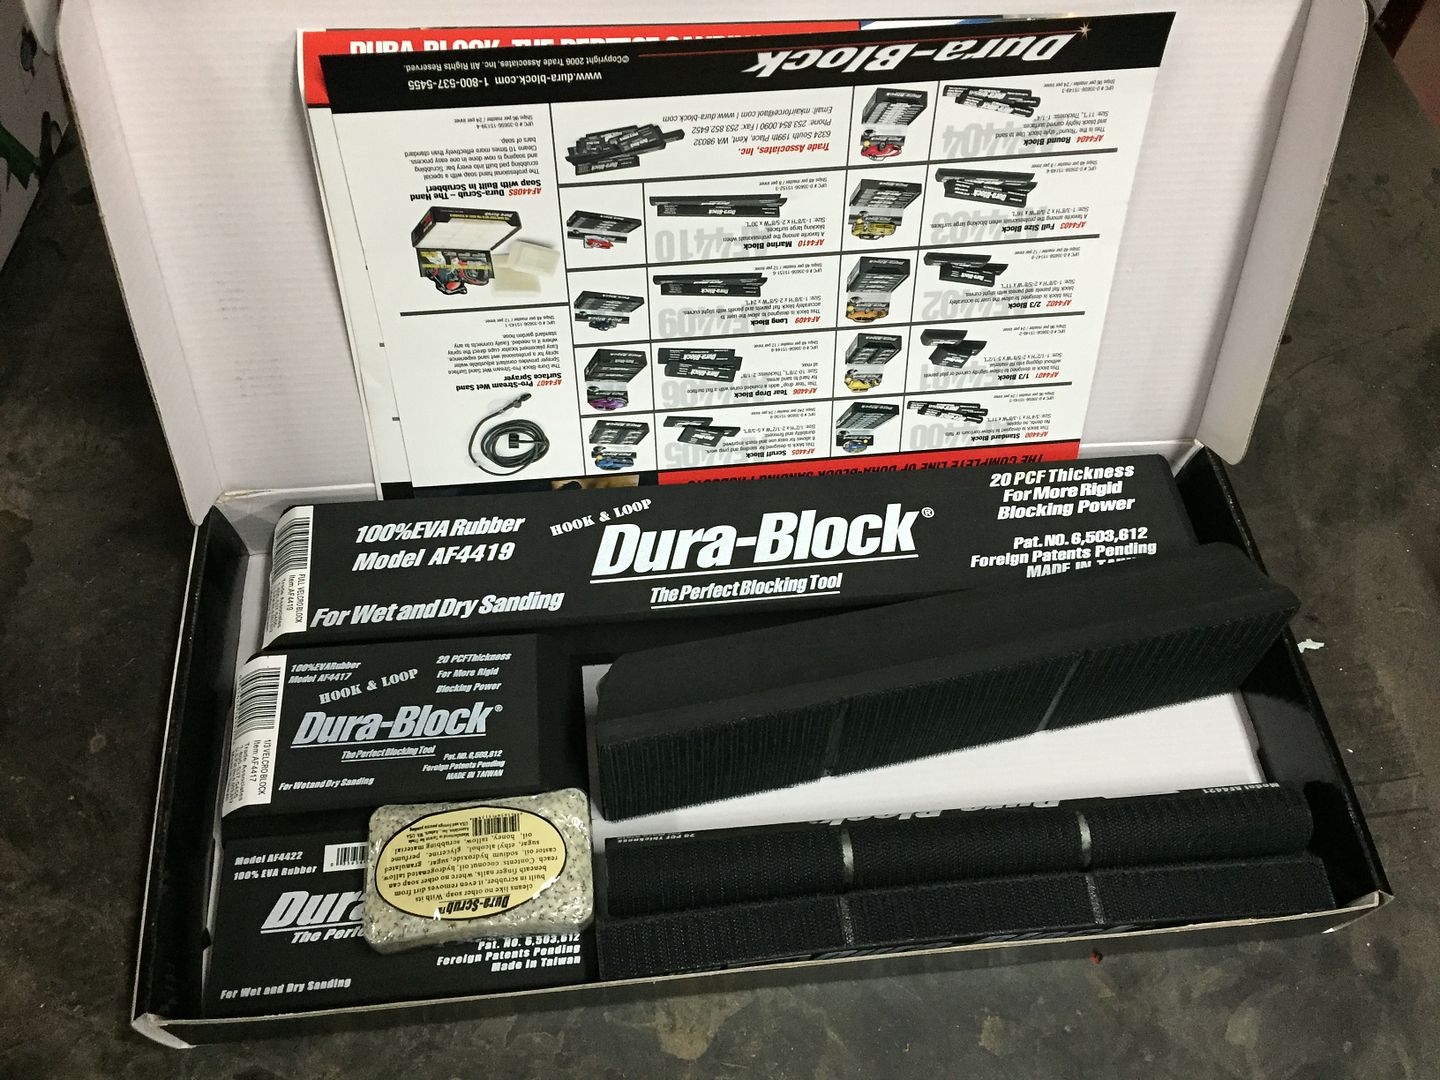
I invested in a nice set of sanding blocks.. A Dura-block hook and loop kit. I might get the 30" one especially when it comes time to block the sides of the car since the car has no curves to it!


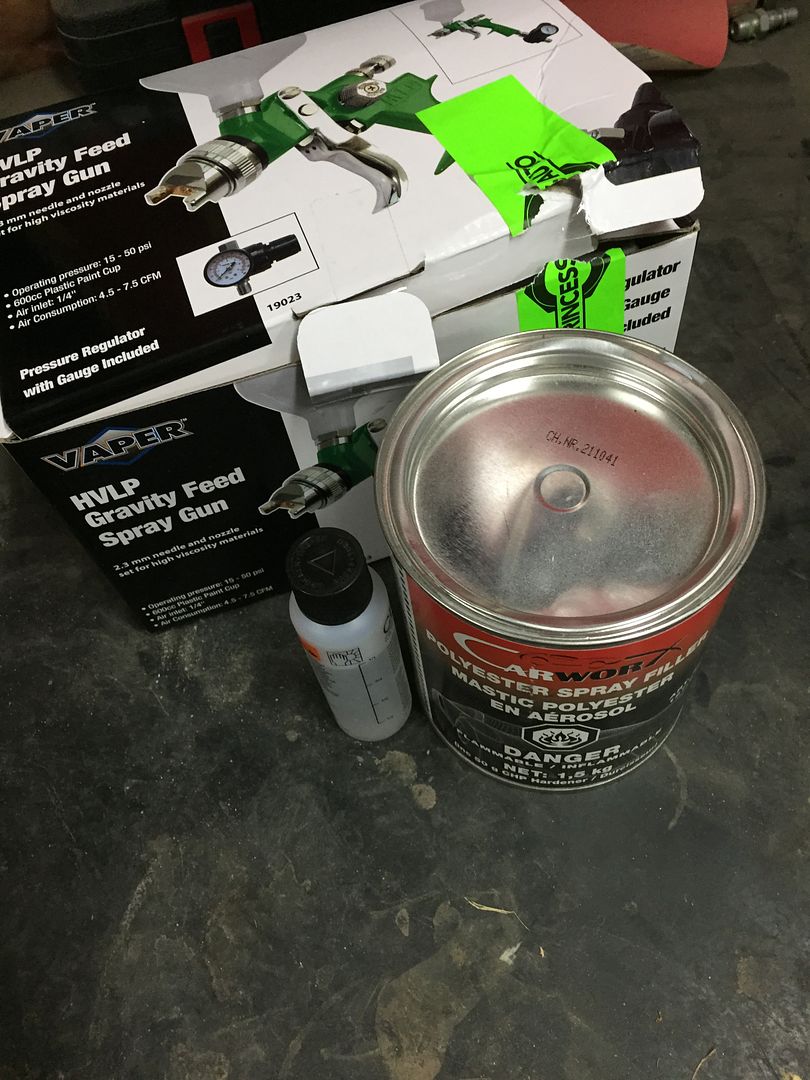
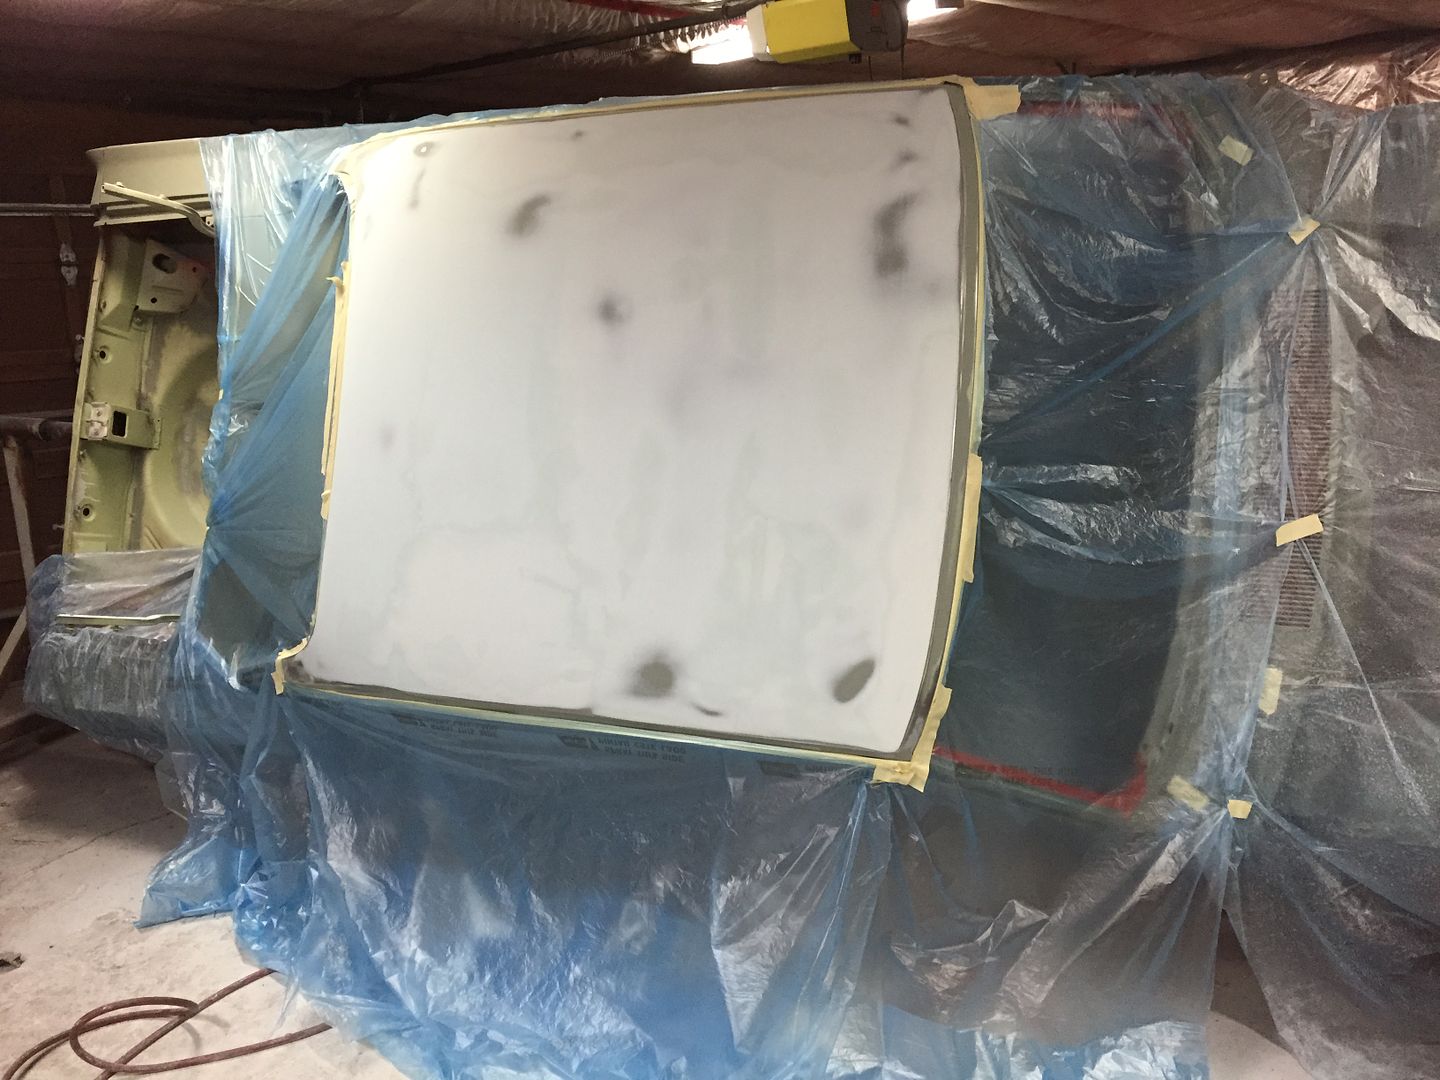
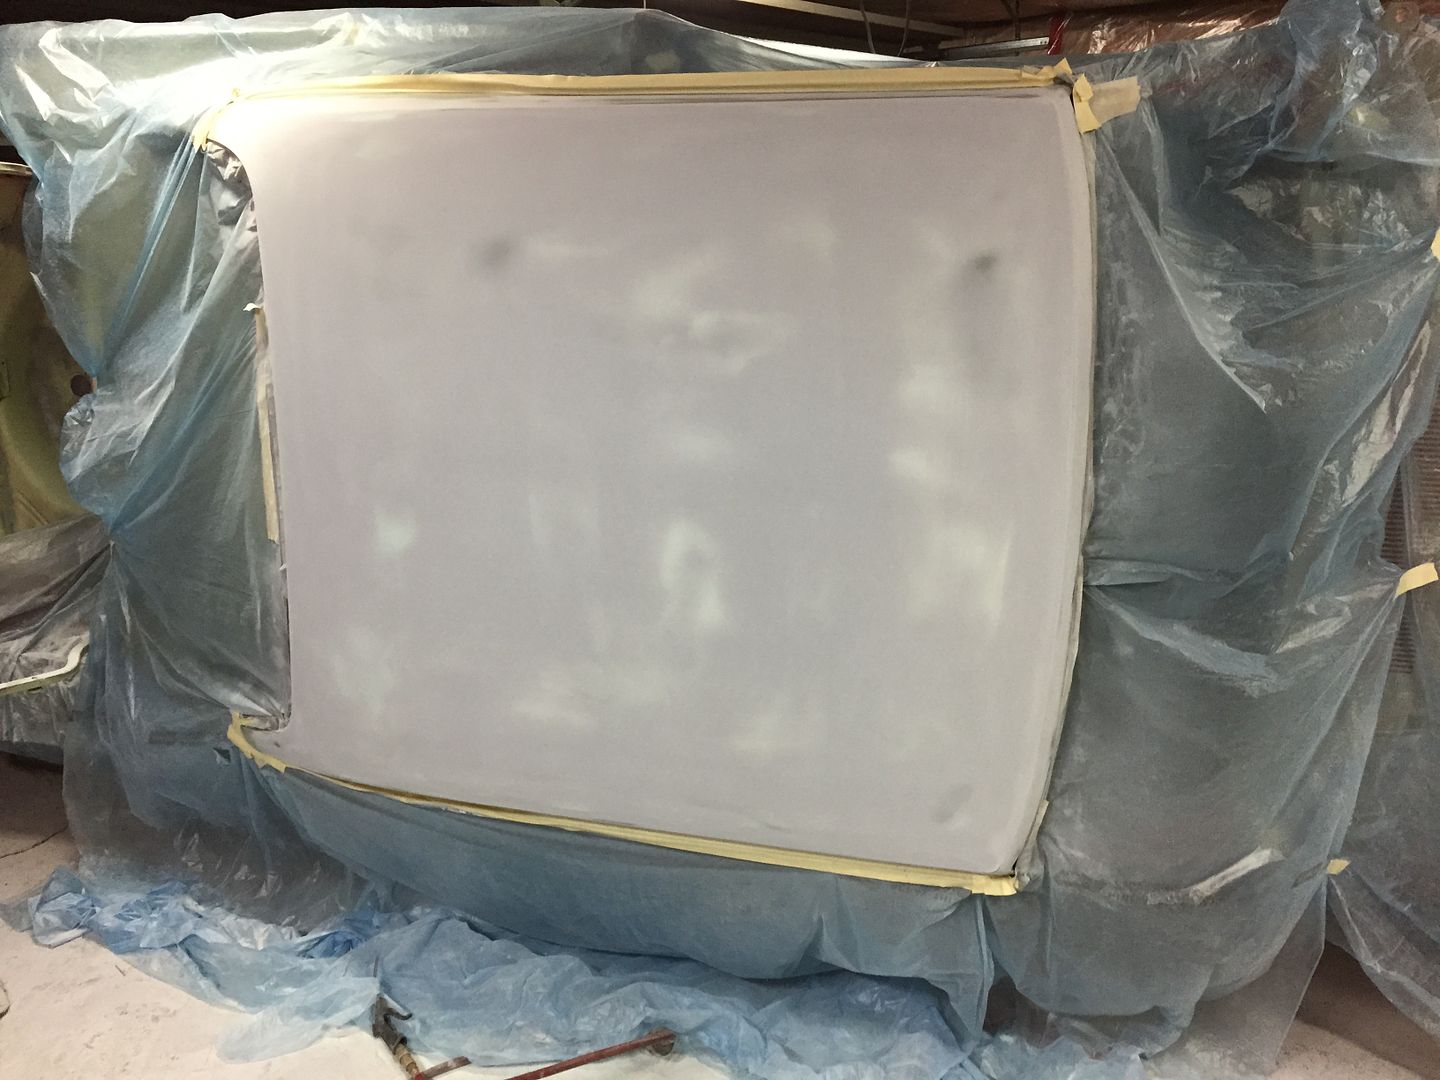
I also picked up some spray on filler for the roof to help with blocking it straight.. Polyester doesn't shrink at all unlike high build primer so it's a good foundation to put over filler work.

I also picked up a cheap 2.3mm spray gun to apply it since my 1.8mm gun won't spray it.. The bigger tip for my gun was $100 so I just went to princess auto and picked up a cheap $40 gun for doing the spray on filler.. The whole car will get at least one coat of it, so it's good to have the gun.


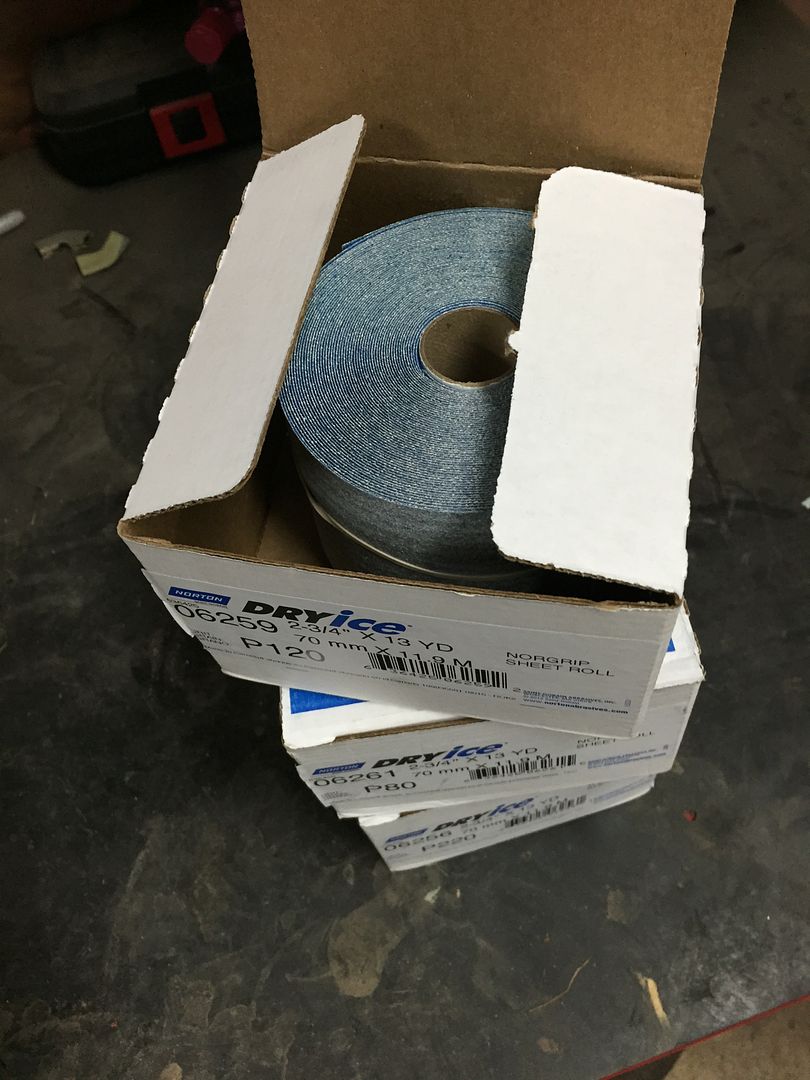
Hook and loop paper.. Have I said before how pricey materials are??


Started blocking the roof out with 80grit, tomorrow I'll continue on and hopefully get it sprayed with the spray on filler.
 
Looking good Randy! Thanks for all the updates. Sure looks handy having it on the rotessire for this part of the job!

Thanks! Yeah I figured finishing the roof while it's on the rotisserie would really help with blocking the roof straight and it has, because I can move in in positions that allow me to block across the whole roof. I spent another three hours today blocking and had to apply a little more filler in trouble spots and now I've got it almost perfect! Tomorrow I'll spend another couple hours on it and then go over it with 120 and then quickly in 180 on the orbital to knock down the 80grit scratches and then I'll apply the polyester spray on filler and block it again. Then I'll do one more coat and block once more in 220 grit. Then it's epoxy and my glasurit eutothane primer and it should be ready for paint on the roof when time comes. I can't believe some idiot jumped all over this car, it's not like I had enough work replacing rusted panels!
 
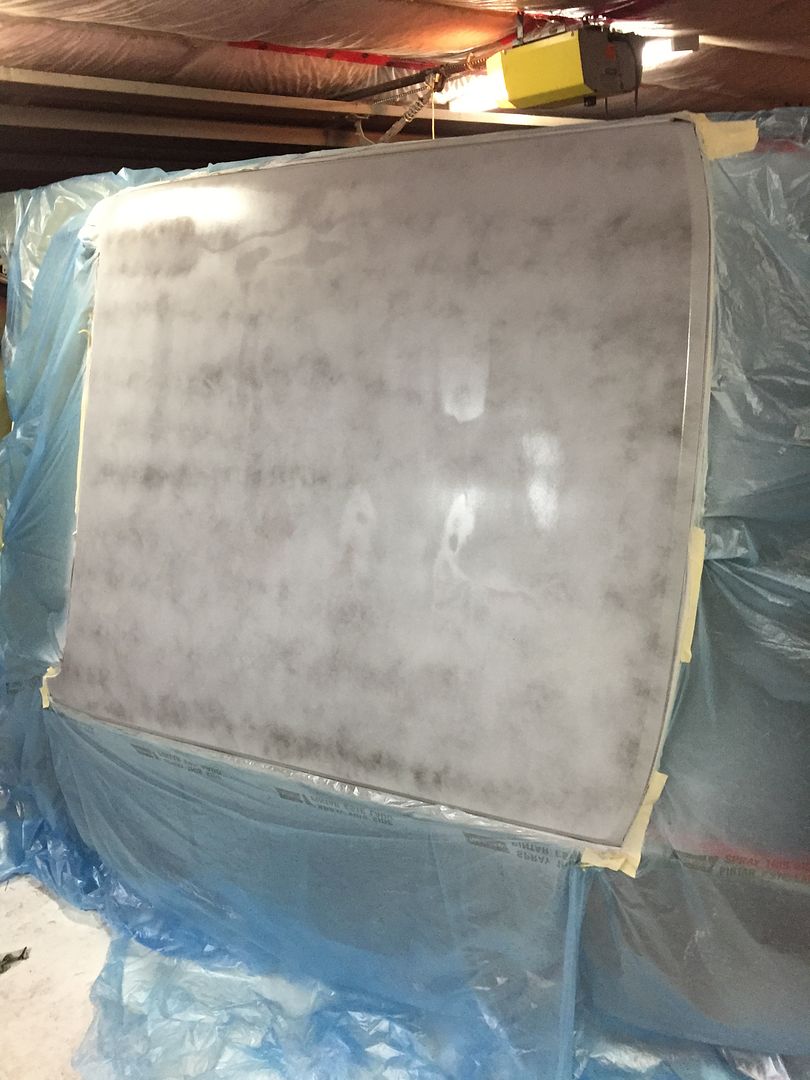
That was a lot of blocking! Finished out in 220 and I put on one nice thick coat of polyester spray on filler and added guide coat.. Tomorrow I'll block it out in 220 and see how it looks.. I'll probably apply one more coat of the polyester just to make sure it's perfect before primer.


That polyester goes on thick!! My 2.3mm gun barely put it on.
 
Dura-blocks are where it's at! That 30 inch is a must have, I labeled mine "the truth" because using it you will know if your panel is straight.
 
Yes body supplies are pricey. I spent $100s just to do a quick single stage paint on my Dart. Plus a month of late nights and weekends.

I couldn't imagine all this time you have into this build. But maybe someday if I'm lucky I will.
 
Dura-blocks are where it's at! That 30 inch is a must have, I labeled mine "the truth" because using it you will know if your panel is straight.

I will order one! It's nice have almost everyone they offer, since they all serve there own purpose when blocking a car out.. This 7pc set was a good start and the hook and loop ones are awesome!

Yes body supplies are pricey. I spent $100s just to do a quick single stage paint on my Dart. Plus a month of late nights and weekends.

I couldn't imagine all this time you have into this build. But maybe someday if I'm lucky I will.

Yeah and people wonder why getting there car painted costs so much!

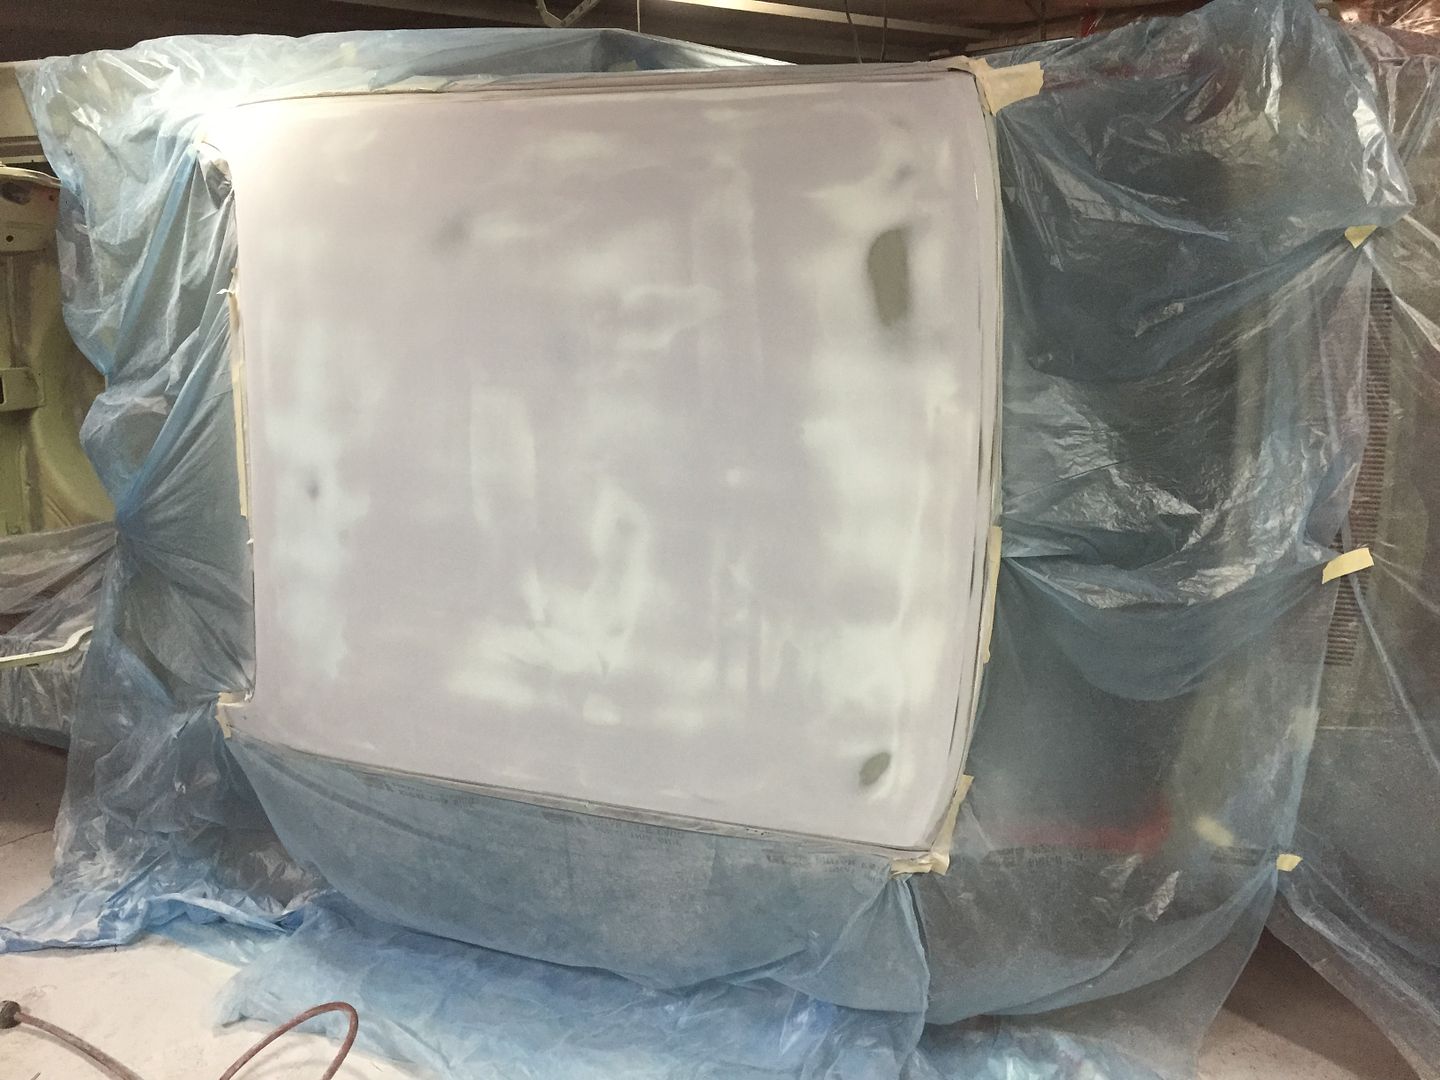
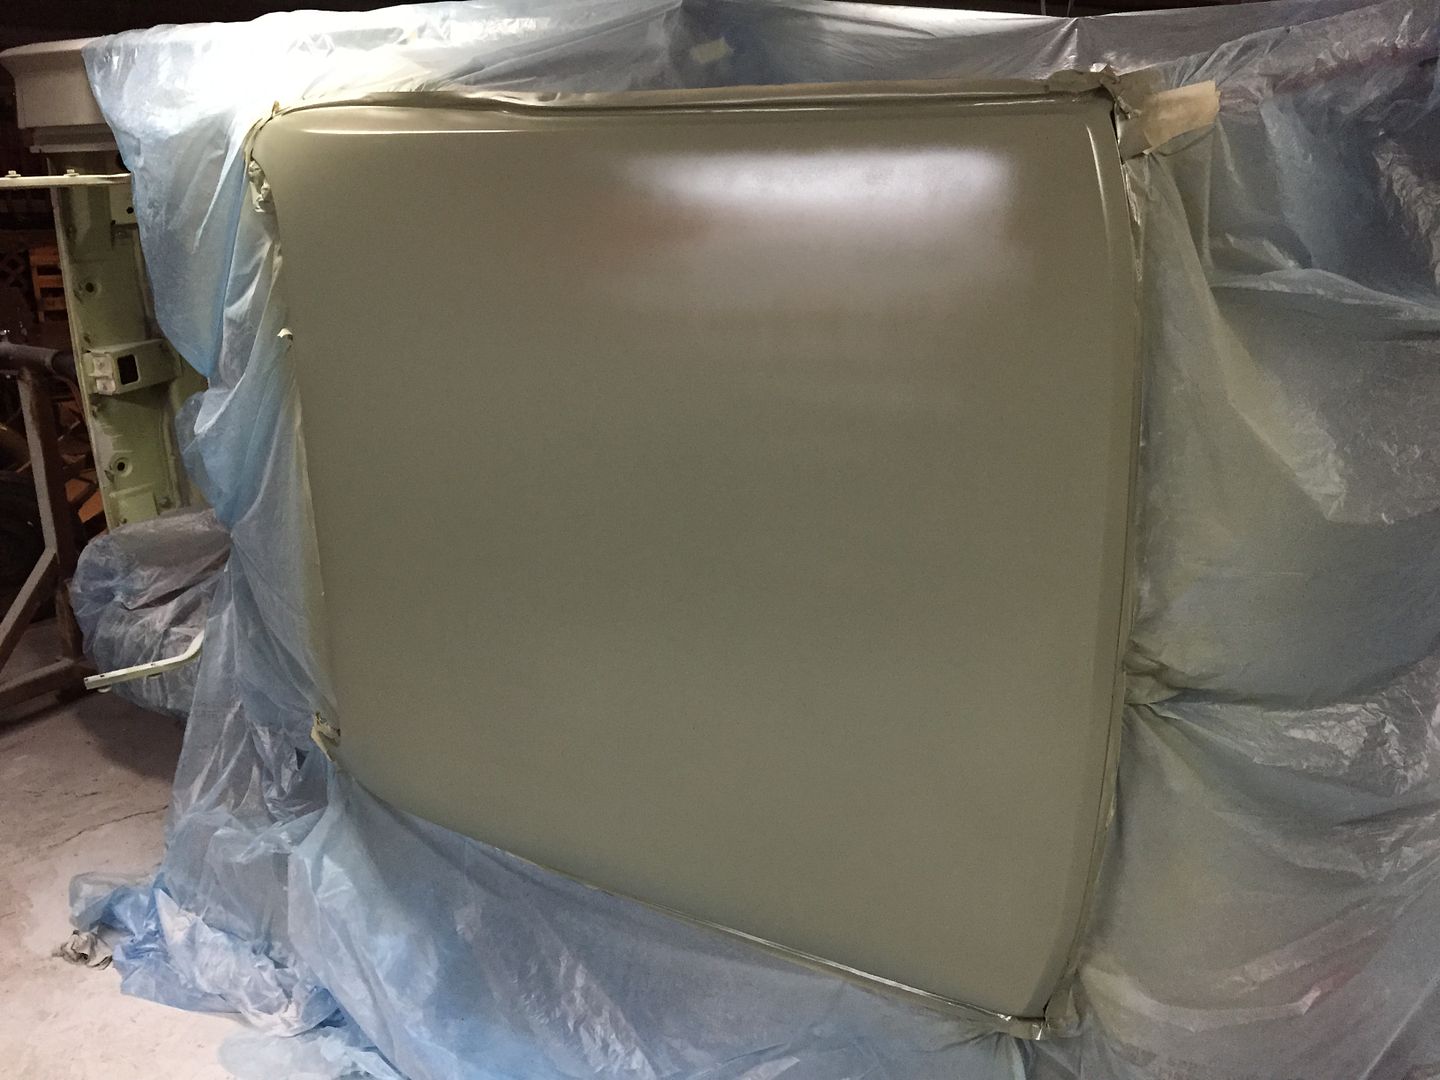
Blocked it out twice with the polyester spray on filler and I got it perfect now! I epoxied it tonight, so tomorrow it'll come off the rotisserie, finally! I'm not gonna bother with the eurothane high solids primer right now.. That'll come later on, so in the meantime my filler/polyester is sealed off from moisture and is ready for the next stage.


Nice and straight!
 
Wow, what an incredible build. Over the top superb! Wow!

Thanks for the compliment!!

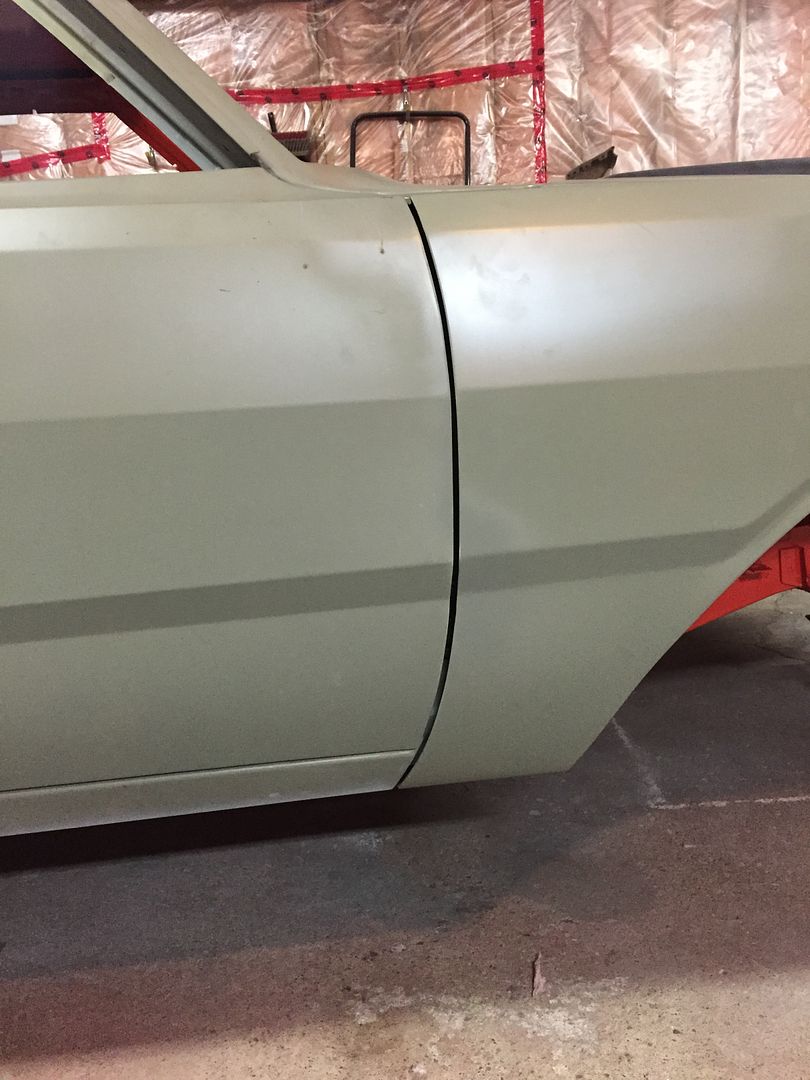
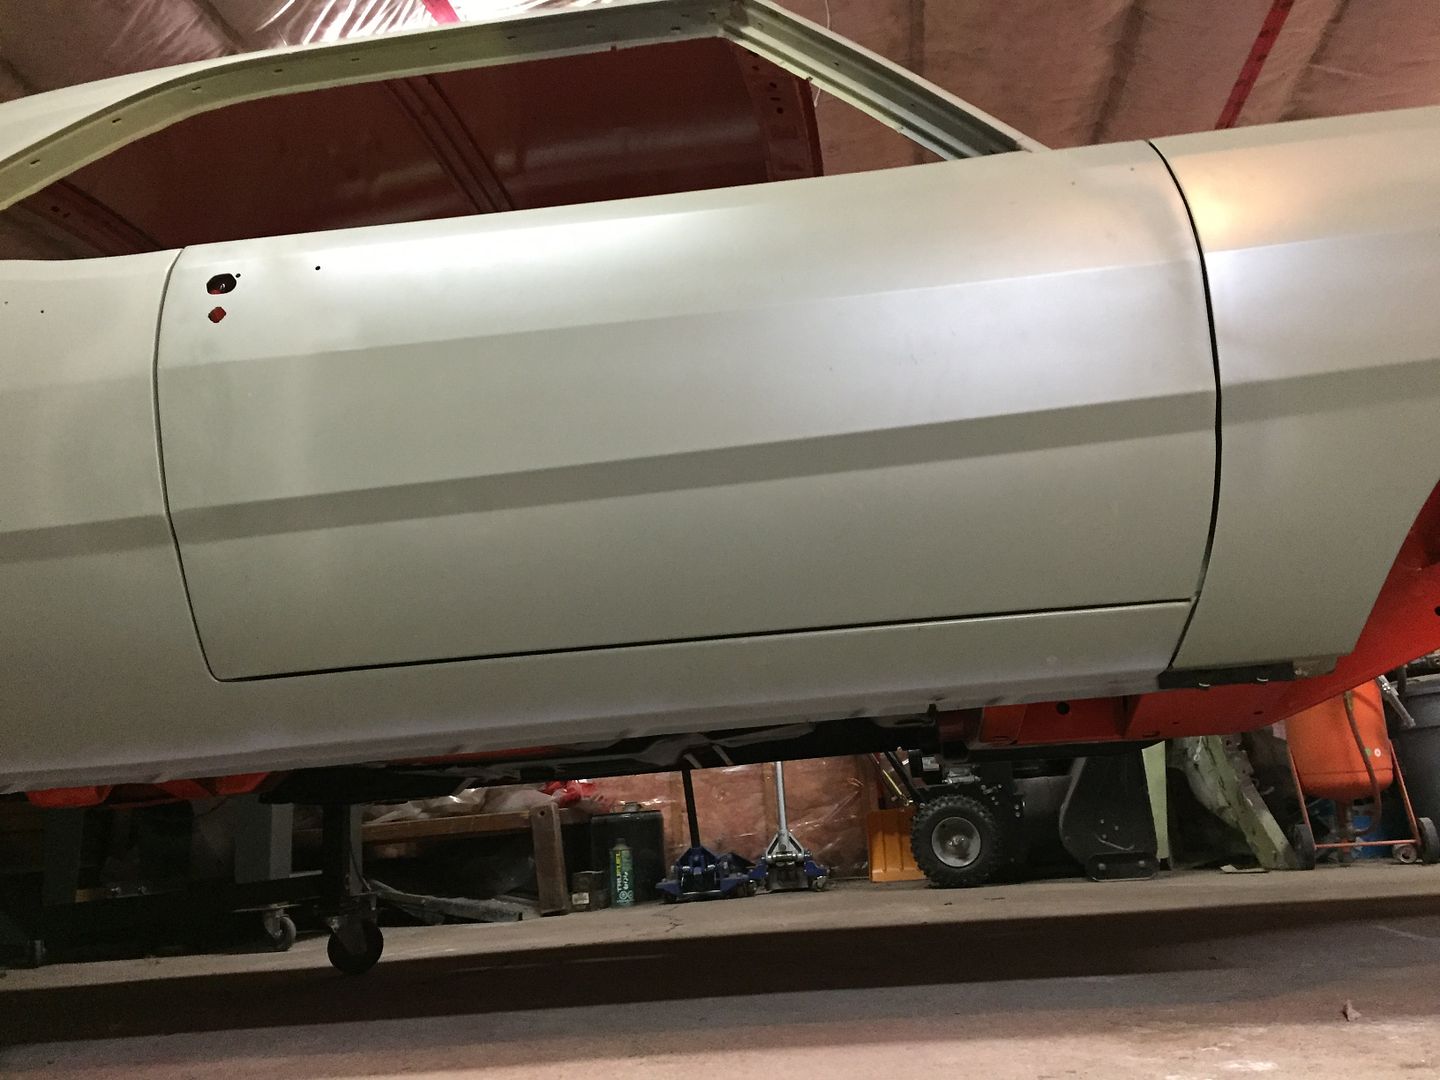
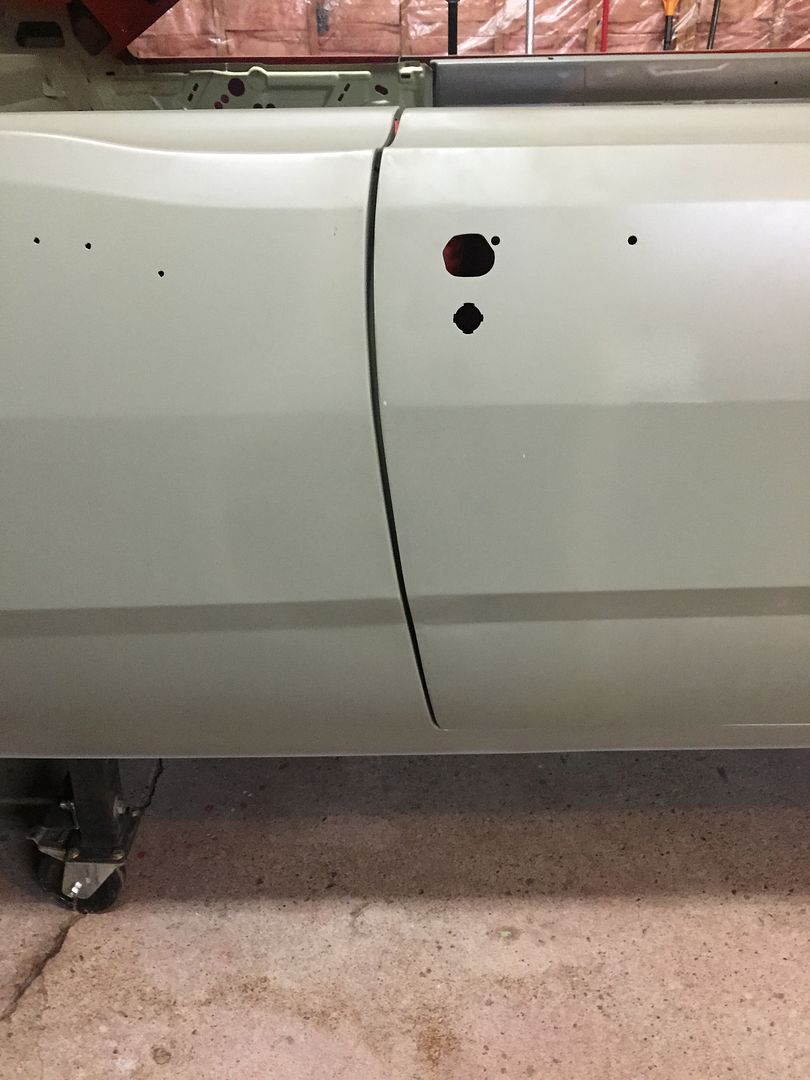
Finally on the ground! Tomorrow I'll realign the panels and over the next couple weeks I'll work on some filler/blocking on some panels.


Put the hood back on.. Doing bodywork makes a disaster in the garage, so that's why I never finished the garage.. I'll finish it once the car is painted.


I also did a good cleanup in the garage and washed the floors out so I can start fresh on making a new mess.
 
Looks great Randy, I'm guessing nothing was going to stop you from hanging all those panels until you had them on and you could stand back and enjoy all that hard work, well done! Now get back to work, lol!
 
Looks great Randy, I'm guessing nothing was going to stop you from hanging all those panels until you had them on and you could stand back and enjoy all that hard work, well done! Now get back to work, lol!

Thanks Danny! Yeah it's rewarding seeing it come together... I did some more panel aligning today and it's almost perfect now, just a little more adjusting and it'll be ready for bodywork.

I also set the grille in place for the pics, just to make it look a little more like a car and give me some motivation to start sanding again, haha


Bloody great job you are doing there mate, thumbs up to you.

I always look forward to your updates and Im amazed at the detail and quality of your work.
 
Great job on the Swinger Randy:cheers: I get tired just seeing all the effort going into your car! Can't wait to see the finished product.

Dave,
 
Those caps are sweet, I have a few NOS ones and 5 NOS center "dodge division" centers that I recently got. One NOS wheel cover doesn't have the center decal cause in 70-71 the challenger used these as well but said "Challenger" in the center.....but recently discovered my 70 340 Swinger came with dog dish caps AND brushed trim rings on white side wall (WSW) tires...very cool and I also have a NOS set of 70 dog dish caps as well....so I'm sure I have to go the correct way......:glasses7:

So you've got the stash of wheel covers! No wonder i had a hard time finding these, haha. Would you be willing to part with any covers or decals? One of my wheel covers has a little crease in the decal and Its bugs me..

That's really neat your car came with that combo.. I bet it's one of the only Darts to have the trim rings with dog dish caps.

Finally found my center decals....actually, they are aluminum...the one extra is not perfect but damn nice and new old stock, small minor blemish or scratch....let me know if you are still interested. I didn't clean it much, a little wax would make them look even better....also some of the very light scratches look worse in the pics I took in the lighting and its better in person. These are hard to find, infact, I have never seen them before and the seller had 5 so I bought them all :D
 

Attachments

  • DSC01713.jpg
    36.4 KB · Views: 721
  • DSC01714.jpg
    36.5 KB · Views: 680
  • DSC01715.jpg
    33.1 KB · Views: 670
  • DSC01717.jpg
    31.3 KB · Views: 639
  • DSC01718.jpg
    42.5 KB · Views: 689
It's been a week, I'm going through withdrawal. lol

With your normal rate of progress, I imagine the paint will be on next time we see an update! haha

Jay
 
-
Back
Top