Biohazard

-
I intend to have a simple audio system on board when it's all said and done. Part of this system will include an amplifier mounted in the trunk and I will need a means by which to toggle the amp on and off.

My plan is to use the AM radio's ON/OFF switch. It only took a few minutes with the multimeter to figure out which contacts to wire into for this.


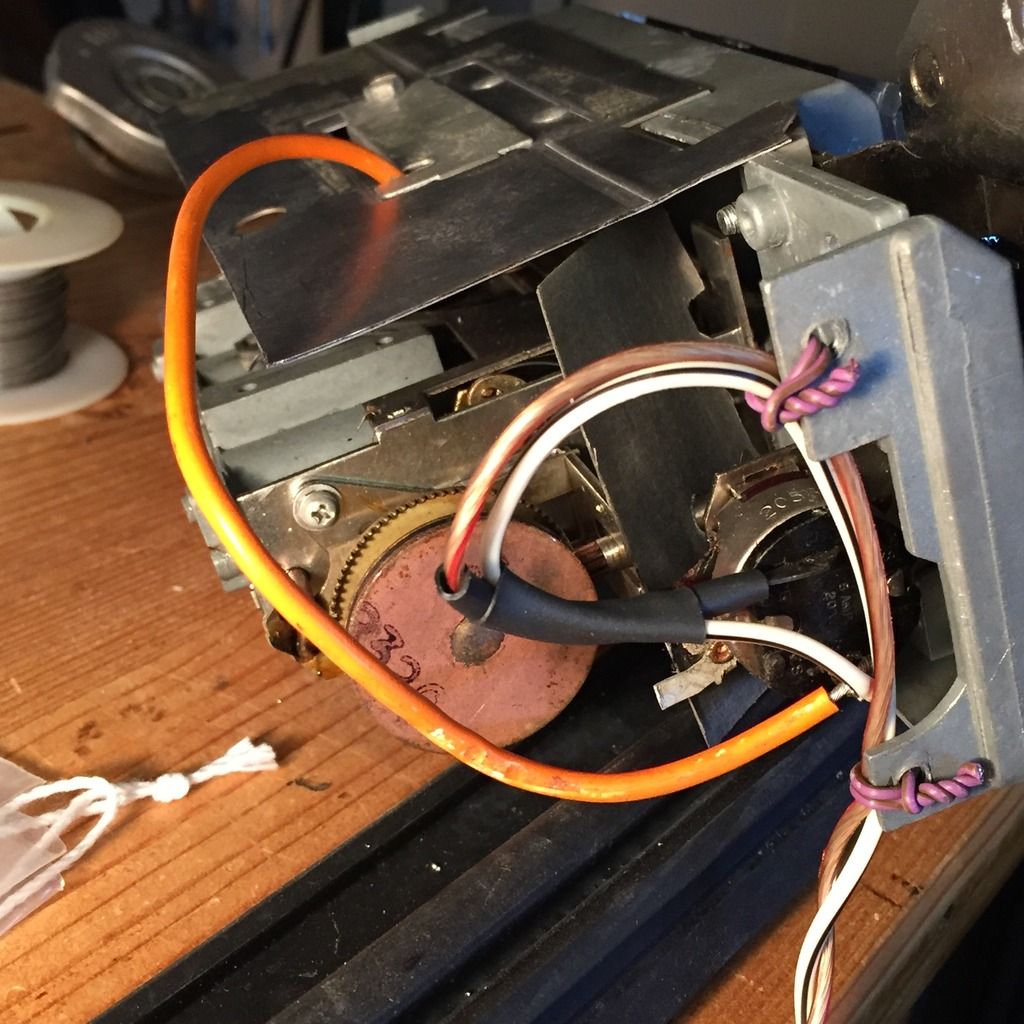
When you switch the radio on, it will energize the remote ON lead to the amp and also illuminate the tuning window.

[ame="https://www.youtube.com/watch?v=Cz_2GMHZS0Y"]https://www.youtube.com/watch?v=Cz_2GMHZS0Y[/ame]
 
I just remembered that I know a guy that had a full set of red door panels. I'd bought a lot of Barracuda parts from him a few years back. I don't know if he'd still have them though.

You know, after seeing that picture of the all red interior, I love it but I think I'd have wanted a black dash & console with all that red. I never even knew they made red consoles. That red wheel is pretty cool too.

It really makes you think of all the possible color combinations you could make.

I'm liking where you're heading with the radio. Keeping the factory look & giving it a purpose other than decoration. It'd be cool to incorporate some of it's other controls to interact with other non-factory equipment.
 
I didn't mention this earlier but when I was installing the dash assembly back into the car, I accidentally pushed too hard on one of my gauges and felt a little 'pop'. I knew right away that where I had glued the gauge bezels into the backside of the instrument panel didn't hold up. Since I had the instrument panel half way out of the dash for radio removal, now was the time to fix the bezel problem.

In this pic, you can see the original plastic post is cut down flush under the metal tab with the hole in it. When new, that post sticks up thru the hole and, during installation at the factory, the post is melted down over the tab securing it in place. When you remove the bezels, the top of that post is usually lost requiring some creativity since glues and epoxies seldom get it done. First thing I did to implement my own creativity was grind off the failed epoxy with my Dremel.


My plan was to add some additional plastic to the existing posts using heat to fuse them together rather than glue. I busted out an old model car kit and plucked off some of the parts runner material.


Using my wife's pencil tip butane lighter to do the plastic melting.


Some aluminum foil as a heat shield so I don't set the whole lot on fire.


The trick is to heat your post up first as this plastic has a higher melt point than the model kit runner. When the top of the post starts to melt, get your fresh plastic in there to soften it as well and press them together keeping pressure on your runner plastic so that it mushrooms creating sort of a plastic rivet.


Voila!

 
The pay off...

Once the plastic cools, its done. No waiting for epoxies to cure or bonds to set up.

After doing all four tabs on this particular bezel, I had to prove to myself how strong this repair really was.

Here you can see I am holding the entire instrument panel by the center cap on the gauge.


Adequate.


And so good that I scraped the epoxy bonds off all the other mounting tabs and re-did them with the 'weld' technique.
 
Innovative idea,and probably not one I would have tried. Having previous not good experience with heat and plastics,I would have shied away,but cudo's to you! It worked,and quite well. My approach might have been jb weld,or perhaps an automotive plastics repair kit..
 
Tried both and neither come close. You're dealing with such a tiny amount of surface contact area that even the best glue just doesn't have enough contact area to be effective.
 
The pay off...

Once the plastic cools, its done. No waiting for epoxies to cure or bonds to set up.

After doing all four tabs on this particular bezel, I had to prove to myself how strong this repair really was.

Here you can see I am holding the entire instrument panel by the center cap on the gauge.


Adequate.


And so good that I scraped the epoxy bonds off all the other mounting tabs and re-did them with the 'weld' technique.

This post needs to be stickied if possible.
Good cheap tip, not sure I would be brave enough to hold the dash out with that much time put in it.
 
Haha....yeah. I just had to know the true effectiveness of this process. Believe me...it took several baby steps before I just held that panel aloft like some sort of pagan offering but it all worked out, as you can see.

Trivia note: the purple plastic runner is from a model kit of a 1971 Barracuda.
 
Nice job! The sight of that torch next to the instrument cluster did make me cringe though. I've used a soldering iron before to melt off some of the factory melt points. The trouble is that there's never extra material left to melt them back on. I bought a plastic welding kit but the results on places I've tried it weren't very good.
 
Not really a 'torch' so much...just a cigarette lighter. It actually produces a nice, tight easily directable flame tip.

zoom.jpg
 
Interior goods are starting to roll in. So far, I have:

the stuffing kit for the back seat
the buns for the front buckets
the rear seat side panels

For now it just needs to pile up. I still have the dash and the wiring to tend to.
 
Oh yeah...my wife corrected me on the lighter. It's a scripto 'wind resistant' lighter.

10211614.jpg
 
At work I just got a Dremel butane soldering pen/torch. It would work real well for that kind of work.
 
Got all my vacuum hoses routed to their respective dashpots on the HVAC box. That took a while. Then I payed around with the which wire goes where. Ugh.

Meanwhile, here's a sample of the '69 red upholstery atop my R6 Scorch Red.

 
Upgraded the towing mule.


Not much happening with the fish. Too much Christmas and too much cold.
 
Still getting used to it. The drivetrain is very different from the 2010 I was driving before but there is definitely more thrust on tap with the new engine. The things you interact with from the drivers seat are tip top. I opted to forego the TRD stuff this time since I found the chassis too stiff for the unpaved but this new truck does a splendid job of making rough trails tolerable. My wife and dog both appreciate it too. ;) To top it all off, I wisely kept my bed cover from the old truck and it fits the new one like a champ. Last but not least, the new color makes better sense here in the desert southwest though it needs more black trim and accents.
 
Ahhhh..... Christmas eve tomorrow. Not expecting any car-related gifts. Baby doesn't like to get involved in that as she knows how particular these things can be. I am hoping she'll help me cover the seat frames later on when all that good stuff comes in which leads me to....... sure am glad I ordered the upholstery when I did. These things do seem to take a while.
 
Ahhhh..... Christmas eve tomorrow. Not expecting any car-related gifts. Baby doesn't like to get involved in that as she knows how particular these things can be. I am hoping she'll help me cover the seat frames later on when all that good stuff comes in which leads me to....... sure am glad I ordered the upholstery when I did. These things do seem to take a while.

Lol,do we have the same wife? I WISH mine would at least buy me a summit gift certificate.
 
So it's been a while and, yesterday, some more parts trickled in.


Everything I ordered from Classic Industries has come from Legendary for those who were curious.

 
Just got a notification that another "Classic Industries" package was headed my way, due to arrive Monday. This should certainly be the red upholstery for the seats. So now I'm thinking "wow, this is getting real now" and that I need to get busy prepping the seat frames. So today I tore apart one of the seatbacks.

To be documented on the next page later this evening.
 
-
Back
Top