70 duster: updating, and a no-dough pro-touring makeover
Budget first:
Previous total 8567.57
Parts:
Two -6 to 3/8 compression fittings: 29 from summit
Alternator from 89ish buick 3800 31 pull a part
Two new gates belts 22
Tuning from tpichips.com 250
Mr gasket throttle cable 21
5 relay panel, from britian via eBay, 41
12.5 ft of black, and 12.5 ft red 4 gauge cable, eBay, 21
Edelbrock steel carb “spacer” 20ish
Roll of cork gasket paper (had it)
42lb injectors, eBay 100
New total (ish. I'm having a hard time keeping up with the receipts at this point. Too much work, not enough organization) 9102.57
When I last updated, it was mostly sorta running. Not well, and not consistently, but running.
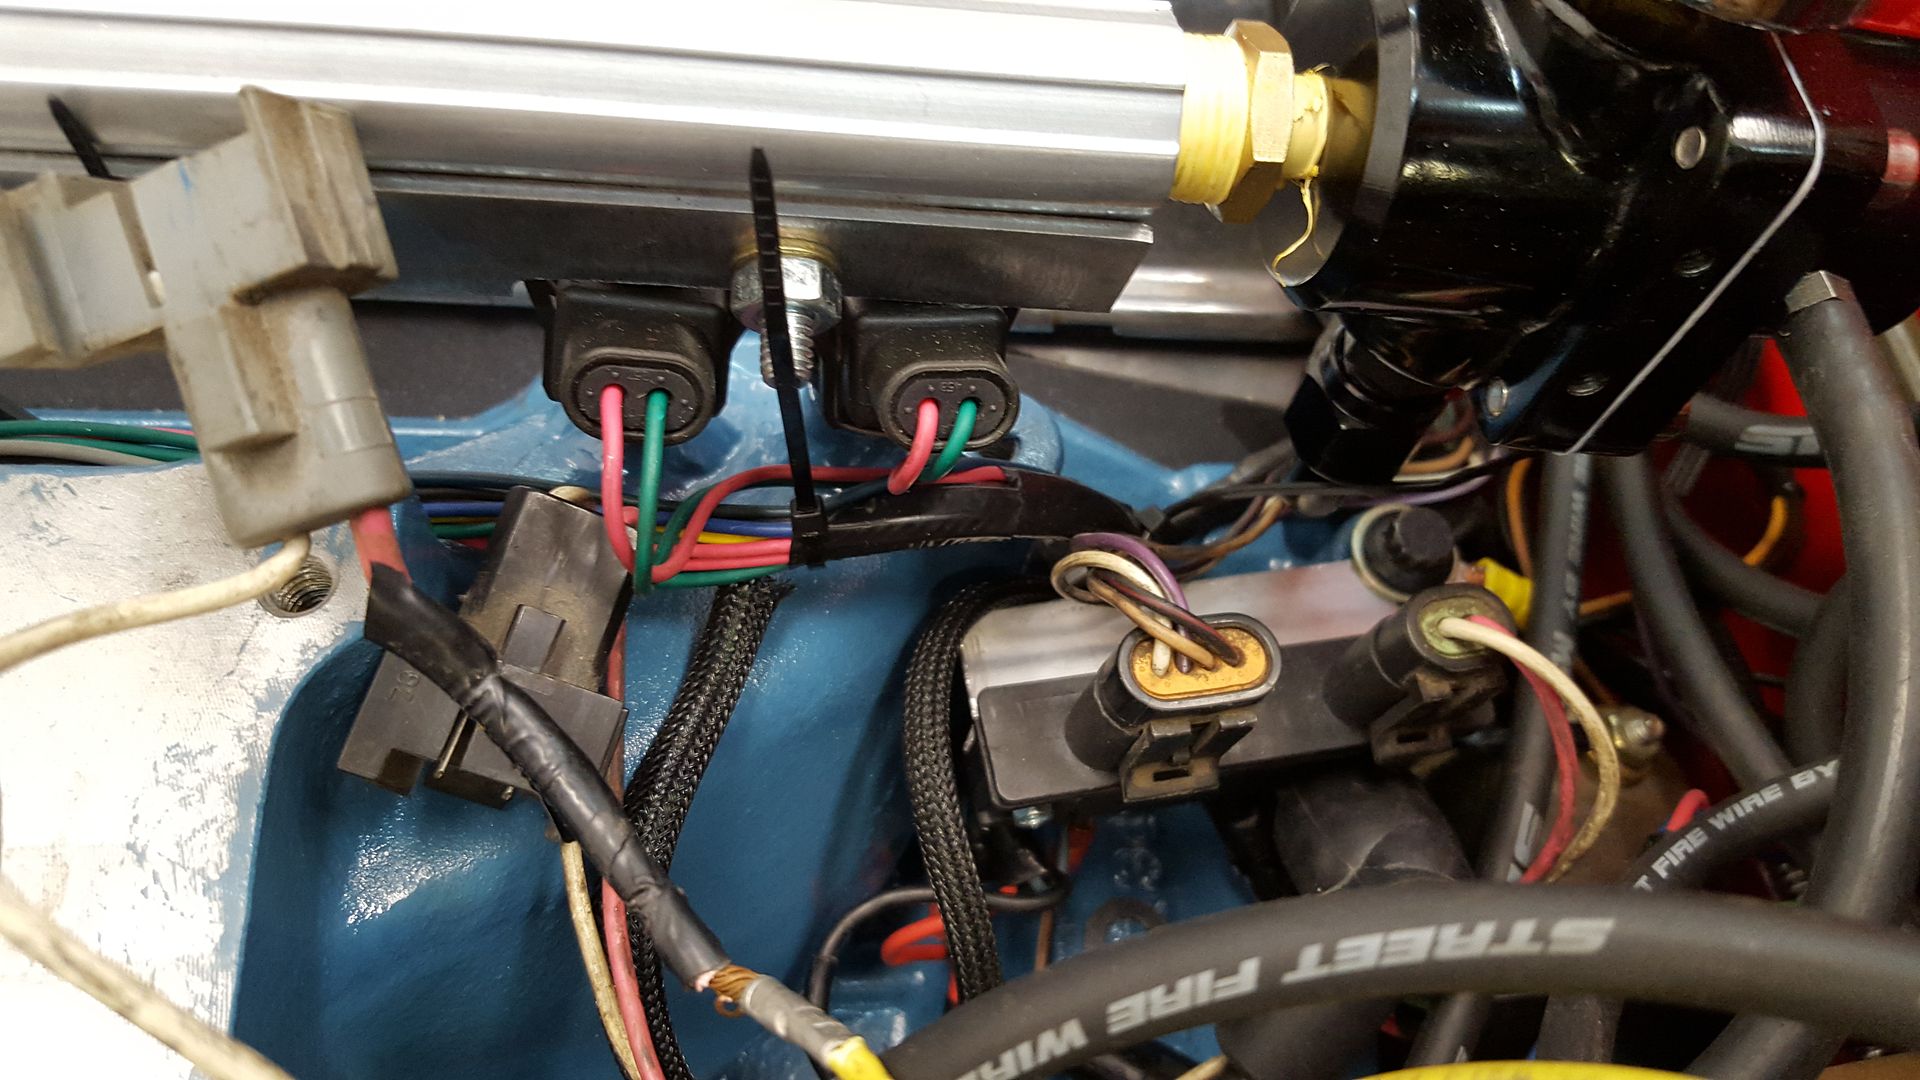
The first order of business was to get the fuel leaks stopped. There were a bunch of them. Compression fittings above the header. Flare from steel line to 6an male/male (both!). O rings on injectors slightly.
To fix the compression fittings, I just had to tighten them. The flares I cut off, and tried the earls compression to AN adapters from summit. These things were wonderful to work with. Very nice product. O rings were piddled with, then swapped out for 42lb ev1 style injectors. These are slightly shorter, which gives me the ability to lower my throttle body, and maybe fit the hood back on. They also don't leak, because they are running at 43.5psi vs the 65psi that I was running the 30lb injectors at. This engine made 390 at the rear wheels previously, which would pretty much max out 36lb injectors. Running the 30lb at 65psi, they were effectively 38lb injectors. Which were marginal. The 42s allow a little headroom (if I manage to make more power with the efi), and lower fuel pressure, which I deem safer.

Next up is a picture of the new mount for the ignition control module. Forgot to add a picture. Its a pretty simple piece of angle aluminum bolted to one of the old mounts for the stock coil. I have a heat sink from a vortec powered Chevy truck to add when I get to it, as these things get really hot and need all the help with cooling they can get.
With the fuel leaks stopped, it was time to add an 02 sensor. Drilled the driver side head pipe just behind the 3 bolt collector flange, and welded in a bung. No pictures. Ran it there so I can only have one wiring leg to the trans and 02 sensor, making a cleaner installation. Its also not in the collector due to the ceramic coating. Most recommendation are to put it in the collector so as to keep heat in it. I am running the heated sensor so I don't have to worry about it.
Then we moved onto coolant in preparation for tuning. Hooked bu the heater hoses, tightened, filled with water, etc. All ready to go.
Up next was the vacuum for the PCV and power brakes. These both have 3/8 line. I had no vacuum ports left. But I did have that nice 2 inch spacer, a rabbits foot, and no fear of failure.
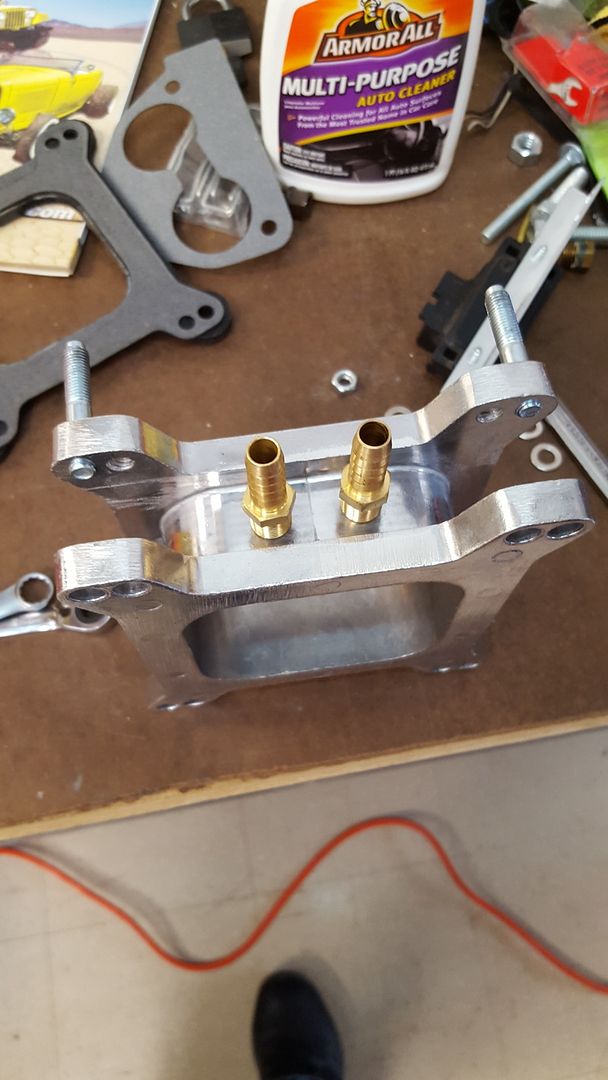
Hit them with the drill press, a tap, and...
In the previous picture, you can kind of see the Mr gasket throttle cable. What a worthless piece of ****. It binds, the part in the kit don't fit one another out of the box, etc. Completely unusable. But I cut to fit and modified, and....
It still is unusable crap. I'm buying a lokar. Maybe then my throttle wont hang up.
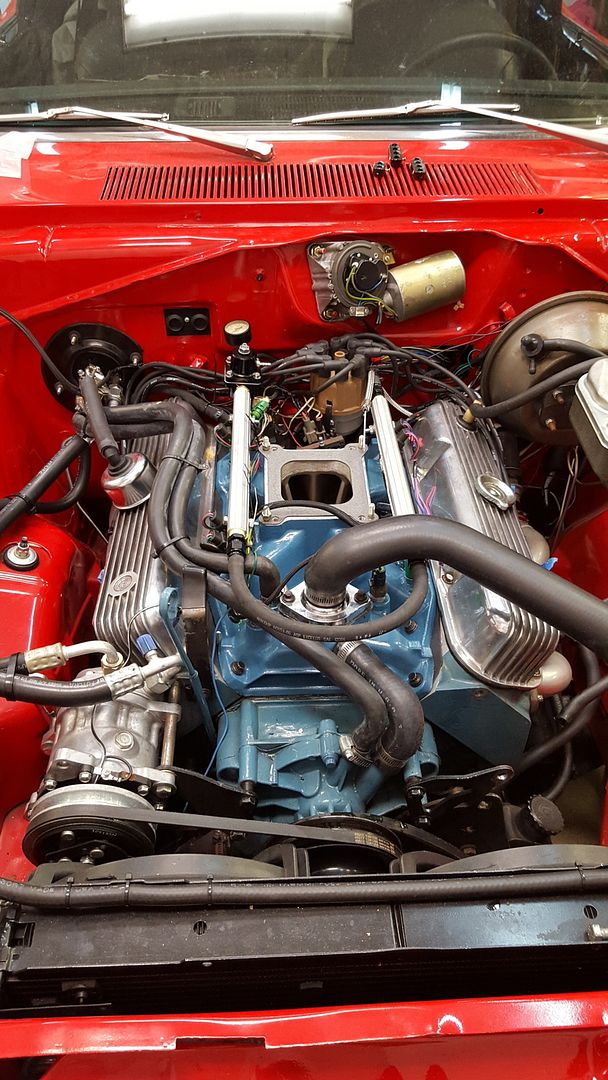
I then had to mount my GM E coil. Wanted to mount it in the valley between the throttle body and distributor. You know, in all that wide open real estate I don't have. I bent a piece of aluminum, and did it though.
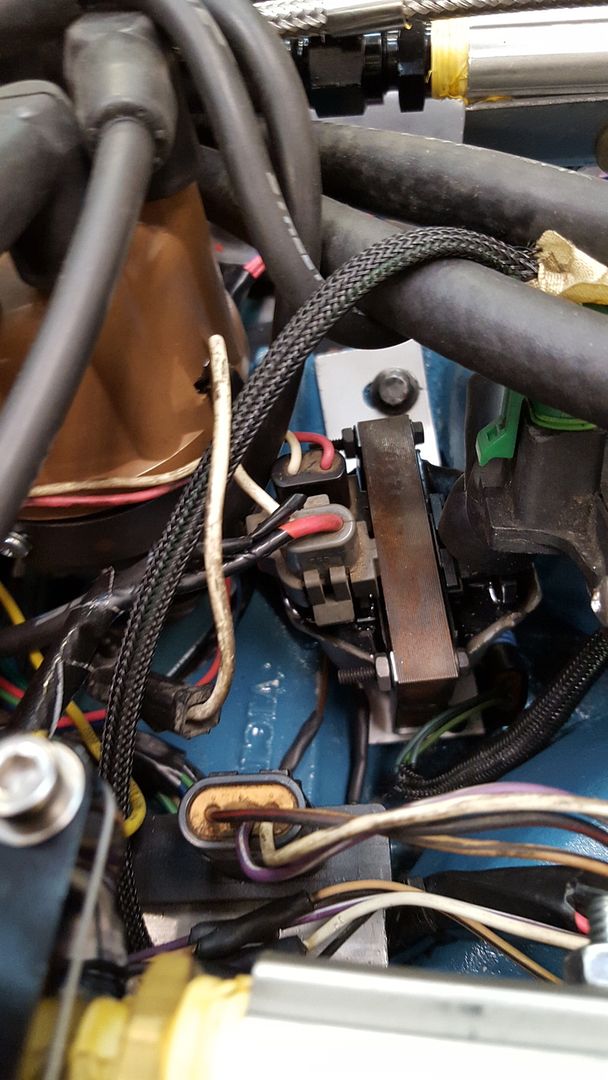
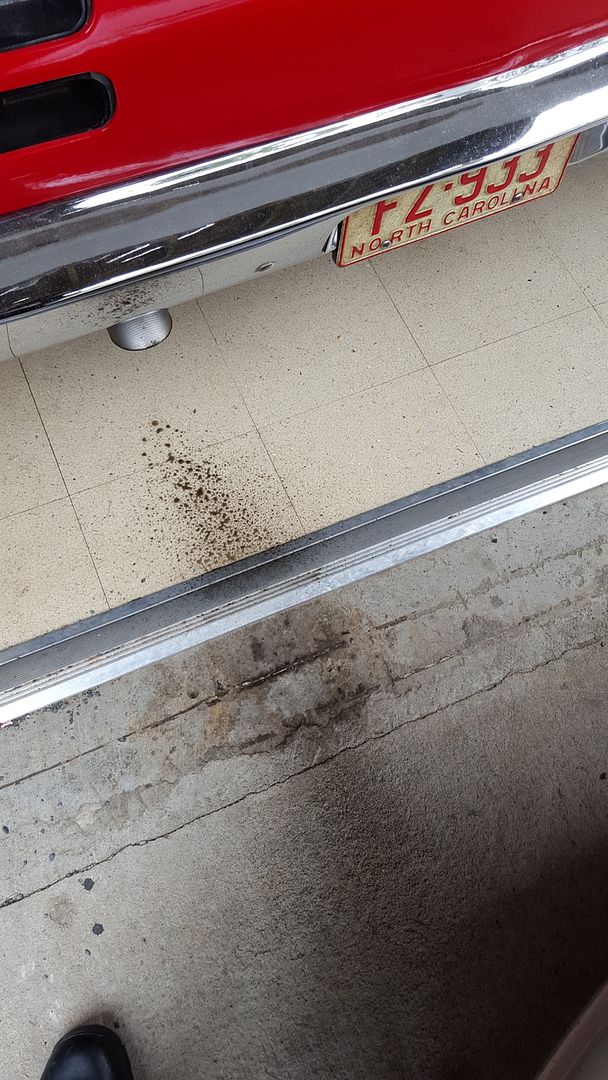
So with all that done, it was time to start getting it tuned. I had to get my laptop to talk to my chip burner, then talk to the ecm, then get tuner-pro to work, etc. I hate how complicated my new laptop and windows 10 has made all this. Wound up having to get a windows 10 compatible serial to USB adapter, and using a 10k resistor to get everything to working. The 10k resistor makes the ecm go into diagnostic mode, which jacks the IAC wide open, jacks timing, etc. Does some very funky things. I didn't know about that until I was trying to set IAC counts and idle speed. So I need to figure out how to access the ALDL stream without the 10k resistor. Anyway, while fighting with a high idle, I found an issue.

The scorch is from where it backfired. Through the IAC port. To OPEN AIR.
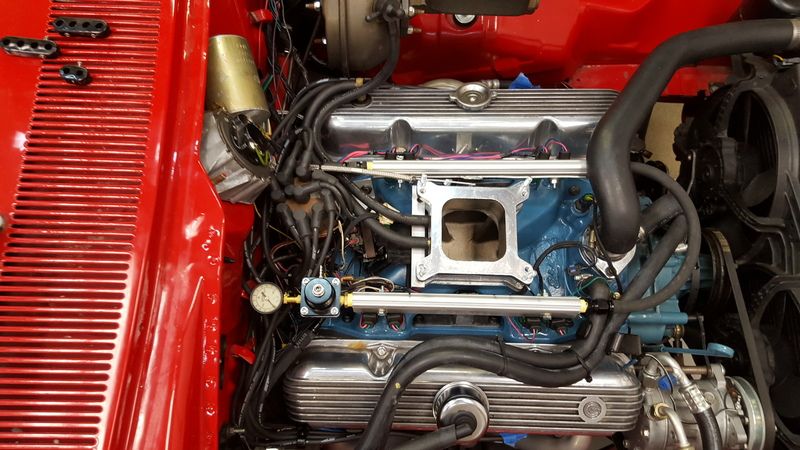
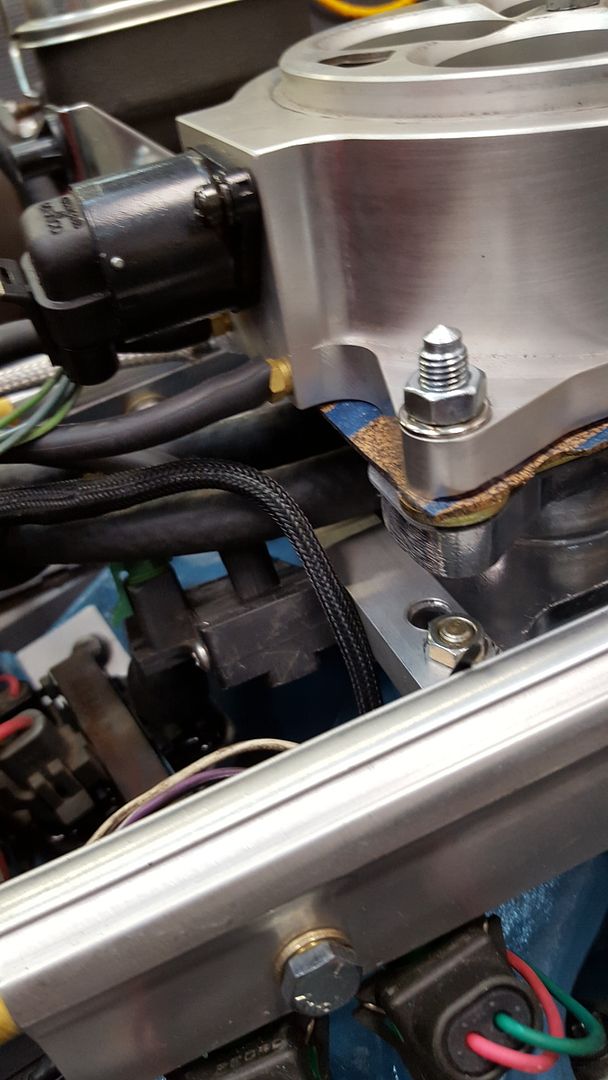
The IAC port was a giant vacuum leak. Apparently, this early Holley throttle body has a different design from the later in the IAC port, which makes the IAC port overhang a normal carb gasket by 3/8 of an inch. Massive, massive vacuum leak. Aint no way its going to idle or run properly. I managed to find an off the shelf solution though. The edelbrock sheet metal carb spacer/adapter thing.
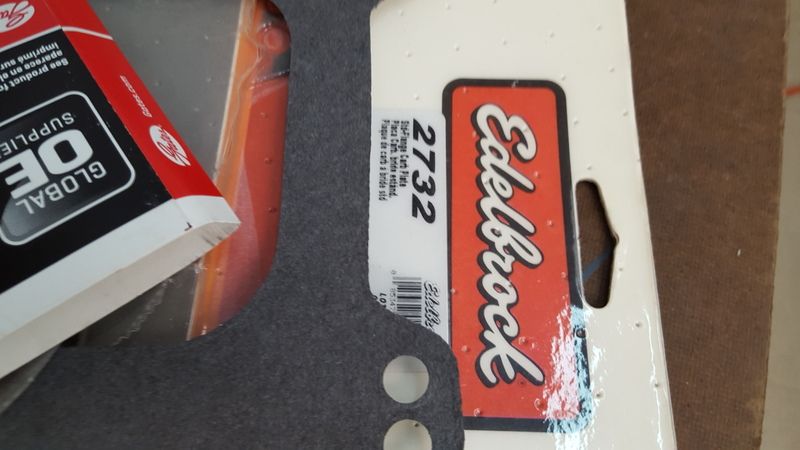
It was within a couple of thousandths of covering the whole hole. I could see light through the crack when I shone a flashlight down the IAC port from the top, but only if I looked from the right angle. Close enough with a nice thick cork base plate gasket, as no off the shelf gasket exists that covers the IAC hole.
Now that that's done, we move on to something unrelated, but necessary.
I wanted a better accessory drive, with more fail safe, and more belt wrap.
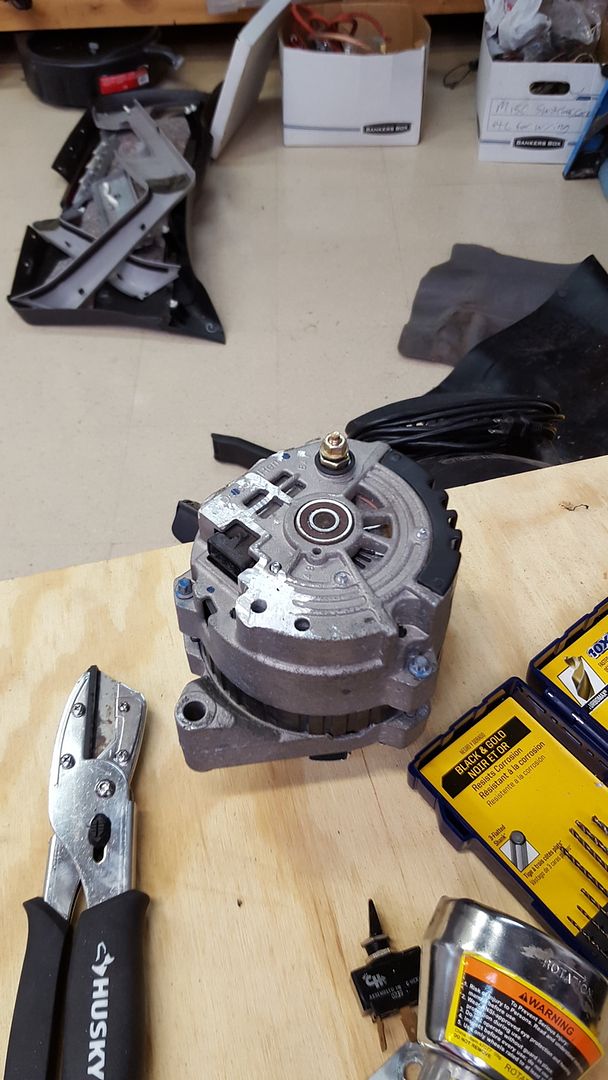
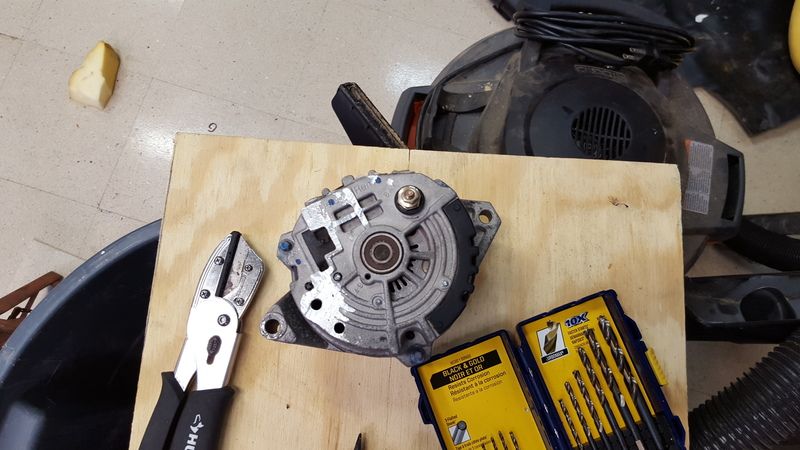
So I started with a different alternator. The mounting lugs on the previous one were maybe 90 degrees apart, not 180 like mother mopar intended. It was also clocked wrong and dead. So, time to make it better. When I designed this accessory drive, I used a single belt to run the alternator, power steering pump, crank, and water pump. Also a belt from crank, water pump, air compressor. I wanted more of a fail safe. And the fact that I only got a roughly 1/4 wrap on the alternator/power steering pullies didn't help.
So, using a Buick 3800 alternator, with a 180 mounting design got me closer. At least better angles on the adjusters and mounts. But still not what I wanted. I wanted to be able to move the alternator in between the head and bracket and run a third belt. Started with re-clocking the case, which got me closer. The, broke out the dremel fro that last 1/8 of an inch.
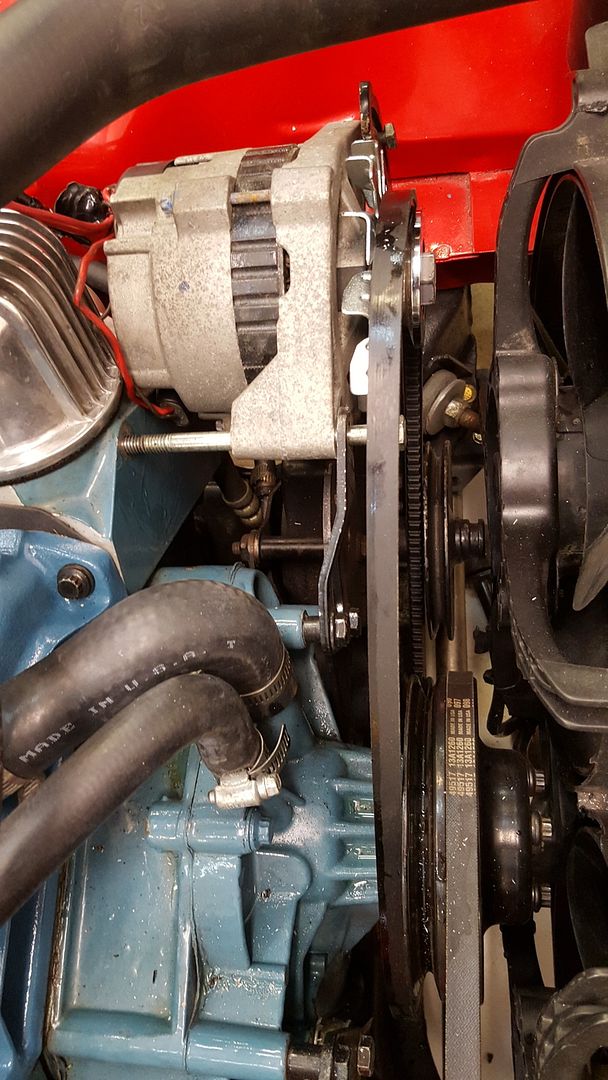

Whee!!!
We then paid the tuner to send me a base map for me to try, and data log. Using Brian at www.TPIchips.com so far, hes been a pleasure to work with. He doesn't answer the phone, but is prompt with emails. Anyway, he sent me a base tune to try. First one was pretty rich still.
Second one got a whole lot better. Enough that I was able to move the car under its own power on EFI. I have no signal from the oxygen sensor, and need to work on tuning some more, then run it around the block a few times before I blow it apart for the wiring harness.
[ame="http://s54.photobucket.com/user/dusterbd13/media/duster/20160321_140642_zpslx8nx0a8.mp4.html"]20160321_140642_zpslx8nx0a8.mp4 Video by dusterbd13 | Photobucket@@AMEPARAM@@http://i54.photobucket.com/albums/g108/dusterbd13/duster/20160321_140642_zpslx8nx0a8.mp4@@AMEPARAM@@54.photobucket.com/albums/g108/dusterbd13/duster/20160321_140642_zpslx8nx0a8.mp4[/ame]
Budget first:
Previous total 8567.57
Parts:
Two -6 to 3/8 compression fittings: 29 from summit
Alternator from 89ish buick 3800 31 pull a part
Two new gates belts 22
Tuning from tpichips.com 250
Mr gasket throttle cable 21
5 relay panel, from britian via eBay, 41
12.5 ft of black, and 12.5 ft red 4 gauge cable, eBay, 21
Edelbrock steel carb “spacer” 20ish
Roll of cork gasket paper (had it)
42lb injectors, eBay 100
New total (ish. I'm having a hard time keeping up with the receipts at this point. Too much work, not enough organization) 9102.57
When I last updated, it was mostly sorta running. Not well, and not consistently, but running.
The first order of business was to get the fuel leaks stopped. There were a bunch of them. Compression fittings above the header. Flare from steel line to 6an male/male (both!). O rings on injectors slightly.
To fix the compression fittings, I just had to tighten them. The flares I cut off, and tried the earls compression to AN adapters from summit. These things were wonderful to work with. Very nice product. O rings were piddled with, then swapped out for 42lb ev1 style injectors. These are slightly shorter, which gives me the ability to lower my throttle body, and maybe fit the hood back on. They also don't leak, because they are running at 43.5psi vs the 65psi that I was running the 30lb injectors at. This engine made 390 at the rear wheels previously, which would pretty much max out 36lb injectors. Running the 30lb at 65psi, they were effectively 38lb injectors. Which were marginal. The 42s allow a little headroom (if I manage to make more power with the efi), and lower fuel pressure, which I deem safer.

Next up is a picture of the new mount for the ignition control module. Forgot to add a picture. Its a pretty simple piece of angle aluminum bolted to one of the old mounts for the stock coil. I have a heat sink from a vortec powered Chevy truck to add when I get to it, as these things get really hot and need all the help with cooling they can get.

With the fuel leaks stopped, it was time to add an 02 sensor. Drilled the driver side head pipe just behind the 3 bolt collector flange, and welded in a bung. No pictures. Ran it there so I can only have one wiring leg to the trans and 02 sensor, making a cleaner installation. Its also not in the collector due to the ceramic coating. Most recommendation are to put it in the collector so as to keep heat in it. I am running the heated sensor so I don't have to worry about it.
Then we moved onto coolant in preparation for tuning. Hooked bu the heater hoses, tightened, filled with water, etc. All ready to go.

Up next was the vacuum for the PCV and power brakes. These both have 3/8 line. I had no vacuum ports left. But I did have that nice 2 inch spacer, a rabbits foot, and no fear of failure.

Hit them with the drill press, a tap, and...

In the previous picture, you can kind of see the Mr gasket throttle cable. What a worthless piece of ****. It binds, the part in the kit don't fit one another out of the box, etc. Completely unusable. But I cut to fit and modified, and....
It still is unusable crap. I'm buying a lokar. Maybe then my throttle wont hang up.
I then had to mount my GM E coil. Wanted to mount it in the valley between the throttle body and distributor. You know, in all that wide open real estate I don't have. I bent a piece of aluminum, and did it though.

So with all that done, it was time to start getting it tuned. I had to get my laptop to talk to my chip burner, then talk to the ecm, then get tuner-pro to work, etc. I hate how complicated my new laptop and windows 10 has made all this. Wound up having to get a windows 10 compatible serial to USB adapter, and using a 10k resistor to get everything to working. The 10k resistor makes the ecm go into diagnostic mode, which jacks the IAC wide open, jacks timing, etc. Does some very funky things. I didn't know about that until I was trying to set IAC counts and idle speed. So I need to figure out how to access the ALDL stream without the 10k resistor. Anyway, while fighting with a high idle, I found an issue.

The scorch is from where it backfired. Through the IAC port. To OPEN AIR.
The IAC port was a giant vacuum leak. Apparently, this early Holley throttle body has a different design from the later in the IAC port, which makes the IAC port overhang a normal carb gasket by 3/8 of an inch. Massive, massive vacuum leak. Aint no way its going to idle or run properly. I managed to find an off the shelf solution though. The edelbrock sheet metal carb spacer/adapter thing.

It was within a couple of thousandths of covering the whole hole. I could see light through the crack when I shone a flashlight down the IAC port from the top, but only if I looked from the right angle. Close enough with a nice thick cork base plate gasket, as no off the shelf gasket exists that covers the IAC hole.

Now that that's done, we move on to something unrelated, but necessary.
I wanted a better accessory drive, with more fail safe, and more belt wrap.
So I started with a different alternator. The mounting lugs on the previous one were maybe 90 degrees apart, not 180 like mother mopar intended. It was also clocked wrong and dead. So, time to make it better. When I designed this accessory drive, I used a single belt to run the alternator, power steering pump, crank, and water pump. Also a belt from crank, water pump, air compressor. I wanted more of a fail safe. And the fact that I only got a roughly 1/4 wrap on the alternator/power steering pullies didn't help.
So, using a Buick 3800 alternator, with a 180 mounting design got me closer. At least better angles on the adjusters and mounts. But still not what I wanted. I wanted to be able to move the alternator in between the head and bracket and run a third belt. Started with re-clocking the case, which got me closer. The, broke out the dremel fro that last 1/8 of an inch.


Whee!!!
We then paid the tuner to send me a base map for me to try, and data log. Using Brian at www.TPIchips.com so far, hes been a pleasure to work with. He doesn't answer the phone, but is prompt with emails. Anyway, he sent me a base tune to try. First one was pretty rich still.


Second one got a whole lot better. Enough that I was able to move the car under its own power on EFI. I have no signal from the oxygen sensor, and need to work on tuning some more, then run it around the block a few times before I blow it apart for the wiring harness.
[ame="http://s54.photobucket.com/user/dusterbd13/media/duster/20160321_140642_zpslx8nx0a8.mp4.html"]20160321_140642_zpslx8nx0a8.mp4 Video by dusterbd13 | Photobucket@@AMEPARAM@@http://i54.photobucket.com/albums/g108/dusterbd13/duster/20160321_140642_zpslx8nx0a8.mp4@@AMEPARAM@@54.photobucket.com/albums/g108/dusterbd13/duster/20160321_140642_zpslx8nx0a8.mp4[/ame]