70 duster: updating, and a no-dough pro-touring makeover
Last budget: 9347.07ish
Money spent and made:
2 4 relay panels from Britain (why?) 52.40
25 foot 6 gauge alternator charge wire, and terminals: 28.90
2 add on relay blocks, and extra terminals 30.77
8 dodge neon 5 pin relays, pull-a-part: 24
Durango rear leafs, pull-a-part: 44
MS2, 10 foot harness, cables, etc from diyautotune: 740
Sheet metal from tractor supply 7:70
1/8 npt fuel rated schrader valve, diesel o-rings 5.50
Kenwood HD adapter and cable, GRM Forum member: 10
New total: 10,290.34ish
Ok, so I spent a bit of money.
More like a lot of freaking money. Holy crap, that escalated quickly.
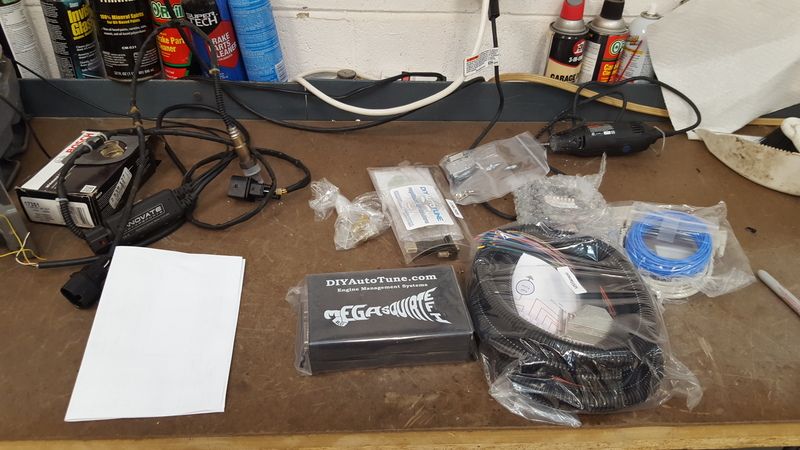
Anyway, first, a very expensive picture. Ignore the LC1 in the picture, until I can test it good im not adding it.
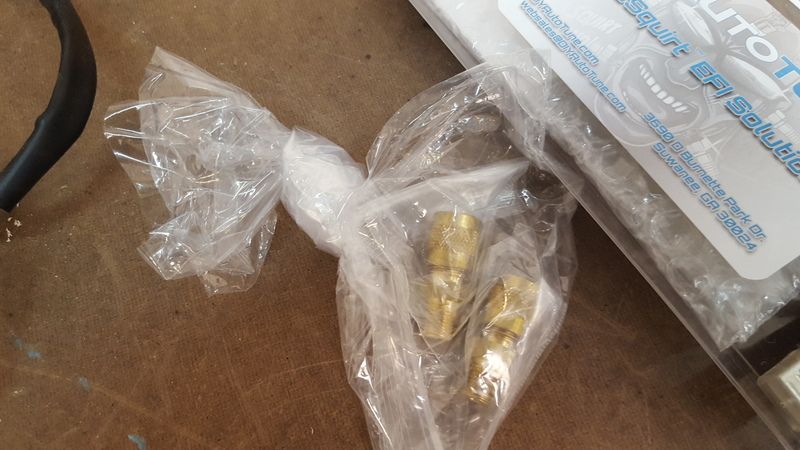
And a picture of the schrader valve after a little explanation: I don't trust the mechanical pressure gauge. I've already had two fail, and if the Bordon tube fails, we get one heck of a BBQ going on. Id really rather not have that. So, this company I found, diesel o-rings.com, makes a 1/8 npt schrader valve adapter for some ford diesel to be able to use a normal fuel pressure tester on it. Which is perfect for my needs. I debated putting an electronic gauge in the car for constant monitoring, as well as a wide-band gauge and vacuum gauge.. I eventually think I probably decided not to add them. Because, lets be honest, do I really need them? If its running right, its running right. If its not, the gauges wont help me much. Just adds complexity, cost, and driver distraction. Which im trying to reduce here. A simple fuel pressure tester is fine for diagnostics and setting, as well as accurate enough. So, here's a blurry picture of a brass fitting sitting on my workbench.
So, now were on to wiring I guess. I have had people ask me to do a solid write-up of how to wire a car from scratch. Well, im not going to do that. There's books, websites, magazine articles, etc for that. What I will give here is some good tips and tricks that I have picked up after building over 30 wiring harnesses, as well as what products I tend to use and why.
First, lets talk about general planning.
This car will be fuel injected, air conditioned, cruise controlled, mid 90s level of technology, street car that will go on some tracks. So, to that end, some basic requirements are in order:
1. Ease of service.
2. Robustness.
3. Water-proof.
4. Future-proof
So, some of the things I will be talking about for my build are absolute, tee-total overkill. Like killing a fruit fly with an ICBM. Just fair warning: some of this would be ridiculous on another persons car. Hell, some of it is ridiculous on mine.
First, lets talk about battery. Mine is in the trunk, centered over the rear differential. It has a 0 gauge cable running from the positive side to the starter, and a remote kill in that cable. This is for ease of shut down, safety at the track, and ease of service on electrical should it become necessary on the side of the road at some point. For a remote kill to operate properly, it needs to shut ALL electrical down when flipped. This means that the alternator charge wiring and harness feed wiring need to be on opposite sides. Which means, by extension, that the alternator (at the front of the car) needs to go directly to battery positive terminal (at the back of the car). For this, I am using 6 gauge cable. Now, this is overkill for a 115 amp alternator. Its slightly large for a 140 amp (sometime soon), but is inexpensive in bulk. I use very finely stranded car audio amp power cable for this, as its very flexible, good bend radius, and cheap. The fine strands are the reason I up size slightly. I also use copper lugs when possible, crimping and dimpling them. I then use marine/adhesive heat shrink over the mechanical connection. The adhesive adds to waterproofing, and some mechanical pullout strength.
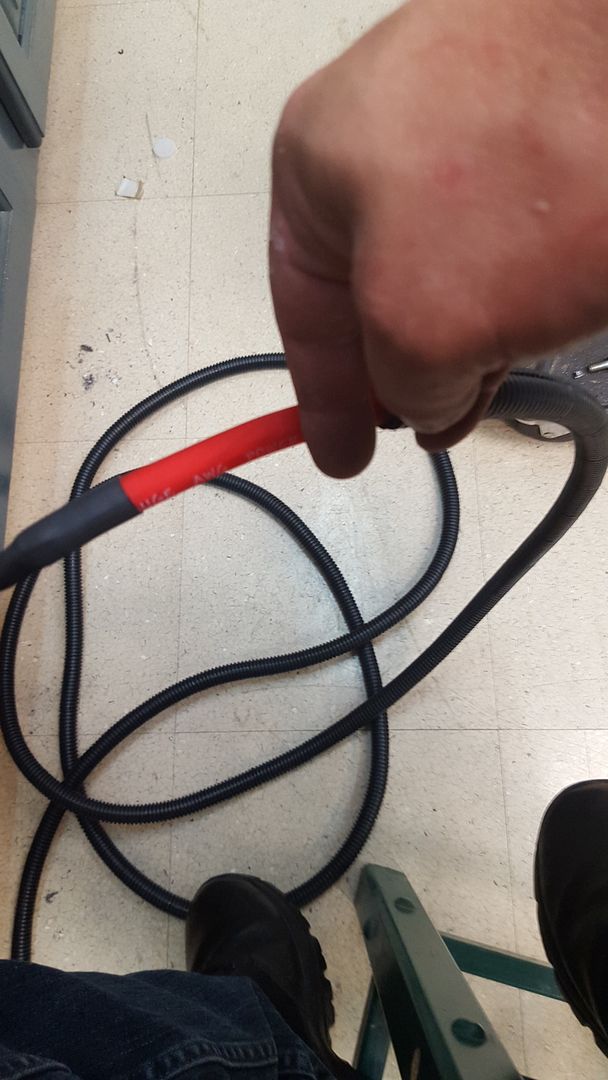
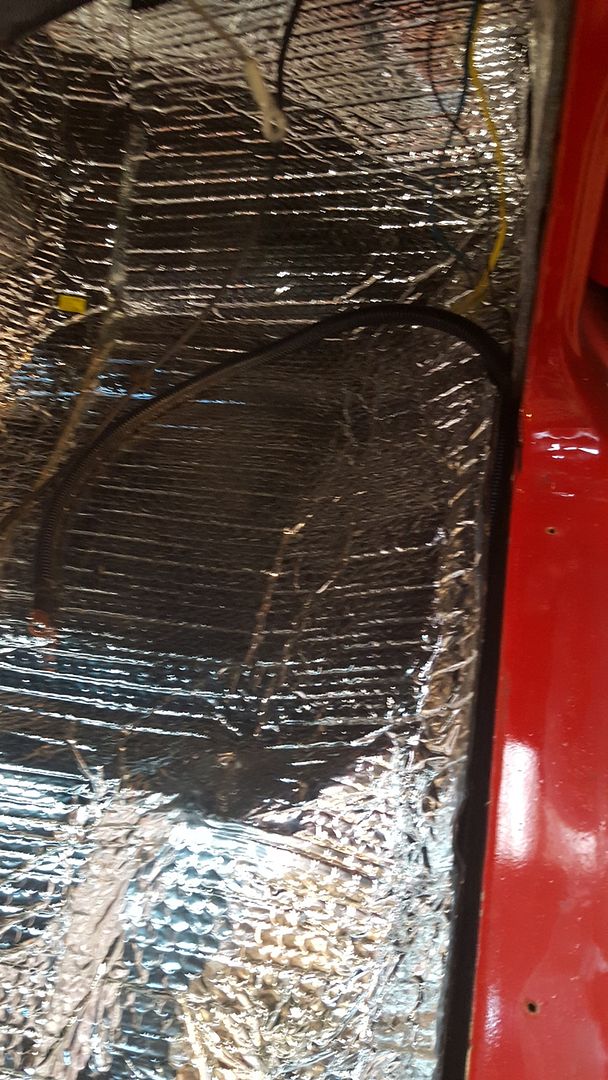
You'll also notice that I added convoluted tubing for the entirety. Id really rather not have a short in the alternator charge line due to abrasion, so I take every reasonable precaution when routing and then wrap it for another OCD layer of protection.
So, now we need to get the juice from the battery to the harness. On this car, im using 4 gauge amp wire from the battery kill, up the passengers side rocker, to the glove compartment. 4 gauge is way too much, really. But I had it. You will notice, again, wrapped in convoluted tubing for added protection.
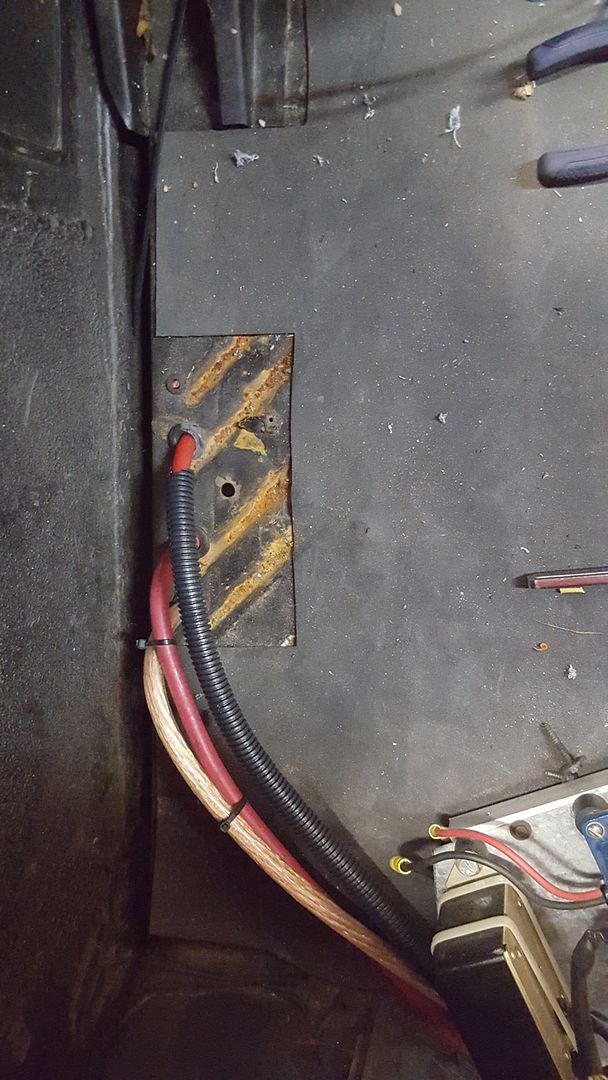
The last battery connections are the basics of the ground system. In my experience, you can never have too many grounds. Also, the grounds can never bee too big. Even a ground wire carries current, so it needs to be the proper size or bigger to do its job properly. This car, I have a o gauge ground from battery to uni-body sub-frame in the rear. I have a 0 gauge from engine to front sub-frame, and a 4 gauge from battery to drivers side cylinder head. The 4 gauge is actually a little small for this, but I expect that it will NOT be taking much of the ground path amp load. Testing will prove/disprove this.
So, we've got a whole bunch of really big wires at this point, going to nothing. That's going to change in the next update, probably tomorrow night or the next night.
Last budget: 9347.07ish
Money spent and made:
2 4 relay panels from Britain (why?) 52.40
25 foot 6 gauge alternator charge wire, and terminals: 28.90
2 add on relay blocks, and extra terminals 30.77
8 dodge neon 5 pin relays, pull-a-part: 24
Durango rear leafs, pull-a-part: 44
MS2, 10 foot harness, cables, etc from diyautotune: 740
Sheet metal from tractor supply 7:70
1/8 npt fuel rated schrader valve, diesel o-rings 5.50
Kenwood HD adapter and cable, GRM Forum member: 10
New total: 10,290.34ish
Ok, so I spent a bit of money.
More like a lot of freaking money. Holy crap, that escalated quickly.
Anyway, first, a very expensive picture. Ignore the LC1 in the picture, until I can test it good im not adding it.

And a picture of the schrader valve after a little explanation: I don't trust the mechanical pressure gauge. I've already had two fail, and if the Bordon tube fails, we get one heck of a BBQ going on. Id really rather not have that. So, this company I found, diesel o-rings.com, makes a 1/8 npt schrader valve adapter for some ford diesel to be able to use a normal fuel pressure tester on it. Which is perfect for my needs. I debated putting an electronic gauge in the car for constant monitoring, as well as a wide-band gauge and vacuum gauge.. I eventually think I probably decided not to add them. Because, lets be honest, do I really need them? If its running right, its running right. If its not, the gauges wont help me much. Just adds complexity, cost, and driver distraction. Which im trying to reduce here. A simple fuel pressure tester is fine for diagnostics and setting, as well as accurate enough. So, here's a blurry picture of a brass fitting sitting on my workbench.

So, now were on to wiring I guess. I have had people ask me to do a solid write-up of how to wire a car from scratch. Well, im not going to do that. There's books, websites, magazine articles, etc for that. What I will give here is some good tips and tricks that I have picked up after building over 30 wiring harnesses, as well as what products I tend to use and why.
First, lets talk about general planning.
This car will be fuel injected, air conditioned, cruise controlled, mid 90s level of technology, street car that will go on some tracks. So, to that end, some basic requirements are in order:
1. Ease of service.
2. Robustness.
3. Water-proof.
4. Future-proof
So, some of the things I will be talking about for my build are absolute, tee-total overkill. Like killing a fruit fly with an ICBM. Just fair warning: some of this would be ridiculous on another persons car. Hell, some of it is ridiculous on mine.
First, lets talk about battery. Mine is in the trunk, centered over the rear differential. It has a 0 gauge cable running from the positive side to the starter, and a remote kill in that cable. This is for ease of shut down, safety at the track, and ease of service on electrical should it become necessary on the side of the road at some point. For a remote kill to operate properly, it needs to shut ALL electrical down when flipped. This means that the alternator charge wiring and harness feed wiring need to be on opposite sides. Which means, by extension, that the alternator (at the front of the car) needs to go directly to battery positive terminal (at the back of the car). For this, I am using 6 gauge cable. Now, this is overkill for a 115 amp alternator. Its slightly large for a 140 amp (sometime soon), but is inexpensive in bulk. I use very finely stranded car audio amp power cable for this, as its very flexible, good bend radius, and cheap. The fine strands are the reason I up size slightly. I also use copper lugs when possible, crimping and dimpling them. I then use marine/adhesive heat shrink over the mechanical connection. The adhesive adds to waterproofing, and some mechanical pullout strength.

You'll also notice that I added convoluted tubing for the entirety. Id really rather not have a short in the alternator charge line due to abrasion, so I take every reasonable precaution when routing and then wrap it for another OCD layer of protection.
So, now we need to get the juice from the battery to the harness. On this car, im using 4 gauge amp wire from the battery kill, up the passengers side rocker, to the glove compartment. 4 gauge is way too much, really. But I had it. You will notice, again, wrapped in convoluted tubing for added protection.


The last battery connections are the basics of the ground system. In my experience, you can never have too many grounds. Also, the grounds can never bee too big. Even a ground wire carries current, so it needs to be the proper size or bigger to do its job properly. This car, I have a o gauge ground from battery to uni-body sub-frame in the rear. I have a 0 gauge from engine to front sub-frame, and a 4 gauge from battery to drivers side cylinder head. The 4 gauge is actually a little small for this, but I expect that it will NOT be taking much of the ground path amp load. Testing will prove/disprove this.
So, we've got a whole bunch of really big wires at this point, going to nothing. That's going to change in the next update, probably tomorrow night or the next night.