No power after dash upgrade. Zip. Nada.

-

Rd8

Active Member
Joined
Jun 9, 2010
Messages
28
Reaction score
0
Location
Cda
Hi all. I have been using this forum unregistered for about a year now because you have answered or solved all of my engine problems. Kudos to you smart people for your help.

Now I'm on to wrecking bigger stuff... Like the entire electrical system.
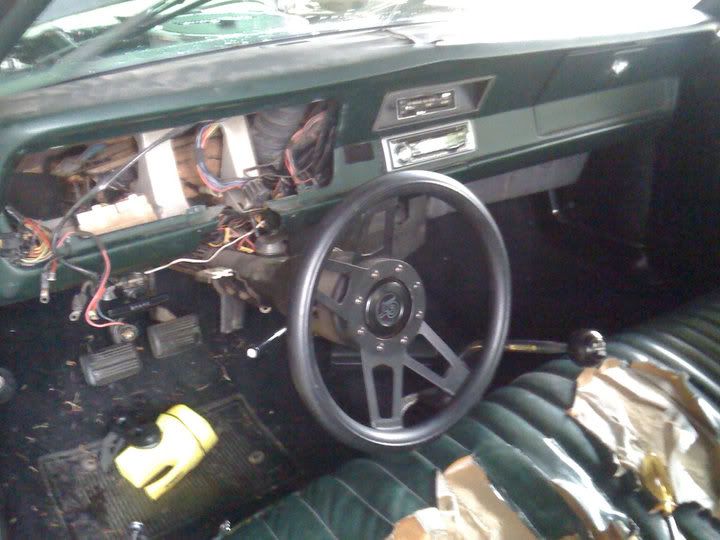
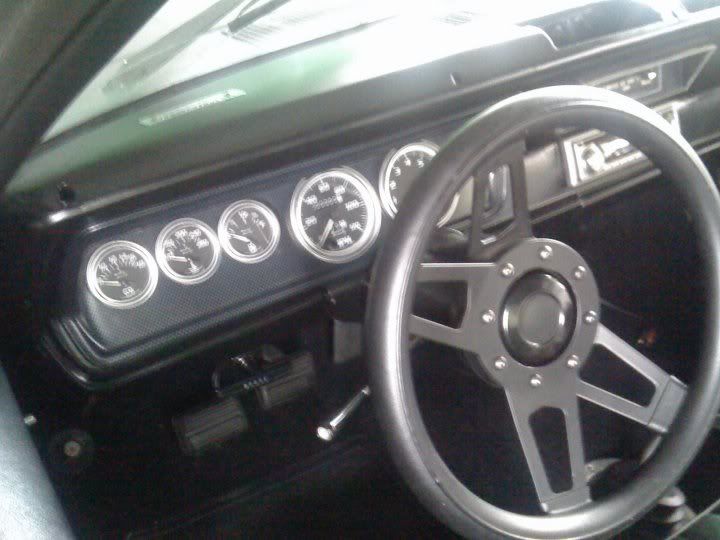
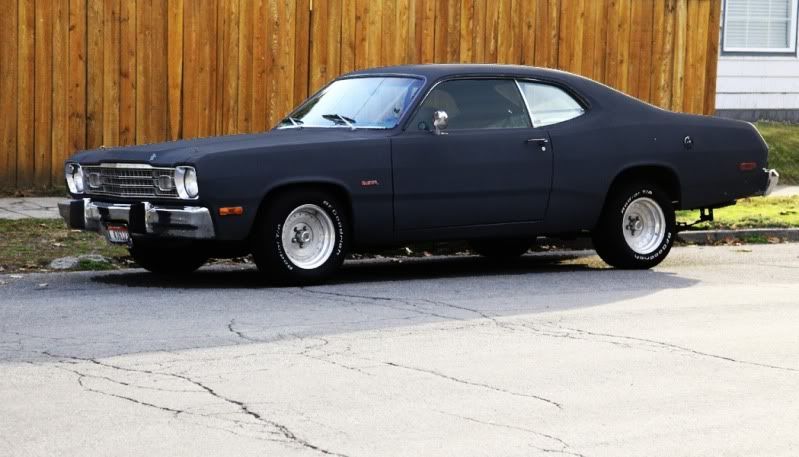
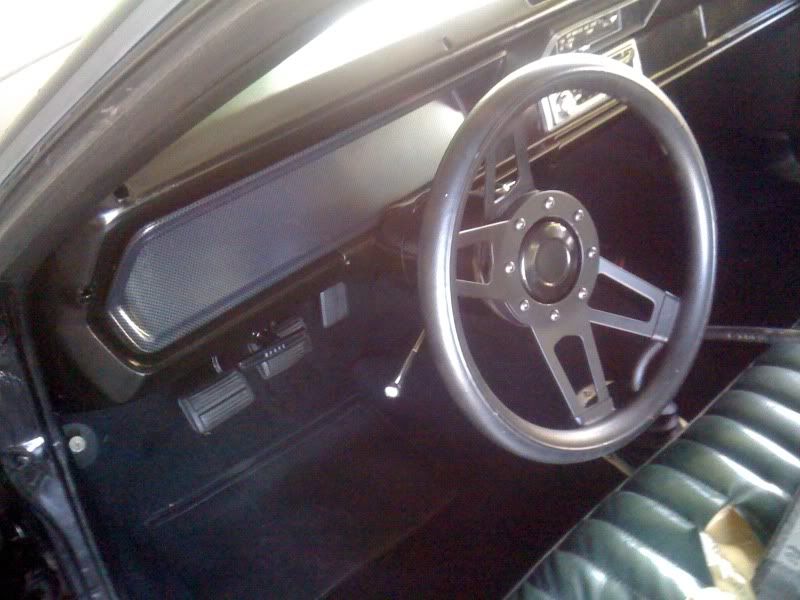
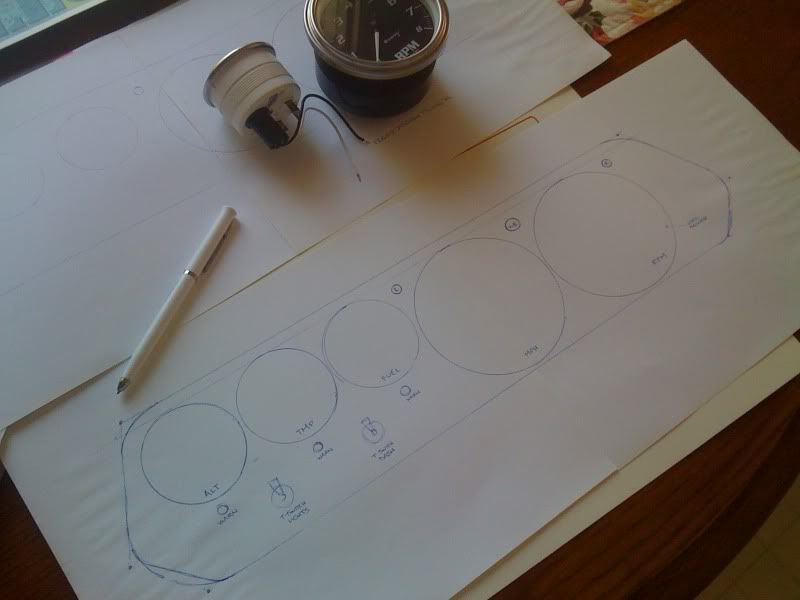
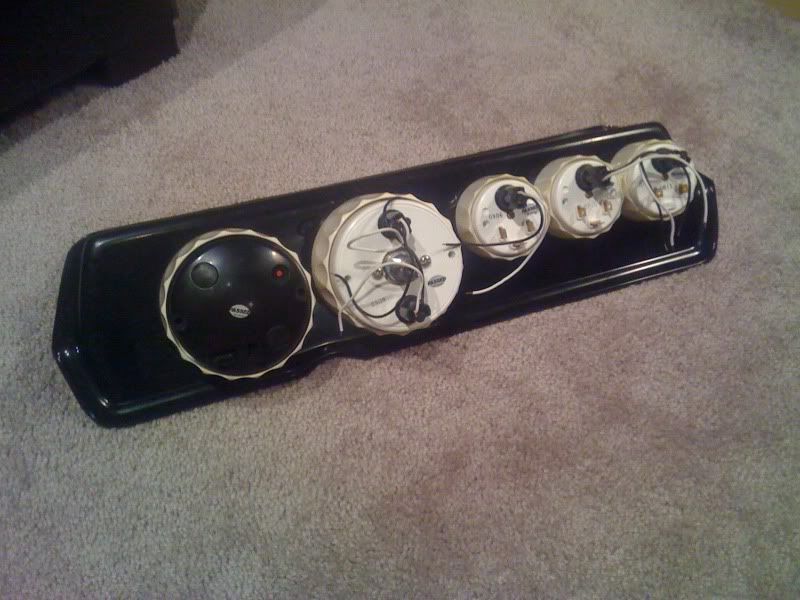
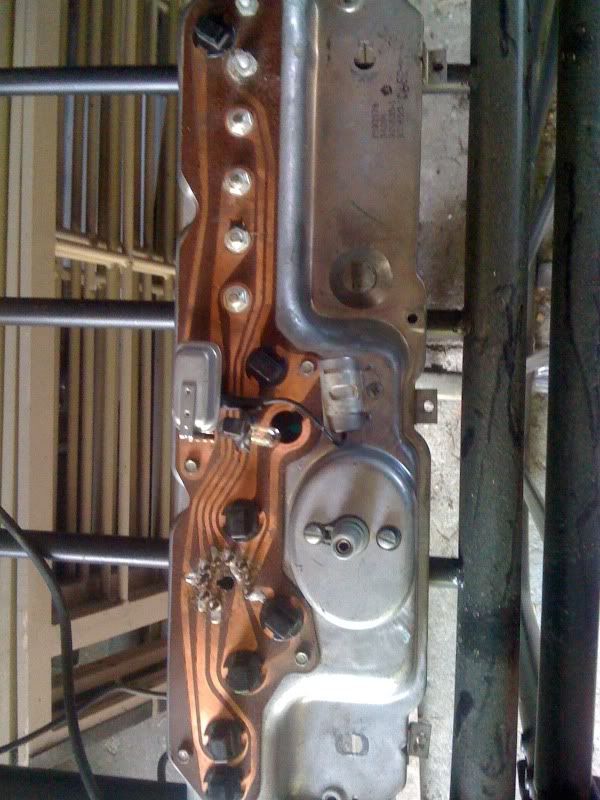
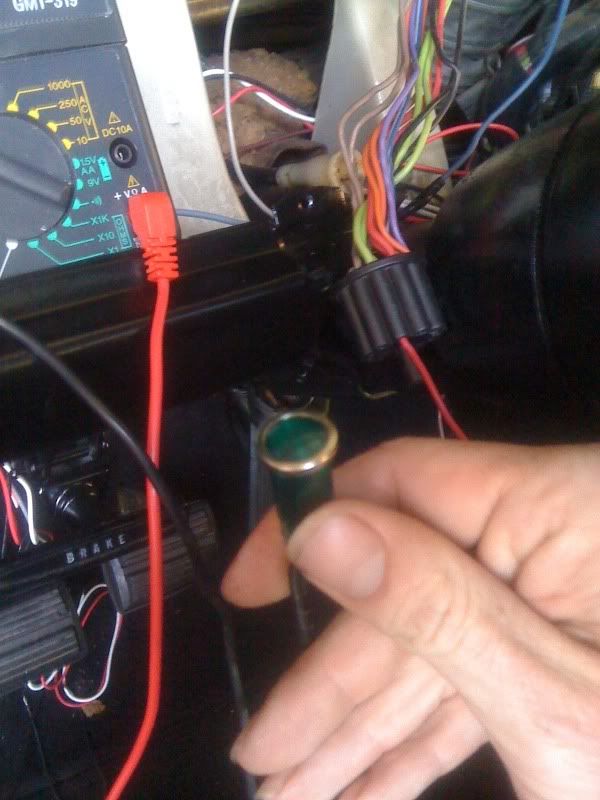
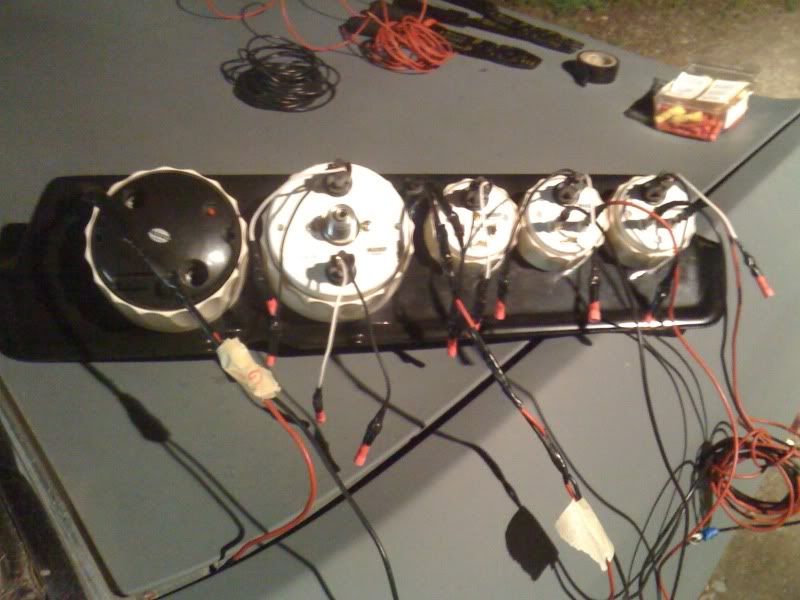
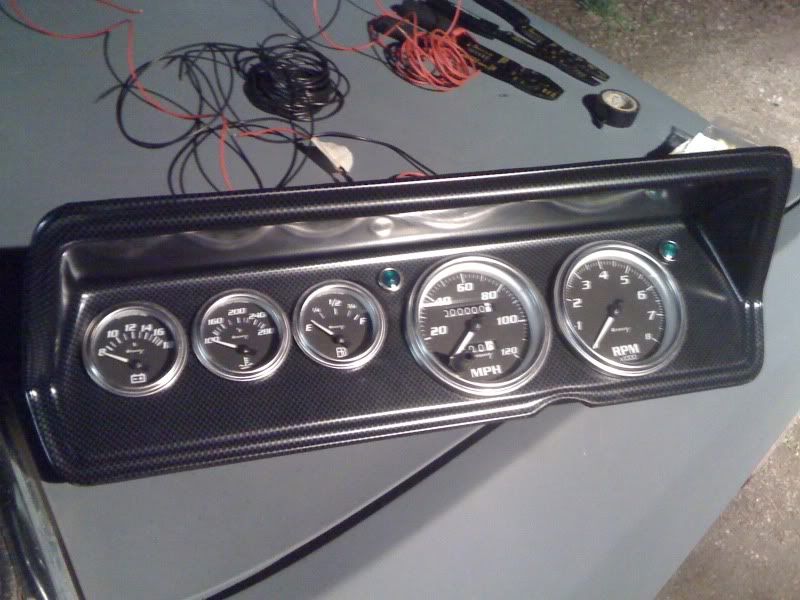
Ok.. First off.. I'm electrically challenged. Of I can't beat it into working with a wrench I'm screwed. I have a 74 Duster that I just installed a new gauge cluster in. By installed I mean I have routed all the sending units. I have only routed power to the volt meter so far. I tested it by a direct hook up to the batt terminals and it reads a strong 12v. So I went to wire it properly through the fusebox and while testing the fuses I noticed there was no power. The big indicator that I might have a problem ce when I relocated the headlight and wiper switch to the new cluster and found that neither work... Key on... No worky. I'm using the same switches and original wiring. I could understand if one wasn't working, but both not working tells me I have messed something up in a big way.

The battery reads 12v with a multimeter.

The car won't start. No even a click. The alternator was pulled and tested good. The started is brand new and worked fine before I did this upgrade.

The Only thing that makes me tilt my head is the ammeter.
I've done a little reading up on them and I really don't know what they do or if it has any bearing on this issue being disconnected.

As is.. I have nothing. No lights, no stereo, no wipers, no start and no apparent power
to the fuse box. I do however have a good battery so logic would indicate that something should work.. At the very least the original wired headlight switch.

Any ideas? Thanks in advance.

Jake
 
If you have disconnected the ammeter, the two wires that ran to it, the big red and the big black have to be connected for you to receive power inside the car.

Try that first :)
 
Awesome. Where would I connect those now that there is no ammeter?
Seriously.. I'm an eletrical moron.
 
Sorry... Double post. I'm Internet challenged too. I'm doing this on my phone so forgive the misspellings.
 
Just connect them together. The Ammeter is put in "Series" with the Black & Red wires.
 
...and after you connect the two (like, bolted together for a secure joint) be sure to insulate the connection so that it doesn't accidently touch the dash frame or some other ground point or you will fry fusible links.
 
Good deal. Thanks. That seemed to do the trick. I have power back in some places but not all. I have no headlights and only one working parking light. Seems that the battery is undervolted. Only putting out about 10.5v. Stero and most accessories work. Starter won't crank.. Making a machine gun sound, but I've always had that problem intermittently. I think a charge to the battery and this will be much easier to troubleshoot. Thanks again.
 
nothing too impressive. Way better than when I started though.

Duster_Dash_2.jpg


Duster_Dash.jpg
 
Just a set of Equus electric gauges and a a-body dash insert from Redline.
Pretty low-dough solution but this is my daily driver.
 
That looks really good even though low dough! I would not know if you had not said. Looks great to me!

John B.
 
Thanks. I stole this car for 2500 without knowing anything about car or engines.
This forum pretty much taught me how to tear down and rebuild a small block.
This electrical stuff is still a bit of a mystery to me but the little victories are a rush.
Got the new turn signal dash lights blinking
today so I'm happy.


b89020cf.jpg
 
I can give details on how I did it, but let it be known that I made a lot of mistakes along the way... Some of which I am still sorting out. It's not really rocket science but if you're like me and are starting with a zero knowledge base then it's daunting. If I had to do it again I would have had someone with an eletrical background help.

Anyway... I started by pulling the old cluster and dry fitting the new insert. Then I sat behind the wheel for a bit and decided where things should go. You can get this insert at redline gauge works for about $100.00. It's ABS and has a little flextime to it. It's very forgiving material to drill...

cbf4dd5e.jpg


The next step was to draw a plan. I drew about 10 of these and then stuck them behind the wheel until I arrived at this one. I left space for warning lights, possible switch locations and turn signals.

ba1332e8.jpg


Then the scary part.. Drilling out your overpriced sheet of ABS. I mounted all the gauges and checked for clearance in the dash. I had to relocate the headlight and wiper switch to new locations because it just wouldn't fit.

81b691da.jpg
 
The next step was locating the senders and wiring up the ones that came with the gauges

Here's the tach sender attached to the first spark plug in the firing order. The closer you clamp it to the plug the better the tach signal.

8b6e20a3.jpg


Here the temp sender. This was a bit of a pain because you have to drain the coolant below the level of the sender before you install it, then refill to normal. (yes.. I know there's sediment in the fuel filter.. I guess it works)

bf302142.jpg


The fuel sender I just followed from the gas tank to the wiring harness and spliced a new blade connector on. The volt meter was a simple + - conntection to the fuse box and ground.

This is the back of the original cluster. Don't toss this! Besides being worth money on eBay it's a priceless wiring diagram. I figured out so much just by following the circuits to the pin connector and then matching it up to the wires in the exsiting harness.

a9e3b486.jpg
 
The next thing I did was pull all of the new gauges out of the dash insert and tested them individually... Every light, every sender, every power connection. I watched a friend pre-wire his entire dash only to fight with bad splices and the bulk of working behind the dash insert. I made up a couple test wires.. One for power and one I bolted onto a ground and just loosely connected stuff into the old harness until it lit up or a needle jumped. I took note of the color code and moved onto the next connection.*

Here is one of the new turn signals being tested like this...

6e37062b.jpg


One dead battery later I had everything tested and marked. I started the real wiring. That about as far as I have gotten. I still have a few warning lights and indicators to drill and install but it's coming along nicely without too much hair loss.

fe588c07.jpg


3b4063da.jpg
 
never saw a tach sender like that one. usually ya have powr,ground, lights and a aire that goes to the coil.


do yourself a favor and get those wires all cleaned ip and run together inside some wire tubing or electrical tape. keep it clean and as far away from heat as you can. don't want any fires man. that dash looks very nice man. nice work. make sure you have all good grounds..


8b6e20a3.jpg
 
I hear ya. Everything goes into a shrink tube one the connectiions are verified and working. I don't leave anything dangling for a short. I just ordered a new accessory harness and fuse box. I want it to be easy access to a possible problem.
 
-
Back
Top