Cuda_Al's Copper 1967 Barracuda Fastback

-

Cuda Al

Well-Known Member
Joined
Oct 21, 2007
Messages
2,377
Reaction score
2,885
Location
Lompoc, CA
2009-05-10_001.jpg

This is a car that was restored in 2008 and has been on the road as a weekend cruiser.

I got the car in 1985 from my grandparents whom purchased in new in 1966. The car was used as my daily driver on and off for about five years when I was finally in a position to restore the car (that was 1990), well life got in the way with the car completely taken apart.

Fast forward fifteen plus years later and I was in a better place and was able to get back to the car, over the next few years I worked on it till I was done in October 2008, a couple weeks before the Fall Fling.

At the time the original engine (that had been rebuilt twice already) was put in the car, it was opened up and new gaskets installed, cleaned up and made to look like new. It was fitted with the Commando intake and and all the correct parts to make it look like a factory Commando 273.

Not quite done.
2008-08-02_003.jpg

Engine 1.2.2

The car ran hot from the moment it was first fired up, within days the oil pan was fill of water. A plan was hatched to pull the engine from the 67 Valiant I had at the time and put it in the Barracuda to make the show.

2008-10-17_001.jpg

Engine 2.0

Max Heim showed up and helped with the final bits and on we went, yup that day 120 miles to the Fling.

Right away another engine I had recently acquired was cleaned up and put in the car, again a used engine but it was clean.

2009-02-14_001.jpg

Engine 3.0

That engine was put in the car in April 2009 and has been in car ever since. In the time the car made a 2500 mile road trip into Oregon from California. Over the years it started to show its age and is way down on power so it is time for a proper build.

In 2010 I acquired a genuine retired CHP 1969 Polara, over the next 6-1/2 years my focus was on restoring that car, now that it is done I can focus my time (and money) on this.

2010-08-22_106.jpg


2017-11-24_001.jpg


At this time a forth engine was selected and the block and heads done, being standard is why we chose to go with it. My friend that is doing the assembly asked for me to paint the block and heads before we did the assembly, they will be painted again as an assembly.

2018-01-14_002.jpg


I am fortunate that I have pretty much everything needed to do this and not take the Barracuda out of operation, brackets, pulleys etc. are being prepped ahead of time. This is essentially a stock build and I'm going back to the original 2bbl configuration.

We are using the Egge Commando pistons and the Mopar Performance purple cam, the idea with the pistons is to bring the compression up for better fuel economy.

If all goes well we should start the assembly within the week.

As always I have this and more on my website MrMopar.com!

Alan
 
Last edited:
I know the post is about your cuda but I just have to say, I Love the CHP Polara, looks like you have the cage and all in it
I've always has a soft spot for C bodies, I had a 78 Plymouth Fury ex Ohio State Highway Patrol back in the day, really miss that car,
Would love to find another with police heritage but they're getting scarce unless you want a crown Vic or a new charger, and on the rare occasion a vintage mopar does show up they're waaaay out of my price range

Edit: after looking at your website I see it does have the cage along with other cop goodies.... very nice

Picture 096-1.jpg
 
Last edited:
What was wrong with your original motor?
 
What was wrong with your original motor?
I saw a Jay Leno`s garage segment, where he interviewed a retired cal hiway patrol captain, ( I think it was). He said, the fastest cars the hiway patrol ever had , were the 440 dodges, hands down ! ! Of course, Jay had one they did the interview in front of.
 
What was wrong with your original motor?
It had been rebuilt twice and was at 0.060, not sure what happened to let the water in. During the disassembly no smoking guns were found. Being a 67 all you need is a close date code to be numbers correct.

I saw a Jay Leno`s garage segment, where he interviewed a retired cal hiway patrol captain, ( I think it was). He said, the fastest cars the hiway patrol ever had , were the 440 dodges, hands down ! ! Of course, Jay had one they did the interview in front of.

The 69 on that episode belongs to a friend of mine, I went with him to the filming, fun outing. The 69 has always said to be the fastest CHP car ever, Dodge tested them at 149.6, CHP with the car fully equipped had the up to 135, officers often tell stories of having them up to 150, hard to say with a speedometer that only goes to 140.


Alan
 
It had been rebuilt twice and was at 0.060, not sure what happened to let the water in. During the disassembly no smoking guns were found. Being a 67 all you need is a close date code to be numbers correct.


The 69 on that episode belongs to a friend of mine, I went with him to the filming, fun outing. The 69 has always said to be the fastest CHP car ever, Dodge tested them at 149.6, CHP with the car fully equipped had the up to 135, officers often tell stories of having them up to 150, hard to say with a speedometer that only goes to 140.


Alan
Back in 1968, an express way was just opening up in the Tulsa area. The Tulsa police bought 2, 440 Plymouths to catch the Camaro boys that were outrunning them , leaving town on the new expressway. I had a friend that was a mech. at the dealer ship the cars were bought from, and the factory guaranteed the cars would run 180 if kept tuned right. The next year I BOUGHT A 1969 coronet RT in OKC, that had the same drivetrain, it would bury the 150 mph speedometer. There was a ''lot" of travel left after 150 in a in a 69 RT too.
 
The work on the engine continues but I needed to get the car in the garage, for the last eight years it sat on the driveway while the CHP was restored.
2018-02-18_001.jpg

2018-02-18_004.jpg

2018-02-18_013.jpg

2018-02-18_019.jpg

2018-02-20_003.jpg


It is a tight fit and I have to get out of the passenger side of both cars, the Barracuda needs to be backed out to get the CHP out


Alan
 
On to the engine, just a reminder, this is basically a stock rebuild and it is going back to a 2-bbl. A standard block was selected and was machined to 0.030 over.

Day 1

Once the machine work was done the first thing was to clean the inside of the water jacket, something that should have been done prior to sending it out. Bristle brushes and coat hangers were used in every conceivable angle in every opening in the block, some of the brushes were bent in a curve and worked around the back of the cylinders. This was done multiple time with the block rolled at different angles constantly rinsing with high pressure water. Once that was done the outside of the block was washed with soap and water, then blown off with air to dry.

With the block clean the heads, intake, valve covers, oil pan, oil adapter, and timing cover were put together. The other parts were cleaned and the assembly was painted. My engine guy prefers the block to be painted first to prevent the cast iron from soaking up oil, it will get painted again once it is together.

All the parts were removed and the inside was sprayed down with WD-40 and wiped down to clean any machining dust that may still be there. Once clean the inside was sprayed again to protect it.


Day 2

With the rough cleaning and prep done the detail cleaning could start. Some small (long) soft bristle brushes were run through all the different oil passages, cleaning the brush before pulling it back out.

With the block thoroughly clean the first thing was to check all the machining, the main bearings were fitted and the caps bolted and torqued down. Multiple measurements were taken and compared to the crank (this block was aligned bored). Each of the pistons were measured and compared to the bore to verify the piston to wall clearance.

With all the numbers checking out the distributor bushing was knocked in with an old distributor drive gear. Then the cam was installed (with assembly lube) to verify that the bearing were installed correctly (wouldn’t want to figure that out with the engine all together), along with the thrust plate (blue Loctite on the bolts, all 4 were used).
2018-03-03_010.jpg


Day 3

Good to go the various oil plugs were installed, all with sealant.

From there the crank was inspected for flaws and the oil passages cleaned. Main bearing installed and the crank (with assembly lube) and caps, all torqued, check rotation. Next was to fit the timing chain and check the slack. The chain was looser than desired because the engine was align bored, something I didn't think about when I ordered the chain. My friend that is helping me with the assembly said to get the 0.010 under chain, well that one came in and he felt it was a little on the tight side so a new one was ordered (a 0.005 under).

0.010 under
2018-03-20_003.jpg


0.005 under
2018-03-20_004.jpg


Alan
 
Well ,Hello... Love the 'Cuda ,and the cop car.

Polara never gets any love , Thank You.
 
Day 4

The new timing chain arrived and was installed, perfect tension. Happy with the timing chain the work moved to the heads, my builder chose to go with new springs, retainers and locks, the machine shop used the originals. One by one the parts were replaced, pretty easy with two people. While at it the heads were blown out to clean all the machining dust. The day was wrapped up with fitting all the rings on the pistons, he chose to use a current chart for clocking the rings from what is in the service manual.


Day 5

New day, one by one the pistons were coated inside with oil to get the wrist pins and then oil was liberally poured over the outside and worked into the rings. As each piston was done it was inserted and bolted in, torque would be done later. Each bank was done separately, 1 - 3 - 5 - 7 then 2 - 4 - 6 - 8 to keep from having to rotate the engine back and forth. Sections of tubing were used to guide the rods in and protect the crank from being scared.
2018-03-31_003-jpg.jpg

Once all the pistons were in the assembly was rotated once again this time to facilitate torquing each of the nuts. Afterwards each of the rods were checked at the crank for binding. Still time available a new high volume oil pump and pickup were installed followed with the windage tray. We needed to play with the shape of the windage tray to get it to clear the oil pan (Blue Loctite was used on the windage tray bolts).
2018-03-31_002-jpg.jpg

That done we wrapped it up for the day, literally. A trash bag is put over it and tied closed. Another thing of note was the use of extra washers on the balancer bolt to lessen the stress on the threads (although this is a spare bolt).
2018-03-31_006-jpg.jpg


Alan
 
Hey Al! Haven't seen you since Spring Fling 2005. Good To See you got the cop car done and are working on the 67.
Cheers, dennisinohio
 
Day 6

The day started off with putting the crank seal in the timing cover, a section of exhaust pipe was the perfect fit to drive it in, although the seal has a coating on it sealant was used. The timing cover and water pump were installed, after the bolts were all installed the balancer was put on loosely to insure the covered was properly centered on the crank. An oversize nut was used to make up for the lack of the alternator bracket and spacer. With the cover properly positioned the bolts were all tightened.

While I finished up cleaning the gasket surfaces on the oil pan my friend worked on fitting the oil filter adapter, we had used the Barracuda (has an engine still in the car) to determine the best angle for it. While tightening the bolt we heard a pop, a pretty good pop so we pulled the bolt out and saw it had broke in two places. In looking at another bolt we had we noticed a difference in both the thickness and the placement of the holes, big difference in the strength.
2018-04-01_002-jpg.jpg


2018-04-01_004-jpg.jpg

Happy with the oil filter adapter we moved on to the oil pan, no real surprise here. Additional sealant was applied in some key area at the corners. With time up we finished the day with putting the dowels in for the heads. One of the Cometic head gaskets was test fitted out of curiosity, these have a 3.670 bore that is a perfect match for the 0.030 over, much better than the one size fits all gaskets.
2018-04-01_005-jpg.jpg


2018-04-01_015.jpg


Alan
 
Nice cuda to keep in the family!!!! The COP car is cool also!!!
 
Day 7

The day started with verifying the valve rocker geometry, once we were happy the Cometic head gaskets were copper coated. While we waited for the gaskets to be ready the head gasket surfaces were cleaned and the block surface. Once the gaskets were ready the heads were put on.
2018-04-07_002-jpg.jpg

Next up was to check the pushrod length, a lifter, pushrod and the rocker assembly were put on. Because we are using hydraulic lifters with the adjustable rockers different pushrods were needed. The geometry was checked through the rocker travel, everything checked out. The new valve springs are a little larger in diameter and are very close to the rockers so the decision was to clearance them, time was up so took care of that after my friend left. Due to the grinding the rockers were thoroughly cleaned with Brākleen.
2018-04-07_005-jpg.jpg


Day 8

New day, first up was to install the balancer now that we had an installer. Oil was then poured into the engine through the valley over all the lifter sleeves, the oil was pumped till it came out the first lifter (number 8 exhaust) then the lifters were put in leading the oil forward on the right head and back on the left till they were all in, at that point the pleasure climbed to a good point. The push rods were then put in with assembly lube on both ends. The rockers were put on the shaft and assembly lube applied as they were slid into place. The assembly was bolted in place and the clearance checked, still not enough. The rockers were removed, cleaned and ground some more then cleaned again, rinse and repeat. Rocker assemblies once again installed, the engine was rotated to TDC (compression) and the rockers adjusted rotating through the sequence.
2018-04-21_001-jpg.jpg

2018-04-21_003-jpg.jpg


Alan

 
Day 9

One thing we had planned on doing was to block off the heat crossover on the intake, with today's gas vapor lock is more an issue. I used an old 440 valley pan and cut a couple pieces out to cover the ports on the heads, these pieces were stuck to the head with some high temp sealant.
2018-04-21_006-jpg.jpg

2018-04-28_001-jpg.jpg

Sealant was liberally applied to the joint where the heads meet the block, sealant was then put on the cork gaskets and installed. Before the intake gaskets were put on sealant was applied around the coolant ports on the head. The Fel-Pro composite Printoseal gaskets were then put in place, with the gaskets in place sealant was put over the cork gaskets and where they meet the heads. Before the intake was put on sealant was applied around the coolant ports and the surfaces where it meets the cork.
2018-04-28_002-jpg.jpg

2018-04-28_004-jpg.jpg

2018-04-28_005-jpg.jpg

The intake was placed, sealant applied to the ends of the bolts and the bolts put in and torqued. The expansion plugs were then installed, before the block was cleaned with emery cloth and Brākleen then sealant applied.

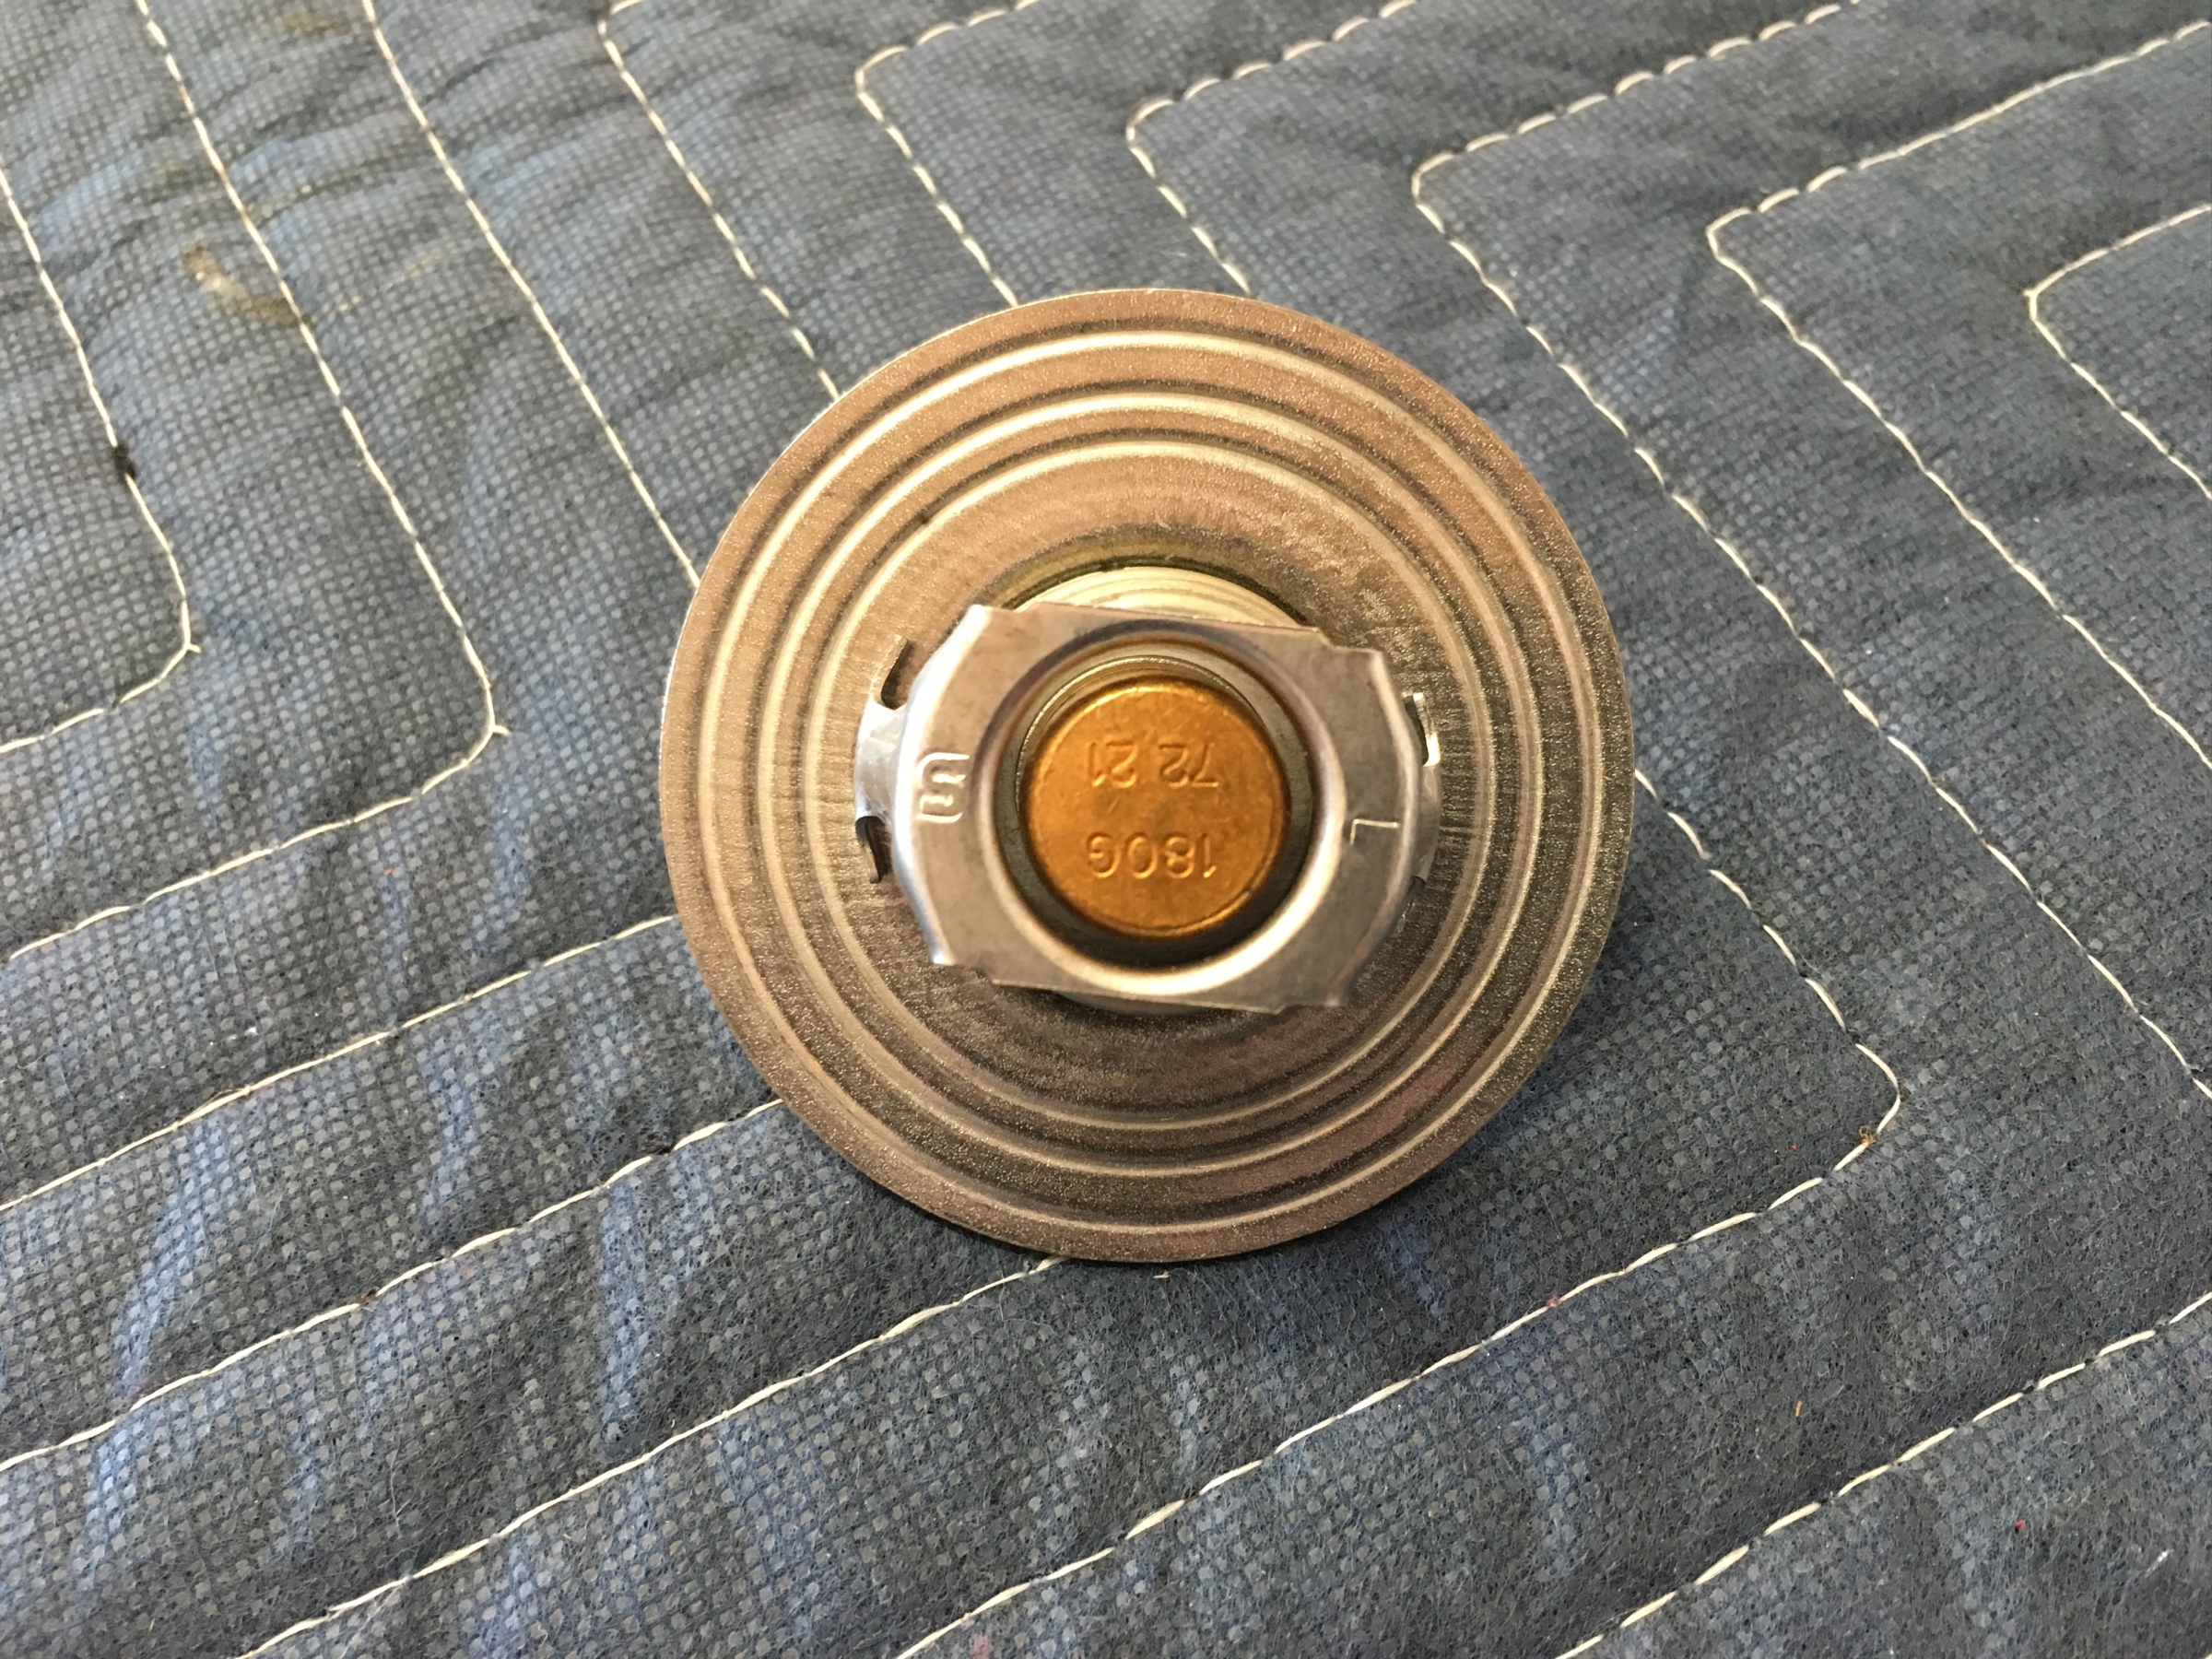
After my friend left I finished up a bunch of stuff. First up was the thermostat, before installing it I drilled hole in it to help let air out and coolant in when filling.
2018-04-28_009.jpg

2018-04-28_010-jpg.jpg

The valve covers needed to have the flange fixed at the holes, with a bar clamped in the vice they were hammered flat. Sealant was put on one side of the gaskets and installed the covers.
2018-04-28_012-jpg.jpg

2018-04-28_014-jpg.jpg

2018-04-28_015-jpg.jpg

A box wrench was used to press the dipstick tube in, sealant was used.


Alan
 
2018-04-28_020-jpg.jpg

For some reason one of the heads didn't have the hole needed for the ground wire (same hole that the negative battery cable would use). The head was drilled and tapped, the engine stand was in the way so every 3/4 turn I'd have to remove the handle and rotate it 1/4 turn and continue.
2018-04-28_022-jpg.jpg

2018-04-28_023-jpg.jpg

I wrapped the day up with drilling holes in the 4-bbl lifting plate, there were no provisions for a 2-bbl.
2018-04-28_026-jpg.jpg


Alan
 
Day 10

The day started with moving both cars out of the garage so I could paint the engine.
2018-04-29_001.jpg

The engine was originally painted with Dupli-Color Chrysler red, not quite right knowing I'd be doing a full assembly paint when done. After cleaning everything I went over all the marred hardware and gaskets with the Dupli-Color till it all looked even. The Mopar Red was chosen to have the best match to what I thought the original color was, while working on the engine I was putting some clear paint on some other parts and hardware.
2018-04-29_008.jpg

2018-04-29_010.jpg

2018-04-29_019.jpg

Once I was happy with the paint on the engine I put the cars back in the garage, this time I backed the Barracuda in as next up was to pull the engine. After a break for lunch I set in on clearing the engine compartment, with this rebuild I'm refreshing the entire engine compartment. By the end of the day I had everything out but the engine and it was ready to pull short of draining the coolant and pulling the radiator.
2018-04-29_040.jpg


Day 11

A simple hookup and pull, nope first drag the hoist out from the yard in pieces. Even though it was just used a few months ago all the finger tight bolts needed wrenched to remove so I could assemble the hoist. System drained and radiator removed. Finally able to pull the hoist was hooked up and away it went. The engine was lowered so I could put the dolly on it, I have use this dolly before but I guess I never had a filter on the engine, off it came good to go.
2018-04-30_004.jpg

The car was pushed all the way into the garage so I could make room for the engine in front of the car (temporarily). With the car moved I had no room in the garage, the door locks from the inside and I have to climb over stuff to get into the house.
2018-04-30_011.jpg

2018-04-30_012.jpg

2018-04-30_013.jpg

2018-04-30_014.jpg


Alan
 
Last edited:
It was originally planned to remove the transmission under the car but I chose to slide it forward and lift it out. The engine mount was left on the frame and the bolts to the transmission removed. Once the driveshaft was removed and the shift linkage the transmission was slid forward with the aid of a board to help it over the steering linkage. A neighbor was recruited to help lift it out and over the header.
2018-05-01_001.jpg


The exhaust manifolds are much easier to separate from the pipes with the engine not there. The car was then rolled out with the engine bay over the driveway then scrubbed and scrubbed and scrubbed...

I wanted to remove the master cylinder, wiper motor, speedometer cable and parking brake cable but I couldn't open the door enough to get under the dash.
2018-05-02_004.jpg

2018-05-02_030.jpg


I went to put the engine mounts on the engine and noticed that one of the holes was not drilled (this is a 66 model year block). After confirming the orientation with the engine just pulled. I bolted the bracket on the block in a way it would have a hole over the ear where needed. A drill was then run through the other ear. The hole wasn't quite centered but I was able to ream it out a little to properly align the bracket. Initially I put the bracket on the wrong side but caught it.
2018-05-06_011.jpg

2018-05-06_016.jpg


I dropped by the shop to see the progress, he was literally at the point he was getting ready to spray.
2018-05-15_001.jpg

2018-05-15_002.jpg


I got the car back and it looks far better than it did before.
2018-05-18_003.jpg


Alan
 
I should have painted the fan motor before the car went to the shop and I asked him to paint the frame black, oh well, guess I need to do it.
2018-05-19_001.jpg

2018-05-19_004.jpg


I still need to detail the bolts and rivets on the fan motor. Some day I'll properly detail the suspension but for now it's all black.
2018-05-19_010.jpg

2018-05-19_008.jpg


The parking brake cable was cleaned (the section seen in the engine compartment) and painted.
2018-05-19_009.jpg


New brake lines and various parts added.
2018-05-19_017.jpg


The transmission was cleaned and lowered into the car. (I'm almost always pulling and installing engines myself and just find it easier to do separately, typically there is no reason to pull the transmission at all.) A board and some boxes are use to keep it from hooking everything as I slide it back from underneath.
2018-05-20_009.jpg

2018-05-20_011.jpg


Alan
 
Last edited:
The next day I had a friend come over and help me with the engine installation. We had difficulties getting the engine mount to drop in and the oil filter was close to the body, that is when we noticed the engine mount was askew. A quick check of the other engine and we realized the mount was on the wrong side of the flange. We already had the transmission lined up and bolted so I was not pullin it, removing the exhaust manifold gave me the clearance to move the mount. Done, now the tailshaft can be moved to center.
2018-05-21_002.jpg

2018-05-21_006.jpg


I put the distributor in as a reference to where top dead center was so when I spun the engine to bolt the torque converter in I could return it to where my engine builder left it.
2018-05-21_009.jpg


The shift linkage and kickdown linkage was put in along with everything under the car, driveshaft, speedometer cable...
I know the bellcrank and hardware should be painted red.
2018-05-22_001.jpg


The reproduction voltage regulators are not good enough for me, one the cover is the wrong style (should go down to screw flange), two the printing doesn't look right. I felt I could restore mine myself with better results. I located some red dry transfer letters that were close to the correct size. My original cover was blasted and painted black, letter by letter the text was put down. This took time as it was difficult to see the previous letters on the black through the milky sheet, multiple times letters needed to come off. Once done it was clear coated, not perfect but far better than the reproduction. I had notes and measurements of my original along with an NOS one for reference.
2018-05-24_001.jpg

2018-05-25_008.jpg

2018-05-25_001.jpg


The new master cylinder had the wrong size threads to hold the cover on, the problem was that it was too big. HeliCoil to the rescue, I wanted to be sure nothing got inside so the ports were first taped over then the bowls taped. I could then drill, tap and insert the HeliCoil without risk. Now the OEM bolt can be used.
2018-05-26_001.jpg

2018-05-26_002.jpg

2018-05-26_003.jpg


Alan
 
While i had the engine on the stand I marked the lower pulley to make it easier to line up when putting on in the car.
2018-05-26_011.jpg


Other details going on the engine and the engine compartment (distributor is temporary)
2018-05-26_013.jpg


2018-05-26_016.jpg


2018-05-27_003.jpg


One thing I had from my grandfather was the original factory alternator, on it was the original clip, it'll be cleaned up and used, much better than the reproductions.
2018-05-28_001.jpg


I already had the ignition box mounted under the battery tray but I needed a spacer under battery, I took a flat head bolt and some large washers and created a countersink. Washers would be needed to get the module to clear the countersink, paint was ground down to insure a good ground.
2018-06-12_005.jpg

2018-06-12_003.jpg

2018-06-12_007.jpg


I kept seeing the wiper motor and thinking what an eyesore it was so it was sent off to be restored, big difference.
2018-07-19_017.jpg


One of the things that started acting up just before I pulled the engine was the power steering so the pump was sent off to be rebuilt/restored.
2018-07-19_014.jpg


Alan
 
Work continues, alternator, heater hoses. The heater hose bracket is something my grandfather made and I included as a tribute to him.
2018-07-28_002.jpg


Bleed the brakes and put the freshly powder coated wheels and redline tires on.
2018-07-28_008.jpg

I sent my factory original radiator to Glen-ray Radiators, this radiator took a fan back in the 80's and I have had it in storage. I got it back and it looked better than new and wasted no time getting it in.
2018-08-20_001.jpg

2018-08-20_007.jpg


A few days later my friend comes by and we finish up the ignition wires, he rebuilds the carburetor and we get ready to fire it up for the first time.
At first the starter just spun and not the engine, jack it up and work the starter in, just didn't feel right the entire time, either way it was lined up and we fired it up. He makes his adjustments and goes through his break in routine.

Once he was happy I pull the car out of the garage and we go for a test drive. Happy with the oil pressure we return and he makes a couple adjustment and head back out for a longer run.
2018-08-25_003.jpg

In the above photo you can see another tribute to my grandfather, the nylon wingnuts on the battery strap.

2018-08-25_006.jpg


I get all the plug wires dressed and the retainers put on.
2018-09-01_002.jpg


I still need to adjust the headlights and put the bezels back on, after I get the ball joints replaced I'll put the wheel covers on.
2018-09-01_016.jpg


I couldn't wait, wheel covers went on.
2018-09-02_012.jpg


Alan
 
Last edited:
-
Back
Top