Home built tube chassis in process

-

Jo Diesel

My other car is a Dodge
Joined
Nov 24, 2010
Messages
399
Reaction score
34
Location
St. Johns MI
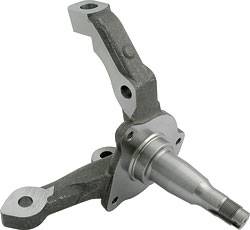
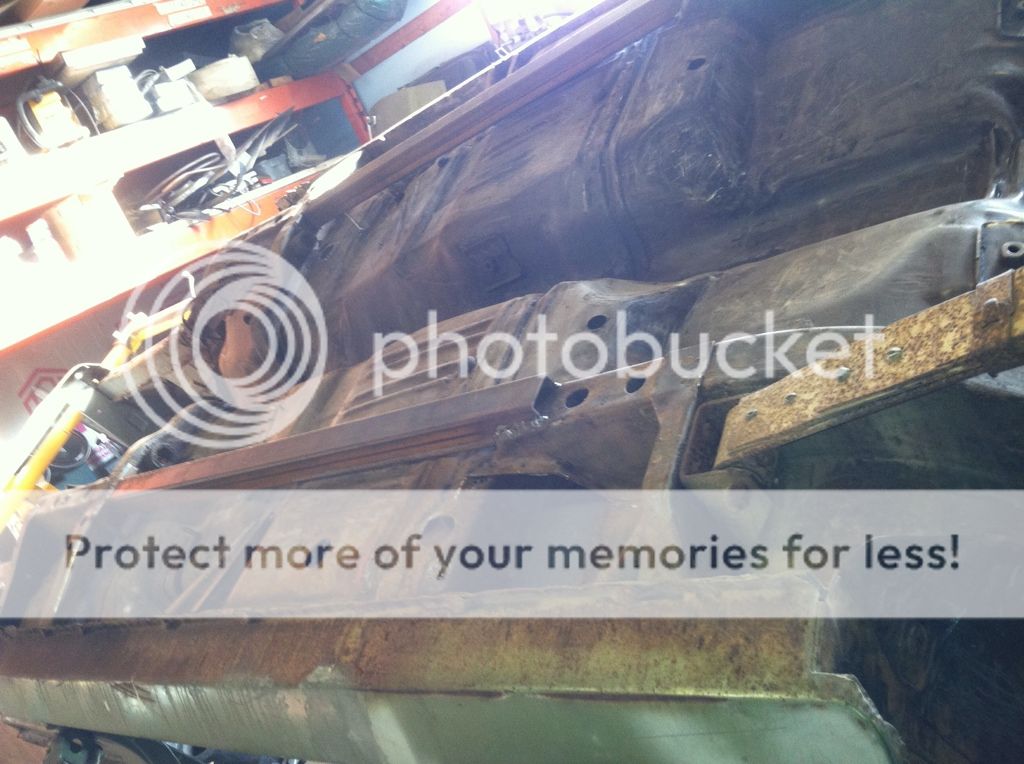
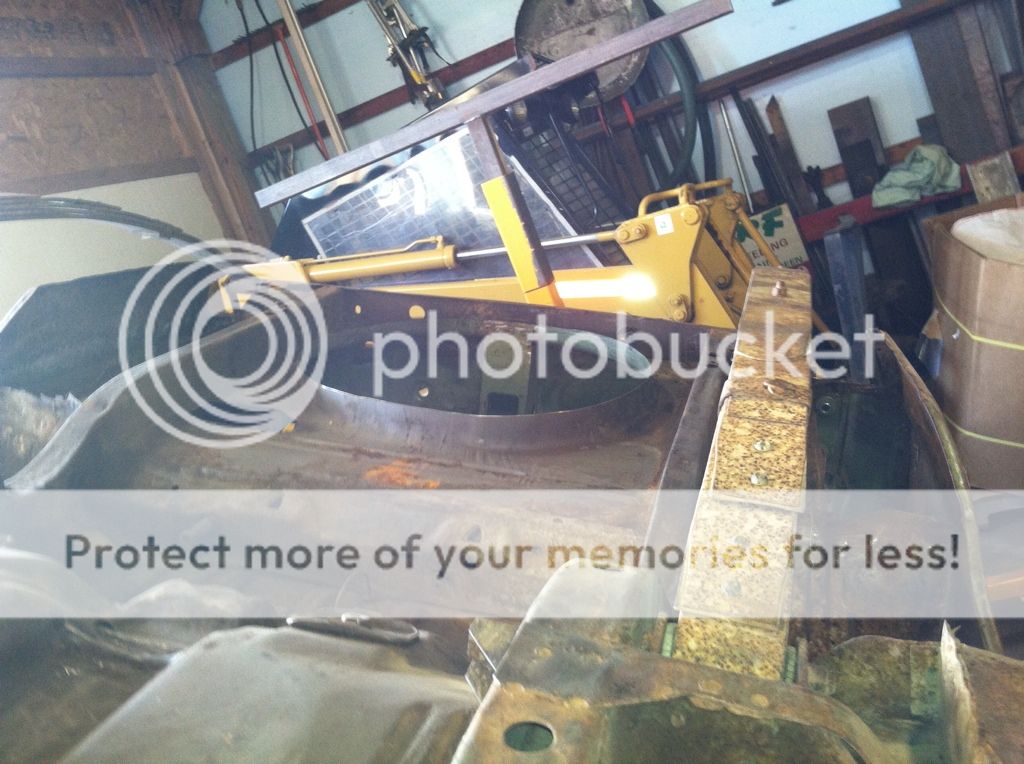
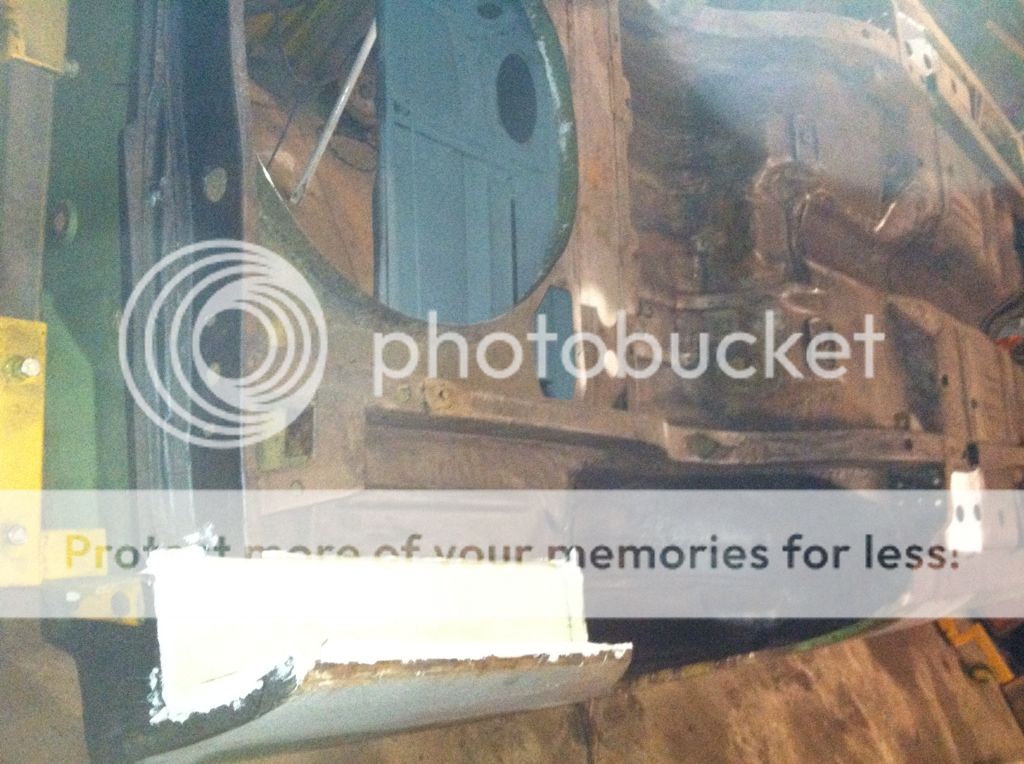
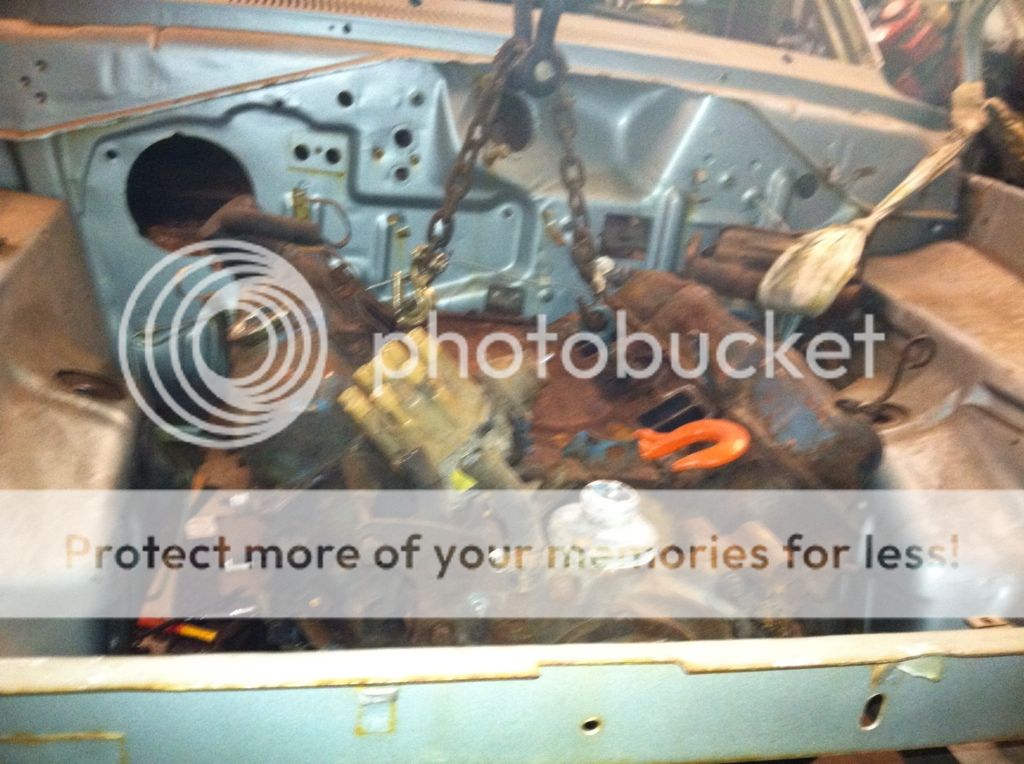
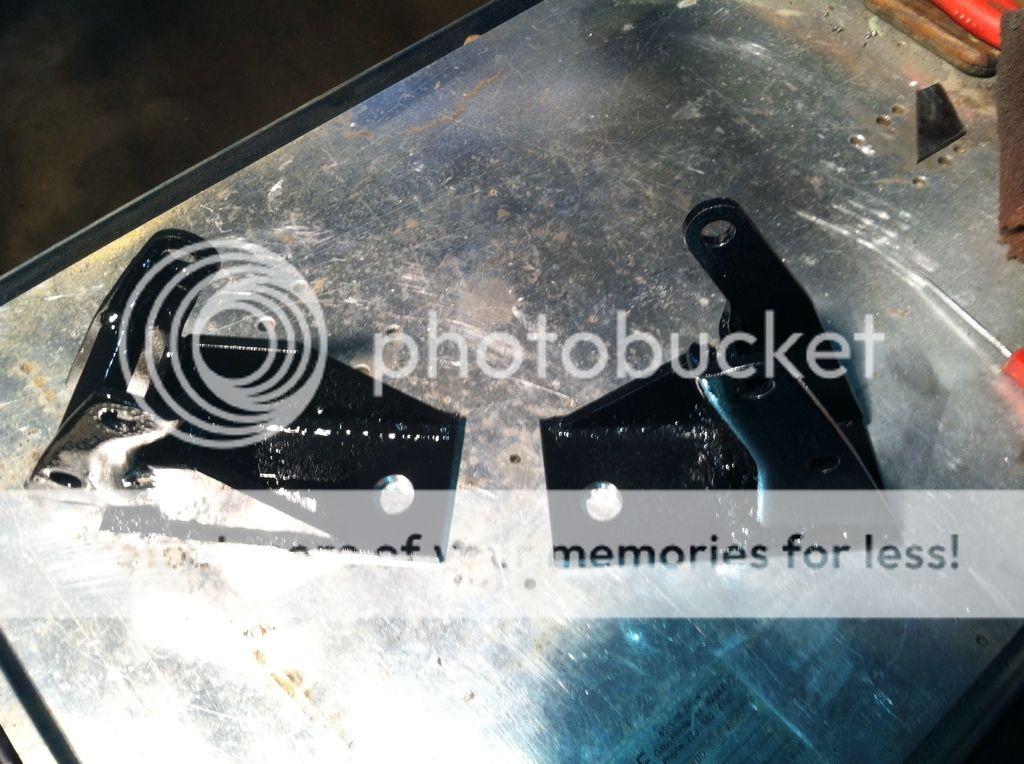
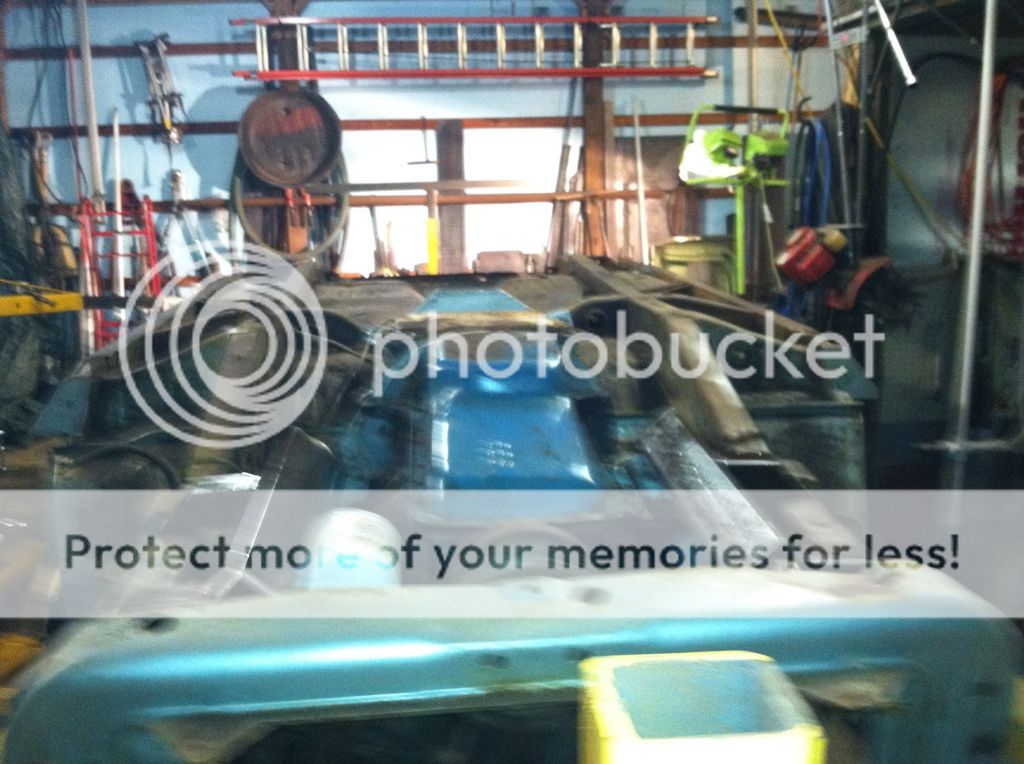
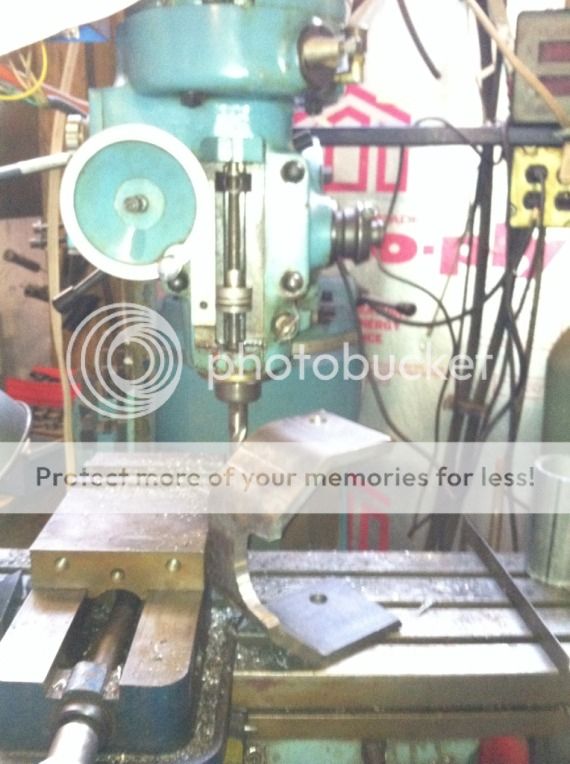
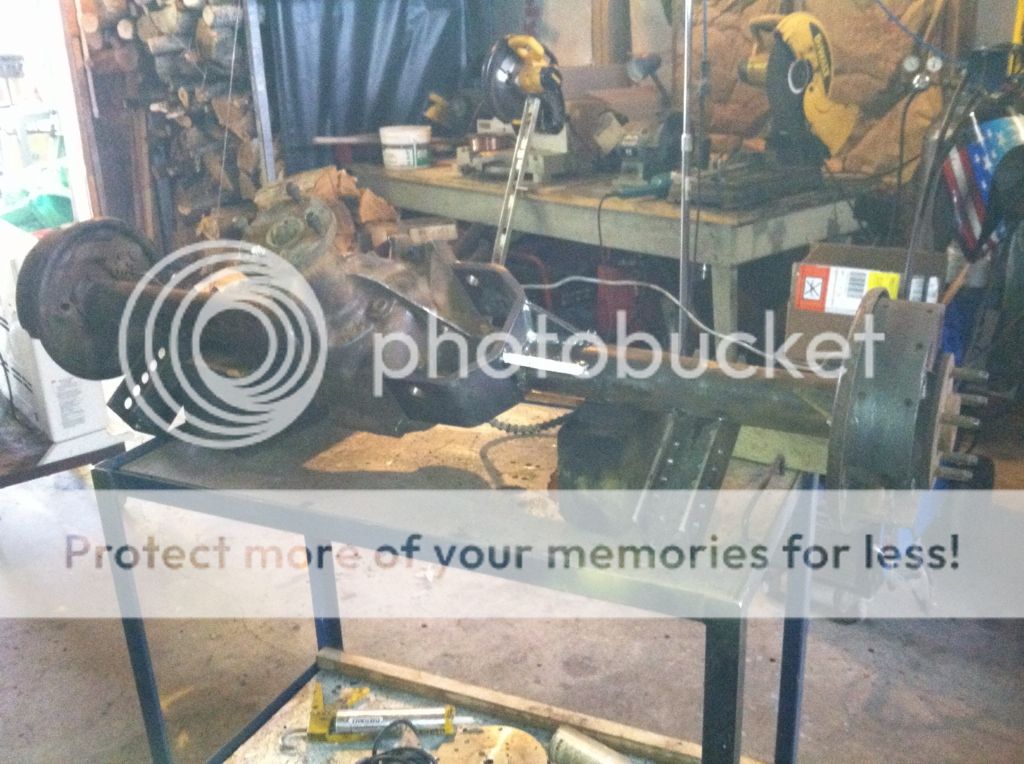
I have a 73 dart that I am putting a 400 in. I need the front end completely gone through and header selection for an A body are expensive or fender wall which I do not want. I am going to build my own tube chassis. I have never done one before but my father in law said he would help. He has been building race cars since the 50s. Here is the set up that I think I am going to base mine off from. Some things I like some things I don't so there will be some changes and there is no way I have 4k to through in a front end. That is my budget for the hole car. If any one interested I will post pictures as I progress
product_image.php
 
Welcome to FABO Joe!Yes please post pics of your progress.There will be plenty of guys interested.
 
Definitely post pics, I'm WAY interested. I'm building a full tube chassis for my '69 Dart using all Viper suspension pieces. All my suspension components (including the rear end), plus a pair of Viper seats, some frame sections to build a suspension jig, and some other Viper parts for my build were less than the price of an Alter-k; oh yeah, steel too! I want to know more and see more... Pics please.
 
Welcome to FABO, Joe! You're going to have lots of FABO members following this thread.
 
It must be in the water.
I am starting a square tube chassis for my 75 Colt very soon. Not sure why it took this long to finally get a committment to myself, but it is now... I pick up the bandsaw to cut with tonight at 9:30pm!
 
Starting my parts list for this project. I know some might not like the parts I use but these are stock car parts. Not FORD! I will credit suppliers. First are fromhttp://pitstopusa.com/ PIT STOP USA
F14600351.jpg
11" BRAKES 4 1/2 BOLT PATTERN, GM METRIC CALIPERS SALE: $219.94
M14608521.jpg
Mustang spindles standard height SALE: $194.94 Pair

Upper Control arms
M14585175.jpg

UB Machine Upper Control Arm - Steel Shaft - 9" - Screw-In Ball JointSALE: $46.27
F14614827.jpg
$49.94 ea
 
I just noticed your in St. Johns. When I'm stateside I'm in GR. Maybe there IS something in that Michigan water...

What are you using to design your suspension geometry, assuming it's some sort of software? What is the planned use for the car?
 
No software. Seet of my pants with 30 years fab experience plus father in law that has been building roundy round cars since the 50's.
This is going to be a street car with stock car handling.
 
Don't want people to think I am screwing off but I am working 10 hours a day and I am married and have dad responsibilities. The other thing I am working on is suspension angles. The stock suspension is not very good at high speeds. My sons 94 Firebird handles great at 100+ and that is a strut car. The upper A arm is angled which should help with bump angles but I think it would be better straight with more caster. From what I can see this car has negative caster and should have 3-5 deq positive. Any one have any input ?
 
I think you may find it to be cheeper to buy a old outdated super late model. Would give ya all your suspension pieces plus a quick change rear end. How cool would it be to see a street car running polished aluminum wide 5 wheels.... That was my plan anyway, now if I just had enough extra money to do it....LOL
 
Little work finally done on my car. Front suspension part done, no money to buy parts. Have been working on rust and mini tubs subframe connectors.
0F4A4284-3011-4527-98B4-6F0E572439D2-1205-000003ADB1F96814.jpg
375A8B99-AF8B-43F6-BD58-2C062A6B7698-1205-000003ADB5F96F0D.jpg
http://i853.photobucket.com/albums/ab95/JoDiesel/CB13FC4E-F32D-4F34-A272-9D71DD1CC57F-1205-000003ADC3AEC487.jpg
 
More pictures
A30C0383-0A66-4A98-AD9D-B9E4B42AB9A7-536-000000E944C63A70_zps8a4c72da.jpg
Mini tubs are done. Trunk extensions are replaced and leaf springs are gone. Going coil over
BCBE910F-80B9-485D-B70A-4388B055FFAC-333-0000012000E0DEE0_zps19e7a886.jpg
Here is the start of my suspension. Made out of 2x2 x 1/8"
 
Made new trans mount. Took forever as I do not have the old one.
111B036D-3566-4A22-AB02-7BE2D3995F4F-1141-000002D180696C8A_zps8babf254.jpg
Got engine set in place
A043B357-08FB-4223-AABC-6B7C060154A1-1141-000002D183B08B63_zps87f6400e.jpg
 
Flipped car back upside down and ready for rear suspension
81AFDE75-7144-4739-9336-2B1094487AF9-1141-000002D197C25E63_zps0da769f2.jpg
Brackets made for lower control arms
93867EF2-AF75-42C2-AEF3-0485270E8751-131-000000021F702906_zpse80f87e4.jpg
and pockets in frame made and installed for front of lower control arms
 
Made bracket for torque arm. Probably way heavier than needed but I usually overbuild.
21308AD7-4EFF-4A82-893D-6130643AE408-389-000000B305B1B488_zpsd400d84c.jpg
Welded brackets to rear end
35CAA5CB-DEB8-47B0-B2A6-22603E5D8C87-389-000000B3151B69DE_zps0c3967fa.jpg
 
interesting build. looking forward to the road test. Thanks for listing where the parts came from. I like the rod ends also; appear HD and good price. Bob
 
F
C0AA00BC-E969-429B-83E1-E275DEA32204_zps4egqp3ou.jpg

Finally back at it and got my torque link fabbed up. Now I just have to get it welded.
FCC0D7CE-FEFF-4C15-A329-5ACDDA51153B_zpsxdid5deo.jpg

Had to remake my trans mount for link as it did not work the way I had it
9E69AAE1-8B3E-4FBE-873C-D2CBD8CE66AB_zpsabljfilv.jpg
 
-
Back
Top