My '68 Fastback 4 speed swap

-

mopardude318

Well-Known Member
Joined
Jan 7, 2005
Messages
10,906
Reaction score
2,583
Location
Gilroy, Ca
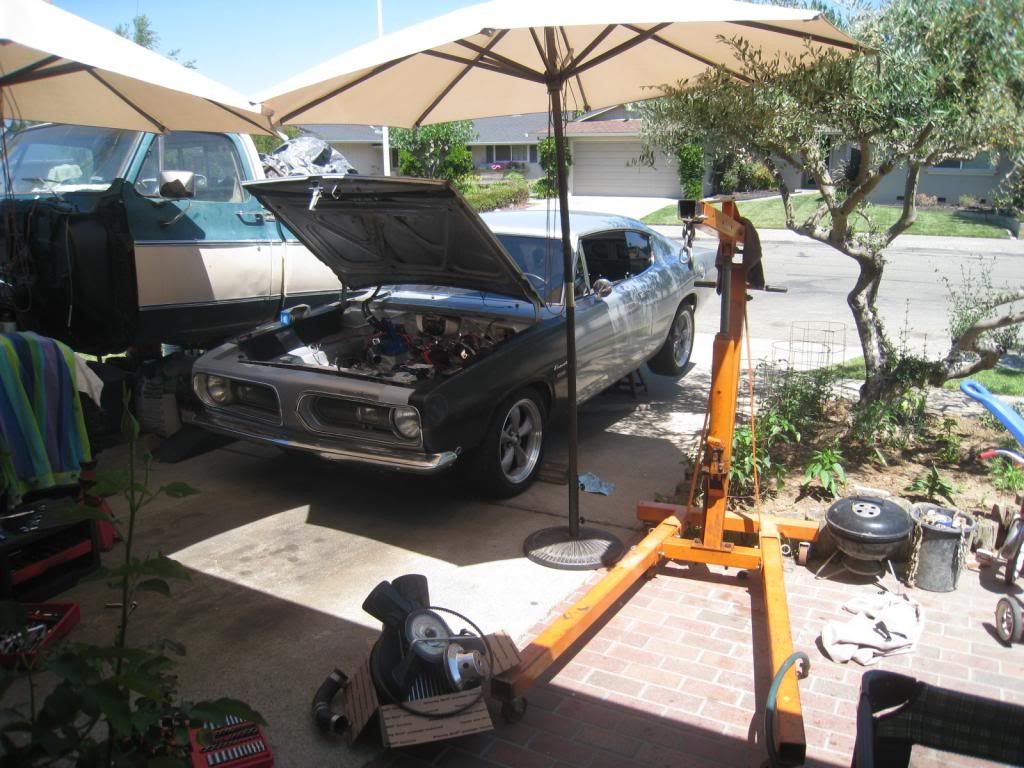
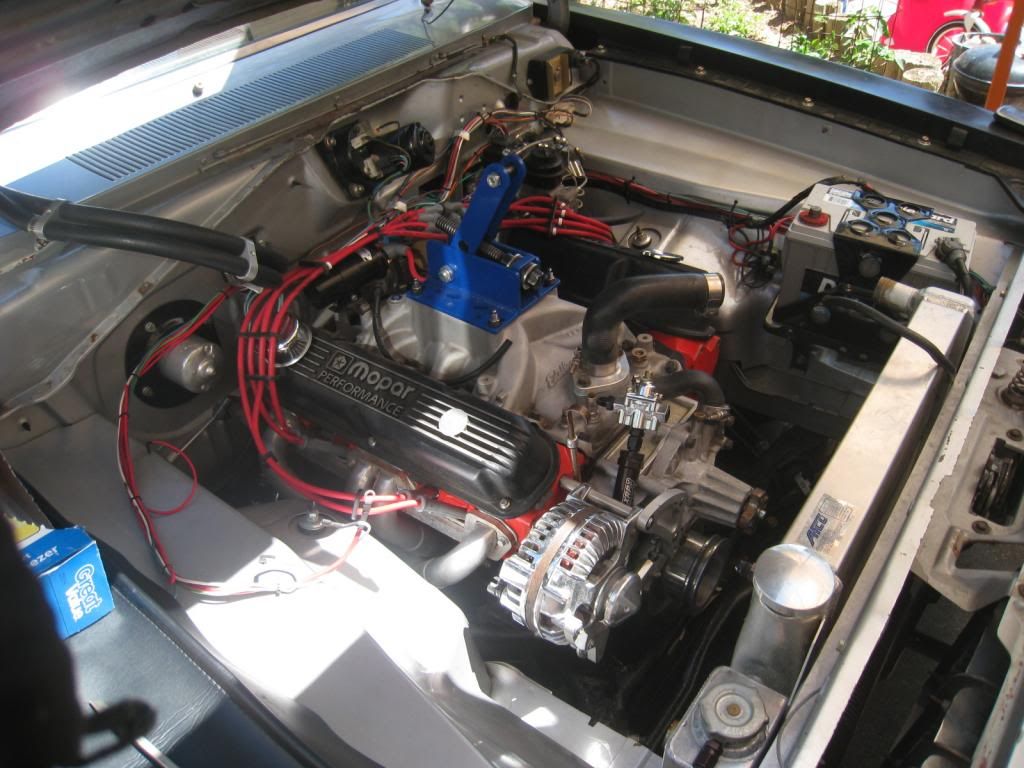
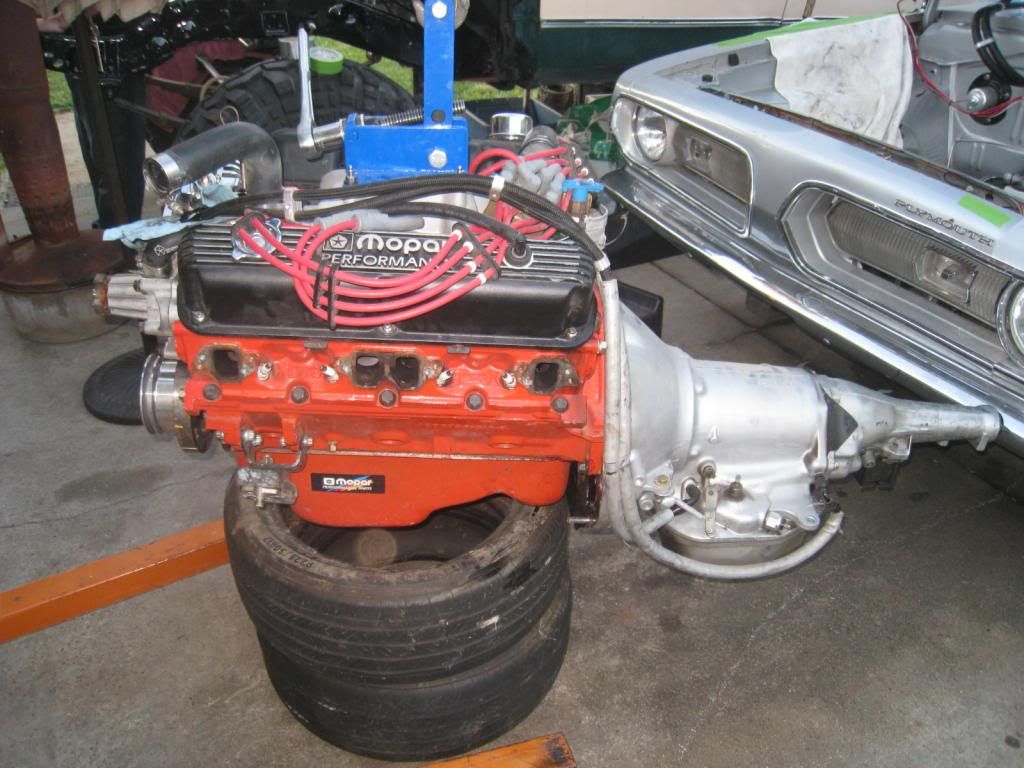
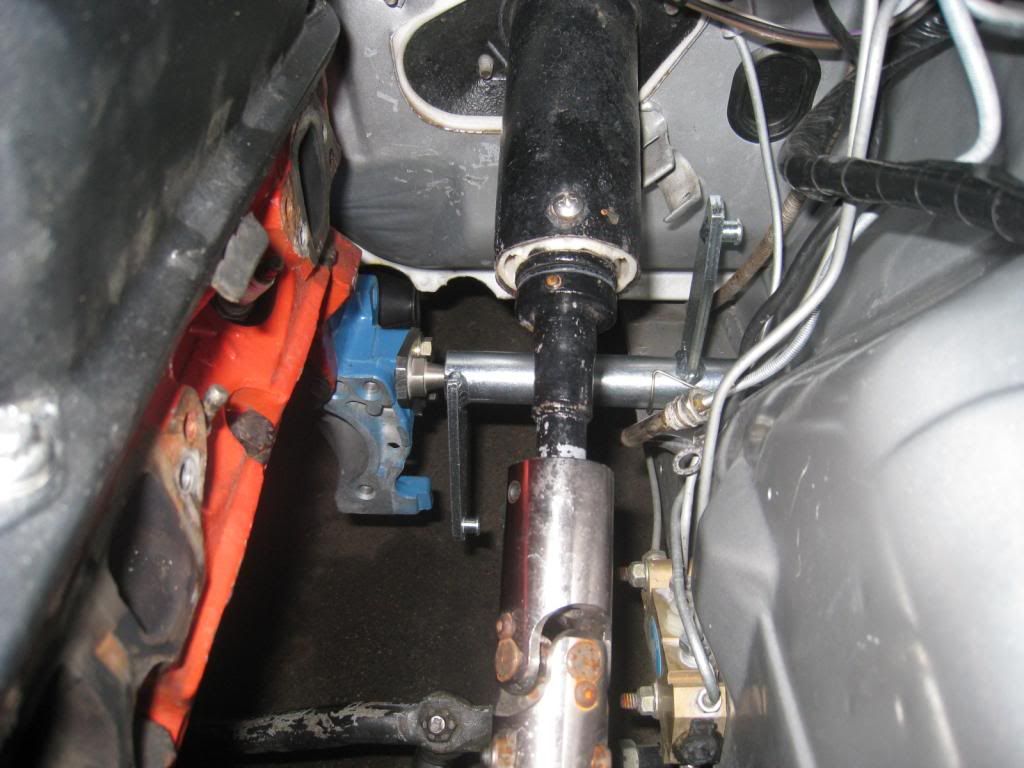
Well, the 318/904 combo works pretty damn good... 3000 stall, shifts hard, lays rubber nicely, very responsive. Just time to go manual, I think I'd enjoy it even more. I always dream about rowin' my own gears!

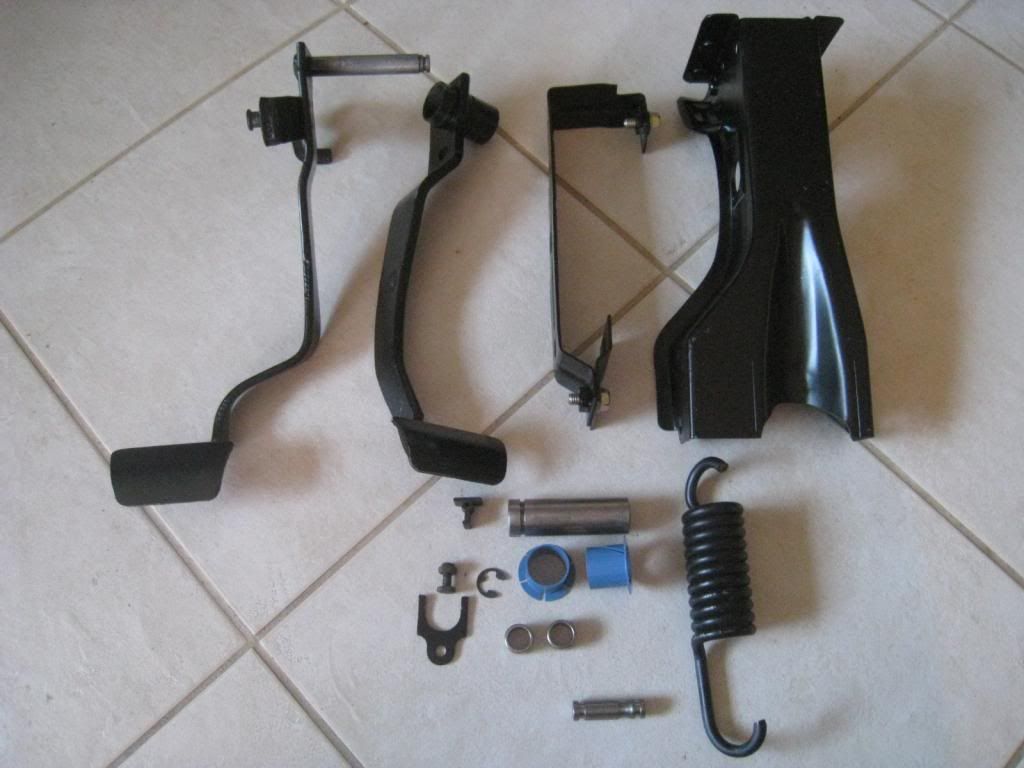
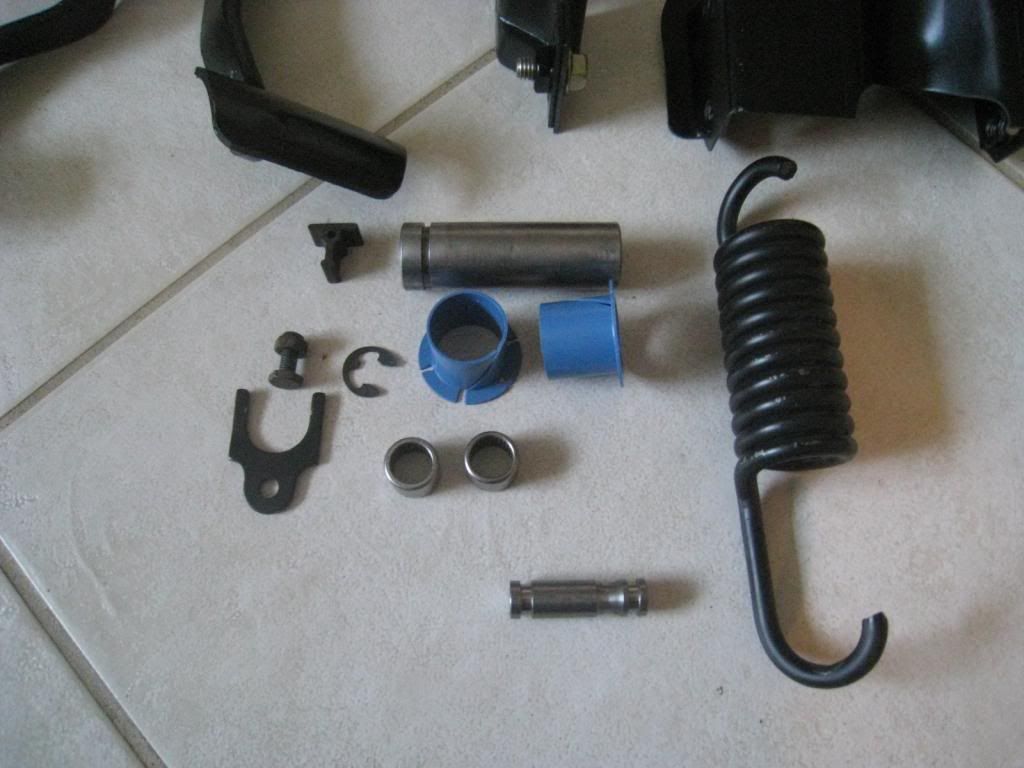
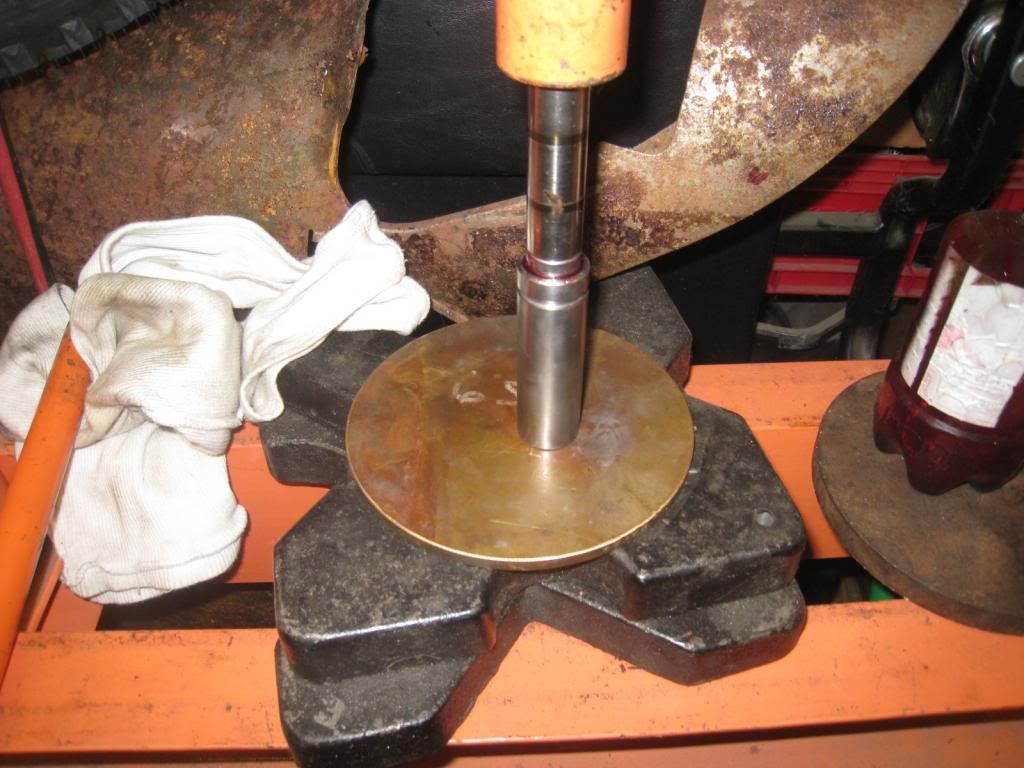
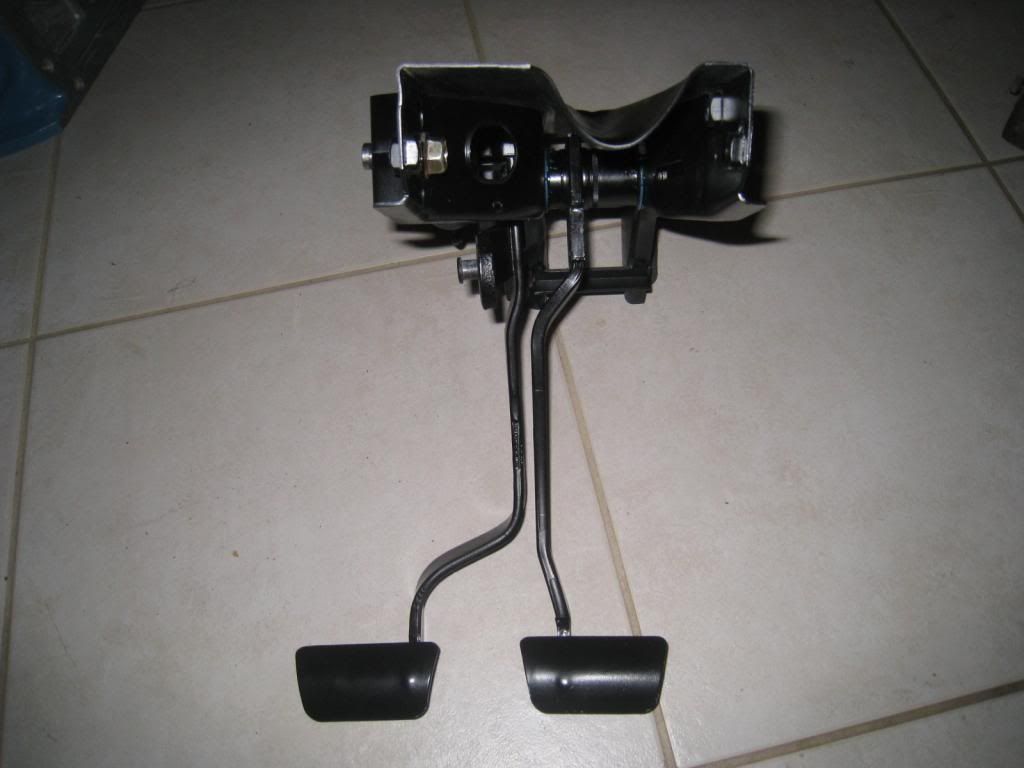
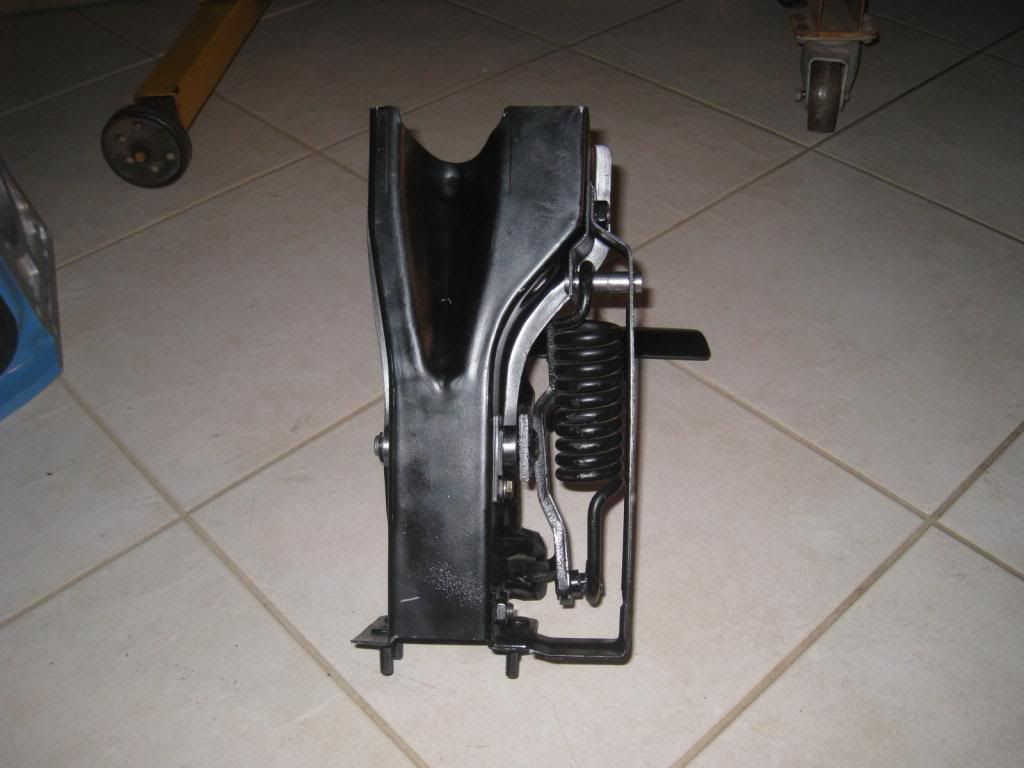
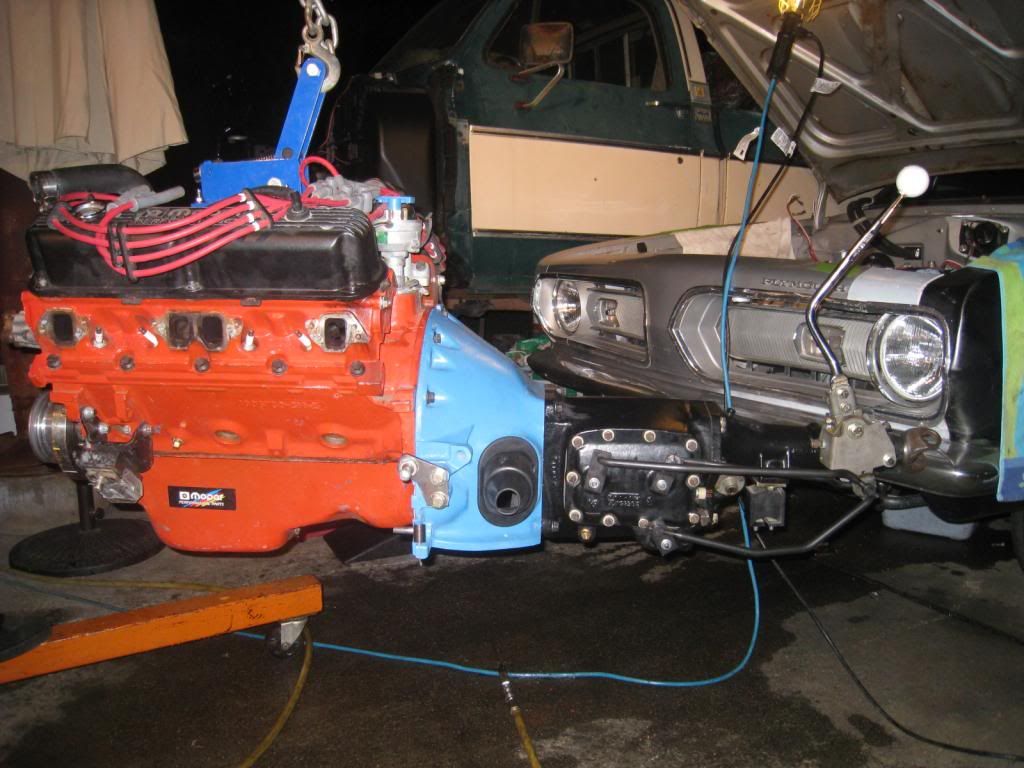
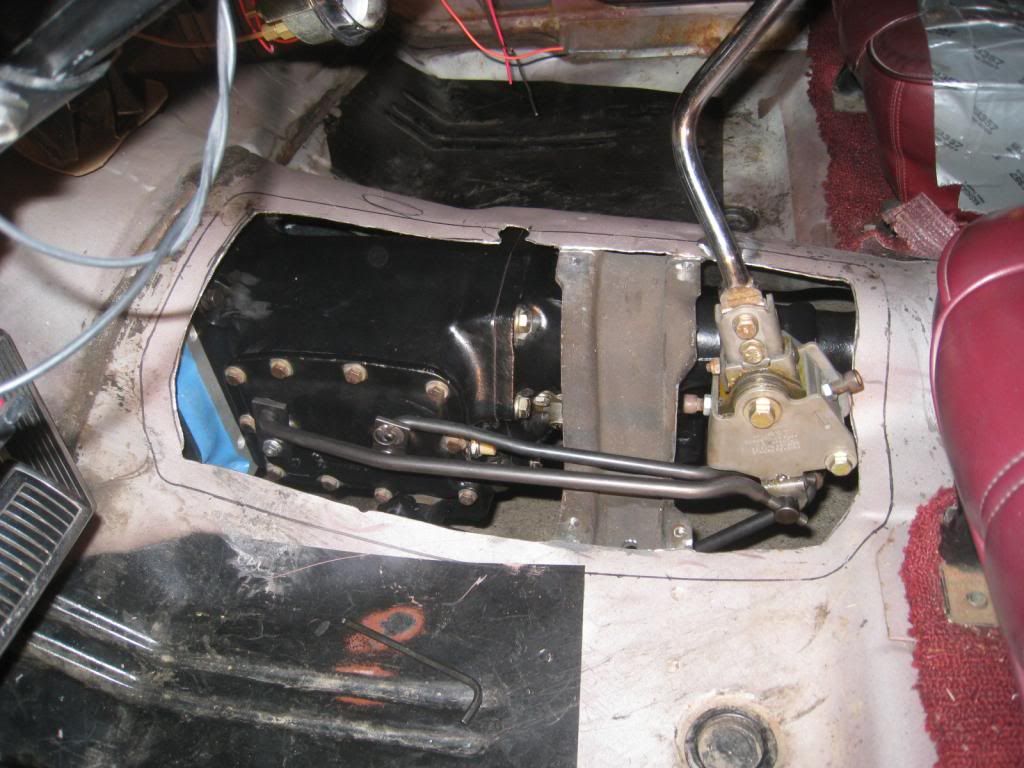
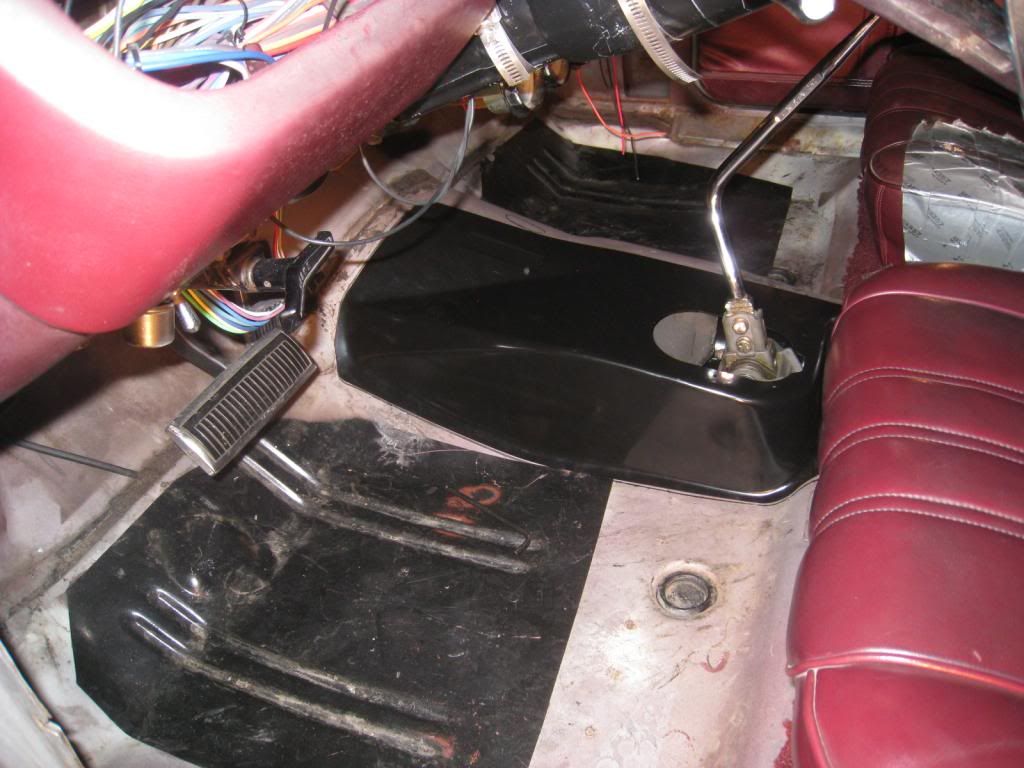
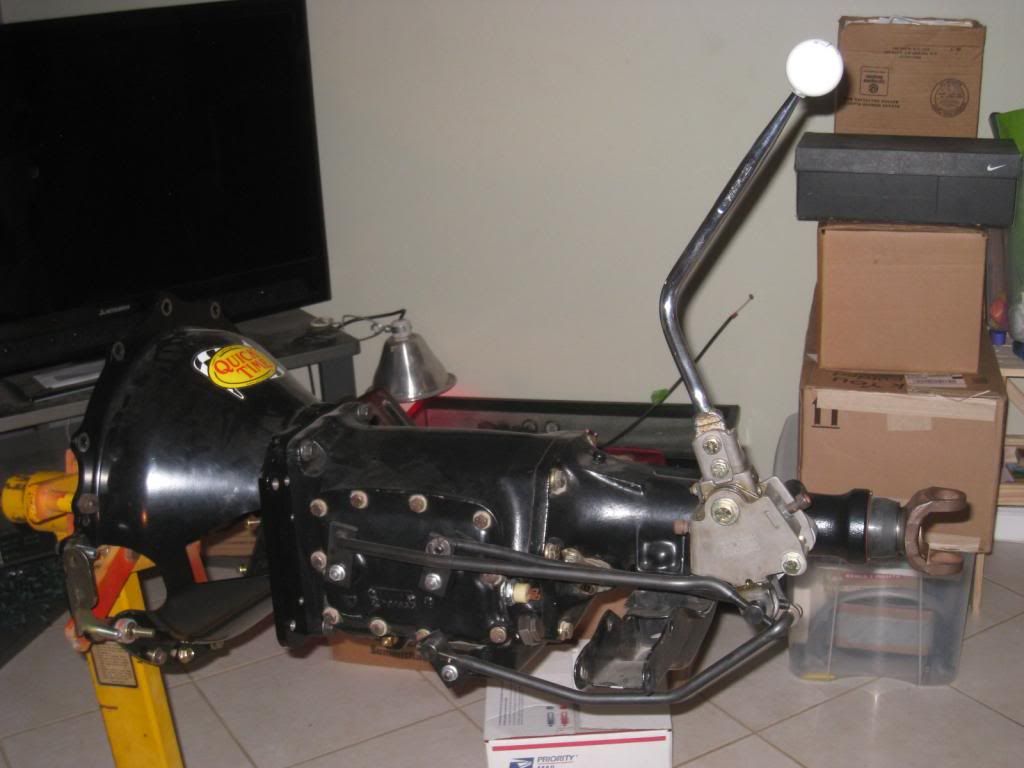
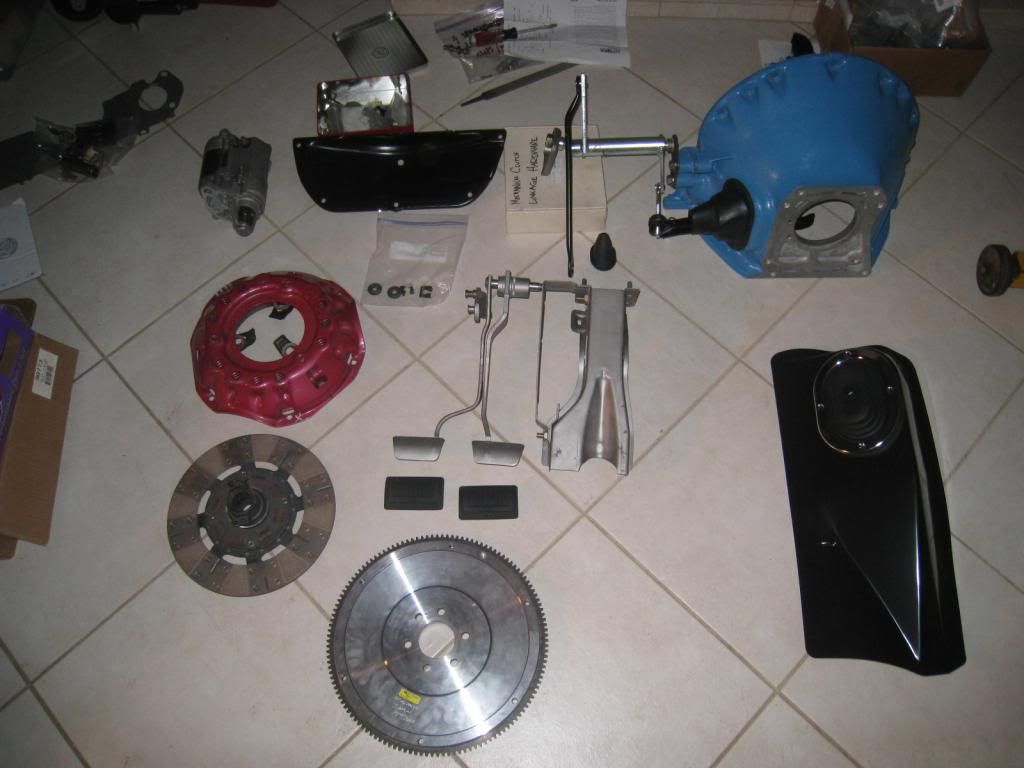
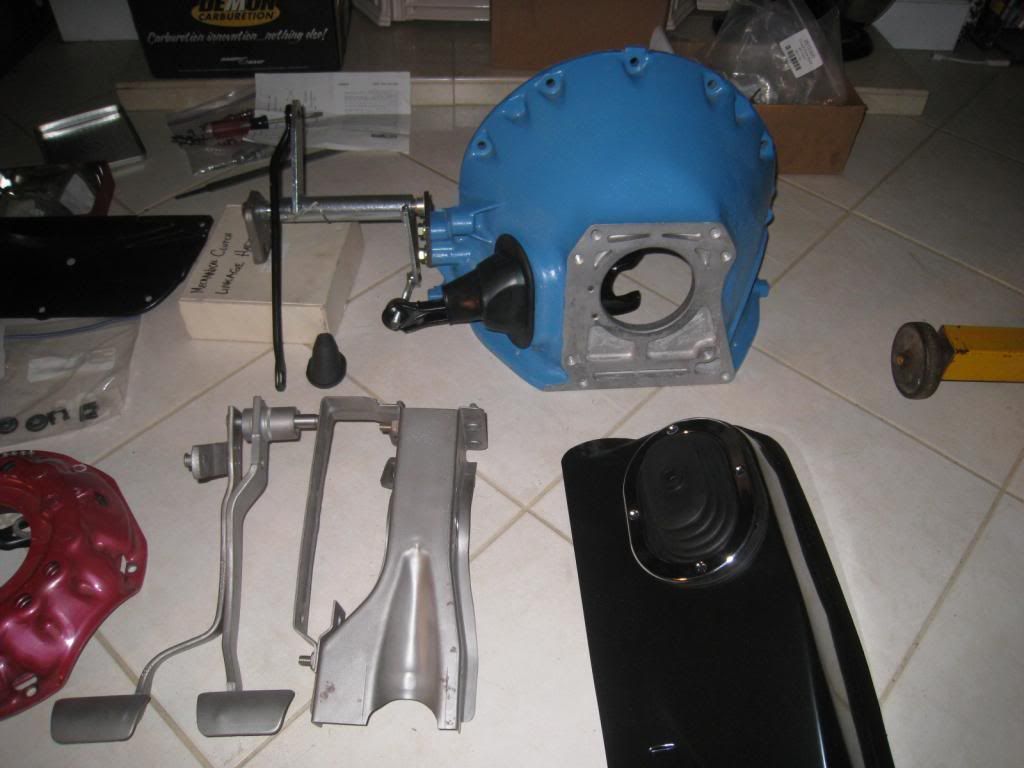
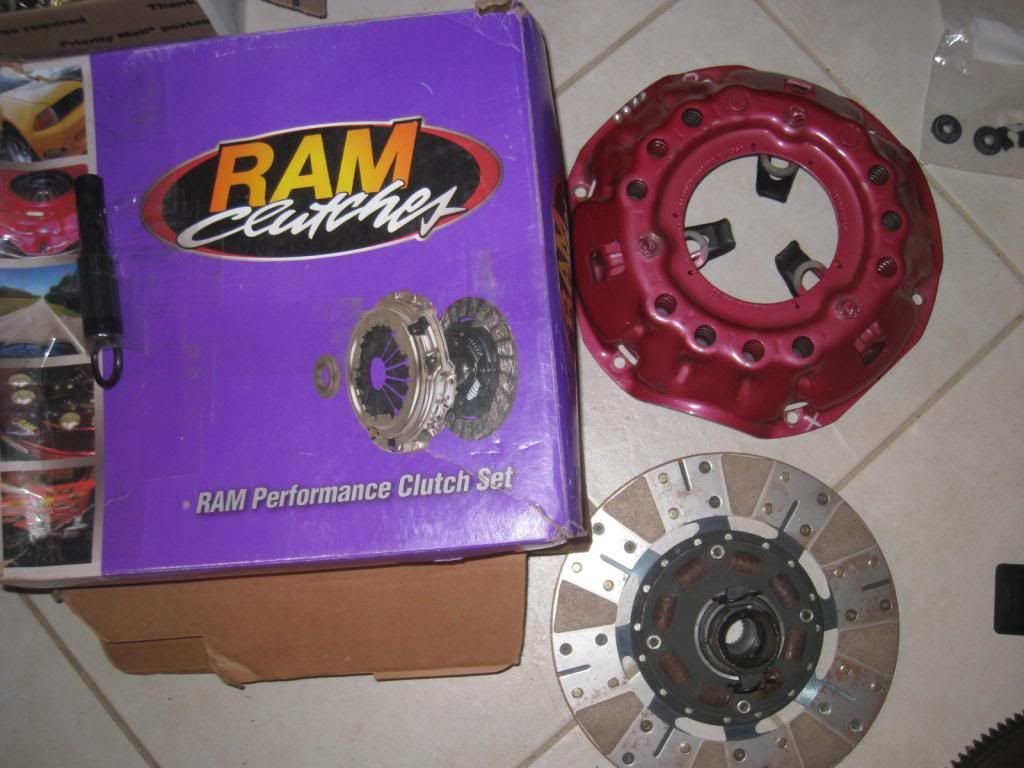
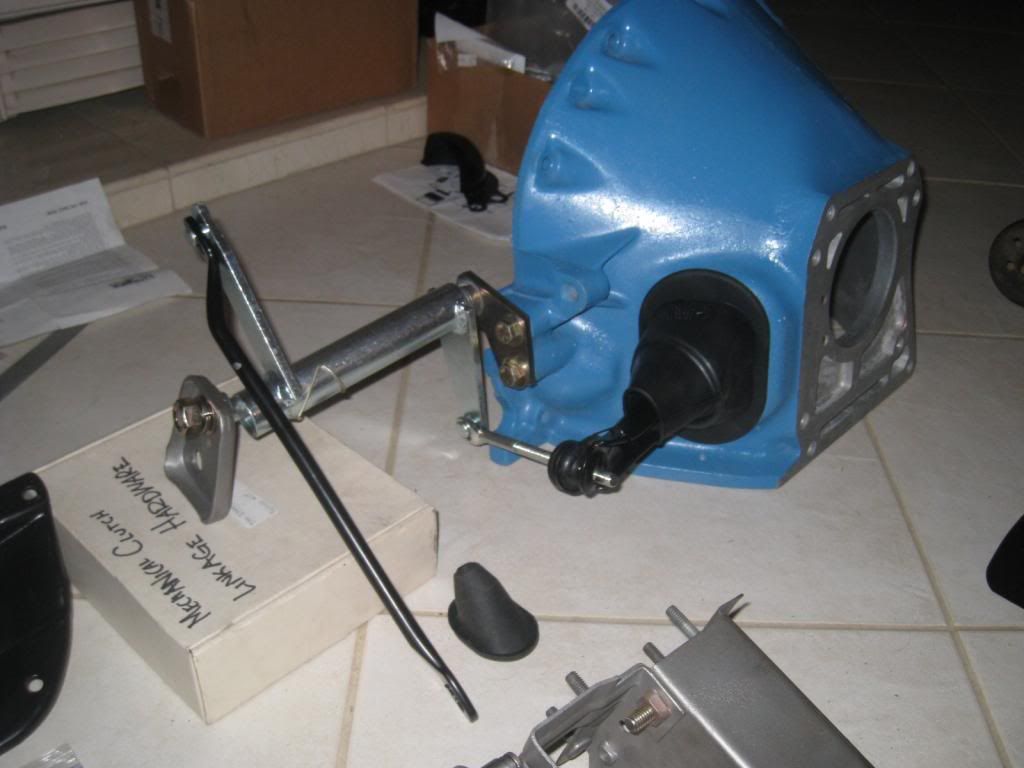
So I rebuilt an A-body 4 speed, got a Hurst Comp plus shifter, new shift rods and clutch linkage from Brewers, bought this Ram Clutches 3 finger clutch and billet steel flywheel a while ago, have to paint and install my pedal assembly.

Got the rest of the parts I needed at the Spring Fling this weekend which persuaded me to go ahead with the swap...After hearing a guys 69 Dart with a mechanical cam and 4 speed, made me say, "yep, I want a 4 speed!"

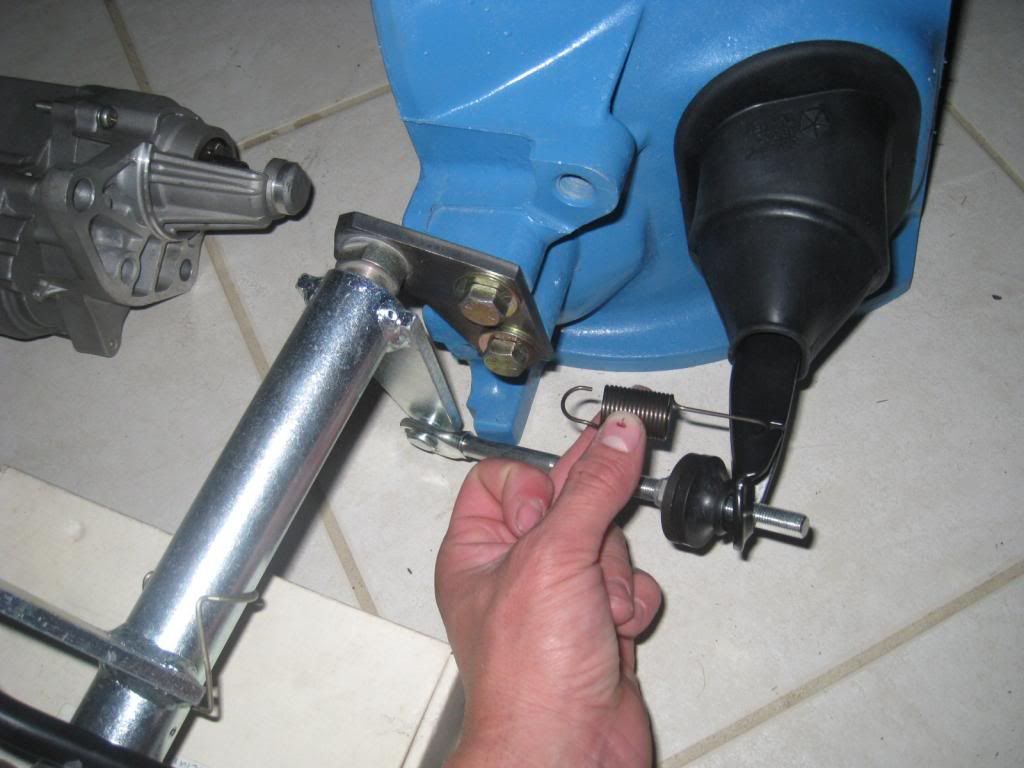
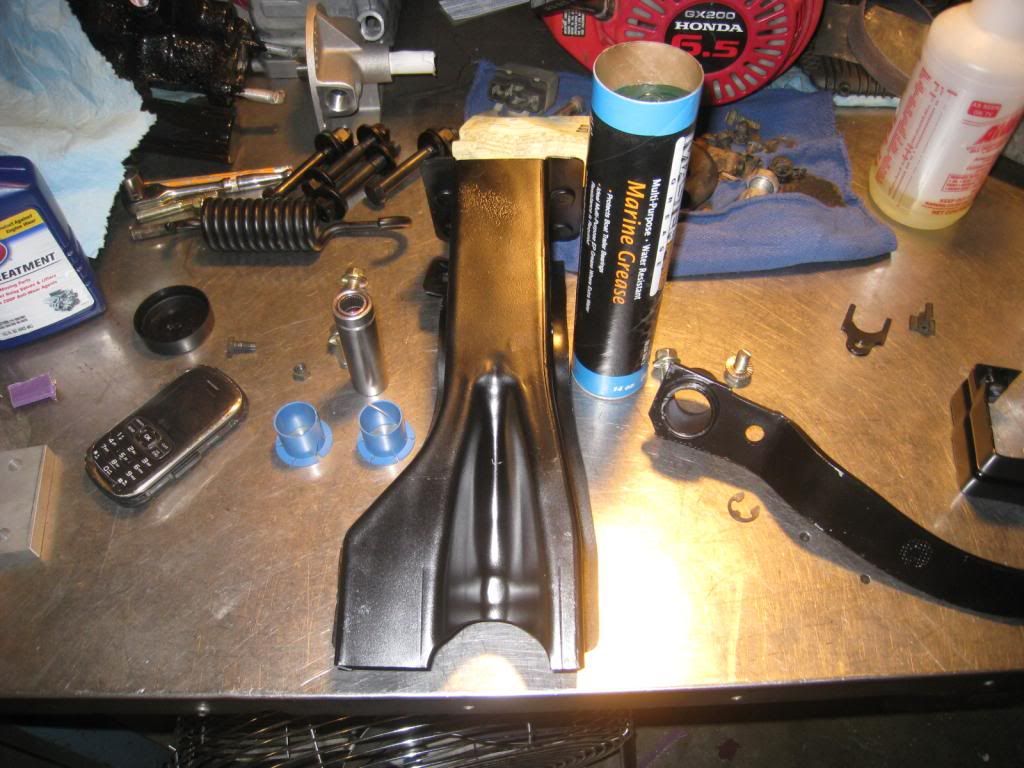
I have TTI headers, so I bought their Z-bar to go with it, since I didn't have one anyway.

Any hints, tips, tricks, thoughts are welcome as I've never done this before. :happy8:

IMG_0538_zps64d2bb03.jpg


IMG_0533_zps11ee379c.jpg


IMG_0536_zpsc0537d2b.jpg


IMG_0535_zps761e4eaa.jpg


IMG_0534_zpsdf2d1452.jpg


I'll be posting updates of the progress. Not gonna start the swap until after June 2nd, I wanna take it to Mopar Rally first. I don't think I could finish before then. lol
 
Sick gonna drive it To mopar alley?? The install was pretty easy for me I used the Lakewood scattershield .not sure if quick time is any different but make sure your pivot bracket (frame side) is welded good snapped my welds have to reweld them other than that if you have all pieces it falls into place . Your gonna wanna romp that thing everytime you hop in it lol

Just saw bottom part. If you have all pieces you can do it in a day with an extra set of hands I'm free Tuesdays Don't forget driveshaft length is different let me know if you need help ill cruise the duster down

I'm PRETTY sure I have everything. I went over a list and made sure I have every clip, bracket, rod, fastener ETC. I'm thinking the only real hard part is cutting and welding the floor tunnel in, and also properly locating the frame side ball stud bracket.

On the Quicktime Bell, I'm not sure if I'm gonna use it right now...I know some people had flex issues/misalignment trouble with the ball stud bracket supplied with that bell, and they made their own to fix that problem. So, for now I'm gonna use the stock aluminum unit you see in the pics. That way I can get a baseline, and work from there.

Yes, I'm gonna drive it to mopar rally with the auto in it first, then start the swap when I get back.

Oh ok we should cruise up together . Swing by on your way .As for getting bracket in correct place if you look on drivers side of the fram rail behind tire right next to control arm you will see there is a plastic cap from factory (may be covered by undercoating) pull that cap and hole should be there
 
so to verify, my current driveshaft will not be correct? (904 to 8 3/4) ..will it need to be lengthened or shortened?
 
Your 904 driveshaft will work fine. You will need a 727 slip yoke. The 727 driveshaft is about 3" shorter, so it wouldn't work. 904 and 4 speed are roughly the same length.
 
Your 904 driveshaft will work fine. You will need a 727 slip yoke. The 727 driveshaft is about 3" shorter, so it wouldn't work. 904 and 4 speed are roughly the same length.

Thank you very much. :)


I do not see an over center spring with the pedal assy?

That's because I don't have one at the moment. That pedal assembly is supposedly a "HD unit" meant for 340, or big block cars from my understanding? ..which has that extra brace bolted to the side of the dog house, and uses a different spring and spring pin.

I ordered the spring and spring pin, along with the roller bearing/bushing kit from Brewer's Performance. It'll be here Friday, I will post pics of the pedal assembly when I put it together.
 
Any one know where this spring clips to? I think I have it in the right spot on the clutch fork, there is a notch for it, don't see where the other side would go...

IMG_0543_zpsfbc2119b.jpg
 
Clip it to the bell housing tab right above your finger. See red line in pic below.
 

Attachments

  • spring.jpg
    18.6 KB · Views: 874
Some parts arrived today, so I assembled the pedals. Got em all painted.

IMG_0547_zps749ebdf4.jpg


Here's the roller bearing/bushing kit:

IMG_0544_zps3dce6713.jpg


The HD spring dwarfs the standard over center spring!

IMG_0558_zpsb9254867.jpg


Pressing the roller bearings into the pedal shaft:

IMG_0559_zps6a437b2c.jpg


Gettin lubed up:

IMG_0560_zps3ee7c4a0.jpg


Thought I would never get the spring on, thanks to Ranidart70, she gave me an idea!

IMG_0564_zps57af8d8c.jpg


all done

IMG_0565_zps3091b41e.jpg


IMG_0567_zps1a628314.jpg
 
Damn,this is getting good! (Lol!). I geek out,on four speeds. I blow up parts,driving one.
 
i dont know how i missed this thread before, this is my kind of party here ....subscribed
 
This is getting me amped to get the stick in Amy's Scamp... where in the hell are the rest of my engine parts? I wanna be done with it so I can play 4 speed too.
 
12AM all I could do for today.

Had to run to Orielly's Auto Parts, luckily they had the pilot bearing in stock, weird.

IMG_0579_zps922cb79c.jpg


Surprisingly my 318's cast crankshaft was drilled all the way for the input shaft...

IMG_0587_zpscee38b40.jpg


IMG_0591_zpsc95e4dca.jpg


just mock up to verify it all bolts together.

IMG_0581_zps3522b6b5.jpg


More to come.
 
Please bust out some orange paint... :)

The blue bell looks well...
 
Please bust out some orange paint... :)

The blue bell looks well...

I know it's ugly. But I'm not painting it, LOL. That's how I got it, it was painted and done.

I did however, cut out my floor for the tunnel, installed the engine and trans for mock up. The floor tunnel fits nicely. I pulled the plug in the inner fender, installed the ball stud and test fitted the Z-bar. Lines up good.

IMG_0608_zpsa0561fa6.jpg


IMG_0602_zpsac81bce1.jpg


IMG_0593_zps831bf2a4.jpg


IMG_0596_zps2076032f.jpg


Tomorrow I will install the pedals, take the engine/trans back out, install the clutch and flywheel, and mess with the clutch linkage.

Do yall happen to know the torque specs for the clutch and flywheel? Same as it says in the book? Shall I use red loctite as well?
 
-
Back
Top