MattP
Well-Known Member
I've been holding off on making my intro thread until I had better pictures of the car, but I need a quick break at work and FABO is a good solution.
I recently sold my last project and have been looking around for something to fill the slot in the garage. This 1972 Duster came across craigslist for the right price and it ended up coming home with me.
Specs:
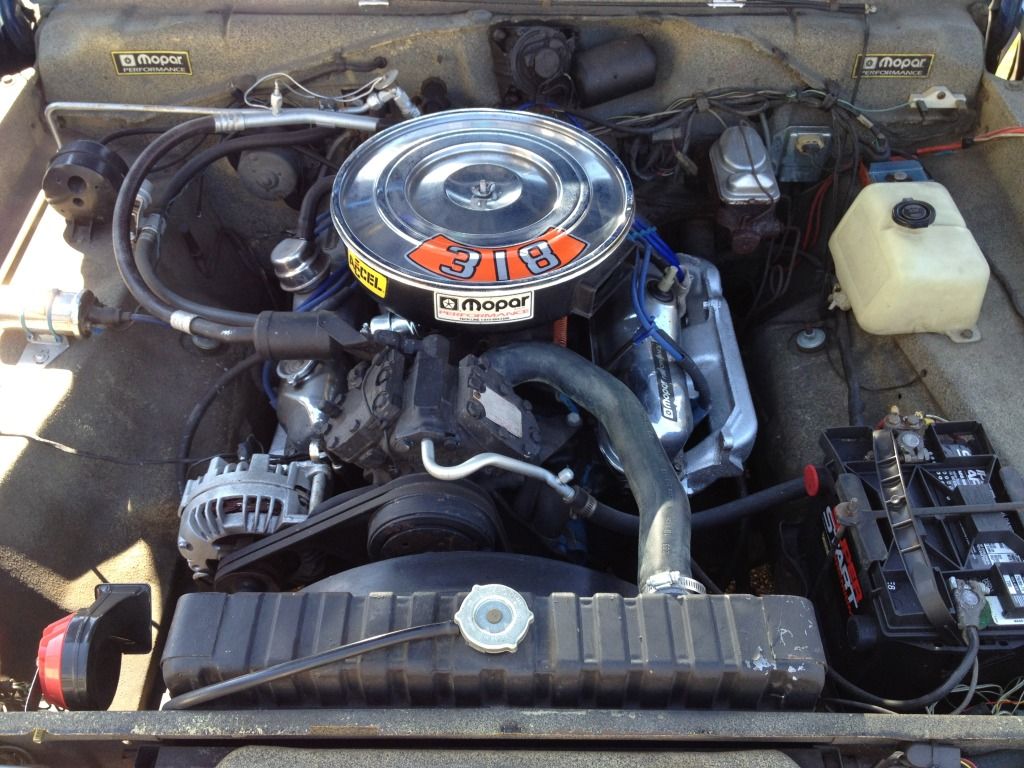
318 2bbl Engine mileage is unknown, but the coating applied to the engine bay leads me to believe it's been out and how quickly it starts "bump of the starter" makes me think it's been freshened up at some point.
727 trans with Column Shifter
8 3/4 rear end
Disc Brakes
The floors and trunk have been coated with something that is smooth but looks like truck bed liner. The engine bay has a more true truck bed liner roughness to it. I have yet to find significant rust. There is some oxidation under the rocker panels and the minimal spots here and there that I expected to find on a car this old.
Whoever painted the car did a junk job of prep. It's a solid 20 footer though.
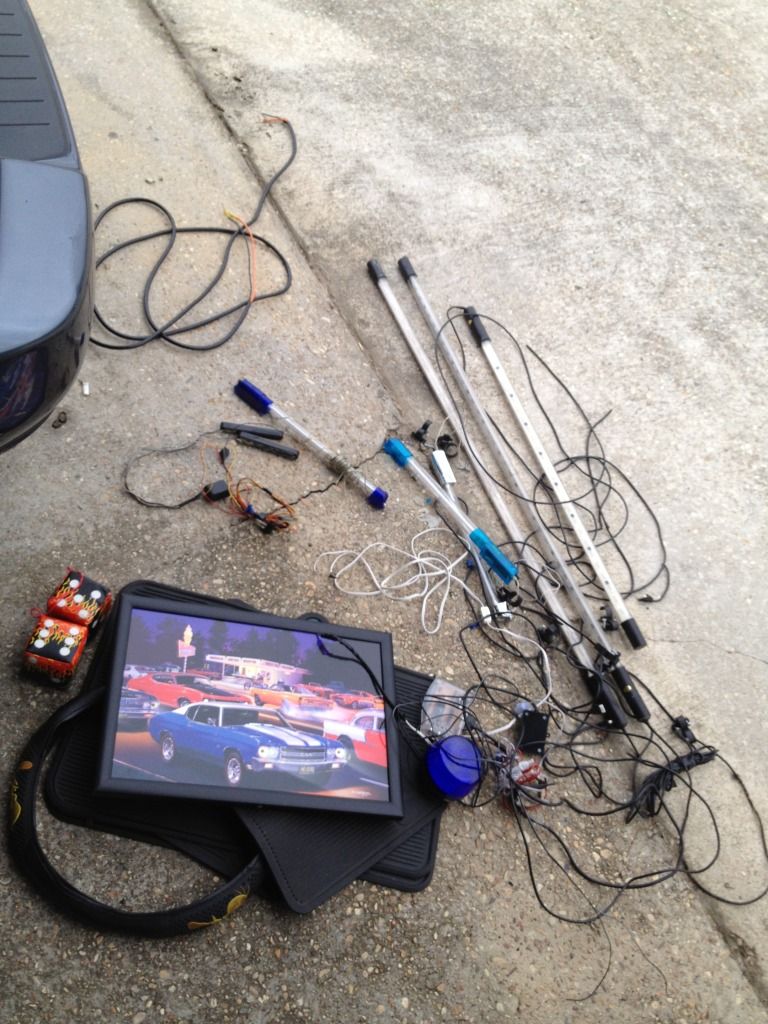
The old guy I bought it from used it for cruising to car shows and it had the full compliment of car show accessories including fender chrome, neons, a strobe light, and led light bars hot glued to the grill. He let it sit for a while though and when I picked it up it would barely run well enough to load on the trailer. A tank of non ethanol gas and a little Marvel Mystery Oil and it runs and drives just fine. Now the main problem is the carb seems to need a rebuild. The accelerator pump doesn't seem to be doing its job anymore.
Anyway, enough of the rambling. Here are the pictures.
The only pic provided in the ad.

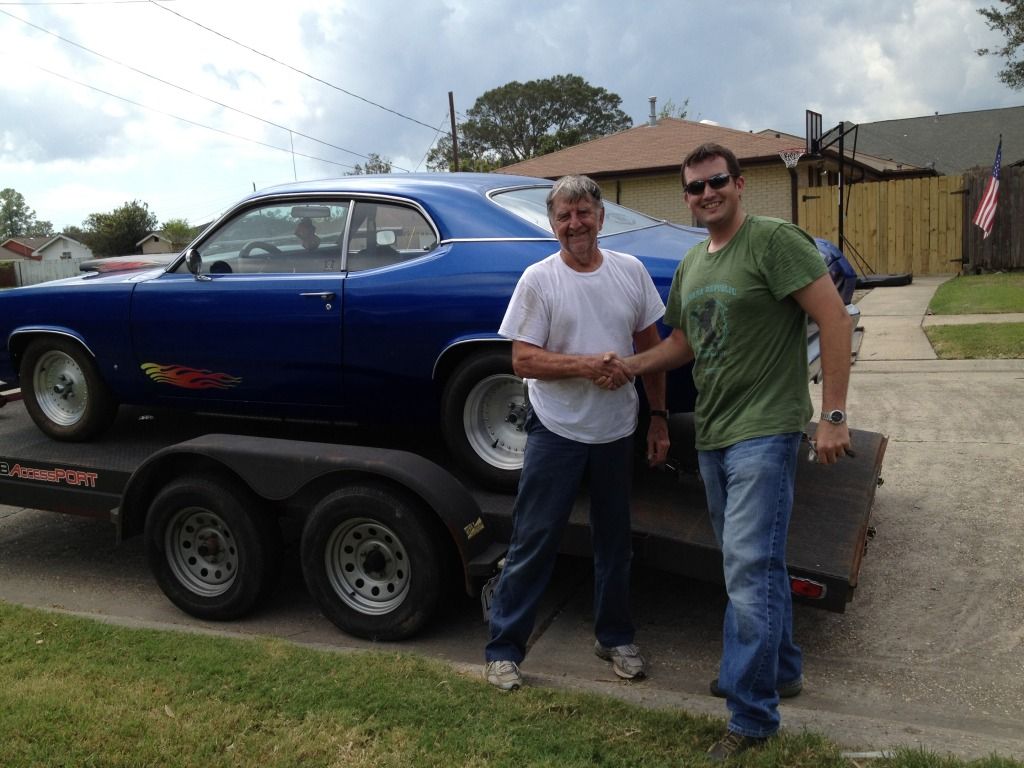
Picking it up.
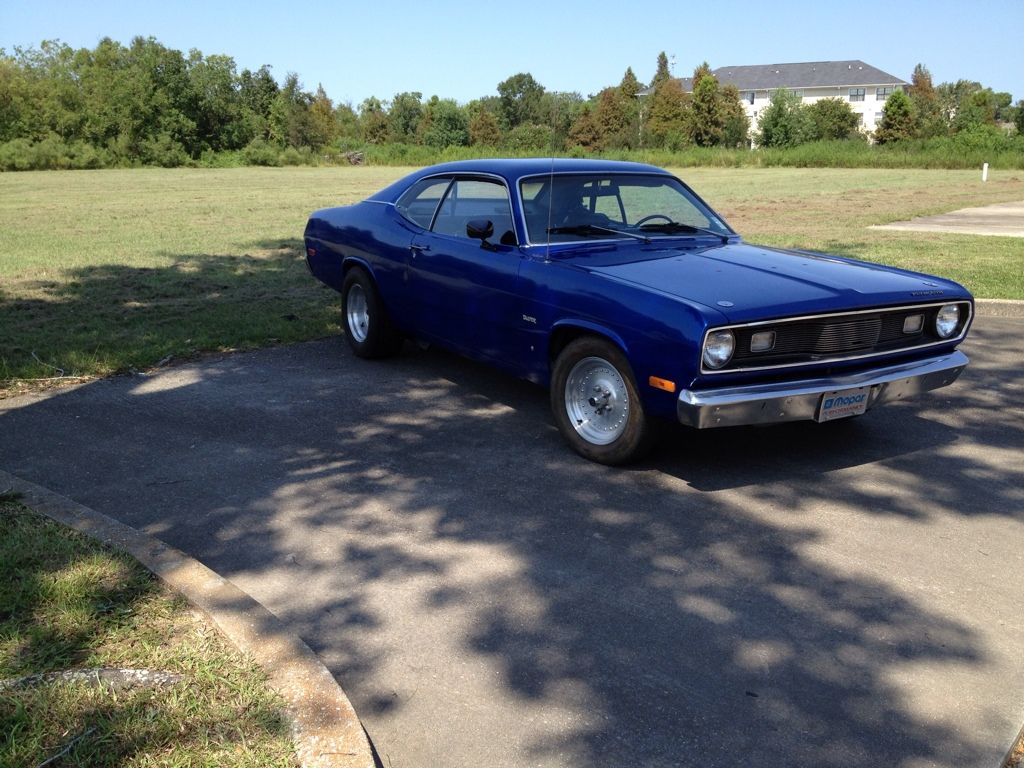
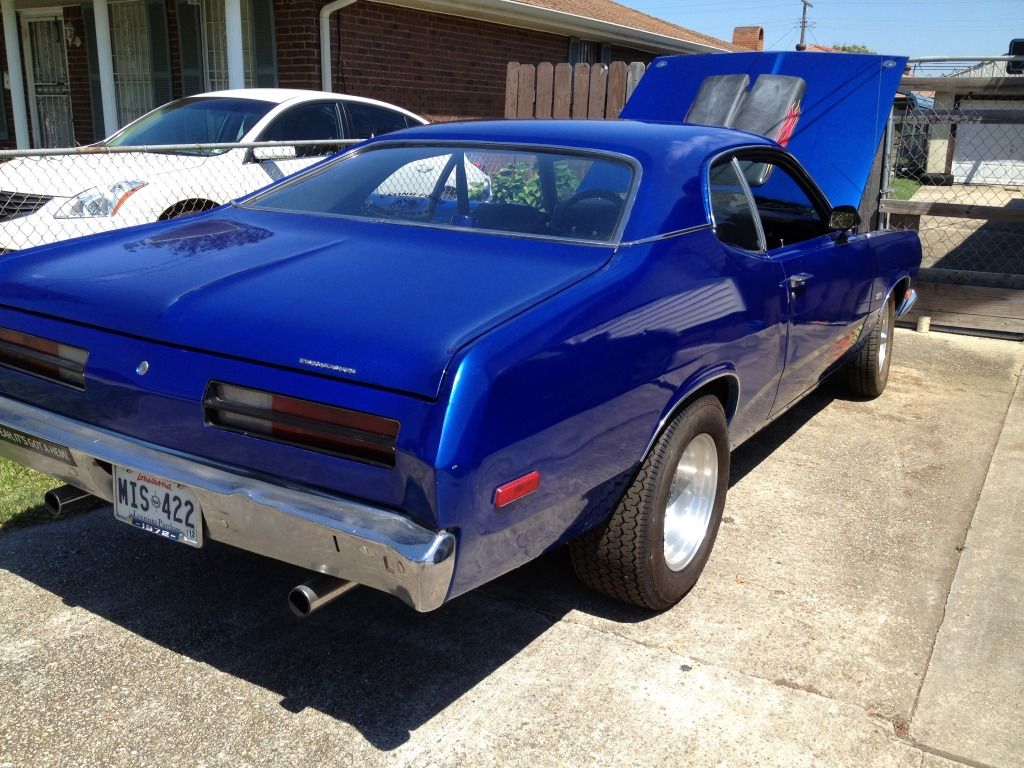
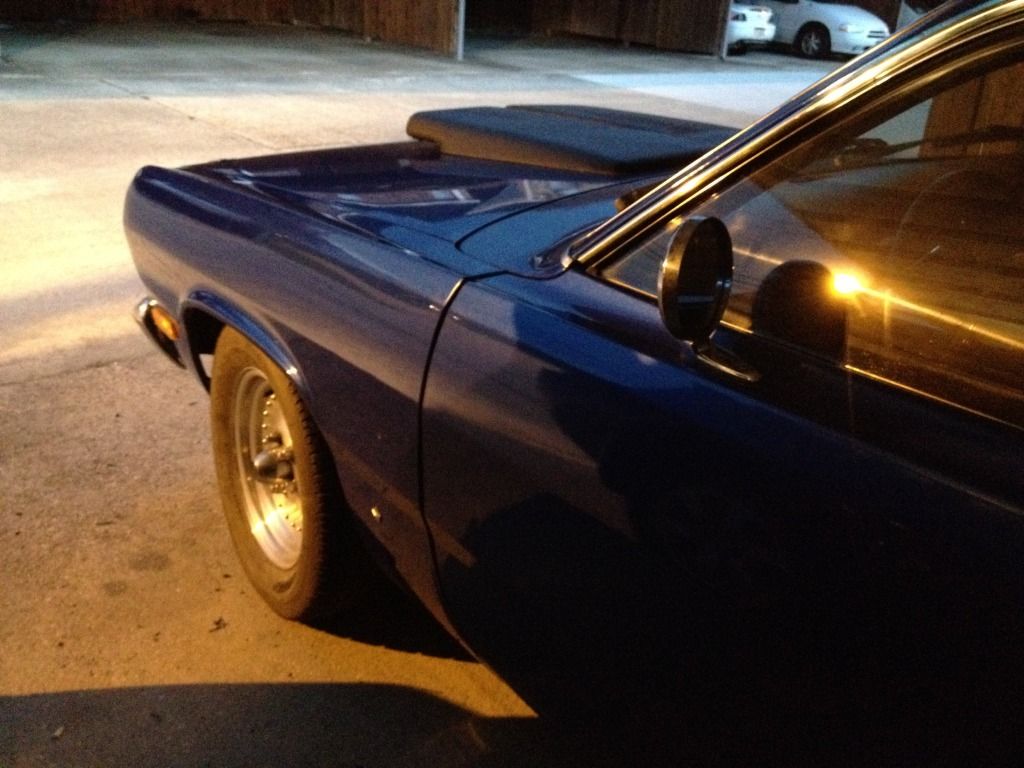
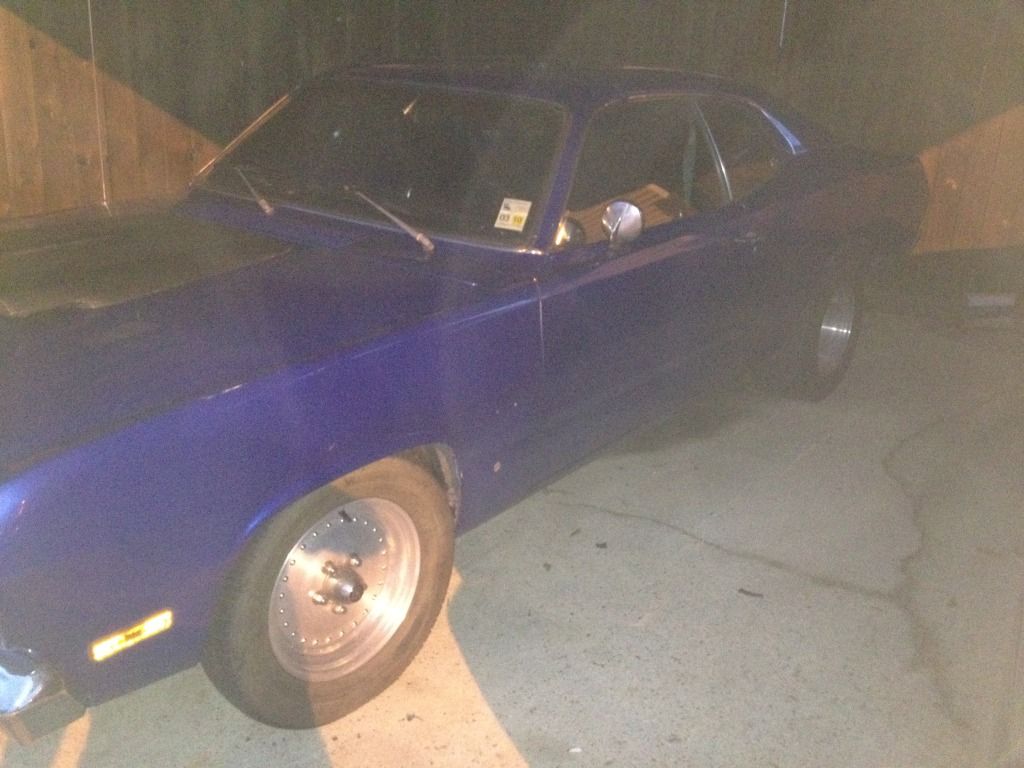
Exterior.
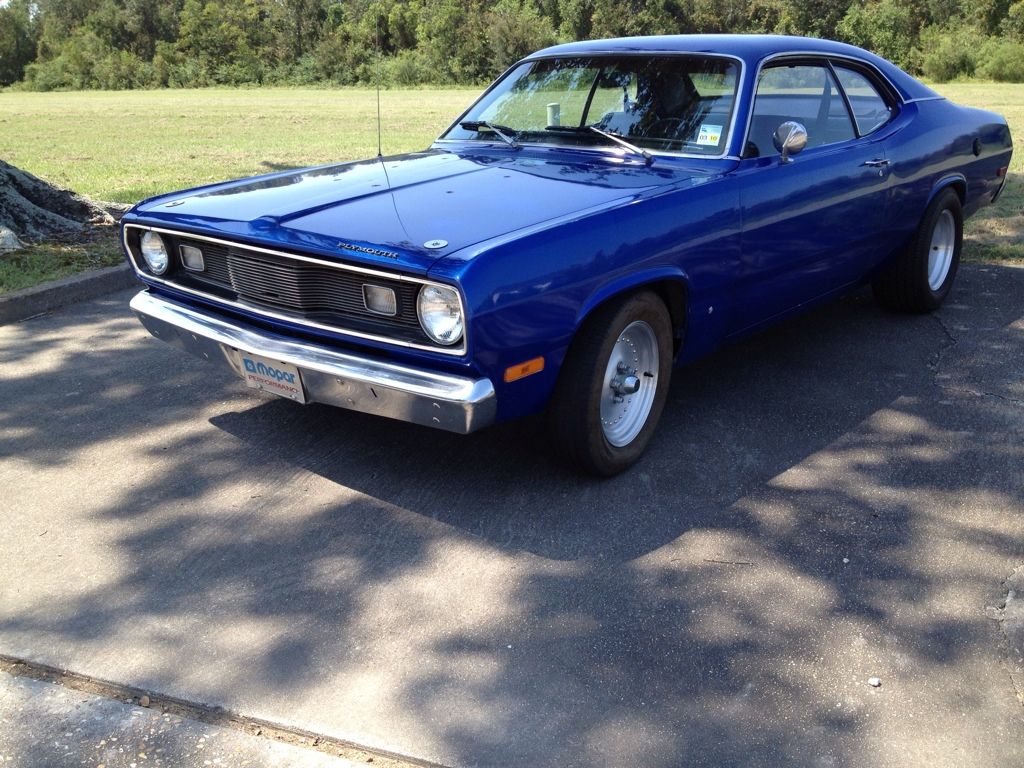
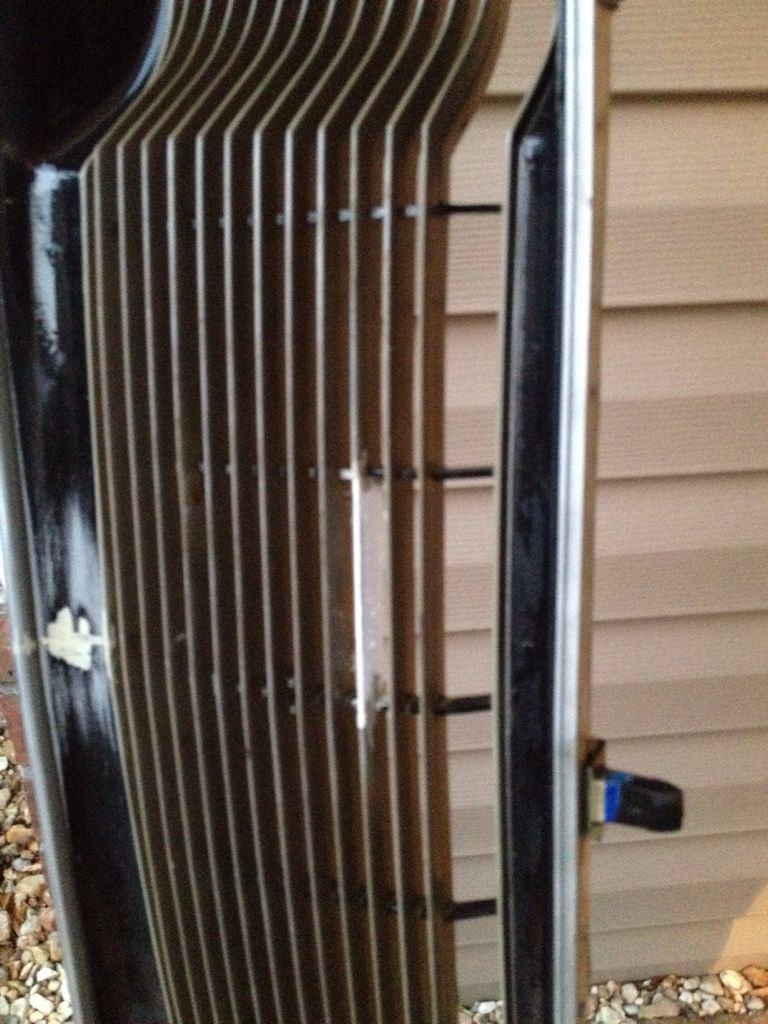
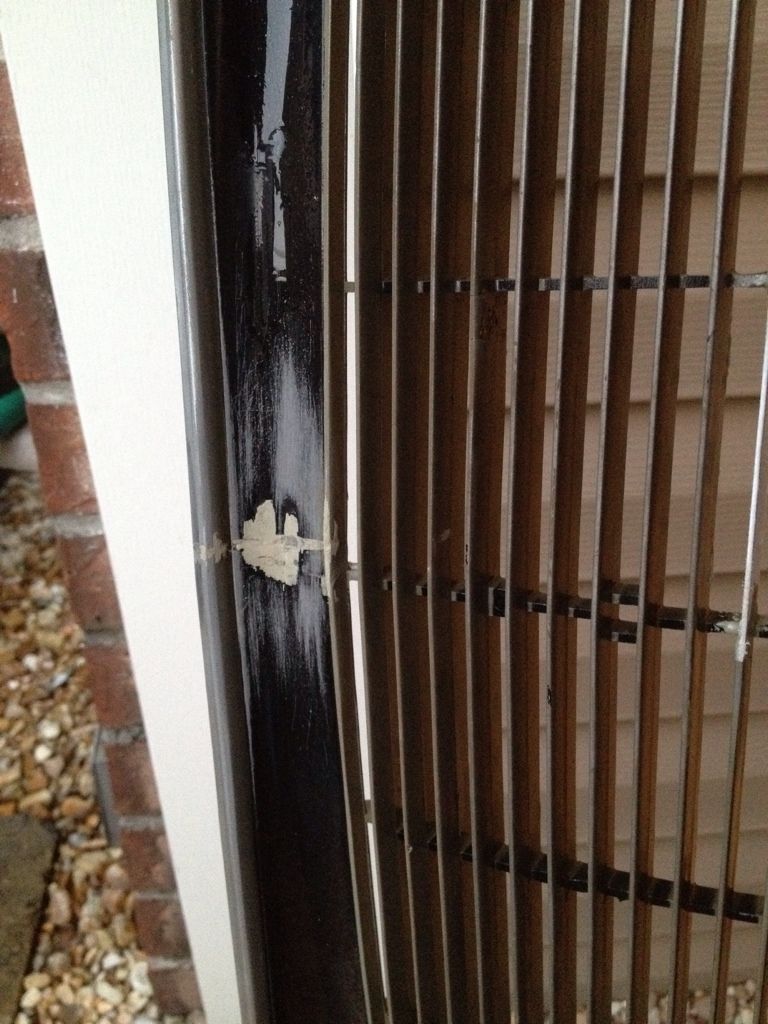
After removing fender stick ons
Engine Bay
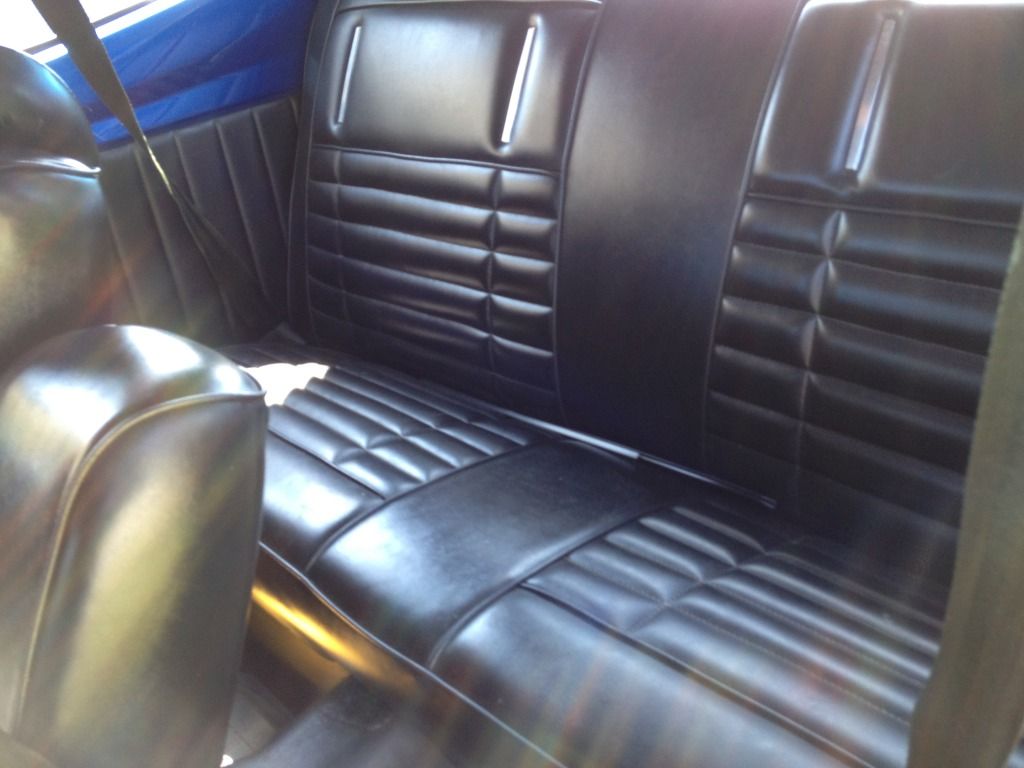
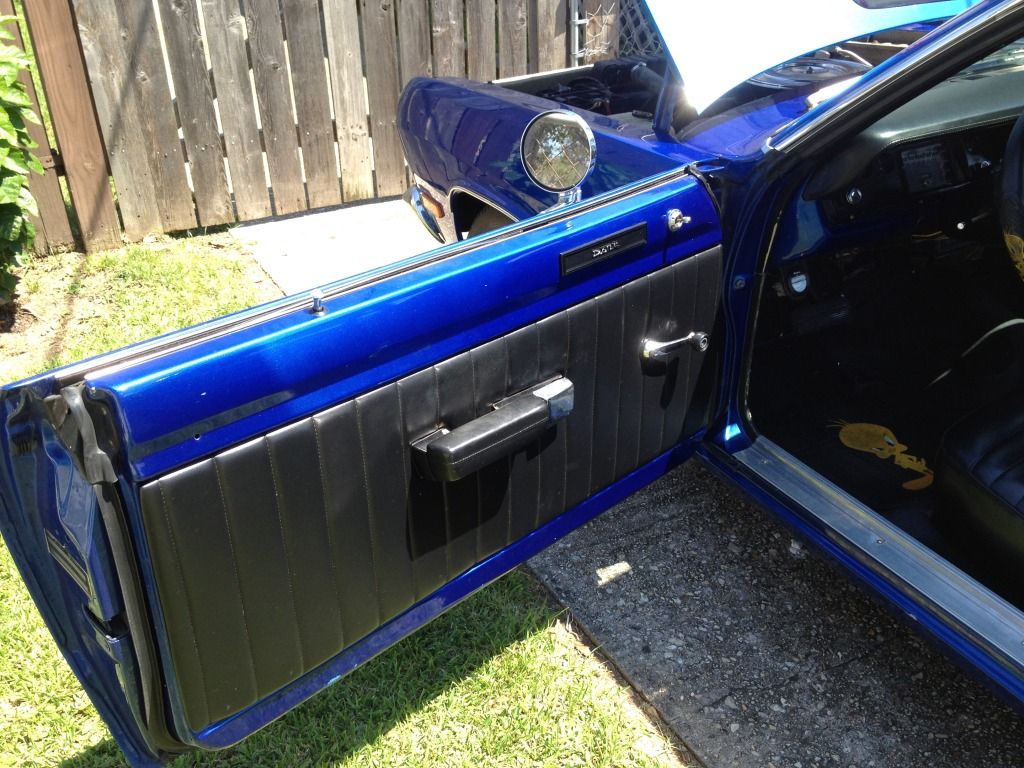
Interior
The Tweety Bird floor mats and steering wheel cover have gone the way of the neons and have been replaced with black carpet mats that match the carpet that's going in.

Pile of neons and stuff removed from the car last night.
I bought this car to have something to tinker with. My wife says I get unsettled and pick up 15 hobbies if I don't have a car to play with. So here is the planned mod list.
First things first. It's a factory Ac car and I live in South Louisiana. Ac is going to be blowing cold ASAP.
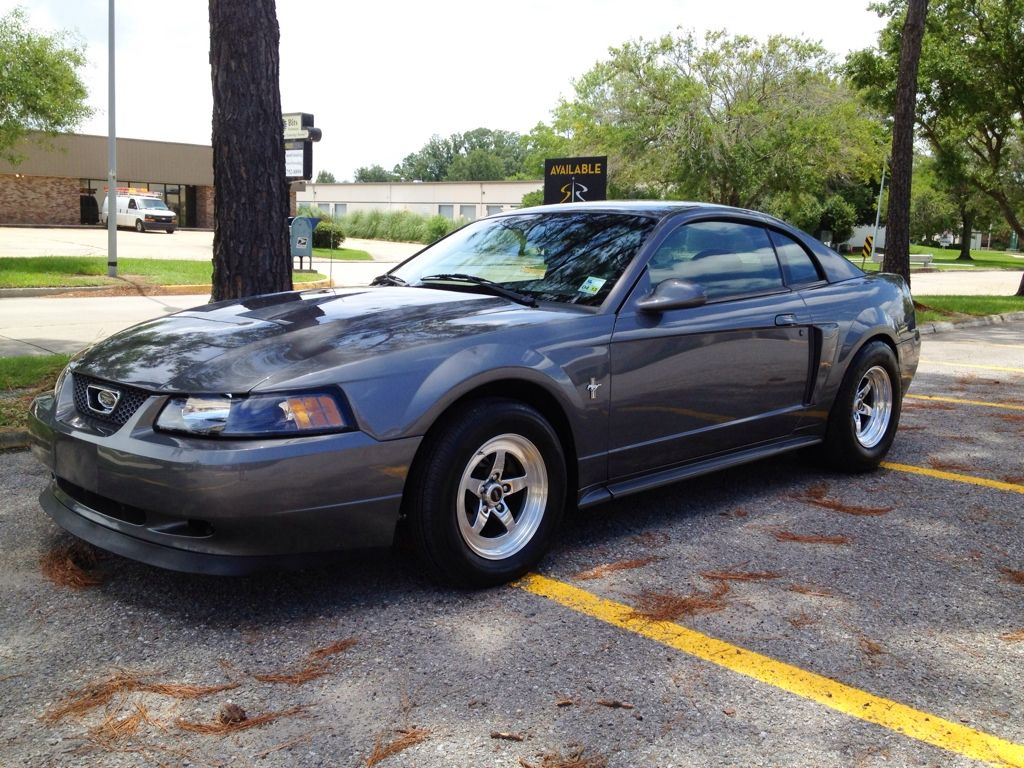
After that and the full fluid change I'll be looking at putting my stock Mustang wheels on it from my last project. the bolt pattern will work but the rotor hub is too big. After searching on FABO I'm going to contact my machinist buddy and have him mill the rotors.
Somewhere in there it's going to receive seat belts. One of the PO's removed them. I'll install the carpet, put in a floor shifter, rock the bench seat back a bit to make it more comfortable for me, and install the belts at the same time.
Long term plans once the little stuff is taken care of ~ 6-12 months include a Master Power T70. Nothing radical just a fun to drive 12 second car.
Well, there it is. From reading FABO I think the lack of rust and the inclusion of the 8 3/4, 727, and disc make this a solid car to spend a few years with.
________________________
This was the last project.
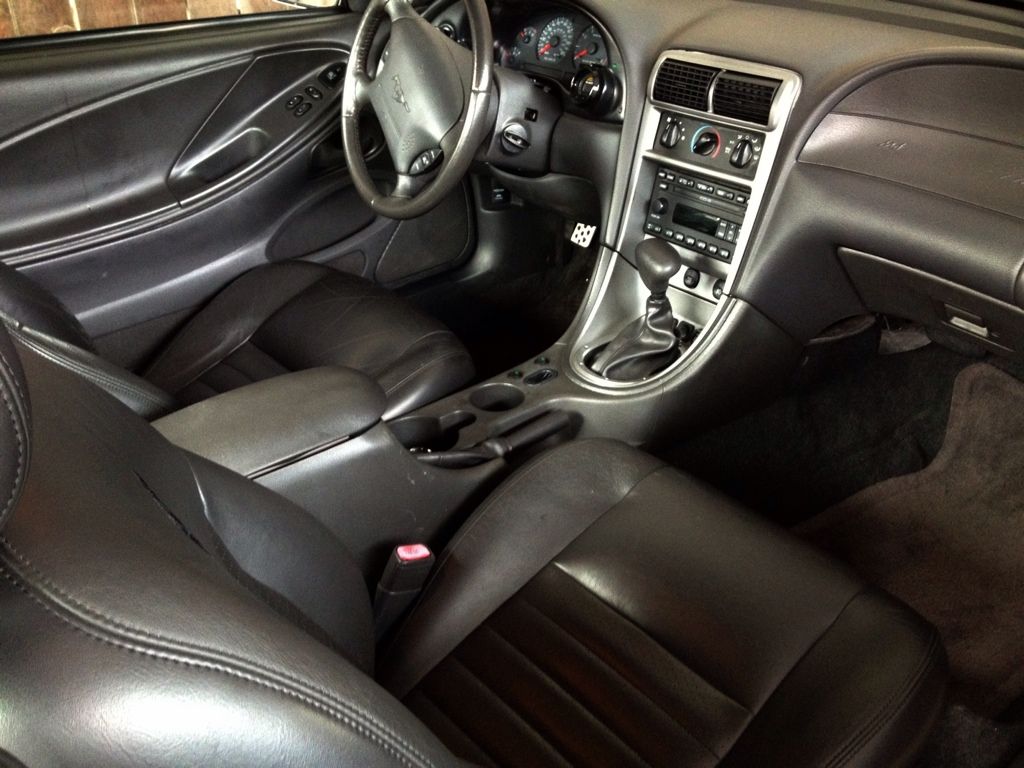
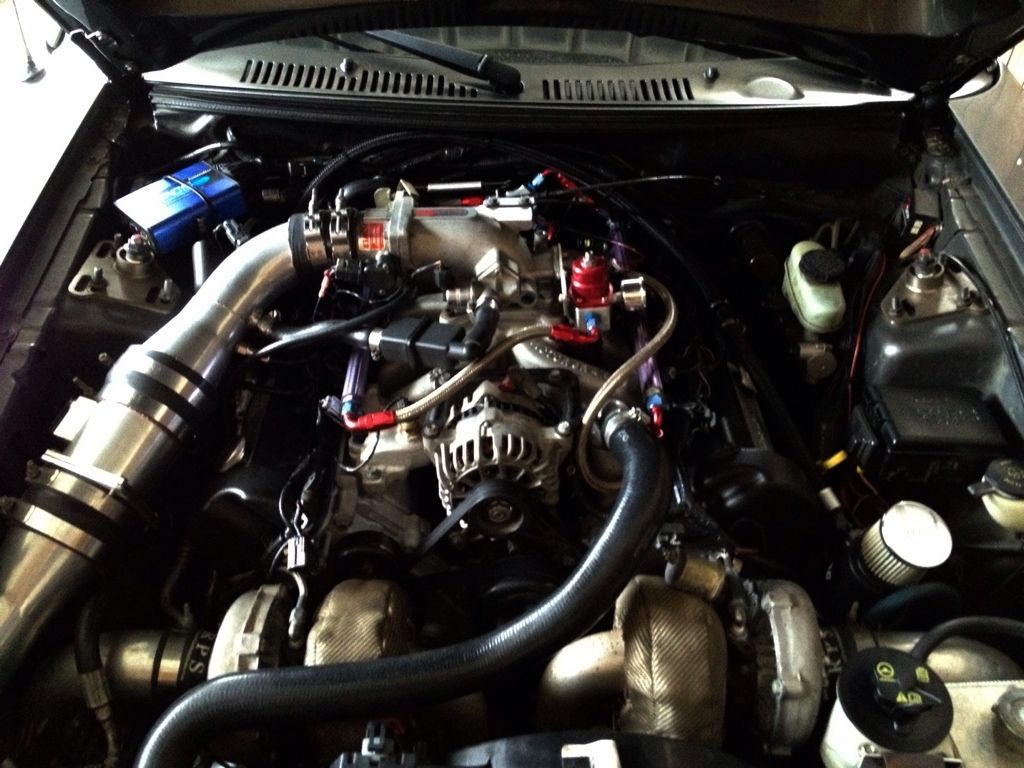
Started off as a near stock 2003 Gt. Ended up twin turbo, built auto making 770 to the wheels on 24lbs boost. Kept all the factory compliments, ac, power steering, full interior. Pretty much built as a heavy street racer, but I moved on from that scene and didn't have a use for such a built car anymore.
I recently sold my last project and have been looking around for something to fill the slot in the garage. This 1972 Duster came across craigslist for the right price and it ended up coming home with me.
Specs:
318 2bbl Engine mileage is unknown, but the coating applied to the engine bay leads me to believe it's been out and how quickly it starts "bump of the starter" makes me think it's been freshened up at some point.
727 trans with Column Shifter
8 3/4 rear end
Disc Brakes
The floors and trunk have been coated with something that is smooth but looks like truck bed liner. The engine bay has a more true truck bed liner roughness to it. I have yet to find significant rust. There is some oxidation under the rocker panels and the minimal spots here and there that I expected to find on a car this old.
Whoever painted the car did a junk job of prep. It's a solid 20 footer though.
The old guy I bought it from used it for cruising to car shows and it had the full compliment of car show accessories including fender chrome, neons, a strobe light, and led light bars hot glued to the grill. He let it sit for a while though and when I picked it up it would barely run well enough to load on the trailer. A tank of non ethanol gas and a little Marvel Mystery Oil and it runs and drives just fine. Now the main problem is the carb seems to need a rebuild. The accelerator pump doesn't seem to be doing its job anymore.
Anyway, enough of the rambling. Here are the pictures.
The only pic provided in the ad.
Picking it up.
Exterior.
After removing fender stick ons
Engine Bay
Interior
The Tweety Bird floor mats and steering wheel cover have gone the way of the neons and have been replaced with black carpet mats that match the carpet that's going in.
Pile of neons and stuff removed from the car last night.
I bought this car to have something to tinker with. My wife says I get unsettled and pick up 15 hobbies if I don't have a car to play with. So here is the planned mod list.
First things first. It's a factory Ac car and I live in South Louisiana. Ac is going to be blowing cold ASAP.
After that and the full fluid change I'll be looking at putting my stock Mustang wheels on it from my last project. the bolt pattern will work but the rotor hub is too big. After searching on FABO I'm going to contact my machinist buddy and have him mill the rotors.
Somewhere in there it's going to receive seat belts. One of the PO's removed them. I'll install the carpet, put in a floor shifter, rock the bench seat back a bit to make it more comfortable for me, and install the belts at the same time.
Long term plans once the little stuff is taken care of ~ 6-12 months include a Master Power T70. Nothing radical just a fun to drive 12 second car.
Well, there it is. From reading FABO I think the lack of rust and the inclusion of the 8 3/4, 727, and disc make this a solid car to spend a few years with.
________________________
This was the last project.
Started off as a near stock 2003 Gt. Ended up twin turbo, built auto making 770 to the wheels on 24lbs boost. Kept all the factory compliments, ac, power steering, full interior. Pretty much built as a heavy street racer, but I moved on from that scene and didn't have a use for such a built car anymore.