1972 Duster Project

-
Looks good.
When you throw it back together stick some paste teflon thread sealant on the header bolts on each corner. These bolt holes are open to antifreeze.
 
looks sort of like the colour my car was originally. Lookin good so far.

Thanks artful dodger...she's coming along slow but sure.

Looks good.
When you throw it back together stick some paste teflon thread sealant on the header bolts on each corner. These bolt holes are open to antifreeze.

Thanks for the reminder sireland. It'd be just like me to forget LOL!

Have a good week,
Pat
 
Got the passenger side header off today. Dropped right out after I removed the 90 degree oil filter mounting plate. Also pulled the old, leaking oil pan. Gonna replace it with a stock 340 pan for a bit more ground clearance. Need to clean/scrape layers of crud of the block, frame, suspension etc, before bolting the new stuff back on. She's coming along!!!

Pat

IMG_4561.jpg


IMG_4558.jpg


Cleaned up nice

IMG_4556.jpg


9-27-71

IMG_4550.jpg


Gonna media blast and hit them with a few coats of POR-15 exhaust manifold paint.

IMG_4549.jpg
 
Another Duster and another father/offspring build. :smile: My son and I are working on his '71.
 
Another Duster and another father/offspring build. :smile: My son and I are working on his '71.

Right on brother! :thumleft: Looking forward to following you and your little guy's build. Looks like you have a great package to start with.

Pat
 
Well, finally ready to start putting the Duster back together!

I took a little time to degrease and add some color to the engine. Also knocked years of crude off the Frame, K-Frame and under side (probably lighten the car up by 5-6 lbs LOL!). Cleaned up the intake as best I could w/o pulling in. The valve covers are too far gone to clean up, so will pull, smooth out and paint them.

Gonna clean up the hoses and get the wires routed/loomed cleanly next.

Will wash down/touch up the rest of the engine bay as soon as I can pull her out of the garage

This morning I pulled the oil pump and test fit the shorter pick up tube and oil pan. Gonna start putting stuff back together next week.

If all goes well, my next update will include video of the car making a little ruckus :burnout:

A few pics:

Before

IMG_4072.jpg


After

IMG_4829.jpg


Cleaned up Headers

IMG_4617.jpg


New (and couple old) Parts ready to install
IMG_4840.jpg


Slow but sure, we're getting it down.....

Pat
 
I didn't see a response to your rear end question....

A. Good luck finding anything in a junk yard. Too old.
B. The Lock-Rite / Powertrax family of traction devices will fit into an open carrier. They replace the spider gears with a spring loaded setup that is locked solid when on the straight path, but separate around corners. The Lock-Rite will have a 'clicking' sound in the corners, where the Powertrax is the same unit, but they built /machined a little ridge so the gears don't touch during corner so it is quieter. It is not a clutch system, so there is the possibility of a little 'clunk' when the engage, but I could seldom hear it over the exhaust, or feel it.


Thanks for the reply to my question man. Much appreciated. Yes, I am finding used chunks going for almost as much as new Lock-Rite / Powertrax pieces. Seems like a fairly straight forward install too. I'll most likely end up going with one. Are you currently running one and has it held up well? If so and words of advice on the install?

Best Regards,
Pat
 
Just updating my thread. My daughters and I made some great progress since my last update.

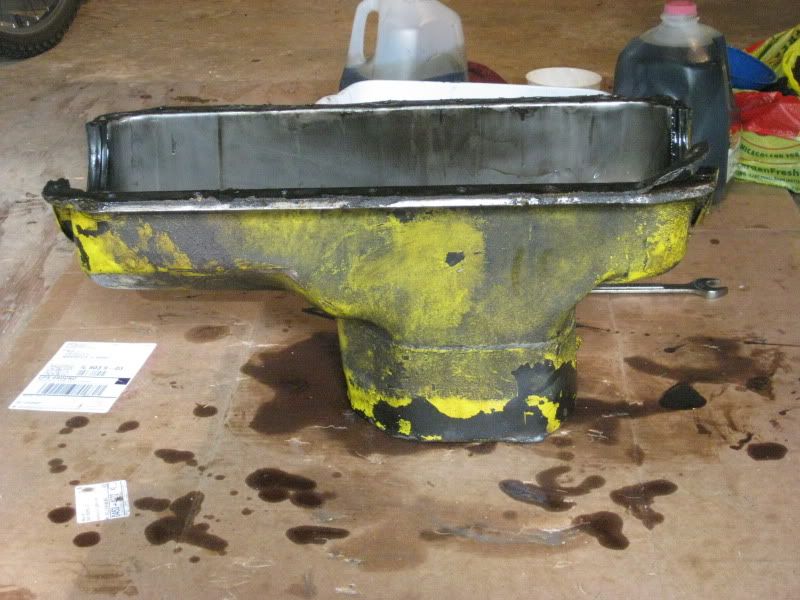
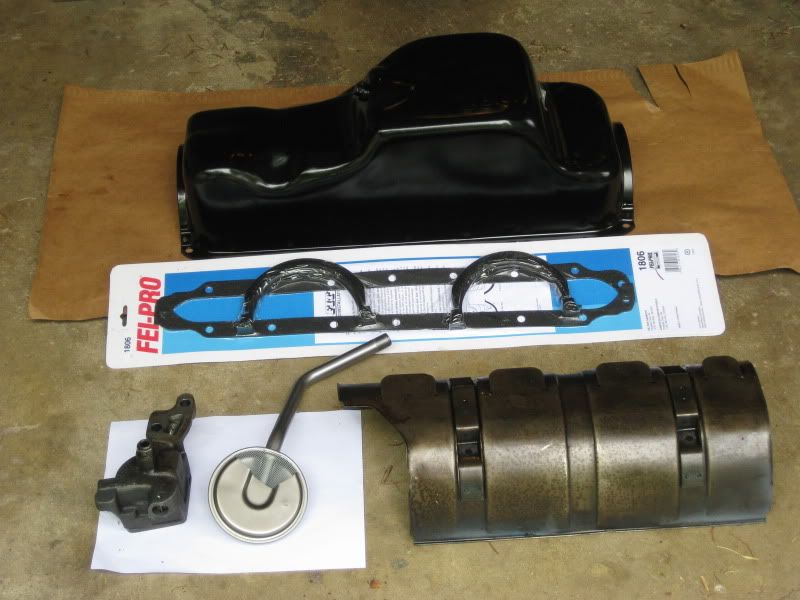
- Swapped out the oil pick-up tube and installed the new oil pan.
- Rebuilt the steering coupler and installed the new steering gearbox.
- Replaced the crispy, frayed and overall crappy starter cable harness with a new Mopar piece.
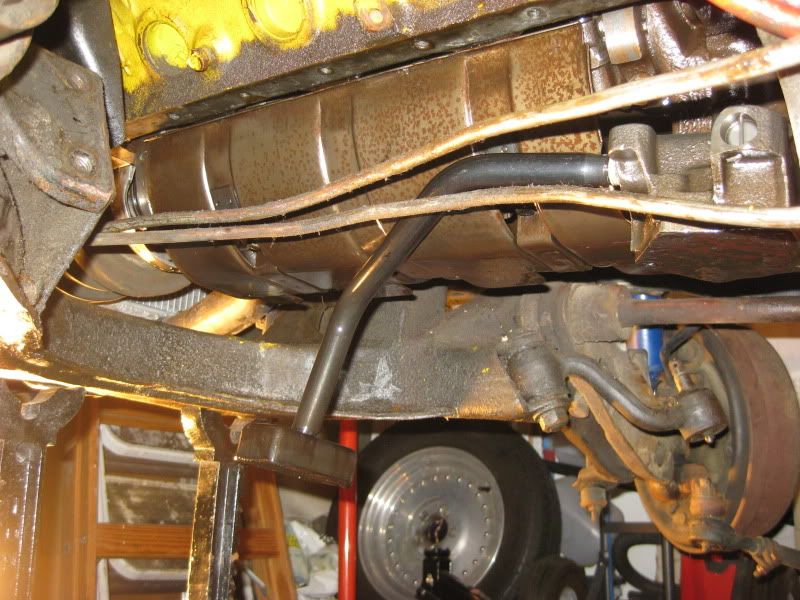
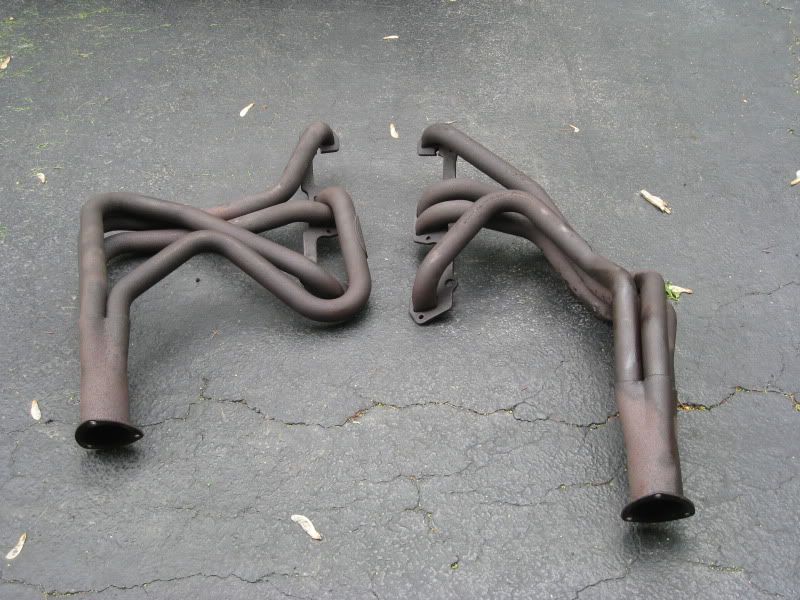
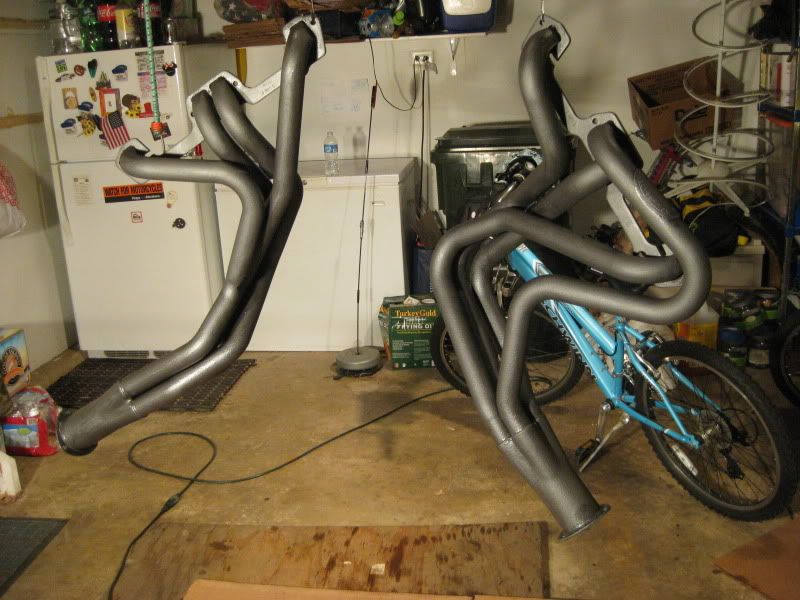
- Installed the headers.
- Cleaned up some of the wiring and removed wires that lead to nowhere...a lot of them!
- Soldered and shrink tubed all the connections that had been spliced with wire nuts (ya I know crazy right? Guessing the PO was not a big electrical guy lol.)
- Fixed the gas gauge
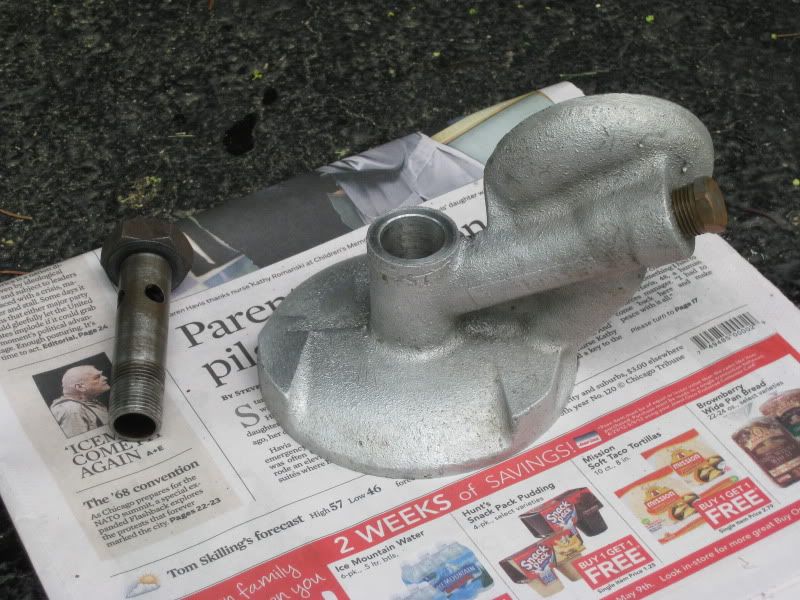
- Resinstalled the leaking 90 filter plate with a new gasket set.
- Replaced a leaking Bypass Hose.
- Mounted the coil that the PO had dangling in the engine bay.

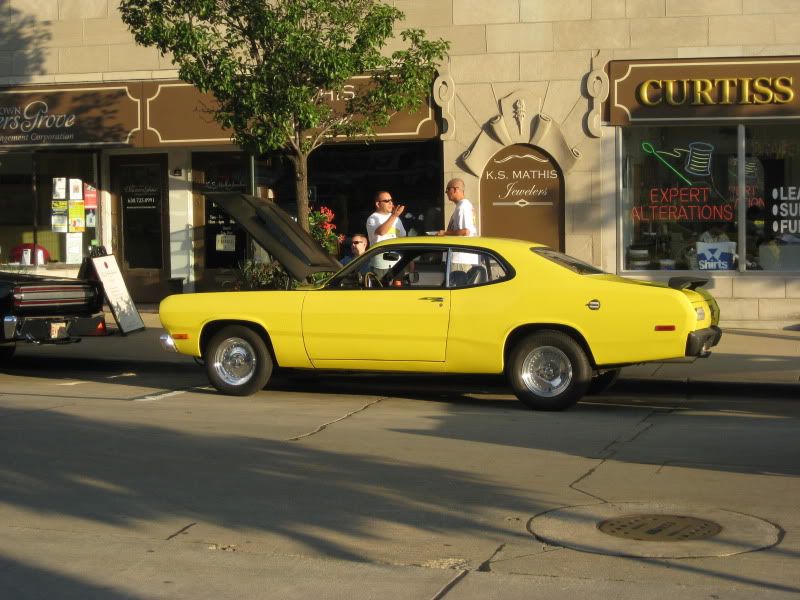
Here's the car at our first Mopar show! That maiden voyage felt damn good!

IMG_5144.jpg


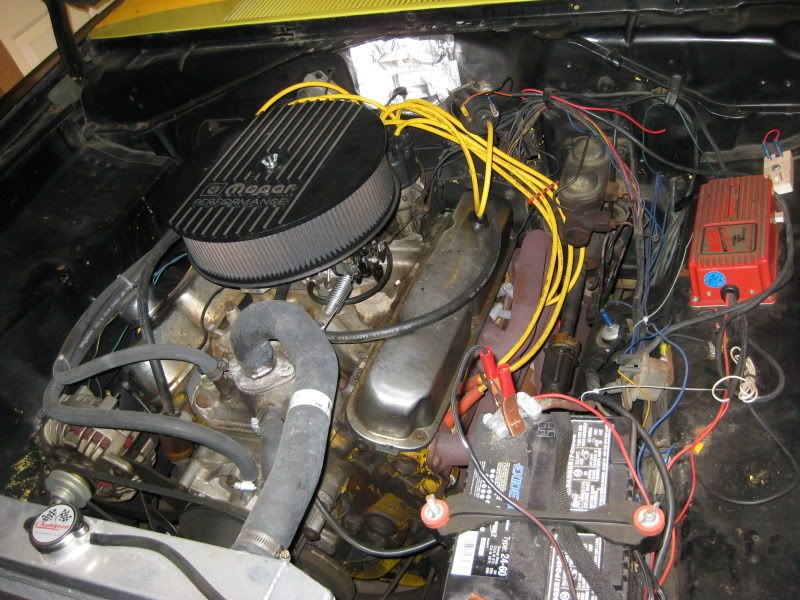
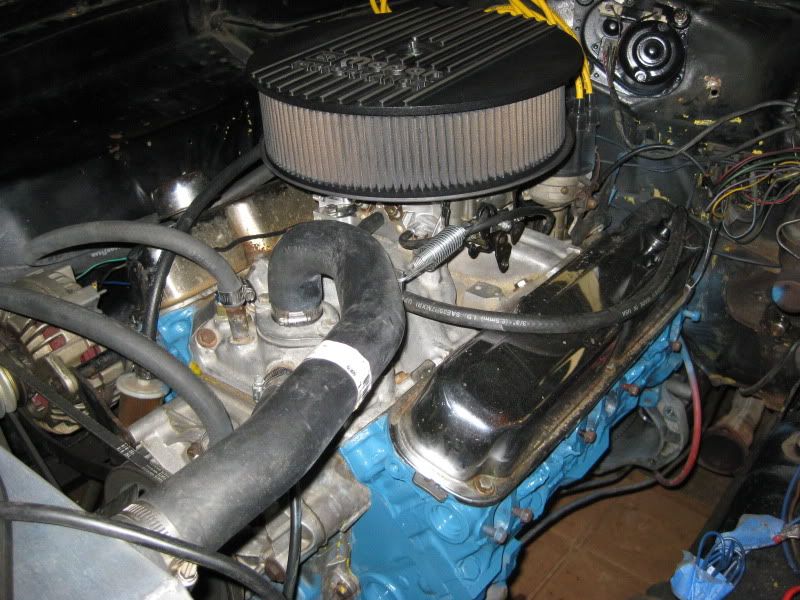
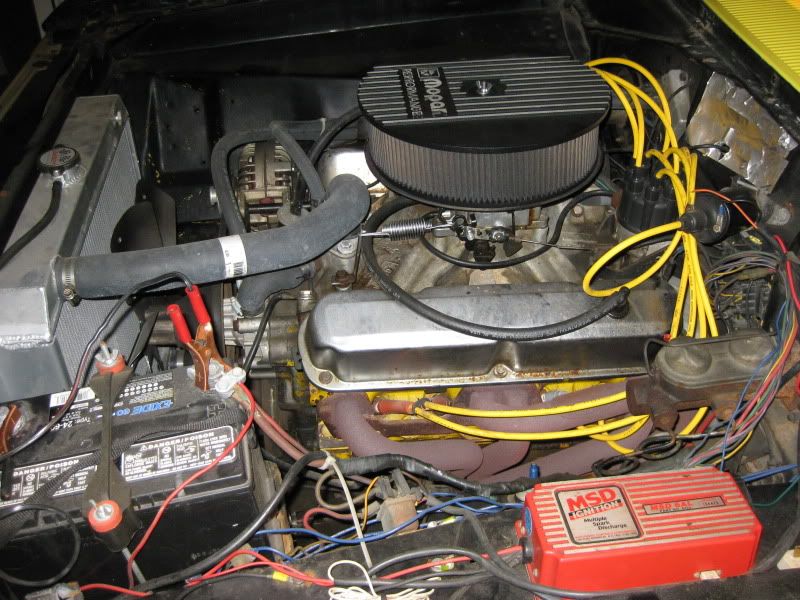
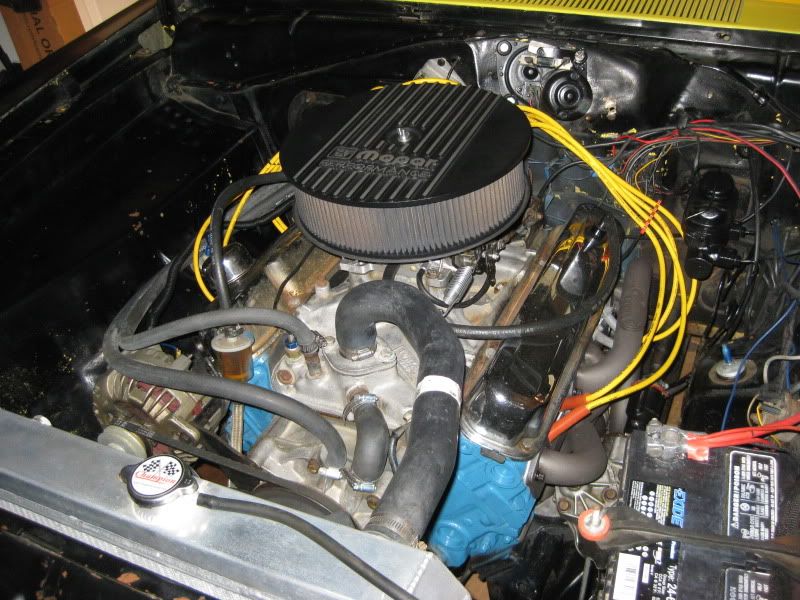
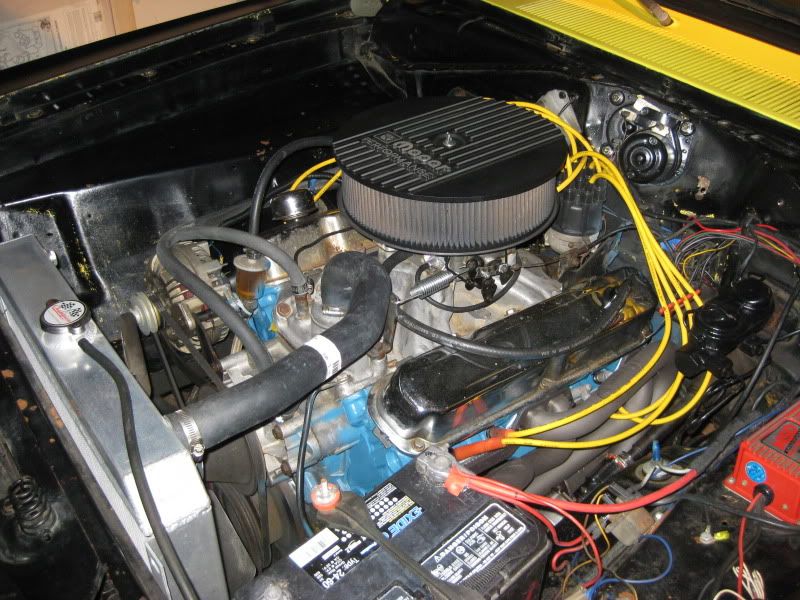
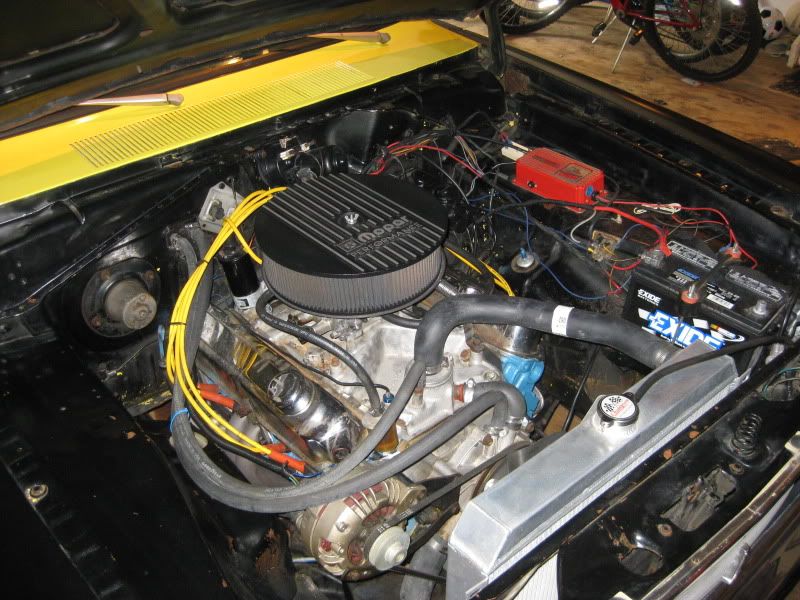
Engine bay before/afters....will eventually paint the engine bay body color (waaay down the road when we get to the body work & paint.). But I just couldn't take the way the bay looked...

IMG_4073.jpg


IMG_4072.jpg


Not great, but better! I have since put the driver side wiring in looms.

IMG_5185.jpg


IMG_5184.jpg


IMG_5187.jpg


Pat
 
We already have a pile of new parts to install. Next things we attack are:

- Install the new tie-rods
- Pull seats, carpeting etc.
- Install rear seat belts (Car did not have them when we bought it!) Got an after market Jeep Wrangler rear seat belt replacement set.
- Treat floor & ceiling w/POR15


Will be ordering new carpeting, sound deadener etc shortly.

Looks like I will not be getting bored anytime soon.
 
Been awhile since the kids & I updated this thread. So, here we go. New Tier Rod Ends, Pulled Carpeting/Padding, Install Blaster2 Coil, Got lighting to Gauges & Tach, Installed Tach Adapter for 6AL, Installed missing Fresh Air Vent Door, Install Visors, Sourced all Emblems for Body & Scoop, cleaned up more wiring, fixed missing mounting stud for hood scoop.

Next up:

Sub-Frame Connectors - Picked up the rectangular tubing (Scored two pieces 3"x1.5" 11ga for $30 :thumblef:)

POR-15 & Paint interior

Sound deadener

New Carpet

New Seatbelts Front & Rear

Pull valve cover, strip and paint.

Install Speedo Gear


Here's a few recent pics for a couple shows.

Rolling onto main street for "Corvette Night" cruise night.... :burnout:


Cruise night in Plainfield


Mopower Madness


Hey Folks,

Been awhile since we updated this thread. Things got put on hold for a year or so due to some health issues with my Father. But the girls and I have been busy on the project since about May. Since our last update we've:

Replaced Timing Chain & Gears
Water Pump
Hoses
Belt
Elect Fuel Pump
Gaskets
Cleaned up the motor (Girl's picked the colors and I thing they did just fine!) :D
Gutted the interior to repair/weld some cracks in the floor
as well as other misc things.

Now we're ready to POR15 and paint the floor and ceiling, fab and weld in 3"x1.5" subframe connectors (One of my girls is turning out to be a decent little welder!), add sound deadener and the new carpet.

One step at a time!

Be well all


Think that carpet was ready to be replaced? LOL:wack:


How bout that old timing chain?[ame=http://i46.photobucket.com/albums/f105/emandm/1972%20Duster/MVI_0375_zps0cb7cec9.mp4]
th_MVI_0375_zps0cb7cec9.mp4
[/ame]
 
-
Back
Top