Serj22
Well-Known Member
So this is a gradual project over today and tomorrow, all based on suggestions in the "Lower Cost Carpet Options" thread. I started by gutting the front half of the carpet and lifting out the driver and passenger seat. Sorry no pics of the seat removal, but I figure another thread covers that, or possibly several.
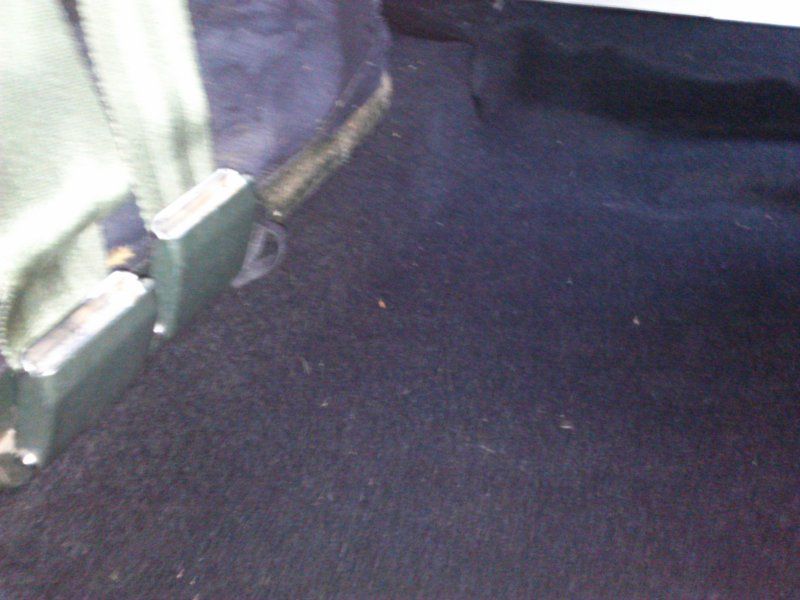
I don't have a shot of the old carpet so much, as I have a picture of my least favorite part of it - right over the transmission tunnel.
You can probably see why I needed a new carpet? That's right - because it's green and didn't match the floor mats -AT ALL!
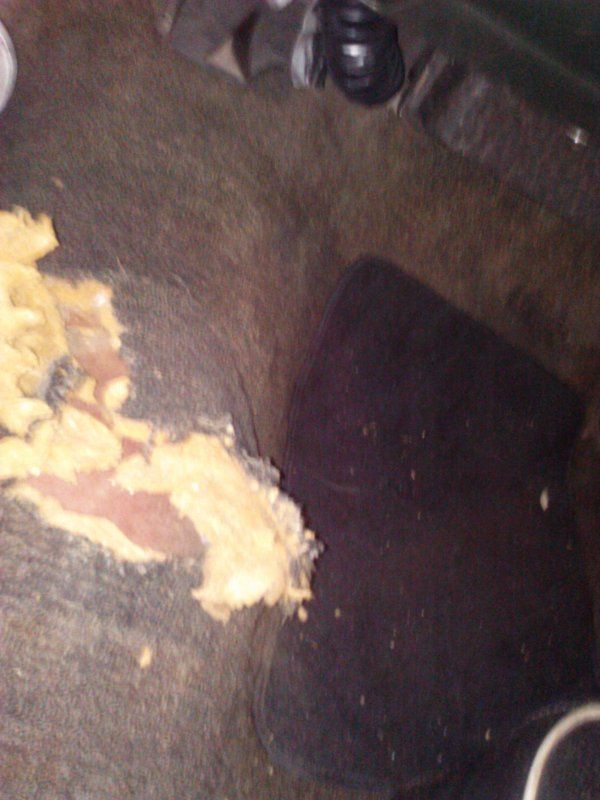
Oh there's some stuffing coming out of there too - hmm.
So I ripped the front carpet section out like a savage beast and threw it out of the car in a giant clump of dust and yellow padding.
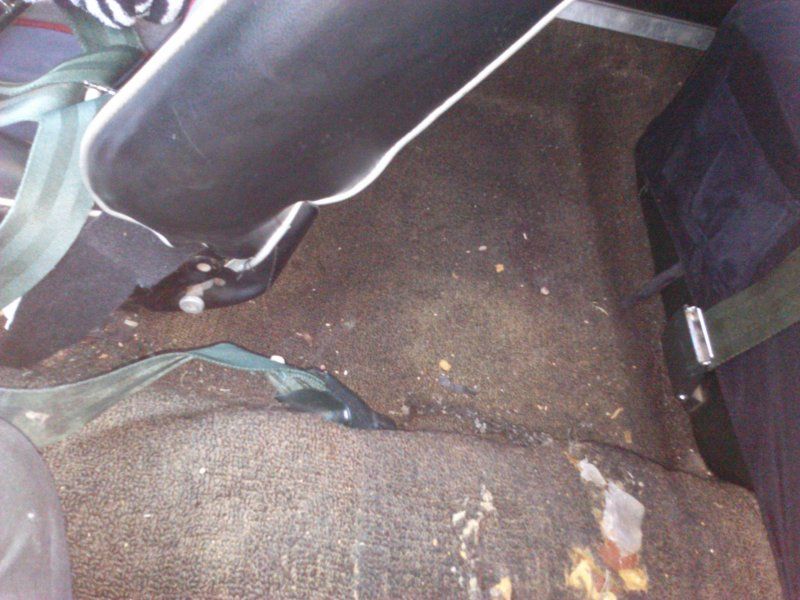
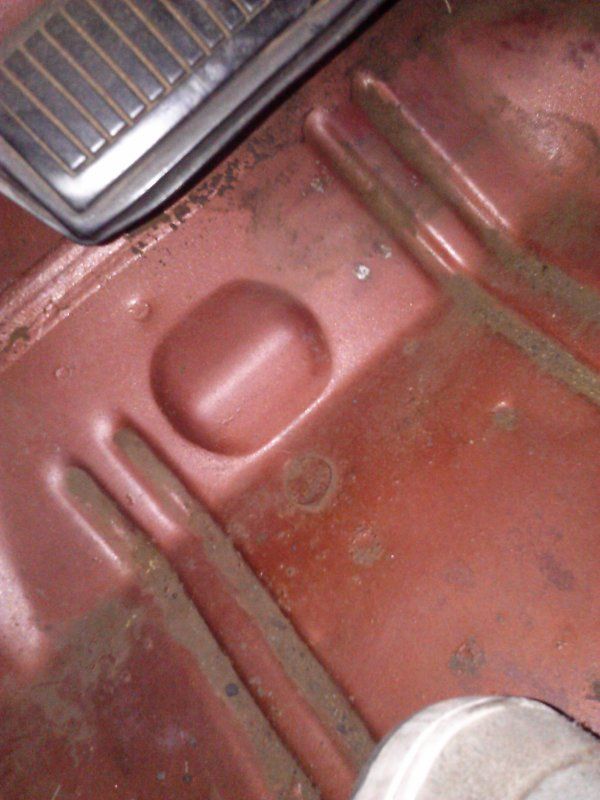
Underneath was a pleasant surprise - no water, and no real bad rust. In fact, it looks like the carpet came out to paint the car. They went through a lot of trouble to paint the floor copper, but not the interior door panels - those are still dark green. Go figure...
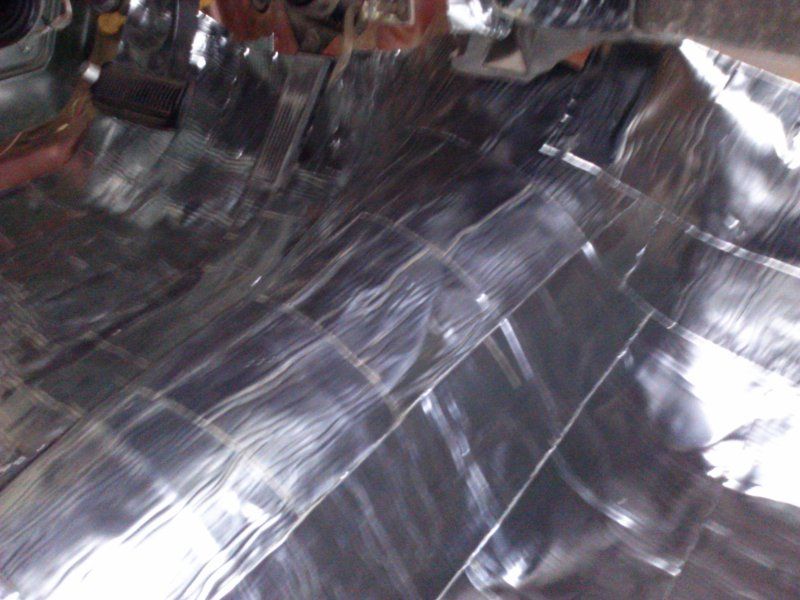
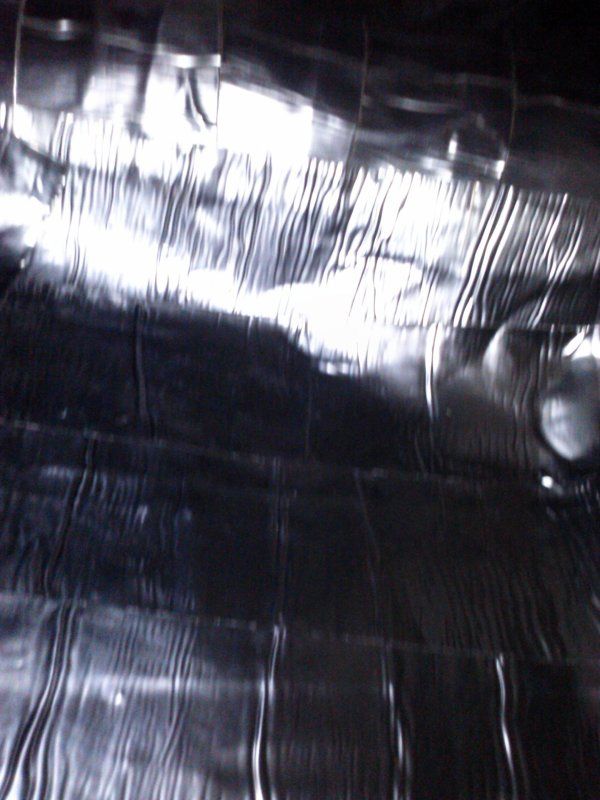
Now, I went to Lowe's and got the Peel and Seal stuff. I got three rolls. They were in the wrong spot so I got each one for $8.95. They are usually $15.00 and I found out they are intended for window flashing. This may be why I could not find them in the roofing section. This stuff stuck down VERY well, and I used one roll - and got the driver's side, and the transmission hump done, on the front half of the car. I ran the hump laterally across the car (door to door) and the floor pans bumper to bumper. It just seemed logical to me.
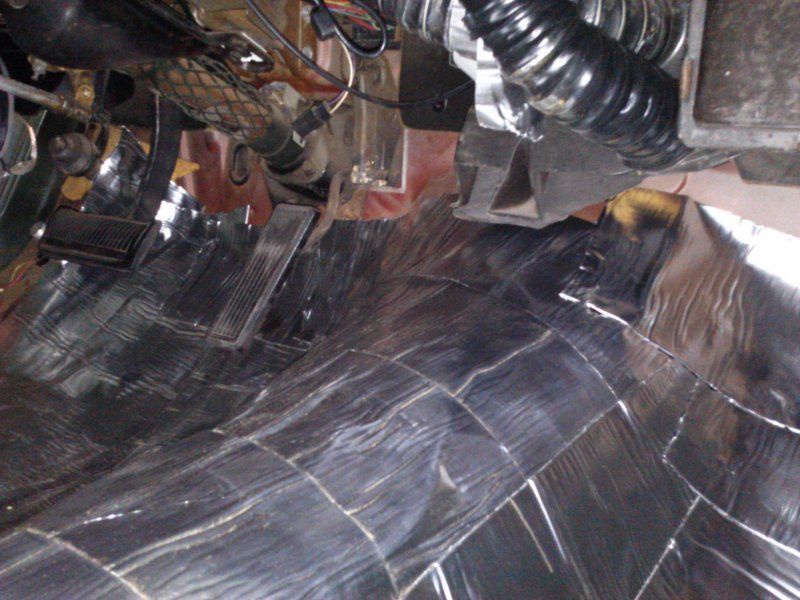
I overlapped everything about 1" and then ran some laterally up near the dashboard and firewall.
So part of one roll covered the passenger side. So I'd say if you cover everything thoroughly, the front takes 1.25 rolls of PeelnSeal.
I got two rolls of Autozone replacement carpet. It is made of recycled material so when I drive my pre-smog car around I can feel like I have helped the environment in some way...
Each roll is $9.99 and I have found that every autozone seems to carry about 2 rolls at a time, and that's it. So you may need to go to 2 seperate automotive stores if you want 3 rolls. I am going to say that it may take 3 rolls to do the interior. The front roll, when matched at the original carpet seam, leaves about 4" up on the firewall that still needs to be covered - to hit the original carpet coverage. The third roll can be used to get that space, as well as the rear parcel shelf.
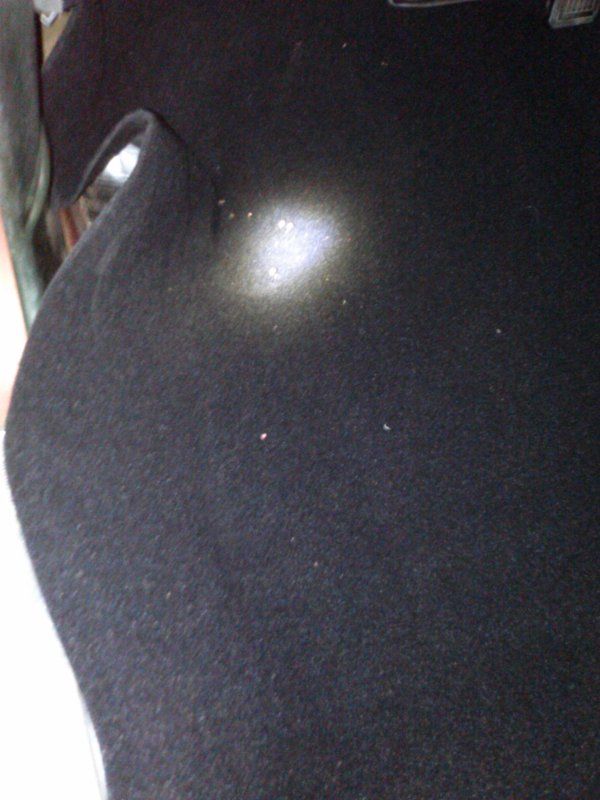
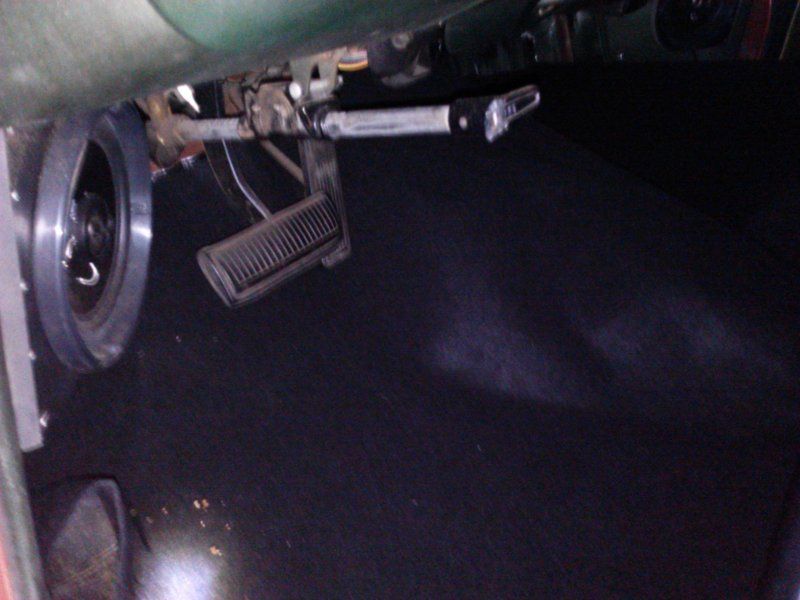
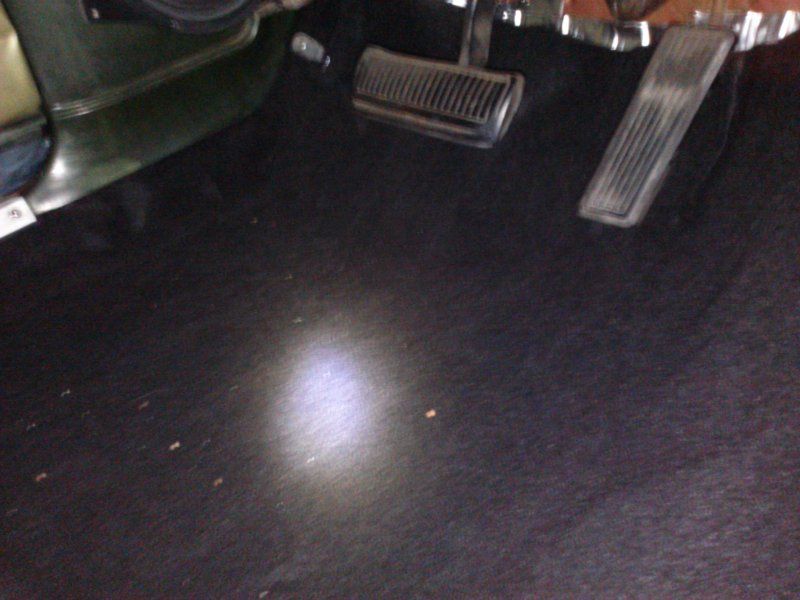
I layed out one roll, and slid the center under the air vent-y thing-y that is in the center of the car. (you can tell I'm a scientist cause I use big words). I forgot to snap a picture of the center, but trust me - there is a center to the carpet. I put spray adhesive ($8.00) on the center of the hump, in between the two bucket seat locations. then ran the carpet into the driver's side and then put spray adhesive all over the floor, and worked it out with my hand, moved it out to the edges, stuffed 6" of excess under the kick panel, and then cut the edge 2" longer than needed and screwed the door sill to it.
Now I am working out the passenger side. So far I spent about $60.00 to do the carpet, and feel like I won't need anything else - besides a third roll of carpet. So I just went inside to type this out real quick, and try and be thorough about it. It's getting dark, but I drank a rockstar so I'm still good to go and there's carpet to lay. I may end it at the front side for today and continue the rest in the morning, but quitters never win. We'll see. Oh and just wait till you see what i have planned for the heel guards. You'll call me a genius and probably everyone will send me money to further my advances in super professional upholstery science. None of you thought to glue a car seat cover to the seat, well - maybe you did. But I copyrighted it - well I want to...
I don't have a shot of the old carpet so much, as I have a picture of my least favorite part of it - right over the transmission tunnel.
You can probably see why I needed a new carpet? That's right - because it's green and didn't match the floor mats -AT ALL!
Oh there's some stuffing coming out of there too - hmm.
So I ripped the front carpet section out like a savage beast and threw it out of the car in a giant clump of dust and yellow padding.
Underneath was a pleasant surprise - no water, and no real bad rust. In fact, it looks like the carpet came out to paint the car. They went through a lot of trouble to paint the floor copper, but not the interior door panels - those are still dark green. Go figure...
Now, I went to Lowe's and got the Peel and Seal stuff. I got three rolls. They were in the wrong spot so I got each one for $8.95. They are usually $15.00 and I found out they are intended for window flashing. This may be why I could not find them in the roofing section. This stuff stuck down VERY well, and I used one roll - and got the driver's side, and the transmission hump done, on the front half of the car. I ran the hump laterally across the car (door to door) and the floor pans bumper to bumper. It just seemed logical to me.
I overlapped everything about 1" and then ran some laterally up near the dashboard and firewall.
So part of one roll covered the passenger side. So I'd say if you cover everything thoroughly, the front takes 1.25 rolls of PeelnSeal.
I got two rolls of Autozone replacement carpet. It is made of recycled material so when I drive my pre-smog car around I can feel like I have helped the environment in some way...
Each roll is $9.99 and I have found that every autozone seems to carry about 2 rolls at a time, and that's it. So you may need to go to 2 seperate automotive stores if you want 3 rolls. I am going to say that it may take 3 rolls to do the interior. The front roll, when matched at the original carpet seam, leaves about 4" up on the firewall that still needs to be covered - to hit the original carpet coverage. The third roll can be used to get that space, as well as the rear parcel shelf.
I layed out one roll, and slid the center under the air vent-y thing-y that is in the center of the car. (you can tell I'm a scientist cause I use big words). I forgot to snap a picture of the center, but trust me - there is a center to the carpet. I put spray adhesive ($8.00) on the center of the hump, in between the two bucket seat locations. then ran the carpet into the driver's side and then put spray adhesive all over the floor, and worked it out with my hand, moved it out to the edges, stuffed 6" of excess under the kick panel, and then cut the edge 2" longer than needed and screwed the door sill to it.
Now I am working out the passenger side. So far I spent about $60.00 to do the carpet, and feel like I won't need anything else - besides a third roll of carpet. So I just went inside to type this out real quick, and try and be thorough about it. It's getting dark, but I drank a rockstar so I'm still good to go and there's carpet to lay. I may end it at the front side for today and continue the rest in the morning, but quitters never win. We'll see. Oh and just wait till you see what i have planned for the heel guards. You'll call me a genius and probably everyone will send me money to further my advances in super professional upholstery science. None of you thought to glue a car seat cover to the seat, well - maybe you did. But I copyrighted it - well I want to...