twotone64
Well-Known Member
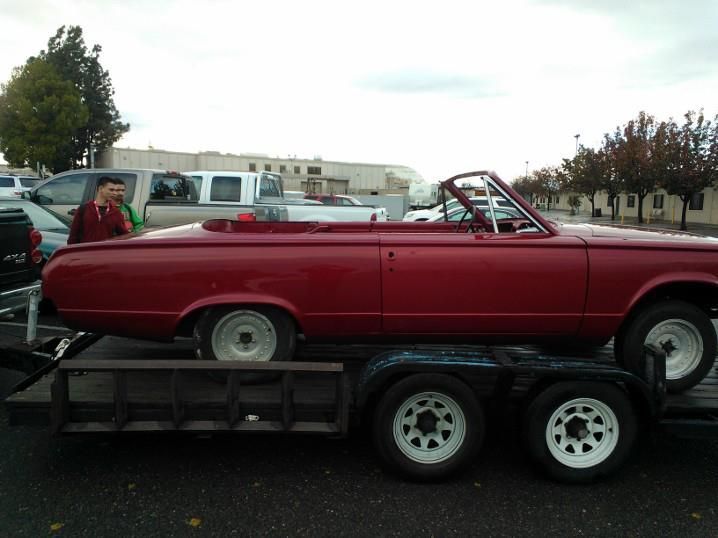
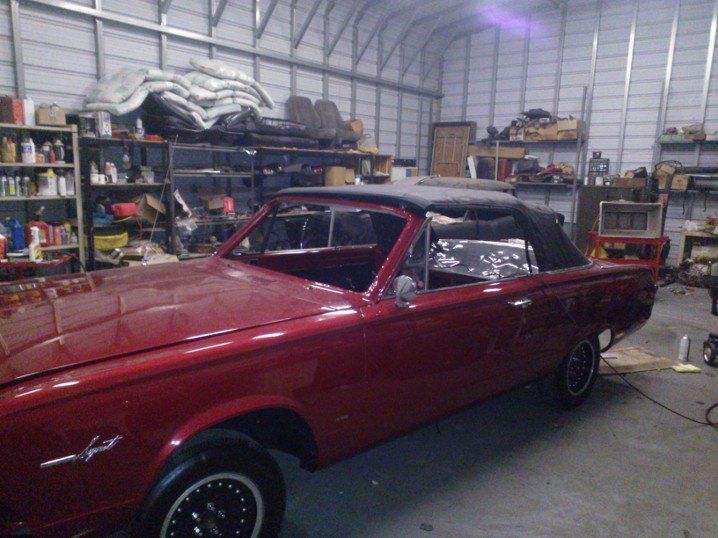
UTI called, it is loaded in a trailer, and it will be here tomorrow morning. I'll make sure and take some pictures of her and load them up tomorrow when I get her home.
By the way Memike, My Dad was born in Holley Grove, directly West of West Memphis. Not sure if you know where it is but stil have family there.

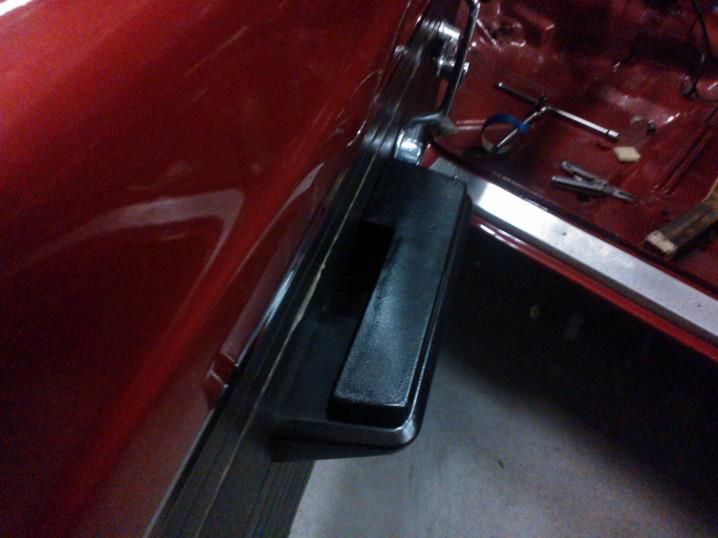
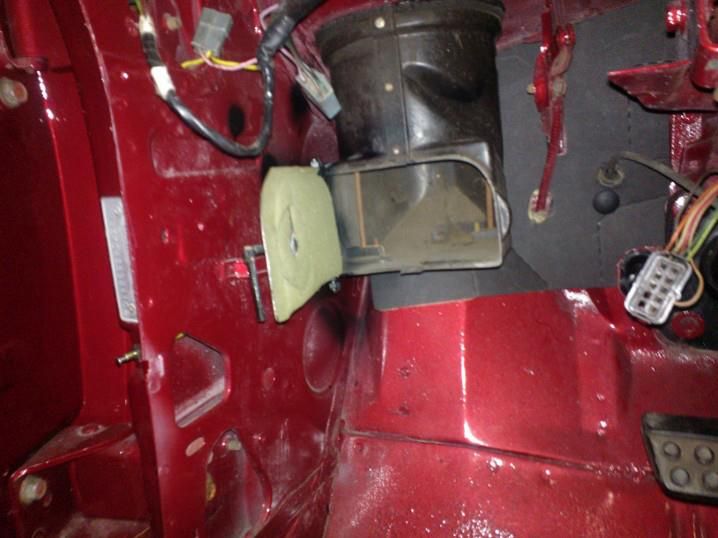

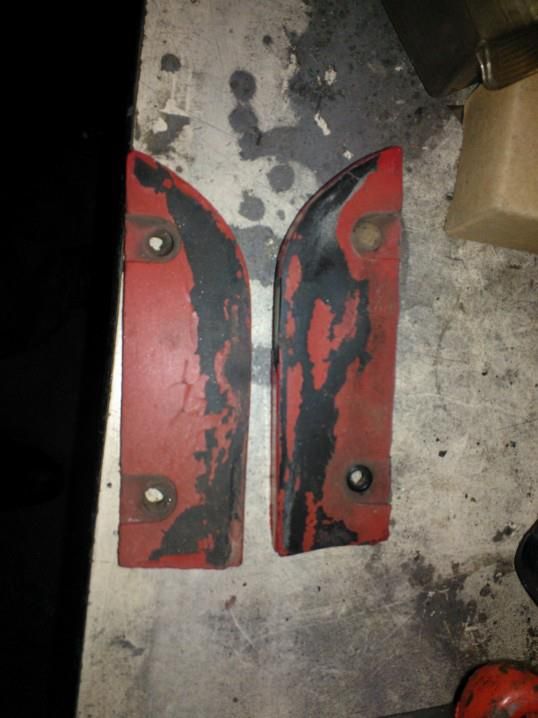
I have a couple of rubber parts that have two screws on them. I didn't put a descriptor on the drawer when I catalogged every part and I have NO idea what they go too. Could someone help me out here. Here are the parts hopefully someone can identify them.
They are about 5 inches long and about 1.5-2 inches across. Were black rubber, but got painted over with the last paint job prior to me tearing it a part.


