Pateras
Well-Known Member
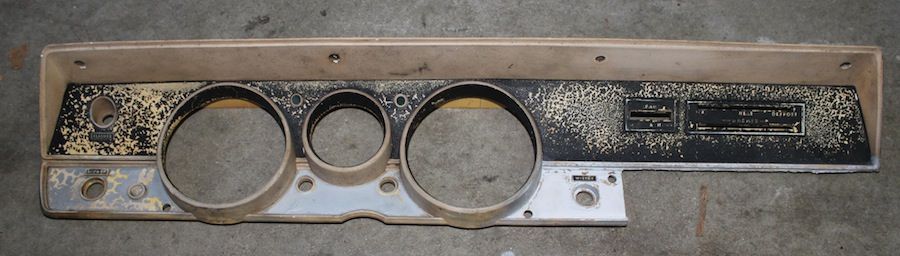
I've done some searching and came up with little. Does anyone have a link to a DIY Dash Bezel restoration? Or can anyone just briefly explain what they did? Thanks fellow addicts.
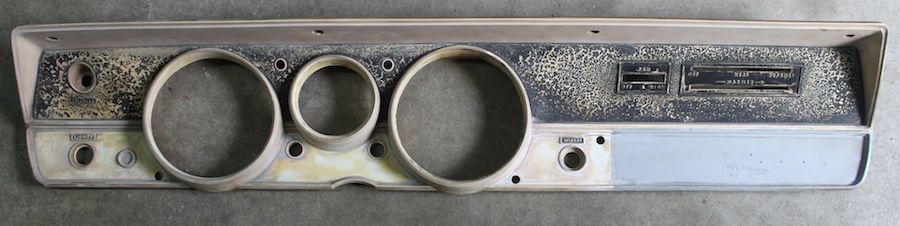
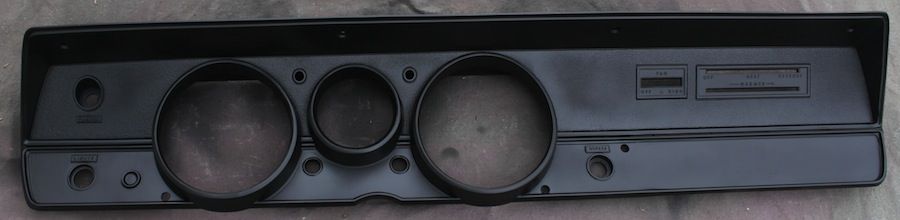
Remove it, clean it, fix any chips and cracks, then paint if needed and install...
yea, thanks. That part wasn't overly elusive for me. What reflective paint did you use? What epoxy for crack repair? How to remove the old aluminum foil stuff? What was used to buff the lens? How to dress up the knobs, etc.? You know, adult questions.
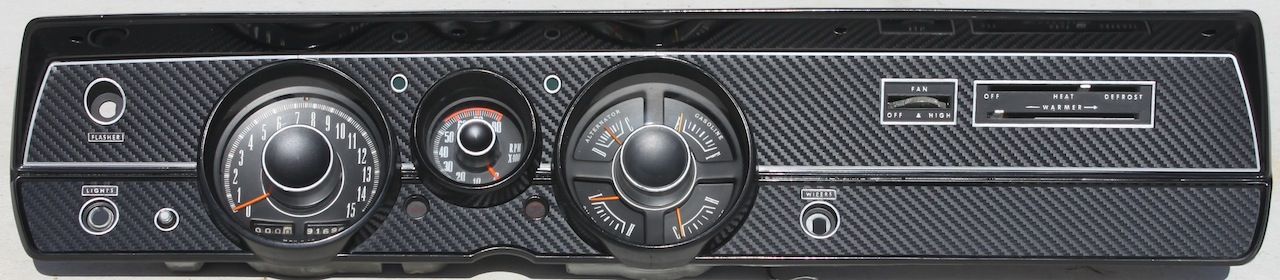
Everything I did is in my build thread, starting at post #34.
http://www.forabodiesonly.com/mopar/showthread.php?t=198098&page=2


