Tips/suggestions for modifying steel hood for 6-71?

-

70Duster440

Well-Known Member
Joined
Jan 8, 2006
Messages
2,692
Reaction score
435
Location
Washington
Interested in "been-there, done-that" suggestions on modifying a stock steel hood for a 6-71? Dimensions, how much "hole" clearance, finishing the opening, etc. I'm sure I can figure it out but I'd like to see what others have done.
 
Why not use a large sheet of cardboard to simulate the hood opening (assuming you are using springs). Keep enlarging hole until it provides clearance, then you will have a minimum opening dimension

Grant
 
Why not use a large sheet of cardboard to simulate the hood opening (assuming you are using springs). Keep enlarging hole until it provides clearance, then you will have a minimum opening dimension

Grant

Good idea!
 
Old post I see but...
With the hood open, I put masking tape on top the fenders and marked the approximate front and rear of the blower using a long straight edge(yardstick/broomstick) laid across the fenders. That will get you the approximate front and rear locations. Maybe add 2" to this measurement, depending on how picky you are or if there's going to be fuel lines and cables etc.
To get the sides, use a tape measure and add 2" for engine torquing over. I'd rather not mash up the hood with the engine, so I was a little generous there.
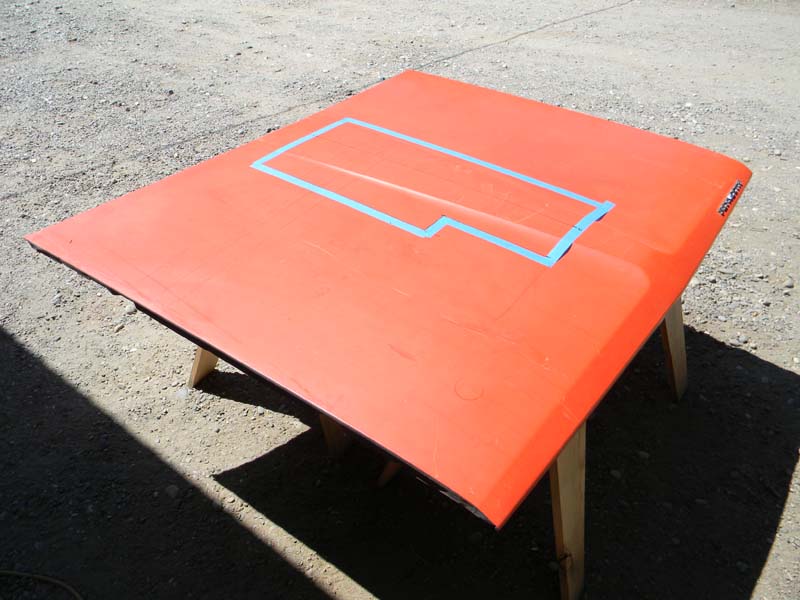
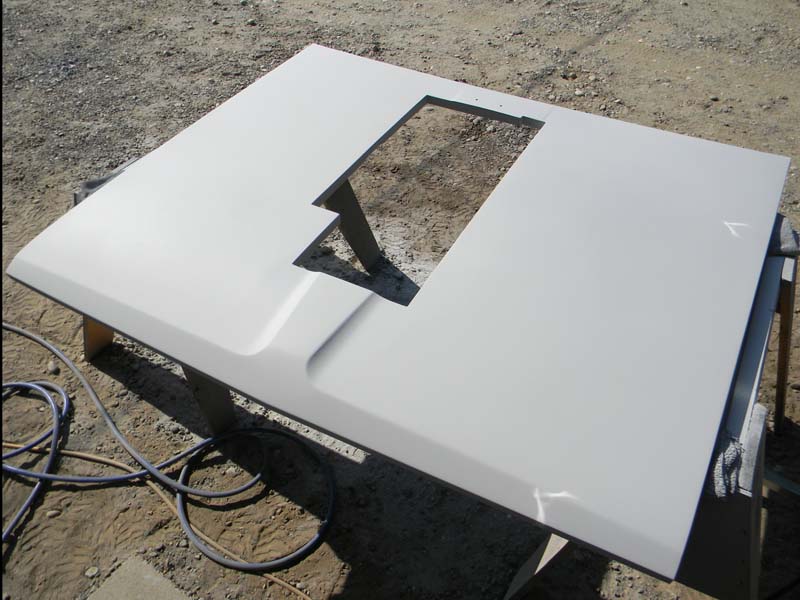
Removed blower and closed hood, took 2 wide pieces of masking tape on the hood, laid parallel and almost touching to guide my cuts, and also to protect the paint from the jigsaw base. This is essentially the blower outline.
I used a soup can as a radius and a sharpie to draw on the tape rectangle on the hood.

Cover anything under the hood you don't want metal shavings in!

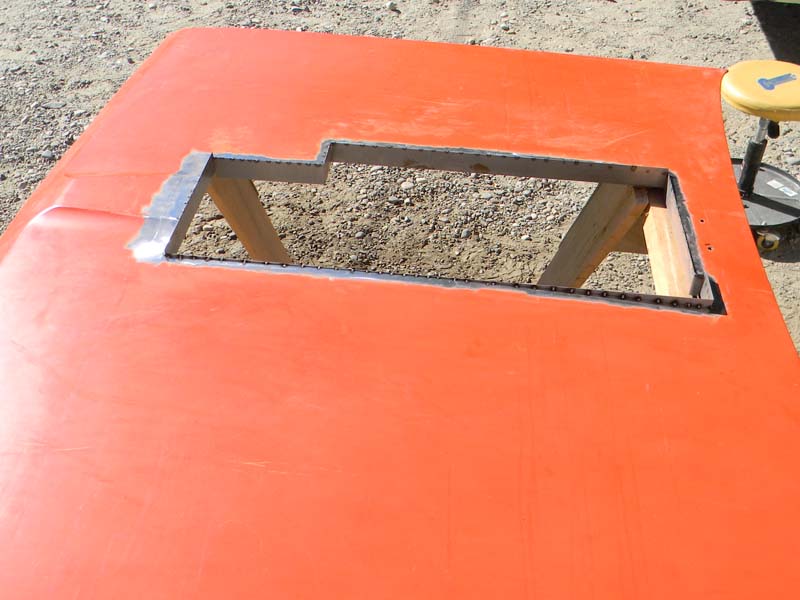
Next I took a drill multi bit and a deep breath and made a hole for the jigsaw blade in the flawless black beautiful paint. Ugh. Make sure you drill on the piece you're going to discard...
The hood cuts so easily, except at the center. Go slow and don't push down hard and the paint won't even get damaged.
 

Attachments

  • 082109_15131.jpg
    81.5 KB · Views: 388
  • cuda hood.jpg
    86.5 KB · Views: 386
The thread isn't that old :) Good tips - well thought out! Thanks for sharing. I'm not quite ready to cut up a hood yet but getting closer.
 
So, here's what I ended up doing for a hood. Still have to paint it.

Started with my original hood that was in really good shape until the guy media blasting it damaged it. I wanted him to do just the structure on the bottom side and told him to stay away from the skin itself. Do you think he listened? Warp city. Figured I had nothing to lose by cutting it up.

layout.jpg


Took some measurements and laid out some tape lines. Cut it out and test fit.

cutandfinish.jpg


Removed a little more material in one corner and actually added a strip back in at the front. Then took 20 ga. sheet metal strips and tacked them in place to finish the opening. Followed by lots of stitch welding and grinding.

seamseal.jpg


Repaired several broken bonds between the structure and skin using Lord Fusor #129 which sets quickly and looks like the original stuff. Used the same material to "seam seal" the new joints around the opening.

structure.jpg


Also modified the structure to blend into the finished opening since it is extra thick in places. A couple of slices, bend it down, weld it up, finish.

prime.jpg


Filled, blocked, and primed until it's just about ready for paint here. The holes at the rear are for a couple of gauge pods.
 
What a great picture, I would put this in the M&M list (Making Memories) very nice!!
and thank you for putting a smile on my face tonight.
 
-
Back
Top