Bidle
Valiant '68
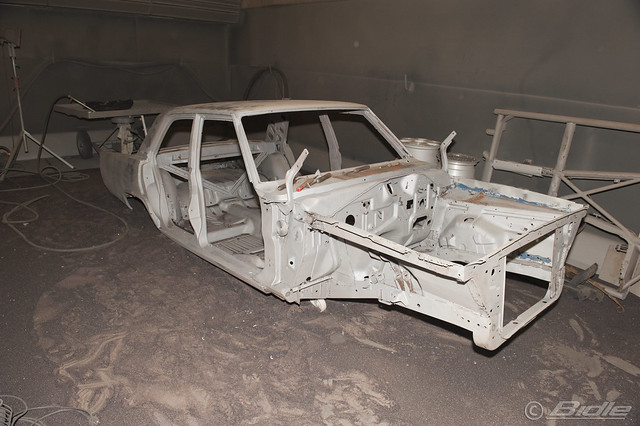
Well it has begun!! Don't really knew in which section to put this thread, but want to put all updates in this thread....
19 august 2011
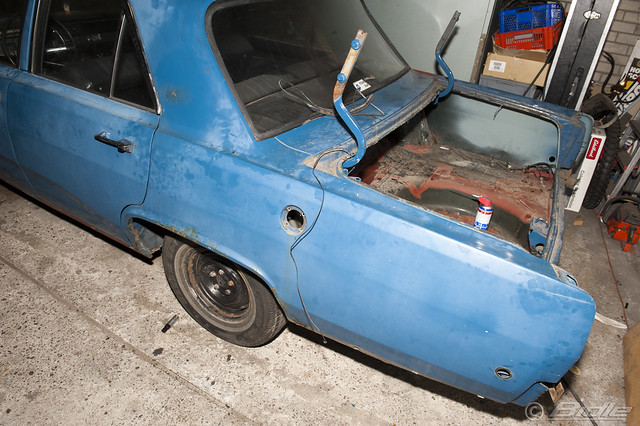
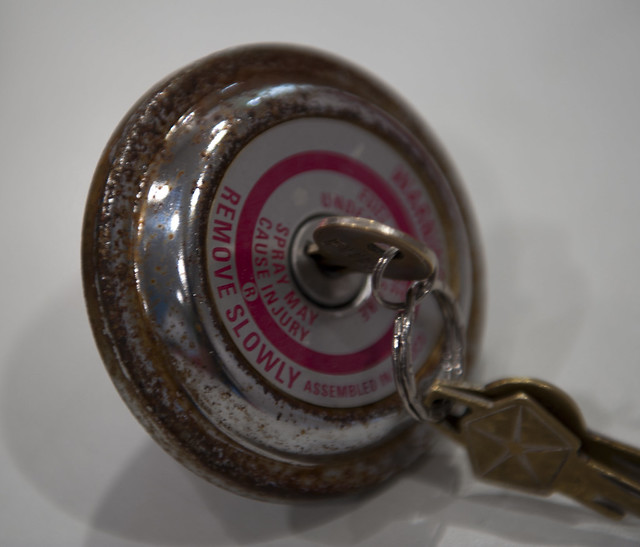
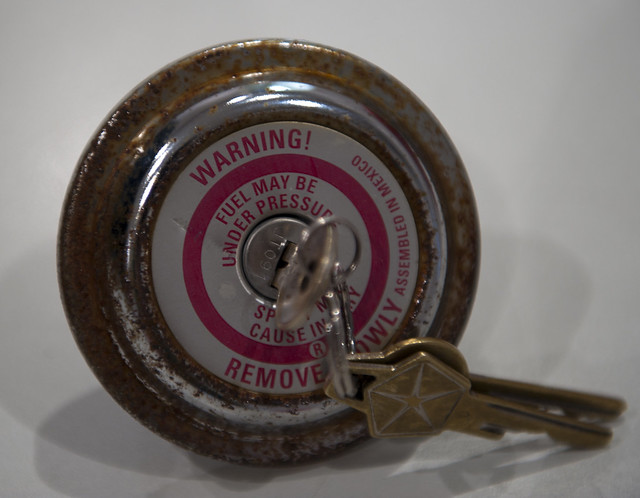
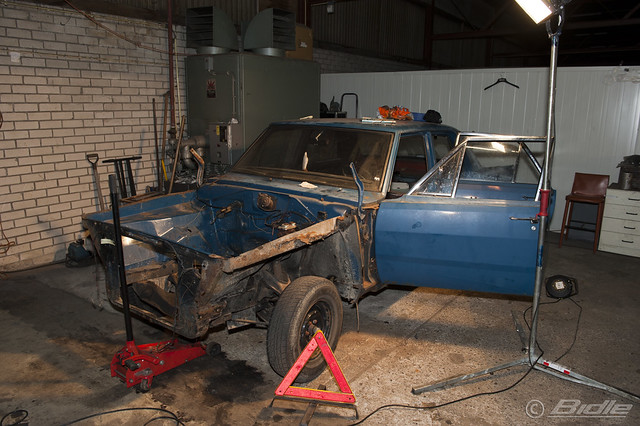
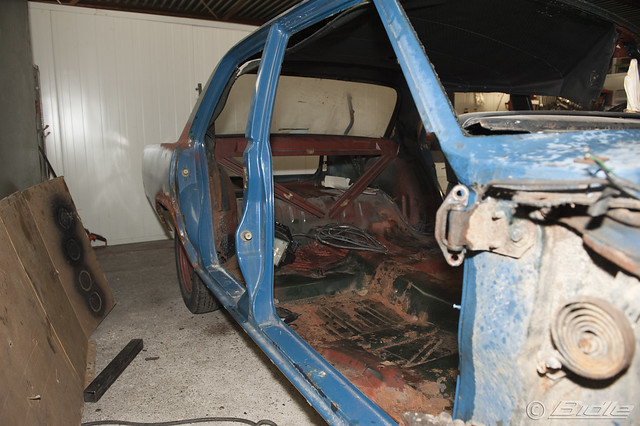
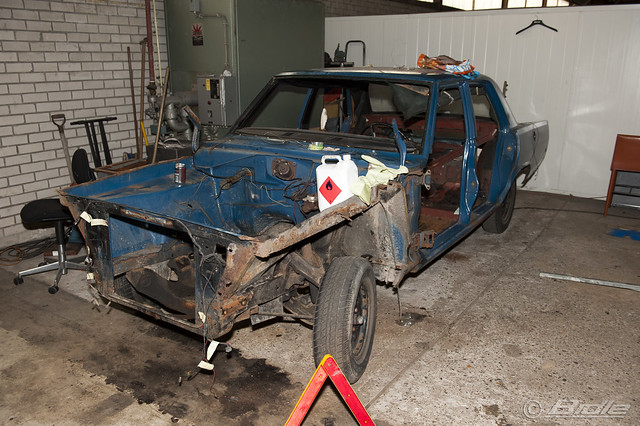
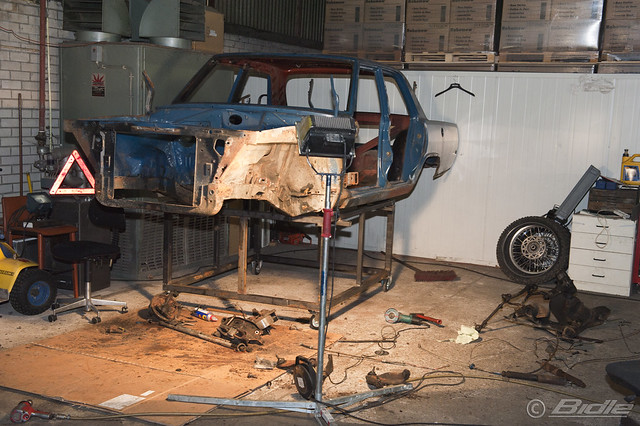
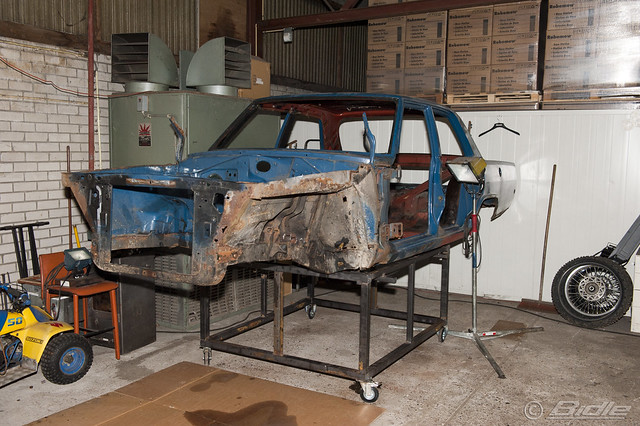
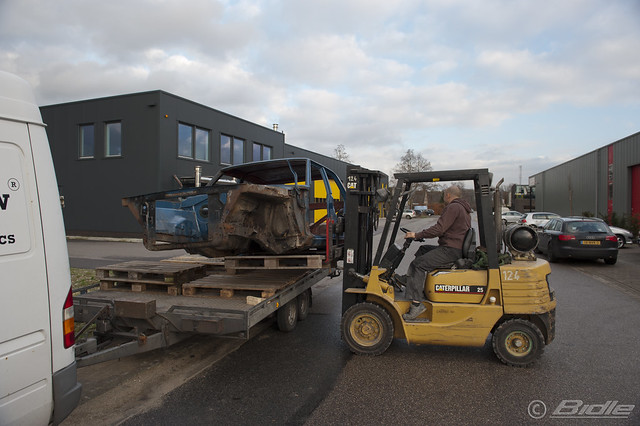
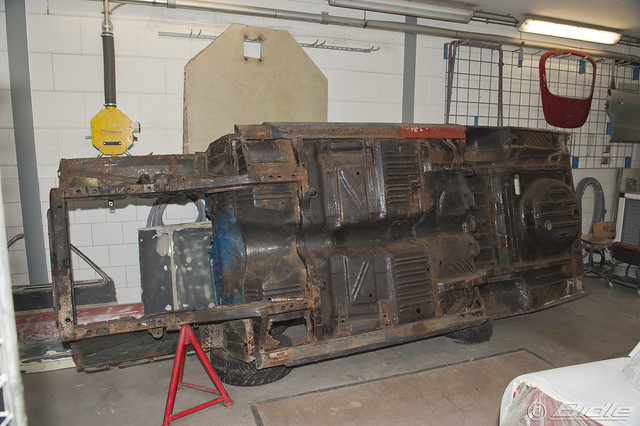
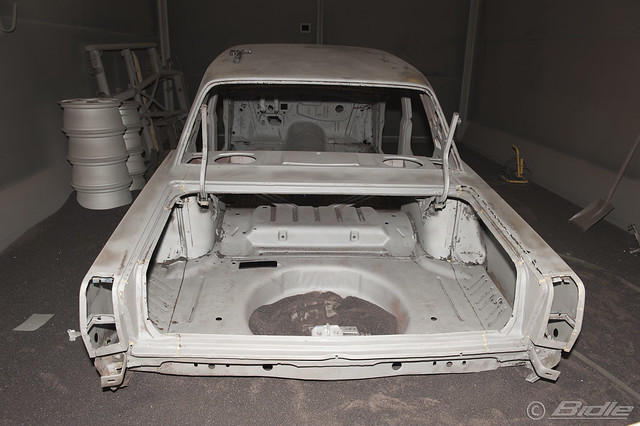
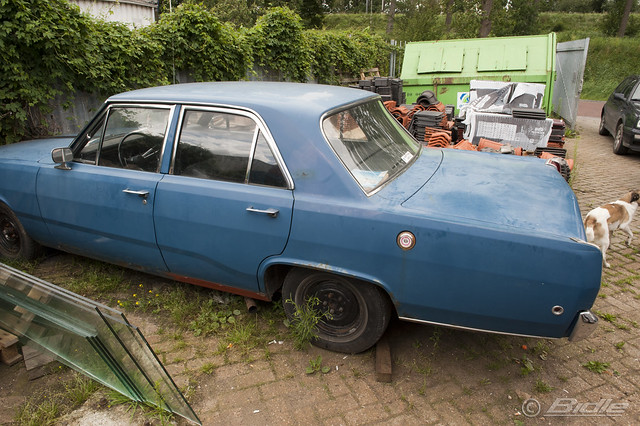
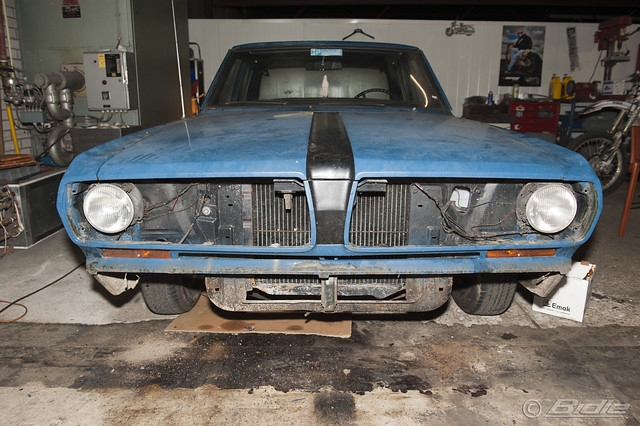
I bought the Valiant and last friday I drove it to it's new temporary home where I will restore the car with help of a skilled friend.
In the future I'll post the progress and hope you guys will/can help me with the problems I'll face. I'm new in to this car restore scene.....
Here some photo's tot start with:
21 august 2011
So today I'm started and tried to remove all the moldings from the side and the windows. It seems to work so no problem there.
Only the moldings on the door!!!! I can't remove them, think the last owner glued them or something.... so I thought what the heck I'll just try to get reproductions/new ones. Only can't find them so don't know how to continue with this.......

Tomorrow night I'll continue and make some photo's of the car and in specific the bad parts, but to be honest I think it isn't that bad at all.
So really hope some of you will follow me the coming year(s) and van give me some advice!
Thx!!
22 august 2011
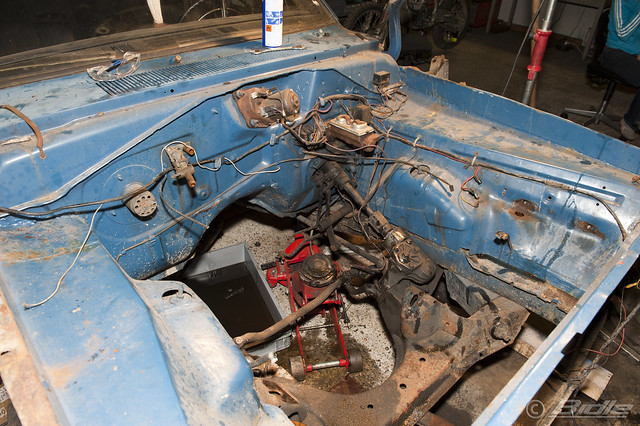
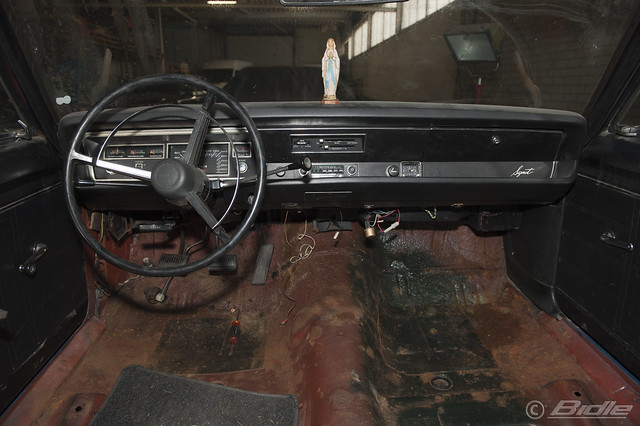
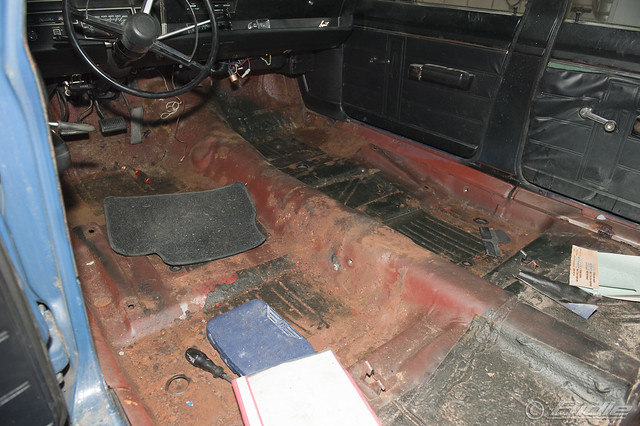
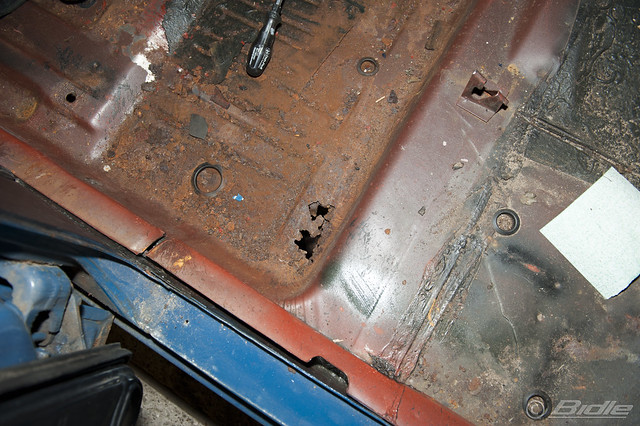
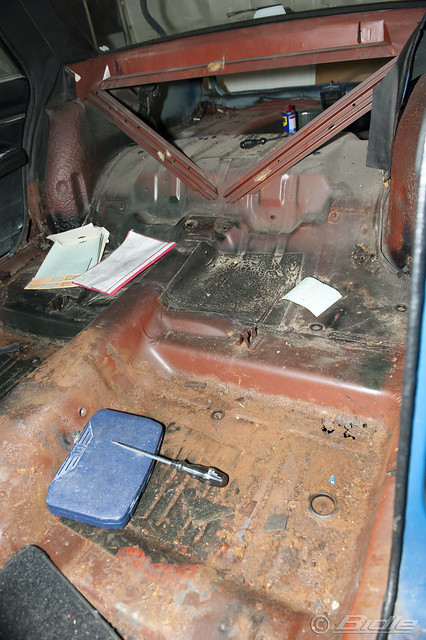
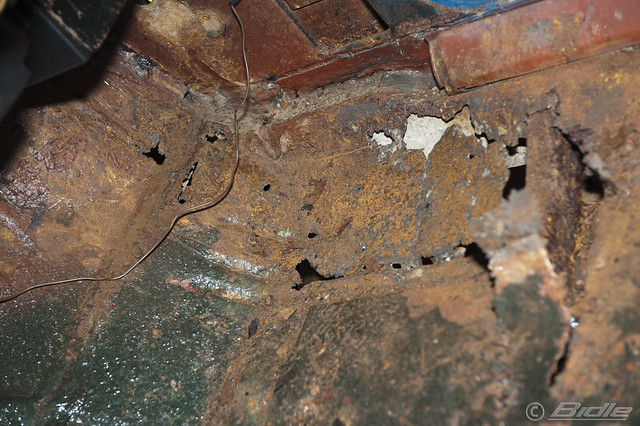
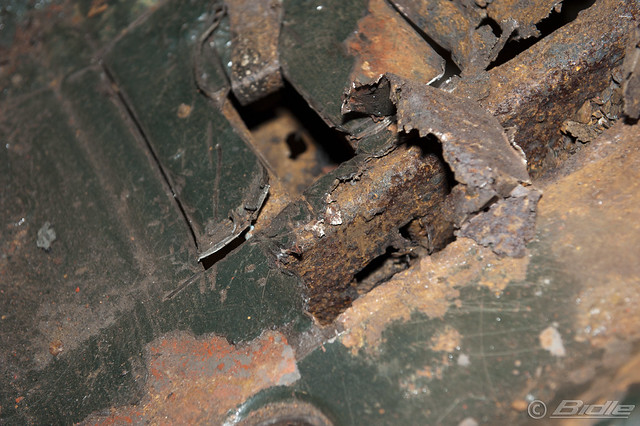
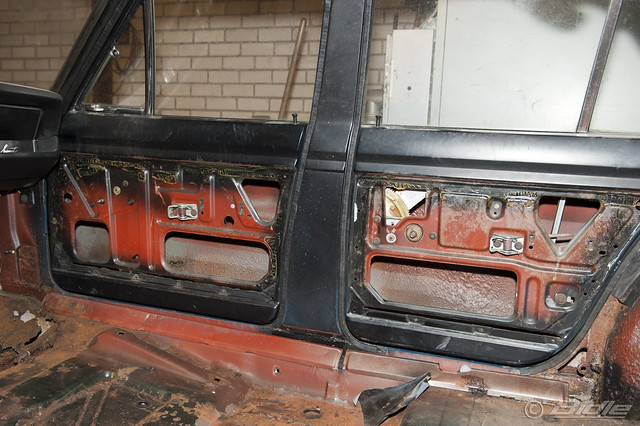
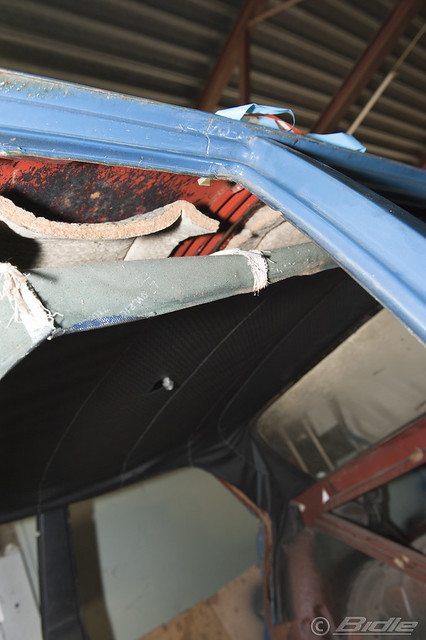
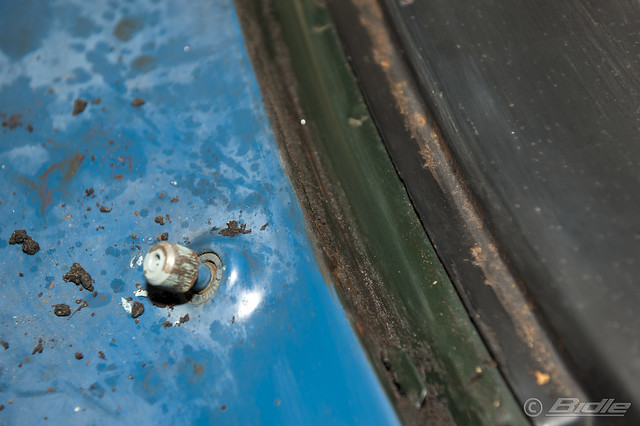
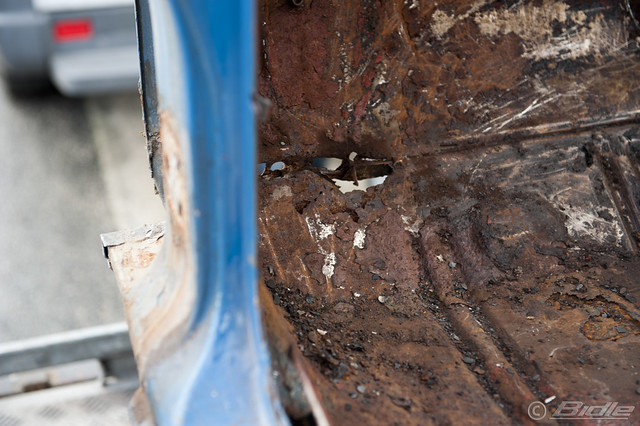
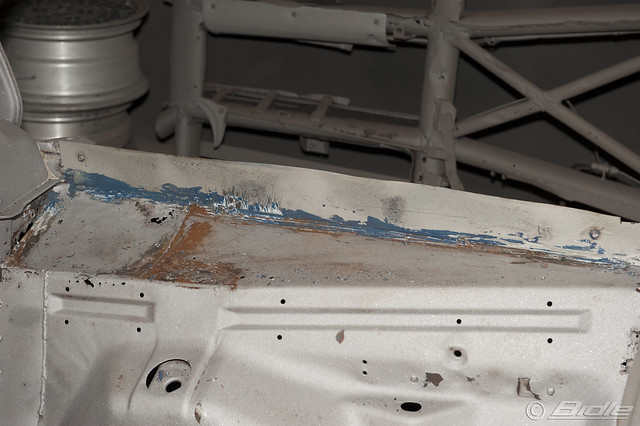
So today I found the car again in it's temporary place and made some photo's of the worst spot... well, which I can see at the moment:

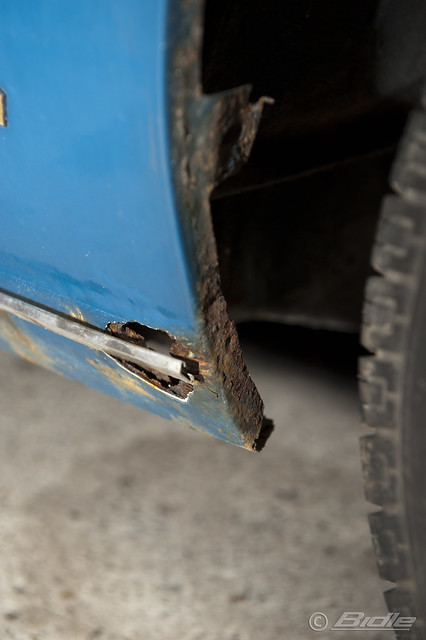

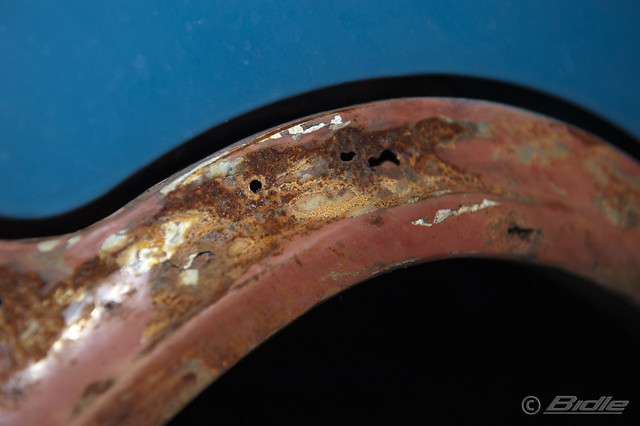
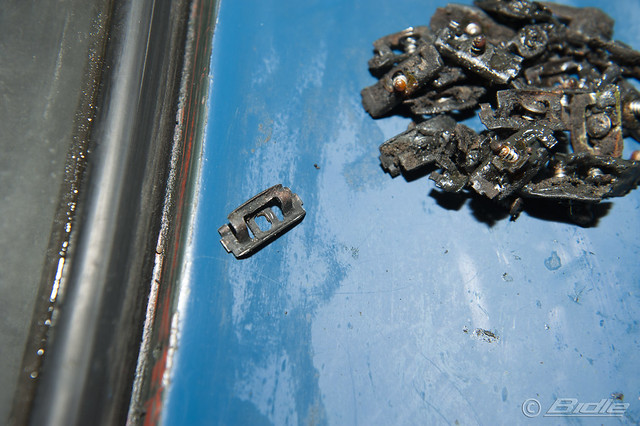
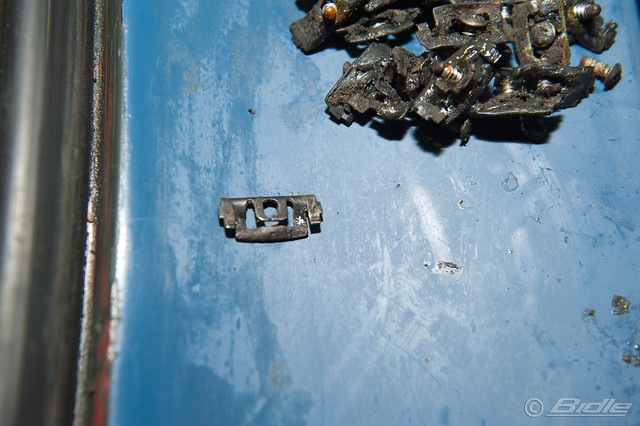
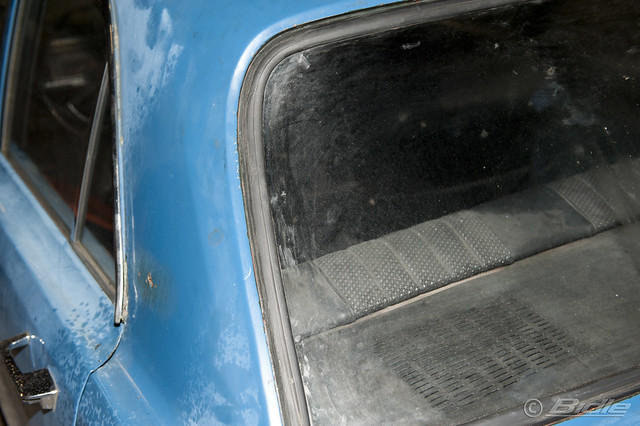
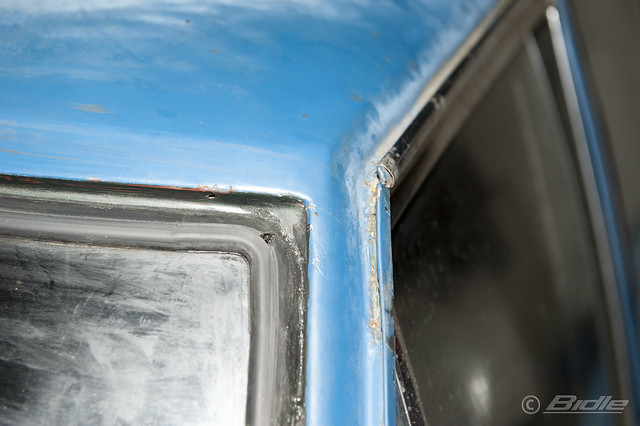
Off-course there are more spots, but just made some photo's to get an idea. After the photo's I started to completely remove the molding of the windows and it went pretty good. Some clips hold them on to their place and if they didn't do the job all the sure did! ;-) Unfortunately some of the clips at the bottom of the windows (duh) are completely ruined. So will have to find new ones, but shouldn't be a big problem.
Also nice to see that within all these years the moldings weren't removed. Still can see the exact line of the new paint-jobs. Also I have the original papers of the car and it says it was green!")
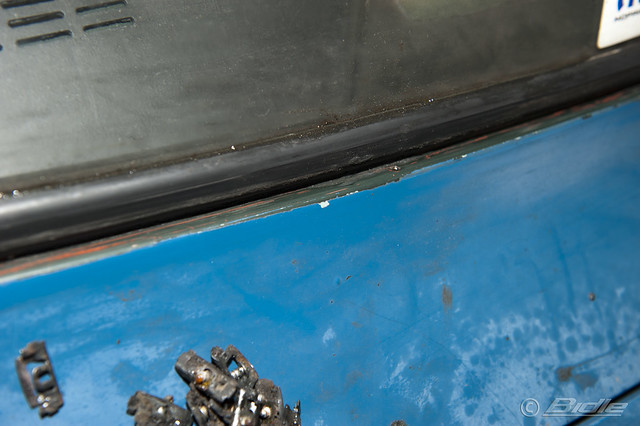
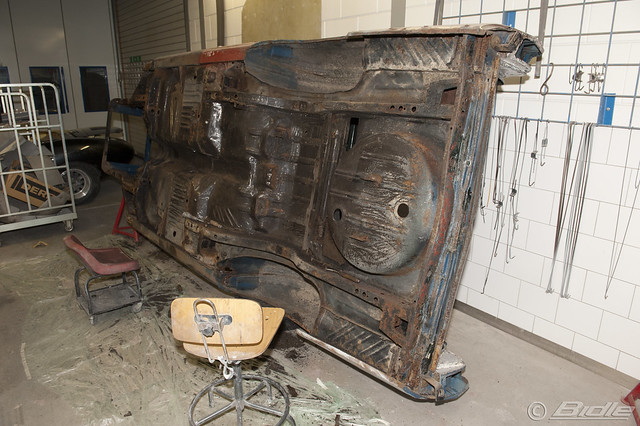
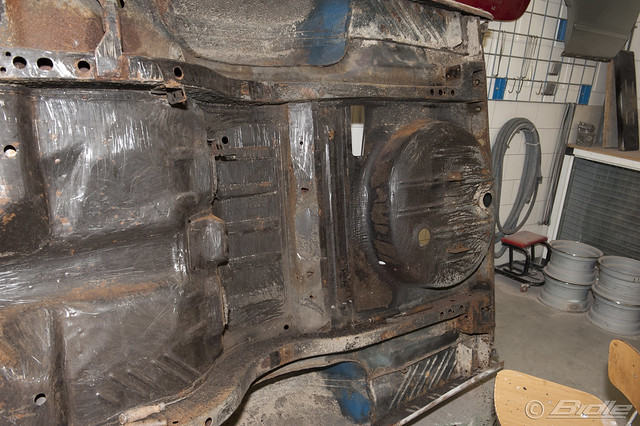
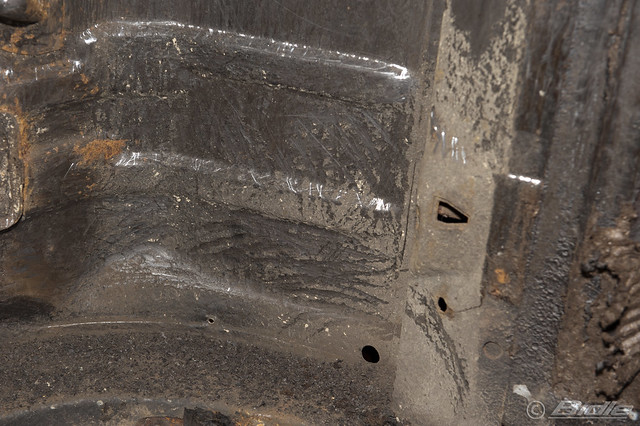
Lucky me; there was no rust to see beneath all the kit! I'll probably still remove the windows. So it's easier to remove the last clips and also will make it easier to install the new clips after spraying the car.
So I left the car and try to work on it as soon as I can,.... maybe tomorrow?

23 august 2011
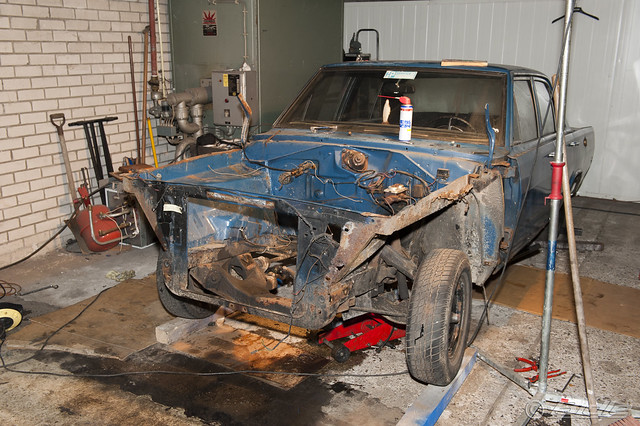
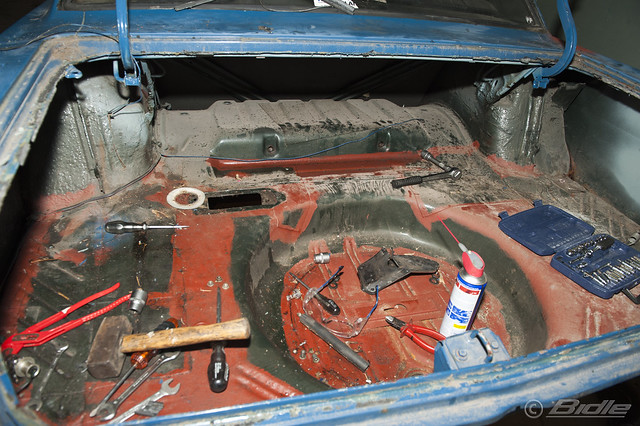
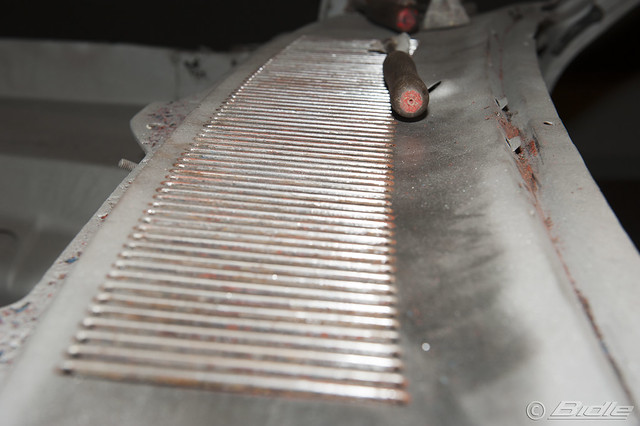
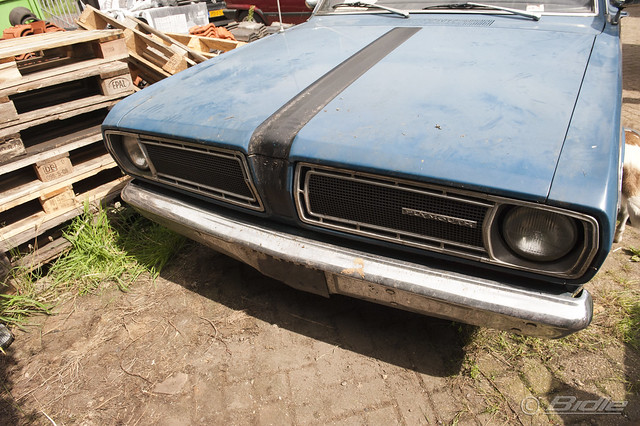
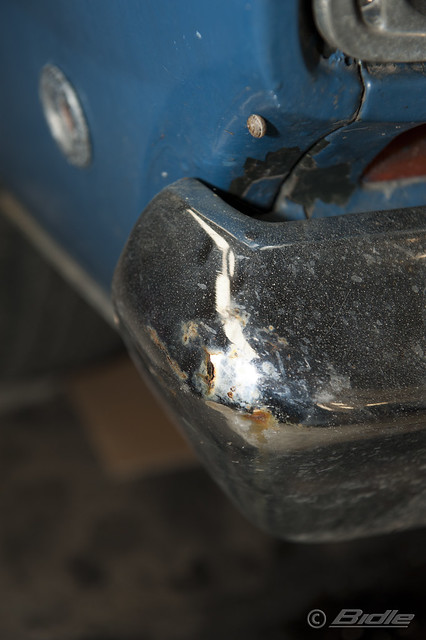
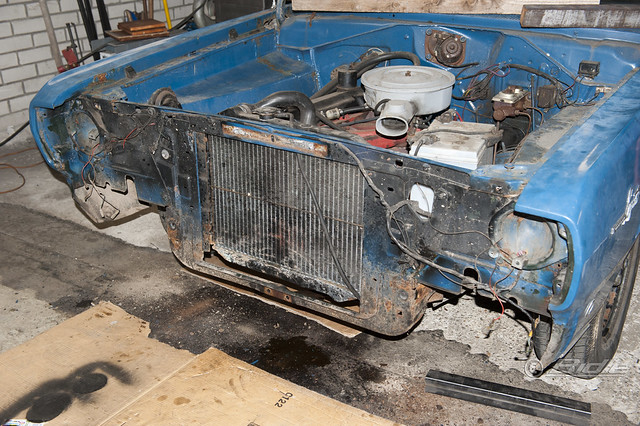
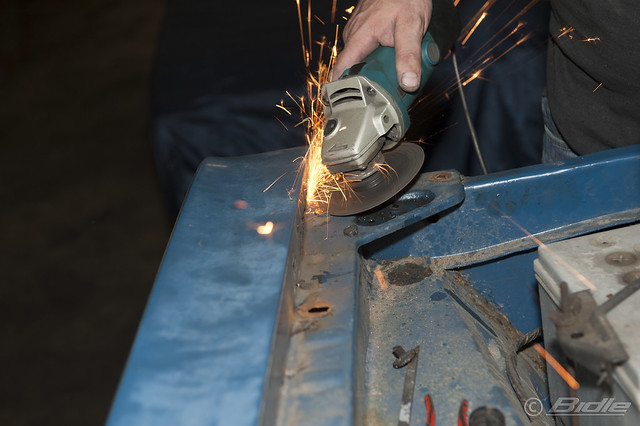
Today I left the moldings for what it is. I hope to get some advice from people who encountered this before. So I started to remove the bumpers and grill.
Only the front bumper was a bit stuck but with the right tools and WD40 it surrendered. ;-)
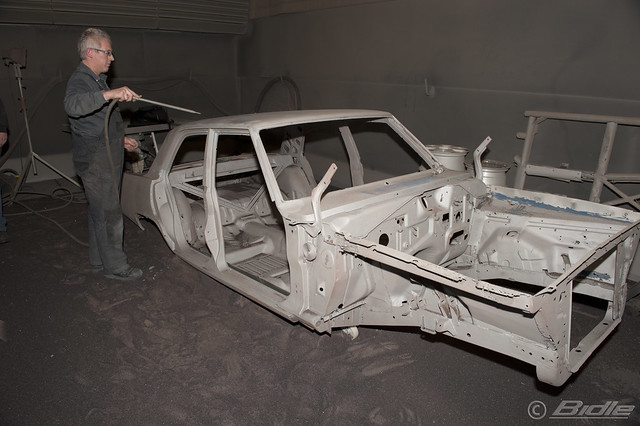
The left side still is in good condition. The right side isn't that great and we will reproduce it. After it we will powder-coat it. This will be done for all the smaller parts with also a primer.
We will attend to this in a later stage.
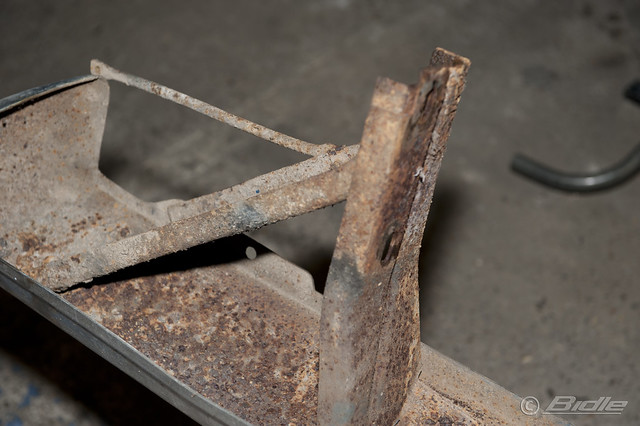
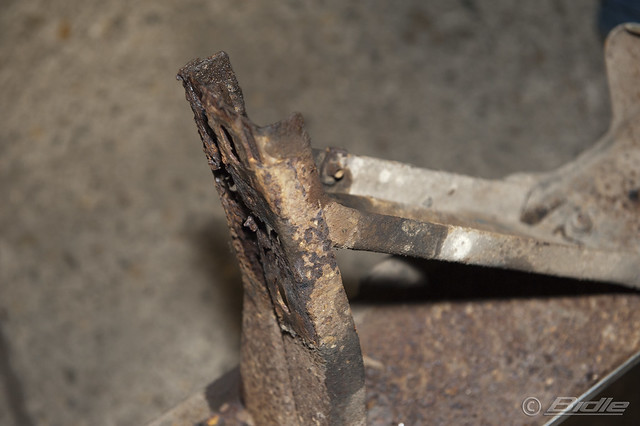
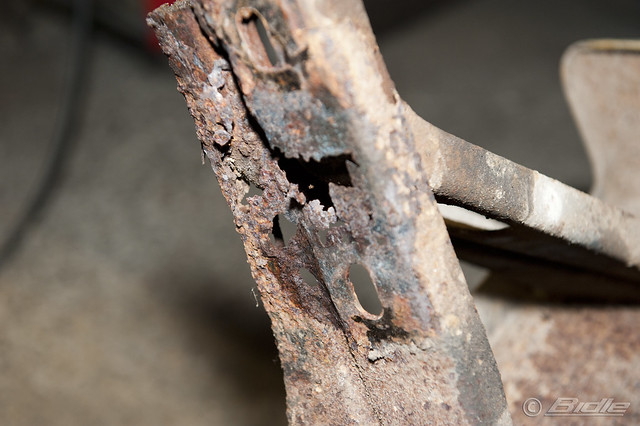
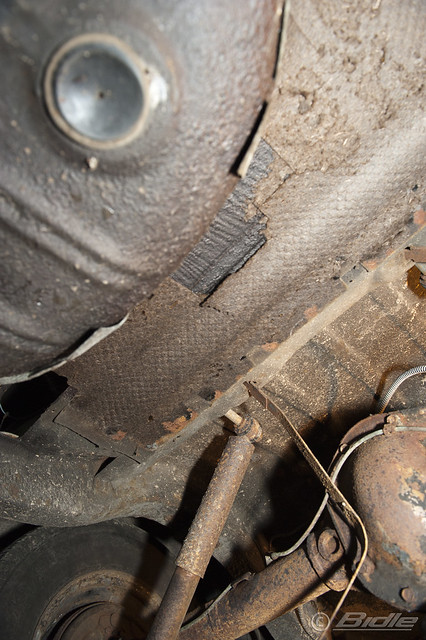
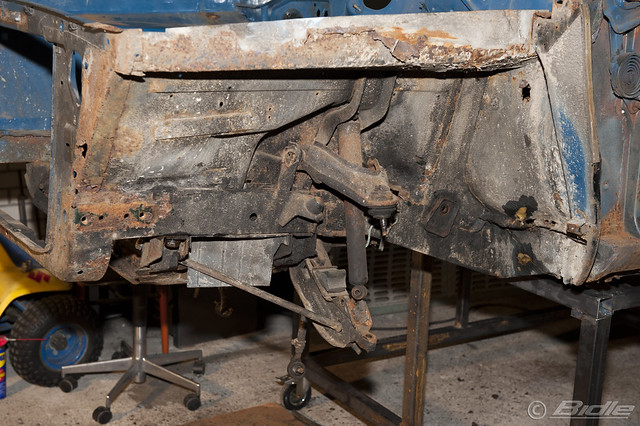
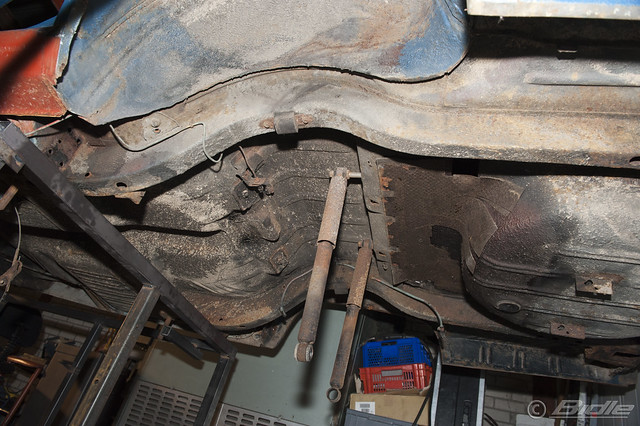
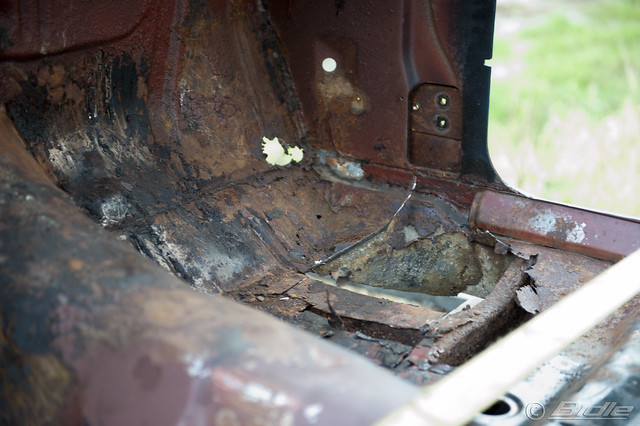
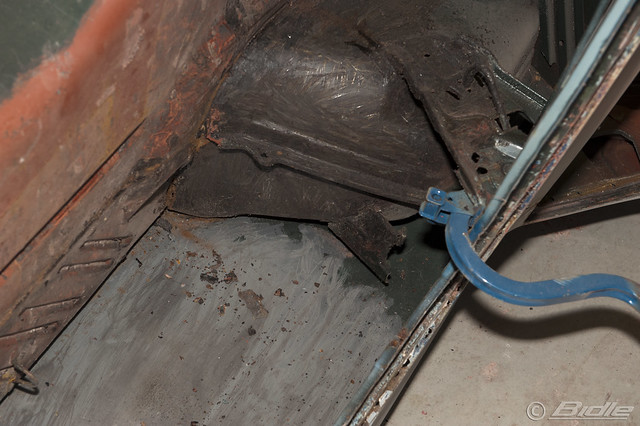
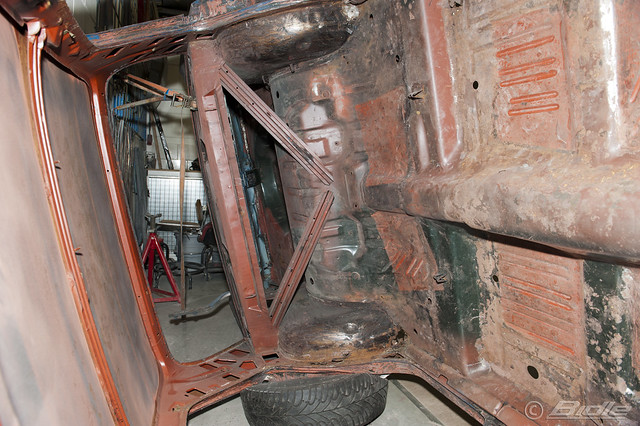
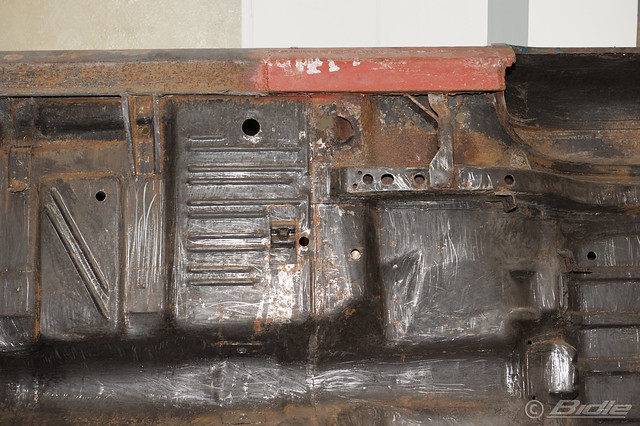
As far as we can see at this point below the bumper everything looks pretty okay.
[note]
This is a photo of the small camera which helps us to make sure we have photo's of how the car was build. So we can look back how it was when we put the car together again
[/note]

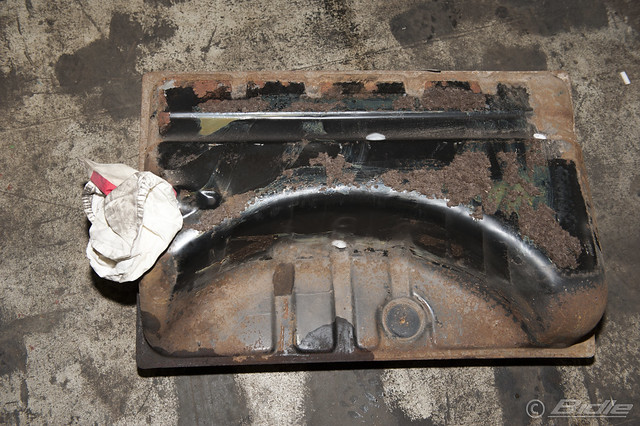
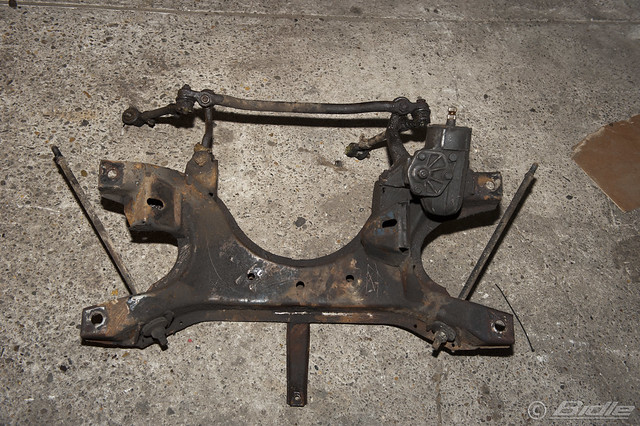
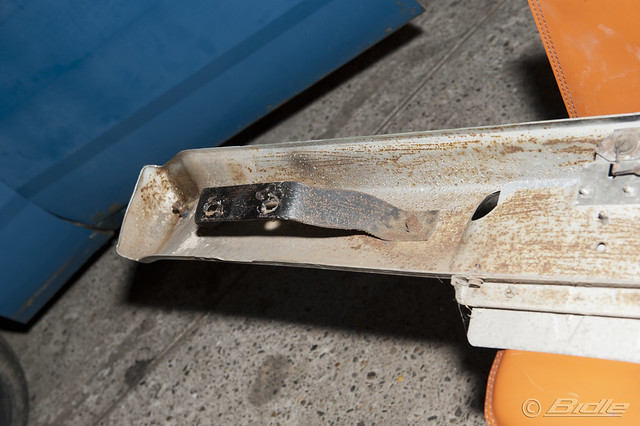
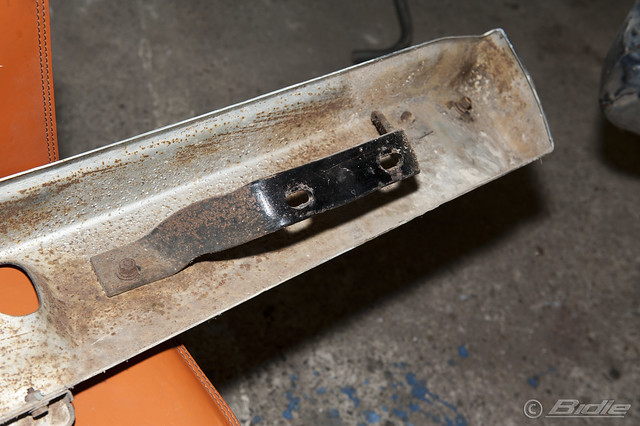
The brackets of the back bumper is still in good condition and ready to be powder-coated.
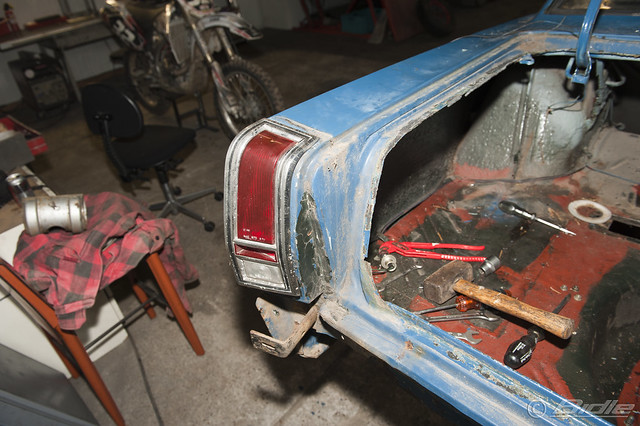
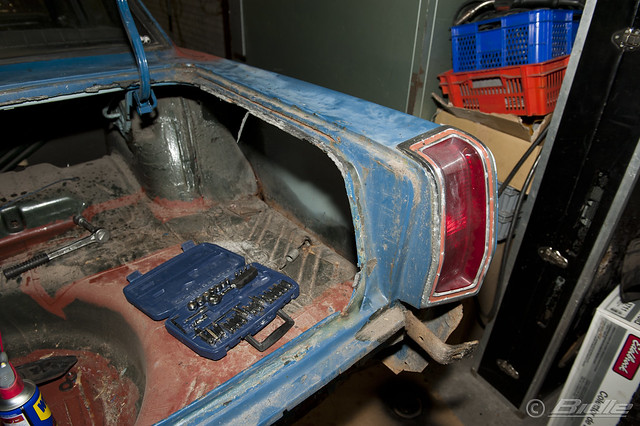
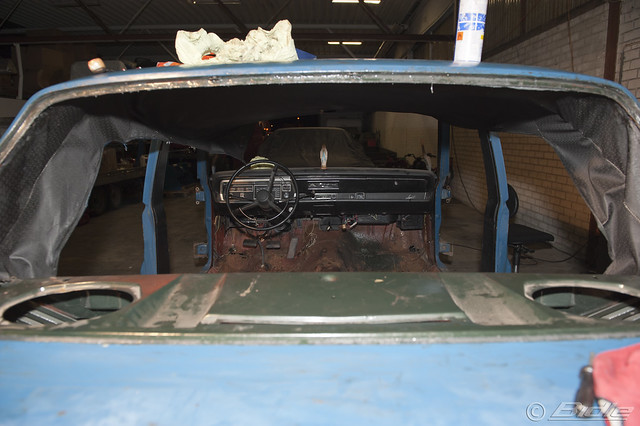
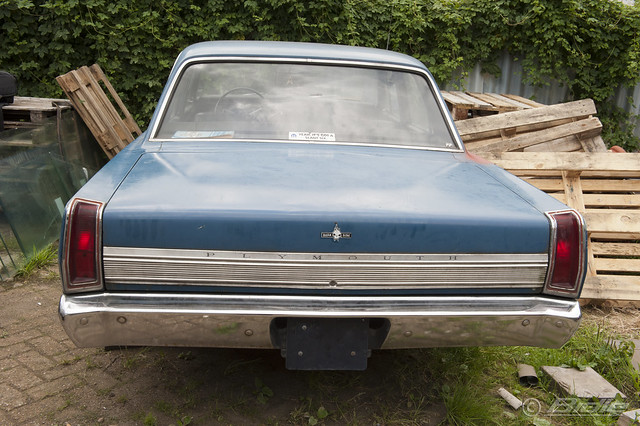
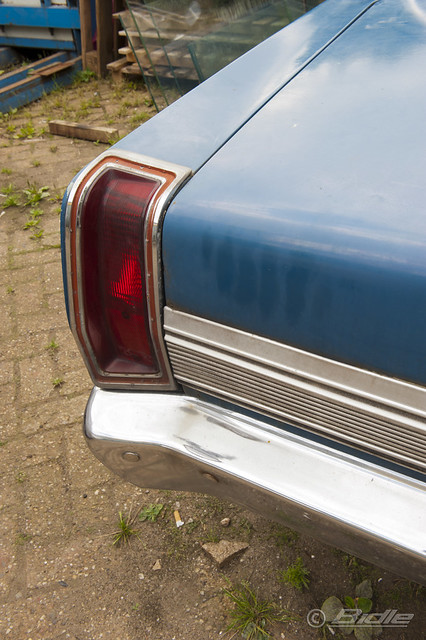
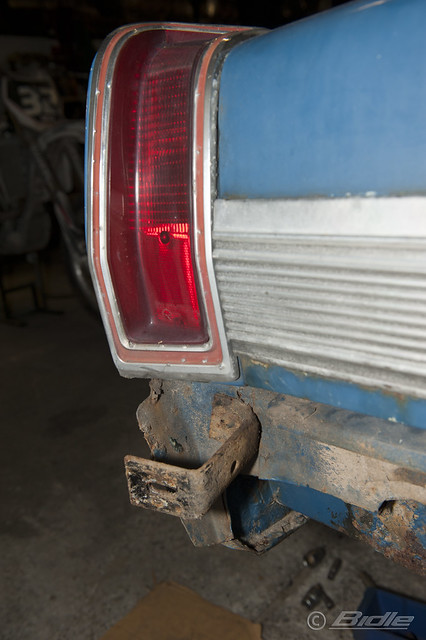
Some photo's of the back without the bumper and one more from the rear-light from '72-'73. Still don't know if I will put back the original lights or keep these. But I got plenty time to decide.

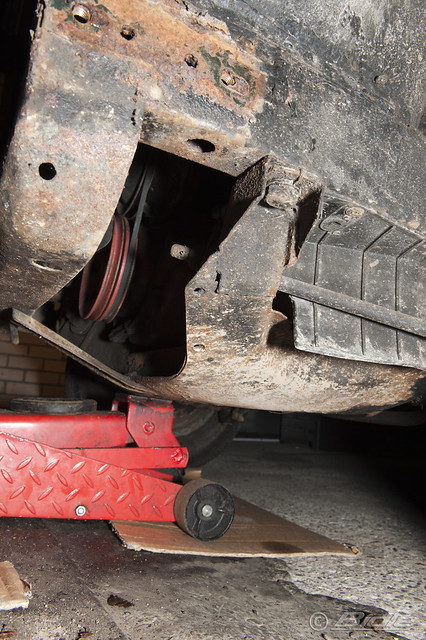
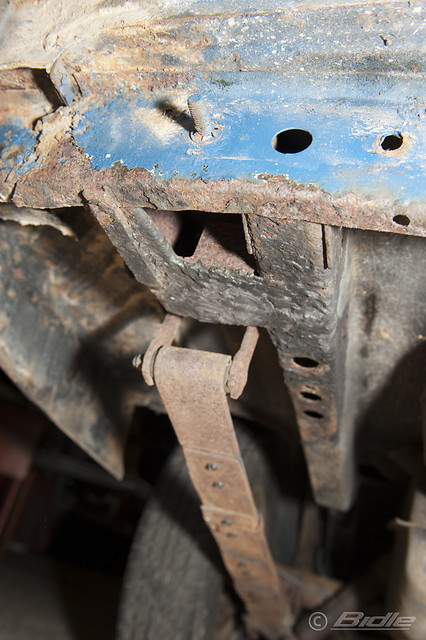
Below the car at the back it also doesn't look bad, but enough work to do.
Well, I left the car again and will work on it again soon. It looks kind of sad....
24 august 2011
Didn't had much time but removed some parts of the grill:
25 august 2011
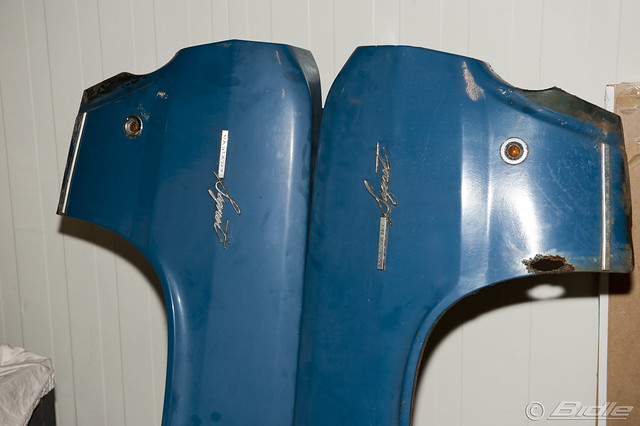
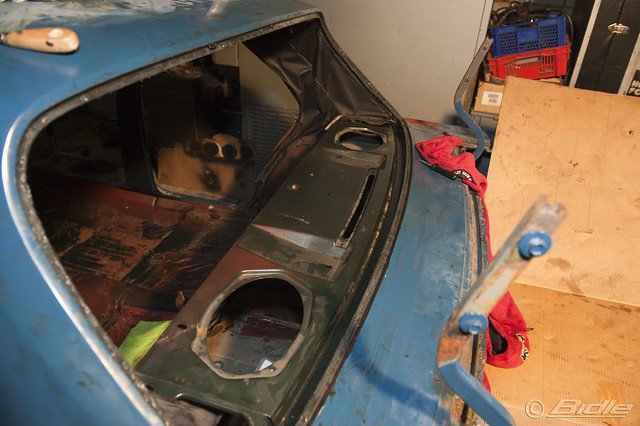
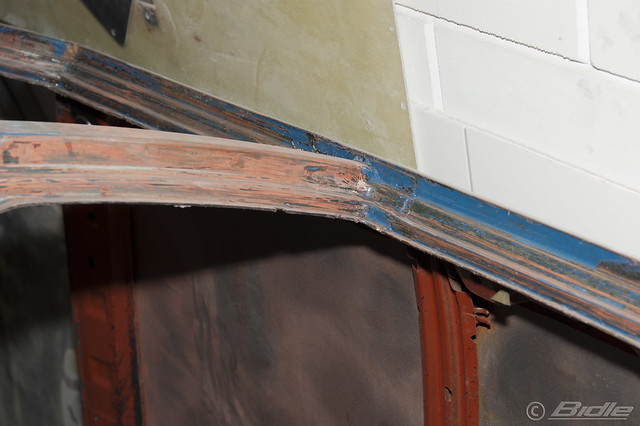
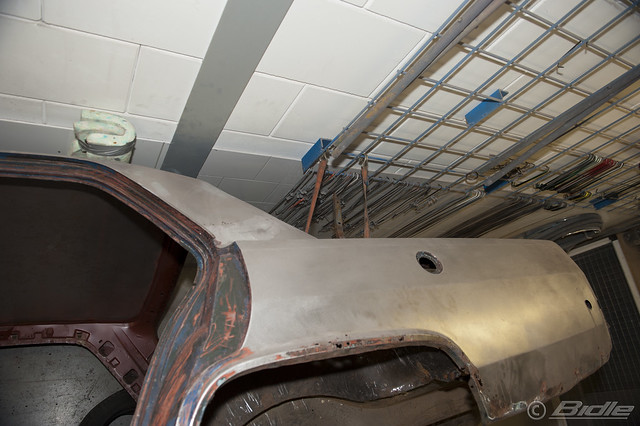
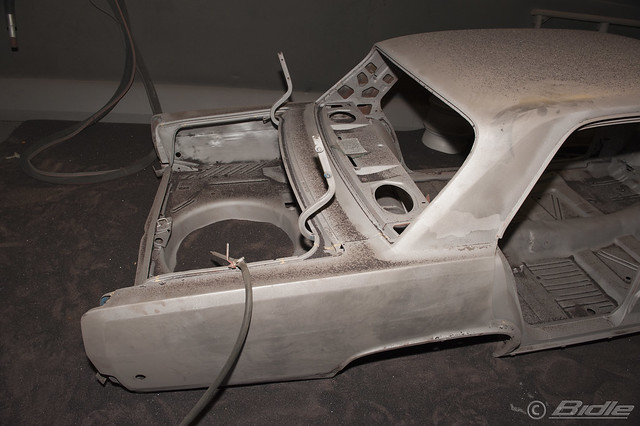
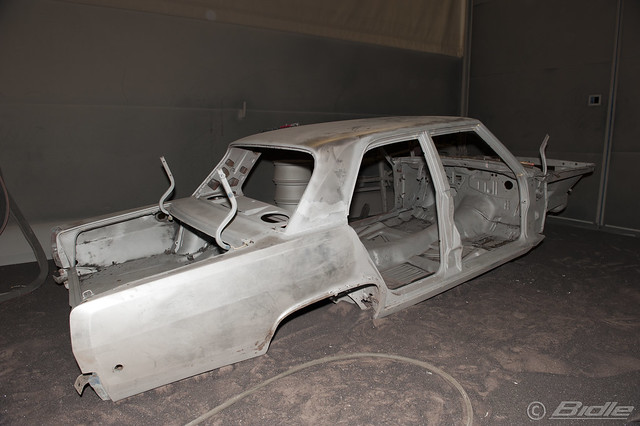
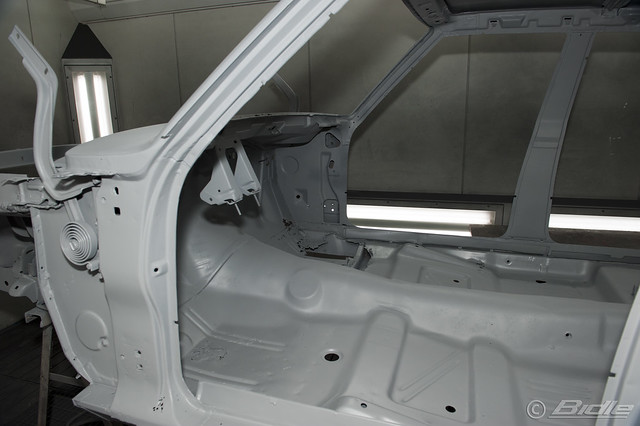
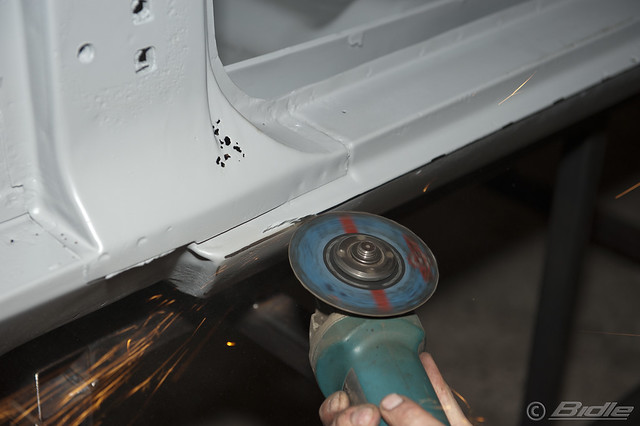
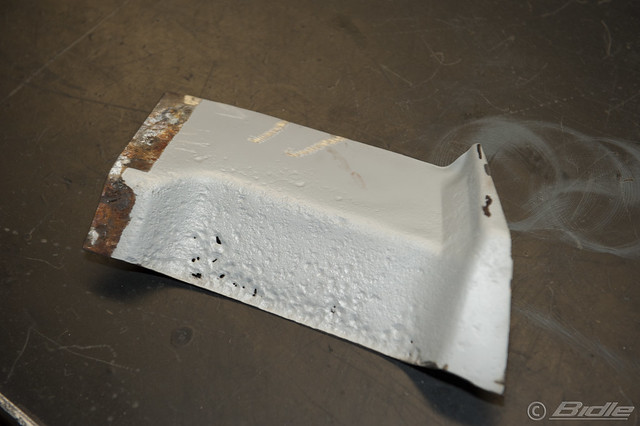
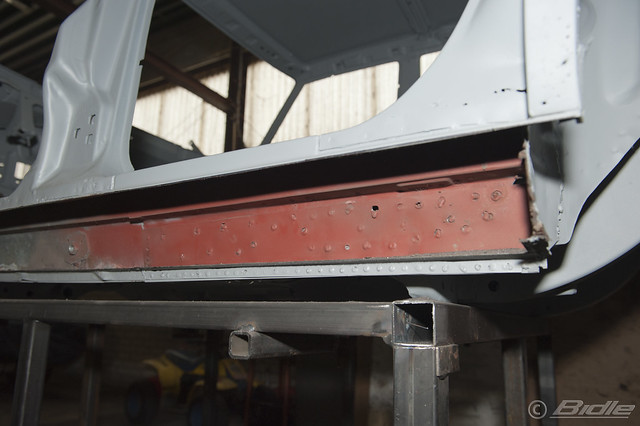
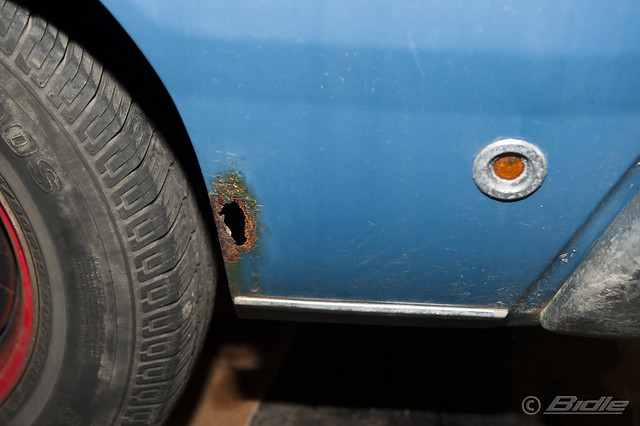
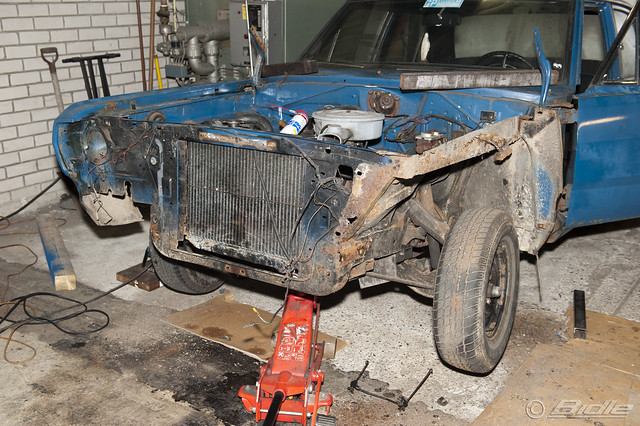
Today I wanted to remove the front fenders, but I only managed to remove only one. Behind the fender is still a lot of work to be done. Also a lot of screws broke and were stuck.
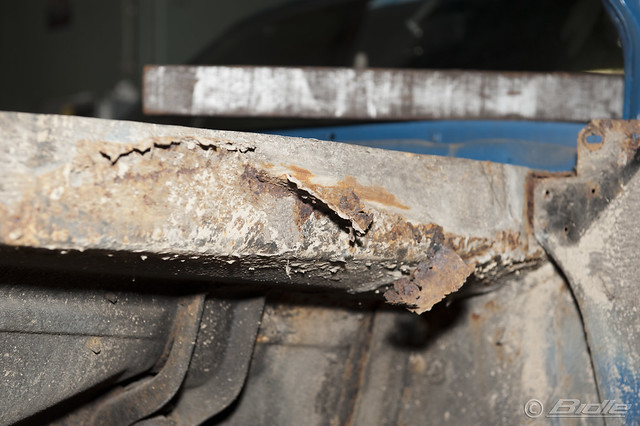

The fender also has some work and already wonder how the other side looks:
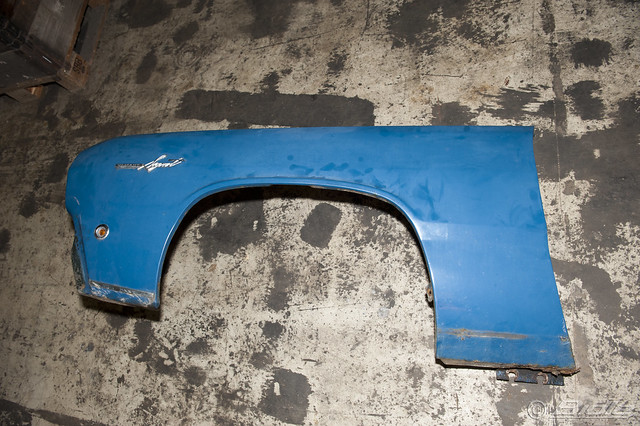
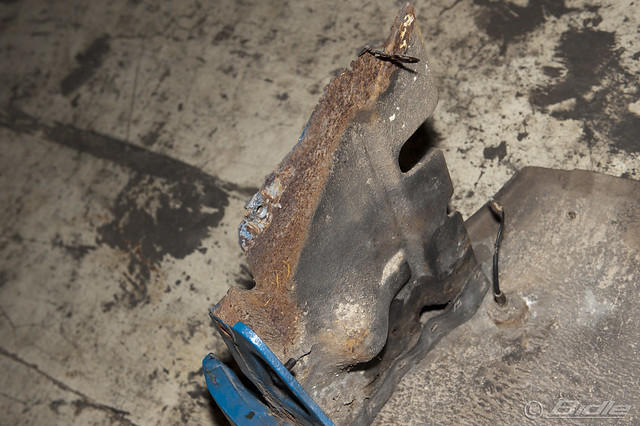
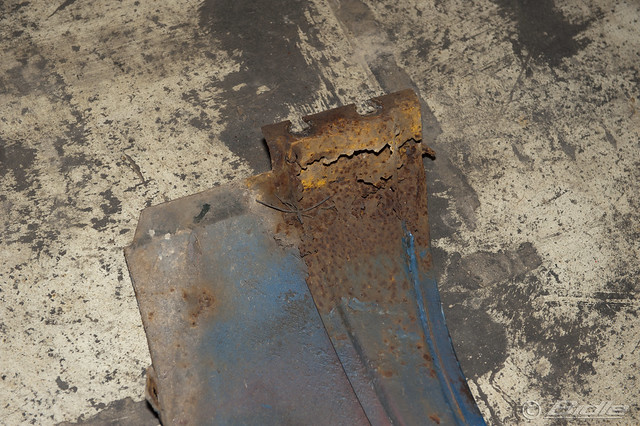
So I left the car after removing the fender.
19 august 2011
I bought the Valiant and last friday I drove it to it's new temporary home where I will restore the car with help of a skilled friend.
In the future I'll post the progress and hope you guys will/can help me with the problems I'll face. I'm new in to this car restore scene.....
Here some photo's tot start with:
21 august 2011
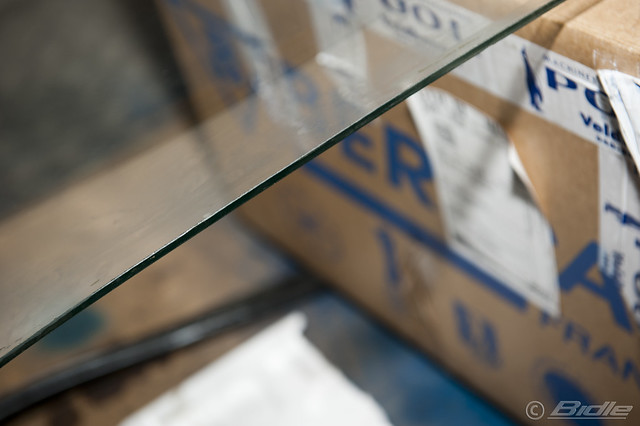
So today I'm started and tried to remove all the moldings from the side and the windows. It seems to work so no problem there.
Only the moldings on the door!!!! I can't remove them, think the last owner glued them or something.... so I thought what the heck I'll just try to get reproductions/new ones. Only can't find them so don't know how to continue with this.......
Tomorrow night I'll continue and make some photo's of the car and in specific the bad parts, but to be honest I think it isn't that bad at all.
So really hope some of you will follow me the coming year(s) and van give me some advice!
Thx!!
22 august 2011
So today I found the car again in it's temporary place and made some photo's of the worst spot... well, which I can see at the moment:
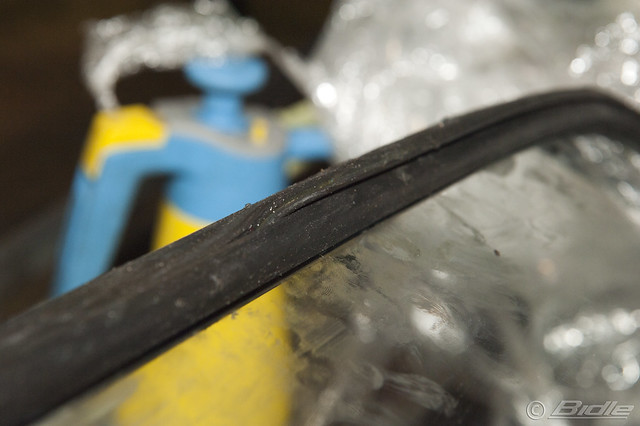
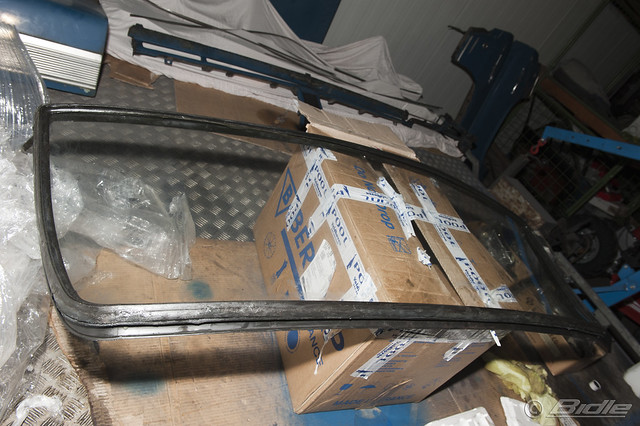
Off-course there are more spots, but just made some photo's to get an idea. After the photo's I started to completely remove the molding of the windows and it went pretty good. Some clips hold them on to their place and if they didn't do the job all the sure did! ;-) Unfortunately some of the clips at the bottom of the windows (duh) are completely ruined. So will have to find new ones, but shouldn't be a big problem.
Also nice to see that within all these years the moldings weren't removed. Still can see the exact line of the new paint-jobs. Also I have the original papers of the car and it says it was green!
Lucky me; there was no rust to see beneath all the kit! I'll probably still remove the windows. So it's easier to remove the last clips and also will make it easier to install the new clips after spraying the car.
So I left the car and try to work on it as soon as I can,.... maybe tomorrow?
23 august 2011
Today I left the moldings for what it is. I hope to get some advice from people who encountered this before. So I started to remove the bumpers and grill.
Only the front bumper was a bit stuck but with the right tools and WD40 it surrendered. ;-)
The left side still is in good condition. The right side isn't that great and we will reproduce it. After it we will powder-coat it. This will be done for all the smaller parts with also a primer.
We will attend to this in a later stage.
As far as we can see at this point below the bumper everything looks pretty okay.
[note]
This is a photo of the small camera which helps us to make sure we have photo's of how the car was build. So we can look back how it was when we put the car together again
[/note]
The brackets of the back bumper is still in good condition and ready to be powder-coated.
Some photo's of the back without the bumper and one more from the rear-light from '72-'73. Still don't know if I will put back the original lights or keep these. But I got plenty time to decide.
Below the car at the back it also doesn't look bad, but enough work to do.
Well, I left the car again and will work on it again soon. It looks kind of sad....
24 august 2011
Didn't had much time but removed some parts of the grill:
25 august 2011
Today I wanted to remove the front fenders, but I only managed to remove only one. Behind the fender is still a lot of work to be done. Also a lot of screws broke and were stuck.
The fender also has some work and already wonder how the other side looks:
So I left the car after removing the fender.