Biohazard

-
Yesterday, I thought I would pull the wires out of the burlap and try to clean them up a bit.
Thought it would be nice to finally get rid of that nasty fabric. But, as I unbent the tip of each
one so it could be easily withdrawn from the burlap, the tip broke...one after the other. As I
looked at wire more closely (I really hadn't up to this point) I realised that these thin wires
were just done for. Too much time, too much corrosion. I decided to ditch the idea of re-
using the wires and, possibly, of using those wires at all. Surely, I thought, there must be
another way of accomplishing their task satisfactorily.

Meanwhile, for the sake of those unsure...I had measured the distance between wires so I would know how to properly reassemble a new set.


Alas, I did say "to hell with 'em" and just tossed out the lot. Good riddance!
 
Today, I brought with me the heavier wires (listing wires, I believe they are called) so I could clean them up in preparation for a coat of paint and then a wrapping with something other than the brown paper they used back in '69.

Out in the equipment bay, we have a bench grinder with wire brush.


A bit too windy to paint right now. I'm hoping it dies down later.
 
And just to follow up on my insane over-the-top detail work, after the listing wires and rods got cleaned, they got painted. I will wrap 'em after the paint sets up.

 
...and because my thread (or should I say blog) has been lacking in actual fish content...recent garage shot.

 
Get the install kit and it includes the paper wrapped listing wires. The smaller of the two in your last photo.

The heavier ones with the tight loops are the bolster pieces and you got those nice and clean. Just hit them with some clear or RPM.

The tiny ones in the burlap can be replaced. Usually the front bucket bottoms are pretty bad, but the front backs and rear seat lower can be saved. Just soak them in evaporust for about 6 hours and rinse and wipe dry. Be careful and slow unbending the loops for re-weaving.

I searched a lot of stuff to replace the front lower pieces. Welding/tig rods etc!!!! I ended up using some rods I got at Hobby Lobby that are coated and used for flower arrangements. They are not quite as stiff as the originals but easy to work with and put a lot of extra support in the burlap.

I layed out lines on the burlap to make 1" squares to use as guide for re-weaving the rods back into the new burlap. I did not use the kit burlap either and got some heavier stuff from Hobby Lobby. To lock the front bottom rods I used some cording on either end. The original twisted paper was to hard to re-create (IMO).
 
Gerald, too late on the burlap wires. I broke too many, decided they were too far gone and tossed 'em out. The article in the link at the top of this page talked about wrapping the old wires with electrical tape. I may use the white fabric waterproof tape that they use in clinics and such. Tough, abrasion resistant, and very sticky. Then it mentioned weld wire like you said for the burlap weave and they anchored the ends of that with clothesline cord. Pretty smart ideas, really.
 
Gerald, too late on the burlap wires. I broke too many, decided they were too far gone and tossed 'em out. The article in the link at the top of this page talked about wrapping the old wires with electrical tape. I may use the white fabric waterproof tape that they use in clinics and such. Tough, abrasion resistant, and very sticky. Then it mentioned weld wire like you said for the burlap weave and they anchored the ends of that with clothesline cord. Pretty smart ideas, really.


Yeah I studied that article hard before doing mine!

I only had to replace my front seat lower weave wires.

Yours looked much better than what I had, but I used evaporust to cleaned them and it is gentile.

Legendary only uses the burlap, I just think that little bit of extra support from the interwoven wires makes a big difference!
 
Support is good. I'll figure something out for that but it won't be the original wires.

I am just DYING to get some actual vinyl on frames soon!
 
Today was a 'big deal' day. I dropped off all of my metal interior finish panels for sandblasting.

Loaded up in the high speed parts mule-

 
If you remember, I replaced my driver's side cargo area wall panel because the orig one had been hacked up for an extra 6x9 speaker. The replacement I found had been painted over and had a nasty little spot of rust on the back. Pretty geeked about getting that cleaned up.

 
I bet the rust on my car would make you sick...it makes me wanna barf.Oh well,that's Canada for you.
 
Yeah, I hate bodywork. Rather turn wrenches.

Today: finished shooting some primer on the rear seatback.
Shot the bucket seat tracks with black.
Picked up all my interior trim from sandblasting.


Lucked upon a small electric space heater that needed a super simple repair. And with it, I turned the barracuda's shell in to a parts oven.


It actually got up to 107F. Can't beat it!
 
Planning to put this seatback together with stuffing and upholstery soon.
First, center the square release rod and then make sure the set screw is tight.
It's a 5/64" hex key and mine was more than a 1/4 turn loose.

 
Lubed all of the pivot points for smooth easy operation of the seat release mechanism.


Wrapped some extra tape around the seat release handle with a small piece of foam underneath so that, if it slips out of your hand, the resulting "clank" is more of a pleasant "thud". More human engineering, lol.


These are the screws that secure the spring bed to the seat frame. They don't come with lock washers but I decided to add them.


Ready for upholstery.

 
Almost forgot: I cut a length of silicone tubing, slit it on the long axis, wrapped it over the thin rod that runs from the "L" handle to the pivot. I then put a slight bend in the rod and stuck a self-adhesive felt bumper under it to basically limit how far the long square pivot rod can travel. I noticed that, sometimes, you can actually rotate that rod too far and, when you let go of the handle, it may have a tendency to get stuck from rotating too far. Hard to explain but, I won't be having that problem ;) Plus, with that tubing wrapped and taped over the connecting rod, it's less clanky.

 
A tale of woe and sorrow....

My wife, Dena, and I were all set to spend some bonding time together by doing one of the rear seat cushions in the living room. Thought it might be nice. After I was done fussing with the aforementioned details, I set the frames on the living room rug and retrieved the first of the soft goods to be installed; the burlap. I unroll the material on the floor and immediately my nose curled to what smelled like kerosene. I say to Dena, "hey, this smells like it's been treated with something." No sooner had the words left my mouth, the missus is telling me, "get that **** out of here!!" The whole room filled up with the foul smell of lamp oil, diesel, hell I don't even know what all.

I tossed it all out the front door and after Dena opened all the windows and turned up the ceiling fans, she sat out back to google what do they treat burlap with? Turns out, it's lots of things. Fungicides, pesticides, anti-rot. Who knew?

Now the fun begins. Can we launder this out?

Before tossing the fabric in our machine, I thought it would be a good idea to try and hand wash the heaviest contamination in the utility sink. Hot water, baking soda, and some dish soap produced this:


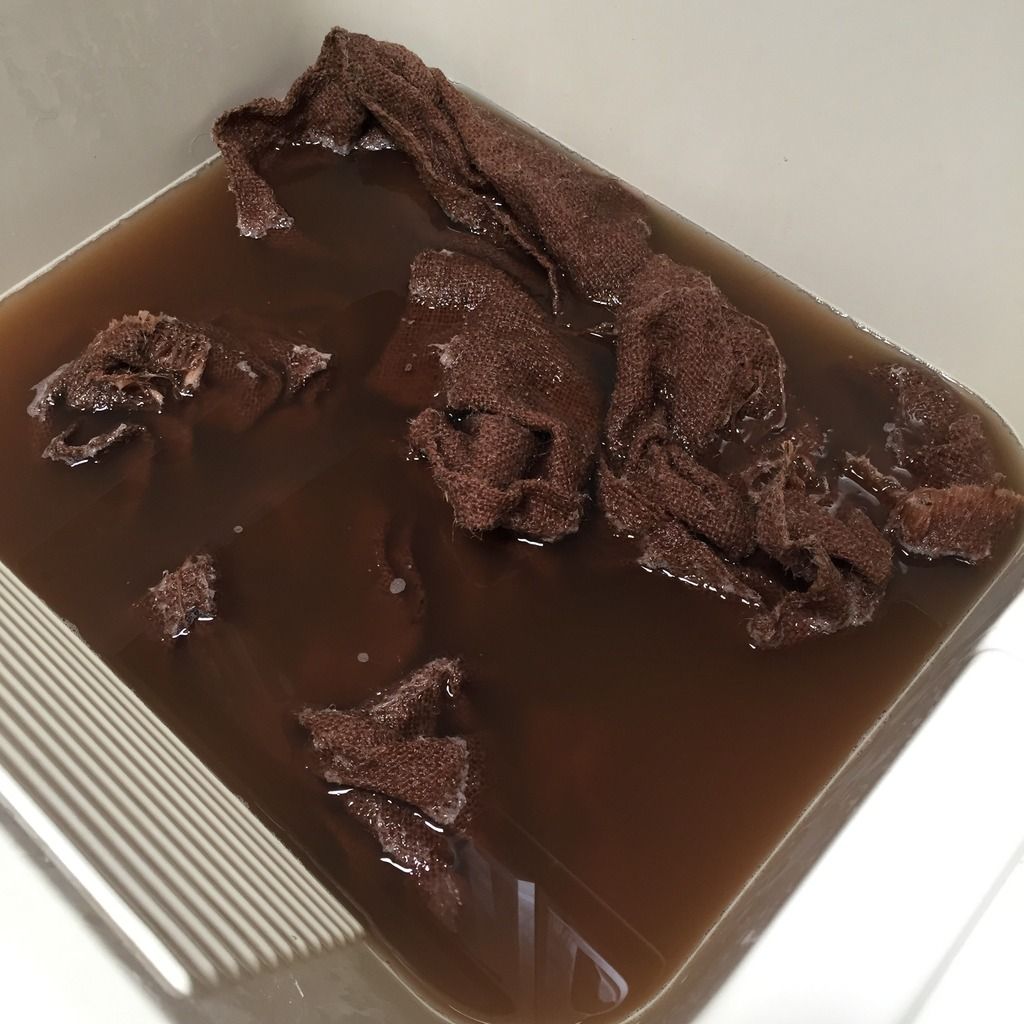
After a rinse and second wash, we got this:


Having murdered all of the flora in my septic tank, I wrung out the cloth and draped it over a step ladder outside to air dry. The next day, it still stank like it had been marinated in gasoline. I give up.

Off we go to the fabric store in search of some untreated burlap. $12 later, I come home with a far lighter smelling roll of yardage and begin the same laundering process.

Difference in burlaps:


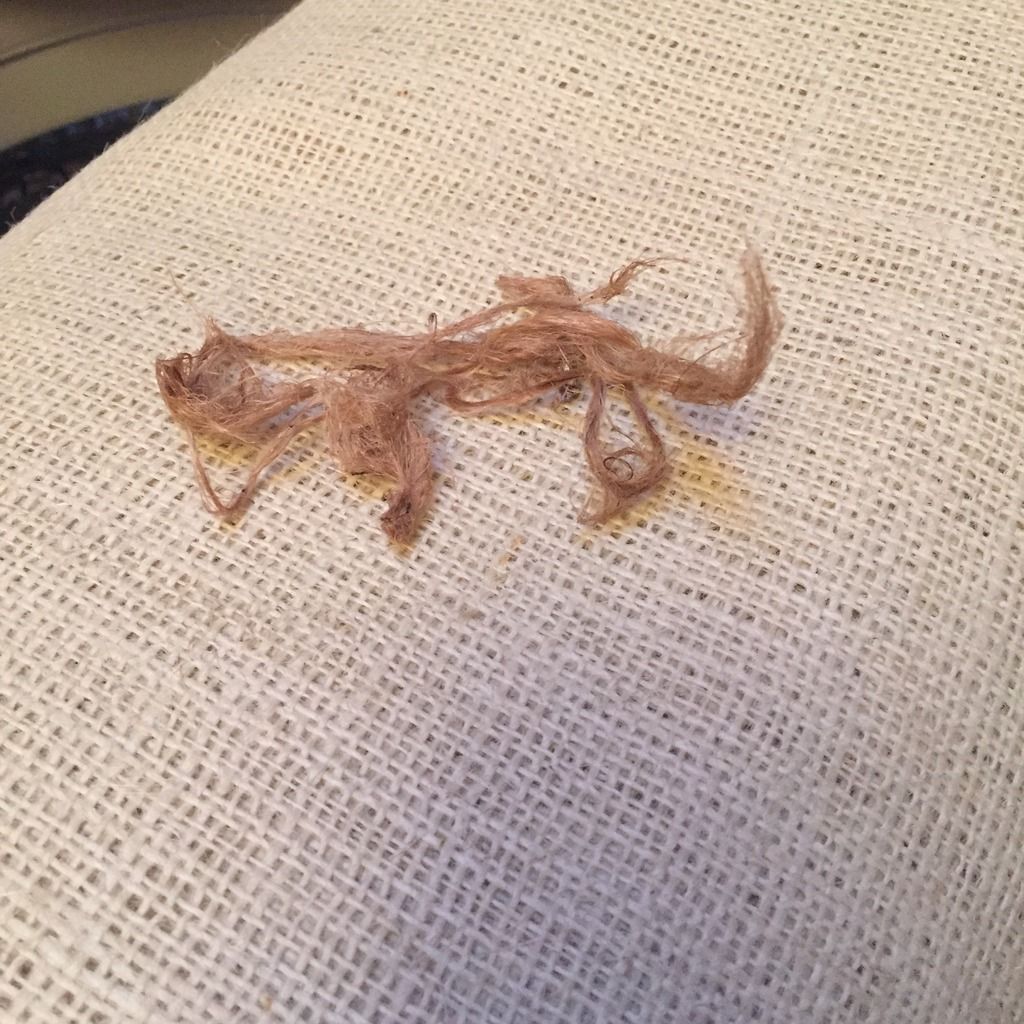
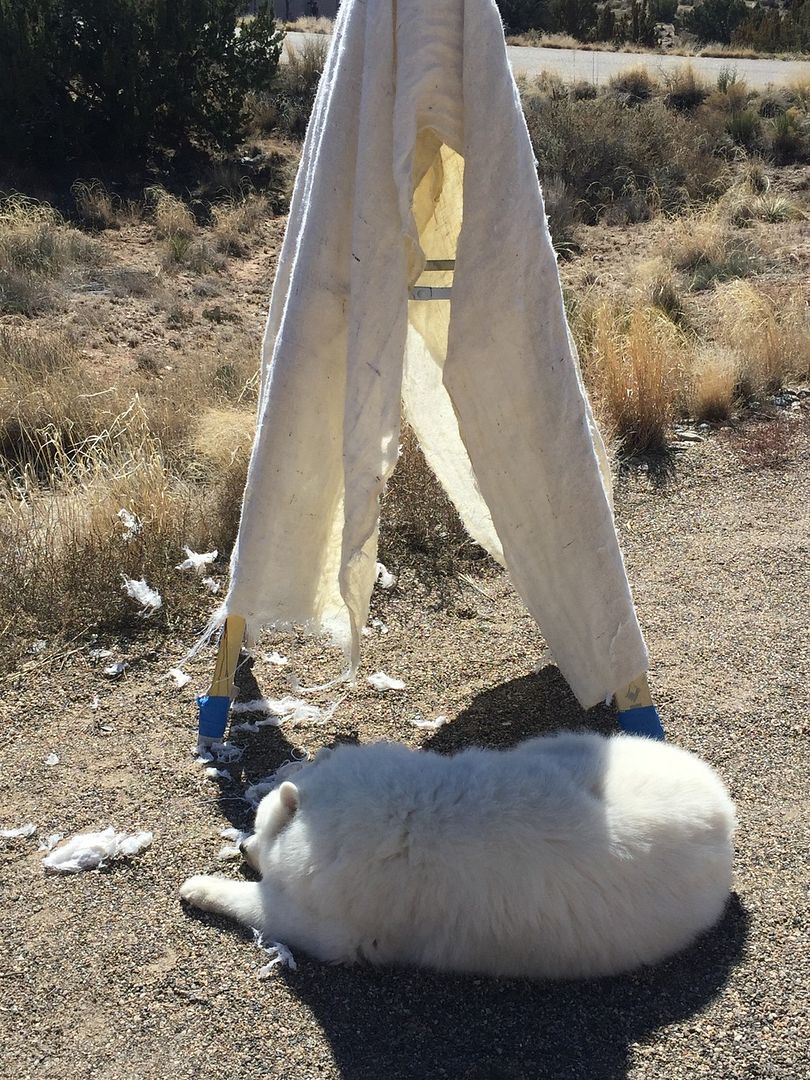
But after a good hand washing and two trips through the wash machine, the burlap still smelled of lamp oil and the shedding was off the chain. I hung it on said stepladder to dry and, just doing that, it dropped a ton of loose fiber.

No, that's not his fuzz. Even he doesn't shed this bad!


More reading on the Internet and I conclude that burlap is **** if you have to treat it with so much toxic waste in order for it to not rot, be consumed by mice, harbor mold, etc. Screw all that. Another fabric will be substituted here.

Feeling right at home amongst the mass quantities of lint.

 
So now I'm doing things differently. For one, working in the living room is out! Secondly, I'm using the muslin in place of the burlap. It will work fine for this piece but for the seat sections that get the thin wires woven in, don't yet know about that.

Work space. It's closer to the garage. Ain't that a good thing anyway?


Separated the spring bed from the frame, flipped it over on top of the muslin.
*if this device autocorrects muslin into Muslim one more time, I'm going to incinerate it.


Before pulling the muslin up and over the metal frame, I added some surgical tape over the sharp rod ends. Trying to prevent anything rubbing thru the vinyl.


Now the muslin is pulled up over the bottom of the spring bed, the edge folded over once, and secured to the metal with hog rings.

 
Just a note, before somebody jumps in: I am NOT following the factory way of covering this seat section. I'm not using burlap (obviously) and probably not going to use cotton batting, either. Just because the factory did it a certain way, doesn't make it the best way. Burlap and batting are cheap. Just sayin'.
 
-
Back
Top