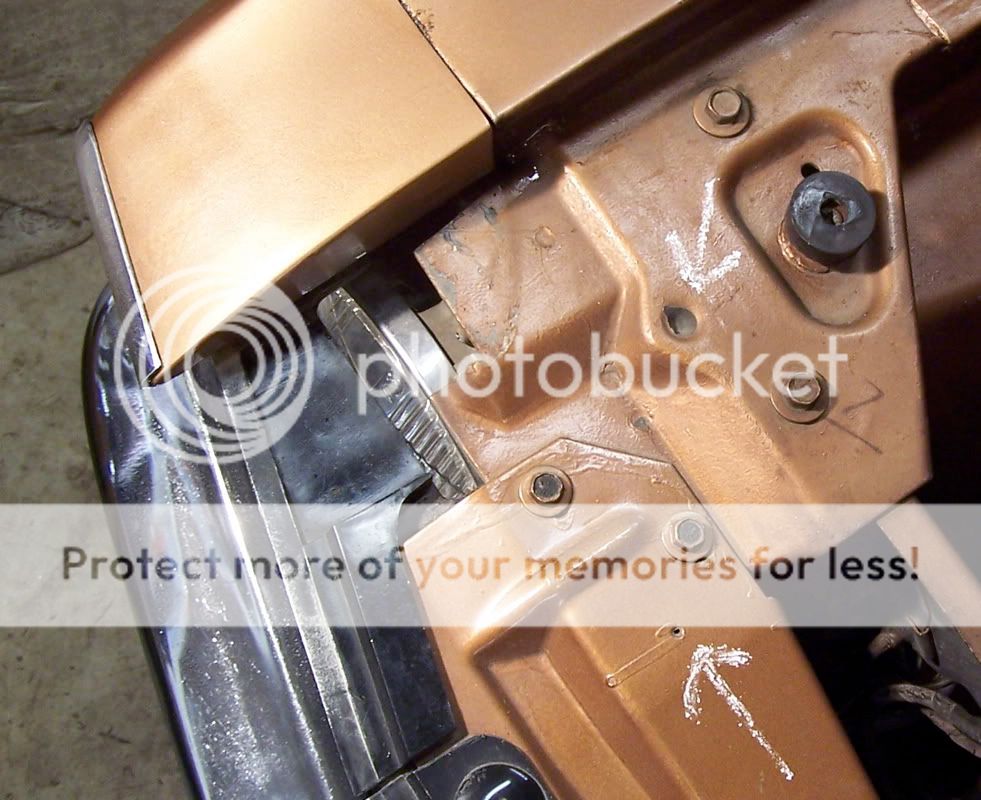
Where to drill? Conveniently, there is a 1/8" hole all set for the cable screw, nothing to do but screw it in. And a nice big dimple for the hood pin. First a 1/8" pilot, next a 5/16", and finish with a 1/2" bit. A word of caution... IF YOU VALUE YOUR PAINT, PROTECT IT FROM HOT METAL CHIPS. Me ? No worries.
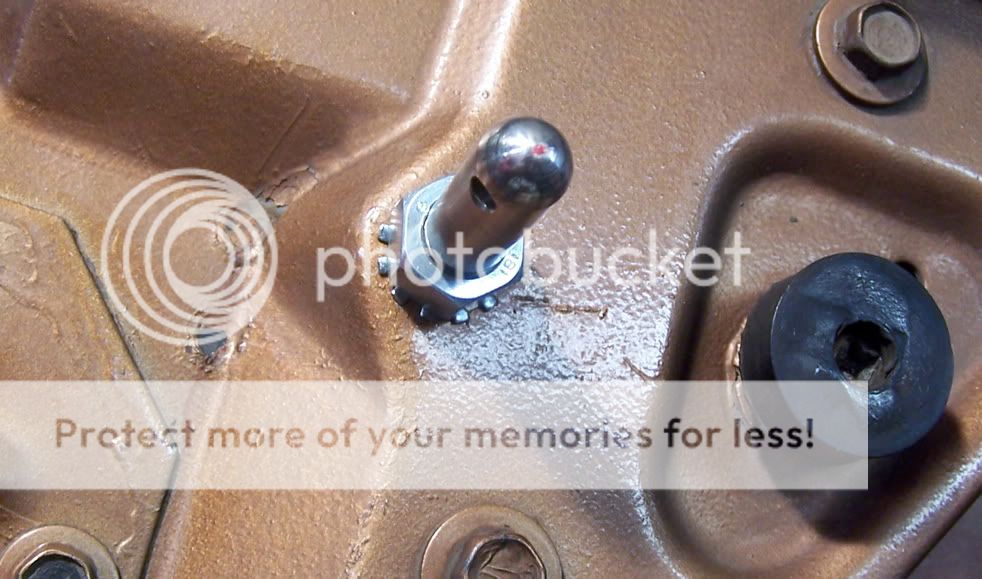
When you drop the pin into the hole, it looks about like this.
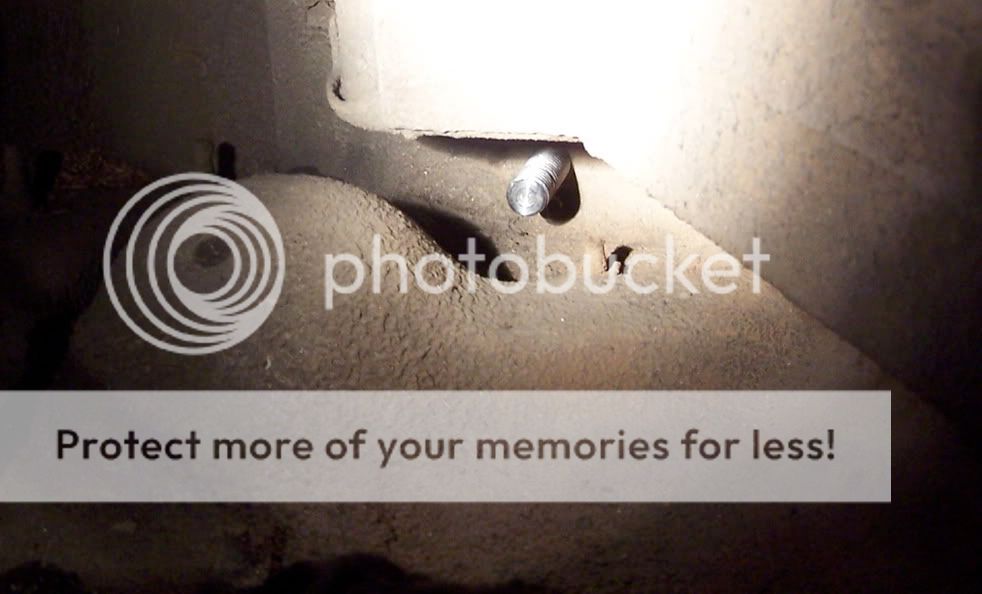
From the bottom... Like this. Way the heck up between the back of the headlight bucket bump, and the inner fender.
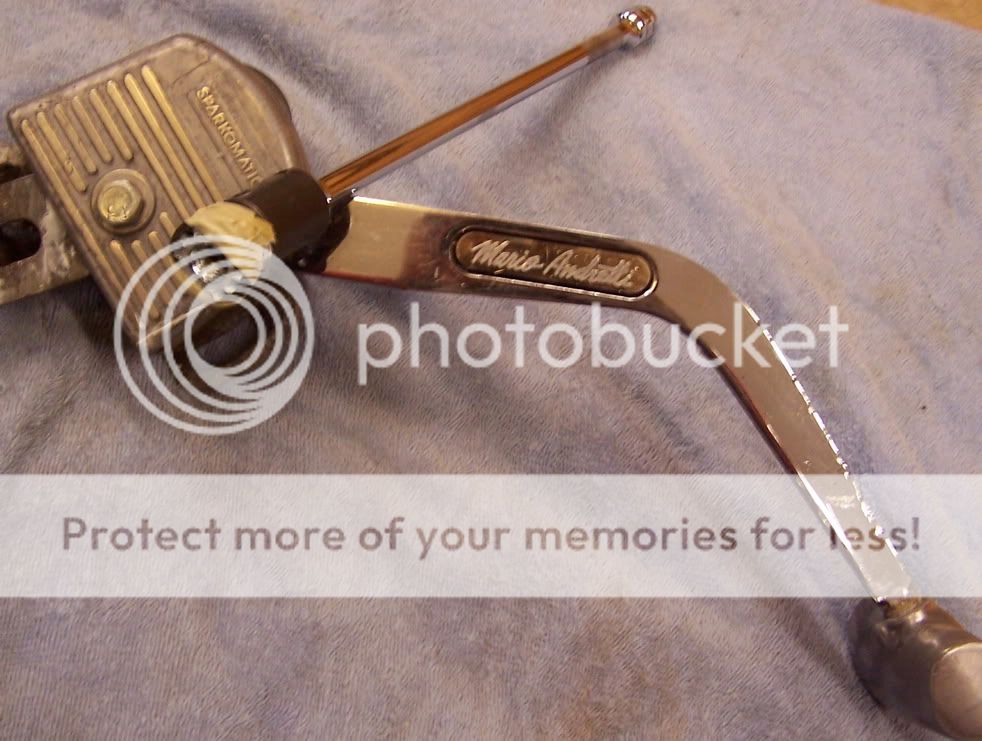
You cannot get your fingers up there at all. So you will need to be creative. A Sparkomatic Mario Andretti shifter will be of no help, but a wobbly socket with the crush washer taped on, and a long extension should do the trick.
You just need to get it threaded. Once on there, you can pull up on the pin to seat it against the bottom, and adjust the height.
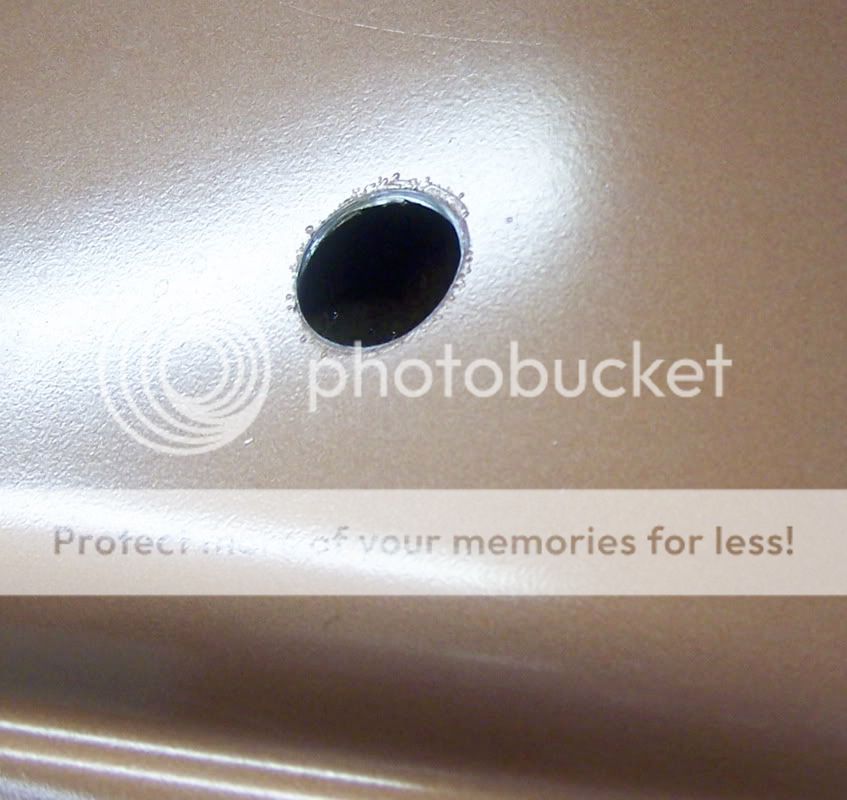
Initially, I set the height so the top of the pin would just touch the bottom of the hood. If you look carefully at the pin in the photo above, you will see the tiniest dollop of red grease on the acme of the pin. Then I gently closed the the hood down onto the pins.
Here you can see the grease spot on the bottom of the hood. Next, I lightly center punched, and drilled upwards with an 1/8" bit. Then down, with a 1/4" hole saw pilot, and finally with a 7'8" hole saw. Again, and especially now, HOT METAL CHIPS ON PAINT !!! Also be wary of HEAT bubbling your paint right off the hood.
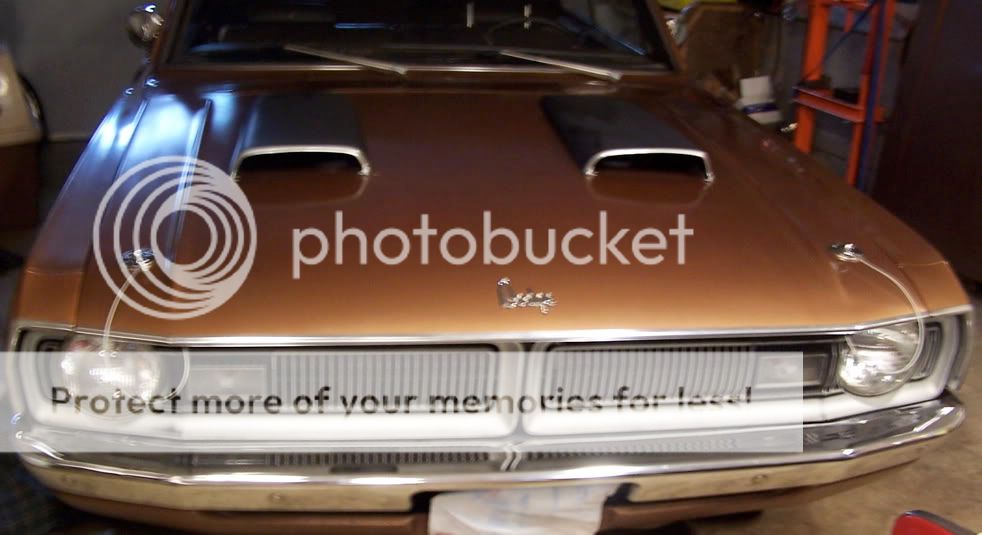
Once you have holes, you can raise the pins to their approximate height, tighten the nuts from the top to crush the lock washers. Use a center punch or small phillips driver to orient the pin hole front to back. Then close the hood to check for pin centered in the hole. I re-opened the hood, then slid a piece of conduit over the pin to tweak it to the center of the hole. Closed the hood for the last time, slid the caps on, and drilled one by one, starting the screw into the hole after each, so as to be satisfied with the location of each hole, using a 1/8" bit.
For inspiration, I went to the Members Photo Gallery, Gallery List, Page 3.
Thanks to Showandgoresto for the pics of the 1970 Dart Swinger 340 in Panther Pink which confirmed the orientation of the cap screws.