PM me your E-mail address and I'll send you the powerpoint presentation. I didn't make the presentation, just have it saved,
I do things in the powerpoint, some from the Big Block Dart website and some things that I've figured out with friends over the years.
BBD site stuff -
http://www.bigblockdart.com/techpages/wells.shtml
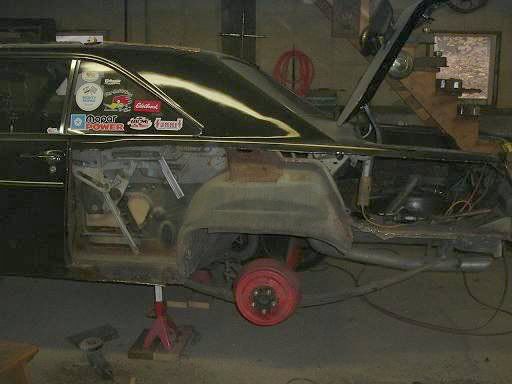
Now before you make any cuts, mark the vertical side of the tub and horizontal of the floor using a square and marker, scribe. Mark it in three places, like 10, 12 and 2 o'clock. This will help you keep the tub in the correct position after they are out. You can see the black marker in the slideshow below.
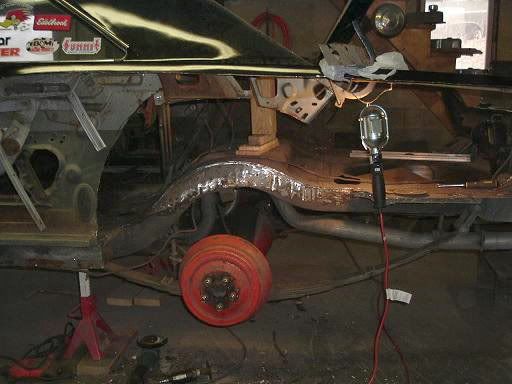
I don't do the big squared off patches, except by accident. Don't like them, never have. Everyone does it there way and that's cool with me. Make a template of the tub before you remove it. Construction paper is your best friend. Make the templates long enough to mark two of you location scribes on it. Cut the floor tight to the tub until you are moving parallel with the frame rail, then smoothly angle the cut over to the rail.
Don't cut the floor all at once from the frame rail like in the powerpoint. It becomes unmanagable. Cut the floor in between the spot weld, clamp it, tack it down, then move to another section. Makes it easier to work with smaller sections loose. Once you get most of the floor section done, lay the templates out, lining up your scribe marks, and mark the remaining section to be cut.
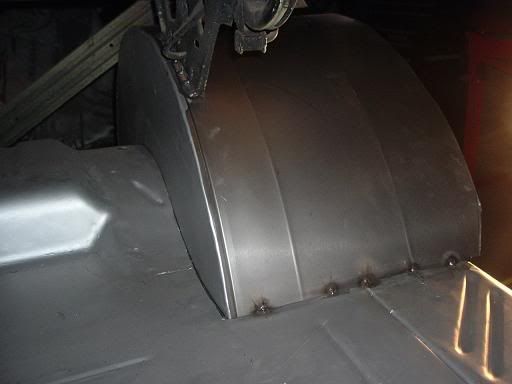
Mounting the tubs on top of the rails requires trimming the tub after you get the old floor section removed. Get them clean, in position, tack in place, then grab a can of paint, spray it on the inside where floor, tub meets. It gives a nice outline of where you need to trim.
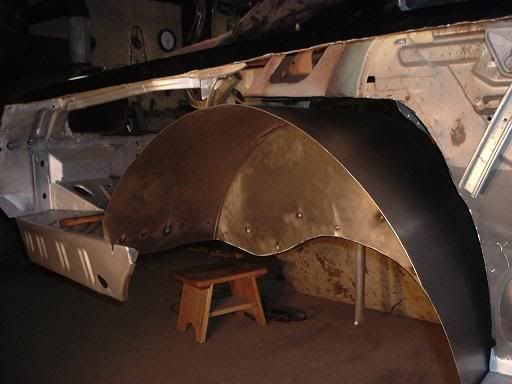
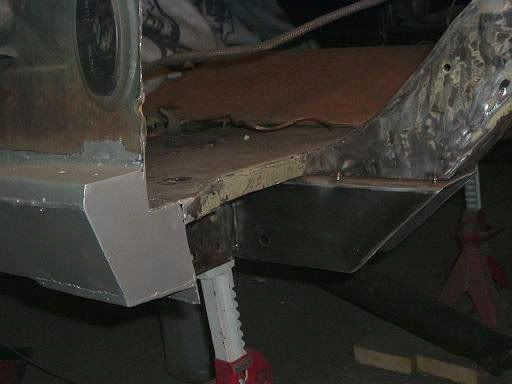
The fill panels are usually 3" wide. Do the powerpoint thing, but, get it separated the 3" all the way around. Tape a piece of construction paper to the tub, then mark the gap area with a sharpie. Also mark where the the hard bend at the top, rear of the tub is located. Take out the construction paper, add 1/2" to each side if doing the overlap style or cut it out just to the outside of the sharpie marks for a butt weld. This way you can make a one piece fill panel. I use old doors, roof panel, hoods, whatever I have that's long enough to get the job done.
I could write forever on this... Just some helpful hints
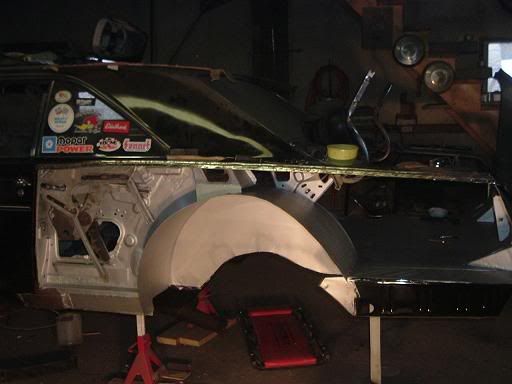
Slideshow - this is one car I did and forgot to make a template for the drivers side and ended up with the patches. Pass side has no floor patches.
http://smg.photobucket.com/albums/v655/crackedback/Mini Tub/?action=view¤t=edaea261.pbw
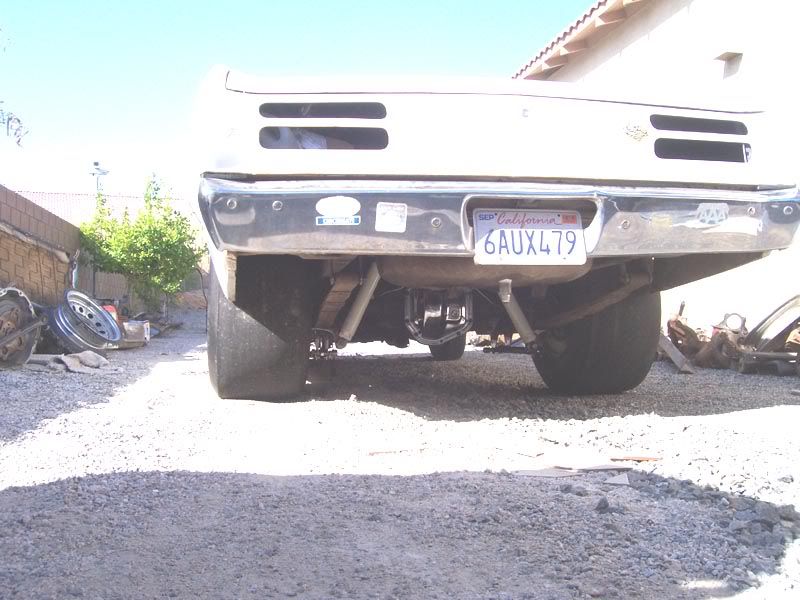
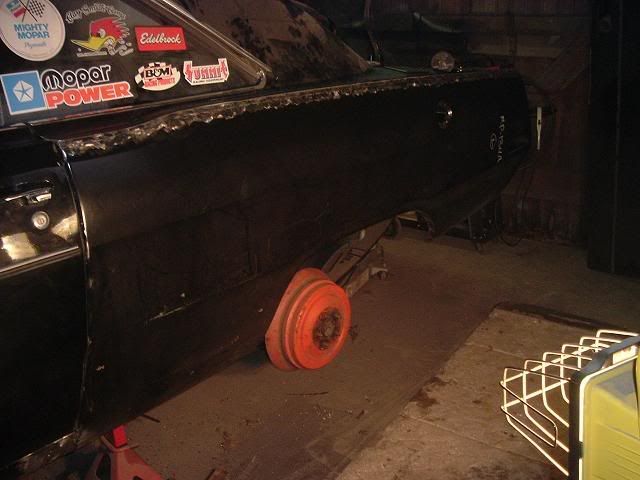
Here's the car with the rear and some tire under it.
Good luck with it.