My 1970 Duster-"DustBull"

-

dustbull

Well-Known Member
Joined
Nov 13, 2010
Messages
258
Reaction score
5
Location
Cape Coral
Hey everyone, Im pretty new to this site, said hello a few months ago on the welcome forum, but only just now started to really check in regularly here. Now that i have some free time over summer i figured i should put some build pictures up! It took exactly one year to rebuild and get running, but little modifications have been and will be going on for a while...

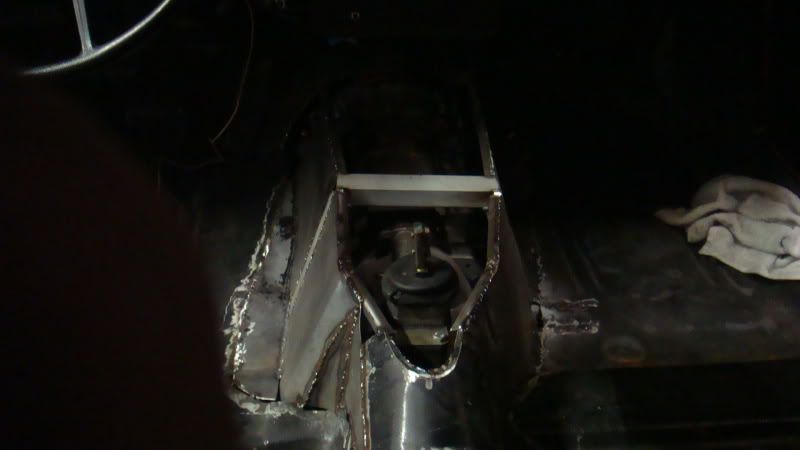
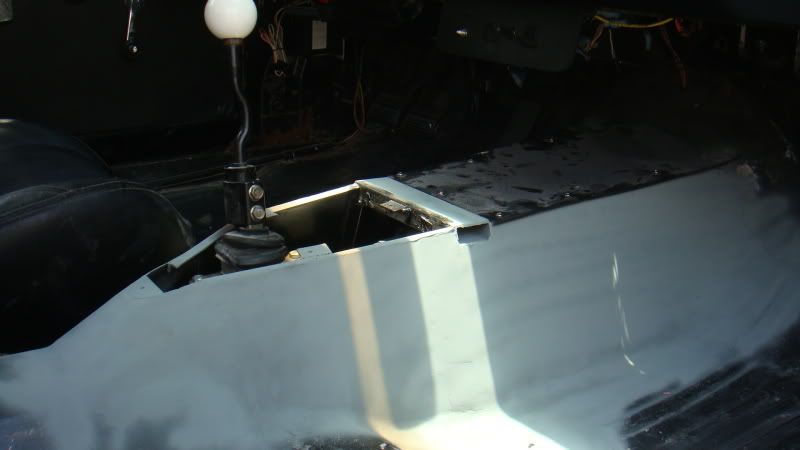
The duster was originally a slant six with a 904 and 7 1/4" now its a 360 block bored and stroked to 410ci. a T56 six speed is going in now (im writing everything down in my thread in the transmission section), and a strange dana S60 is out back w/ 3.54 gears. Heres some of the more exciting project pictures for fun; i have hunderds of pictures though:
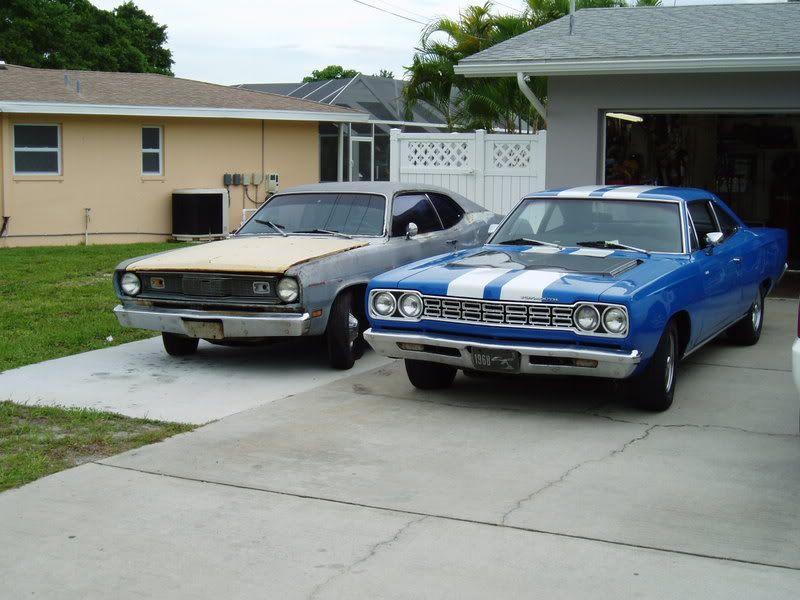
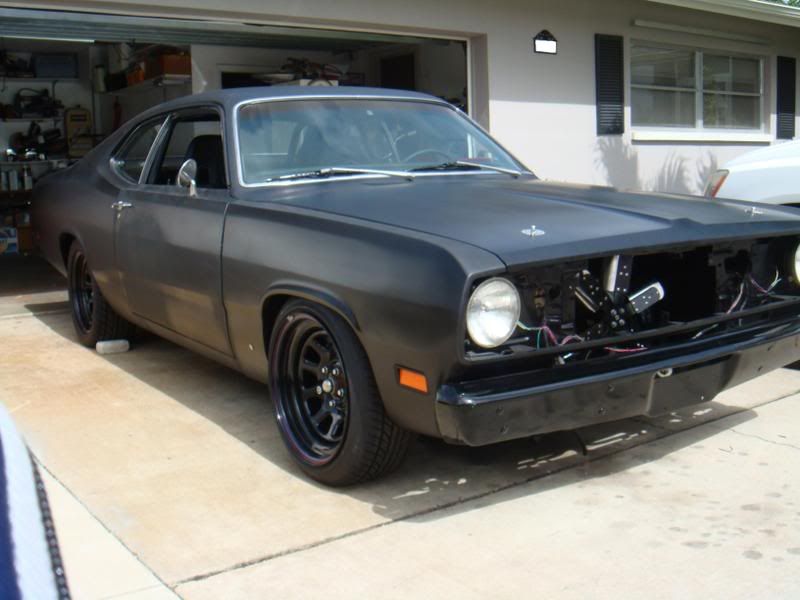
The day we got it:
dusterroadrunner.jpg

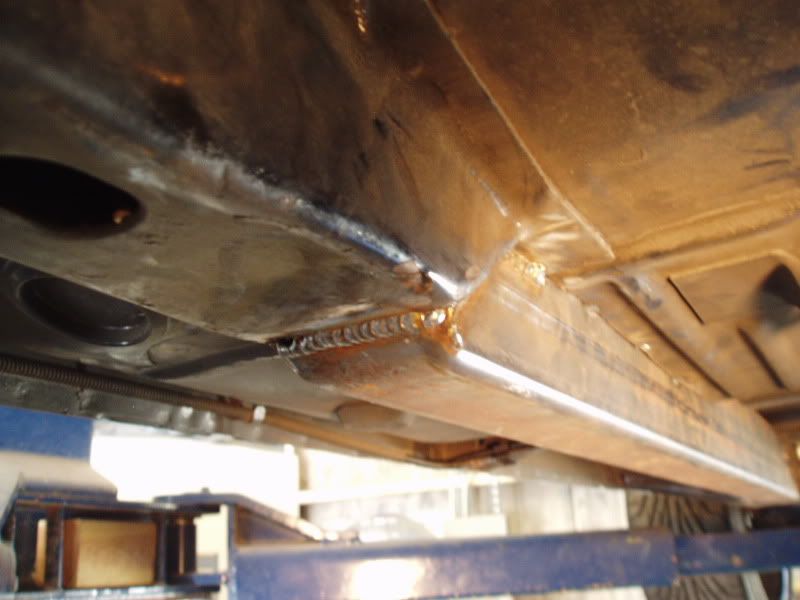
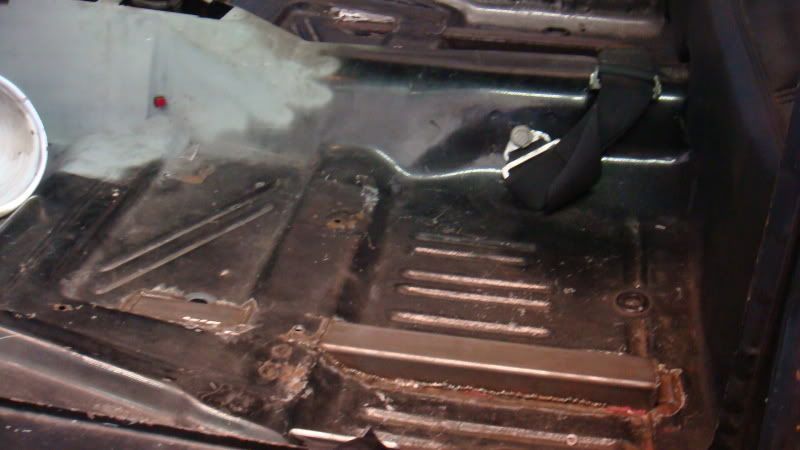
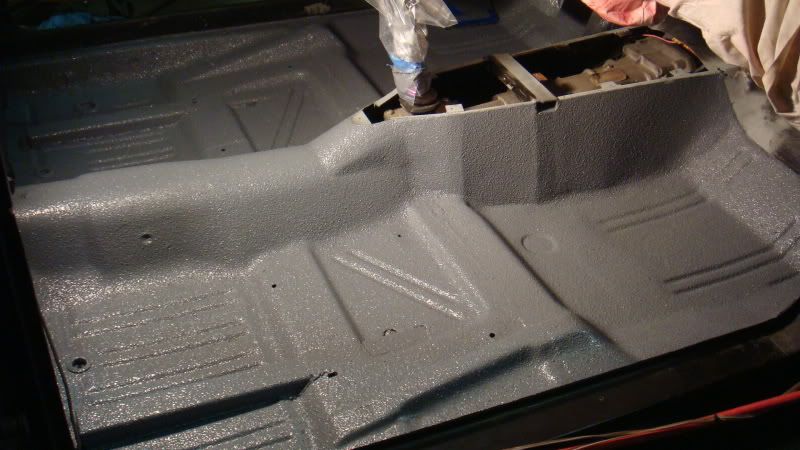
Rusted trunk and floors replaced:
nottrunk.jpg

nofloors2.jpg

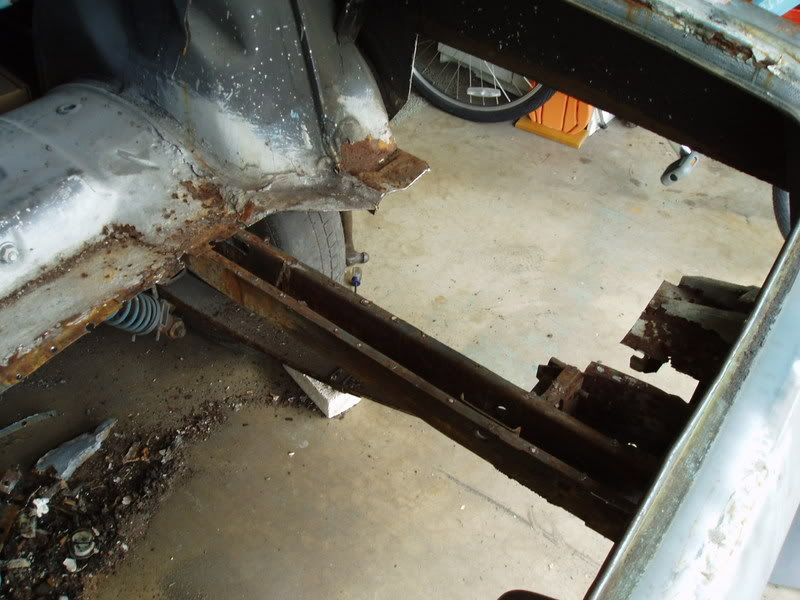
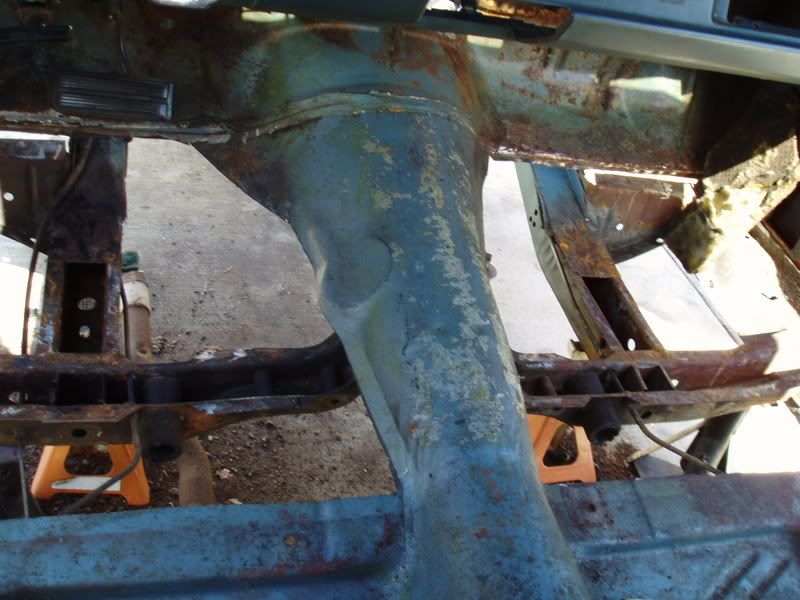
No suspension or wiring:
nofrontcliporsusp.jpg

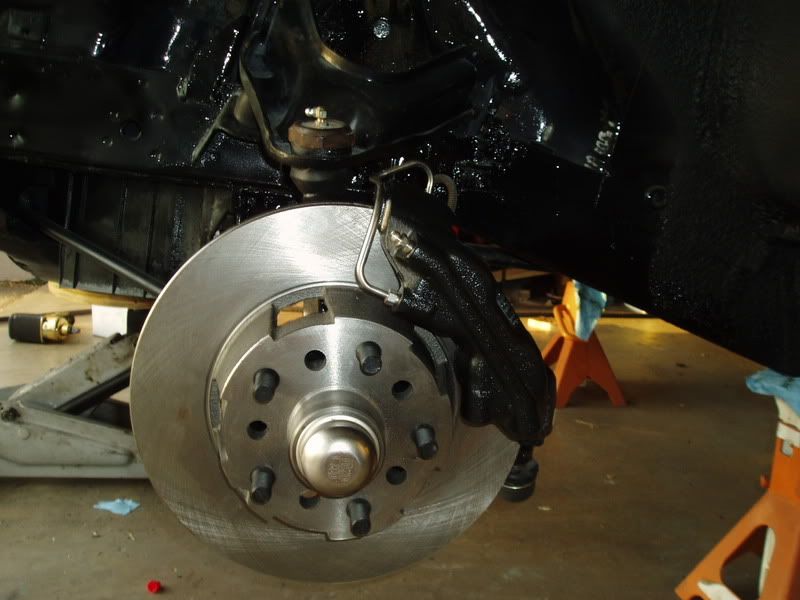
Currently stock 11.25" disks up front (looking into converting to Viper brakes when money comes around:
newbrakes.jpg

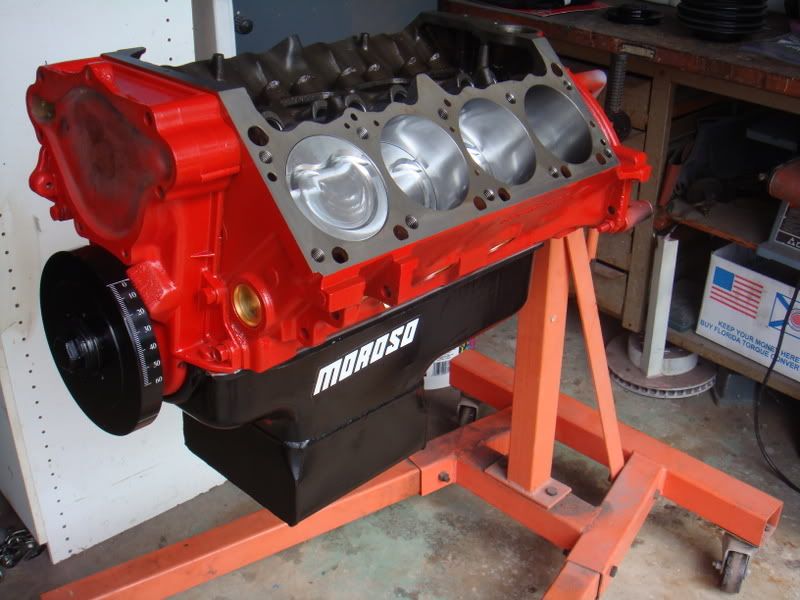
410 back from the machinist:
shortblock8.jpg

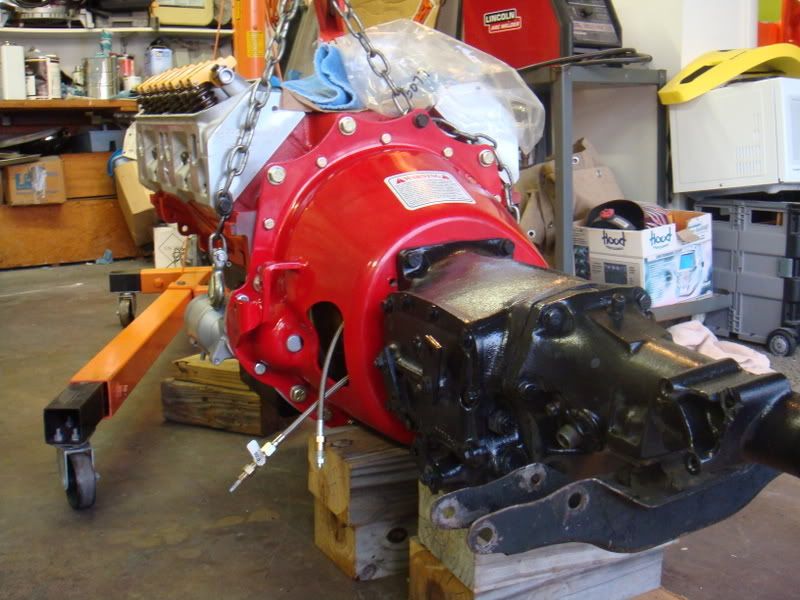
Engine with old A-833 OD and scatter shield:
transandenginetogether.jpg

berforeandafter.jpg

readytostart.jpg

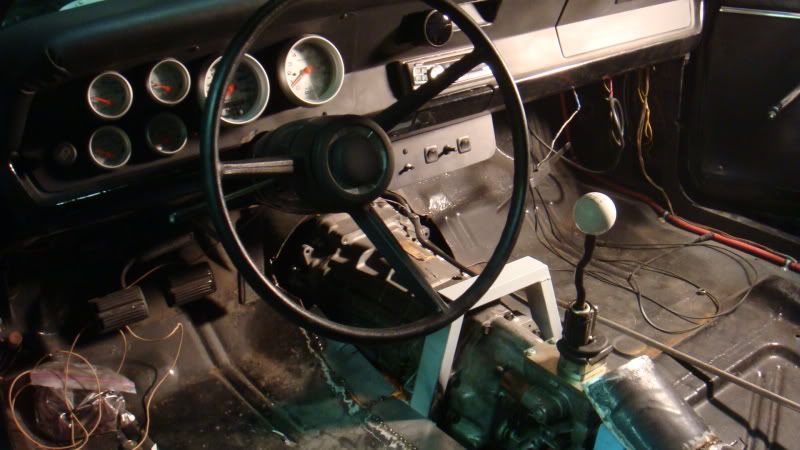
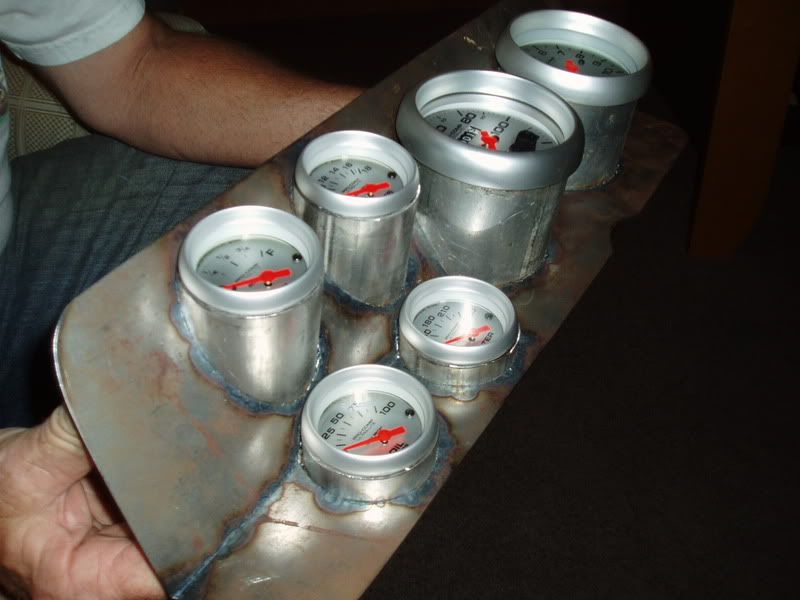
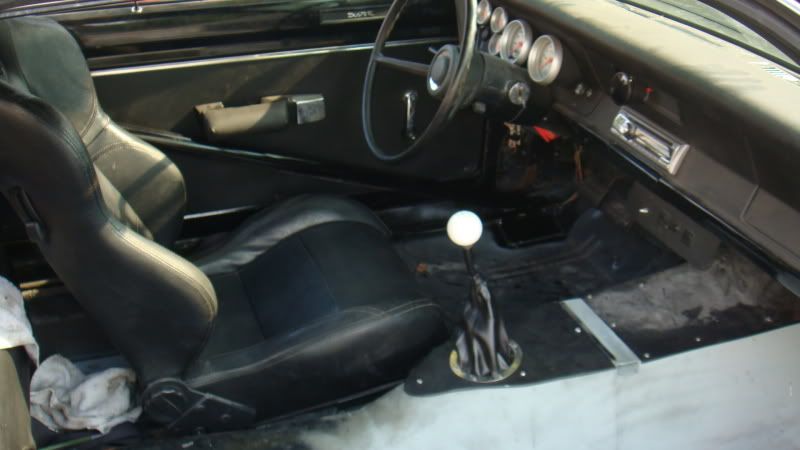
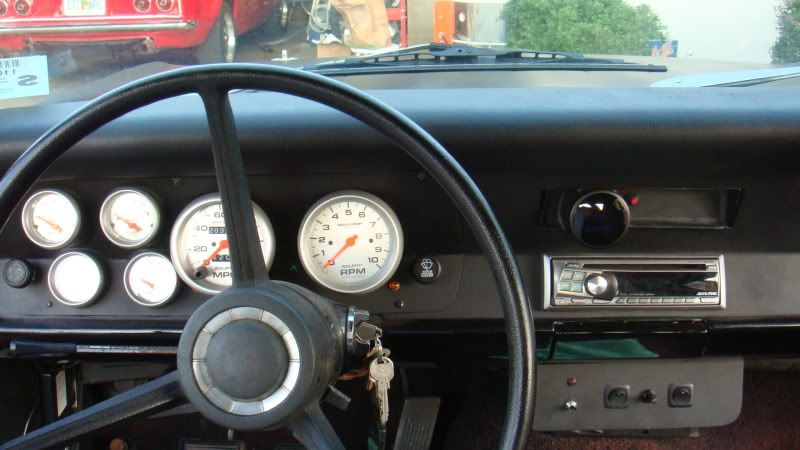
Autometer Ultralite and Innovative WBO2 gages in the gage clusters i made:
DSC01216.jpg

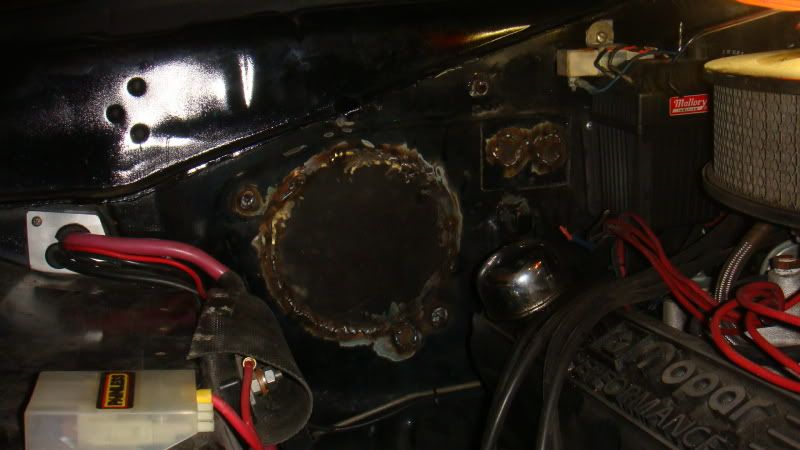
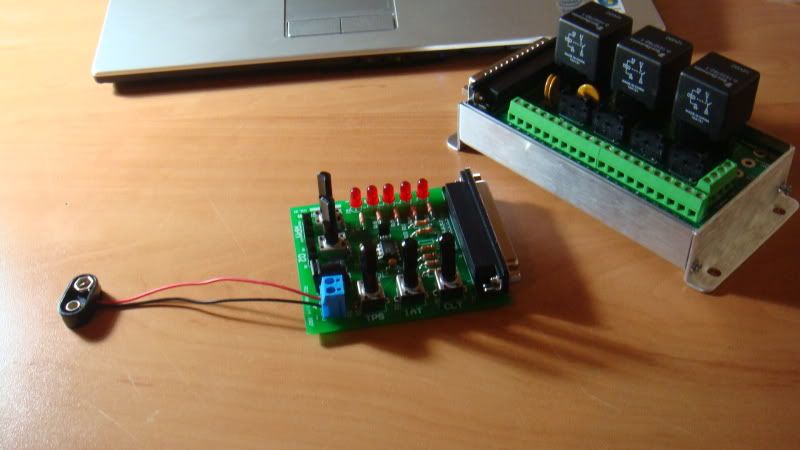
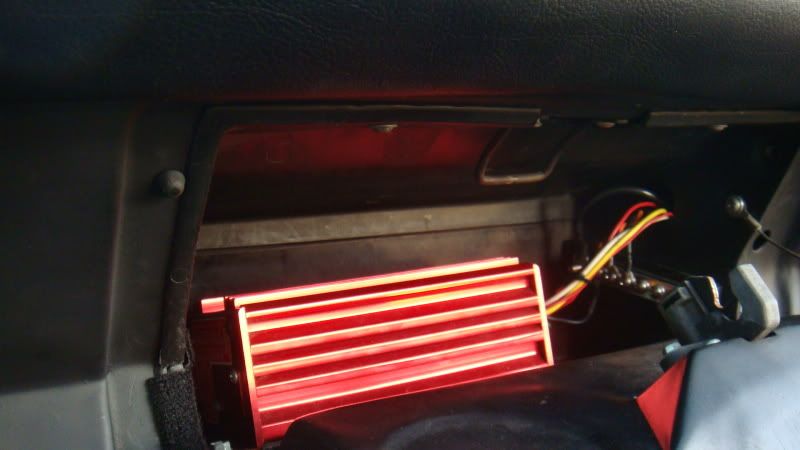
Hyfire 6AL moved to the glove box:
DSC01219.jpg

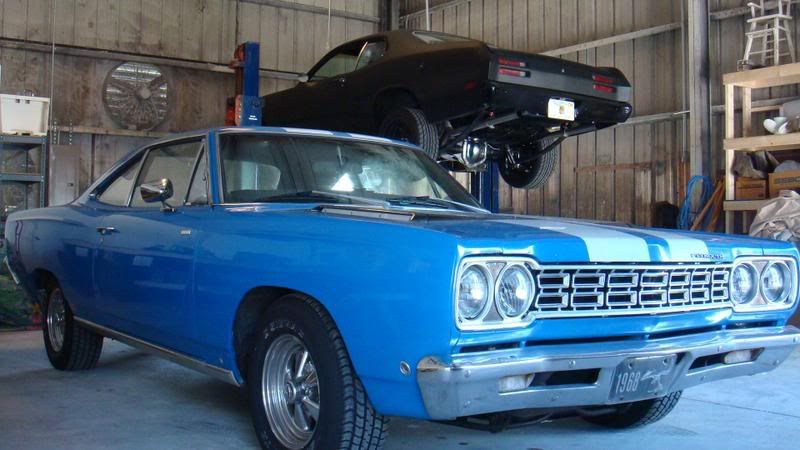
Working in our shop w/ my dads 68 roadrunner, but i guess thats FBBO...:
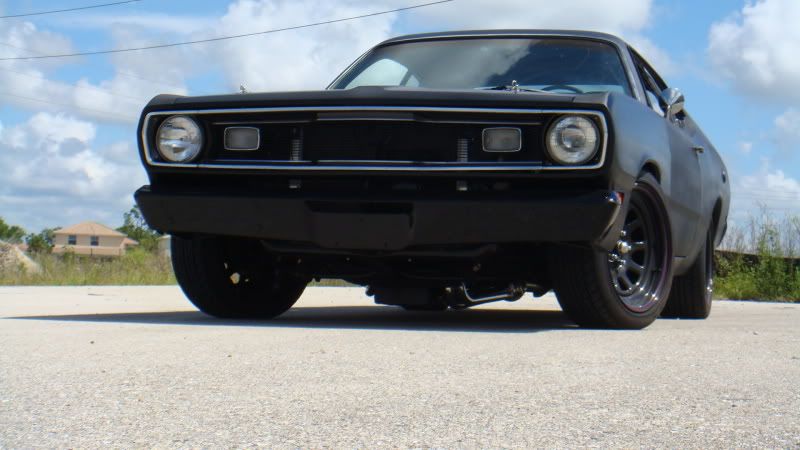
dusteronlift.jpg

DSC00371.jpg
 
...Now for the current project, Most of this will just be going to my aforementioned thread in the transmission section so im not doing the same thing at two different threads, but heres what im up to:

Im getting rid of the heater/fan assembly since i havnt used it in the past 2years that ive daily driven it...
DSC01323.jpg

Before/After of what is getting cut for the T56:
DSC01318.jpg

DSC01333.jpg


Hopefully within the next two months the transmission swap will get done since im going to school/working two hours away from the project.

After this my plans are to set up a Megasquirt II or III efi system hopefully within the next 6 months if all goes well. I would like to make a twin turbo system within the next year or so if all goes well...

Thanks for looking!!
 
You have come a long way quickly keep up the great work?
 
Looks good, what did you use for paint?
 
Thanks everyone for the compliments!!
I liked the stance that way as well, but it was due to unadjusted torsion bars and stock slant six leaf springs, so its sitting a bit higher now, but not a whole lot. When i get back to the suspension and modify it i would like to get it to handle while sitting that low.

The paint s Flatz hot rod black. My dad repainted it after a year and a half due to some overspray issues the first time we painted it (the paint was holding up fine to the Florida rain and sun though).

The wheels are Cragar D-window 17" 17x8 fronts and 17x9 rears...

Ill find out today at work, but i should have thursday evening till sunday off; all of the parts for the trans swap should be getting to my house thursday so this weekend i could be getting a lot of stuff done!

Thanks again for looking!
 
Hello everyone, I neglected to keep this page current with work and working on the car in my spare time. The T56 is in with 200 miles on it, and i love it! It shifts better than you could ever get an old A-833 to...Heres a few pictures:
DSC01350.jpg

You can also see how much floor i gained from the old 4spd below:
DSC01365.jpg

DSC01376.jpg

It is also apparent that since i am not going to reinstall the carpet i need some insulation, so i need to figure that out still.
Here is also a shot of whats coming next..fuel injection! :
DSC01373.jpg

Its a MegaStim and relay kit, they took me maybe 2hrs to solder together. The MegaStim is used to initially configure and assure everything works properly before it goes into the car; the relay board helps simplify the wiring and has everything fused. I have Megasquirt II coming in the mail now, hopefully it will be as easy to assemble as these things were


That t56 has gotta be a blast!!! oh and how about you make me one of those for me!! lol just kidding, the car looks great the work looks great! Im a big fan. Keep us updated with lots of progress pics.
 
Thanks for the compliments!! Ill be heading home in a day or two, im going to put in a pair of thru-floor subframe connectors and grey Herculining the floors. Ill be sure to take some pictures of everything and keep everything up to date
 
Thanks for the compliments everyone!...Those pictures of my dads Roadrunner are from before he restored it, although the top side just looks freshened up...
P10100922.jpg

And JRDART, took some scrap exhaust tubing from a local shop and some (16ga?) steel and made it myself, pretty simple actually
dashbaremetal.jpg
 
how did you measure out the template for the main housing and do you still have the measurements?.....Im tired of using plywood as temporary bezels lol.
 
All i did to the the main housing was trace out the outline of the original stock cluster...
An update for this weeks project is that our welder died on me with four gaping holes in the floor, and no subframe connectors attached to the car. I have to go back up to tampa thursday, i hope i dont have to drive the car like this.
 
Thanks!

..Today I got a lucky break and figured out how to fix the welder (for now) and got the subframe connectors all welded in. I still need to add the door bar to my cage before im done, but hopefully i can get that in tomorrow. heres a shot of the subframe connectors i made, they look great in there; i took an in car pic but its a bit too dark. (Thats just dust on the floor, not rust i swear):
P1010063-2.jpg


I have some gray Herculiner in the mail to paint the floor, hopefully it comes before i have to leave for tampa and work..
 
Thanks Bill!

Heres what ive been up to all day:

I put the door bar in for the drivers side, and painted the roll cage. I relocated my 12V bus bar from the engine compartment to under the dash along with the fuse for the alternator line and i welded a few studs to mount my fuel injection relay board near there too. If my Herculiner comes tomorrow ill be spraying that in tomorrow night. If i get that done all thats left is the slow converision to fuel injection.
DSC01387.jpg

DSC01390.jpg
 
..Well the Herculiner came, and my dad and i sprayed it in tonight. Its a bit more gritty than i was hoping for but im definatly not complaining i am very happy with it. I am also stunned at how easy it was to spray on...Tomorrow it'll be dry enough for me to put the seat back in and head up to tampa to get to work on my MSII efi board...and work
DSC01396.jpg
 
There's something about this car that is just badass. The spartan, no creature-comfort, all business thing appeals to me. Nice work and I'll be following this one!
 
Thanks for the compliments guys!

Heres a little update on what ive been doing assembling my MS II board:

DSC01403.jpg

DSC01410.jpg


I would say it took me approximatly 8 hours of soldering being very careful to follow the directions and put the right items into their proper positions. As of two days ago everything was working porperly. I will be cleaning the flux off the board, installing it into its case, and will be trying to get a better idea of how the tuning program works today...
 
-
Back
Top