My First Mopar - 1972 Duster

-
Digging this thread, my duster is FE5 as well... I probably won't name my red car "Jade" though lol...

Oh, I think you might have that confused lol. There are two dusters in this thread, Jade was the original car I was going to restore. But due to her current shape she is now a parts car to my blue duster. The blue duster I like to call Heather. I'm still a little on the fence of the color Heather will be. Going back and forth on a few different colors I may change my mind to. I've seen some that look killer in colors like FY3 Curious Yellow, FJ6 Sassy Grass, maybe even FM3 Moulin Rouge! But who knows, I'll probably stick with FE5 Rallye Red, like Jade is.
 
Update Time! Well This week I have been working on getting the extensions ready to put in, so other work can continue. I started by grinding both sides of the flanges on the extensions and trunk pan so i would have a nice area to weld. After I masked a line off on the flanges so I would not have weld-through overspray all over the place. I sprayed the recommended two coats on both flanges and let dry. After drying I reinstalled the extensions using the marks I made when I did the mock-up, and the screws. After It was all lined up I went to town with the pinch welder, removing clamps as I went. All was smooth, I just had to change the jaws on the welder to something not as wide so I could weld the flange beside the shackle boxes. Not much room to play there! Next I will remove the quarter panels, start patching small spots, and then fabricate some mini-tubs.
Sorry for the fuzzy photos.
IMG_20140212_135907_148_zps5d7b927d.jpg


IMG_20140212_135918_763_zpsbf4b9bb3.jpg


IMG_20140212_135956_425_zpsfd237492.jpg
 
Got a lot of work done on the duster this week. I started by taking the power shear to the quarter panels and cut the majority of them out. I will leave the spot welds for later. Good thing too, as I almost forgot to line the door gaps up for proper quarter fitment later. After the quarters were removed the wheel wells were the next thing to go. Although the wheel wells were not in awful shape, they still would need to have some pretty good sized patches to be fabricated and welded on. Since I was planning to mini-tub the car anyway, I decided not to save them and cut most of them out of the way. I'm glad that I did decide to cut them out because it revealed some more rust that needed to be fixed on the inner rocker panels. I trimmed around the wells and marked where I needed to cut. After shaving most of the frame rail flange off, I used a carpenter's square and marked the pans for trimming. After trimming I ground the rail smooth. Next week the rail will be welded and ground smooth and I will fabricate some handmade flanges to for the tubs to weld to. Same goes to the passenger side. After doing some rough measuring I looks like I will be able to fit around 30x15inch slicks with some careful placement. :burnout:

IMG_20140228_140021_130_zps4859613b.jpg


IMG_20140228_140032_153_zps0fa54a7d.jpg


The passenger side rocker is in a little worse shape than the drivers.

IMG_20140228_140056_890_zps9128e09a.jpg


Drivers side rocker.

IMG_20140228_140113_923_zpsebca9eeb.jpg


IMG_20140228_140133_510_zpsd337ee7b.jpg


IMG_20140228_140144_438_zpsea2e8af1.jpg


Ran out of time this week, didn't get to the passenger side yet for trimming.

IMG_20140228_140202_431_zps82e450cd.jpg
 
Hope you guys are still watching the progress.
Another update. I went ahead and brought my truck into shop, had a caliper lock up on me. That week I was short on cash so I decided to clean up shop a little bit and scrap the leftover sheet metal that I was hiding under the car and under the bench. Came out to about 340lbs, which only got me about $20, but hey its lunch money right?
This week and last I was focusing on the wheel wells and frame rails. I started by finish trimming the sides, then I hand fabricated some flanges out of scrap sheet metal, and formed them to the contour of the trunk and floor pan. After many trial fits and modifications, I sprayed them with weld through primer.
Why you ask would I go through the trouble, when I could just have well welded the pan and tubs at a T joint? Well I figured that the spot welder does such a nice clean and professional job, why not use it as much as I can. After welding the new flanges to the pans, I welded up the frame rails.

IMG_20140313_140239_158_zpsbfe5e8d9.jpg


IMG_20140313_140252_432_zps909ae9bd.jpg


IMG_20140313_140322_977_zps60b5d60c.jpg


IMG_20140313_140340_641_zps8f230157.jpg


IMG_20140313_140352_639_zps7dc47805.jpg


IMG_20140313_140422_857_zps735b1154.jpg


Next week I will grind all the welds smooth and start measuring and trimming the roof supports and trunk spring supports for the tubs. Looks like I'm gonna need to find some cardboard for mock up.
 
Sorry for the lack of updates guys. Let me start where I left off with. I'll try to bring everyone back to speed.

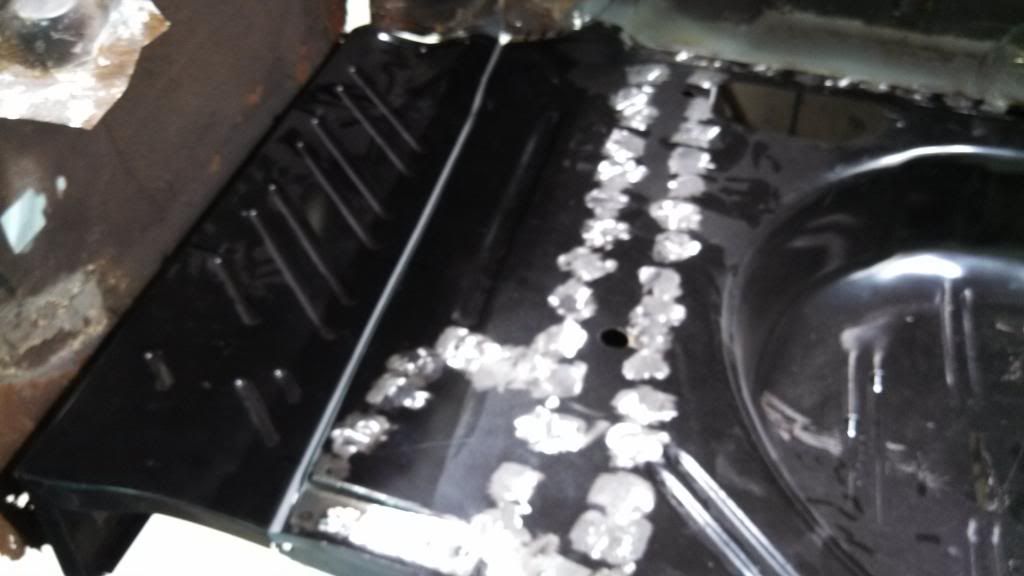
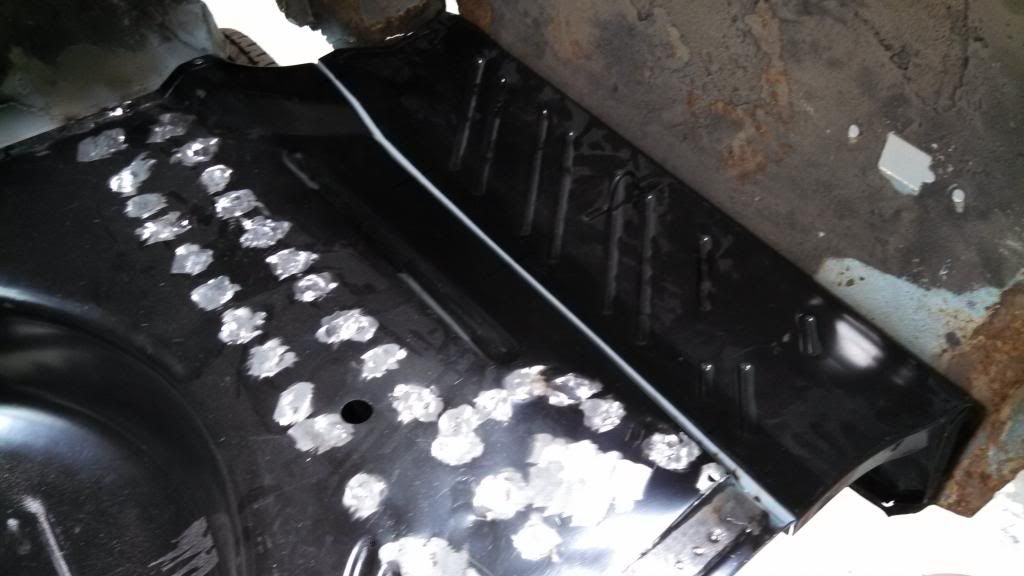
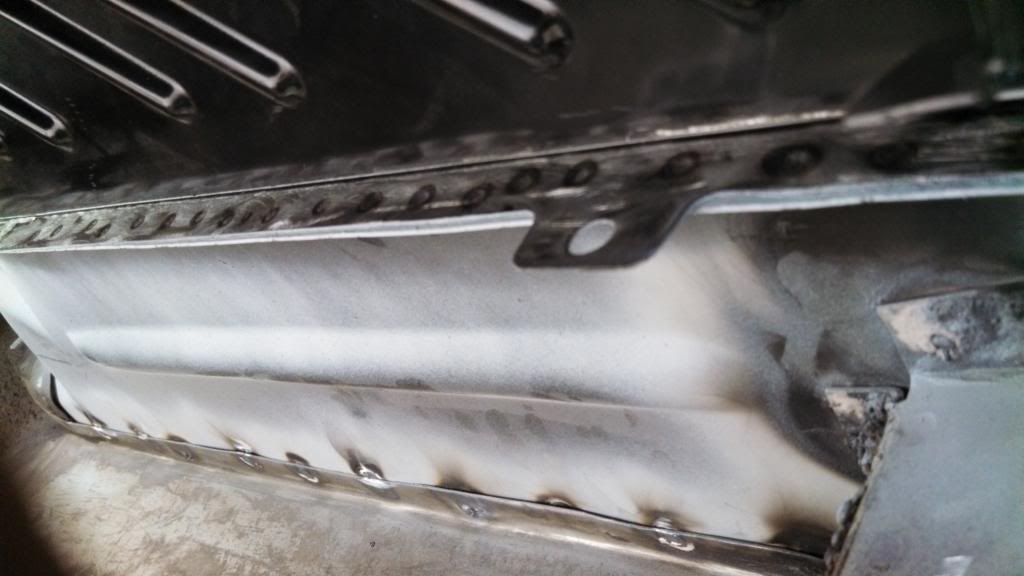
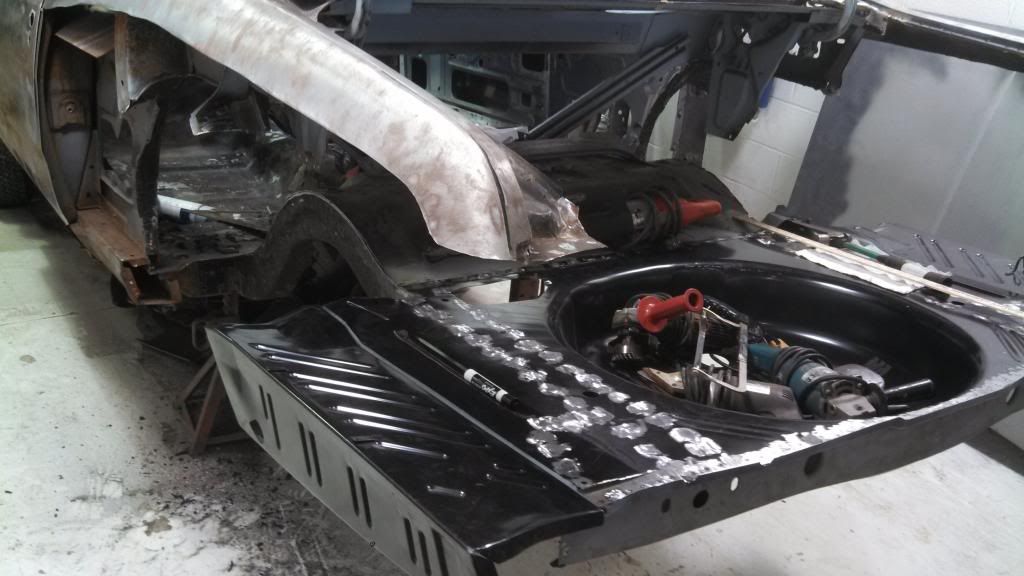
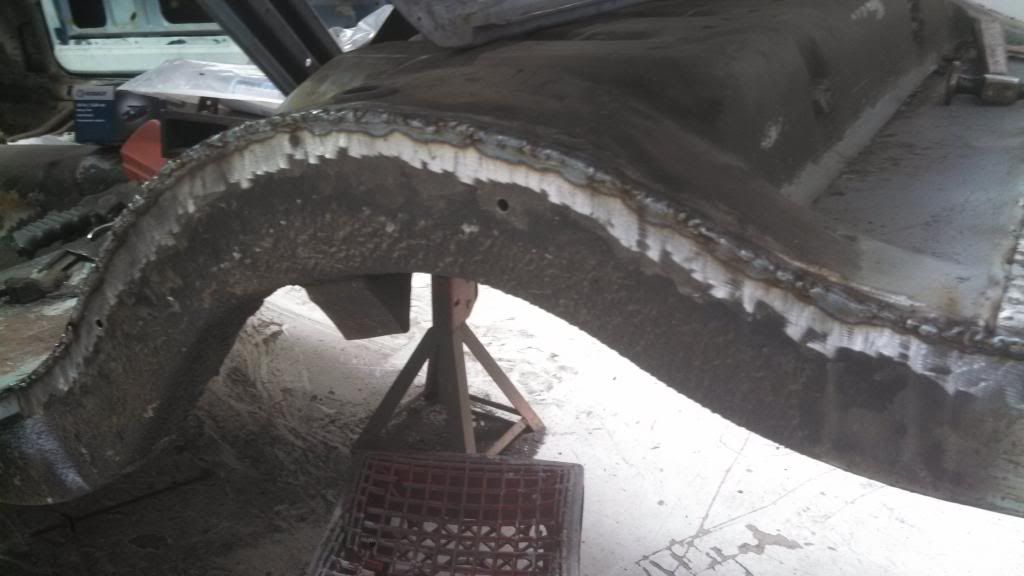
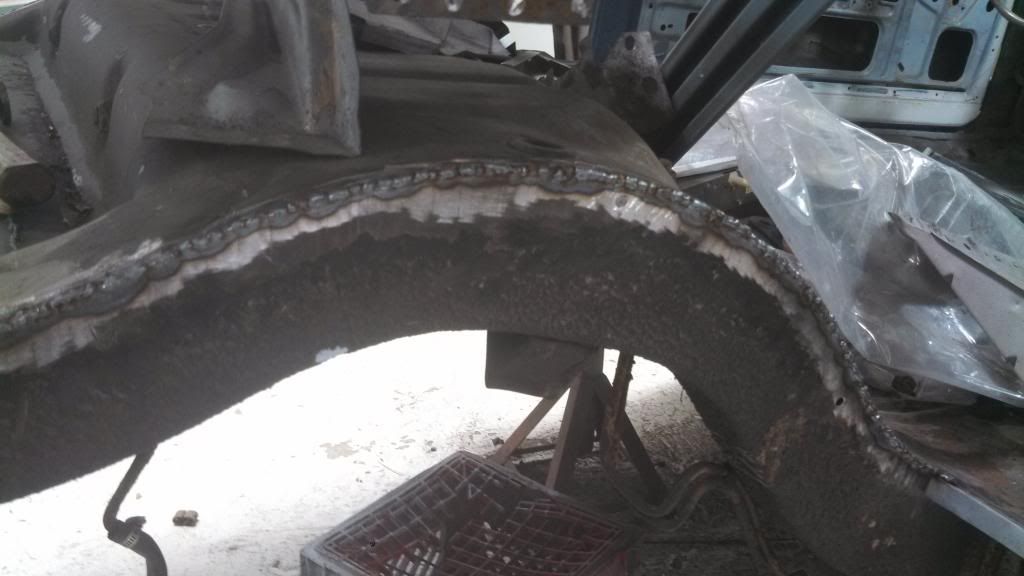
When I left off I was working towards getting some tubs fabbed. Well that didn't exactly get done. I ground the welds smooth and sprayed a layer of weld through primer over the seams for the tubs.
http://i1173.photobucket.com/albums...r 440/IMG_20140318_134247_086_zpsa2f74435.jpg

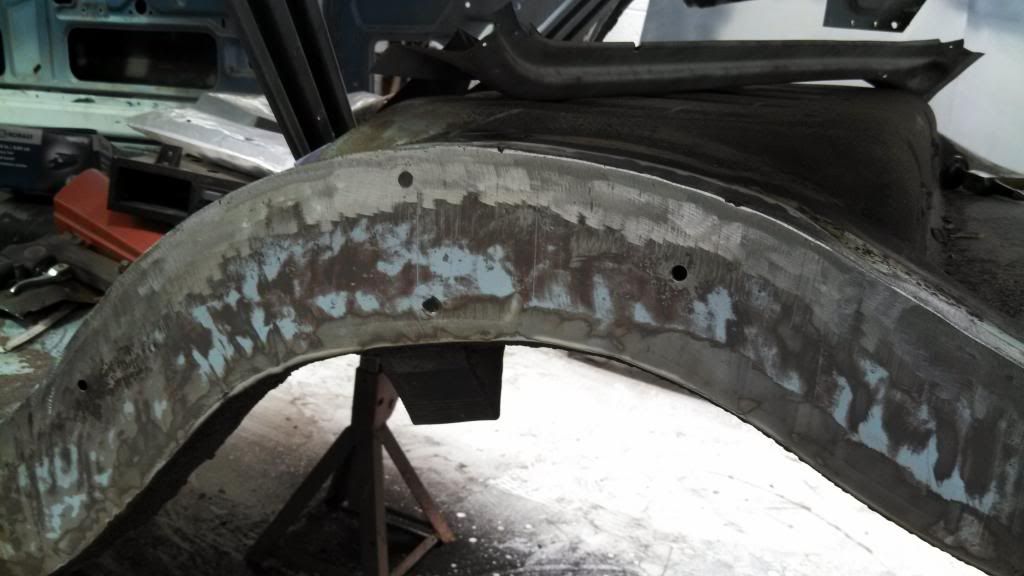
http://i1173.photobucket.com/albums...r 440/IMG_20140318_134305_058_zps90d7a9e3.jpg

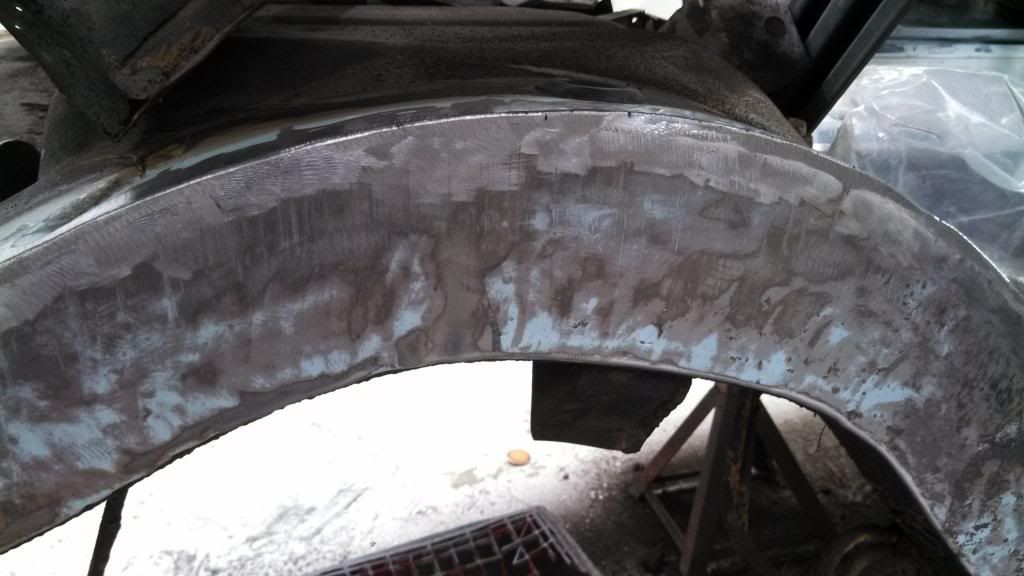
http://i1173.photobucket.com/albums...r 440/IMG_20140318_134752_723_zps2fd922ca.jpg

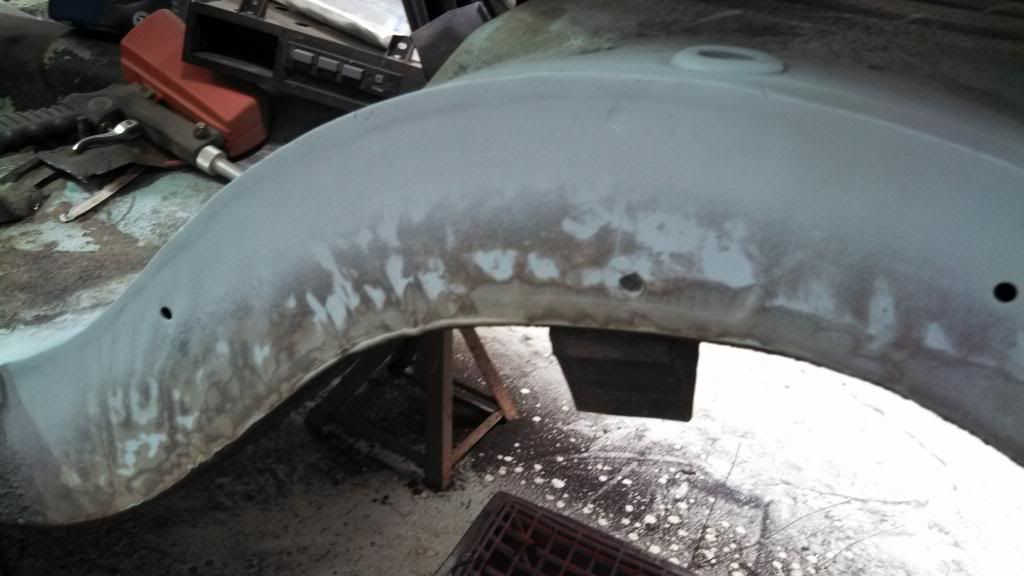
http://i1173.photobucket.com/albums...r 440/IMG_20140318_134807_919_zps7bd68d56.jpg

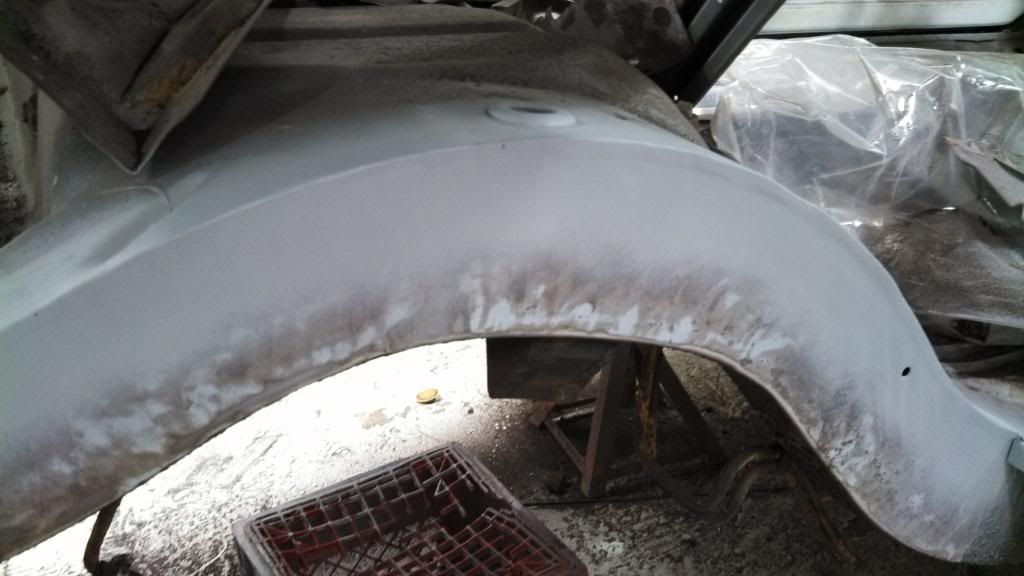
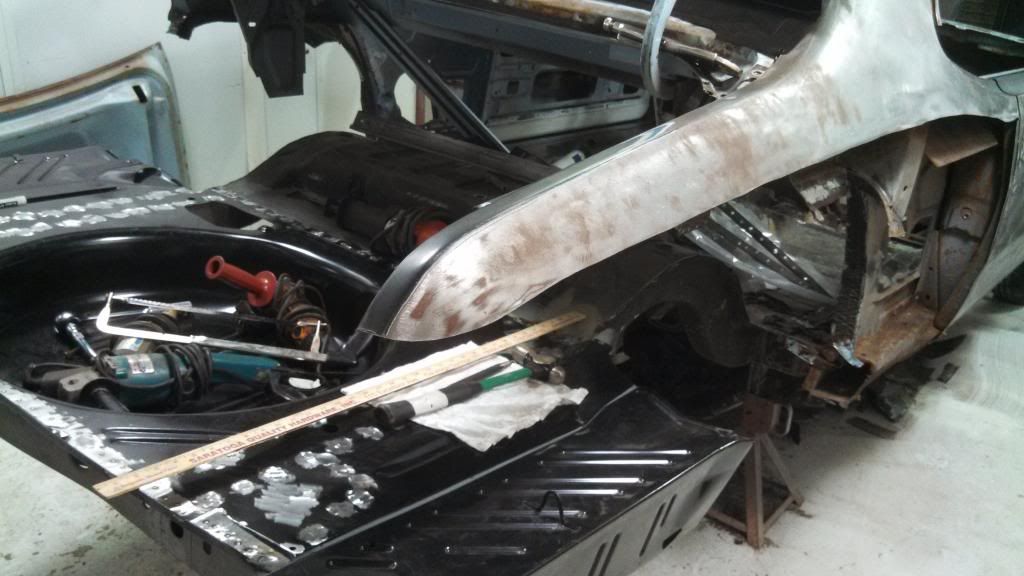
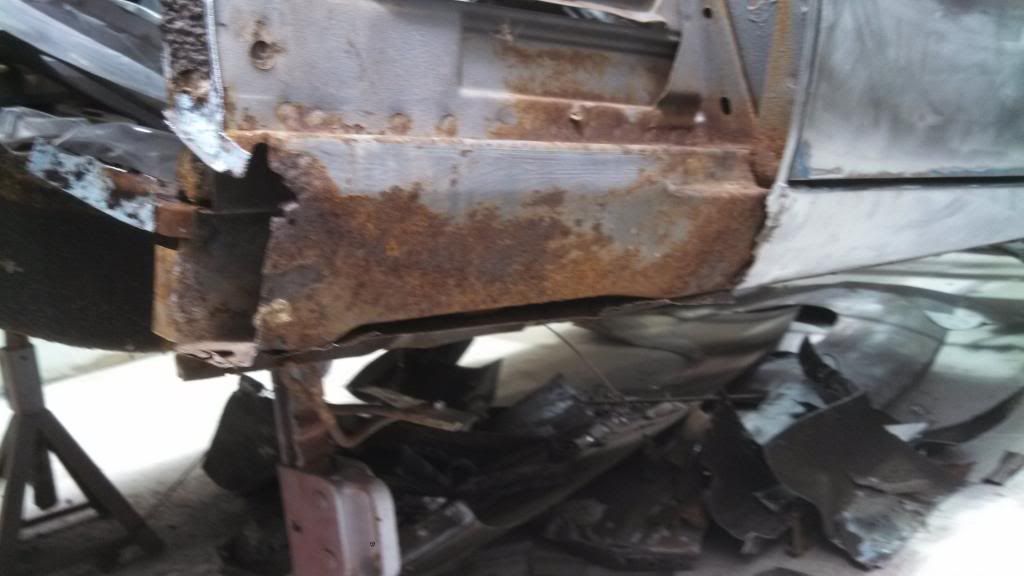
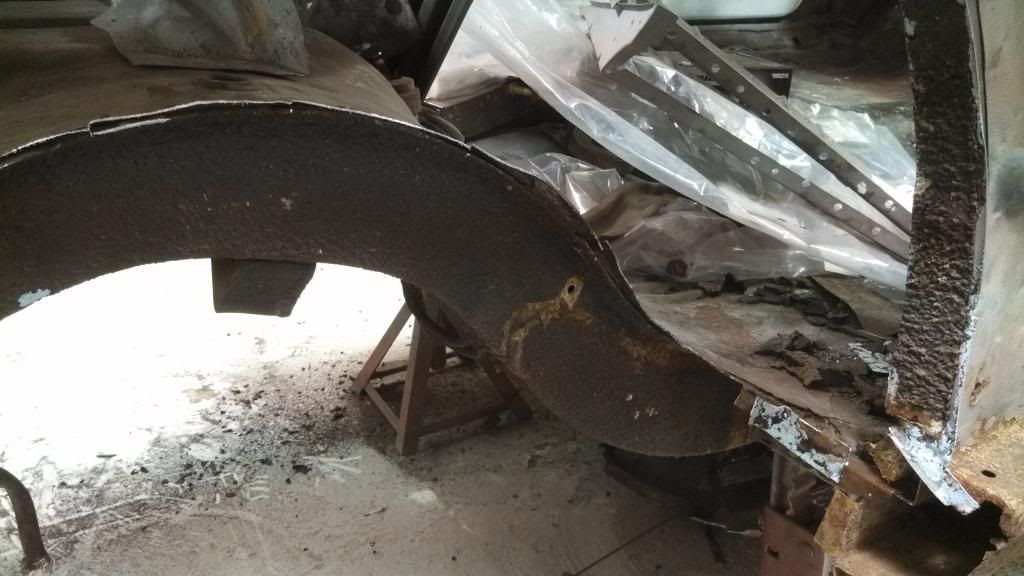
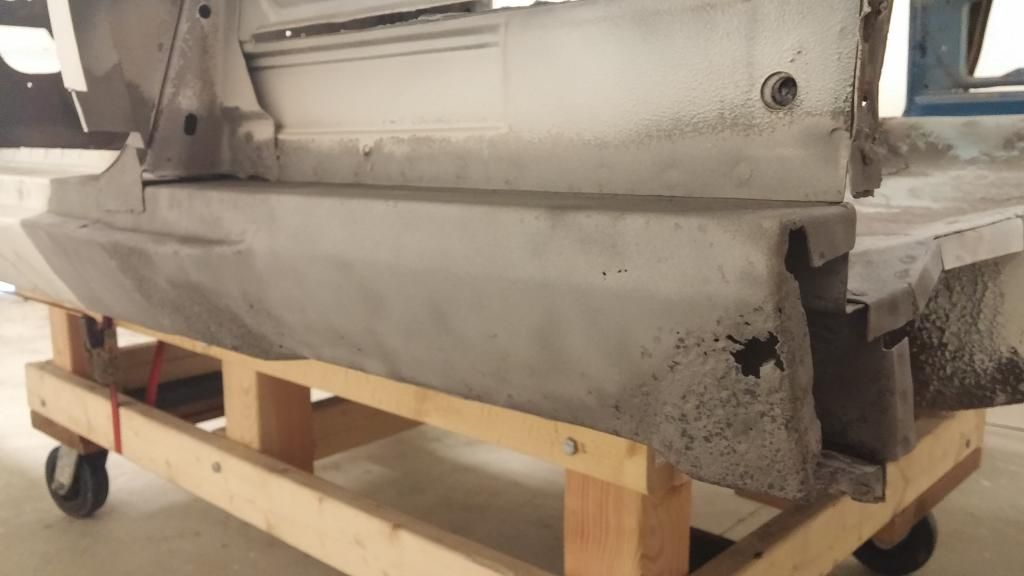
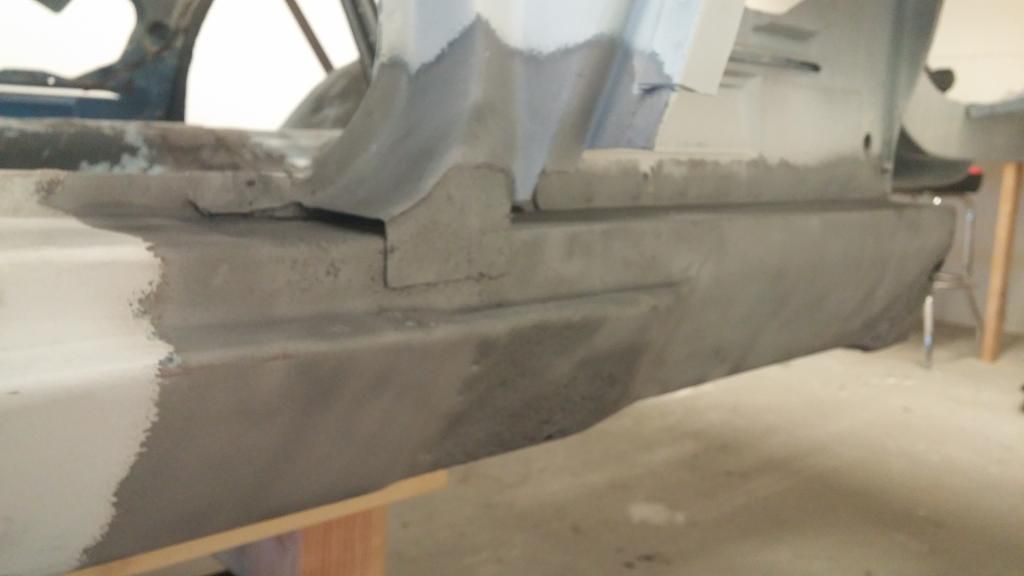
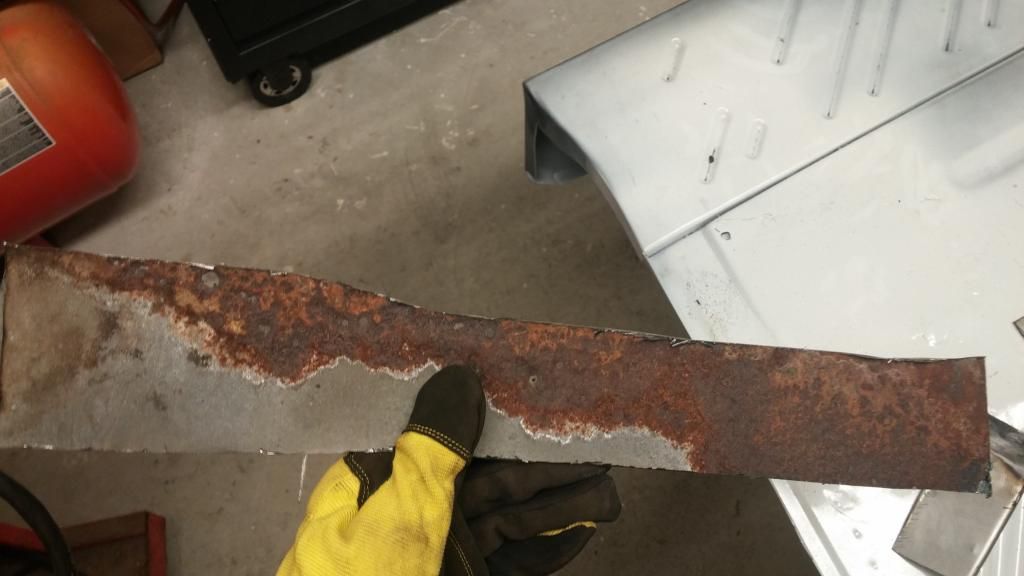
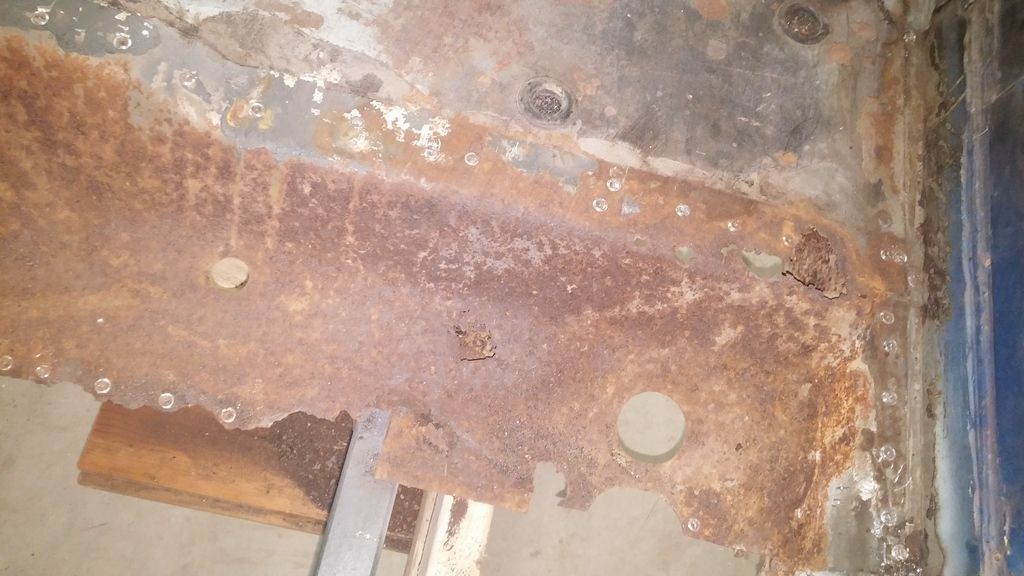
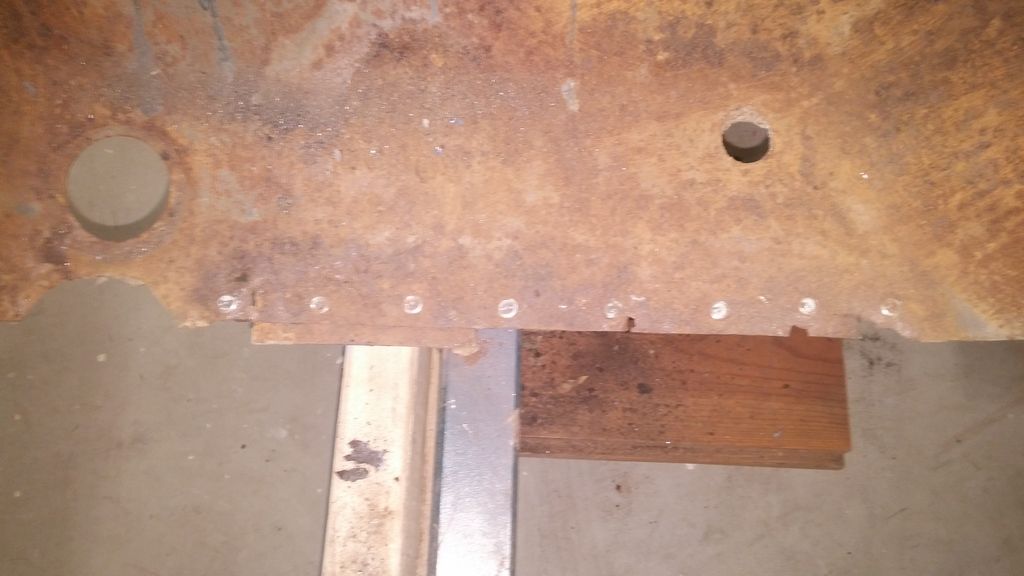
After this was done my attention was diverted to the rocker panels and door jambs which needed some serious attention due to the "four letter" word.

http://i1173.photobucket.com/albums...r 440/IMG_20140324_133029_937_zps2ff93593.jpg

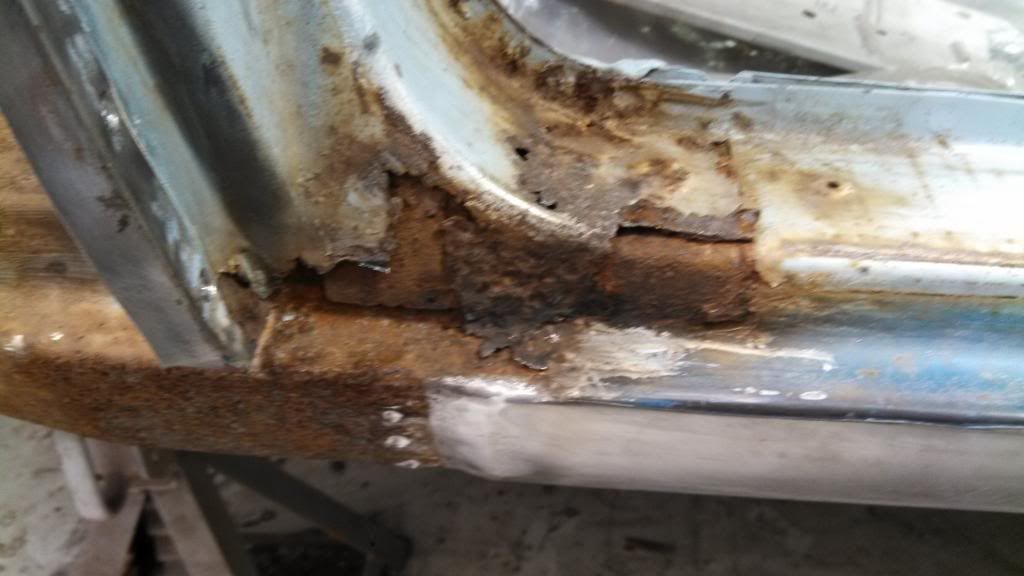
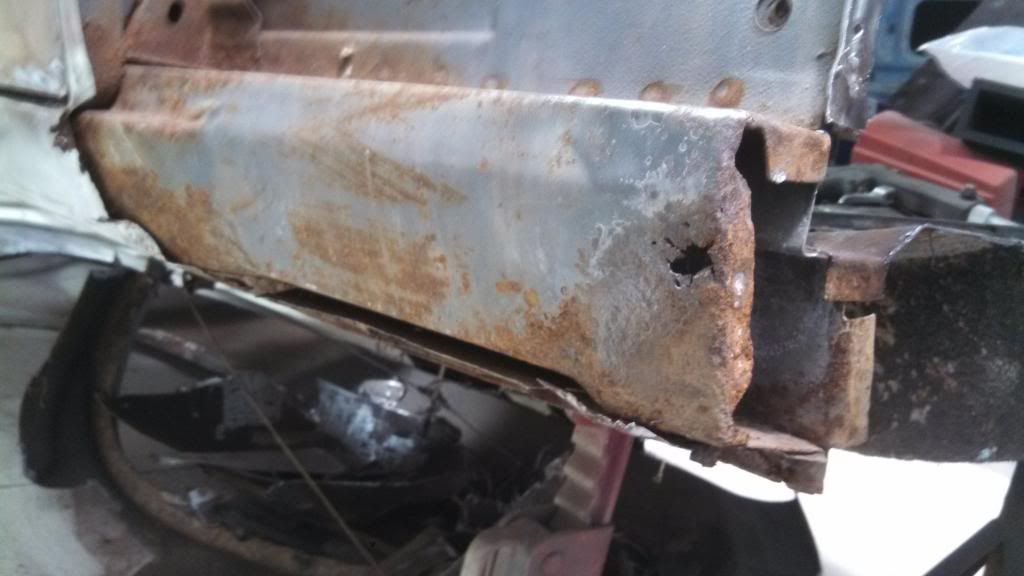
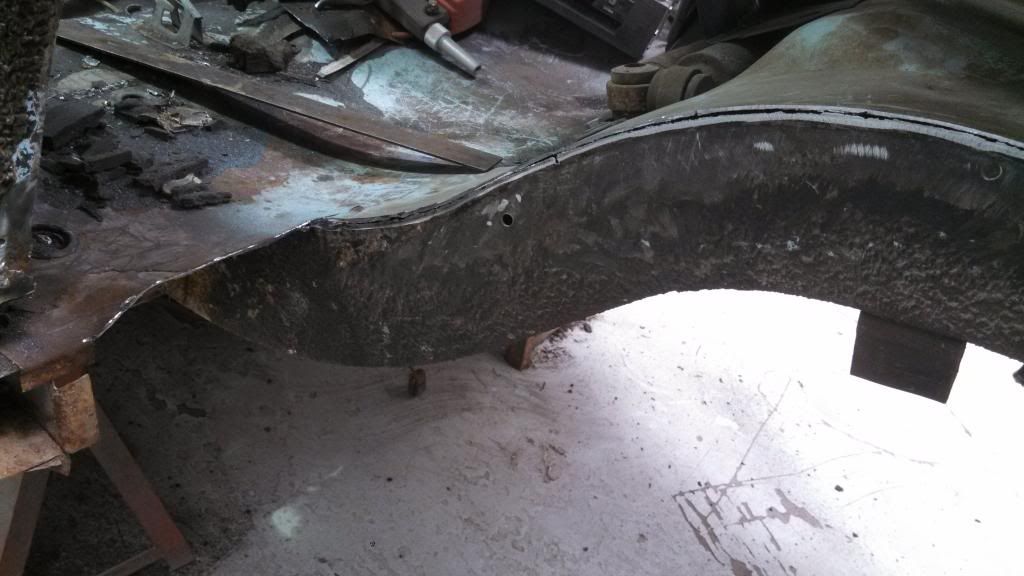
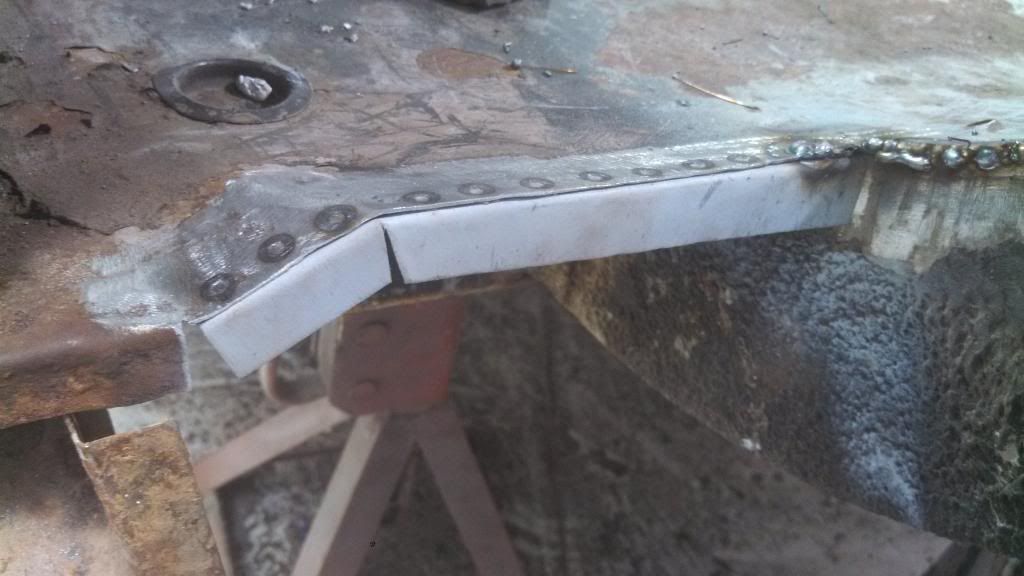
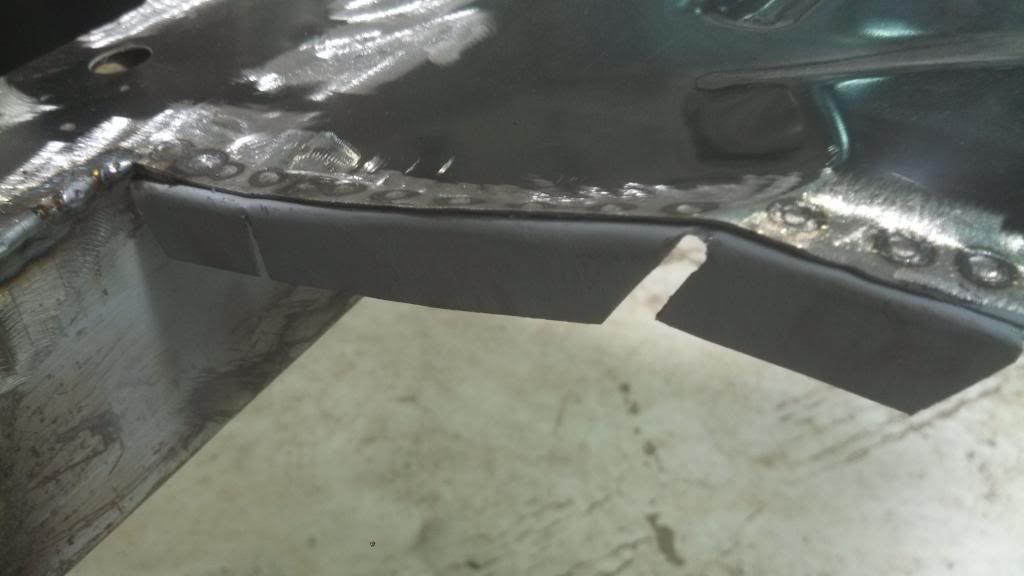
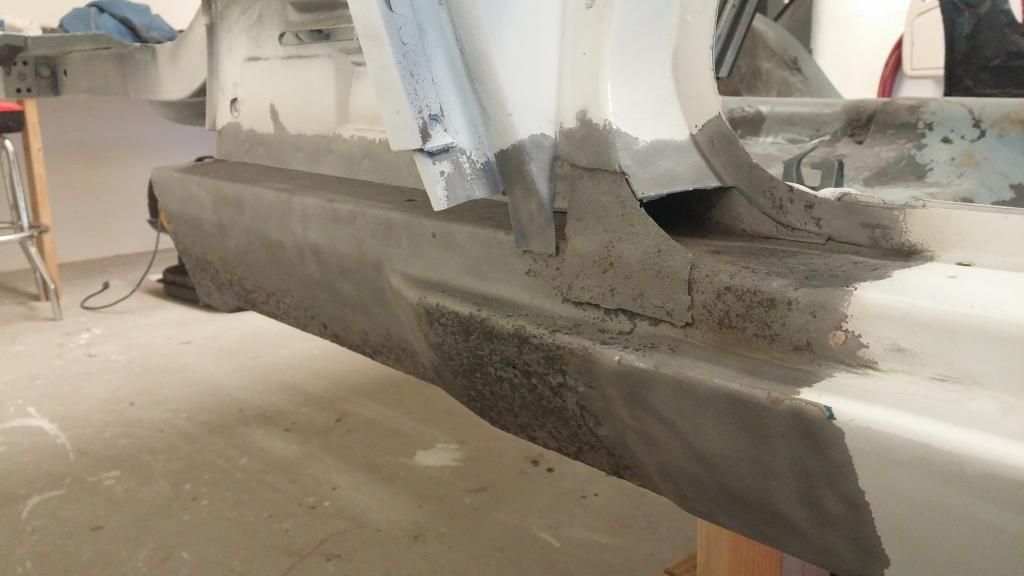
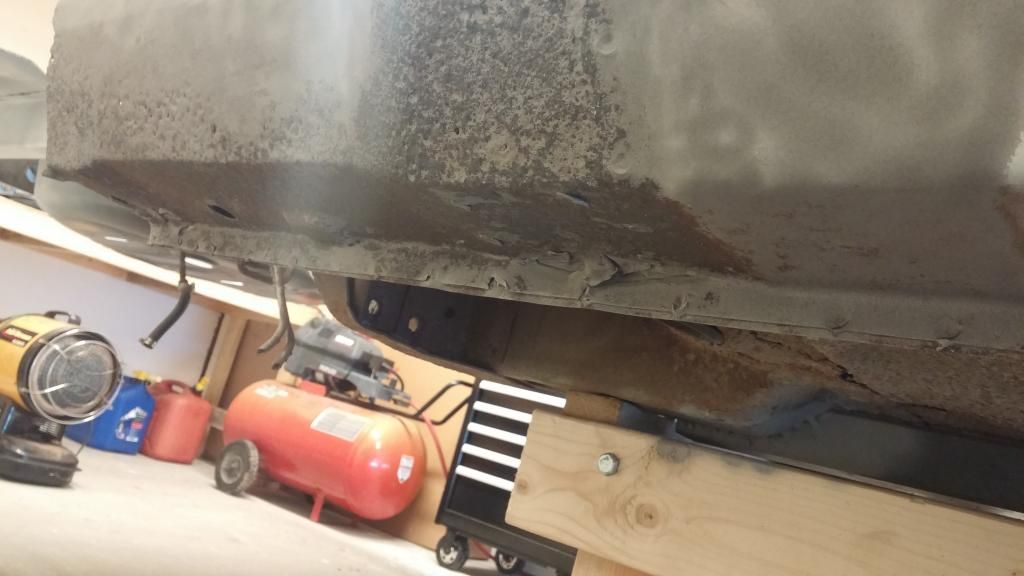
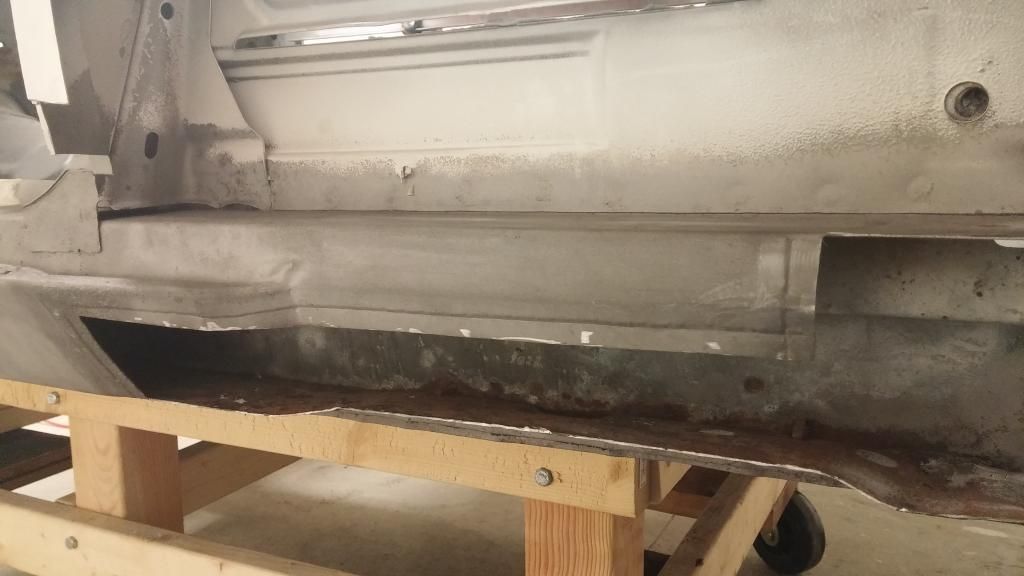
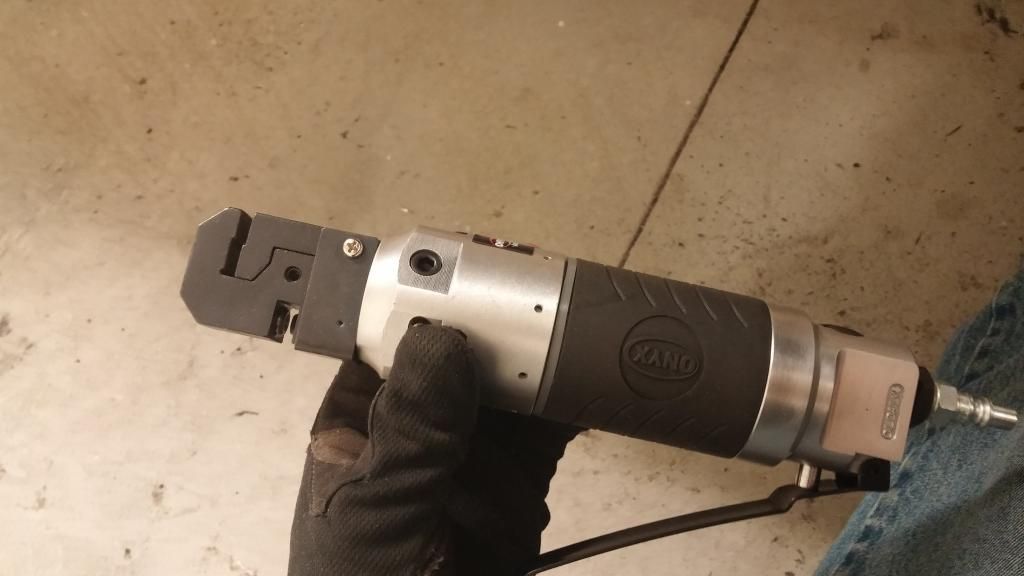
I cut out the bad in the door jambs and roughed them to shape to accept patches. Unfortunately I didn't snap any pictures of this. The bottom of the jambs where easy enough to remove the rust and leave good metal behind without the use of a sand blaster, but the rockers not so much. I tried to use my harbor freight spot blaster to clean up the areas but it was not powerful enough to do the job and I wasn't happy with the result.

Two big problems soon showed their faces.

I was in a tight spot when this happened as the end of my senior year was fastly approaching. I need to have the car taken out of the shop before school ends. I had a lot of work ahead of me that I wouldn't be able to do without fixing the rockers. After patching I still needed to make the tubs, fit the quarters, replace the trunk gutter rail, and weld in the tail panel. All of this was needed to be done to make the car solid once again so I could move it.

That was one big problem that I had to figure out, but there was an even bigger issue I needed to figure out. Where the hell am I going to bring it back to. I don't have my own garage at my house. My grandma who lives next door has one that I used for a short time with the parts car. Problem is that the floor is cracked, messed up, and tends to flood when a big storm rolls through. NO place for doing delicate work on my car in this kind of shape. She also is in use of the garage currently so even if I wanted I couldn't use it. For the longest time I was planning on bringing her to the body shop I worked at. Unfortunately the shop had moved to a smaller location in the same area and hit hard times. I was laid off and they had no room for the car in the now smaller shop.

These too problems could have derailed my project. I was torn apart by all the work that still needed to be done, the deadlines I wasn't going to make, where she was going to go, and being laid off from a job I loved. I almost gave up at this point, but I knew in my heart that I need to finish her and do it right. So here is what I did.

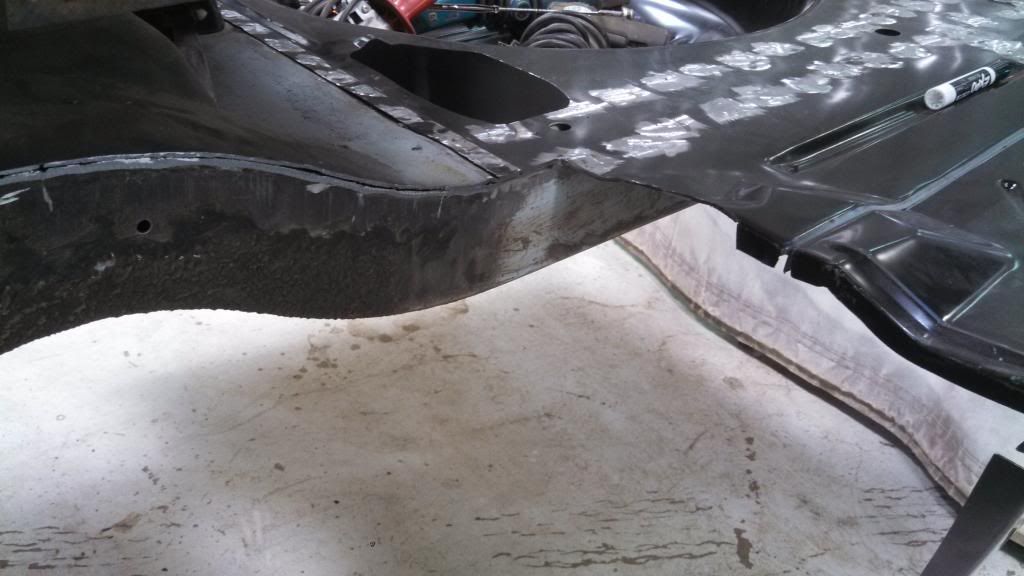
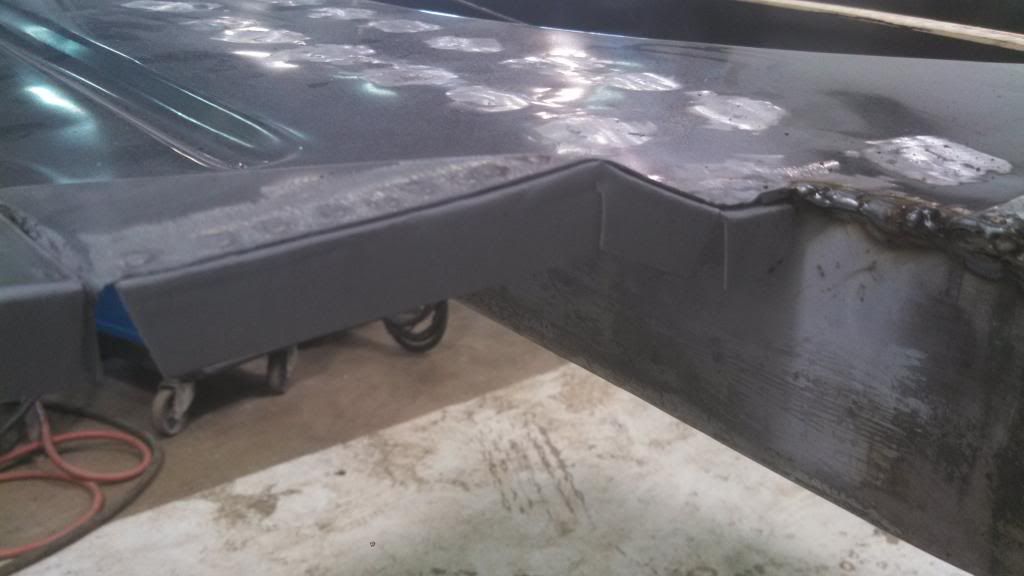
First lets tackle how I was going to move the car when It was in so delicate shape. First thing I did was get some epoxy primer and prime all the bare metal. All bare metal was coated with about 3 coats. This was done to protect it where ever she was going. I was floored to see how flat the roof came out with no body work done. I also sprayed the deck lid and doors, even know I doubt I will use either of them. I have better, rust free and straight doors on my parts car. the deck lid is still to decide.

http://i1173.photobucket.com/albums...r 440/IMG_20140522_123706_811_zpsf25480b0.jpg

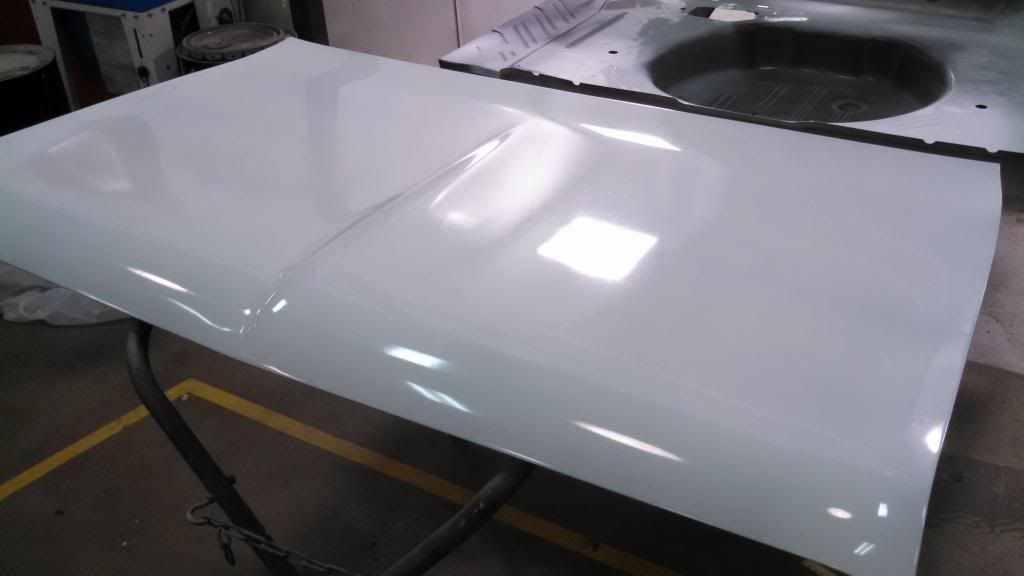
http://i1173.photobucket.com/albums...r 440/IMG_20140522_123731_964_zps7188a1ef.jpg

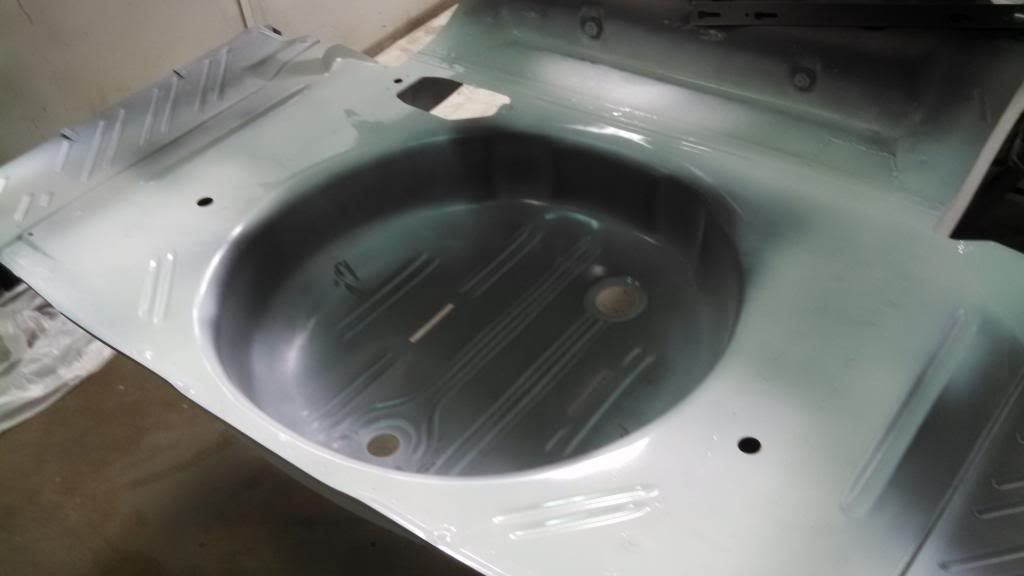
http://i1173.photobucket.com/albums...r 440/IMG_20140522_123805_622_zpscb6335be.jpg

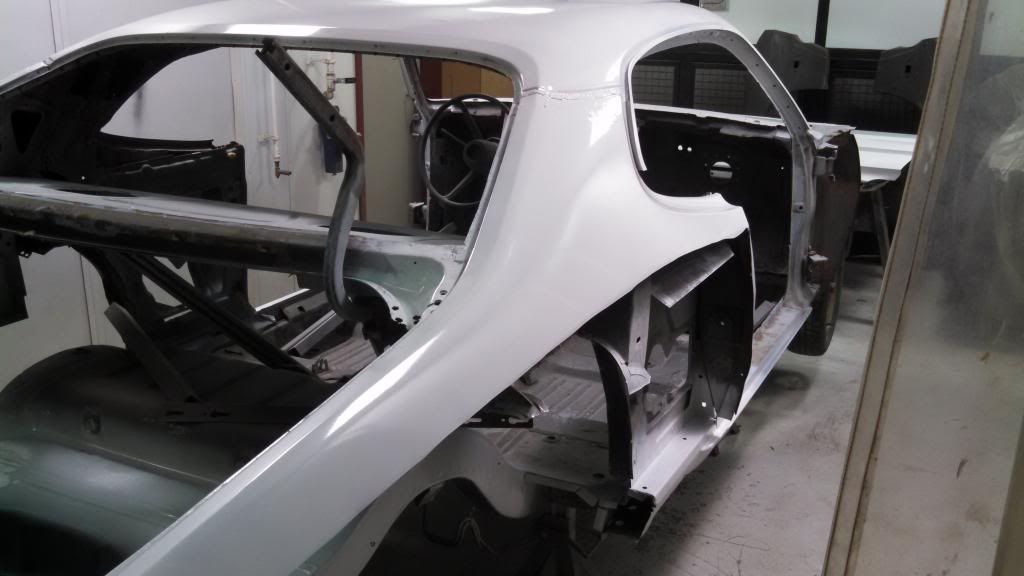
http://i1173.photobucket.com/albums...r 440/IMG_20140522_123822_567_zps018bb894.jpg

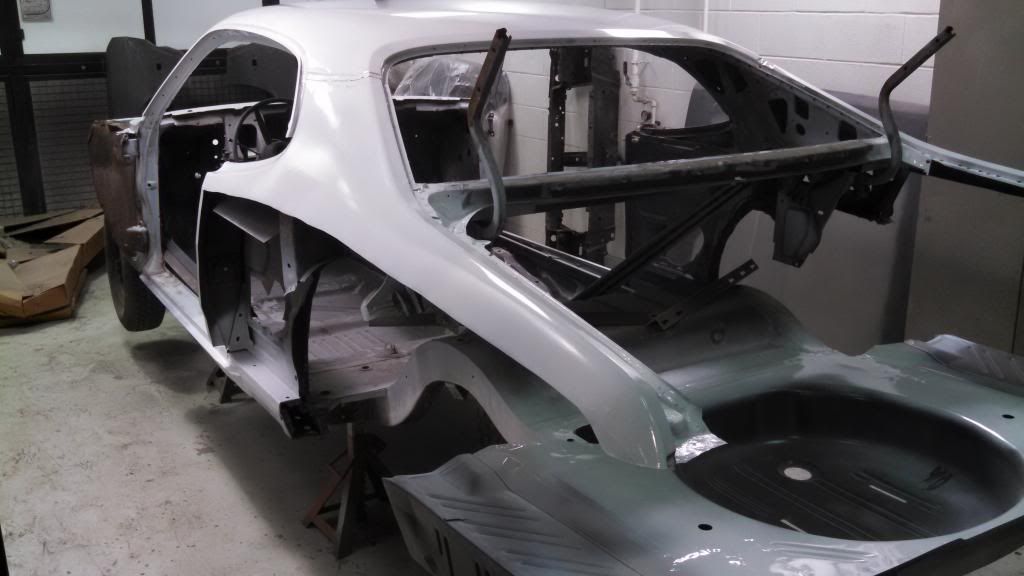
http://i1173.photobucket.com/albums...r 440/IMG_20140522_123949_132_zps1eb26d64.jpg

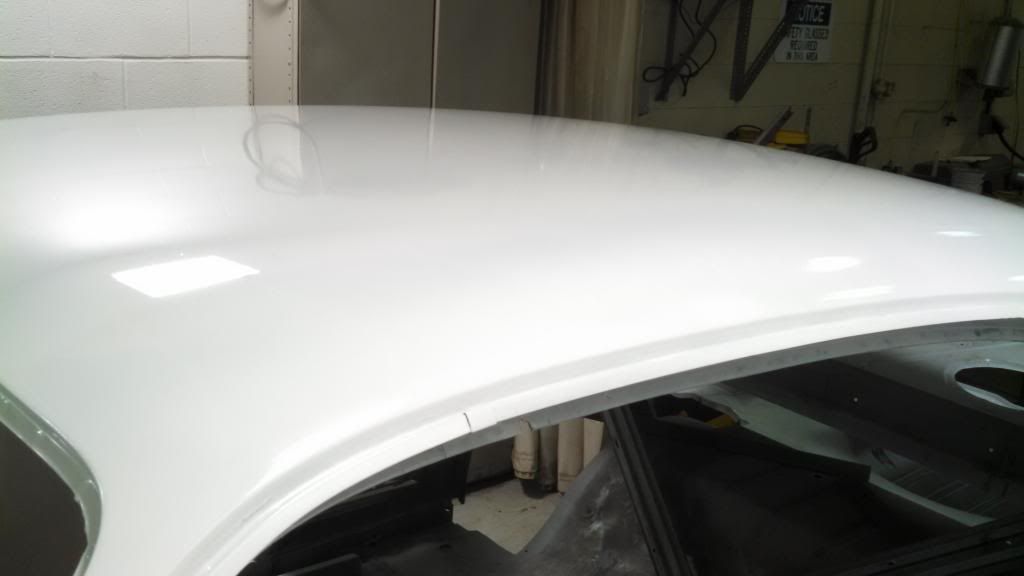
http://i1173.photobucket.com/albums...r 440/IMG_20140522_124018_714_zps9e116dbb.jpg

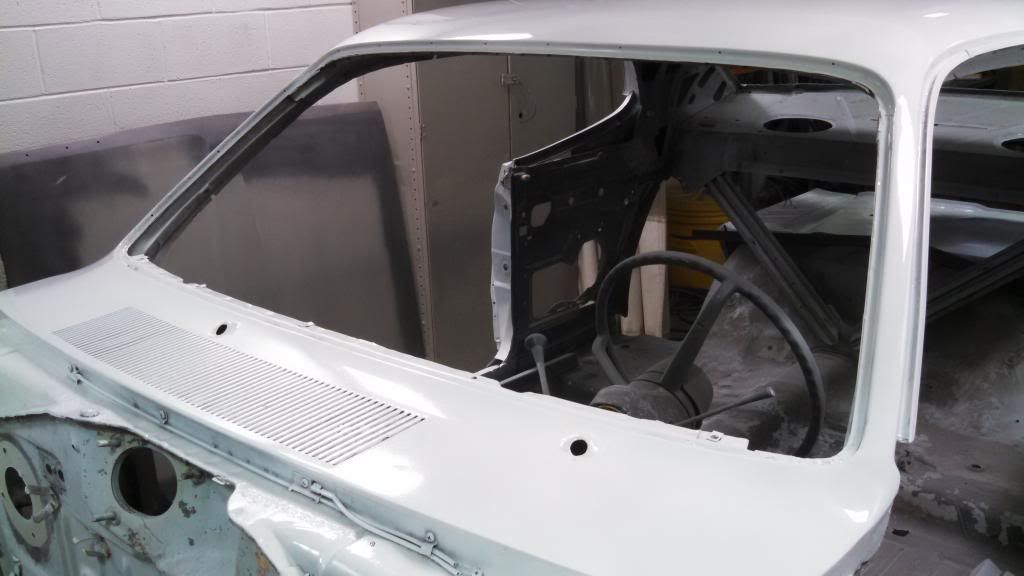
http://i1173.photobucket.com/albums...r 440/IMG_20140522_124037_026_zps6cbcca38.jpg

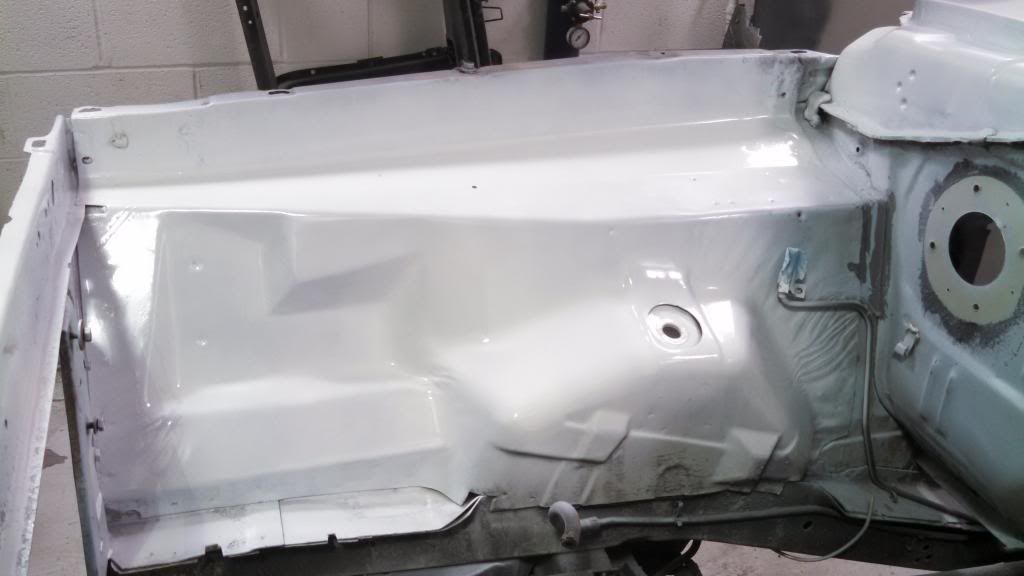
http://i1173.photobucket.com/albums...r 440/IMG_20140522_124125_470_zps7cf002f2.jpg

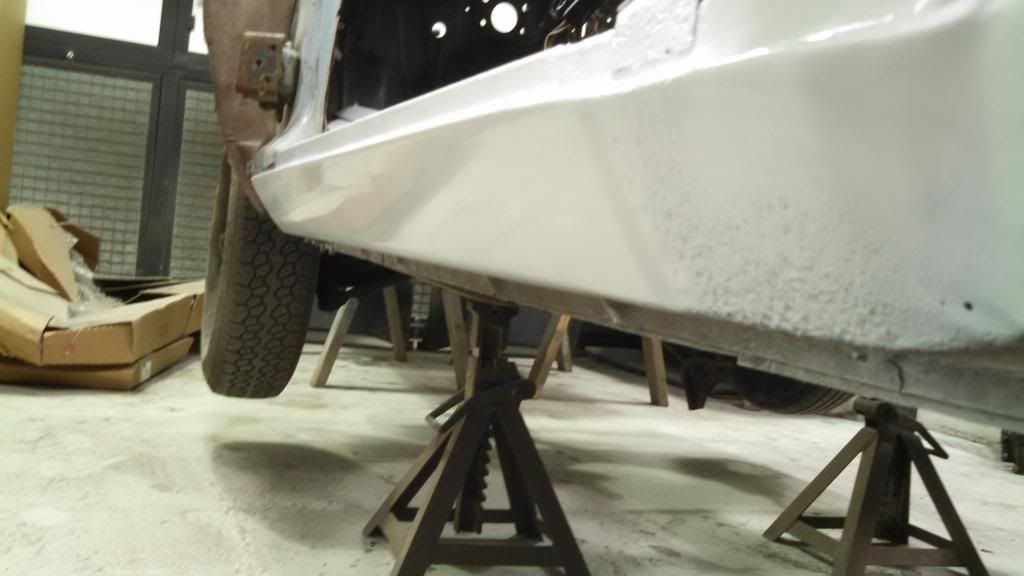
http://i1173.photobucket.com/albums...r 440/IMG_20140522_124144_466_zps3cec1b0d.jpg

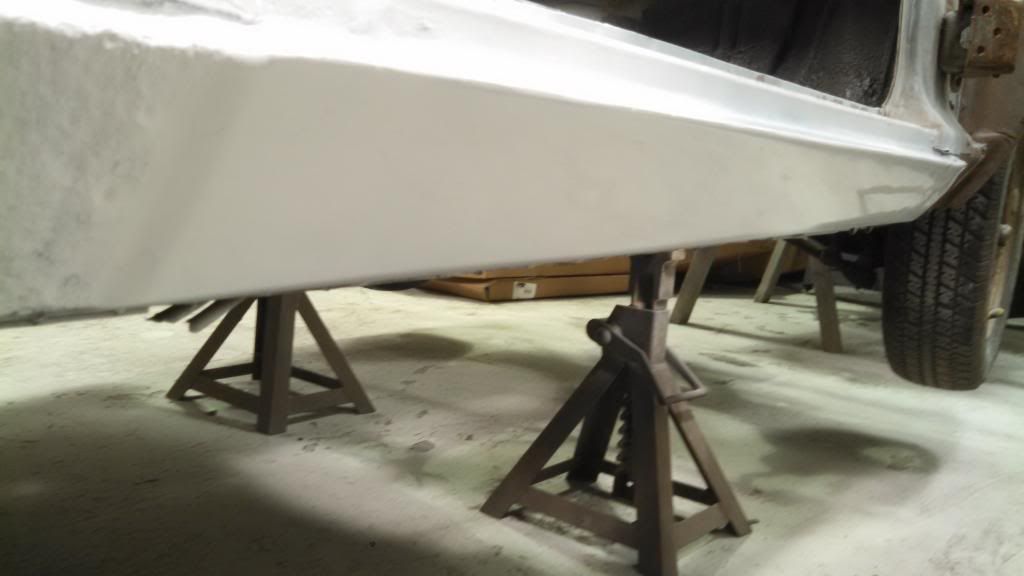
http://i1173.photobucket.com/albums...r 440/IMG_20140522_124224_560_zpse7c99af9.jpg

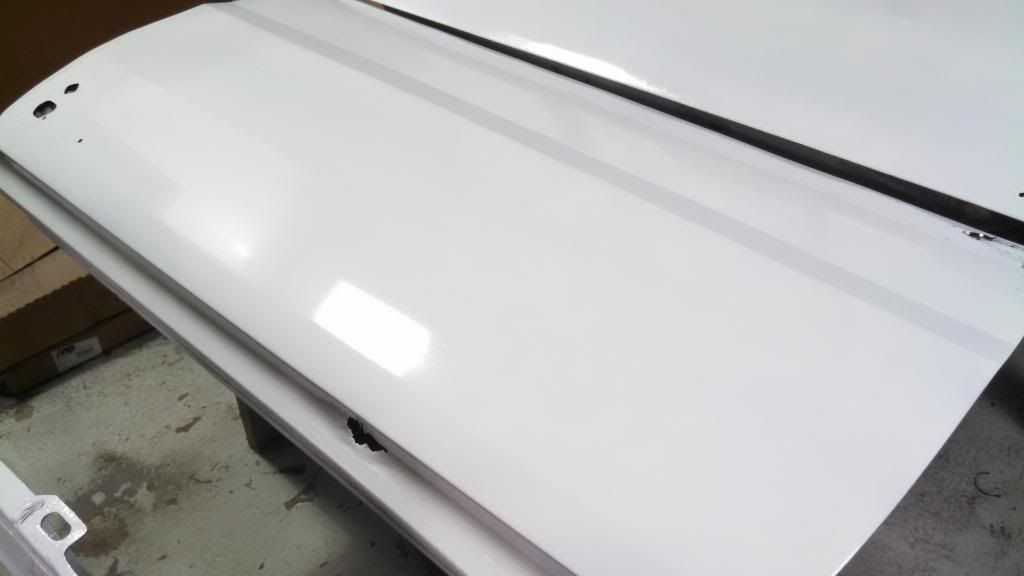
http://i1173.photobucket.com/albums...r 440/IMG_20140522_124301_523_zps493456fb.jpg

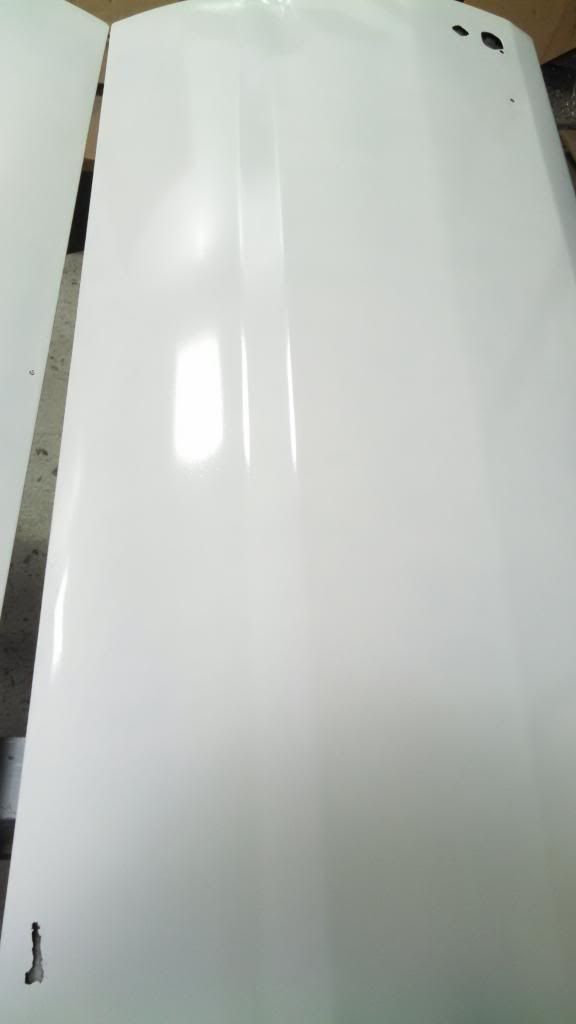
It had runs and was not perfect, but it was my first time priming. Its not final, just to protect the metal in the mean time.

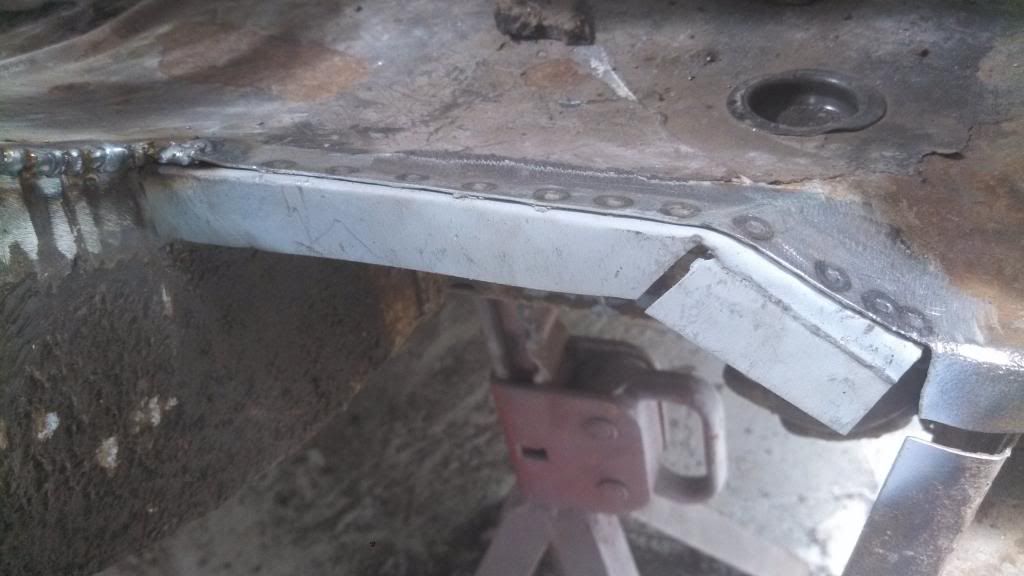
I decided in order to move the car It was best to stiffen up the car the best I could. So I dead-leveled the car on jack stands. I got some angle iron and welded the hinge pillar to the door jamb.

http://i1173.photobucket.com/albums...r 440/IMG_20140522_134842_803_zpsfc2d0b67.jpg

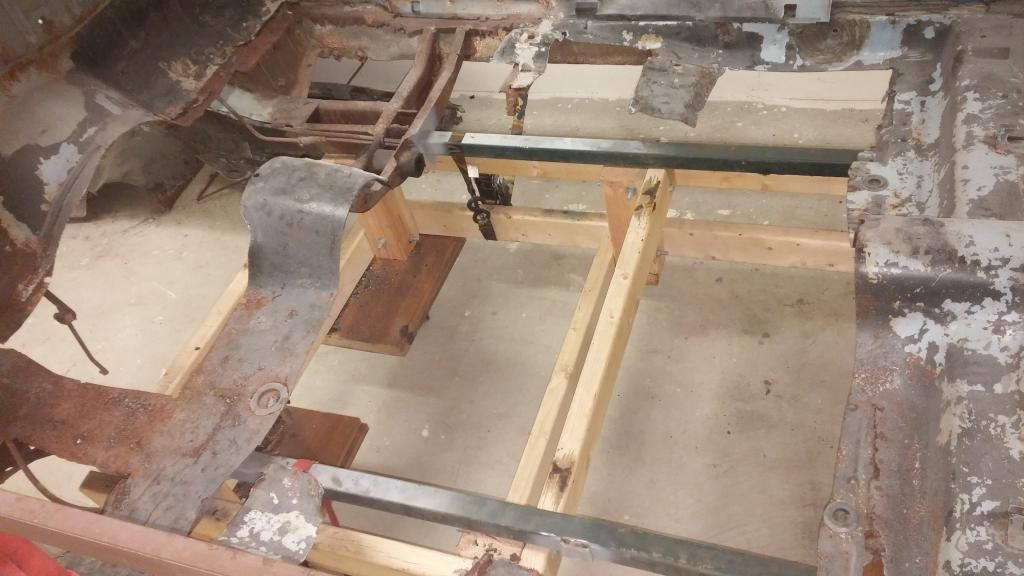
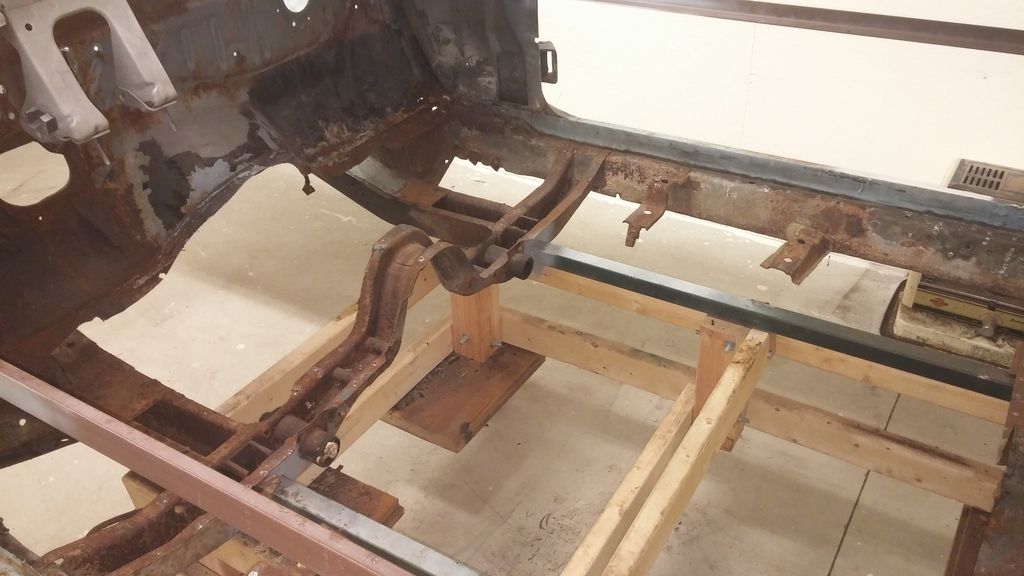
After that I welded the front sub-frame to the back sub-frame with some square tube.

http://i1173.photobucket.com/albums...r 440/IMG_20140530_131647_481_zpsd4efb498.jpg

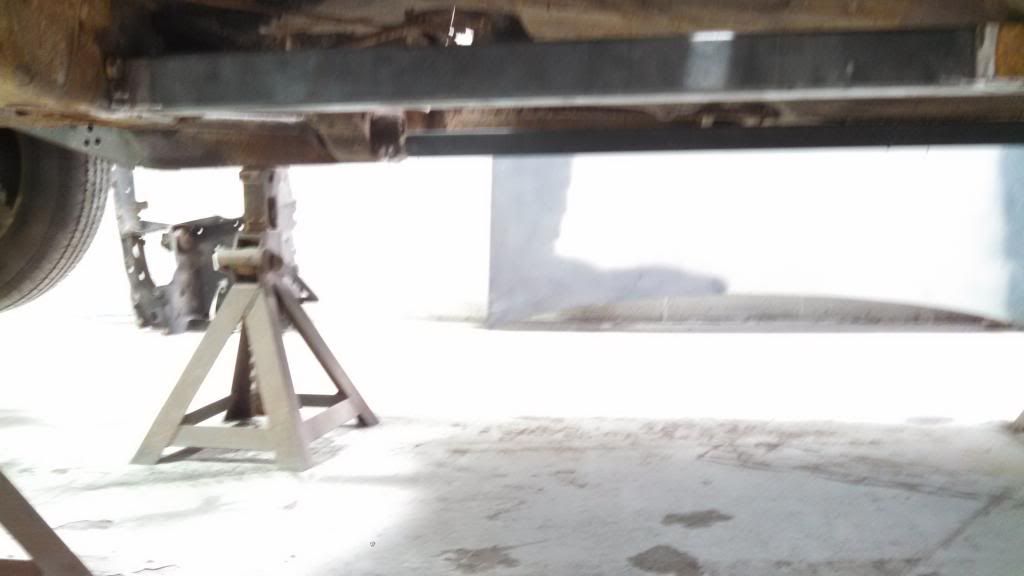
http://i1173.photobucket.com/albums...r 440/IMG_20140530_131656_384_zps16c7df45.jpg

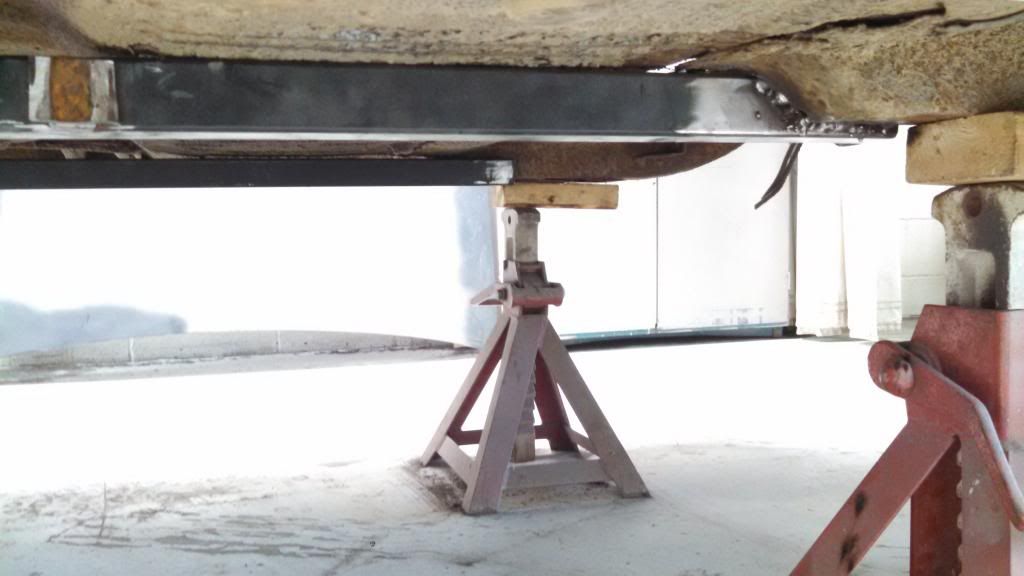
Then I welded the roof support to the frame rails with angle iron.

http://i1173.photobucket.com/albums...r 440/IMG_20140530_131716_240_zpsf8782c86.jpg

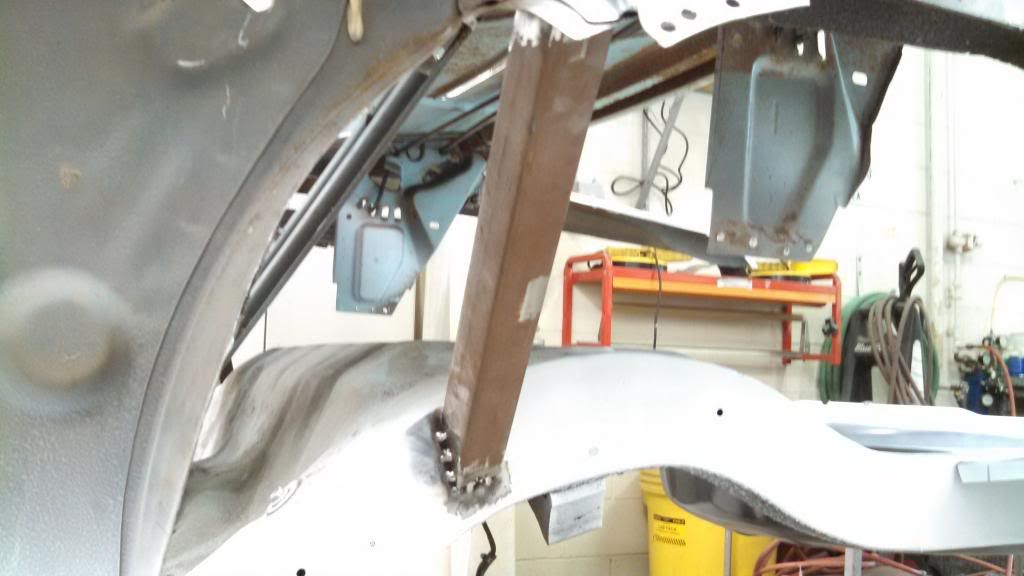
http://i1173.photobucket.com/albums...r 440/IMG_20140530_131730_218_zps1cfd8a07.jpg

I brushed all the welds and sprayed some cheap paint over them to protect them.

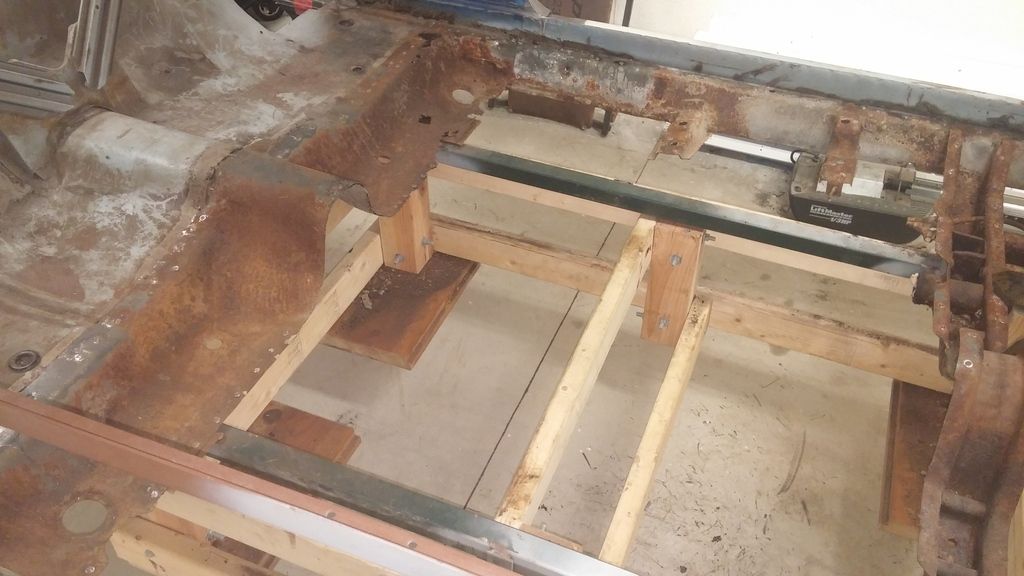
So with the car stiff I still needed to be able to get it on a flat bed trailer. But how was I able to do that without the rear axle. I decided the best way to do this was to use a body dolly/cart. I didn't want to buy one because they are very expensive for what they are. So with a little internet and DIY I made a cart out of 2x4s, 4x4s, and some solid casters. I jacked the car up using a couple floor jacks and some scrap wood and slid the dolly under just like that. The k frame, steering, and front suspension where all then removed.

http://i1173.photobucket.com/albums...r 440/IMG_20140605_125437_347_zpsab01d786.jpg

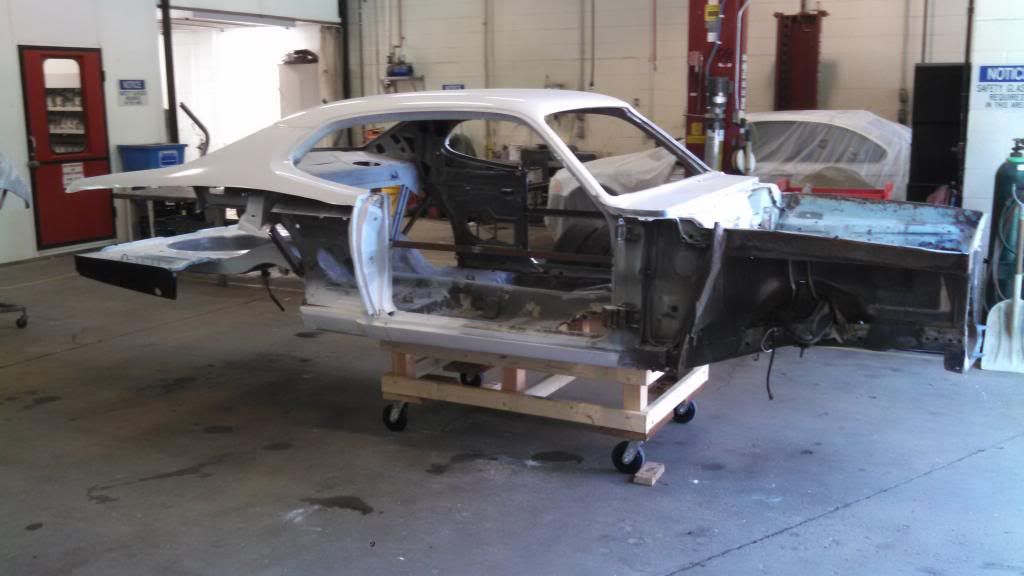
http://i1173.photobucket.com/albums...r 440/IMG_20140605_125546_843_zpsa4a5b3e6.jpg

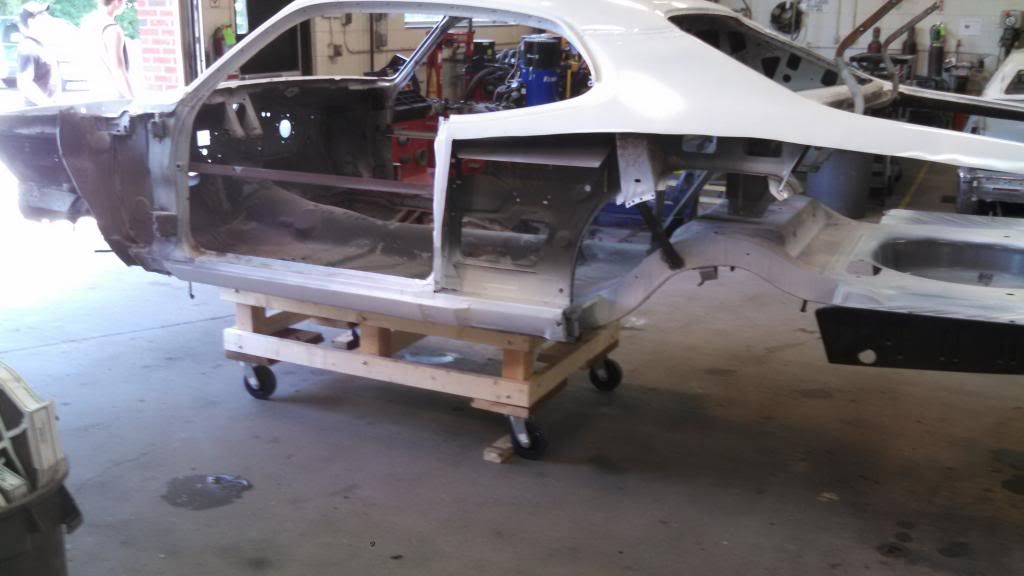
You can imagine all the parts I had accumulated around the shop from the two years she was there. So I took a week to drive my truck over and bring them home one truck load at a time. I stored the parts anywhere I could at home. All the this priming, body stiffening, dolly build, parts hauling I did in about 1 1/2 weeks. Which for me was super fast given the limited shop time I had to deal with.

A week before the last day of school (last Friday), the car was loaded on a friends flatbed trailer no issues at all. The dolly performed flawlessly and will be useful when being worked on as well. Not bad for a days work and $150. Also we where able to fit the car which is about 15ft long on a trailer which is only 12ft.

http://i1173.photobucket.com/albums...r 440/IMG_20140606_174402_216_zps24ea621f.jpg

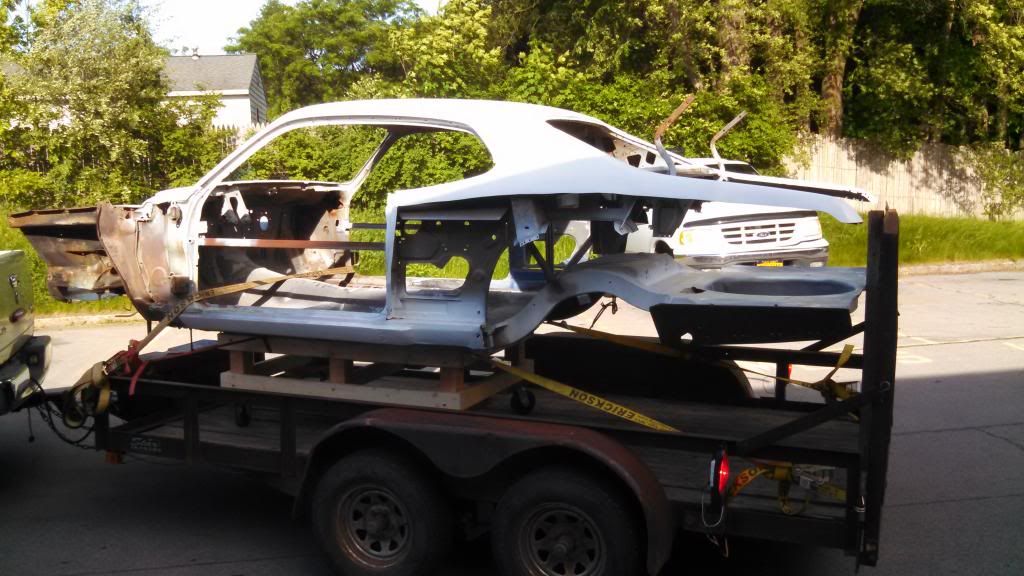
http://i1173.photobucket.com/albums/r592/mejackg/1972 Duster 440/100MEDIAIMAG0214_zpsfd97a3e9.jpg

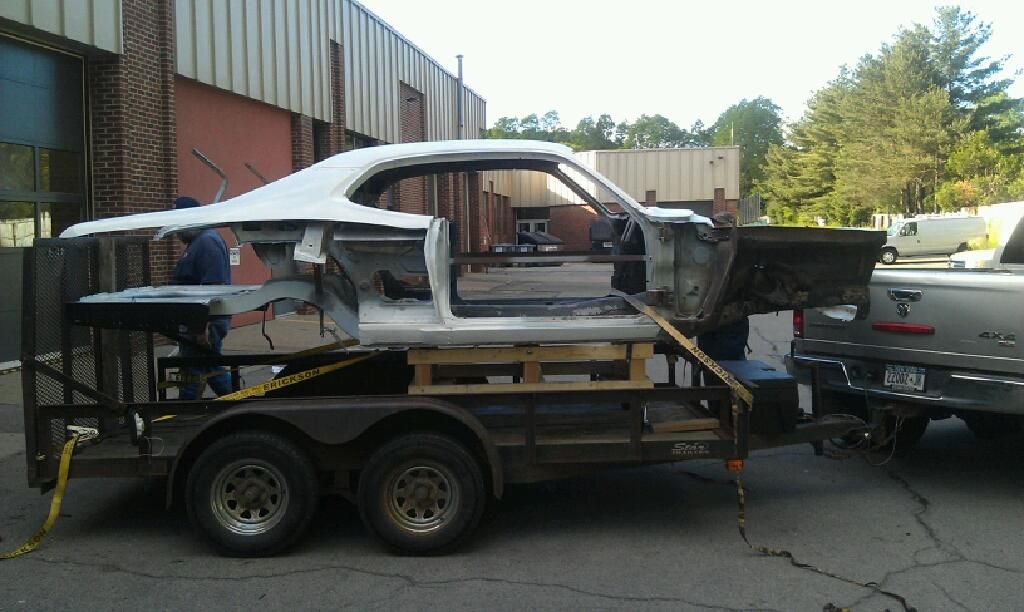
Well I can now say that she can go at least 65mph.

http://i1173.photobucket.com/albums/r592/mejackg/1972 Duster 440/100MEDIA36IMAG0215_zps68b60a0a.jpg

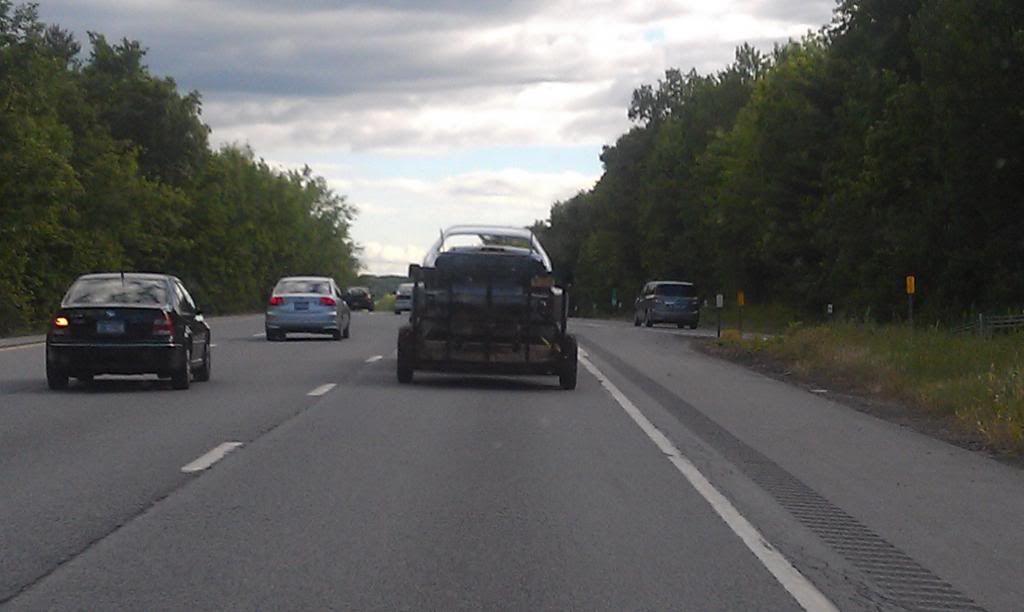
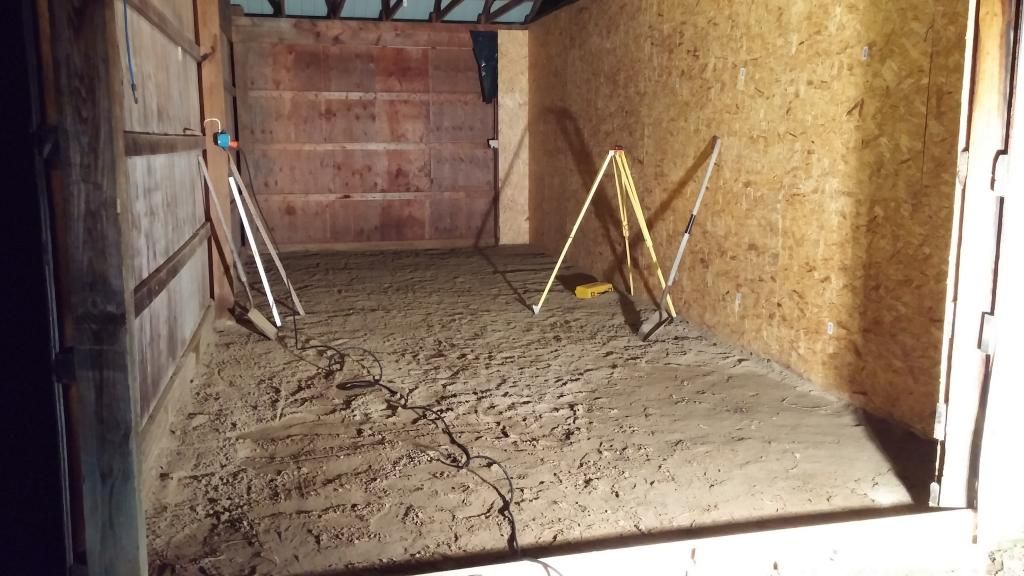
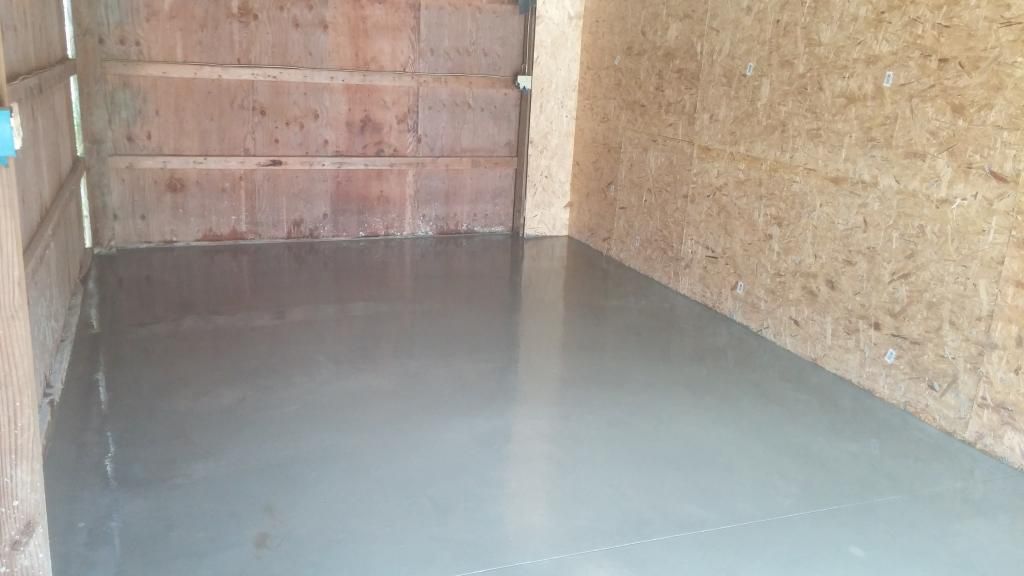
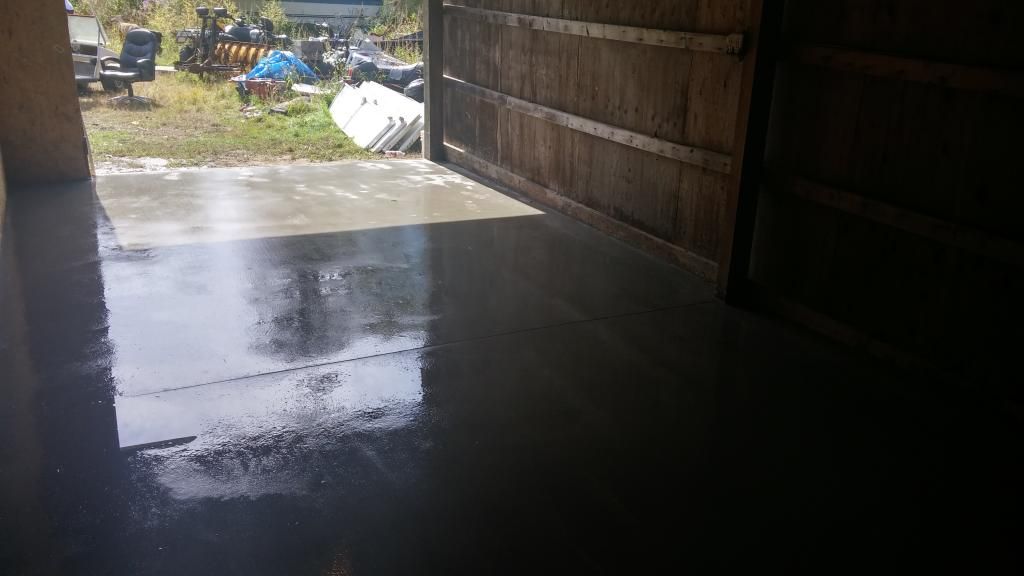
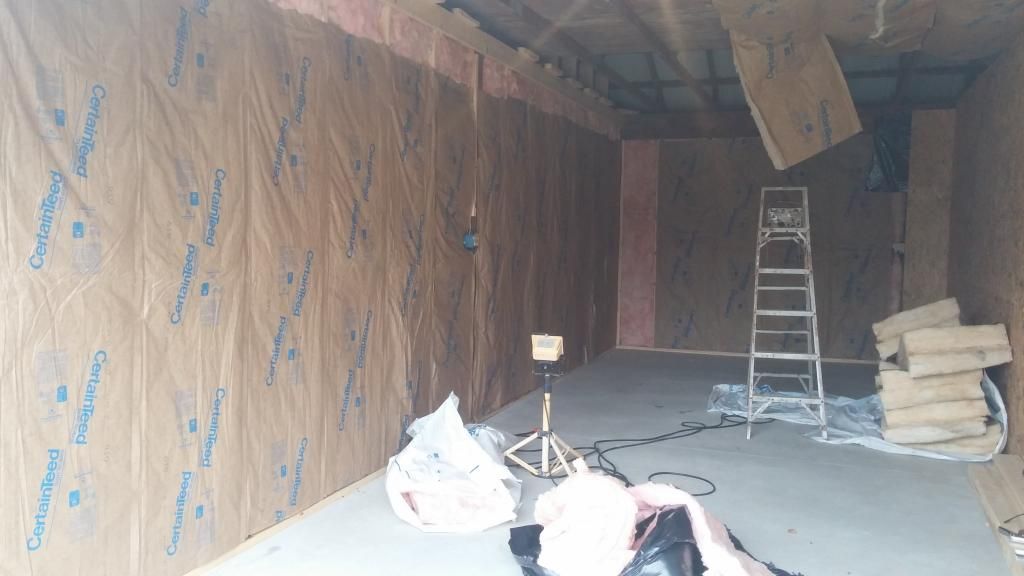
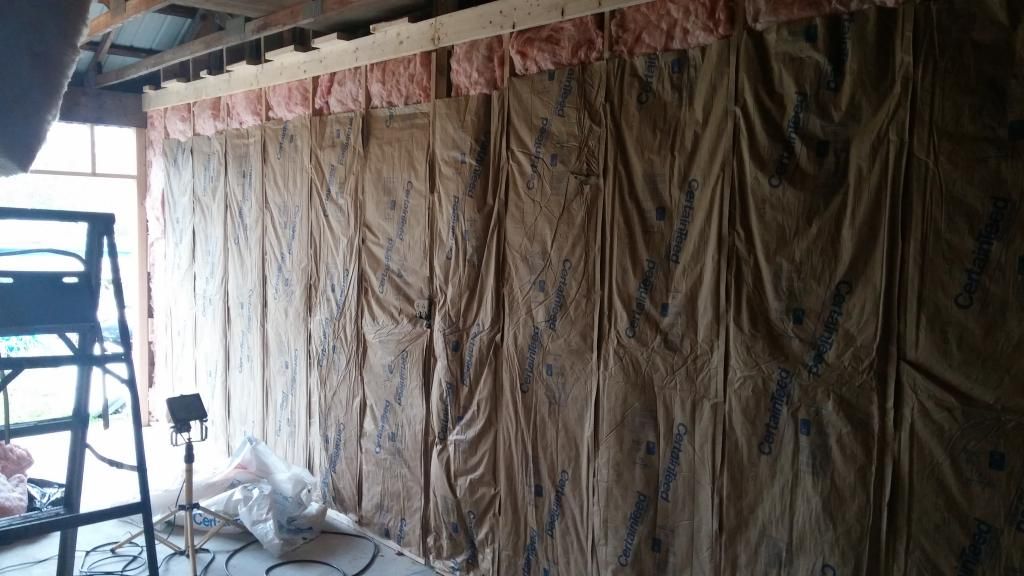
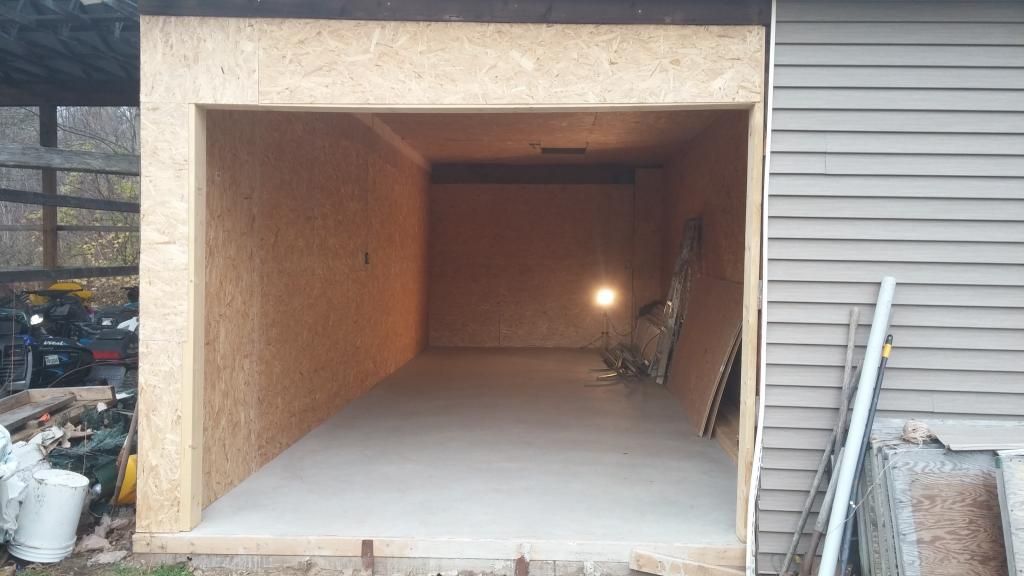
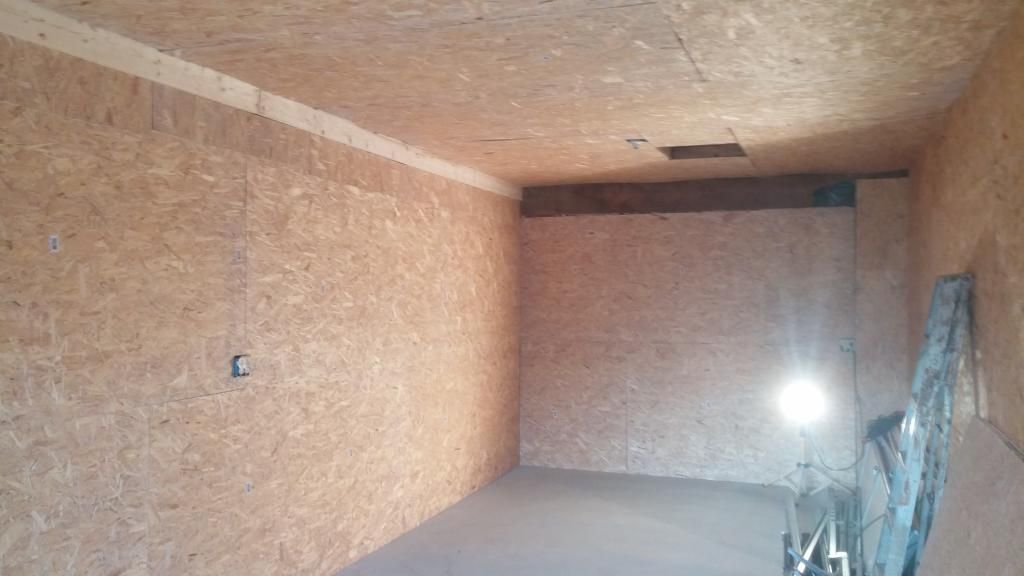
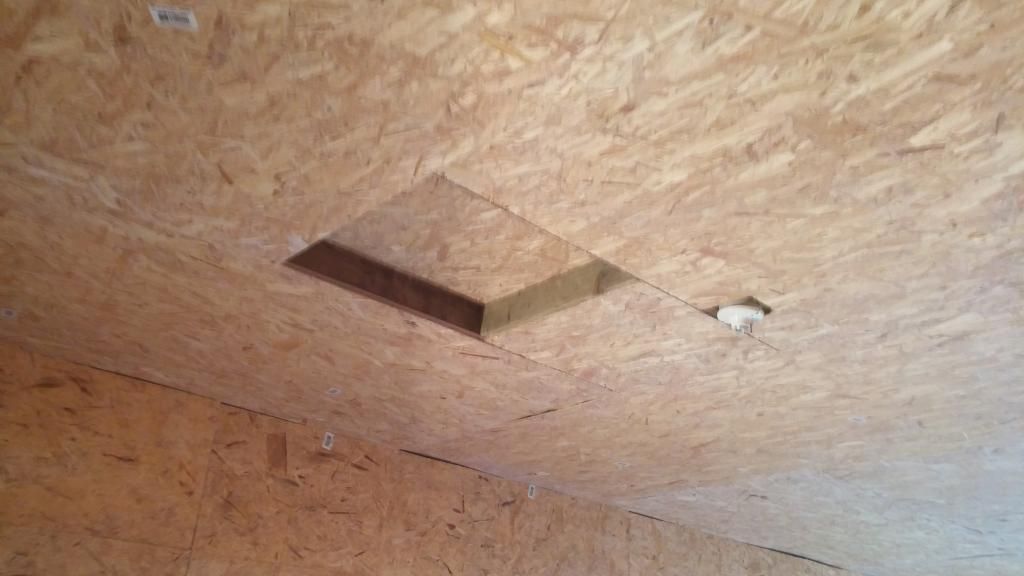
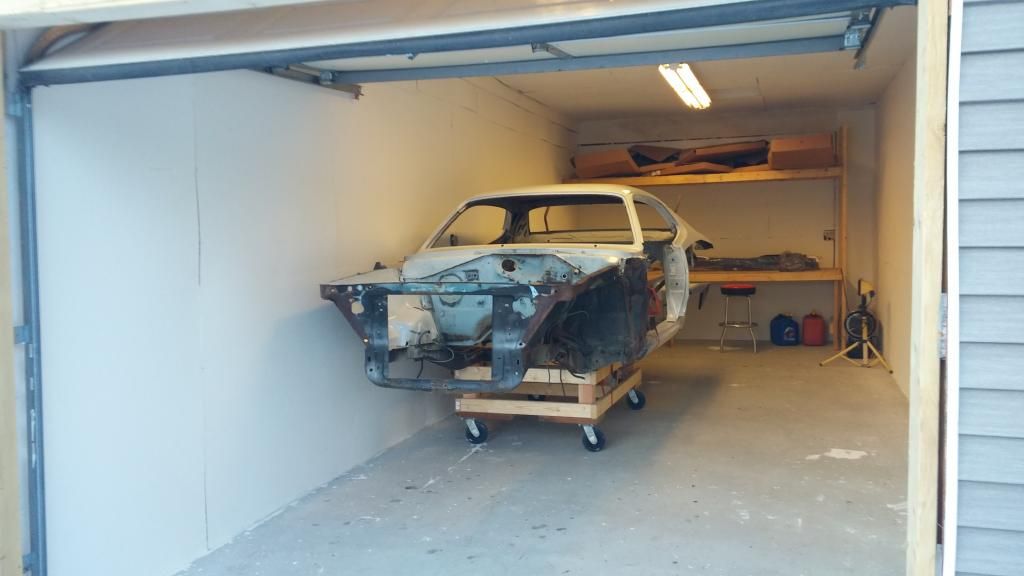
But wait aren't I forgetting something? Something important? Oh ya! Problem number two. Where the hell am I going to bring her? I had no place. Well that's where I was saved again by my good friend with the flat bed. He has a garage in the back of his property. One side is a finished garage which he uses frequently for his own projects. On the other side is an unfinished pole barn that he was planning on finishing for 20 years. Instead it was used as junk storage. So when he heard of my little dilemma he offered the area to me. Right now it has a dirt floor no insulation or lights. But we are studding all the walls, insulating and sheeting the walls and ceiling, installing fluorescent lights, a garage door, and the best most important part, pouring a new concrete floor. In the mean time I am able to store the car in his side of the garage until the new garage is finished.

http://i1173.photobucket.com/albums/r592/mejackg/1972 Duster 440/100MEDIAIMAG0216_zps6f47612d.jpg

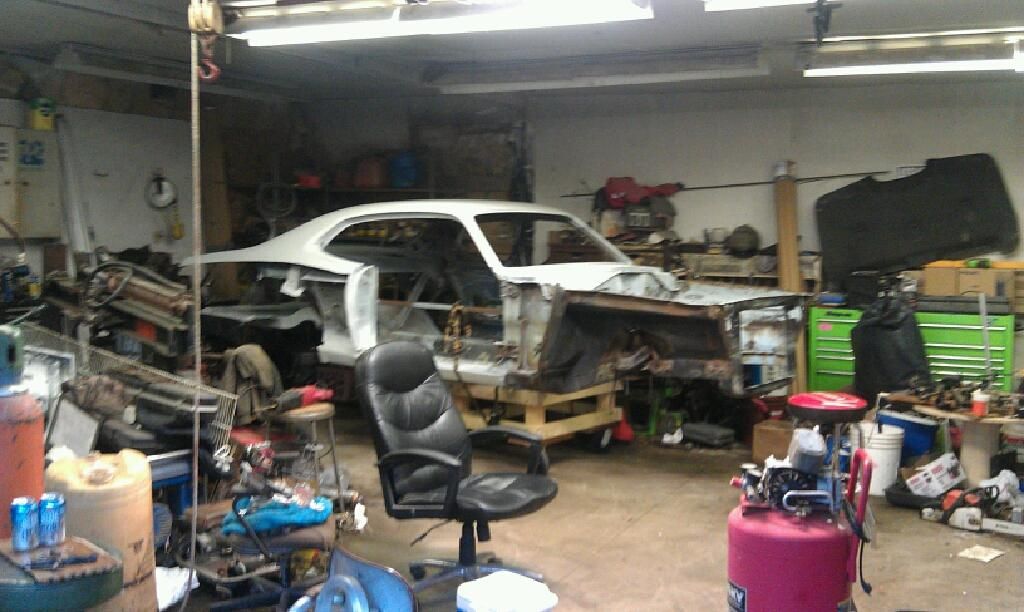
Sorry for the bad picture.

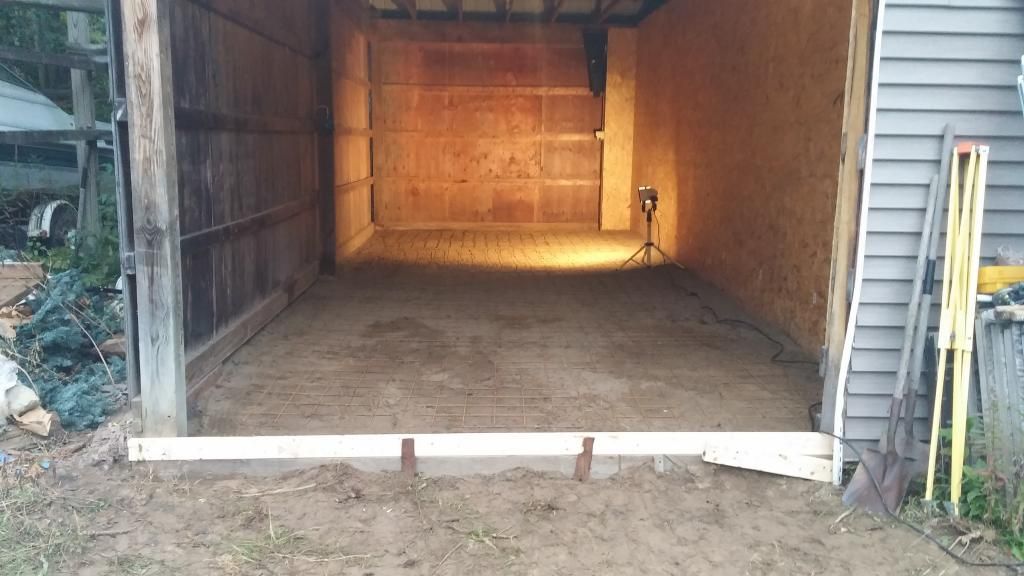
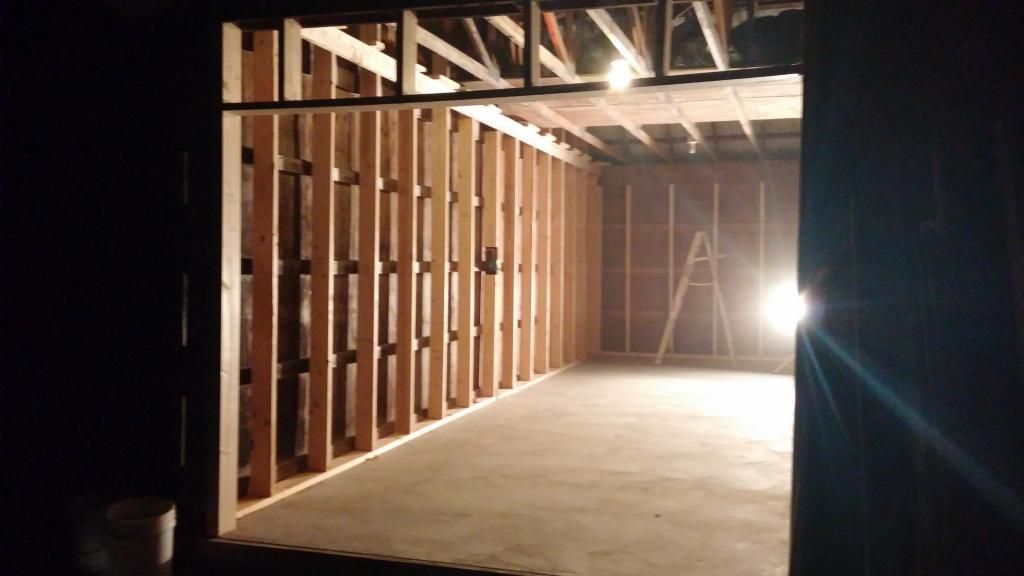
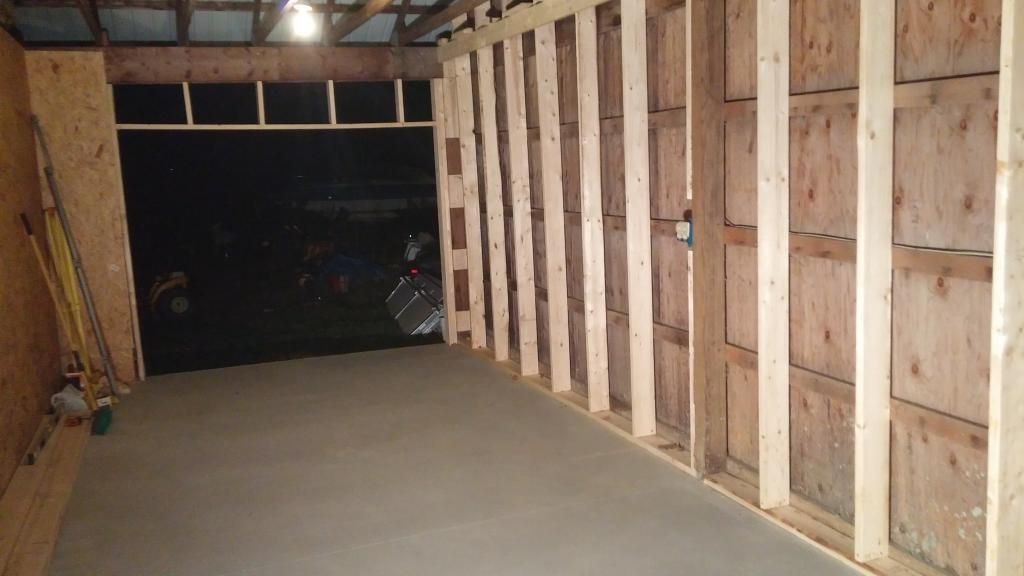
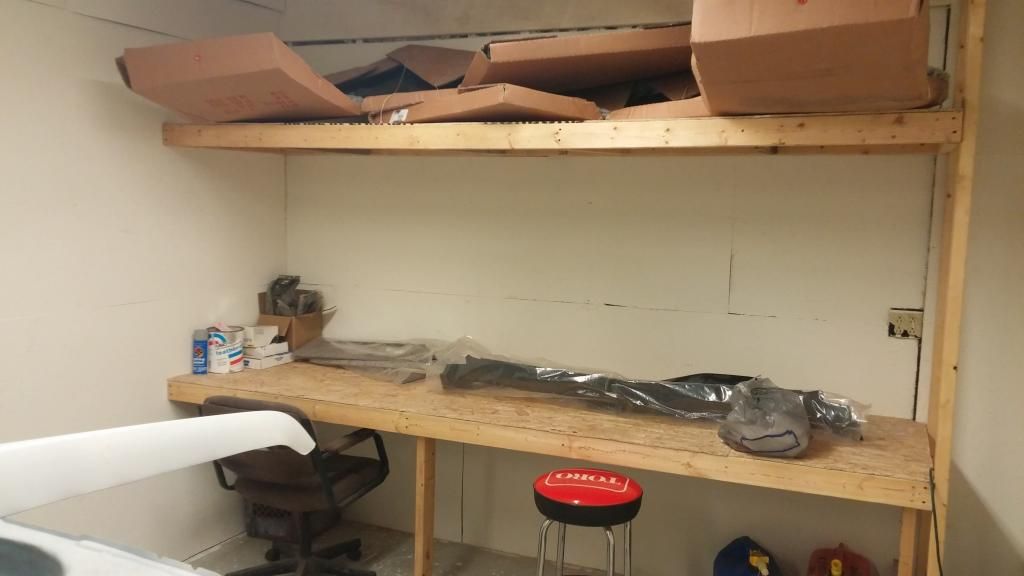
Here is what we are turning into my own little shop. There I am shoving some insulation in the walls right there.

http://i1173.photobucket.com/albums/r592/mejackg/1972 Duster 440/100MEDIAIMAG0217_zpsc2896c95.jpg

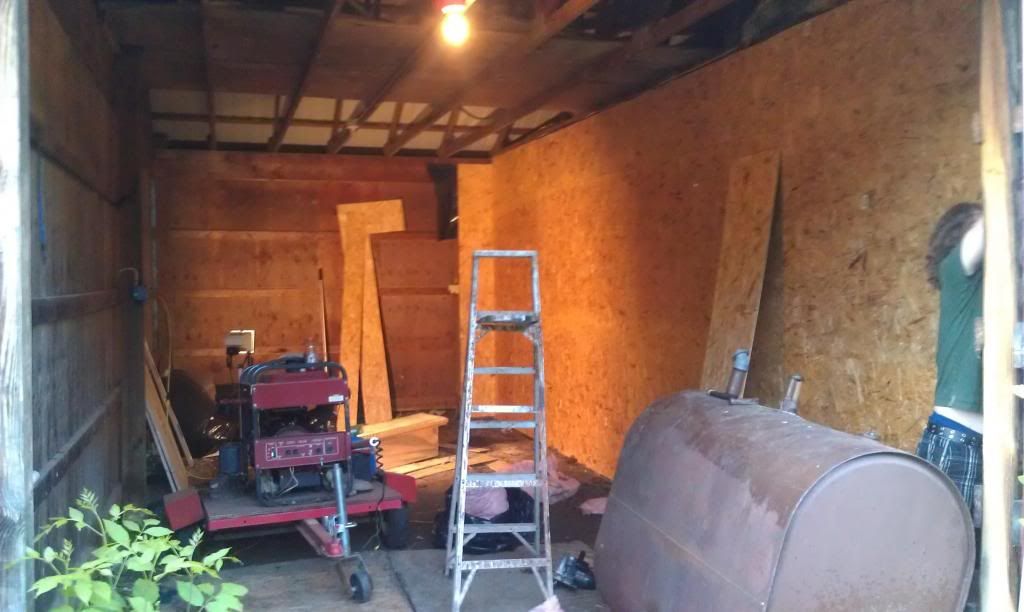
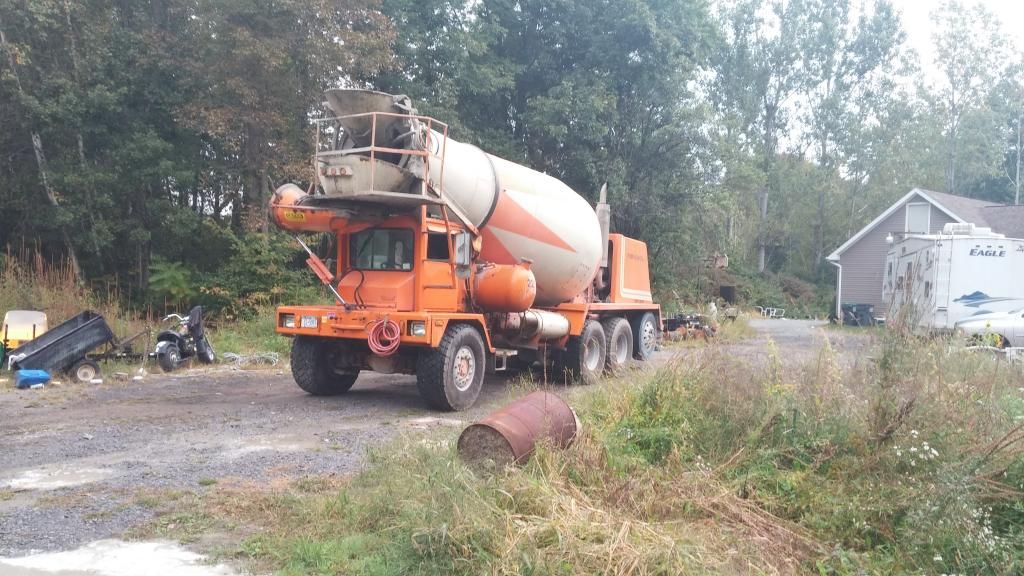
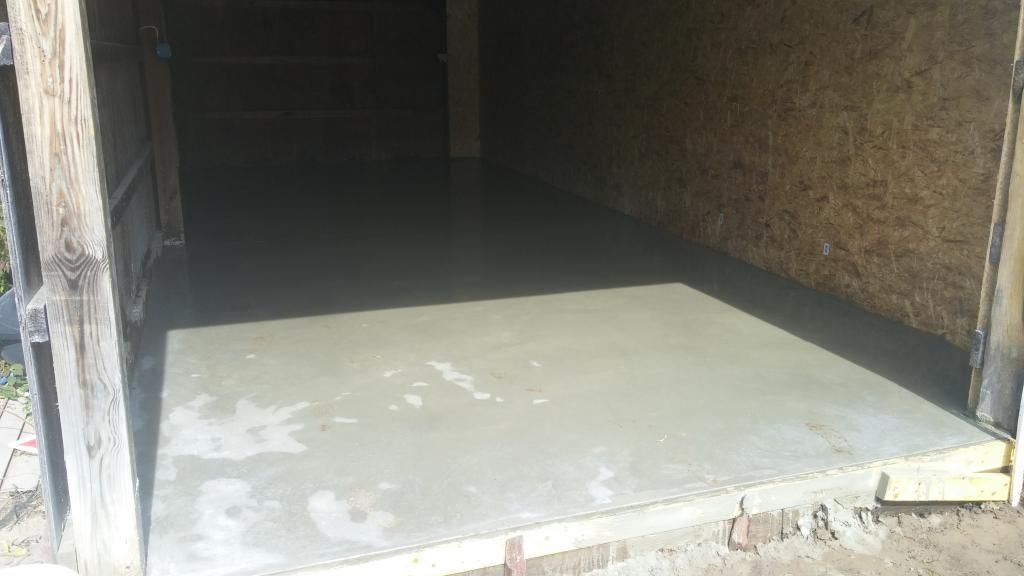
So then if all goes to plan I will have my own little shop for her by the end of the month. now I just have to save all my pennies to pour a 12x30ft concrete slab.
 
Well after a long hiatus I am finally back to my Duster build. So long in fact that the thread got archived from lack of activity.

Where I left off in my last post was all the way back in June where I was starting the transformation of the empty bay in my friends pole barn into something I could work from. Time and money is how these kind of things go as they say. This leg of my project seemed to take up the most time so far. So every spare chunk of change I had and whatever weekend that my team and I could could muster we finally got the barn turned into something I never expected to be so good.

Continuing where we left off... All the junk that was inside of the bay was removed and gravel and dirt filler was added to the floor to level it out. That was done over a few weekends using a tractor. After material was added and after being roughed into shape, we ran a transit along the ground and made the floor level. Molding boards were added after all was said and done. A few pieces of wire support mesh was laid in place all ready for the concrete to be poured.

20140919_195947_zpsc020d0ac.jpg


20140920_072202_zps4d1c60c6.jpg


After that was done I ordered the concrete. My friend Pete who owns the property, has a friend who is a mason. He laid the floor perfect and smooth. I couldn't ask for a better floor.

20140920_083538_zpsd6970b73.jpg


20140921_134410_zps0fdc3d3a.jpg


20140921_134245_zps1e5488e9.jpg


20140921_134302_HDR_zpsf9c2aa34.jpg


After the floor cured and after saving up some more time and money, the garage was completely framed and ready for insulation. I was also able to score a used garage door!

20141025_211215_zps3bf40100.jpg


20141025_211245_zpsc7d8b71f.jpg


Up goes the insulation, which ended up being a pain in some places due to some of the old framing having been done out of square.

20141026_130323_zps60f7e695.jpg


20141026_130342_zps9d05f1b2.jpg


Once that was finished we finished sheeting all of the walls and even made a door for the attic.

20141108_154815_zps8d80d1d2.jpg


20141108_154825_zpsa372fe30.jpg


20141108_154844_zpsb3c2f004.jpg


20141108_154849_zps9ec544f3.jpg


A week or so after the walls were all set, my Dad and Pete put up the garage door. Sorry no pics on the install I was at work when it was done. A week or so later my Dad and I took a Sunday and painted the garage with cover-coat and built some shelves for me to work from. We also took the time to replace the old bulb sockets out for some fluorescents.

20141122_160332_zpsd06c8cc9.jpg


Finally! The garage build that took until winter to finish has ended. With a sigh of relief I pondered our work. Not for long though as the snow was starting to fly already. I had my brothers help me the next week and we moved most of my sheet metal and parts into the new shop. After that was moved my car was finally moved into the garage. I was worried about the casters on the dolly getting stuck in the ground when we moved it, but the ground was just frozen enough for it to move smoothly. So there she sits in her new home for the next couple years.

20141129_155627_zpse2ffbf60.jpg


20141129_155657_zpsb55b8a28.jpg


20141129_155711_zpsba7cebec.jpg


So plans next will be to get a bag of blasting media, and blast the back section of the rocker panels from about the door jambs back. Once that is all clean I will fix the rust issues there, and rebuild the lower section of the door jamb that I removed.
 
Haven't gotten much progress done on the Duster in awhile. Kinda at a standstill with the rocker panels. They are giving me hell!
Where I last left off I said I was going to media blast the outer rockers just around the effected rust area, from the lower quarters rusting away. Picked up some 80grit Black Beauty and went to town blasting outside in the snow. Turned the ground from white snow and ice, to a layer of black sand, for traction of course.

20141214_145726_zpszjnjikrd.jpg


20141214_145745_zps262phzqd.jpg


20141214_145802_zpsudk22ayh.jpg


20141214_145818_zpsagqfcode.jpg


20141214_145927_zpskbwqndtw.jpg


20141214_145940_zps7rsh8ihq.jpg


My original plan was to fabricate small patches to fix only the immediate areas. After trying to weld it in, I discovered that the back side of the metal was rusted and thin making it impossible to get a clean weld. Fed up with that plan I went on to my next idea. I took a cutoff wheel to a much larger section. I also bought a panel flange tool. I wanted to fabricate only 2 pieces for each rocker, side and bottom. Once fabricated I would glue the pieces together (with panel adhesive) to reform the rocker.

20150113_205039_zpsmnatw19z.jpg


20150113_205058_zpsaax7spsn.jpg


Good thing I decided to go bigger on the repair, the back side was pretty bad.

20150113_205703_zpsnl2zizbb.jpg


Whole section I removed, including my previous repair try.

20150113_205250_zpsnlmxobdy.jpg


Last week my Father and I went to go work on my car. (sorry no pics) The two of us used to build race cars back when I was small, the reason I love cars in the first place. Anyway the plan was for him to cutout the passenger rocker panel section, while I metal fabbed up the patch for the drivers side. Cutting the other side out went smooth enough, but I fought with the sheet metal for the few hours we were there. Ended up not liking the way it was coming out. The area I'm trying to patch is very complex to make with just basic body tools, and didn't fit very well. Which is where I'm left off.
The only ideas that come to my head don't seem to hold much of a candle. I could either,

-Buy new outer rockers. Problem with this is they are about $275 a side. Seems like a waste as I really only need the section that the quarters lap over. Why cut up the nice piece?

-Section the rockers from a donor car. Problem is my parts car is rotted worse than this one. No Dusters around here are solid, at least not ones that you could scab parts from.

I'm sure someone on the forum has had this issue on their build. Was wondering how they overcame this. How should I go about doing this?
 
Takes years of practice playing with sheet metal. Sometimes you get lucky on the first try and all goes well. Then you get the piece that takes forever to build because it's so complex. Some parts are not reproduced and you just have to do the best you can.
One thing about sheet metal, if you screw it up, you can always get another piece and start over.:D
 
Trying to get back at it. Decided to try and find someone willing to section some rockers and send them to me. Have had a few people offer, but nothing has happened so far.

So needing something to get accomplished I decided to start replacing the floor pan. I was worried about the body flexing, because of how far the car was torn apart, but I figured all that reinforcement I set up would do the job. I started by drilling some holes from under the car, placing them near corners of the various frame rails and brackets, so I would have an idea where to cut. Went at it with a sawzall, being careful not to cut anything important off.

20150304_205742_zps8pezl2hs.jpg


I'm waiting till I get some free cash, so I can buy a decent spotweld cutter. Probably going to get a Blair. I'm tired of using drill bits, and I have had bad luck with cheap cutters. After that I will drill out the spotwelds of the left over floor pan, and start treating the rails for the new pan.
 
Chugging along slowly.
I went ahead and bought a Blair spot weld cutter set, with some replacement bits. They really work good, very easy to separate the metal. Biggest problem is that they are fragile. Ended up shearing off the teeth of all 4 bits I bought. They never got dull, just broke. Seems like you have to make sure it stay perfectly in the center punch, as well as a perfect 90 degree angle. 90 degree angles seem a luxury doing this type of work.

Got most of the floor off. Everything except for the welds along the firewall.

20150329_181549_zpsgpegowp5.jpg


20150329_181534_zps5hikmwbd.jpg


I Knew that these lip pieces were going to need attention, so I expected to find this. Mostly surface rust with a few needed patches.

20150329_181605_zpsdy0wdltw.jpg


20150329_181629_zps1vy1xfot.jpg


Because of my issue with the cutters, I decided to try another technique. I bought one of those hand held a belt grinders. They showed us removing spot welds with these at body school, and they cut like butter. I also decided I will eventually buy a good seam buster. Chisels are just to wide. Screwdrivers work in a pinch, but I'm done ruining them.

The rest of the welds i will do with just a regular 3/8 bit, as I need to re-plug the welds on the firewall.

'Till the next update. Jack signing off...
 
-
Back
Top