OzzieMozzie
Seasoned Muffdiver
What running gear do you want to put in the Vh brother?
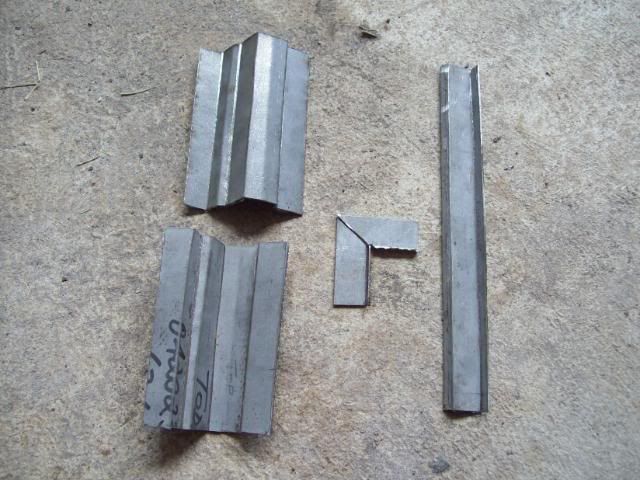
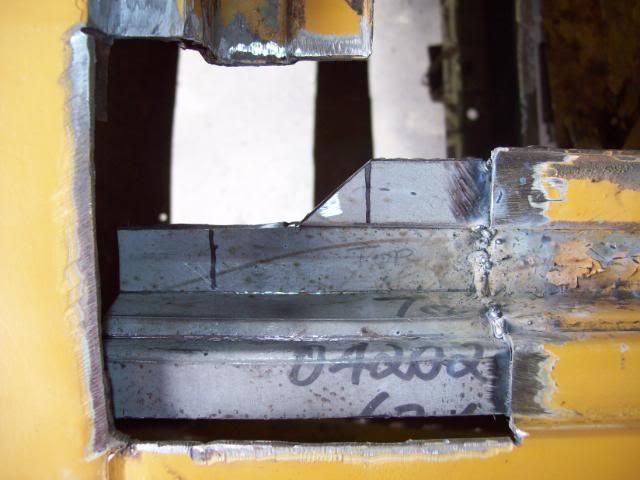
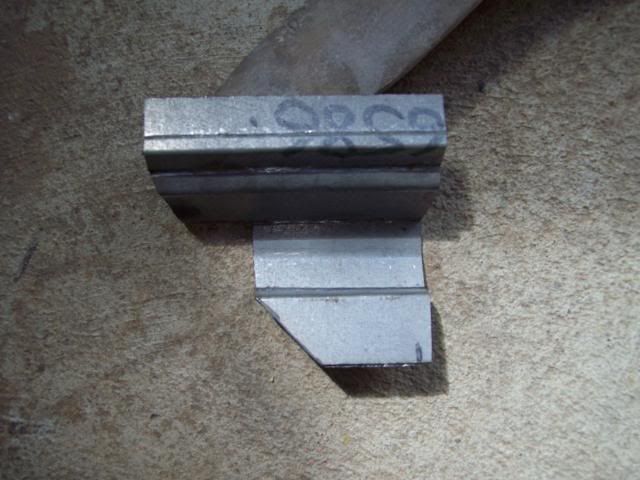
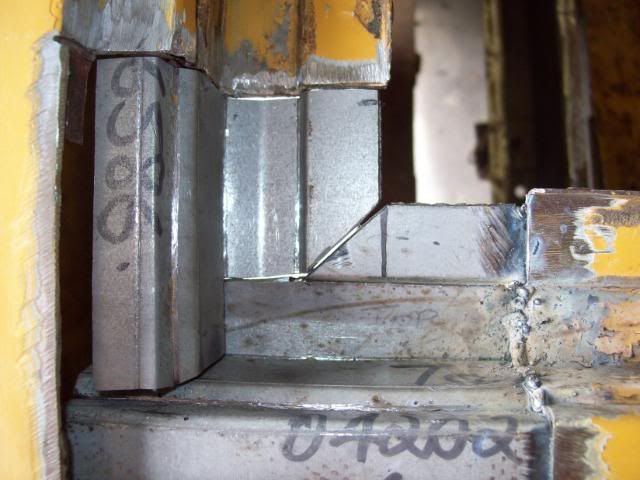
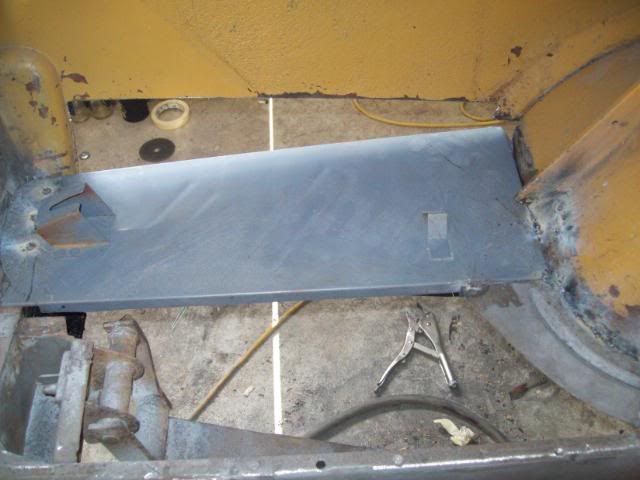
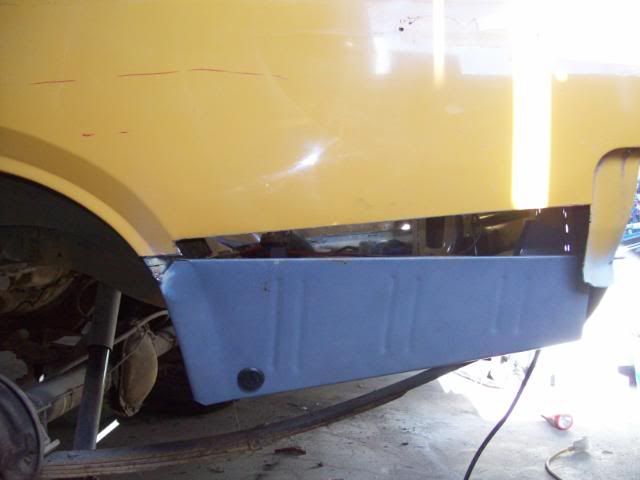
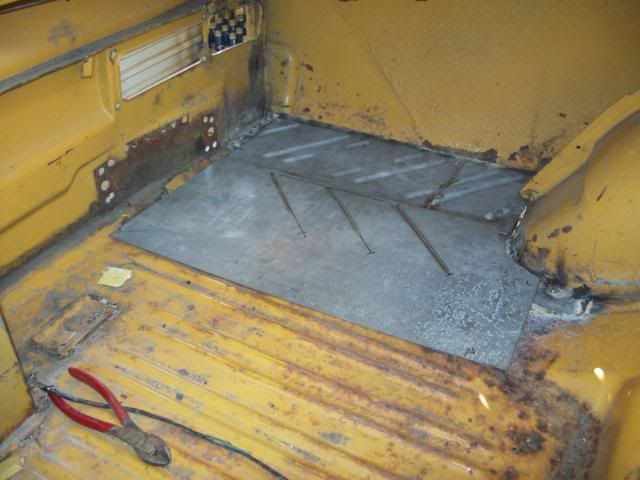
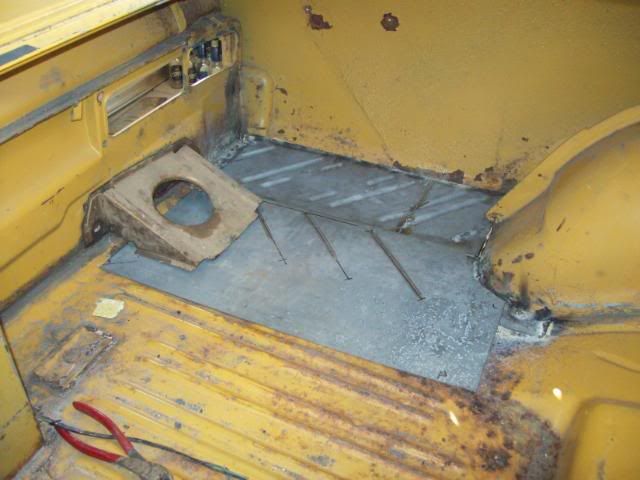
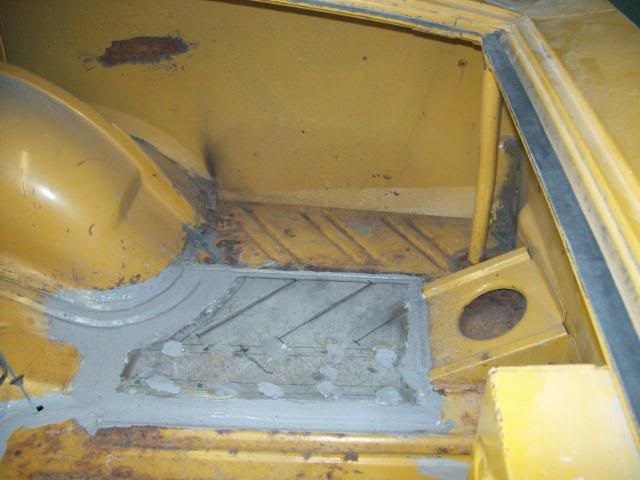
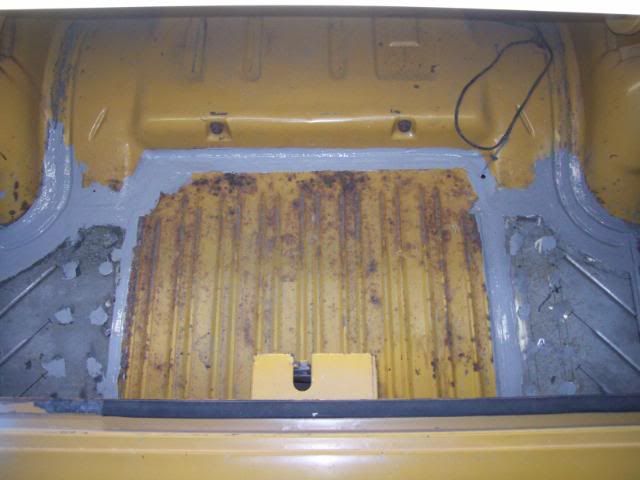
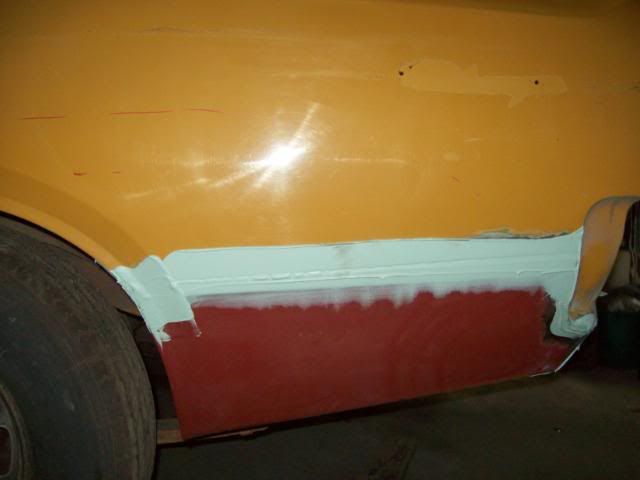
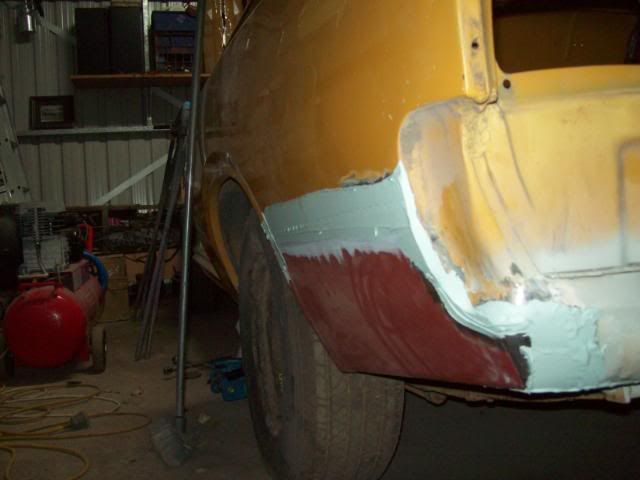
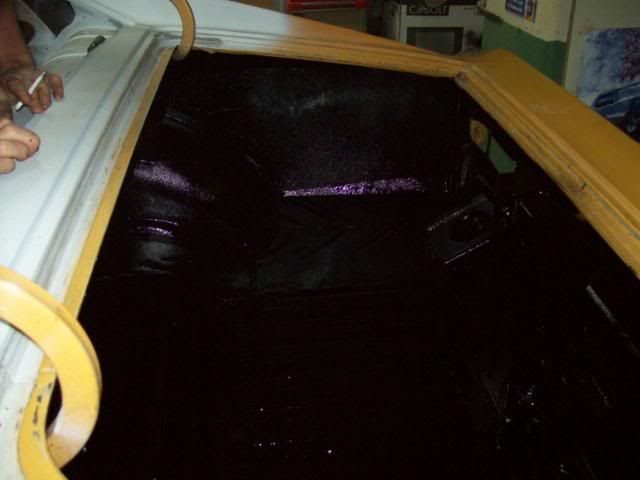
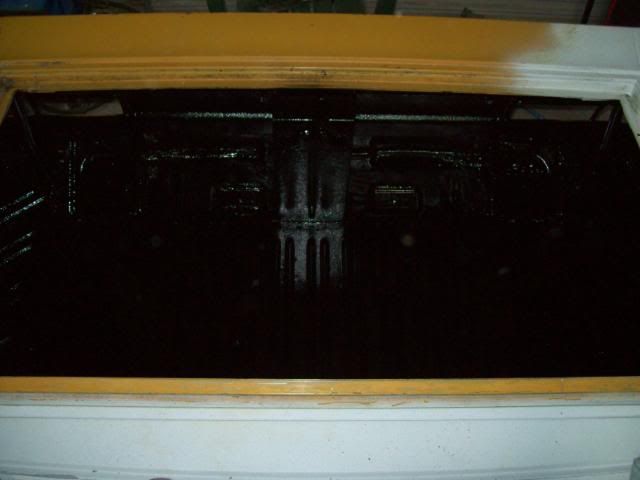
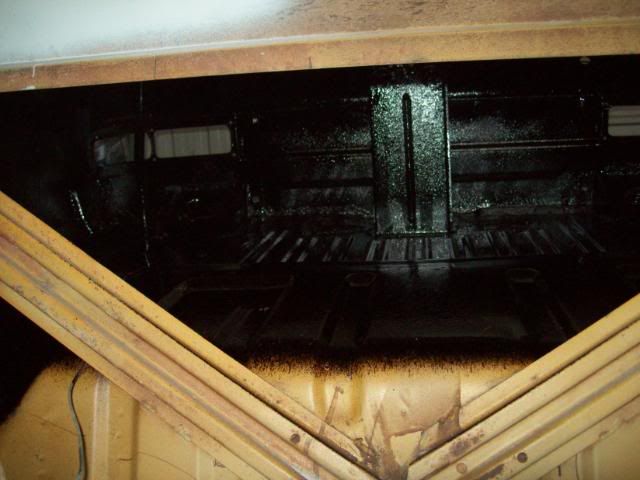
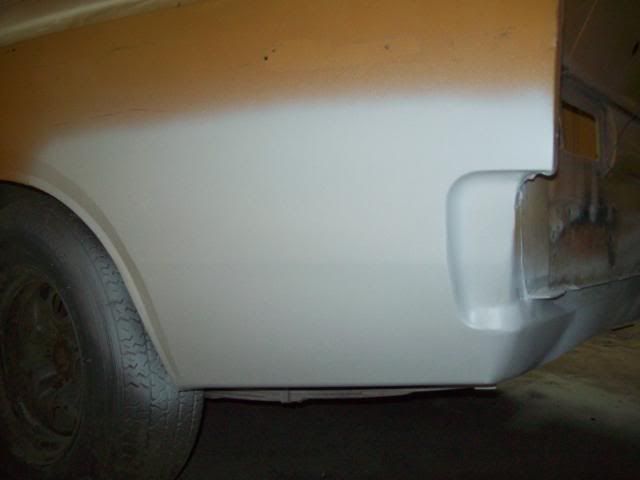
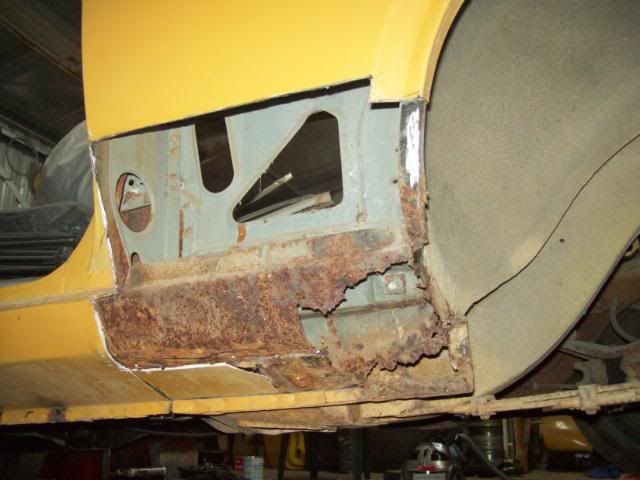
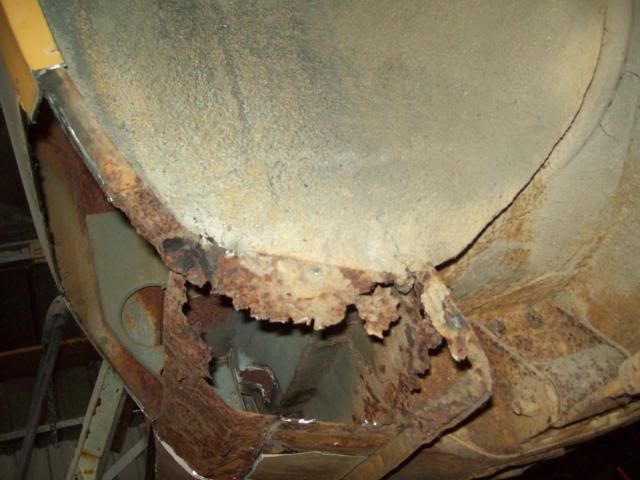
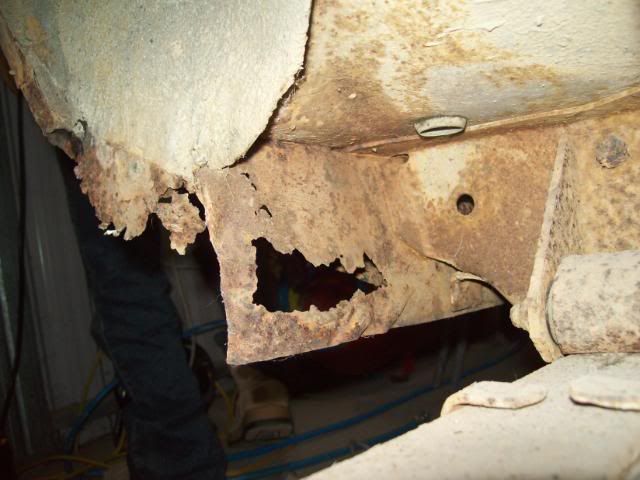
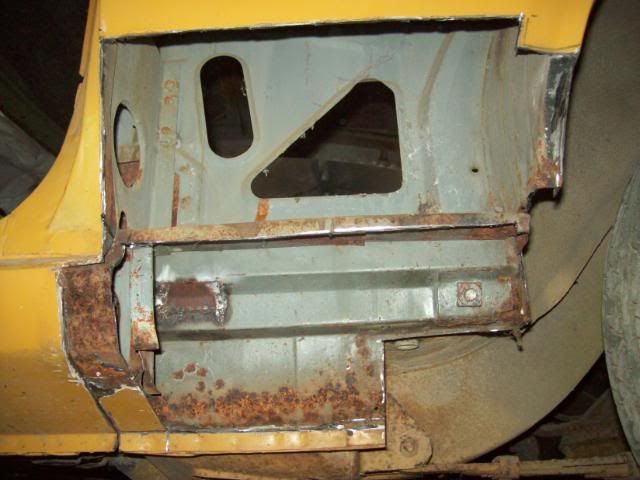
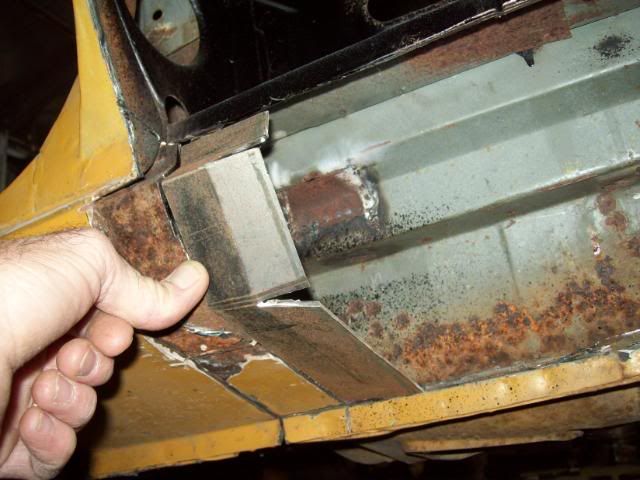
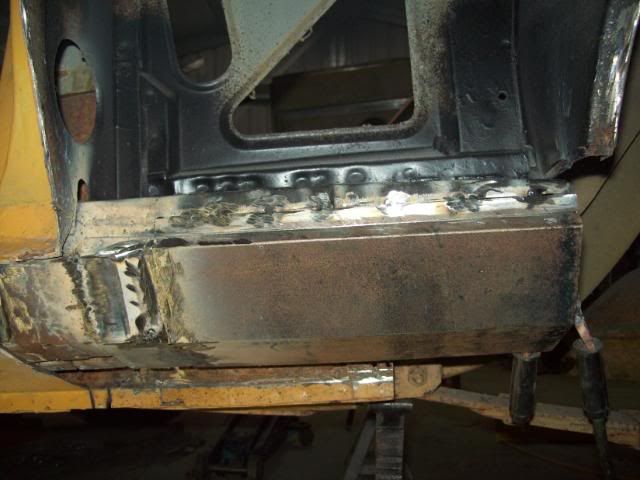
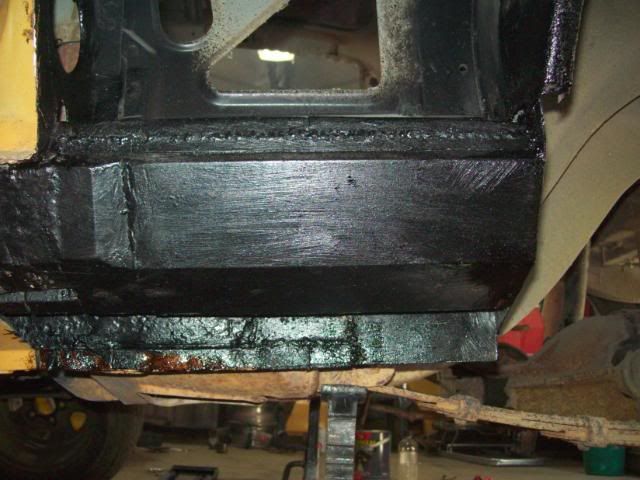
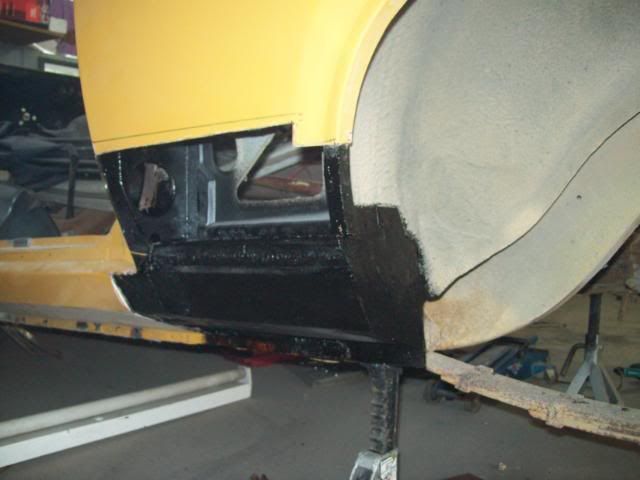
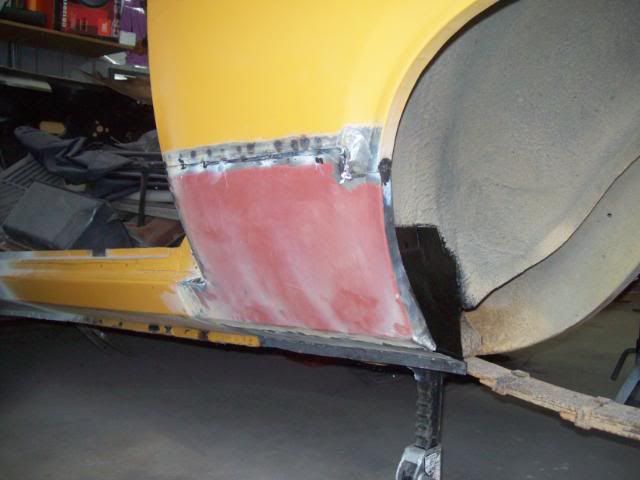
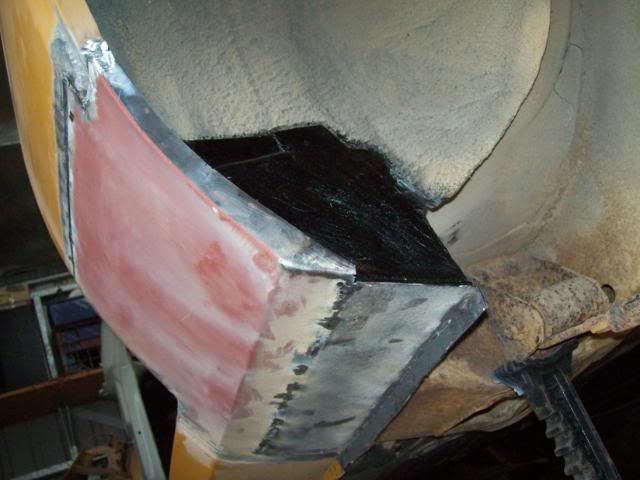
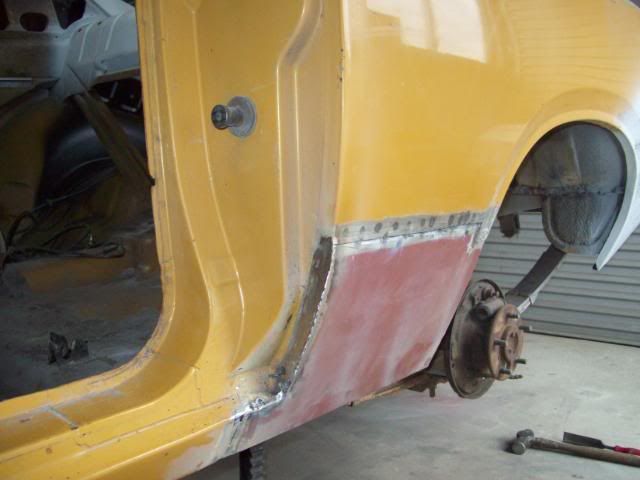
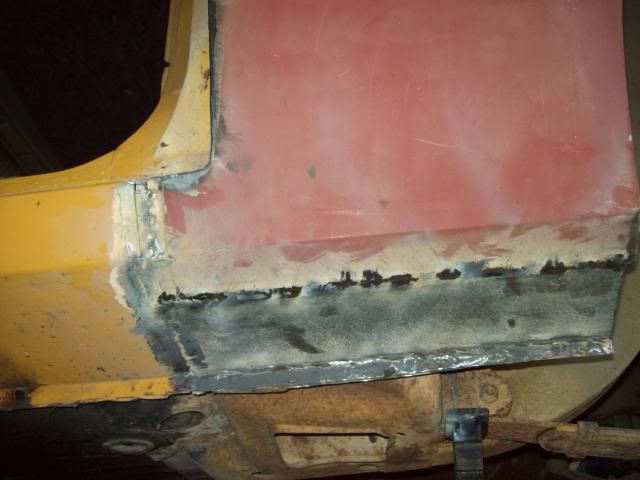
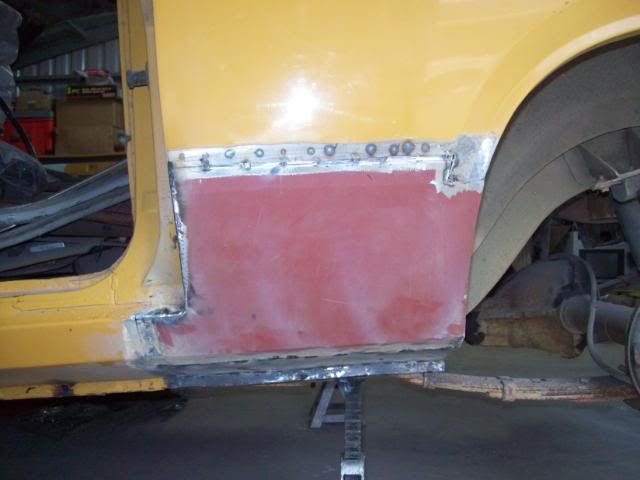
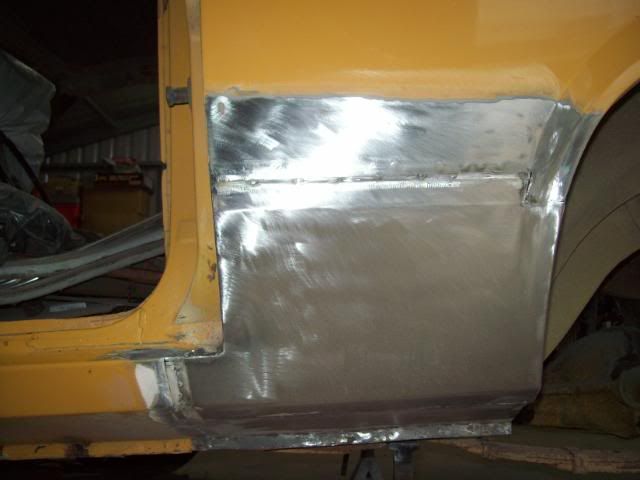
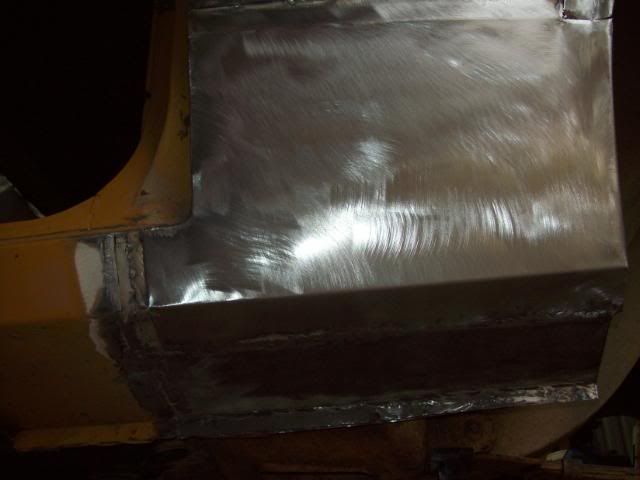
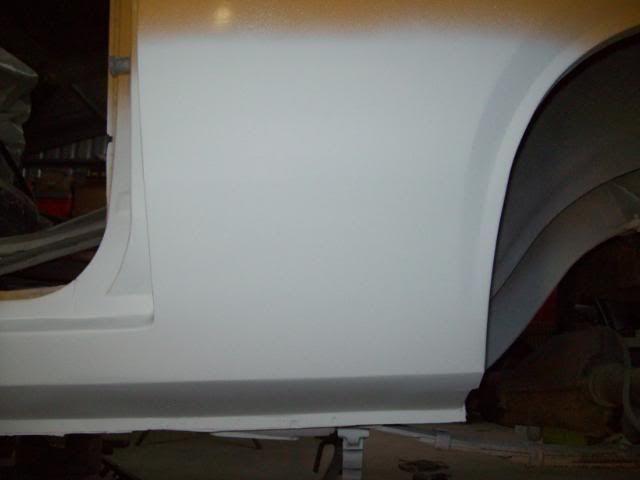
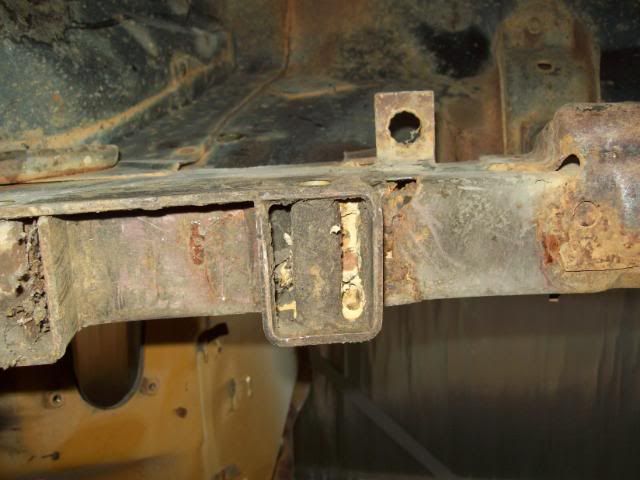
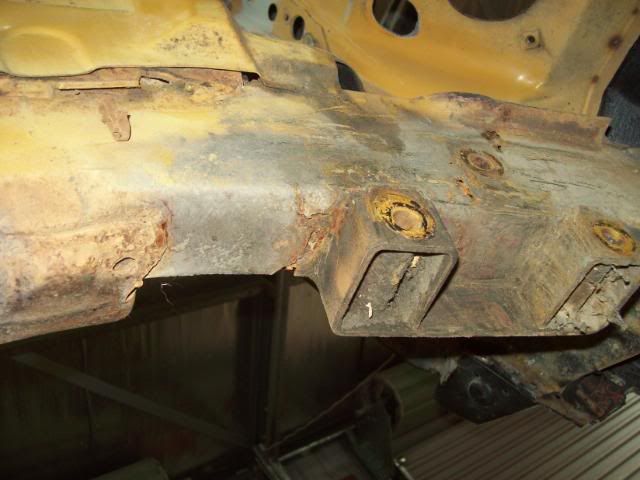
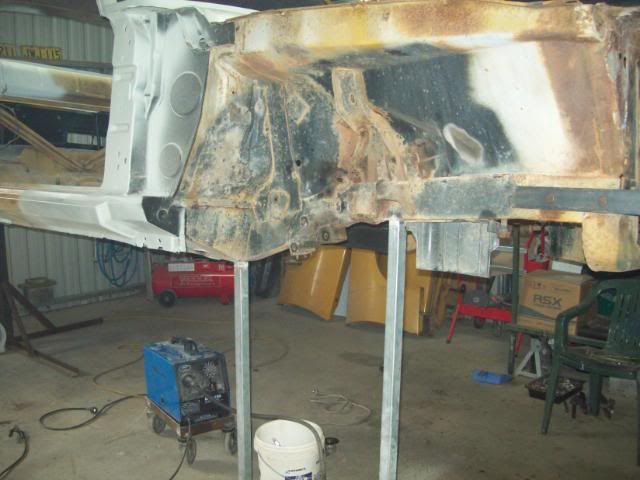
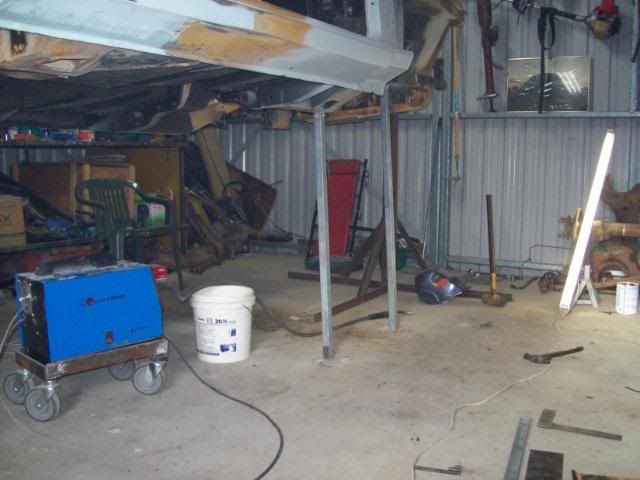
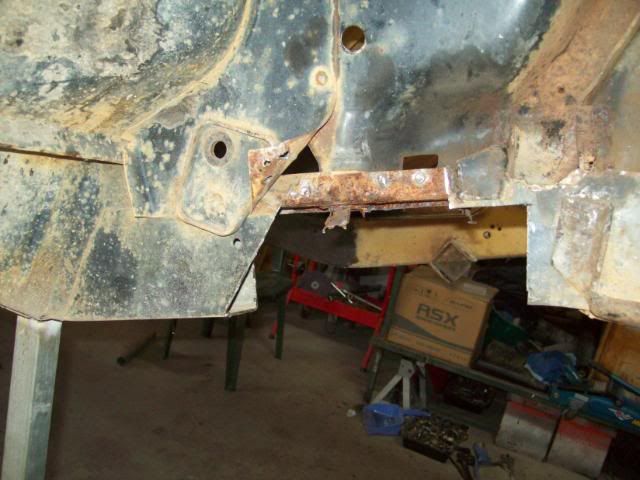
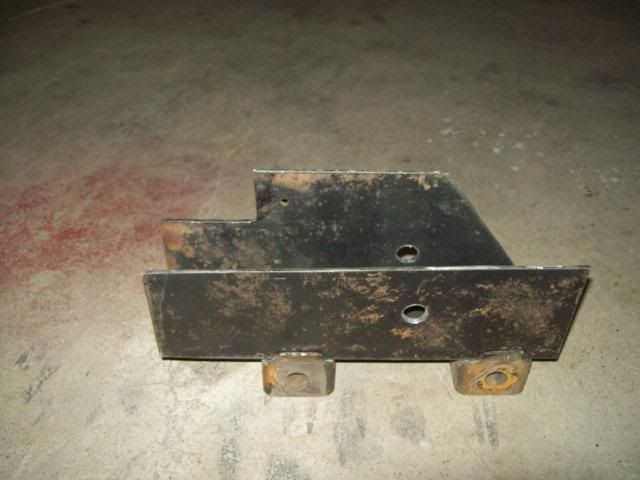
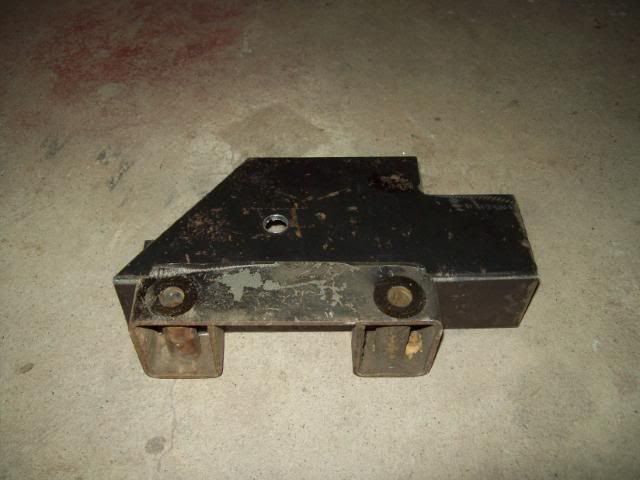
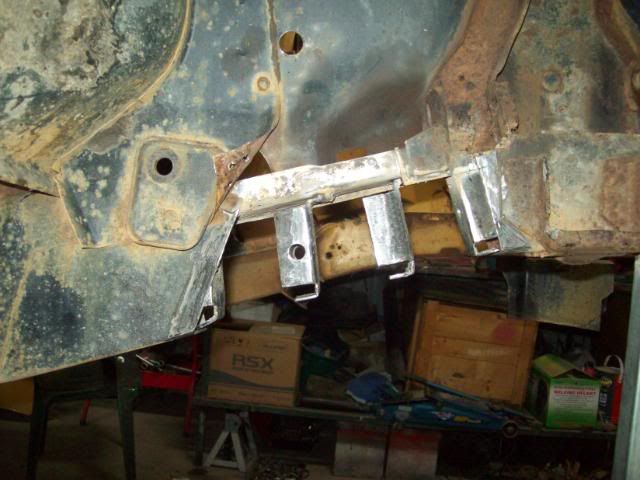
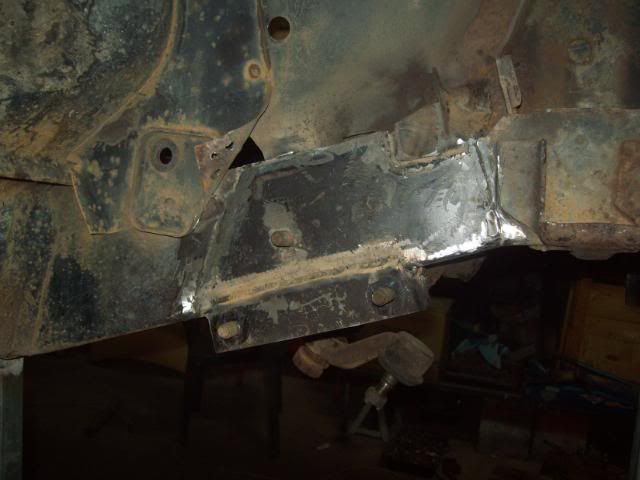
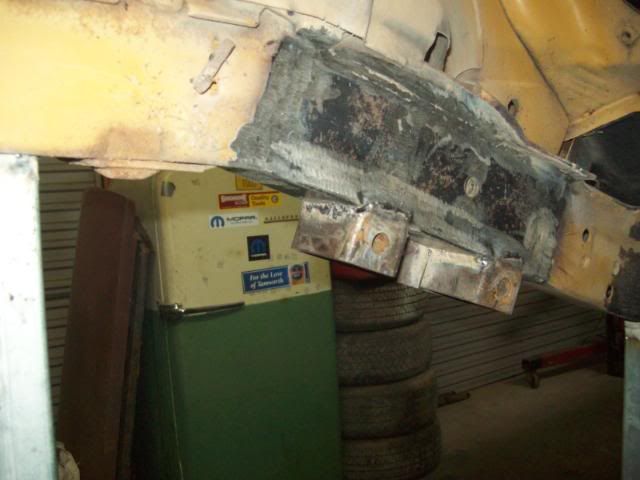
I have a 318/904 combo for it. I'm actually doing this project for my wife to drive so she can become more involved in our club and the chrysler community in general.