72BBSwinger
Well-Known Member
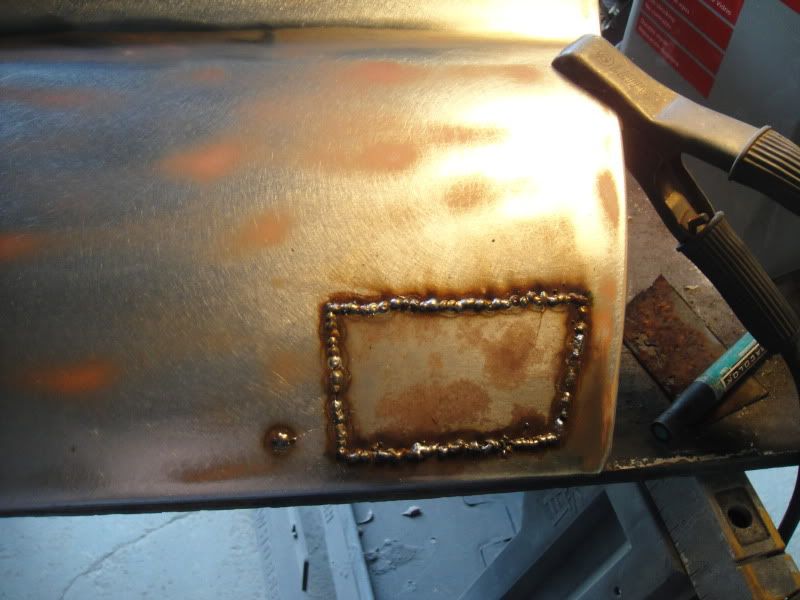
You can just remove and plug the hole of that reverse lock out mang.
You can just remove and plug the hole of that reverse lock out mang.
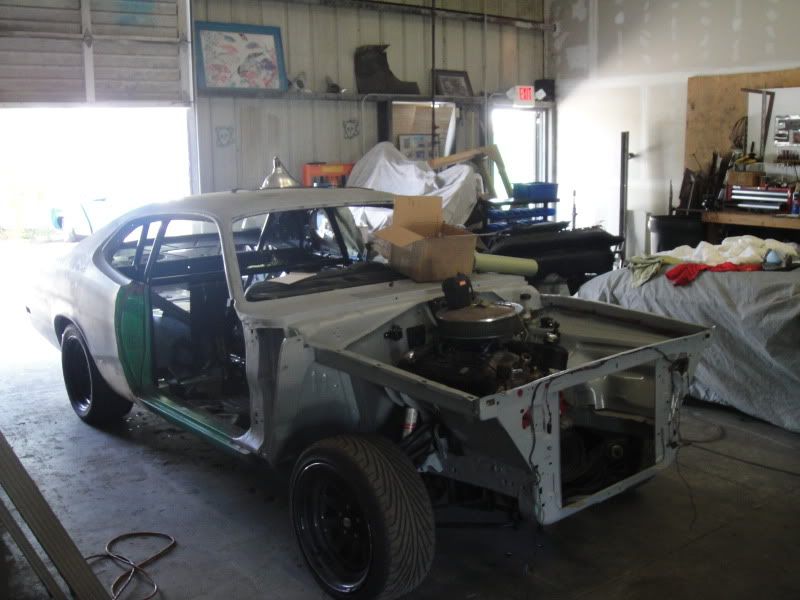


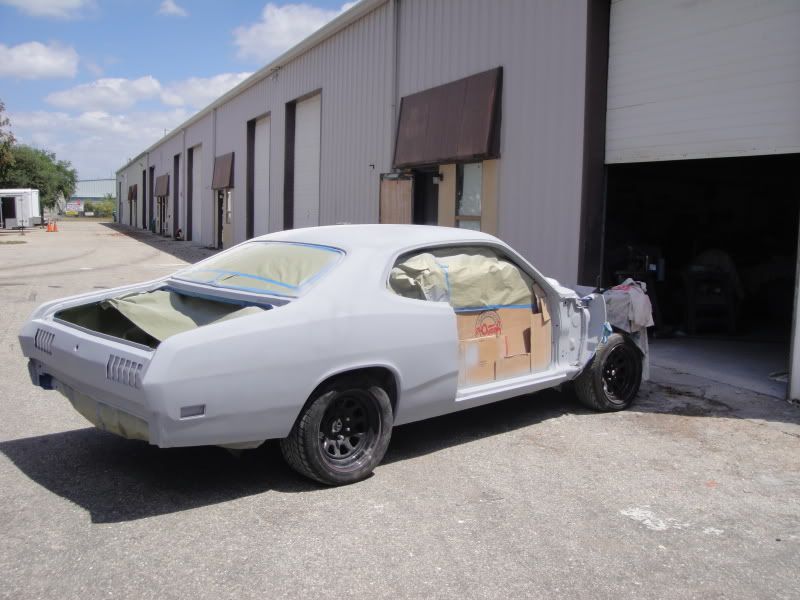
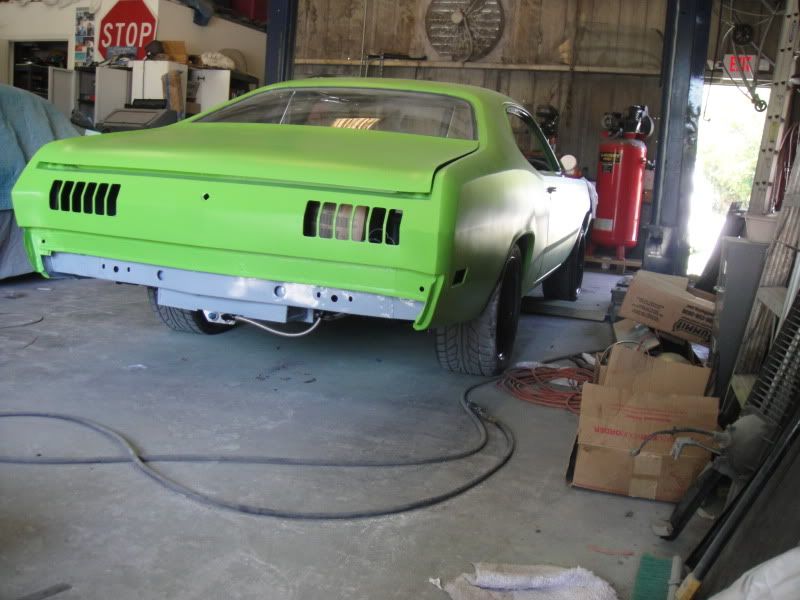
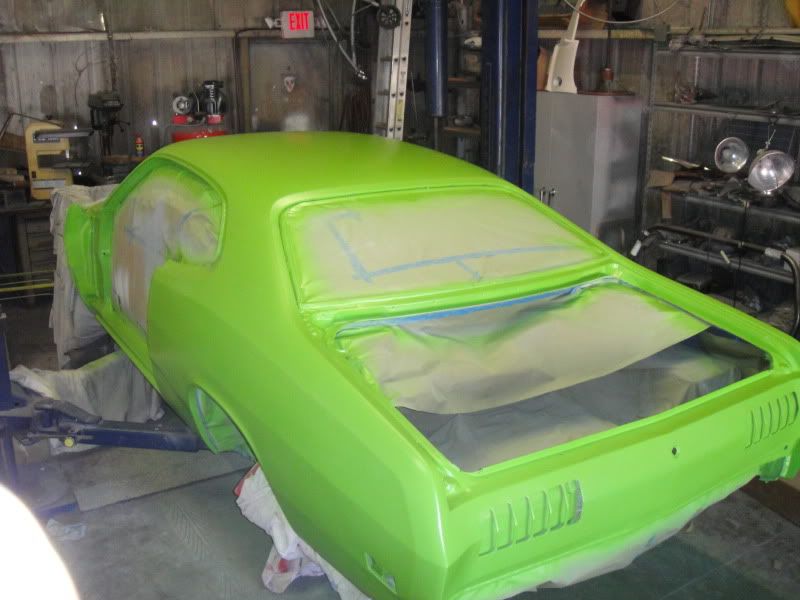
Well, here it is:...Can't wait to see some color on that thing...
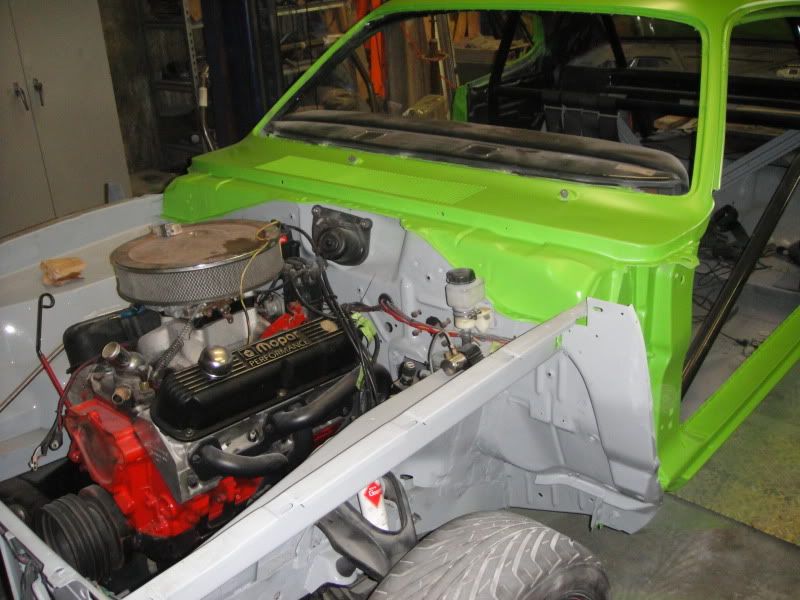
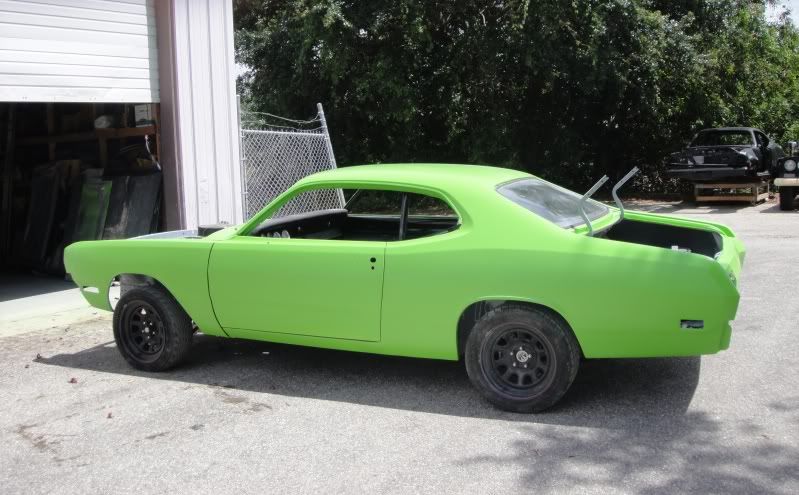

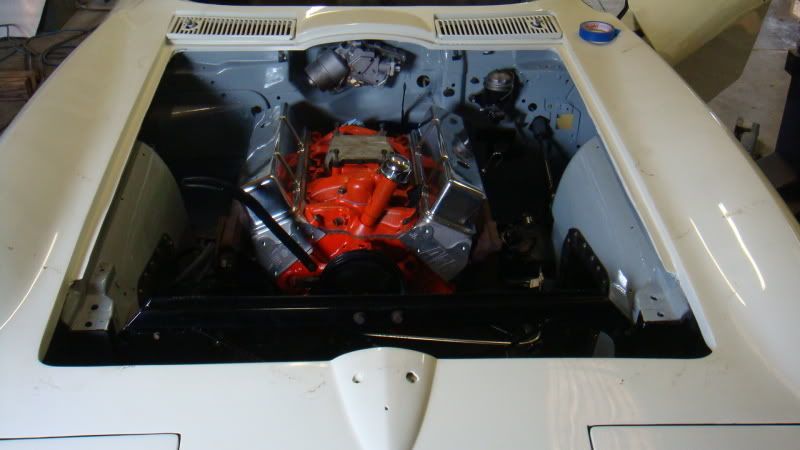
Oh hey, quick question. Are you gonna pull the motor back out and paint the engine compartment green too? If you do I would almost use a gloss clear on that so it would be easy to wipe clean.