straightlinespeed
Sometimes I pretend to be normal
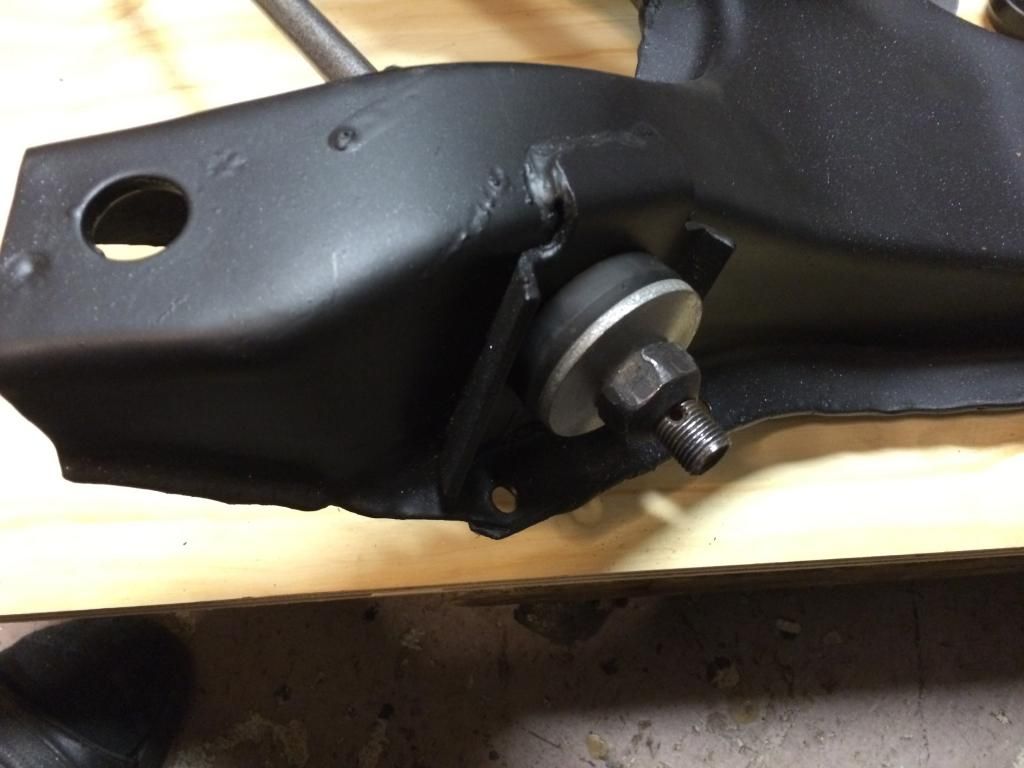
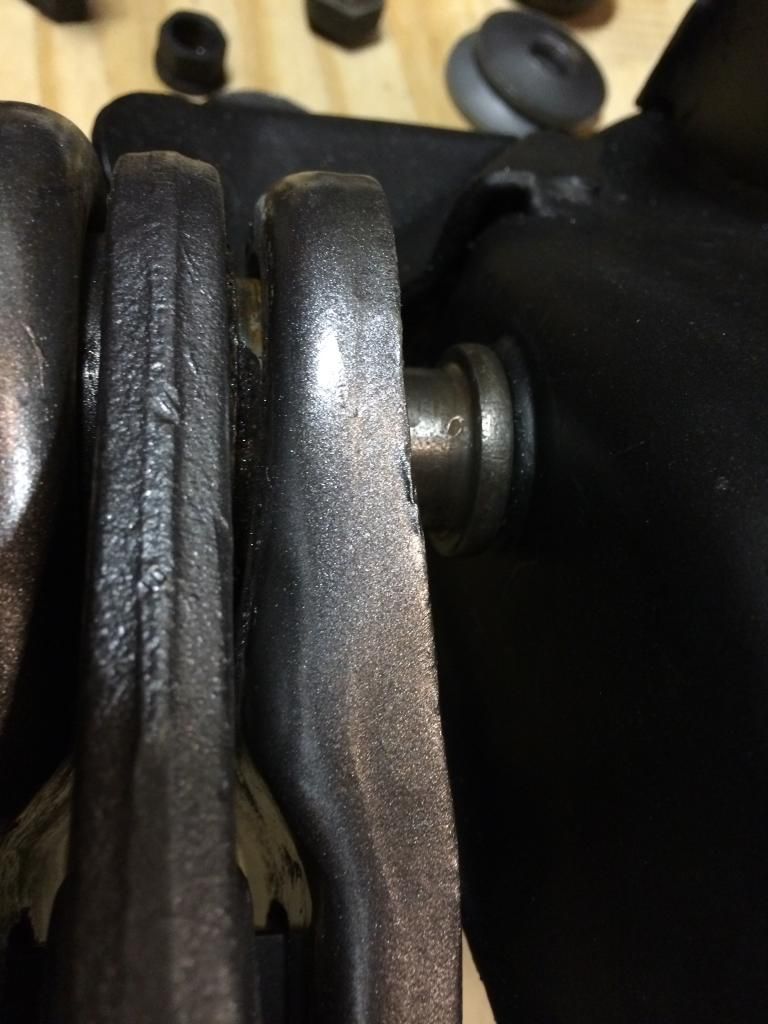
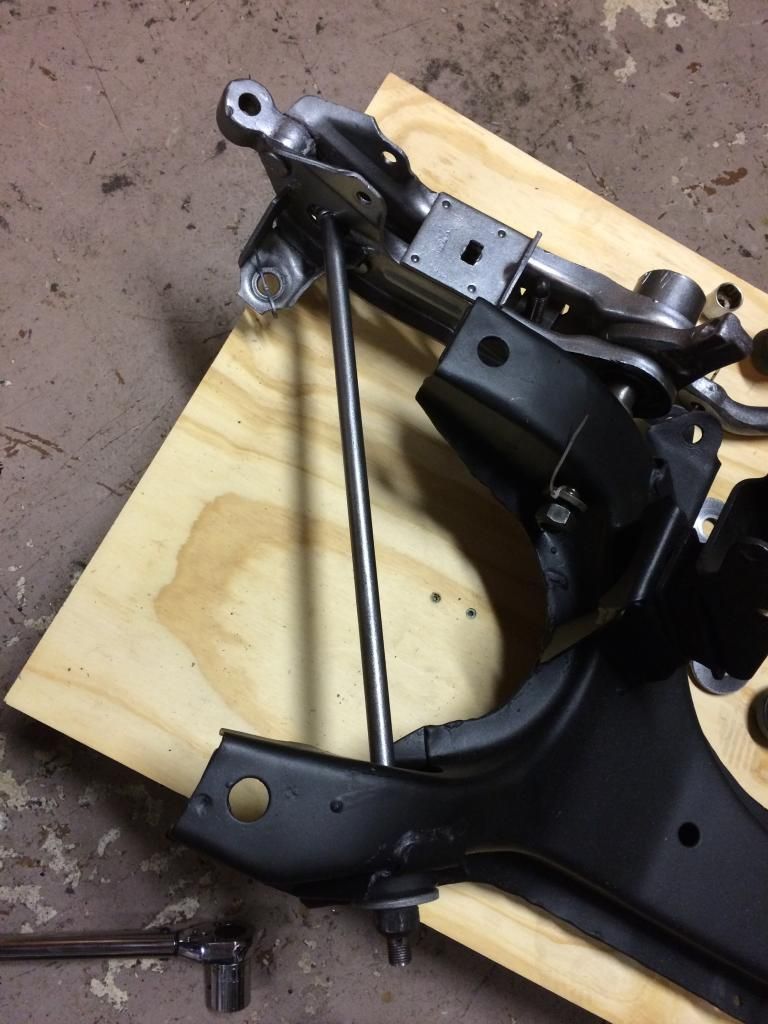
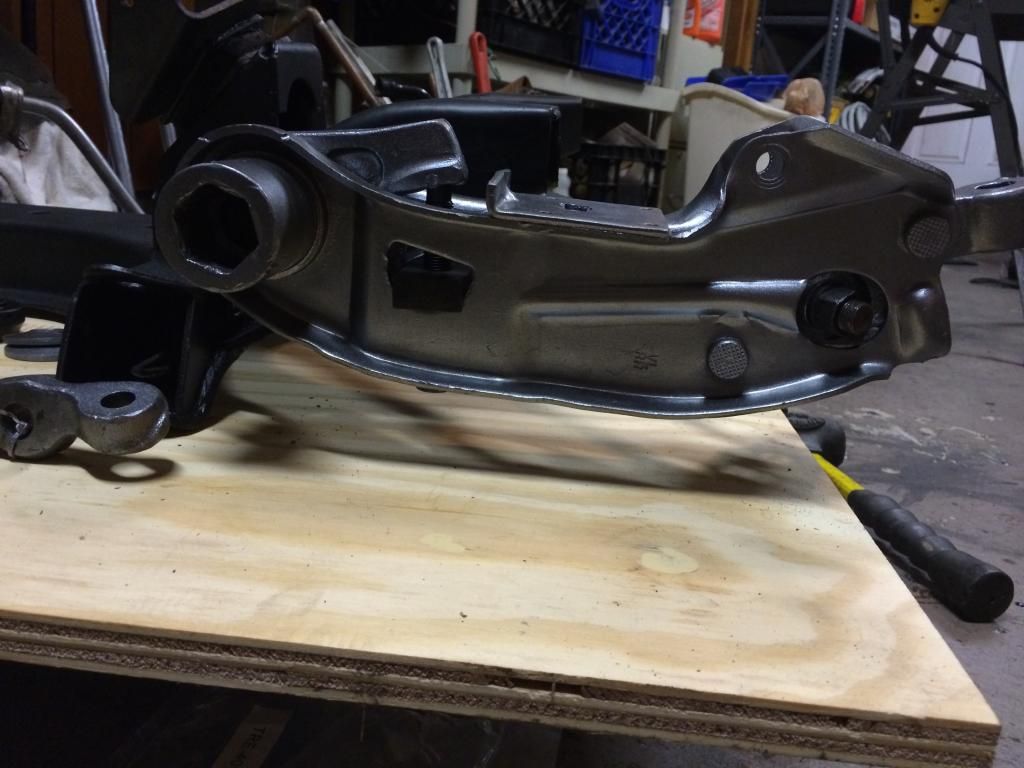
Working on my 71 Scamp and I thought I had a 2 piece strut rod bushing. Well turns out mine were 1 piece. Damn, I bought the 2 piece style. So, I just wanted to double check and went on rock auto. They show the original being a 1 piece but offer the Moog brand 2 piece and behind it, it says Improved Design.
So can I run the 2 piece style, or should I return it and get the original style?
So can I run the 2 piece style, or should I return it and get the original style?
")