BlackBrick
The Cult Mechanicus

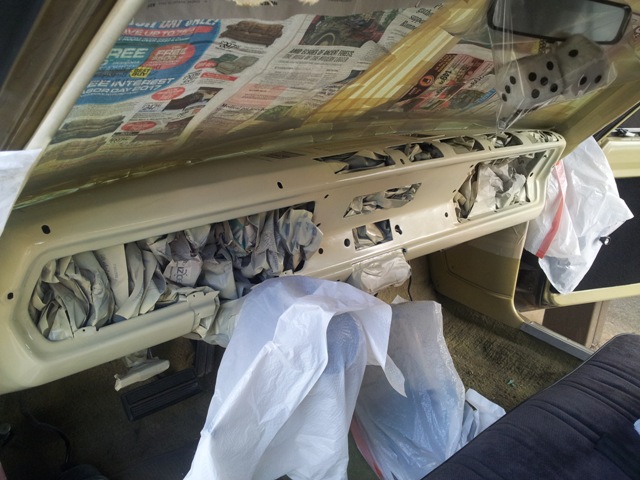
Oops, forgot one. Now, waiting on my Dremel that I am getting for Christmas so I can cut the shifter console. That thing sits right against the front of my seat, so I have to trim the back of the console off.

")
@03jeepjeep - haven't taken it out on the road after adding that rear bar, but the front one I added really made a difference. I can only imagine that the back one will to
I might take it out for a drive here in the next few days, as I am off early today, and don't return to work until Jan 6th (yeehaw). Have to rewire one of my brake lights first - Phoenix cops aren't too forgiving when it comes to brakes lights not working.....lol. I am also going to be finishing off the shifter housing - got a few more trim cuts to make and then cover it with carpet......

Thanks for the info. Ive been looking at getting them but didn't know how well they would work. Great build!

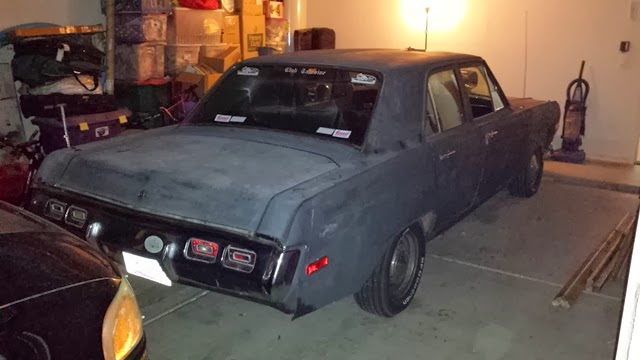


Really like what you've done to the ride. Looks great!
Congrats on the new spot and time to work on it, too.
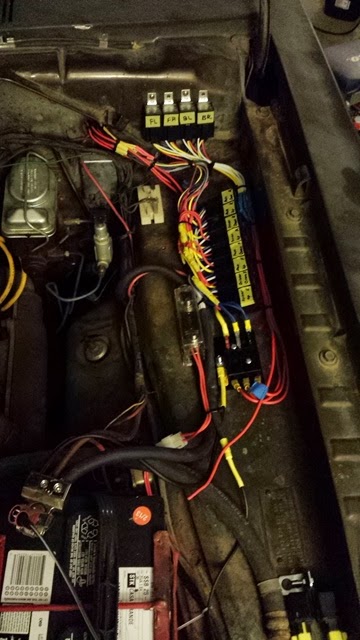
I do have to agree with a previous poster (147?). You have your proportioning valve on the line of the master cylinder (big reservoir) which should be going to the front disc brakes. The small reservoir is for the rear drum brakes and is the system that should have the adjustable prop valve on it. I read where you said it works good, so probably no worries, but you definitely need to make sure that line coming out of the larger reservoir (closest to the firewall/driver) is going to the disc brakes for fluid provision/supply as those pads wear, or you may end up sucking air instead of fluid as time goes on.
Looking forward to seeing the rest of your build!