67gtx
Well-Known Member
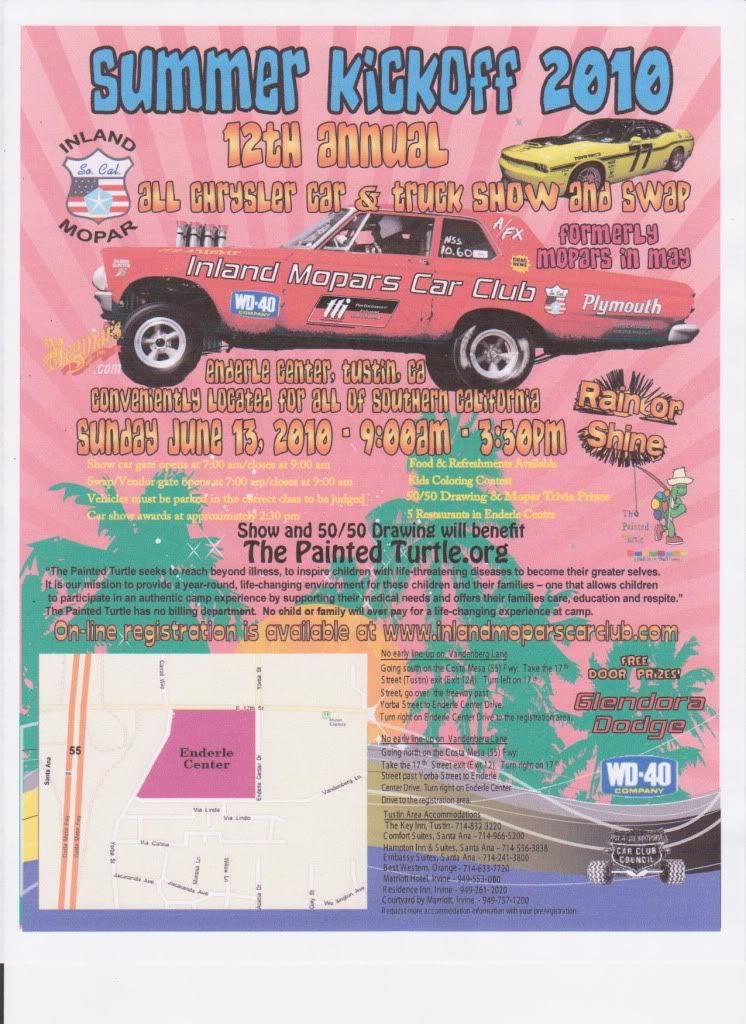
Maybe you can get it together for the Summer Kickoff Show June 13.
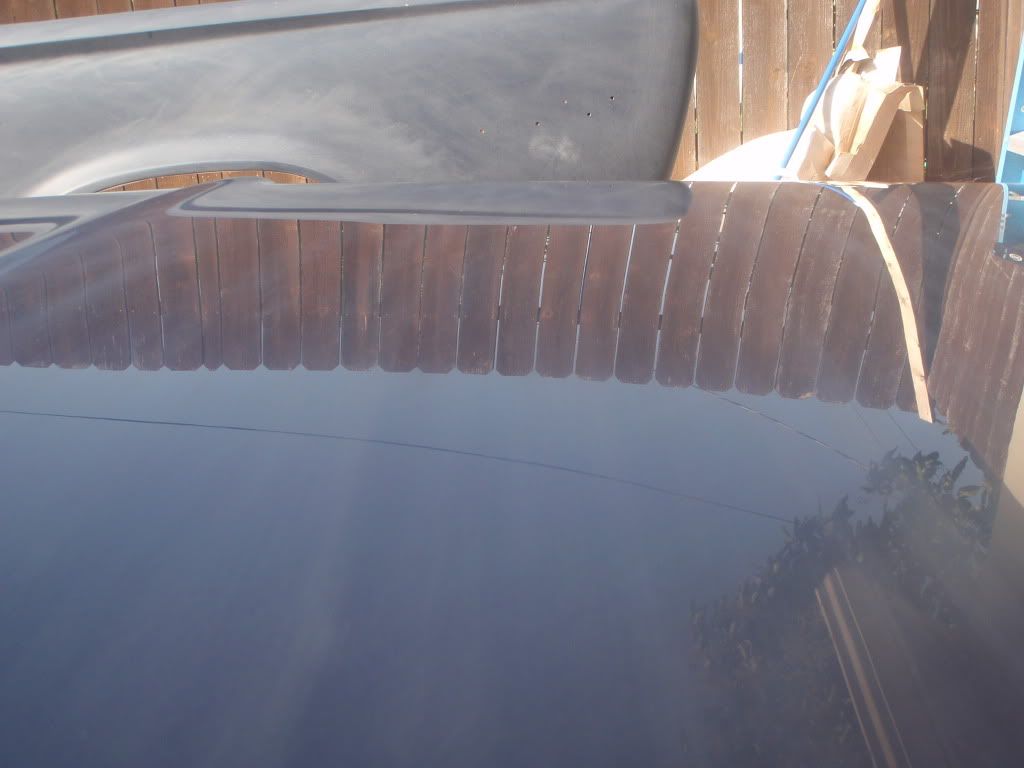
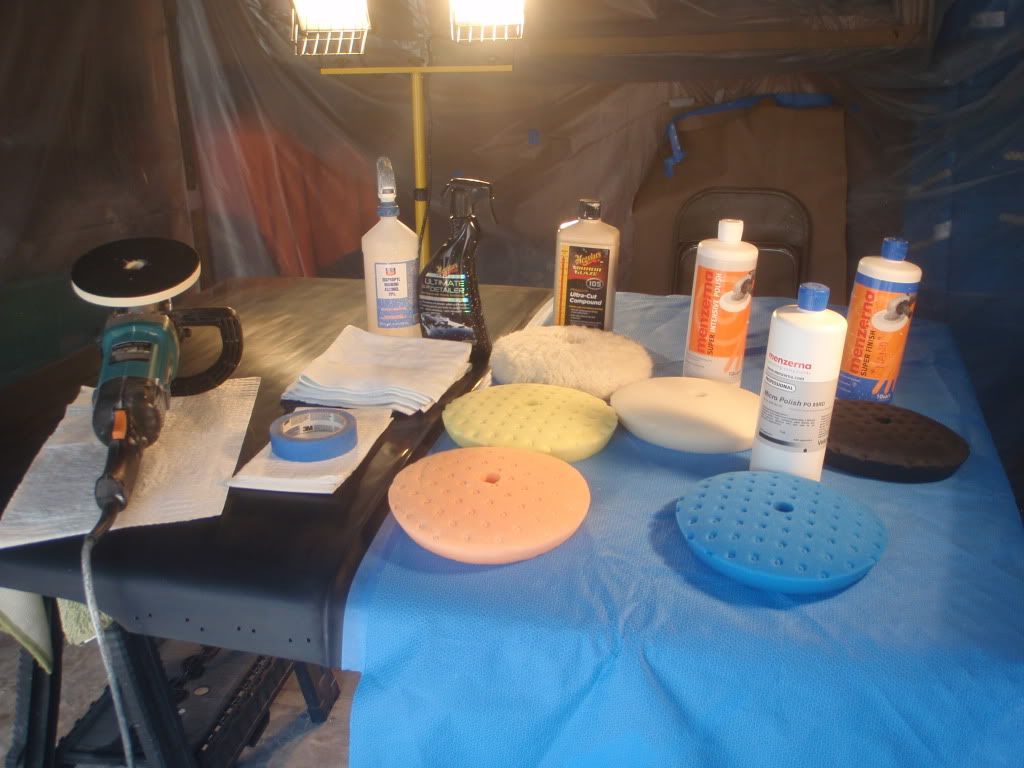
Dave, looks awesome. Did you like the polishing pad you have in the pic more than the waffle polishing pad by 3M? Any better results?
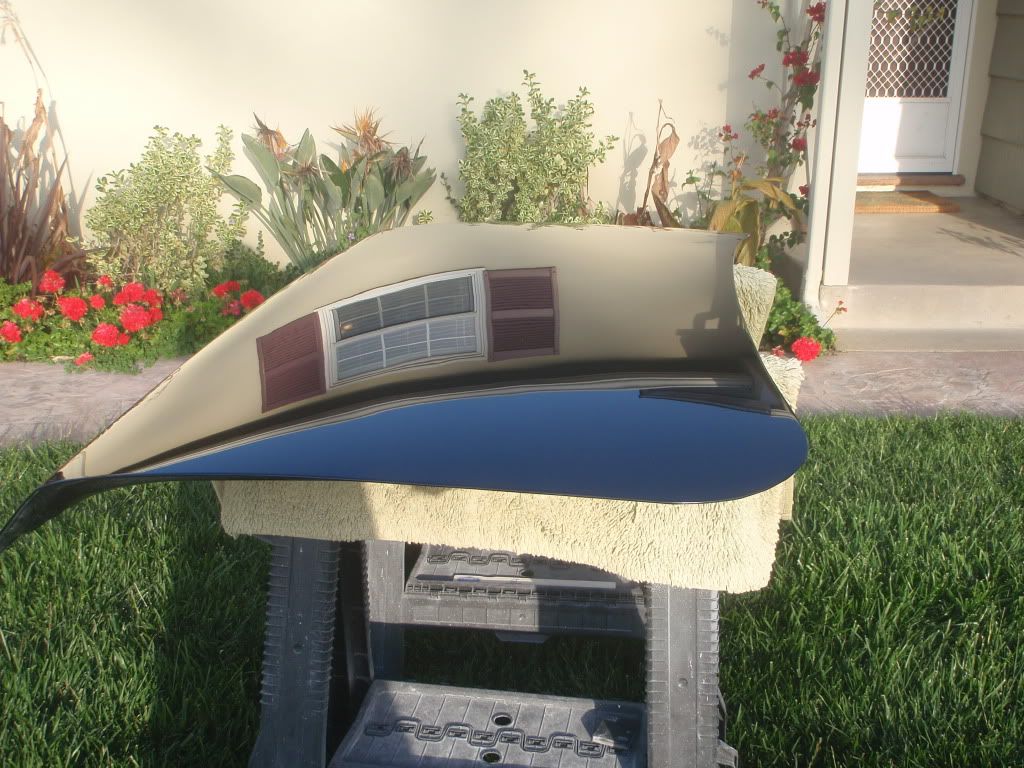
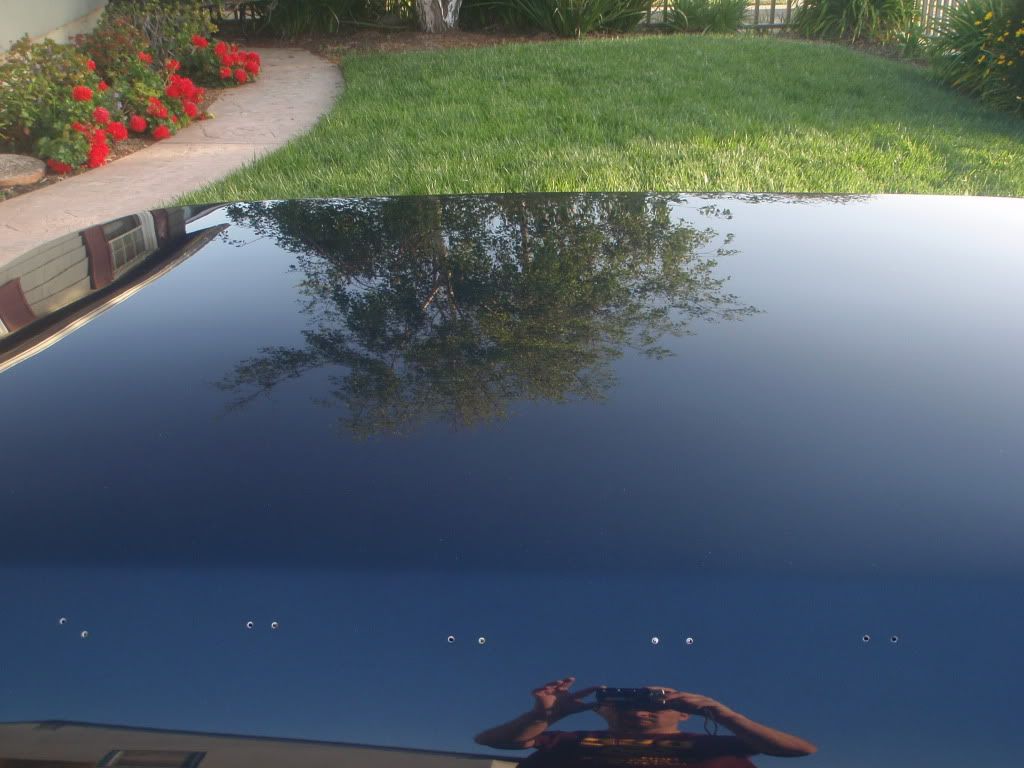
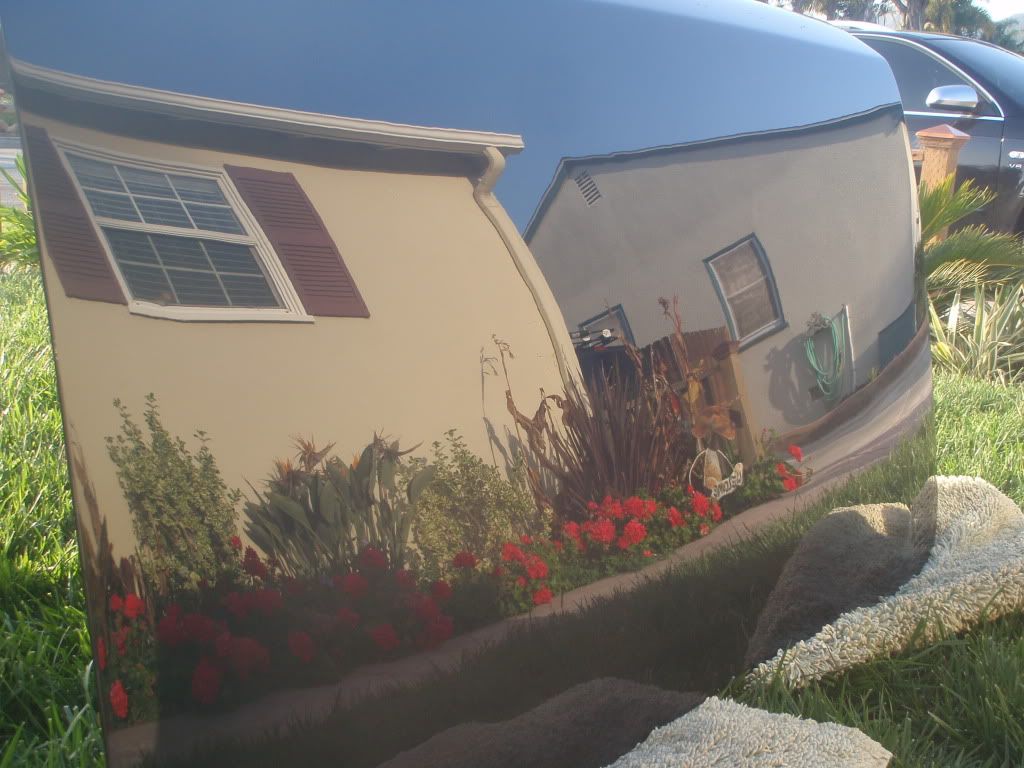
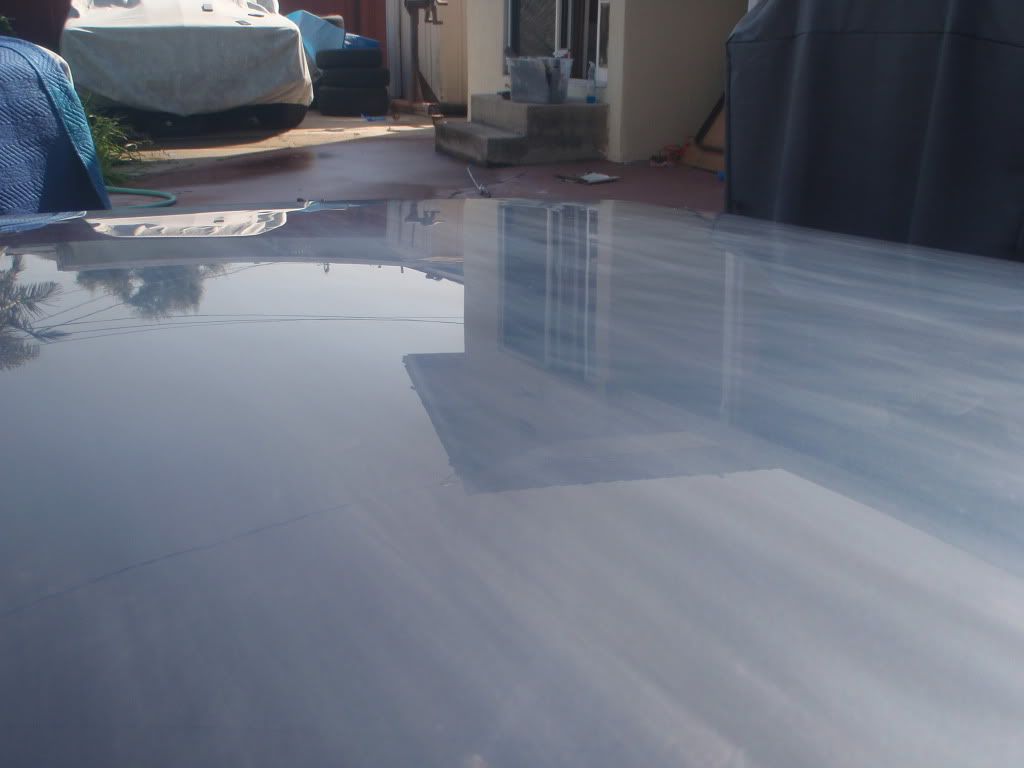
Hey Beach Bum, I drive a '63 Dart GT convert, I'm appreciating the hard work you've put in on bring out the gorgious gloss paint job. Interested in products used to accomplish the deed (that's beside all the sweat & hard work) I saw Meguiars 105 ulta cut compound, and later in other photos Menzerna Super Intensive Polish... Meguiars I know where to get...but the Menzerna not so sure.. can you help out a Mopar gearhead and put me in touch with the company or a distributor where I can buy it ? I am assuming that you used the Meguiars to bring out the original shine with a finish coat treatment of the Menzerna product. ??? Thanks for a quick note to straighten me out. I might also help to know what paint process and steps you used to get to the beautiful finish shine.. Whatever you can spare in the way of info will guide me as I begin my project. Thanks, BILL-Cols, OH a/k/a HomSlr...on FABO
Dave, how is it going, how about posting some new pic's?
DAVE looking great, you are the MAN,,, i think you should consider writing an instruction booklet,,,or DVD,,, you would make a ton of cash,,,,ill be the first to buy,,,then take it to the guy you had painting the car cause he surely needs it,,,,
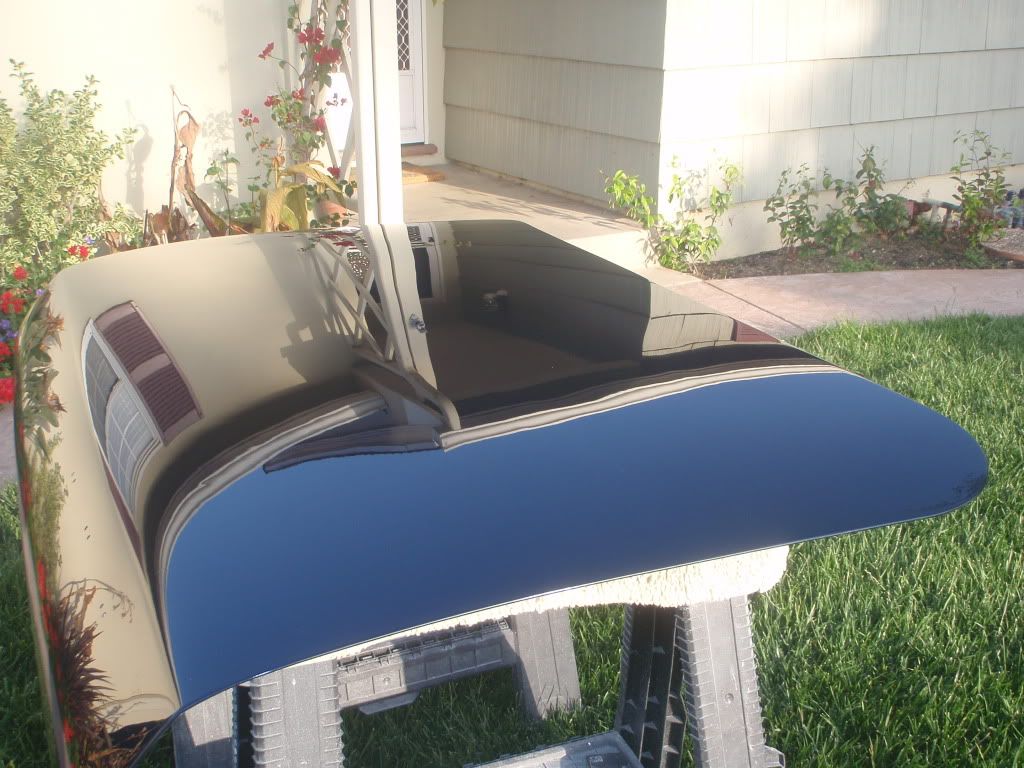
daves66valiantHere is a short history of the car. It was bought by the original owner from Mancini Motors in Mountainview, CA for a whopping $3100. It has been in California it's whole life and is in great shape. I bought the car in June of 2005 from a guy in Fresno that consigns/auctions old cars. It came with the original bill of sale from the dealer and the original certificate of ownership. He went through the car and got it running since it had been sitting in a garage for some time. Everything on the car was practically original except for the top which had been replaced at one time. No rust or body work that I have been able to uncover besides some surface rust.
I thought I would keep it all original as a survivor but those plans went out the window pretty quickly. The plans now are a new 340, 5-speed keisler tranny swap, 8 3/4 rear, subframe connectors, new wheels, disc brakes, new interior and B7 color and a black top.
The car came with new seat covers from Legendary and so that was my first order of business along with new carpet since I would be driving the car around until I got all the parts I needed for the swaps.
Then came new wheels. Unfortunately I did not get any good pictures of the car with the new wheels. I think they look great on this car. They are from Stockton Wheel Company and they are te 5 X 4 pattern. They were a lucky find on ebay $300.
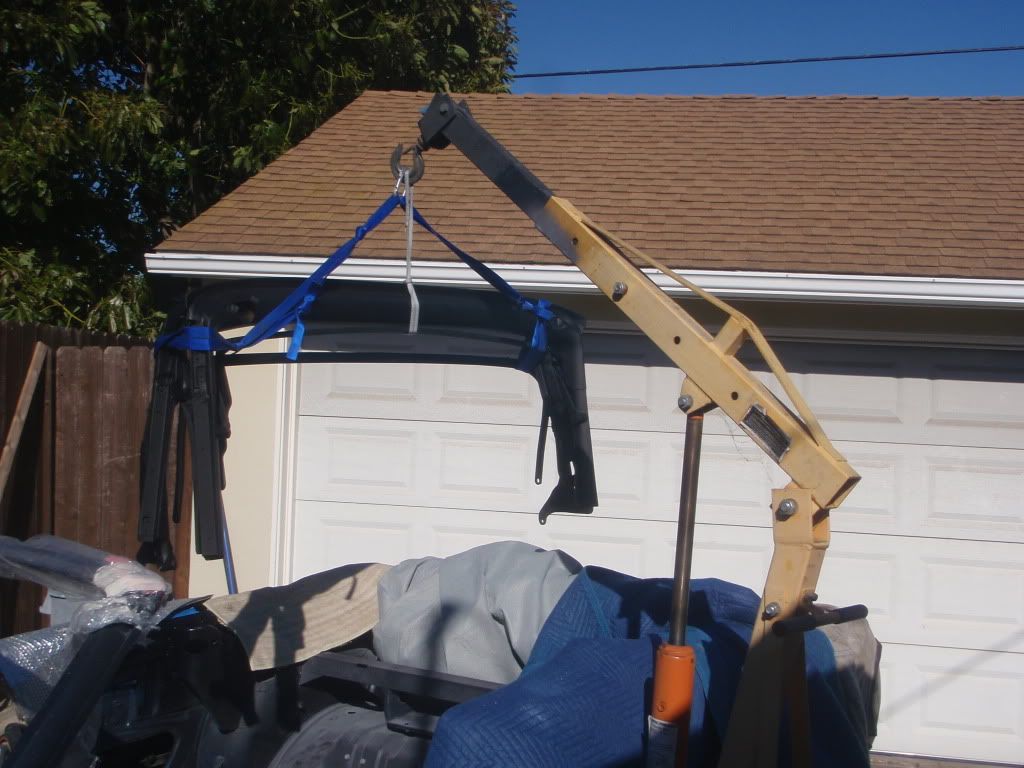
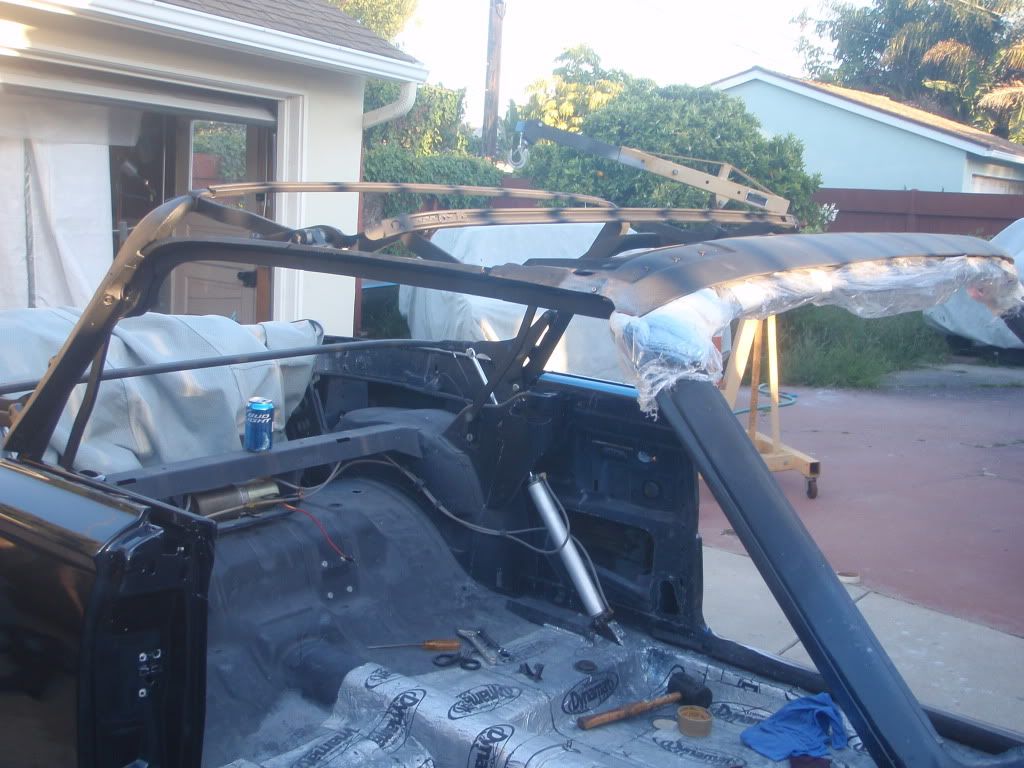
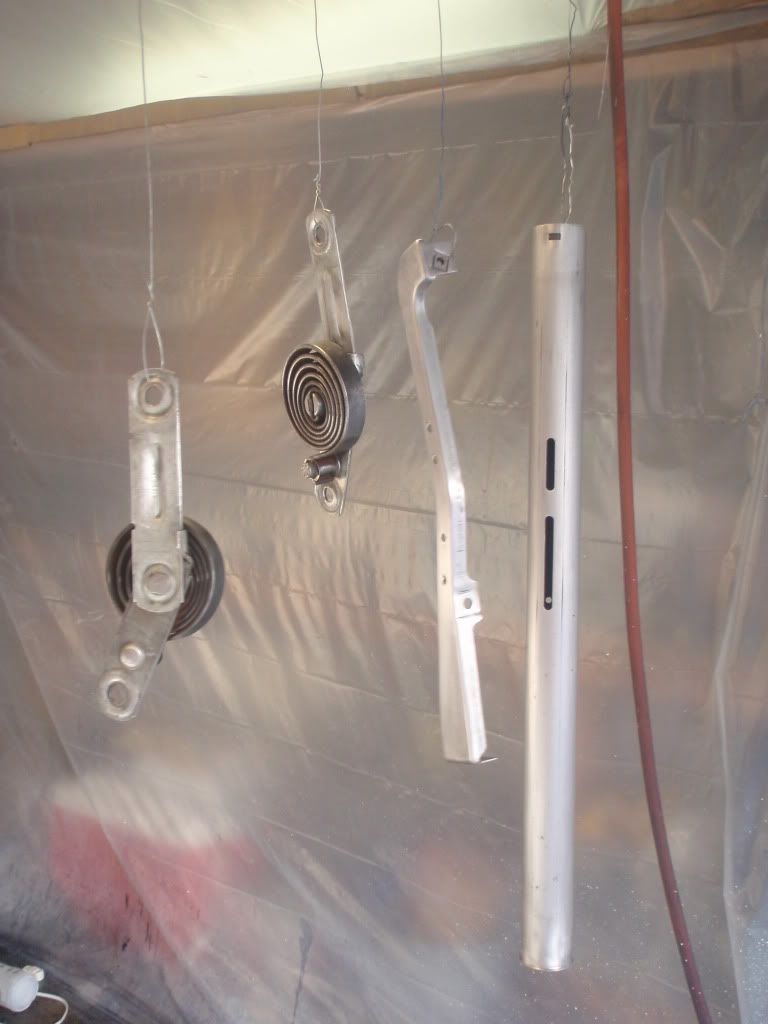
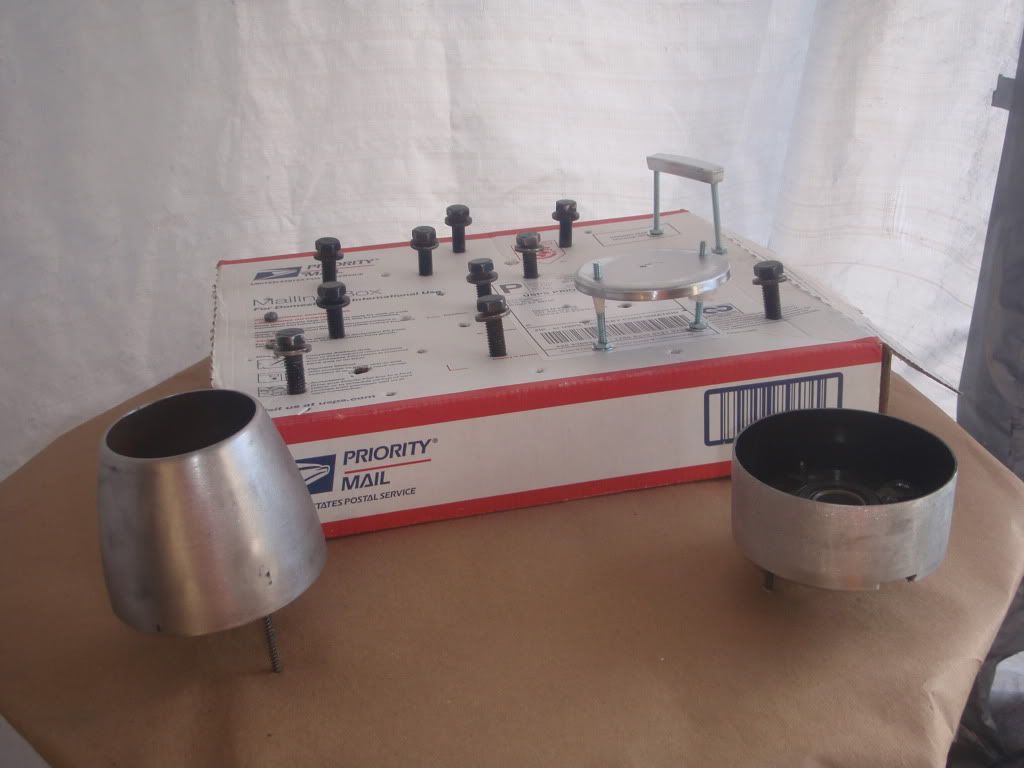
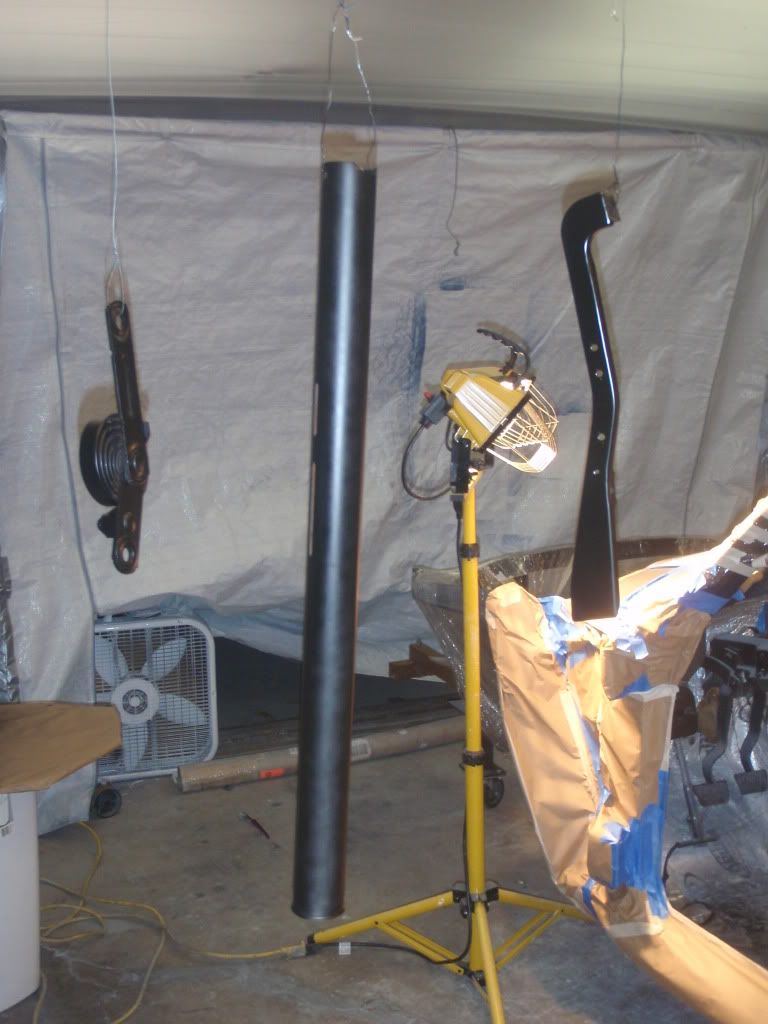
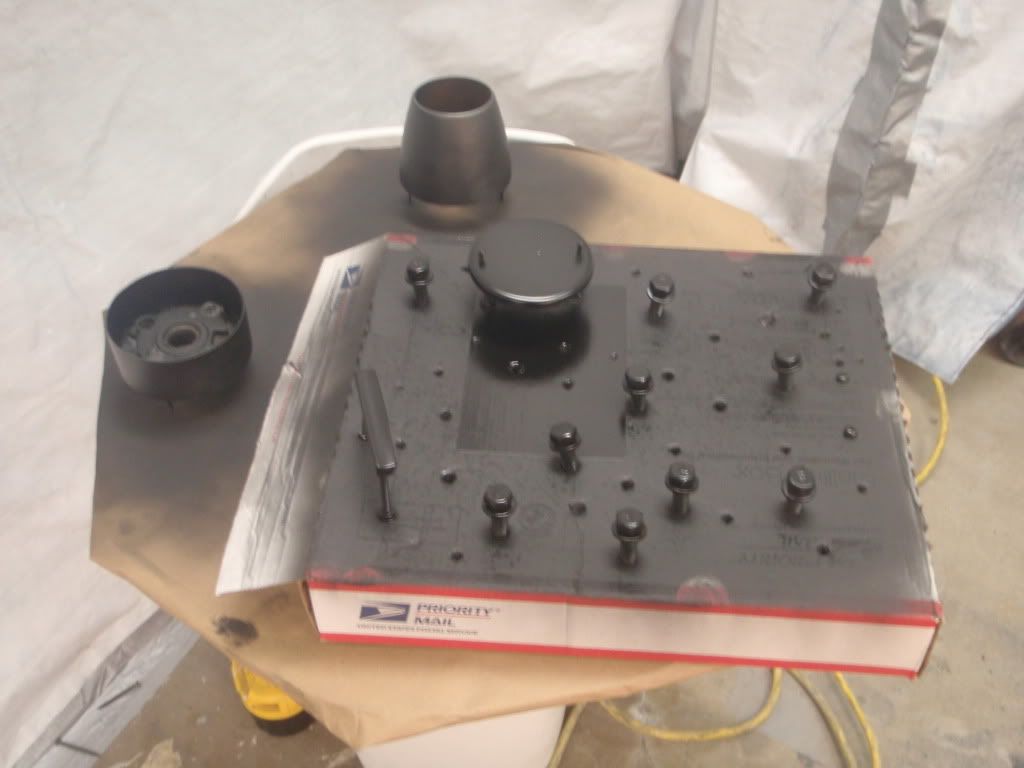
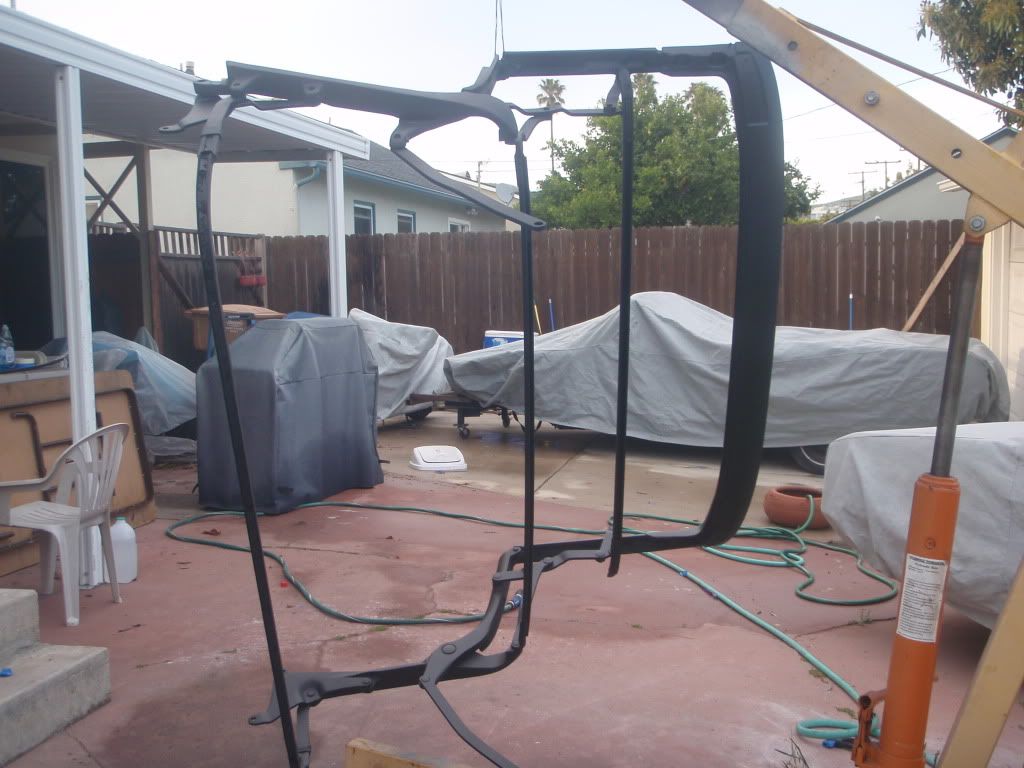
Currently I have the entire body stripped and getting it ready for the paint and body shop. I yanked the engine out yesterday. It came out very nicely. Sorry to see that trusty little 273 go. I will be hanging onto it though. I am reusing the pulleys, brackets and possibly the exhaust manifolds. I'm still waiting for tti to get the kinks worked out on their headers.
I will updated this resto page when more work is done.
Johnny: Following was thread sent to Dave on his Valiant,Looks good.....Wheres the Rum & Coke ? :hello1:
")