Awesome detail, documentation and perserverance.
Perseverance is right. There's more to that story that's best shared with my therapist. But anyhow....
More progress.


Awesome detail, documentation and perserverance.
Takin a break from this. Road trip to/thru Montana.
trimQUOTE]
It's cold up there!!!!! WTH????:violent1:
I like cold. And green. ;)

Ozone does not kill mold.

Spotted in Rock Springs, WY.
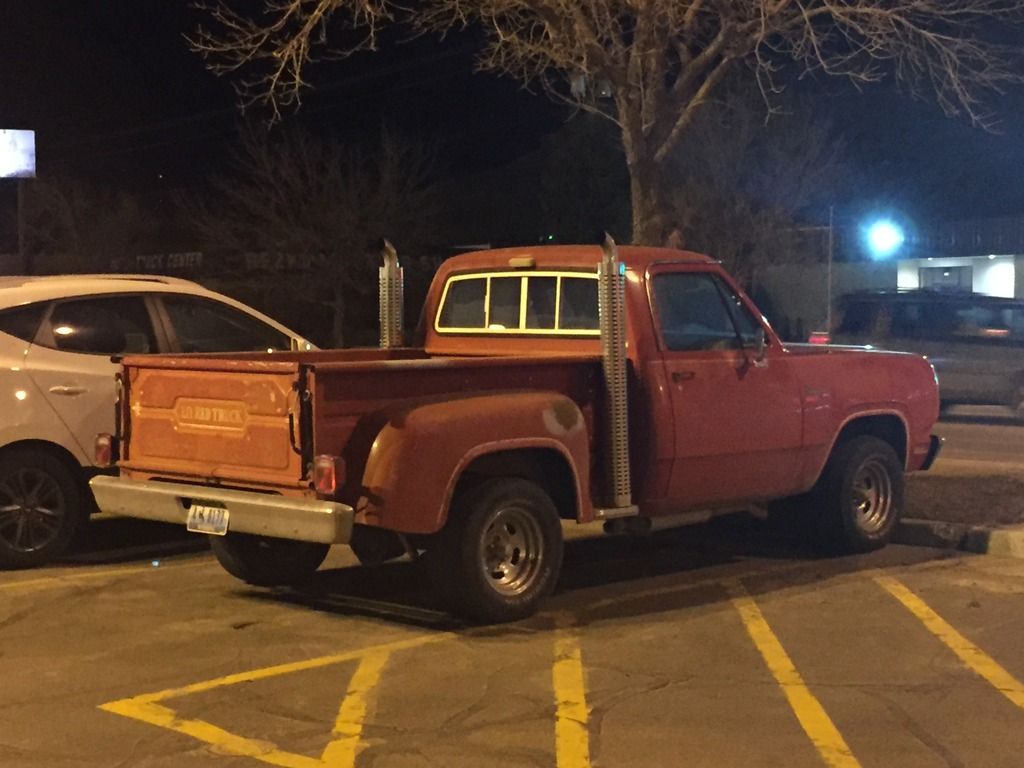


Notice that one corner piece is not installed. Mine has a decent ding innit and I am hoping to find a nicer one.
This is the one I want to replace
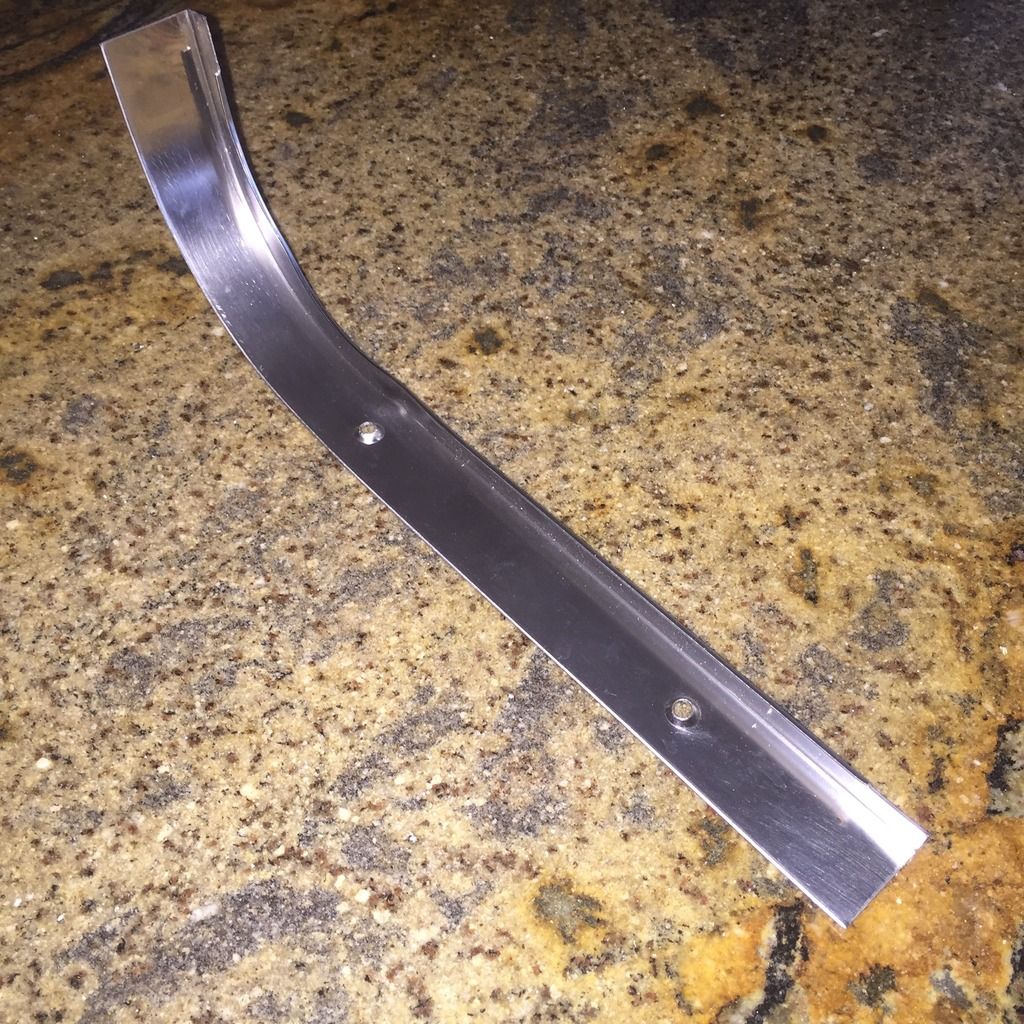
The wife would hammer that out and a little sanding and buffing, good as new. :cheers:


