1971 Demon Street Build

-
Dude, that Demon looks to have a real nice rust free body. My '72 that I am working on has nice floors and the body is semi rough. Yours looks like an easy restore......not like mine in the attached photo below.

Good luck on your project.


John

is yours F-3 as well? It's nice to have a reference for stripes on that color. I think I like em :-D
 
Yeah, mine is orginally f3 green. It has been repainted at one time after it had been wrecked and fixed half *** and so forth. So the green in the picture is probably not really correct.
 
I have a holley projection unit,well,almsot 2 units,minus one throttle body,that might be just the ticket for you.I bought it for my 318,off ebay last summer,but the seller forgot to mention it was only good up to 275 horsepower.I have gone way past that,so i have been contemplating selling the units to get a new carb and some extras for my 71 dart.I would take 400.00 plus shipping,if your interested,let me know http://store.summitracing.com/partd...925239+4294839074+4294853151+115&autoview=sku by the way,there is an extra,new mallory in line fuel pump with them,and some other things,cant remeber what right now
 
Thats a Great lookin Demon you have. Great starting place. Be sure to check the torsion boxes for metal fatigue. Being a west-coast car it shouldnt be a problem. You should try rebuilding a east coast car.....Jesus. They must salt the roads every time it rains! ALSO, thats a nice XJ you have. Looks stout as hell.

j-miller I know where you are comming from. My Duster looks like that on the underside tho. :(
 
Made some large progress:

This was a lot of research, measuring, and wiring, but the payoff was SOOOOO worth it!

DSCN2547.jpg


DSCN2548.jpg


DSCN2549.jpg


DSCN2550.jpg


Next up: front end and brakes!
 
If you or Demonator ever do that 4-link rear suspension, I'd love to see how that goes. I'm wanting to try it in my Demon as well. :-D
 
I got a nice 'little' package in the mail the other day, I am currently working on the spindle modification so I can put it all together :D

DSCN2554.jpg
 
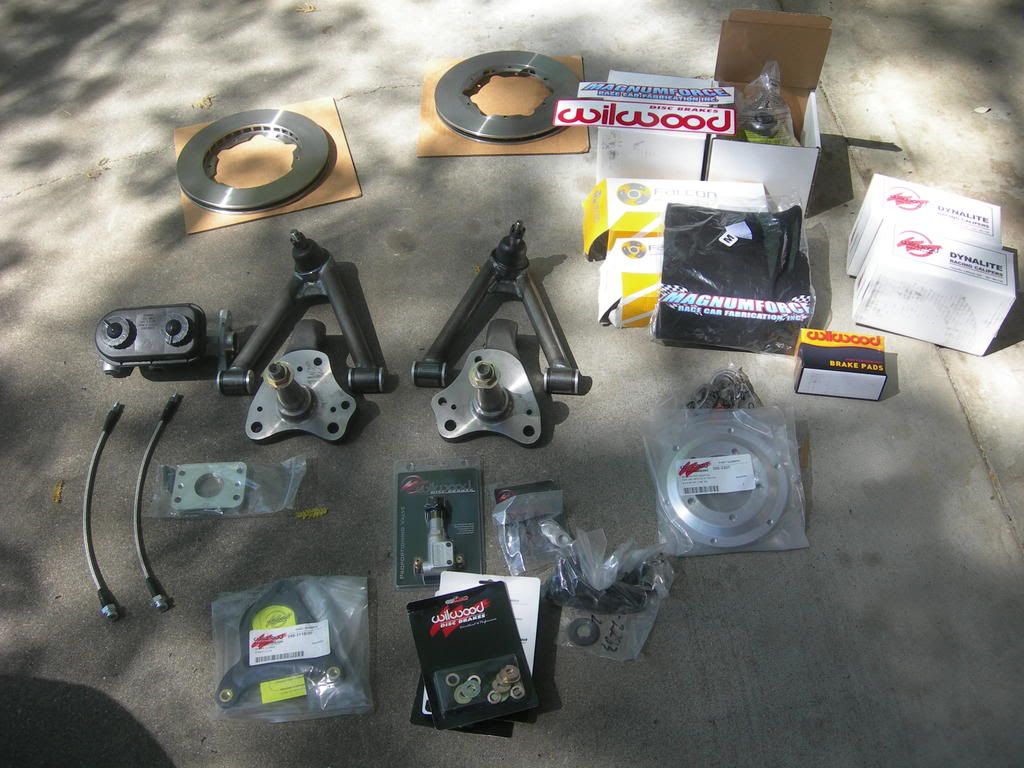
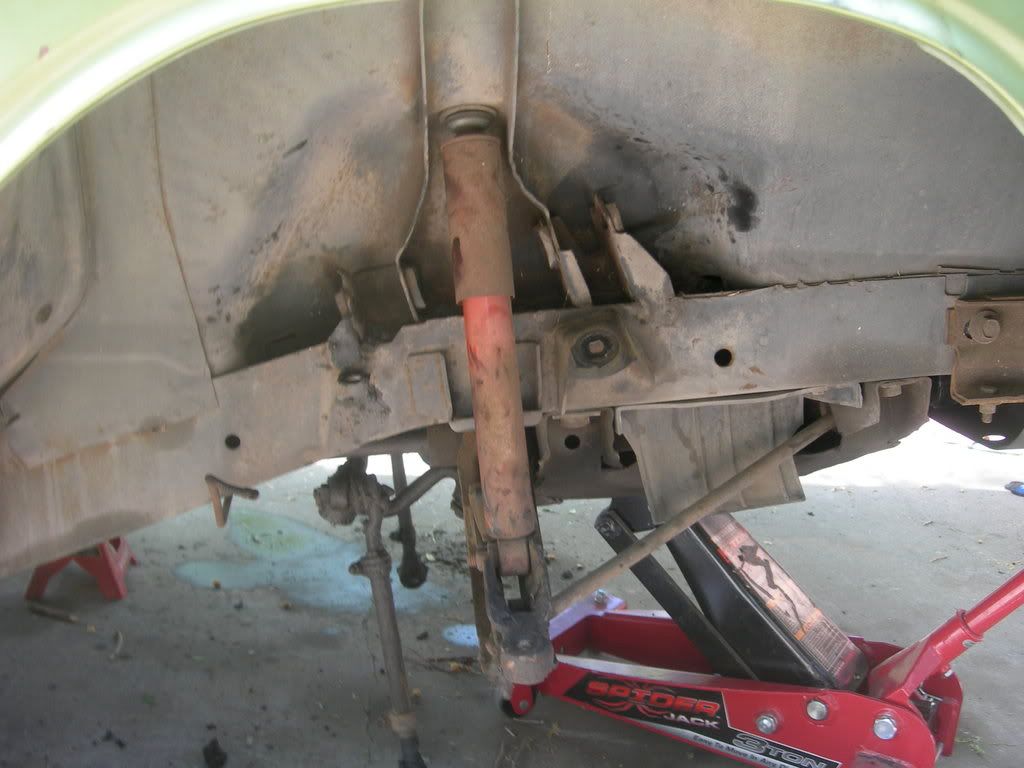
Well, I finally decided to get installing the brakes over with. I planned on the tear-down today and the install tomorrow. Amazingly, tear-down only took two hours. I thought it was going to be rustier down there, but it looks like the grease actually prevented a lot.

Anyway, I also did my homework by getting every step from three or four sets of instructions into a single set. That definitely was the best thing for time-saving.

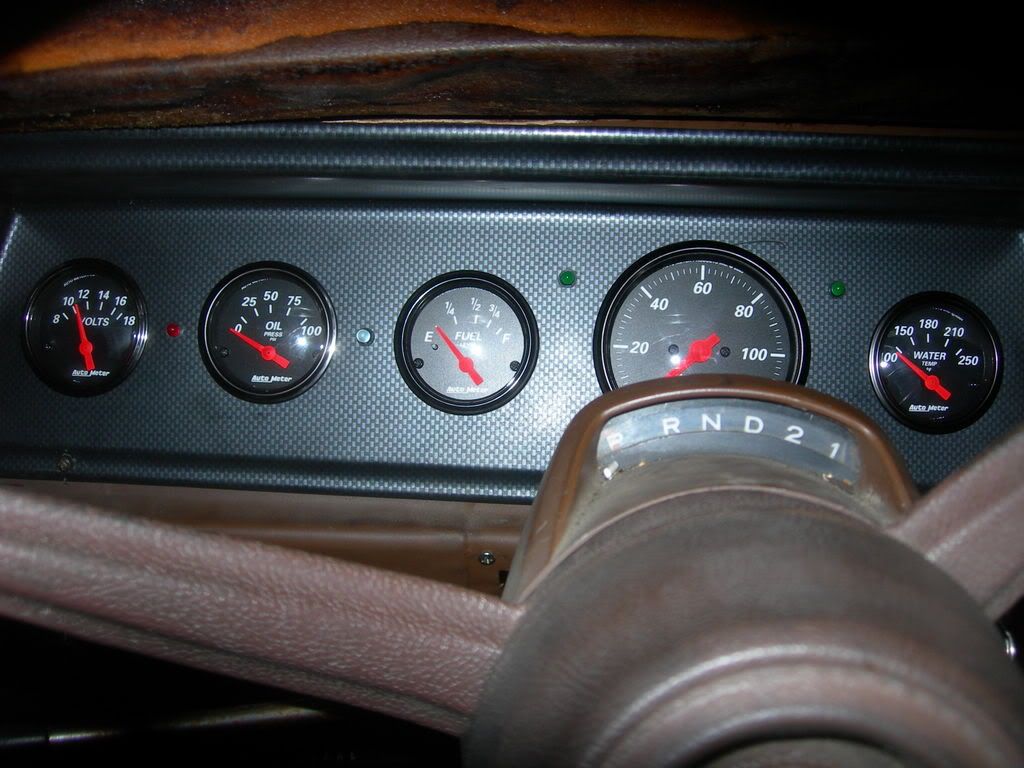
Anyway, on with the pictures:

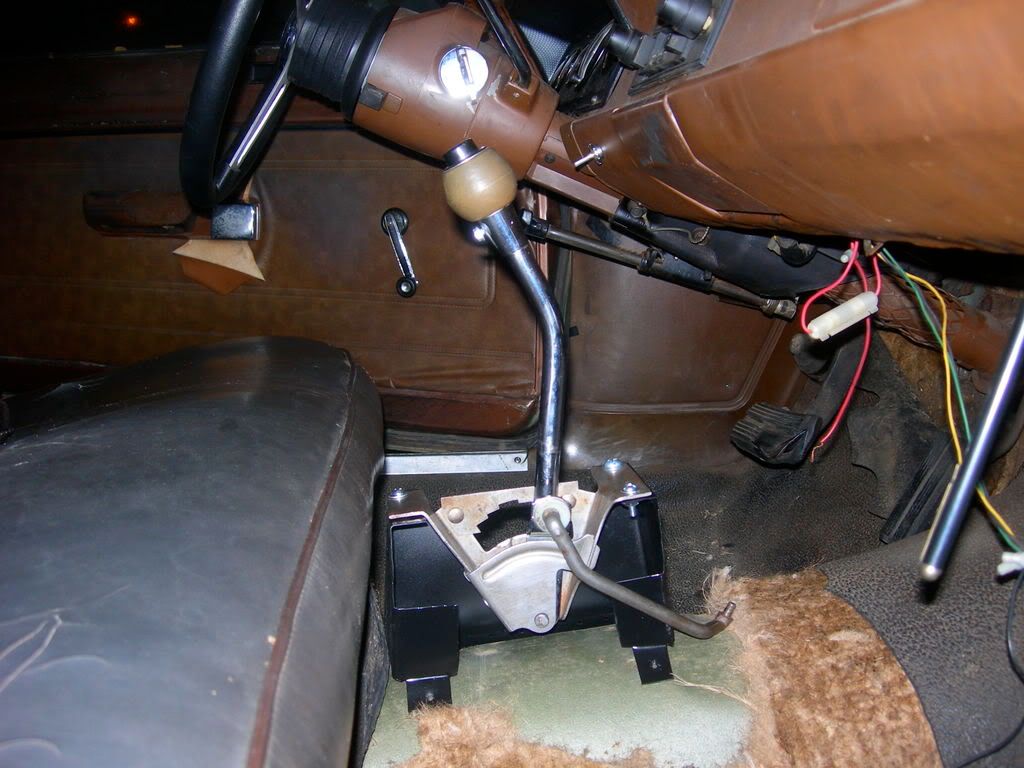
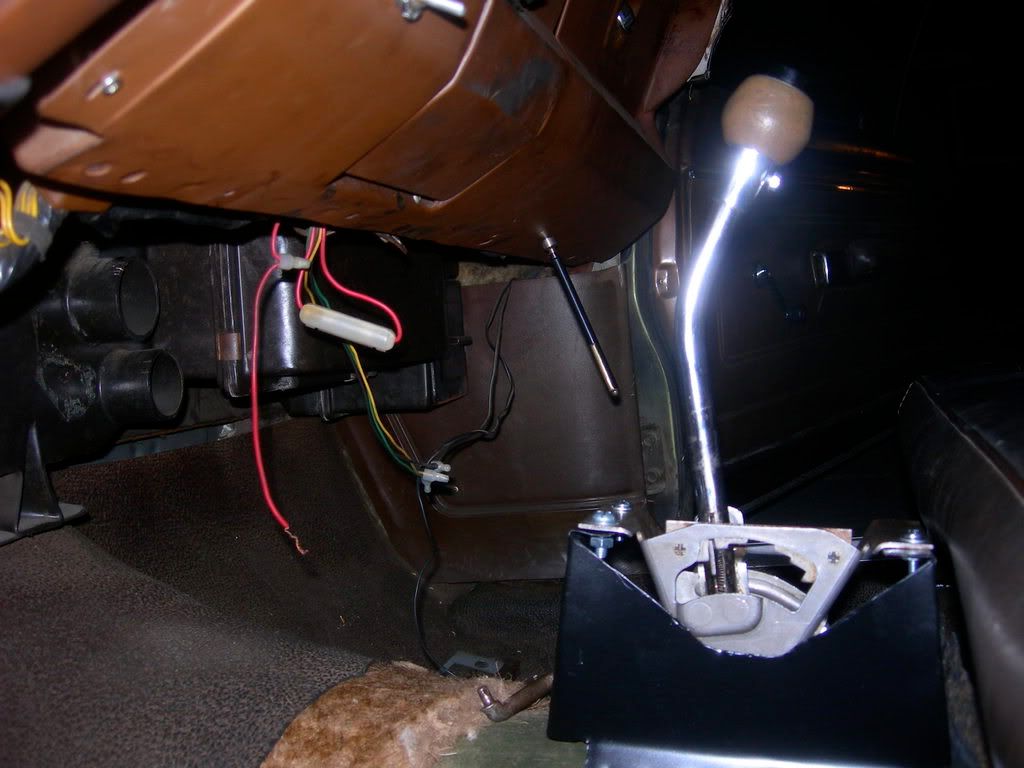
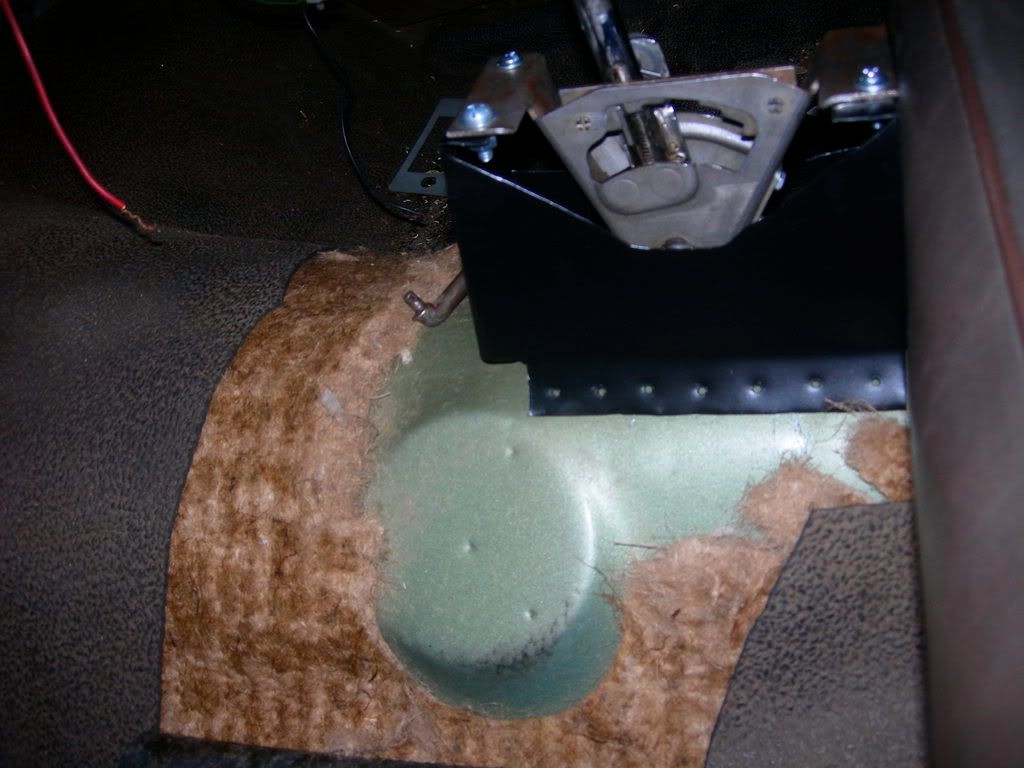
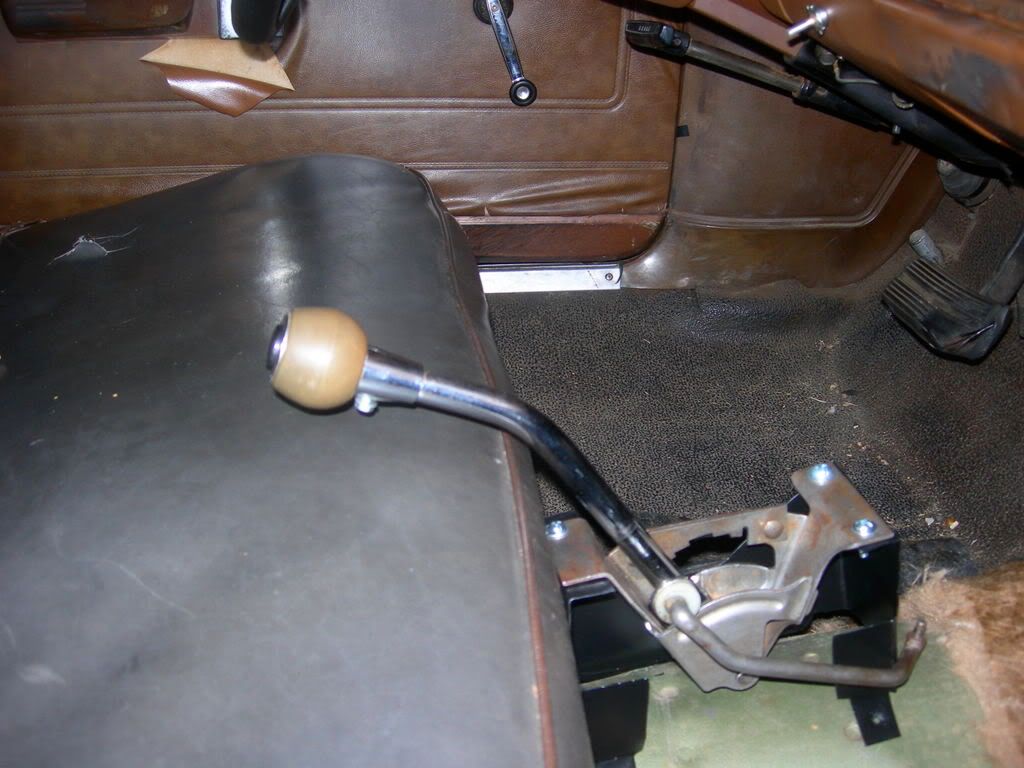
The end of the tear-down:

DSCN2562.jpg


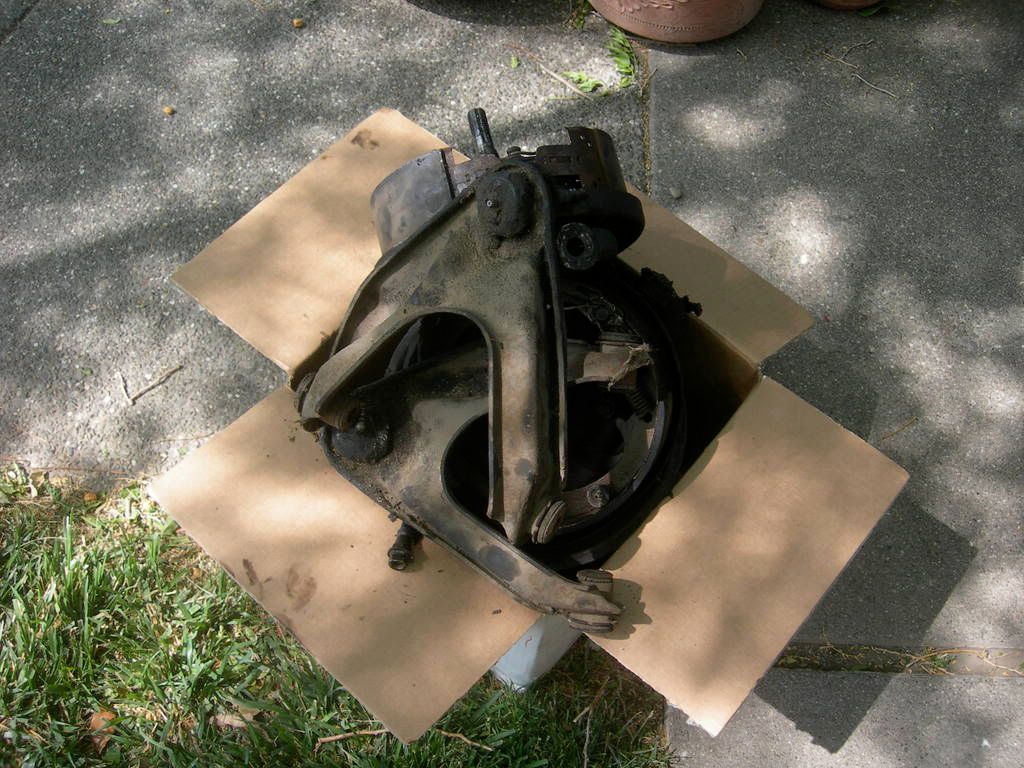
All the stuff that's going to the junkyard:

DSCN2564.jpg


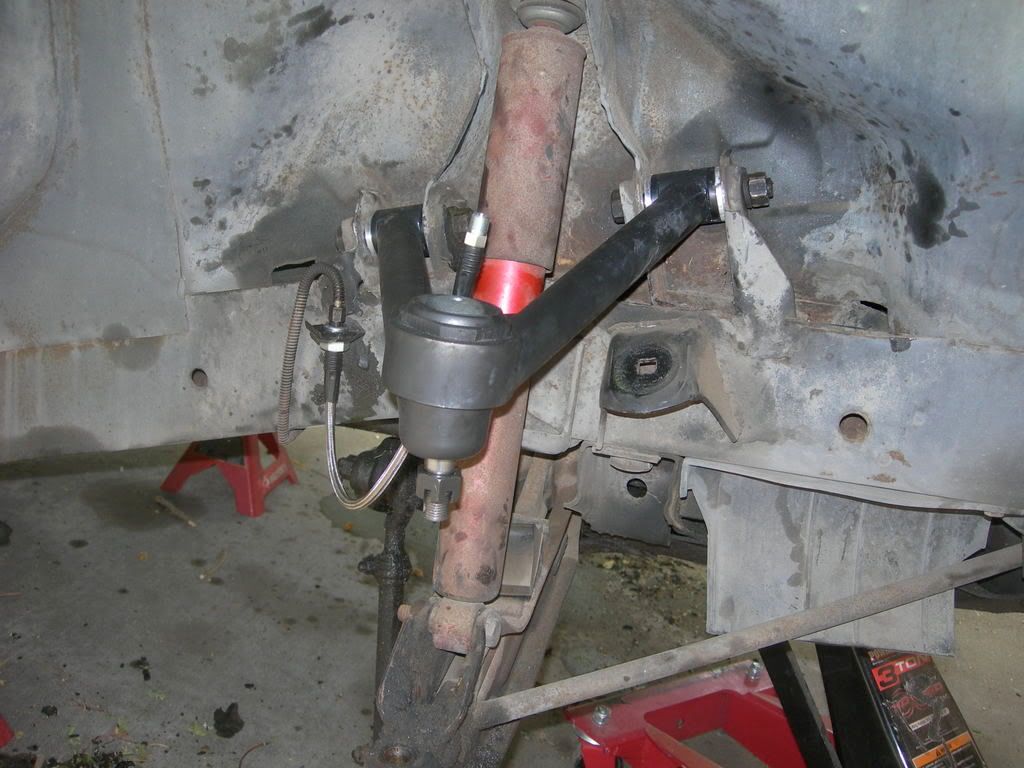
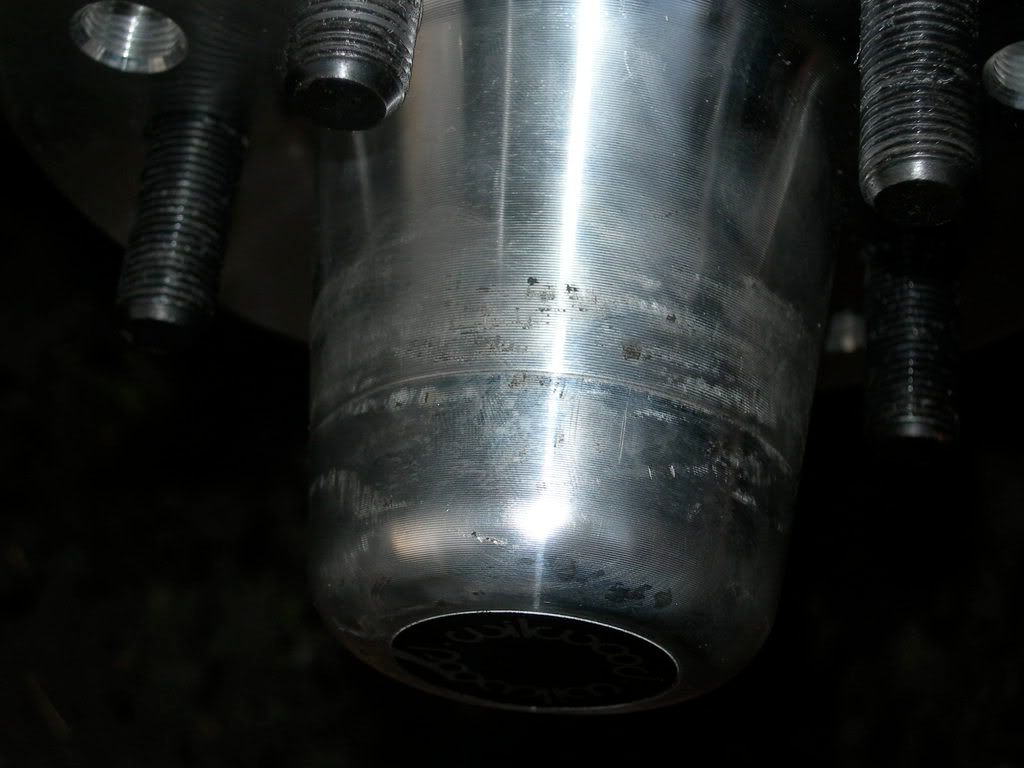
New Magnumforce UCAs:

DSCN2566.jpg


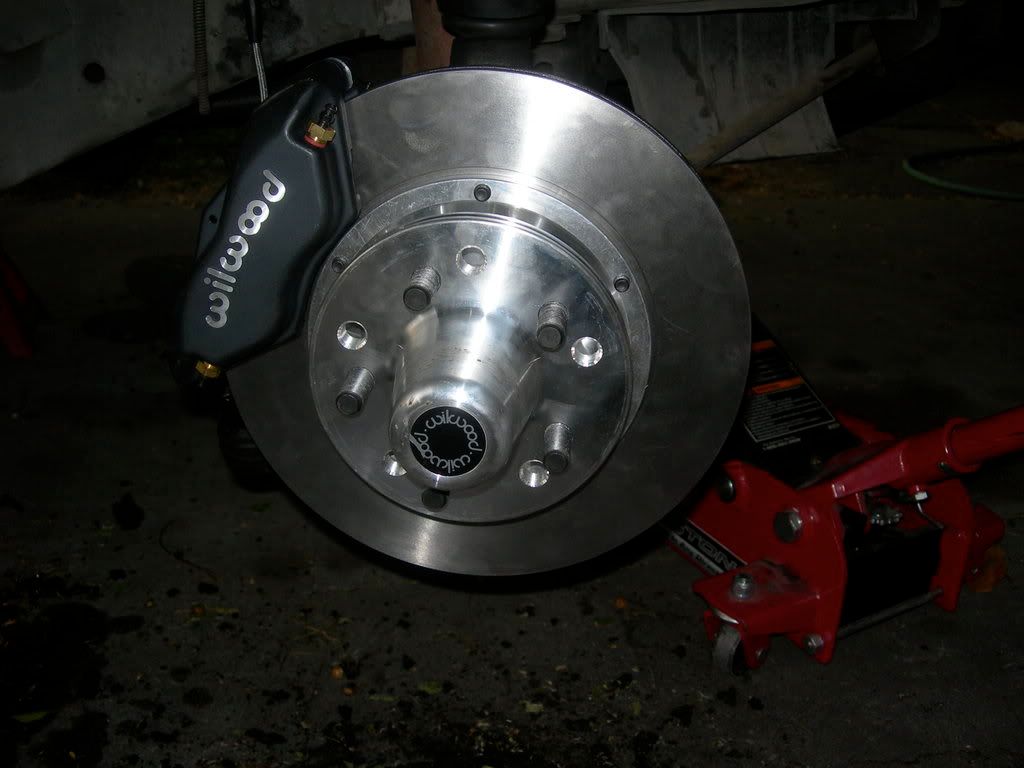
Finished product on one side:

DSCN2571.jpg


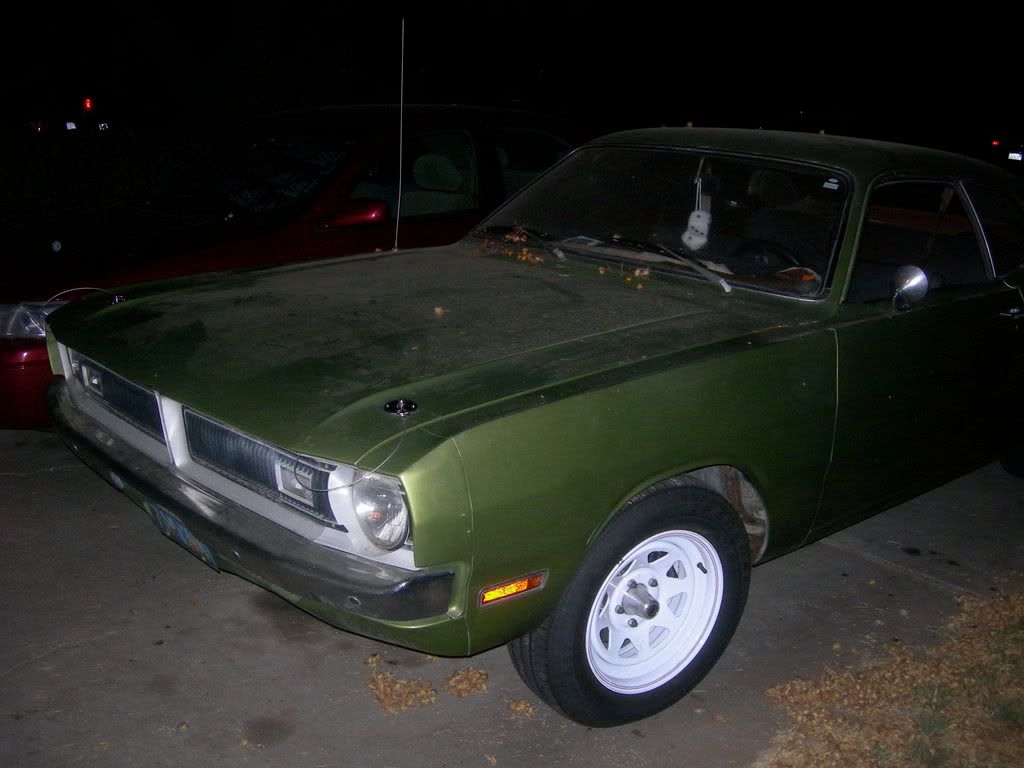
Now here's where I met my fatal oversight - at the end of the install. The wheel centers of my stock 14" wheels won't fit around the hub :brickwall. I checked, and the caliper isn't rubbing, it's definitely the wheel centers. Dunno what I'm going to do :dunno:

DSCN2572.jpg


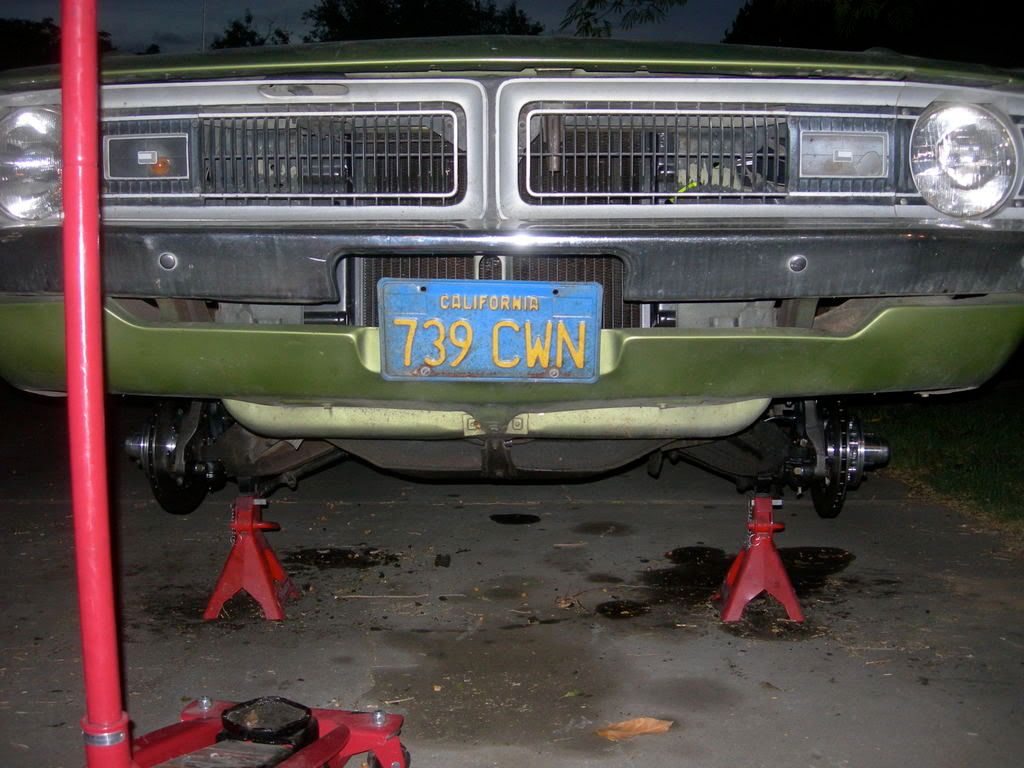
And here's how it sits for the night:

DSCN2573.jpg
 
I wish my Duster project was in that good of shape. What a find. Howard
 
A little update:

I got all the brake parts working together, and yesterday had it aligned. It's driving around town now with only some slop in the steering due to the worn steering box.

I installed some hood pins the other day:

DSCN2758.jpg


And got this guy for free yesterday:

DSCN2760.jpg


DSCN2763.jpg


So it should be a fun summer building this 360
 
I've begun the disassembly on the motor. So far, it's looking in really good shape:

Cam coming out:

DSCN2785.jpg


Baggin' and taggin':

DSCN2791.jpg


Crosshatching still there:

DSCN2796.jpg


DSCN2795.jpg


DSCN2800.jpg
 
looks like you need new bearings....my 340 is in the machine shop right now for some work...about 1grand with my discount...
 
Well guess what came home today!

.030 over, dipped, and new internals (minus rods)

DSCN2997.jpg


DSCN2999.jpg


I also did a lot of work on my shifter bracket. I ground down the edges, painted it black, and drilled the mounting holes both for the shifter and the bracket.

DSCN3007.jpg


DSCN3008.jpg


DSCN3010.jpg


DSCN3011.jpg


DSCN3014.jpg
 
Couple more updates:

I finished the rendering of it a while ago now -

demonrevised.jpg


Motor is coming along -

DSCN3270-1.jpg
 
Love that rendering sharpie, looks awesome! Good luck going forward.
 
A couple updates. First, about a week ago I got the motor done, with the exception of a few items:

DSCN3660.jpg


DSCN3726.jpg


Also, yesterday, I repainted my engine bay:

DSCN3814.jpg
 
Couple more updates:

I finished the rendering of it a while ago now -

demonrevised.jpg


Motor is coming along -

DSCN3270-1.jpg


Nice rendering... did you free hand that or is it a computer program. Either way you may be able to fund your project by doing renderings for members... just a thought.
 
what brand and model are those headers.are the exits the same as hp manifolds.That is a very nice car. You are lucky to have shuch a clean car to start with.
 
-
Back
Top