-
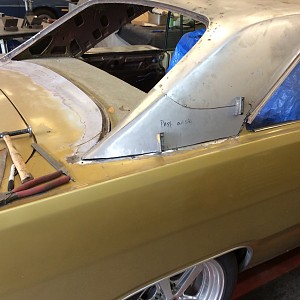
 C-Pillar.jpg
 -
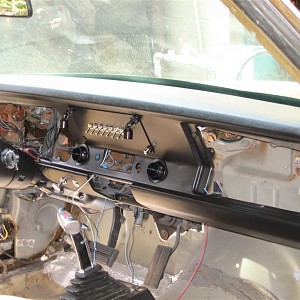
 Dash (2).JPG
 -
 Dash (After).JPG
 -
 Demon-850 (5).JPG
 -
 DSCN0008.JPG
 -
 DSCN0015.JPG
 -
 DSCN0018.JPG
 -
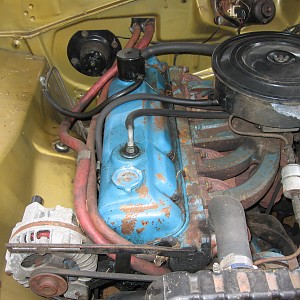
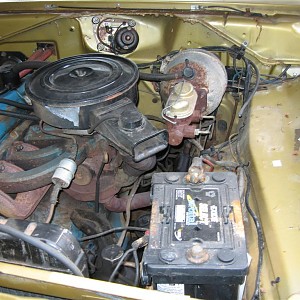 Engine bay (Before).jpg
 -
 engine-1.jpg
 -
 engine-2.jpg
 -
 engine-3.jpg
 -
 Fender (1).JPG
 -
 Fender (2).JPG
 -
 Fender (3).JPG
 -
 Fender (4).JPG
 -
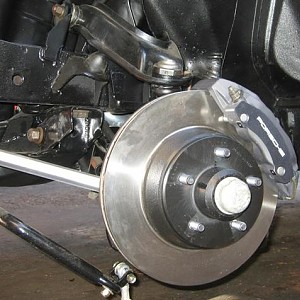
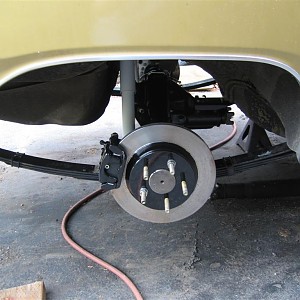
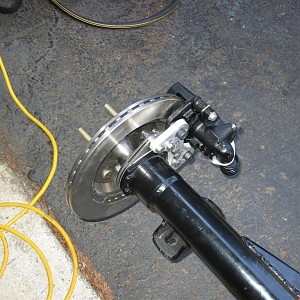
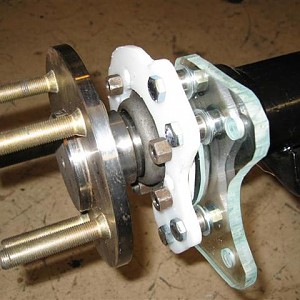
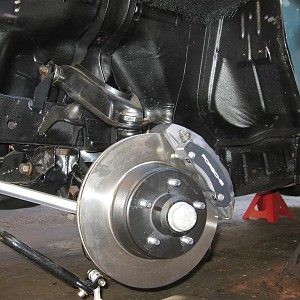 Front Brakes (Boxster S).JPG
 -
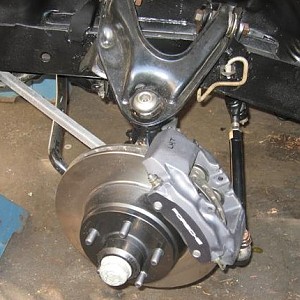
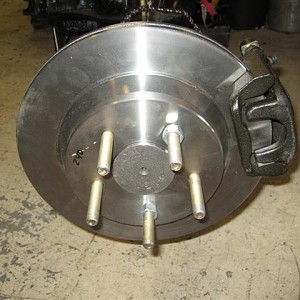
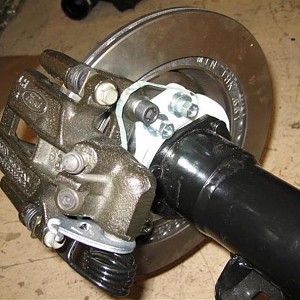
 Front brakes 003.jpg
 -
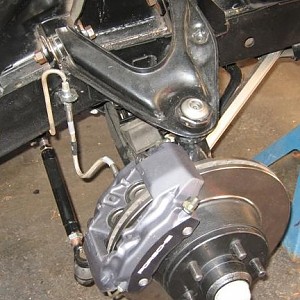
 Front brakes 004.jpg
 -
 Front W&B.JPG
 -
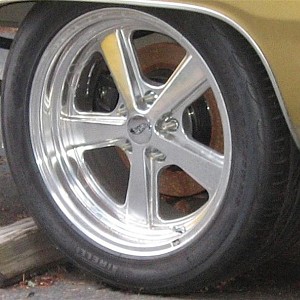
 Front-Porsche (2).JPG
 -
 Front-Porsche (4).JPG
 -
 Front-Porsche (5).JPG
 -
 Front-Porsche (6).JPG
 -
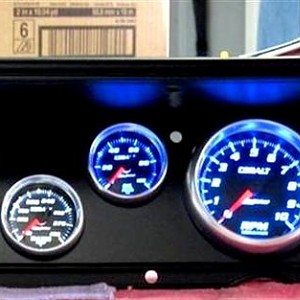
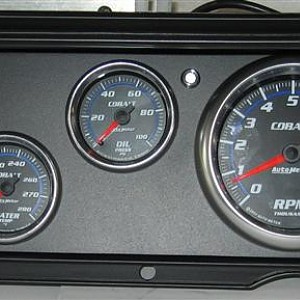
 Gauge Cluster (After) (Medium).JPG
 -
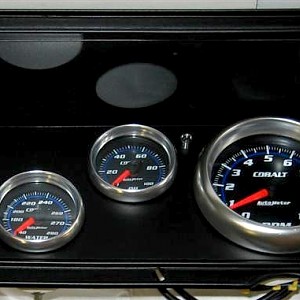
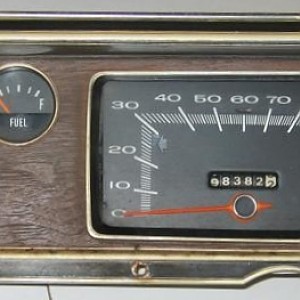 Gauge Cluster (Before).JPG
 -
 IMG_0754.JPG
 -
 IMG_0958.JPG
 -
 IMG_0959.JPG
 -
 IMG_1021.JPG
 -
 IMG_1022.JPG
 -
 IMG_1024.JPG
 -
 IMG_1068.JPG
 -
 IMG_1069.JPG
 -
 IMG_1070.JPG
 -
 IMG_1071.JPG
 -
 IMG_1291-1 (Large).JPG
 -
 IMG_1292-1.JPG
 -
 IMG_1293-1 (Large).JPG
 -
 IMG_1295-1 (Large).JPG
 -
 IMG_1298-1 (Large).JPG
 -
 IMG_1300-1 (Large).JPG
 -
 IMG_1567.JPG
 -
 IMG_1571.JPG
 -
 IMG_1572.JPG
 -
 IMG_1591.JPG
 -
 Keith 050.jpg
 -
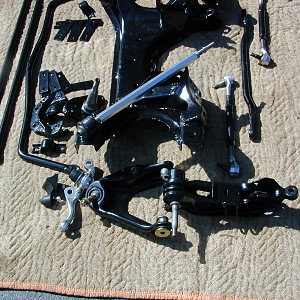
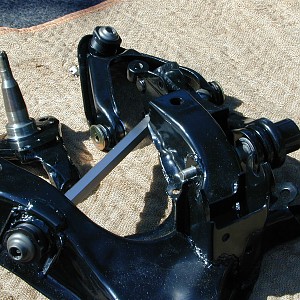
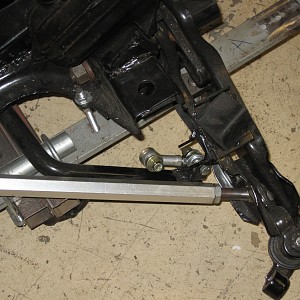
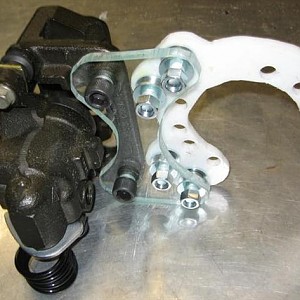
 K-Frame-struts.JPG
 -
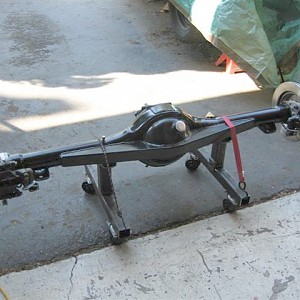
 Rear (1).JPG
 -
 Rear (2).JPG
 -
 Rear (3).JPG
 -
 Rear (17).JPG
 -
 Rear (18).JPG
 -
 Rear Brakes (2004 Mustang Cobra).JPG
 -
 Rear Brakes (2004 Mustang Cobra)-2.JPG
 -
 Rear W&B.JPG
 -
 Rear-Bumper 003.jpg
 -
 Rear-Disc (15).jpg
 -
 Rear-Mockup (1) (Medium).jpg
 -
 Rear-Mockup (12) (Medium).jpg
 -
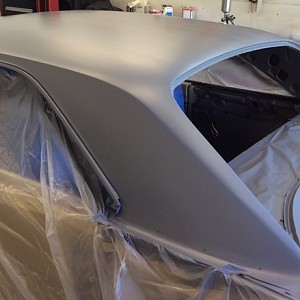
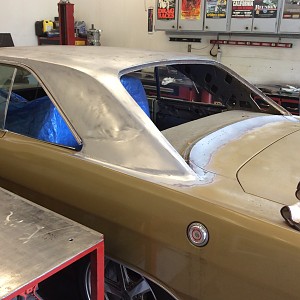
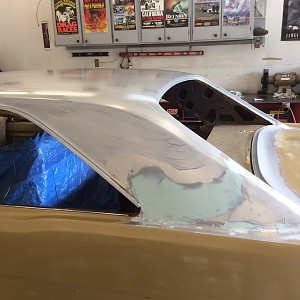 Roof (1).jpg
 -
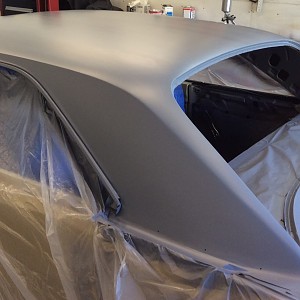
 Roof (2).jpg
 -
 Roof (3).jpg
 -
 Roof (4).jpg
 -
 Roof (5).jpg
 -
 roof (6).jpg
 -
 SB-Link (1) (WinCE).JPG
 -
 Scamp (11).JPG
 -
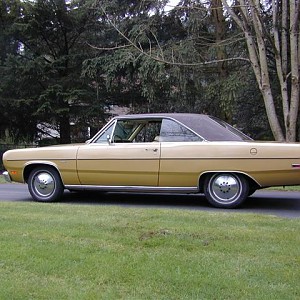
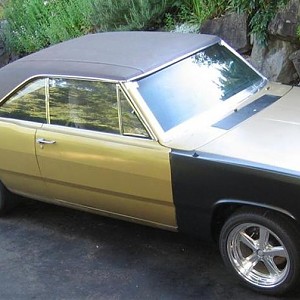 Scamp (After).JPG
 -
 Scamp (Before).JPG
 -
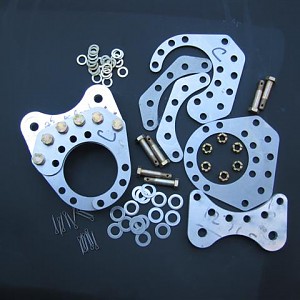
 SF-Conn (1) (Medium).JPG
 -
 SF-Conn (2) (Medium).JPG
 -
 SF-Conn (3) (Medium).JPG
 -
 SF-Conn (4) (Medium).JPG
 -
 SF-Conn (5) (Medium).JPG
 -
 SF-Conn (6) (Medium).JPG
 -
 SF-Conn (7) (Medium).JPG
 -
 SF-Conn (11) (Medium).JPG
 -
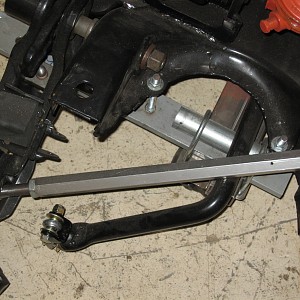
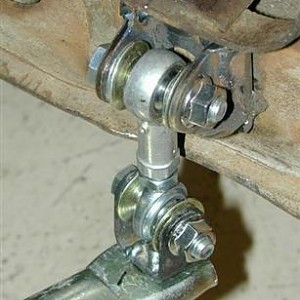
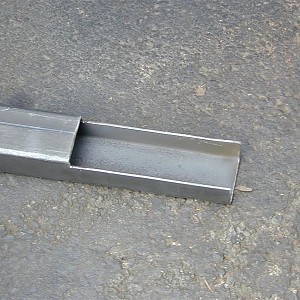
 Strut Rods.JPG
 -
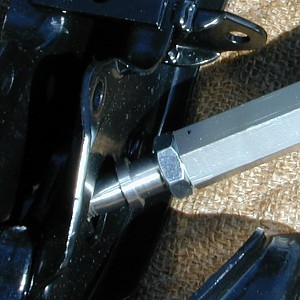
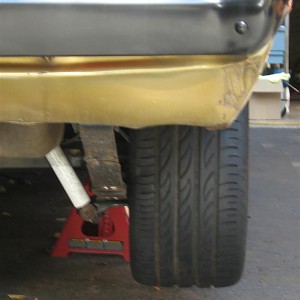
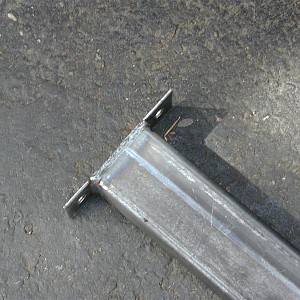
 Strut-end.JPG
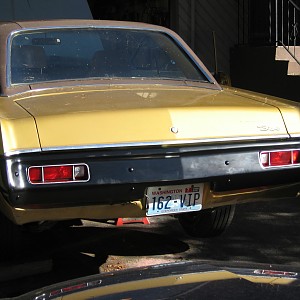
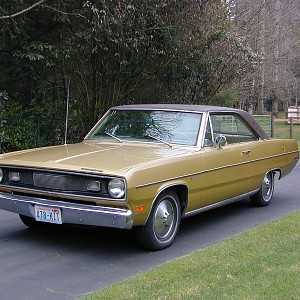
'71 Scamp - Road racer
- Added by Keith McIntyre
- Create date
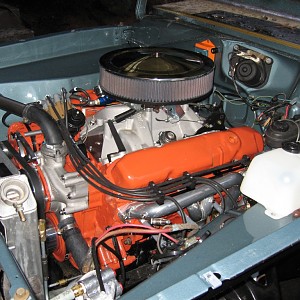
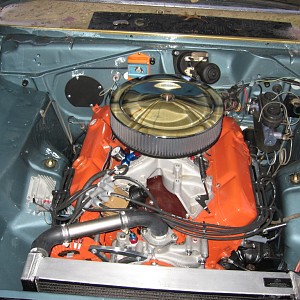
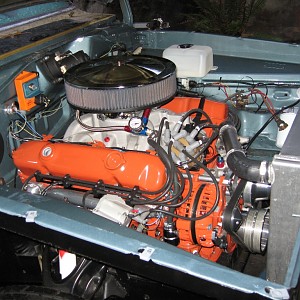
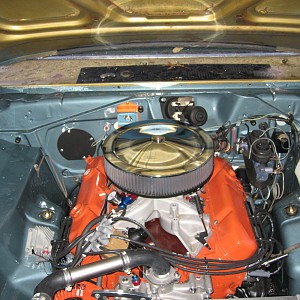
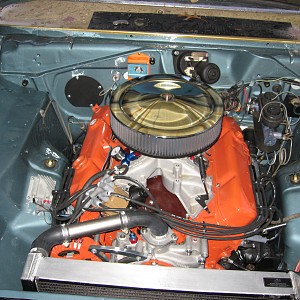
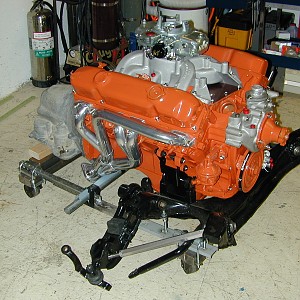
/6 out, 383 in (451 in the wings). Totally rebuilt bottom to top per Tom Condran and Richard Ehrenberg.