Passenger side now. As you can see and as shown earlier, this is the side that I had to add plate to the shock support due to rust issues at the base and in the frame. This did cause me some headache.
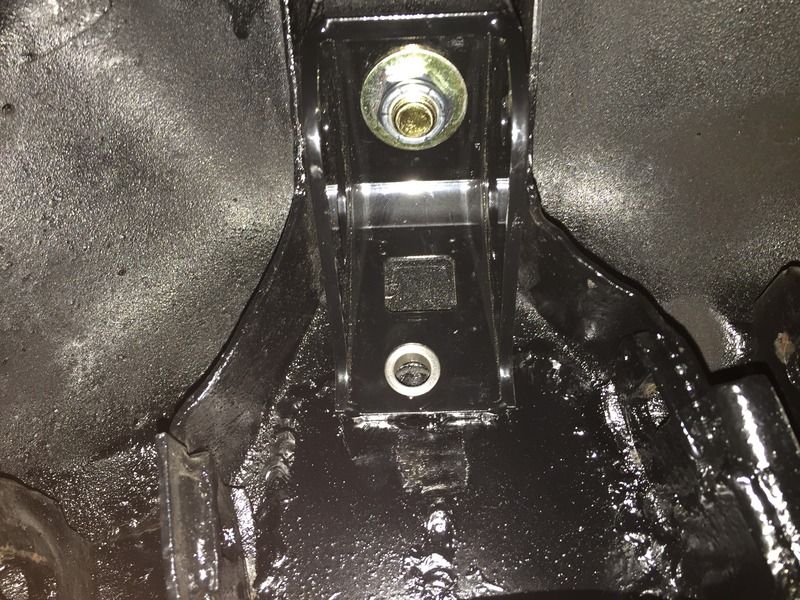
Notice how short this bolt is? I could not get this started any way I tried. With the extra thickness of plate (only .125 thick so I don't know why this caused such a problem), this was part of the issue. So knowing the fender is going to cave in when I tighten the bolt down, I took the corner fitting back out and installed the bolt through the shock support tower and the fender and let the fender cave in. Pulled the bolt out, put the fitting back in, and luckily it was enough to get me a thread or two to get the nut started.
I sure hope that all these little speed bumps help someone else in the future when installing their kit. It's GUARANTEED I'll find every single problem there is to be found so you'll have no surprises like I've been having! I now have about 5 hours of work into this and only have one hoop on. None of the suspension components are even assembled yet. So much for a single day job! I apparently do not have the talent to work at such a pace as others do.


